French braids are genuinely one of the most flattering hairstyles for wavy hair, and here’s why: instead of fighting your natural texture, they actually celebrate it. While straight-haired folks need to tighten those braids to keep them defined, wavy hair gives you an inherent advantage—those waves naturally soften the braid structure, creating an effortlessly romantic look that reads as intentional and polished. The texture fills in the gaps between strands, adding dimension and fullness that braids sometimes lack on smoother hair types.
The trick is understanding that wavy hair requires a slightly different approach than the traditional Dutch braid or standard French braid techniques you’ll find in most tutorials. Your waves want to move, and if you fight that movement, you’ll end up with a frustrated mess. Instead, the goal is to work with your natural wave pattern, positioning your braids to enhance rather than constrain that texture.
What makes this style so versatile is how many variations exist. Whether you’re heading to a casual coffee date, a beach afternoon, a wedding, or just trying to get your hair out of your face on a humid day, there’s a French braid approach that works for your wavy texture and your lifestyle. The beauty is that imperfection actually looks better on wavy hair—flyaways and slightly loose sections read as intentionally undone rather than messy.
1. Classic Two-Strand French Braid with Textured Waves
This is the foundational look that works for almost every wavy-haired person. Unlike a traditional three-strand French braid that can sometimes look too structured on waves, a two-strand twist braid integrates more seamlessly with your natural texture. The two-strand braid works by taking two sections of hair and twisting them around each other while continuously incorporating new hair from the sides, creating a braid that looks looser and more organic.
Why This Works for Wavy Hair
The beauty of the two-strand approach is that it doesn’t force your waves into submission—it lets them breathe. Because you’re only working with two strands instead of three, there’s more surface area showing your natural wave pattern. The result is a braid that looks intentionally relaxed rather than fighting against your hair’s natural movement. This style is forgiving too; if you’re learning to braid, the two-strand method is significantly easier to master than the traditional three-strand.
How to Create This Look
- Start by applying a sea salt spray or texturizing mousse to damp hair the night before or several hours before styling—this enhances your waves and gives the braid something to grip
- Brush through gently to detangle while preserving wave pattern (don’t overbrush or you’ll disrupt the texture)
- Create a deep side part that complements your face shape
- Start the braid on the heavier side of the part at about ear level
- Take one strand, twist it back, add a small section from the scalp to one side, incorporate it into your twisting strand, then take the second strand and repeat
- Continue down the back of your head, keeping the tension relaxed so waves show through
- Secure with an elastic at the end and gently tousle the finished braid by pulling sections slightly apart
Pro tip: Finger-wave your hair very lightly before braiding—just use your fingers to encourage the wave pattern. This gives the braid built-in texture to work with.
Best Occasions
This works for literally everything: work, casual outings, coffee dates, running errands. It’s the everyday braid that takes five minutes once you’ve practiced it a few times.
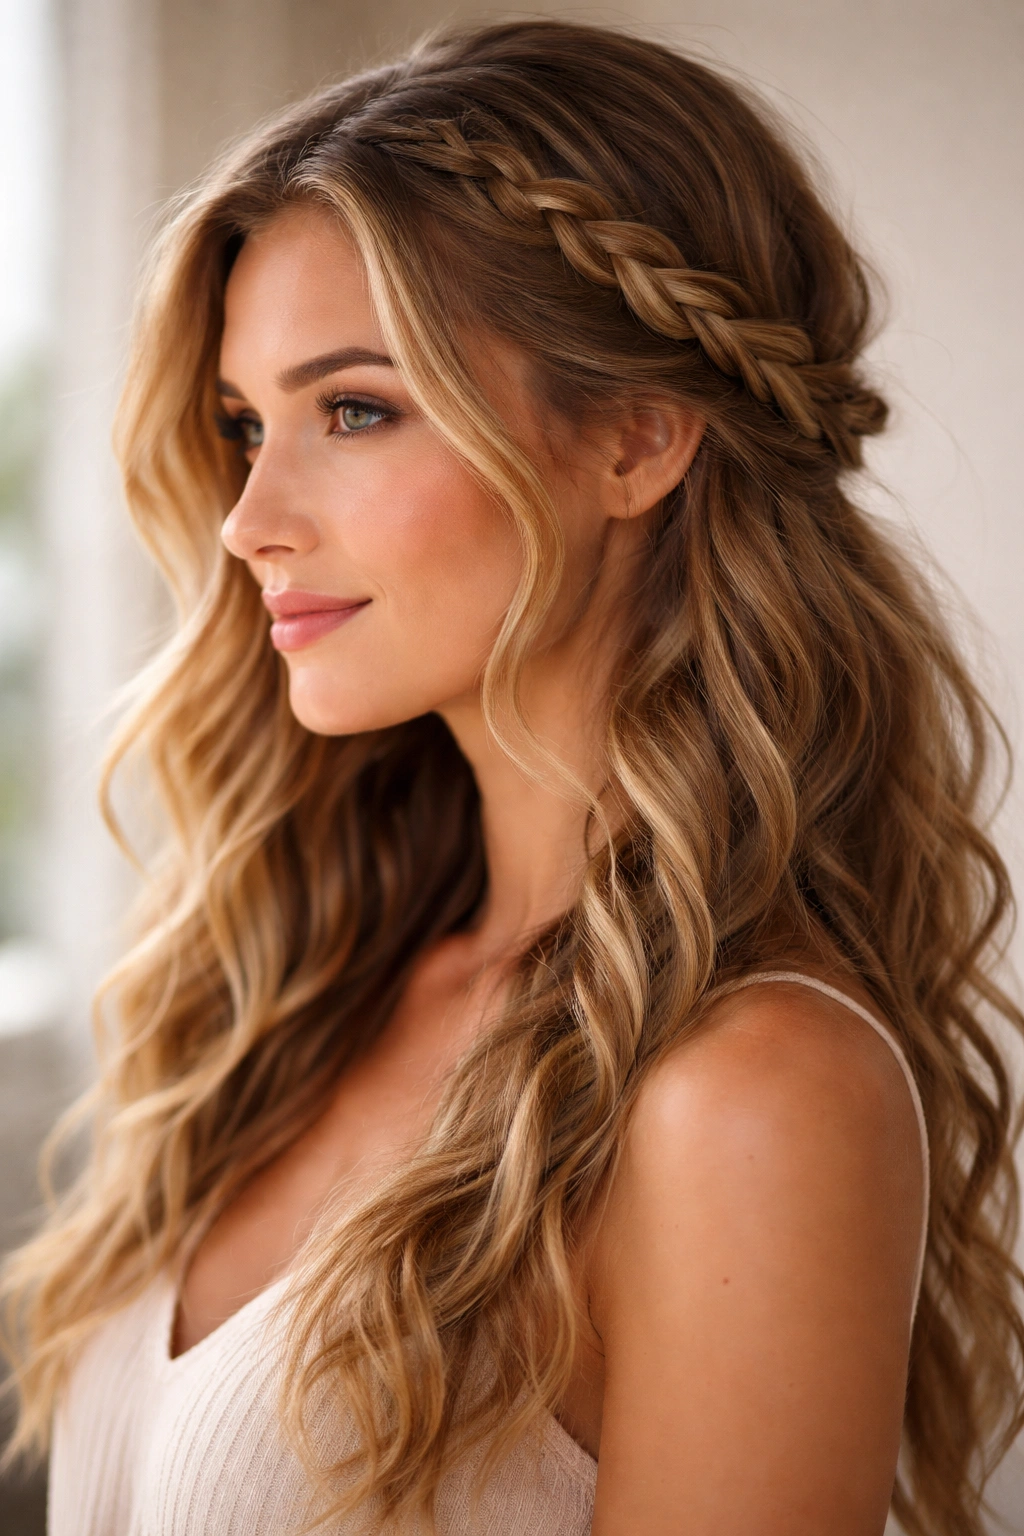
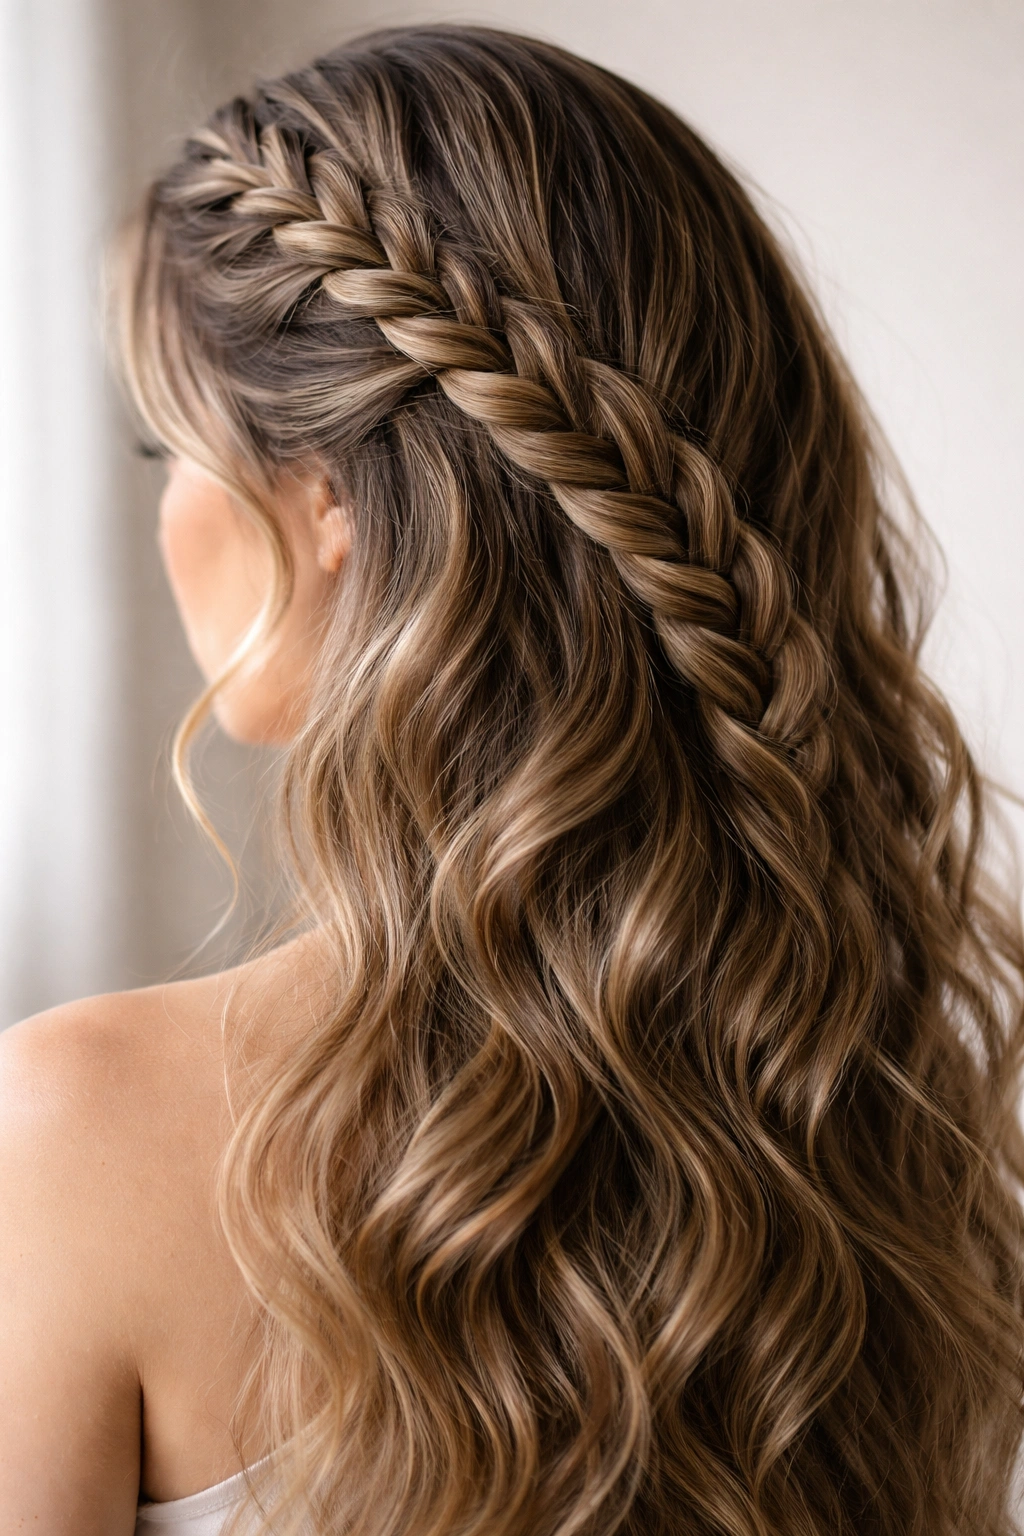
2. Side-Swept French Braid for Wavy Hair
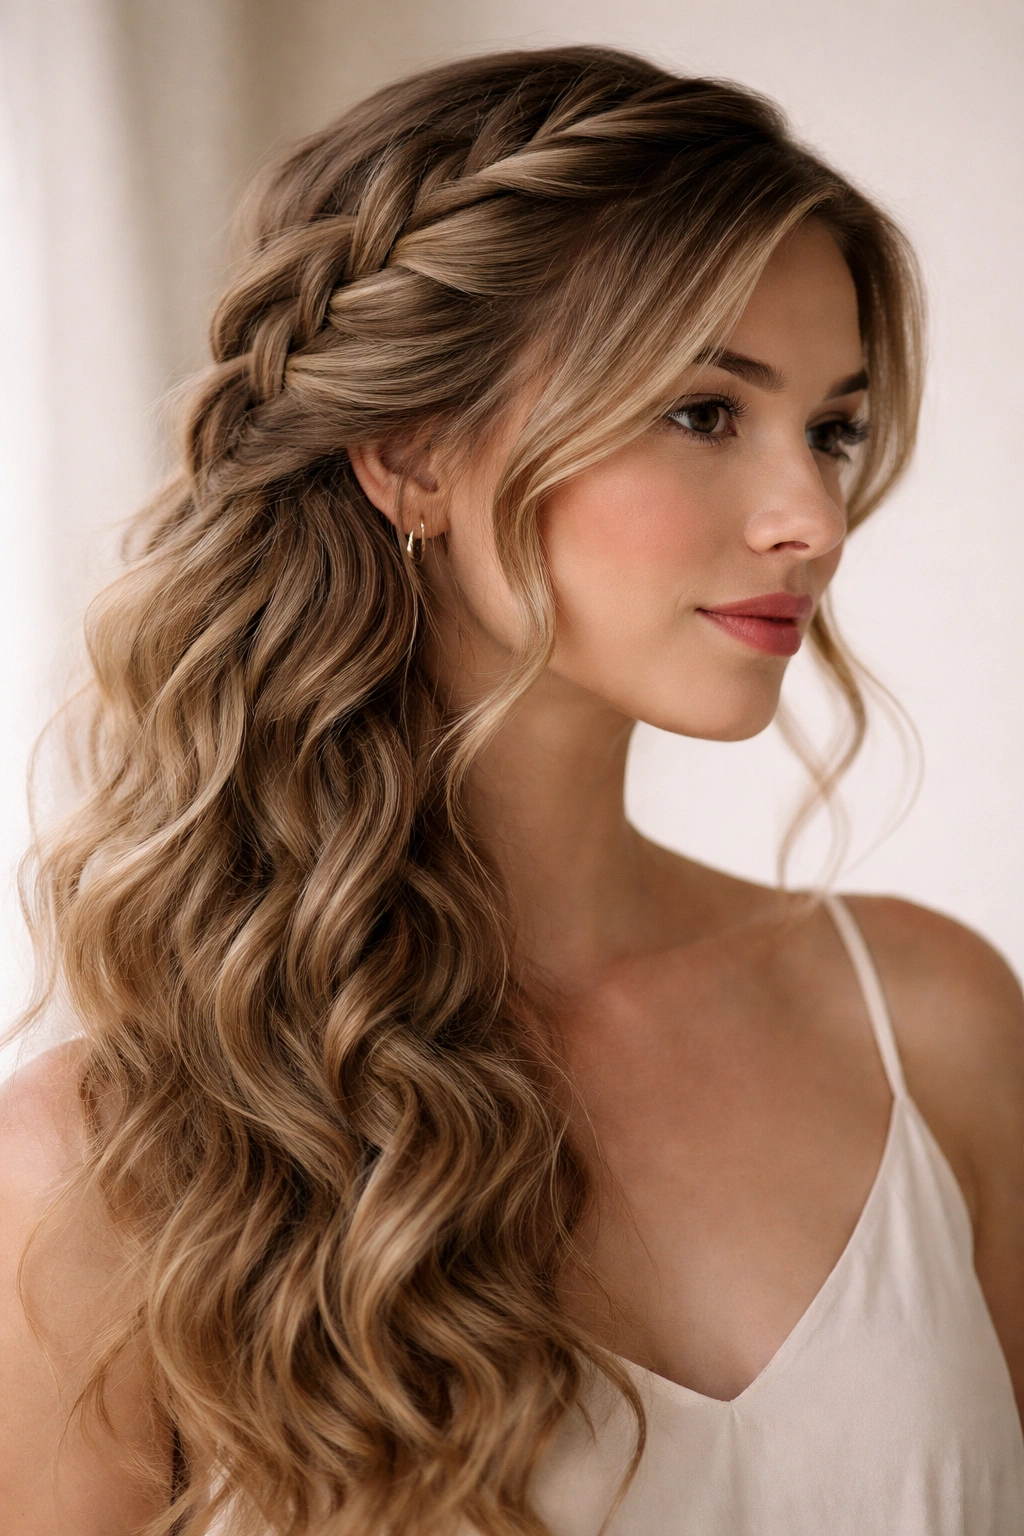
This is the look that feels immediately polished and put-together while still looking effortlessly achieved. Instead of braiding straight back from the center or one side, you position the braid to sweep dramatically across the back of your head from one ear toward the opposite shoulder. It’s flattering for almost every face shape because the angle softens features and adds movement.
What Makes This Angle Special
The side-sweep works particularly well with waves because it follows a similar trajectory to how your waves naturally move down your head. You’re not fighting gravity or your hair’s natural directional flow—you’re working with it. The angle also creates a visual frame that highlights your face while still keeping hair off your neck. For wavy hair, this positioning makes the waves look fuller and more intentional.
Step-by-Step Technique
- Begin with lightly moisturized waves (not soaking wet, but with some product moisture)
- Tease slightly at the crown for lift if your hair tends to sit flat on top
- Start the braid at the temple on your dominant side (if you’re right-handed, start on the right)
- Begin your French braid, angling it back and across toward the opposite shoulder rather than straight down the center
- As you braid, incorporate hair sections from the top and front of your head to the back, gradually moving the braid line across the back
- Stop the braid when you reach the opposite ear area
- Secure loosely and pull some face-framing pieces down in front
- Gently pull the braid apart slightly to widen it and show off your waves
Worth knowing: The looser you keep the tension, the more your waves will show through. Aim for “casual and effortless” rather than “tight and polished”—that’s what works best for wavy texture.
Who This Suits
Anyone who wants a romantic, slightly fancier vibe than the classic center braid. It’s perfect for dates, casual events, or days when you want to feel extra put-together without doing a ton of styling.
3. Double Dutch Braids with Wavy Texture
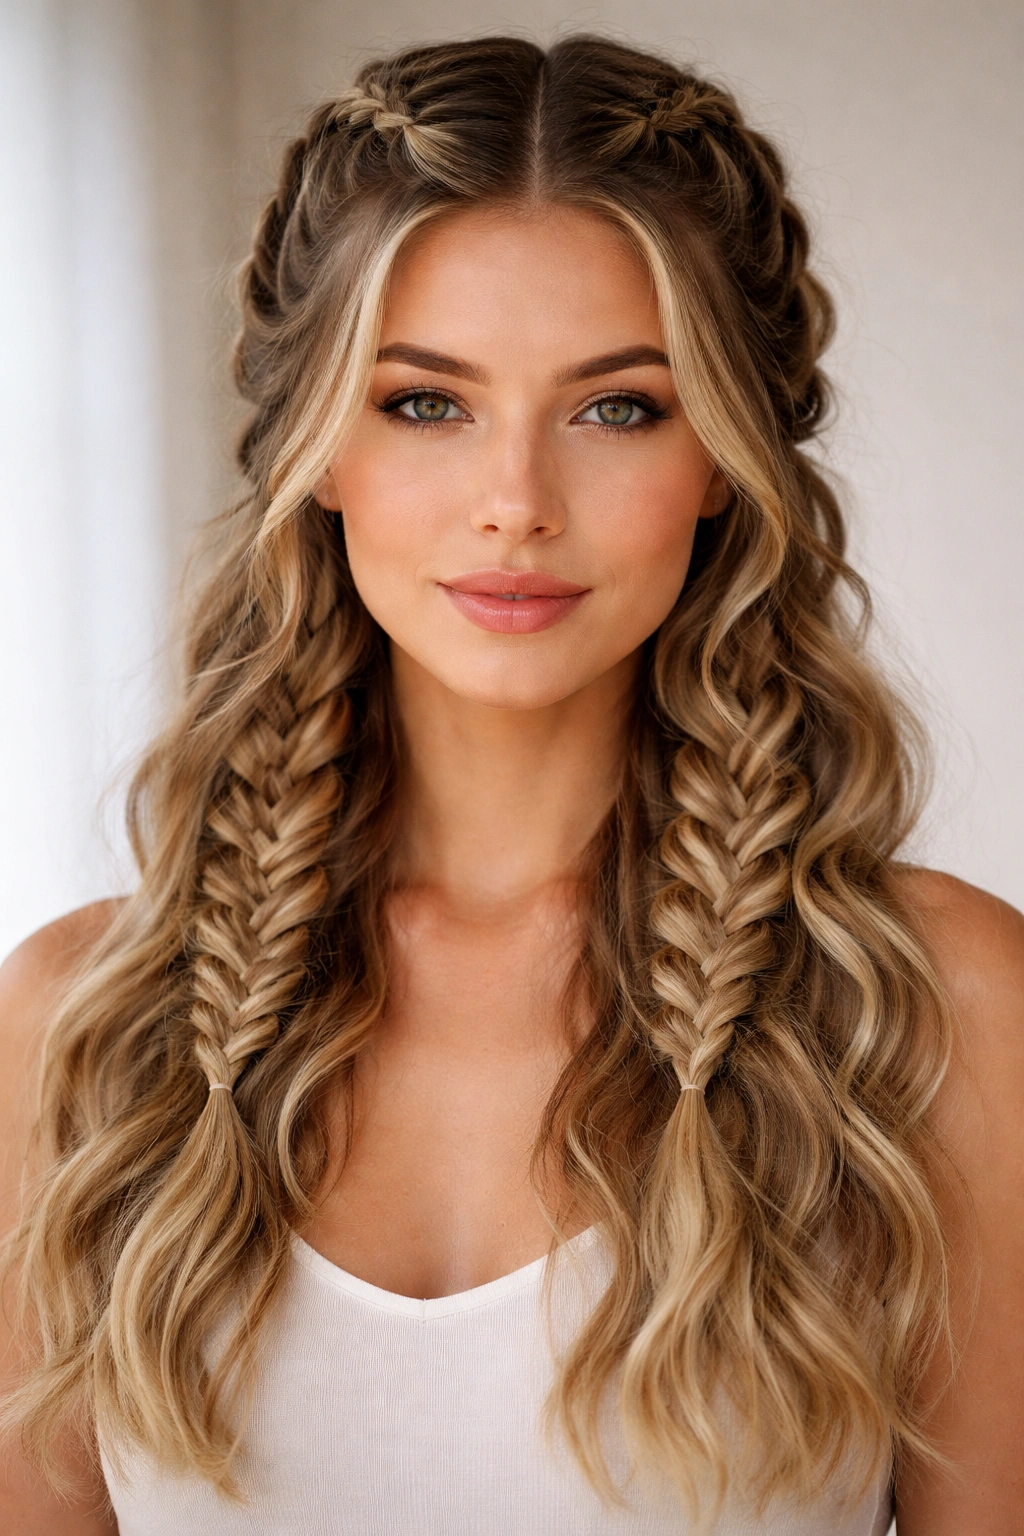
Double Dutch braids (also called boxer braids or cornrows done loosely) are two braids positioned symmetrically, typically starting at the crown and running down the back. For wavy hair, this creates an interesting visual effect: the two braids frame your face while allowing your waves to show through the loose sections and below the braid line.
Why Wavy Hair Excels with Double Dutch Braids
The symmetry of double braids balances the movement of waves beautifully. Where one loose braid might look slightly disheveled on wavy hair, two braids look intentional and structured. The technique also distributes your hair into two sections, which often makes each braid sit better and look fuller. Your waves have more room to move within each braid without creating that “messy” appearance that sometimes happens with single braids.
Creating the Look
- Blow-dry or air-dry your waves to their natural state (they should have definition but not be crunchy)
- Create a center part from your forehead to the nape of your neck
- Start one braid at the top of your head on the right side of the part
- Use the traditional French braid technique (three strands, incorporating hair from the sides), but keep tension loose
- As you braid down the back, angle slightly toward the center back of your head
- Repeat on the left side with the same technique
- Both braids should meet at the nape of your neck
- Finish with small elastics and tousle both braids gently to show texture
- Pull out some face-framing pieces on both sides
Insider note: This look actually improves over a day or two as your waves settle and the braids relax slightly. It looks intentional and beautiful the second day, not just the first.
When to Wear It
This is perfect for athletic activities, beach trips, swimming days, or casual hangouts. It’s also unexpectedly cute for work environments if you keep it neat and refined. The style keeps hair completely off your face and neck, making it practical and pretty.
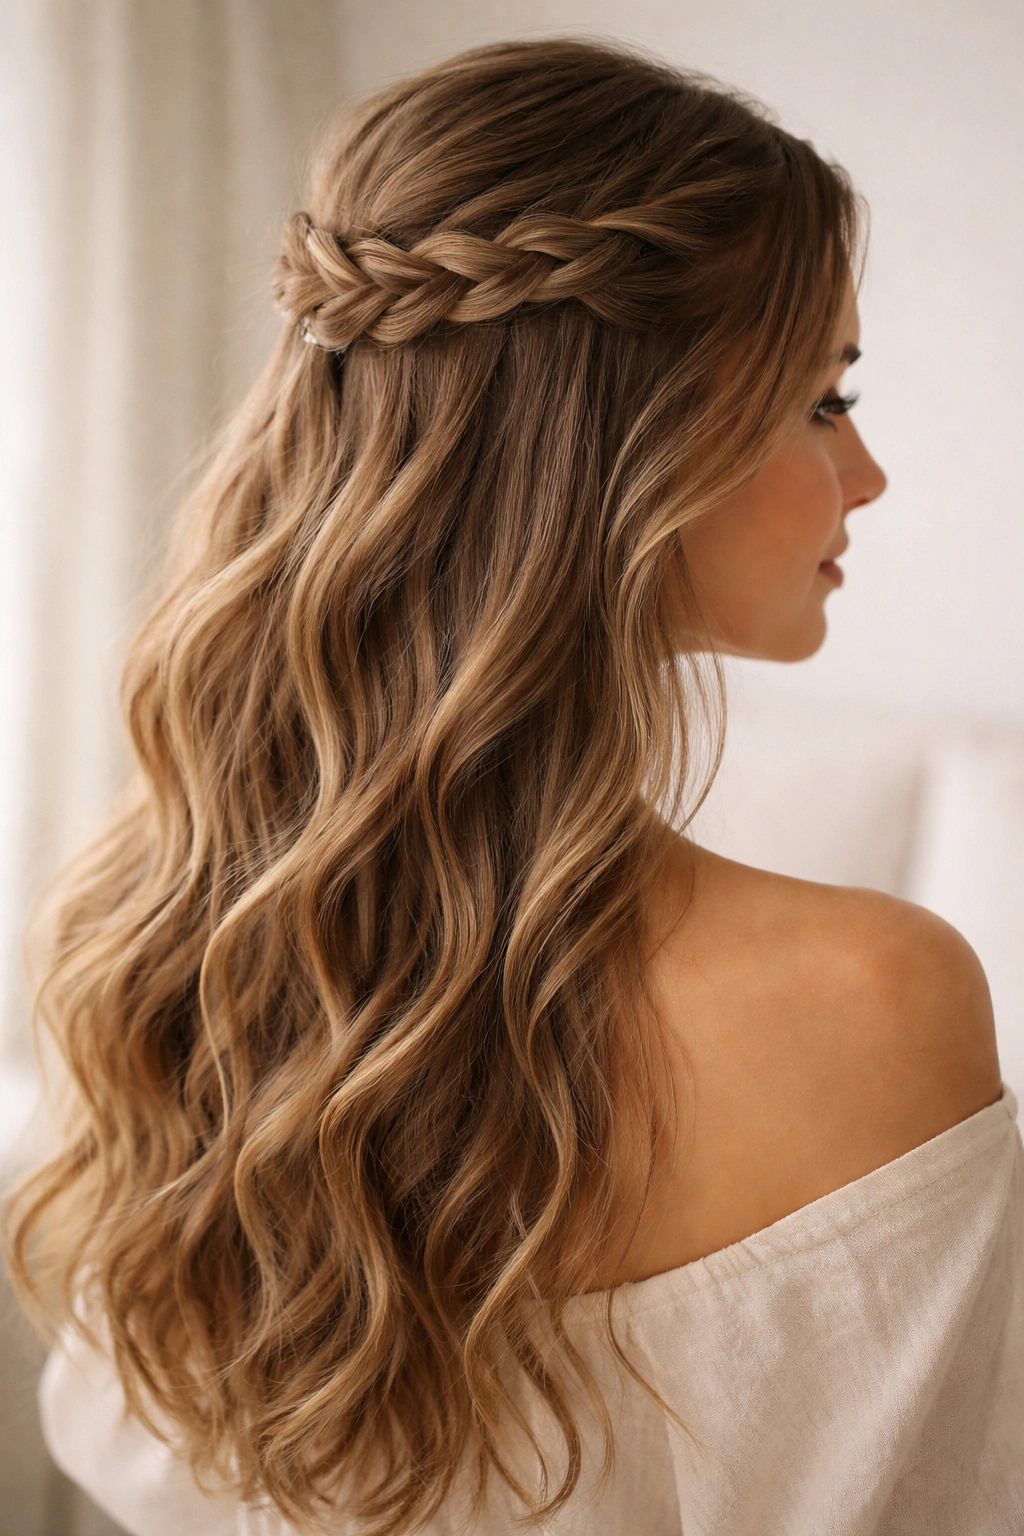
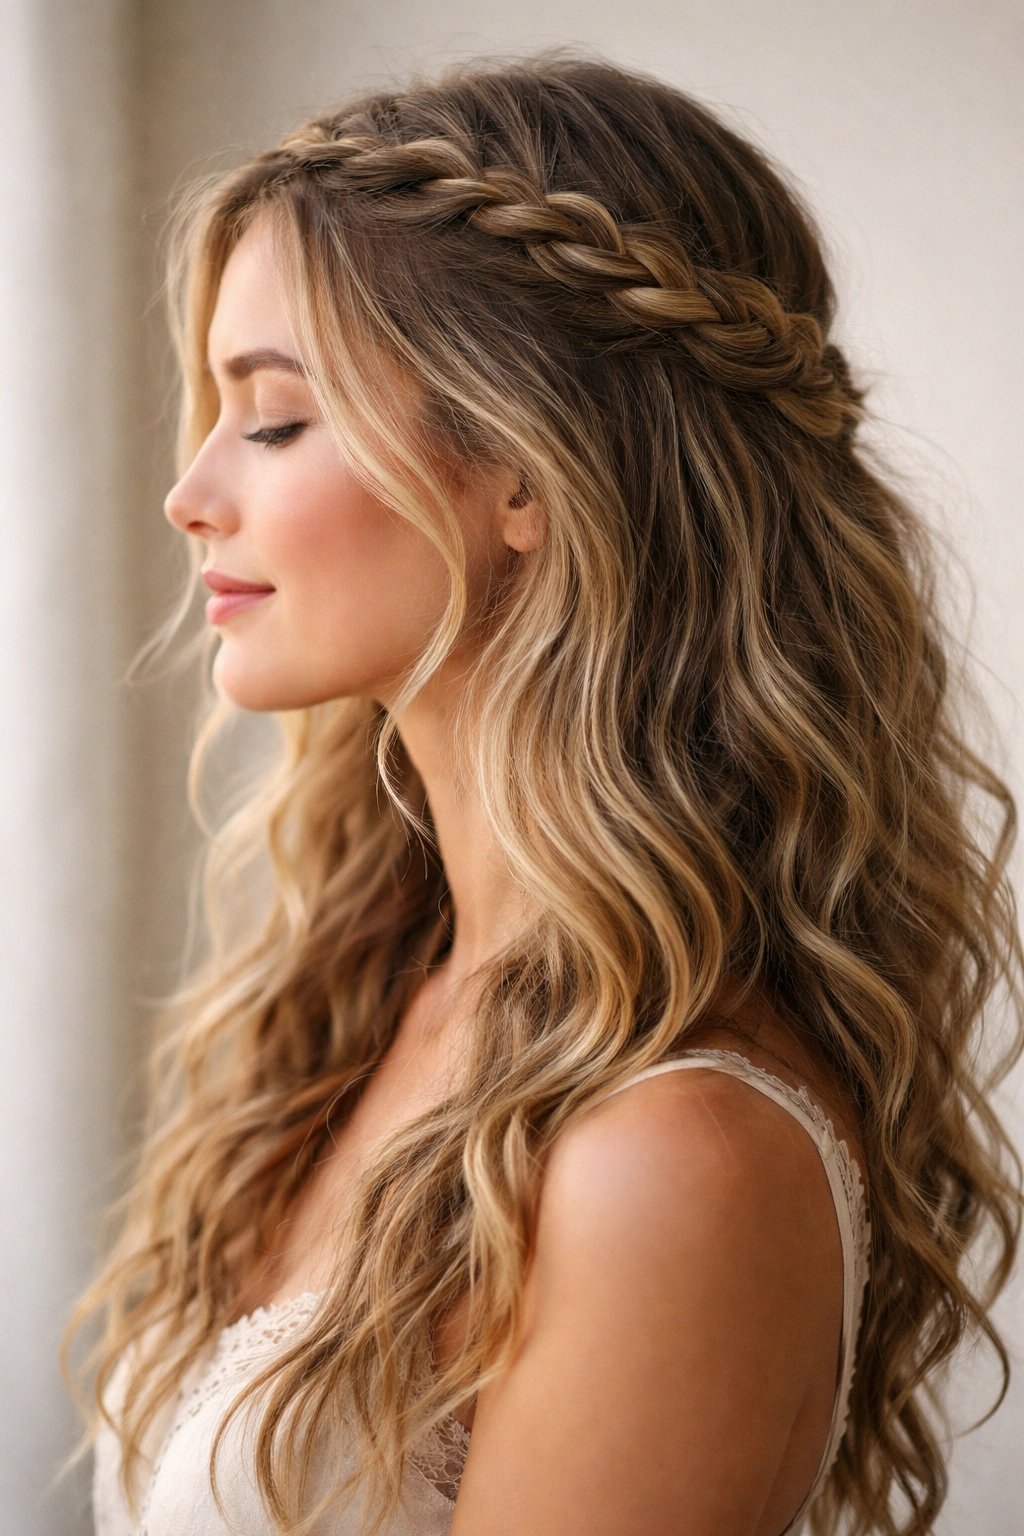
4. French Braid Crown with Soft Waves
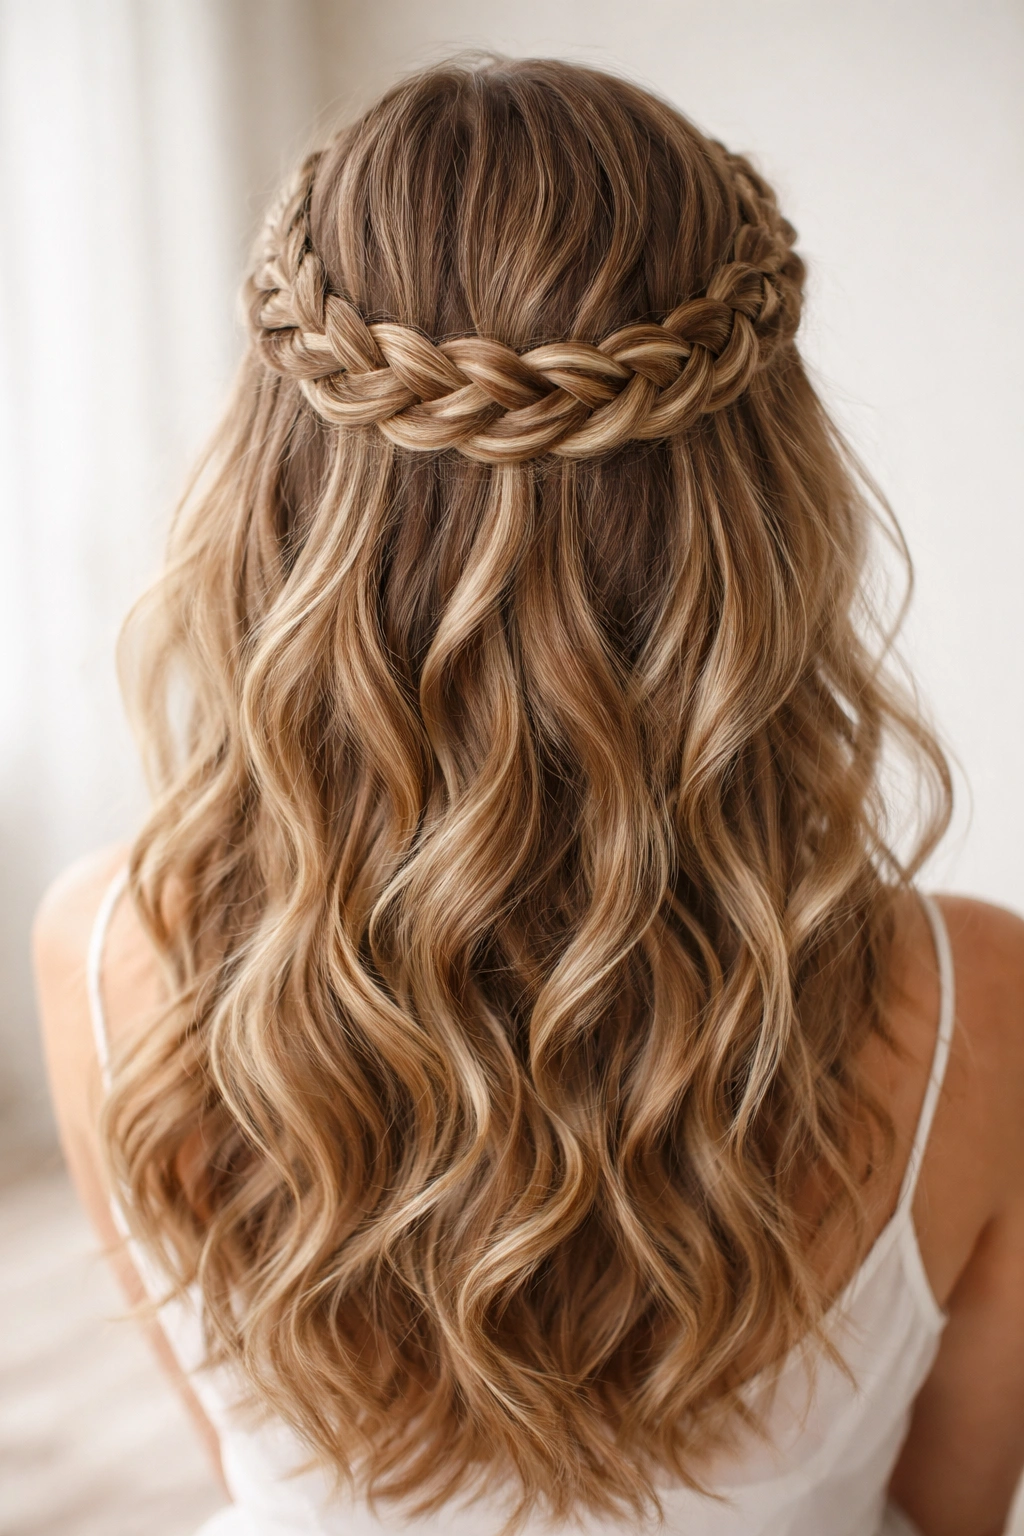
A crown braid—where you braid around the back of your head like a halo, bringing the end back to where you started—is stunning on wavy hair because the soft texture makes it look ethereal rather than rigid. Unlike straight hair where a crown braid can look a bit severe, waves make this style feel romantic and bridal even in a casual context.
How Waves Transform the Crown Braid
Wavy hair naturally has height and movement at the crown area, which is exactly what this style leverages. The braid serves as a frame for your waves rather than constraining them. Because the braid goes around the back of your head instead of down the center, your natural wave pattern at the crown stays visible and beautiful. It’s a style that says “intentionally romantic” rather than “overly formal.”
Executing This Style
- Start with your natural waves already set (whether from a braid-out, waves spray, or just your natural pattern)
- Create a deep side part on whichever side feels most flattering
- Begin the braid at one temple, taking a section of hair at the hairline
- As you work through the French braid technique, gradually move the braid line around the back of your head, picking up hair as you go
- The braid should wrap around like a crown, ending at the opposite temple
- You can secure the end by tucking it into the braid on the opposite side or use a small, hidden elastic
- Pull gently on the braid to loosen it and allow waves to show through
- Leave face-framing pieces down on both sides for a soft, romantic feel
Quick facts:
- This works best if you have at least shoulder-length hair
- The looser you keep the tension, the softer and more romantic it looks
- This style is perfect for second-day hair when waves are settled and have more texture
- It works beautifully for special occasions, dates, or photos
Occasions That Fit
Garden parties, romantic dates, casual outdoor events, or any time you want to feel dressed up without a dramatic hairstyle change.
5. Messy Tousled French Braid

This is the style that looks like you threw it together effortlessly in two minutes, when in reality you’ve strategically planned every piece of texture and movement. It’s the “undone elegance” that wavy hair is naturally suited for. The key difference from other braids is that this one is intentionally messy—loose strands and waves peeking through are the whole point.
Why Messy Works So Well for Waves
Straight hair often looks actually messy when braid sections loosen. Wavy hair, on the other hand, looks intentionally undone. Your waves fill in the gaps and create fullness that makes the braid look intentionally styled rather than neglected. This is genuinely where wavy hair has an advantage over straight textures.
Building the Messy Texture
- Apply a texturizing spray or sea salt spray to clean, dry hair
- Tousle your hair roughly with your fingers to separate waves and create movement
- Gently brush through just enough to remove tangles, preserving maximum texture
- Create a slightly off-center part (not perfectly centered—slightly messier)
- Begin a loose French braid at the crown or slightly off to one side
- As you braid, intentionally pull some pieces out of the braid to frame your face and create a tousled look
- Don’t aim for evenness; let the braid have more texture on one side than the other
- Finish loose with a minimal elastic (even a clear elastic rather than a chunky one)
- Once complete, pull the finished braid apart gently, section by section, widening it considerably
- Tease small pieces of your waves around your face and neck
Pro tip: This look actually improves as you move throughout the day. Gravity and movement will loosen it further, making it look more and more intentional by evening.
The Right Situations
This works for casual everything: casual Fridays at work, running around town, coffee dates, heading to the store. It’s the “no-effort” style that paradoxically takes effort, but it doesn’t look like it.
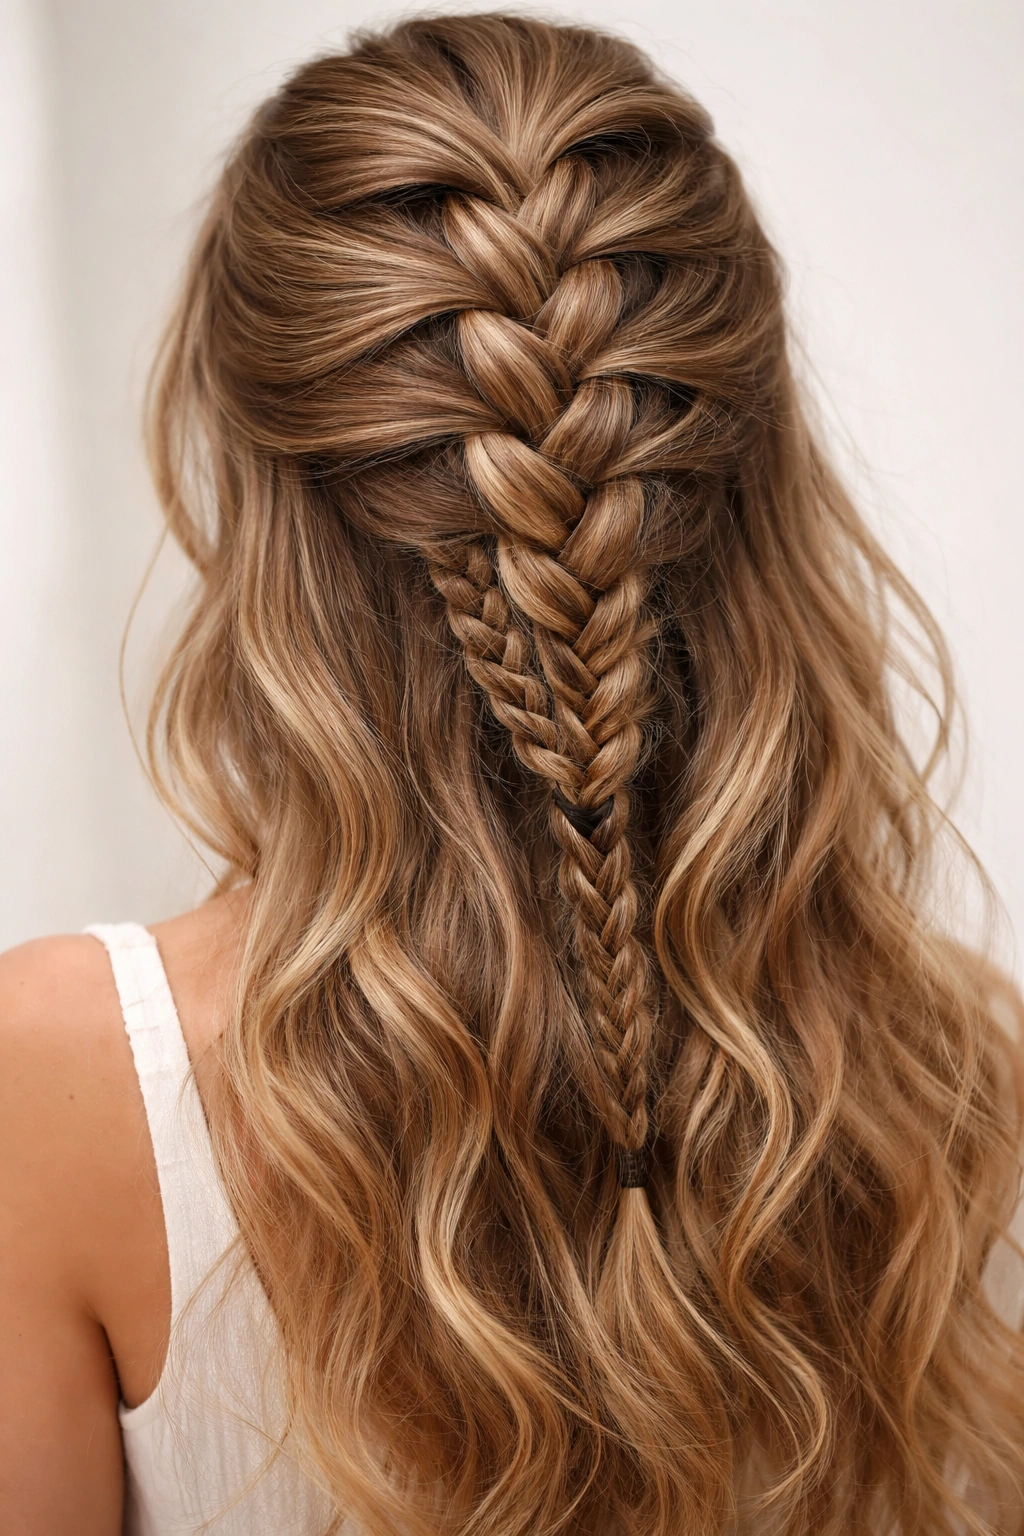
6. French Braid Half-Up Style for Wavy Hair
A French braid half-up is exactly what it sounds like: you braid from the crown area but stop midway down, securing the braid so that the rest of your hair flows freely below. For wavy hair, this is a genius compromise—you get the polished braid detail without committing your entire head to braiding.
Why Half-Up Suits Wavy Hair Perfectly
This style lets your waves cascade below the braid line, showing off the full movement and volume of your texture. The braid keeps hair off your face and neck while still showcasing your natural pattern. It’s particularly flattering if you’re self-conscious about wave texture on certain days but still want it visible—this style frames and controls while celebrating.
How to Achieve It
- Start with your waves already established and some product texture applied
- Begin the braid at one temple, creating a French braid as you would normally
- Braid toward the center-back of your head, incorporating hair as you go, but only from the crown area
- Stop the braid when you reach the center back of your head—this should be roughly where you’d divide half-up from half-down
- Gather the braid and any additional hair from that area and secure with an elastic
- Let the rest of your hair flow freely below the braid line
- You can leave the bottom section entirely down, or gather it into a small ponytail if you prefer
- Pull the braid apart gently to add width and texture
- Frame your face with a few loose pieces
What to know:
- This works best with hair at least mid-shoulder length
- You can do one or two braids in the half-up section
- If you do two, they should mirror each other on both sides
- The effect is polished but not overdone
When You’d Wear This
Work environments, brunch dates, casual afternoon hangouts, or anytime you want “put together” without “trying hard.” It’s genuinely practical too—hair is off your face but not fully committed to a full style.
7. Curved French Braid Following Natural Wave Pattern
This technique involves positioning your braid to follow the natural curve of your wave pattern rather than fighting against it. Most braiding tutorials assume straight hair and position braids in straight lines down the head. Wavy hair, though, has curves and directional flow built in. A curved braid that follows this natural path looks more harmonious and intentional.
Understanding Your Hair’s Natural Curve
Before you start, spend time observing how your waves naturally fall. Do they tend to flow toward one side? Is there more wave movement on the right than the left? Do your waves curve inward or outward? Once you understand your hair’s natural directional preference, you can position your braid to complement it rather than contradict it.
Positioning and Braiding
- Determine the natural curve direction of your wave pattern
- Start your braid on the side where your waves naturally flow away from
- As you braid, angle it to follow the natural curve of your waves—if your waves curve right, let the braid angle right
- This might mean your braid isn’t perfectly centered, and that’s exactly right
- Incorporate hair sections in a way that respects your wave pattern, not fighting against it
- The braid should feel like it’s sitting with your waves, not on top of them
- Loosen the finished braid considerably to show off both the wave pattern and the braid structure
- You can do this as a single braid down the back or as a side-swept version
Insider note: This is the most advanced approach because it requires understanding your unique wave pattern. But once you master it, your braids will look significantly better and more natural.
The Right Look For
Anyone with established wave patterns who wants a braid that looks custom-tailored to their specific hair. This works for special occasions, professional settings, or anytime you want your styling to feel intentional and thoughtful.
8. French Braid with Braided Underlay Detail
This is the statement-making style: a French braid on top with a hidden braided underlay beneath it. It’s unexpected and beautiful, revealing an extra layer of texture when your hair moves. This technique genuinely only works well with wavy hair because the underlayer has room to move and show through.
What Makes the Underlay Special
The concept is that you create a subtle braid or twist underneath the main French braid, hidden when stationary but visible when you move or tilt your head. It’s a “braid within a braid” effect that adds dimension and visual interest. On straight hair, this would look chaotic. On wavy hair, it looks intentional and textured.
Creating This Look
- Begin with well-established waves and product texture
- Section out a thin subsection of hair on one side where you plan to create the underlay detail
- Create a thin two-strand twist or small French braid in this subsection, keeping it very loose and tucked against your scalp
- Secure the end of this underlay with a small elastic or bobby pin
- Now create your main French braid over top, incorporating the secured underlay into the main braid as you go
- The underlay will be hidden mostly beneath the main braid but visible at certain angles
- Finish the main braid and loosen it considerably
- As you move and tilt your head, the underlay detail becomes visible, adding unexpected texture
Pro tip: This is easier than it sounds once you understand the concept. Practice on a low-pressure day since it requires a bit more focus than a standard braid.
Who Can Pull This Off
Anyone with established wave pattern and at least collarbone-length hair. This is genuinely an advanced technique, so give yourself grace while learning it. Once you’ve mastered it, it becomes a signature style that sets you apart. It’s perfect for special occasions, fashion-forward days, or anytime you want to surprise people with hidden detail.
Final Thoughts
The most important thing to remember when braiding wavy hair is that your natural texture is an asset, not an obstacle. Every one of these styles works because of your waves, not in spite of them. The key is understanding that tight, perfectly structured braids often look overdone on wavy hair, while slightly looser, more relaxed braids look intentional and beautiful.
Start with the classic two-strand braid or the side-swept version if you’re new to braiding wavy hair. These are the most forgiving and also the most versatile. Once you’re comfortable with those, experiment with the crown braid or half-up style to expand your options. The advanced techniques—the curved braid following your wave pattern and the braided underlay—are worth learning eventually because they truly elevate your styling.
The texture that sometimes frustrates you on flat-iron days is genuinely working in your favor when you’re braiding. Embrace it, use products that enhance your waves rather than fight them, and let your braids have a little room to breathe. Your styling will look effortlessly polished, which is honestly the hardest look to fake and the easiest to achieve when you understand your hair’s natural movement.