French braids have earned their reputation as one of the most versatile and elegant hairstyles available, but creating a beautiful braid when you have thin or fine hair comes with its own unique set of challenges. Fine hair tends to slip out of traditional braiding patterns, lack the visual fullness that makes braids look polished, and put up more resistance to holding the braid structure throughout the day. The good news? Thin hair doesn’t mean you have to skip French braids entirely—it just means you need to know the specific techniques, product strategies, and braid variations that actually work with your hair type rather than against it.
The key to success lies in understanding what makes a French braid hold on fine or delicate hair, which largely comes down to tension control, texturizing methods, and choosing braid styles specifically designed to work with less hair volume. Some braid patterns naturally suit thin hair better than others, and certain techniques—like pancaking, strategic backcombing, and choosing the right styling products—can transform a loose, disappointing braid into something you’re genuinely proud to wear. Whether you have naturally thin hair, fine-textured strands, thin hair in certain areas, or you’ve experienced hair thinning over time, these eight French braid styles will help you find options that feel manageable and look genuinely beautiful.
The foundation of any successful French braid for thin hair is preparation. This isn’t vanity—it’s practical. Freshly washed hair is typically too slippery and fine-stranded to hold a braid well, so most people with thin hair find that their braids work much better on hair that’s one to two days old, or that has some texturizing product applied to it before braiding. We’ll explore that more deeply within each braid style below, along with specific techniques that compensate for lower hair volume.
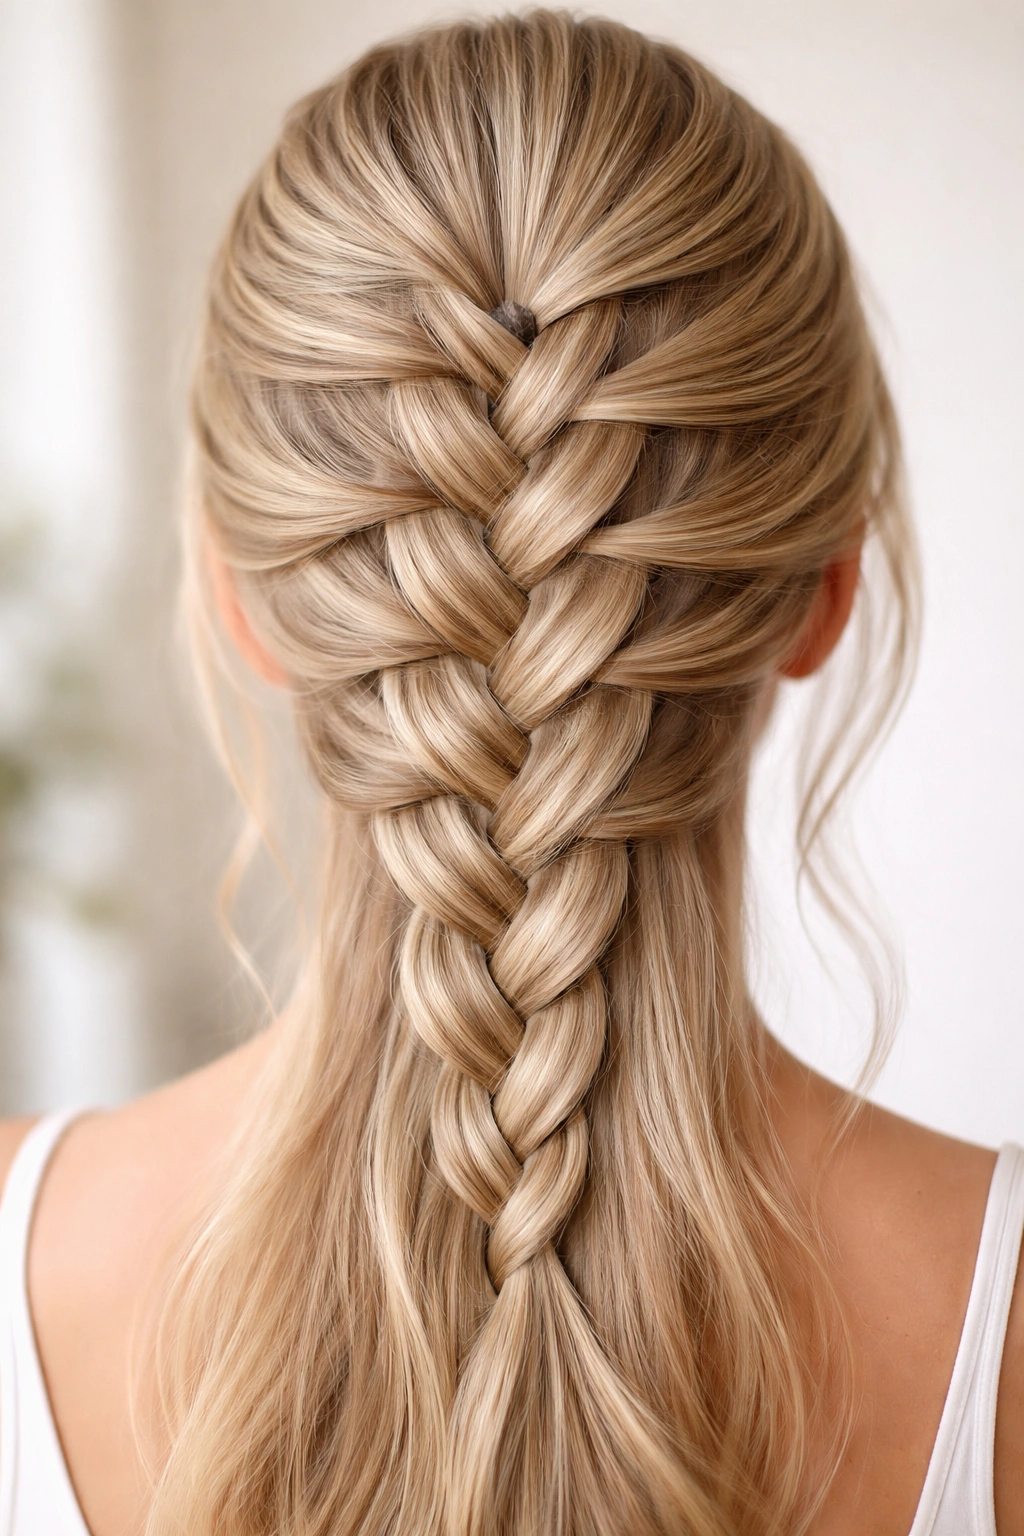
1. The Classic Three-Strand Thin Hair French Braid
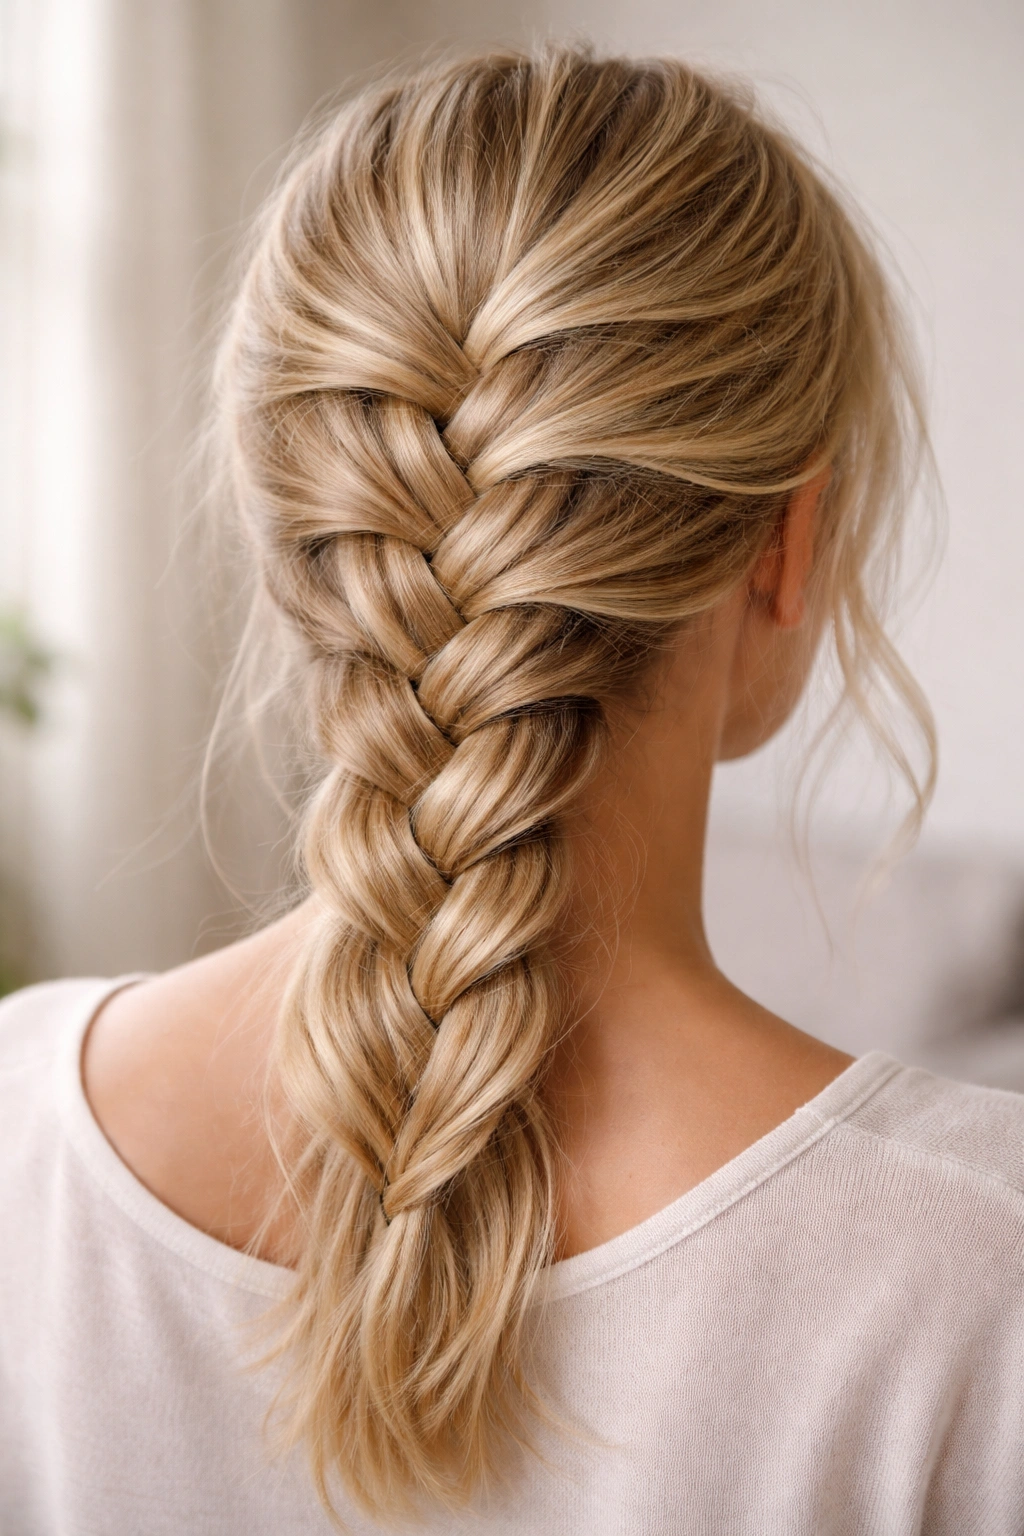
The classic three-strand French braid is the foundation braid everyone learns first, but it requires specific adaptations when you’re working with thin or fine hair. Rather than creating a braid that’s tightly compressed close to the scalp (which can look sparse and stringy on thin hair), the goal is to create a looser, more relaxed braid that you’ll deliberately pancake afterward to add visual thickness.
How to Make It Work With Fine Hair
Start with textured hair—either naturally second-day hair or hair that’s had a light dry shampoo or texturizing spray applied to the roots and throughout the mid-lengths. Begin your braid section at the crown of your head where you have the most hair volume, rather than at your hairline, which is often thinner and more vulnerable to breakage. This strategic starting point means the braid begins with thicker hair, giving it better hold from the start.
The most important shift: braid loosely. Many people assume thin-haired individuals should braid tightly to compensate for low volume, but the opposite is true. A tight braid on thin hair can actually look thinner because each individual strand is stretched taught, making the gaps between sections more visible. A loosely braided version allows the hair within each section to have more texture and apparent thickness.
Key Tips for Thin Hair Success
- Apply texturizing spray or dry shampoo 10-15 minutes before braiding, concentrating on the roots where you’re taking hair for the braid sections
- Work with hair that’s slightly damp from a spray bottle—damp hair holds together better than completely dry fine hair
- Take thinner sections than you would for thick hair; three equal, thin sections are easier to control and hold than sections that are too thick for your hair volume
- Pancake the braid generously by gently pulling each loop of the braid outward from the structure, which creates the illusion of much thicker hair
- Finish with a light hairspray rather than a heavy hold product that can weigh thin hair down
Pro tip: Practice pancaking your braid starting from the bottom and working your way up to the crown—the tension is easier to control and you’re less likely to accidentally pull pieces completely loose.
2. The Dutch Braid for Added Volume on Delicate Hair
A Dutch braid—created by braiding under instead of over—sits slightly raised from the scalp and naturally creates more visual dimension and apparent volume than a traditional French braid. This higher profile makes it particularly flattering for thin hair, as it creates more of a 3D structure that draws visual attention to the texture rather than the density of individual strands.
Why Dutch Braids Flatter Thin Hair
The under-braid structure creates a more sculptural look that’s inherently more textured and interesting than a smooth French braid. Because the braid sits slightly proud of the scalp rather than flush against it, there’s natural shadow and depth in the design, which visually compensates for lower hair volume. The raised position also feels lighter and less likely to pull uncomfortably on a sensitive scalp, which many people with fine hair appreciate.
Dutch braids work particularly well if you have thin hair throughout, as opposed to thinning only in specific areas. The uniform raised structure distributes the visual weight evenly, so no single area of lower density becomes a focal point.
Best Practices for Thin-Haired Dutch Braids
- Start your braid at the very crown where hair is typically thicker and fuller
- Use the same texturizing spray and moisture prep you’d use for a French braid—Dutch braids require good grip to maintain their under-braid tension
- Keep your braid sections relatively thin and even; thick sections are harder to control with delicate hair and can slip
- Pancake the braid with generous, gentle pulls to maximize the 3D effect—this is where Dutch braids really shine for thin hair because each pancake layer creates more apparent volume
- A Dutch braid works beautifully as a half-up style (see section 6 for details), where you only braid a smaller section, which is often easier to manage with thin hair
Worth knowing: Dutch braids show imperfections more clearly than French braids because of their raised structure, so taking time with neat sections and clean braiding technique matters more here. But this also means once you’ve mastered the technique, the payoff in terms of visual impact is significantly higher.
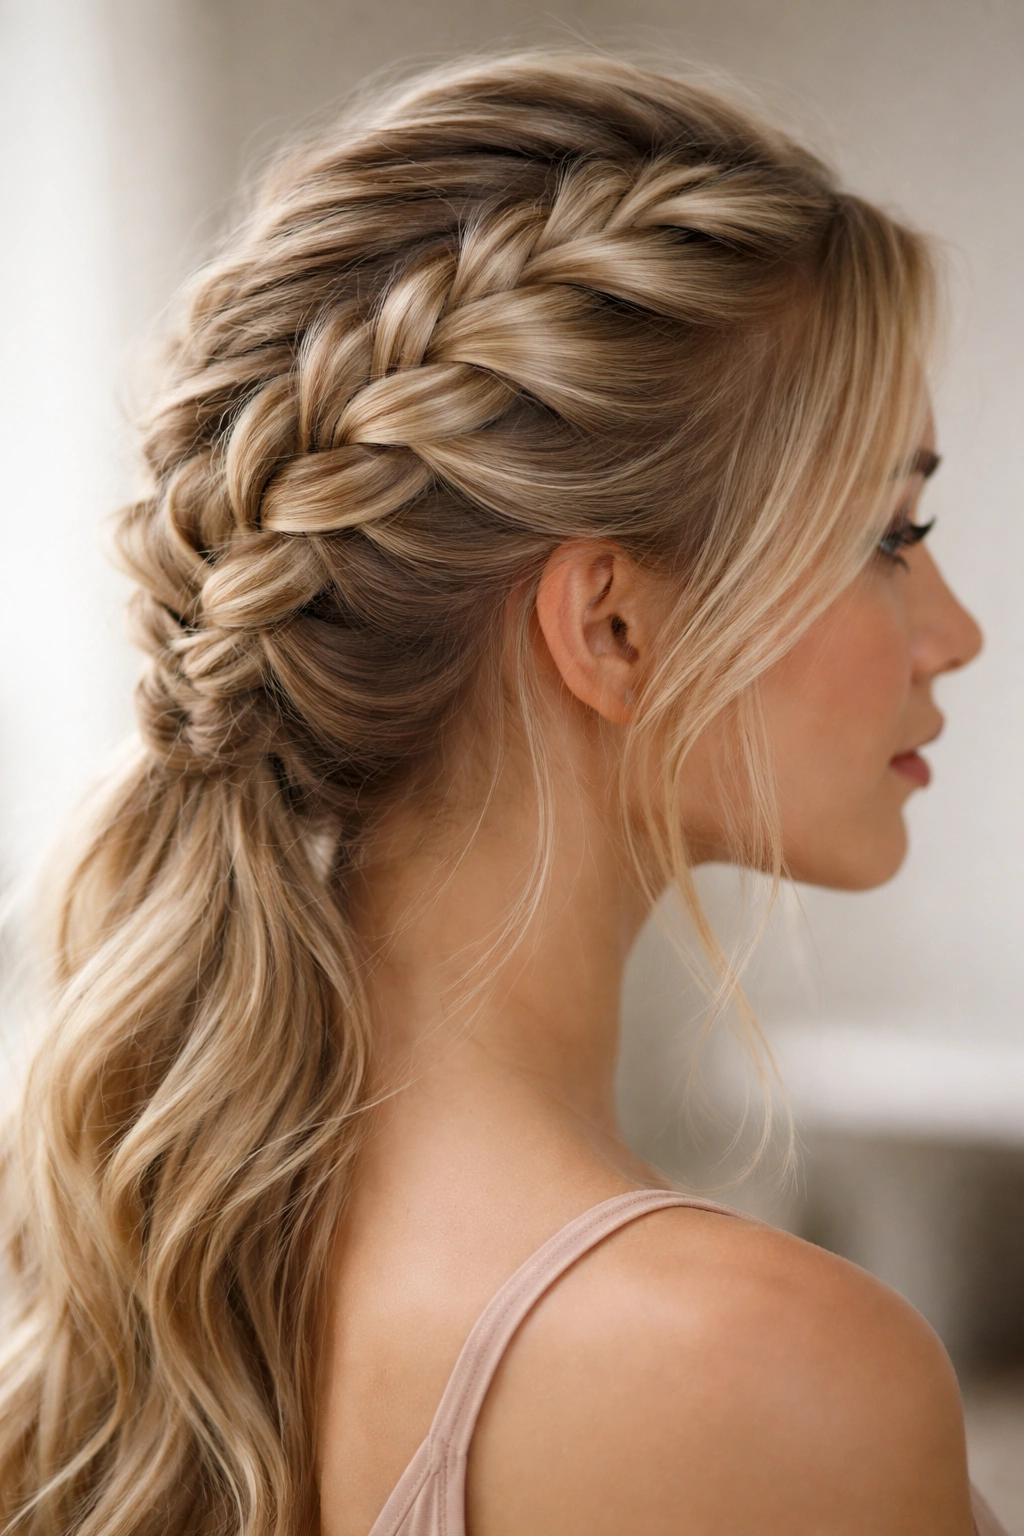
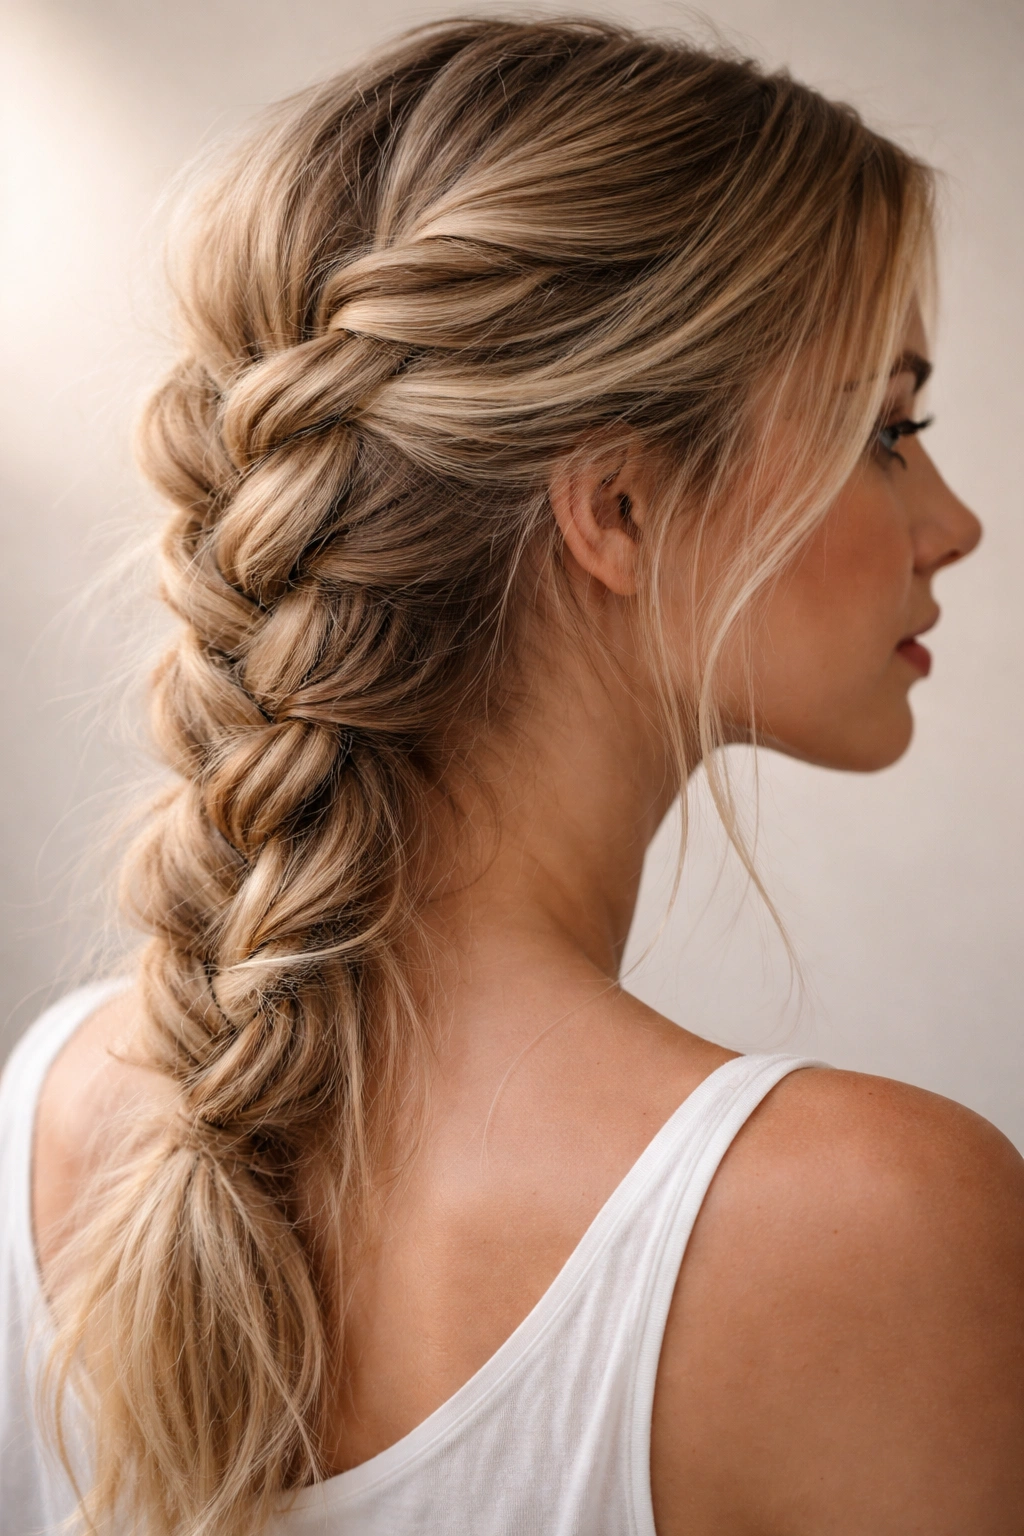
3. The Side-Swept French Braid for Fine Hair Coverage
A side-swept French braid—one that runs from behind one ear diagonally across to the opposite shoulder—is visually forgiving on thin hair because the angle creates natural volume, and the side position makes fuller hair at the back of the head (where thin-haired individuals often retain more density) the focal point of the style.
Why the Angle Matters
The diagonal direction of a side-swept braid means you’re working with hair from multiple density zones, which helps balance the appearance. You’re incorporating thicker hair from the back and lower sections of the head, which makes the overall braid look fuller. The diagonal angle also creates inherent visual interest and texture, which helps compensate for lower hair density.
Side-swept braids feel lighter and less “exposed” than center-parted braids, which many thin-haired individuals prefer because they don’t draw direct attention to the scalp or a center part line.
Creating the Side-Swept Effect on Thin Hair
- Begin your braid behind one ear, slightly below the temple—this starting point captures thicker hair from the back of the head rather than thinner crown area
- Create a side part rather than a center part; this already sets up the asymmetrical, visually interesting line that makes thin hair look fuller
- Braid toward the opposite shoulder, incorporating hair from both sides as you go—this distributes the thin hair across a larger visual area, making it appear fuller
- The natural anchor point is that opposite shoulder; braid until you reach that area, then secure with a clear elastic that will hide in the hair
- Pancake gently but generously to create texture and dimension along the entire braid length
Styling note: A side-swept braid looks stunning paired with a slight wave in the unbraided hair. If you have time before braiding, run your hair through a curling iron set to a low-medium heat on wave setting (not curling the hair into tight ringlets, just creating gentle texture). This texture combines beautifully with the pancaked braid and makes thin hair look much fuller overall.
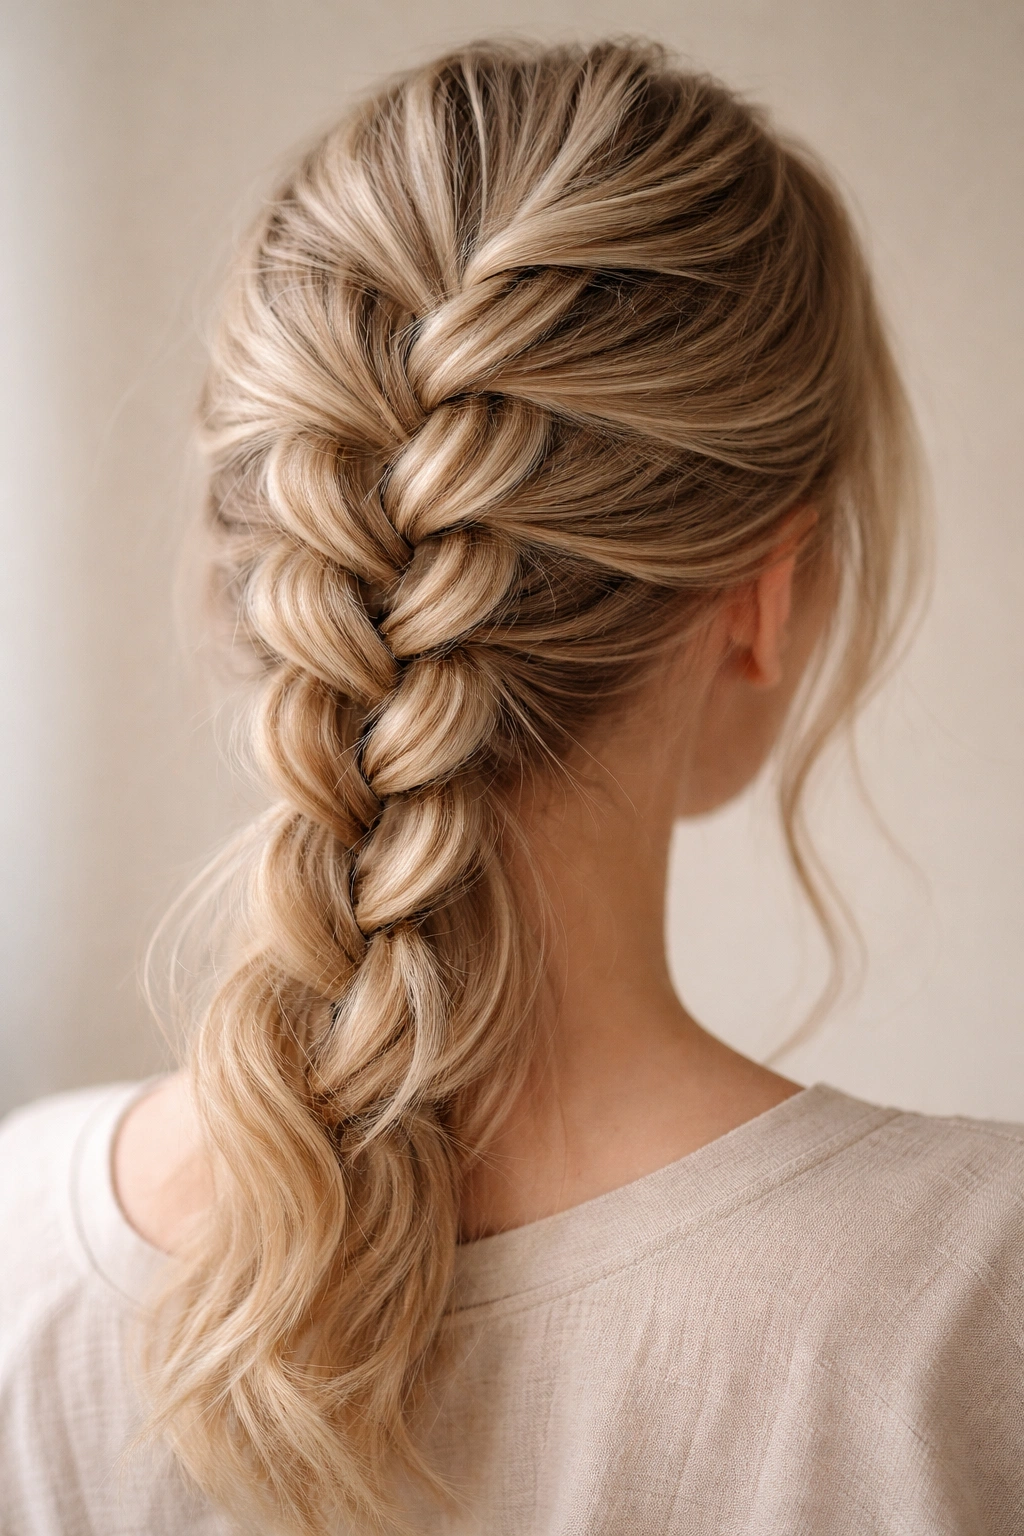
4. The Reverse French Braid (Halo Style) for Thin Strands
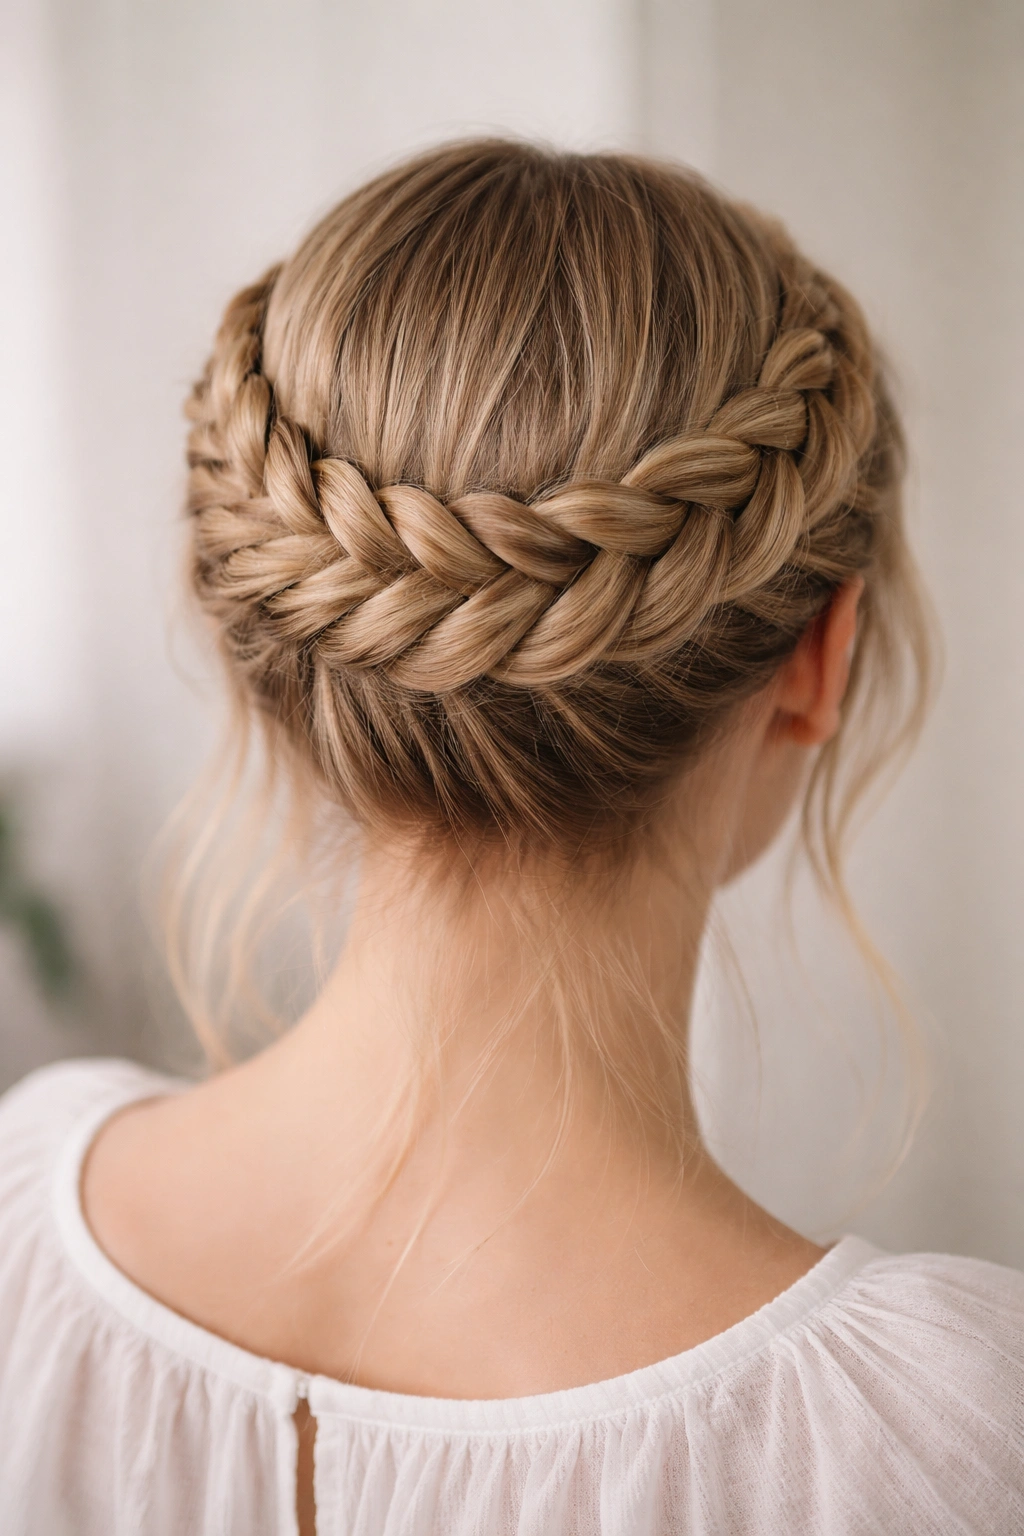
A halo French braid—a braid that wraps around the head from one side to the other, creating a crown-like effect—is a Dutch braid (under-braiding) that runs horizontally instead of vertically. This style is particularly flattering for thin hair because the wrapped-around positioning creates the impression of a fuller head of hair, and the halo positioning naturally distributes visual attention around the entire head rather than concentrating it in one area.
The Structural Advantage for Thin Hair
A halo braid incorporates hair from all around the head, so you’re not relying on any single density zone. Even if your thin hair is uneven, a halo braid balances the overall appearance because the circular path means every section of your head contributes visually. The raised position (because it’s a Dutch-style under-braid) adds dimension, and the circular path creates a sculptural frame around your face.
Halo braids also tend to feel lighter and less heavy on the scalp than a single braid from crown to tip, which appeals to many people with sensitive scalps or fine, delicate hair.
Technique for Creating a Halo on Thin Hair
- Start your braid at one temple, on the side of your head where hair feels slightly thicker
- Create an under-braid (Dutch style) that follows the curve of your head, traveling around like a crown
- End the braid on the opposite side at the same height where you started (so the braid wraps around like a halo, not dipping down the back)
- Secure the end of the braid near the starting point and tuck in any loose ends or bobby pins
- Pancake generously throughout the entire braid—because a halo needs to frame your face, visible texture and fullness are especially important
- If your braid feels a bit loose or wispy (as is common with thin hair), strategically place bobby pins underneath to anchor the structure, then hide them with the hair
Real talk: Halo braids take practice, especially with thin hair where you don’t have much volume to work with. Doing one dry run with the braiding motion (just following the path without actually braiding) can help you get comfortable with the route before you start the actual braid.
5. The Multi-Strand Pancake French Braid for Texture
A multi-strand braid uses more than three sections (typically four, five, or even more), which creates a more complex, intricate-looking structure that translates to apparent fullness even on thin hair. The additional sections mean each individual section is thinner, which actually works better for fine hair—thick three-strand sections can be unwieldy with delicate hair, but thin four- or five-strand sections are easier to control and hold.
Why More Strands Equal More Fullness
When you braid multiple thin strands together, the resulting structure has more surface area and more visible texture than a thick three-strand braid. This complexity visually compensates for lower hair density. Four-strand braids, specifically, create a almost woven appearance with multiple “lines” running through the braid, which tricks the eye into perceiving more volume than actually exists.
Multi-strand braids also pancake beautifully because each additional strand creates more loop areas to pull out, creating even more apparent fullness after pancaking.
How to Execute a Four-Strand Braid on Thin Hair
- Begin with texturized hair and the same prep you’d use for a three-strand braid
- Divide your braid section into four thin, even strands rather than three
- The basic four-strand pattern: Strand 1 over Strand 2, Strand 3 over Strand 4, then weave the right side over the left side and repeat (there are multiple four-strand techniques, but this one is intuitive)
- Keep your tension moderate; you’re controlling four strands so loose fingers naturally give you better control than if you were pulling too tight
- This is where thin hair is actually an advantage: four thin strands are genuinely easier to manage than would be four thick strands from thick hair
- Pancake every loop when finished for maximum texture and fullness effect
Insider tip: If you’re new to multi-strand braiding, practice once with thick sections of unbraided hair before attempting it on your actual head. Once you understand the weaving pattern with your hands separated, doing it while braiding is much easier.
6. The Half-Up French Braid Twist for Thin Hair
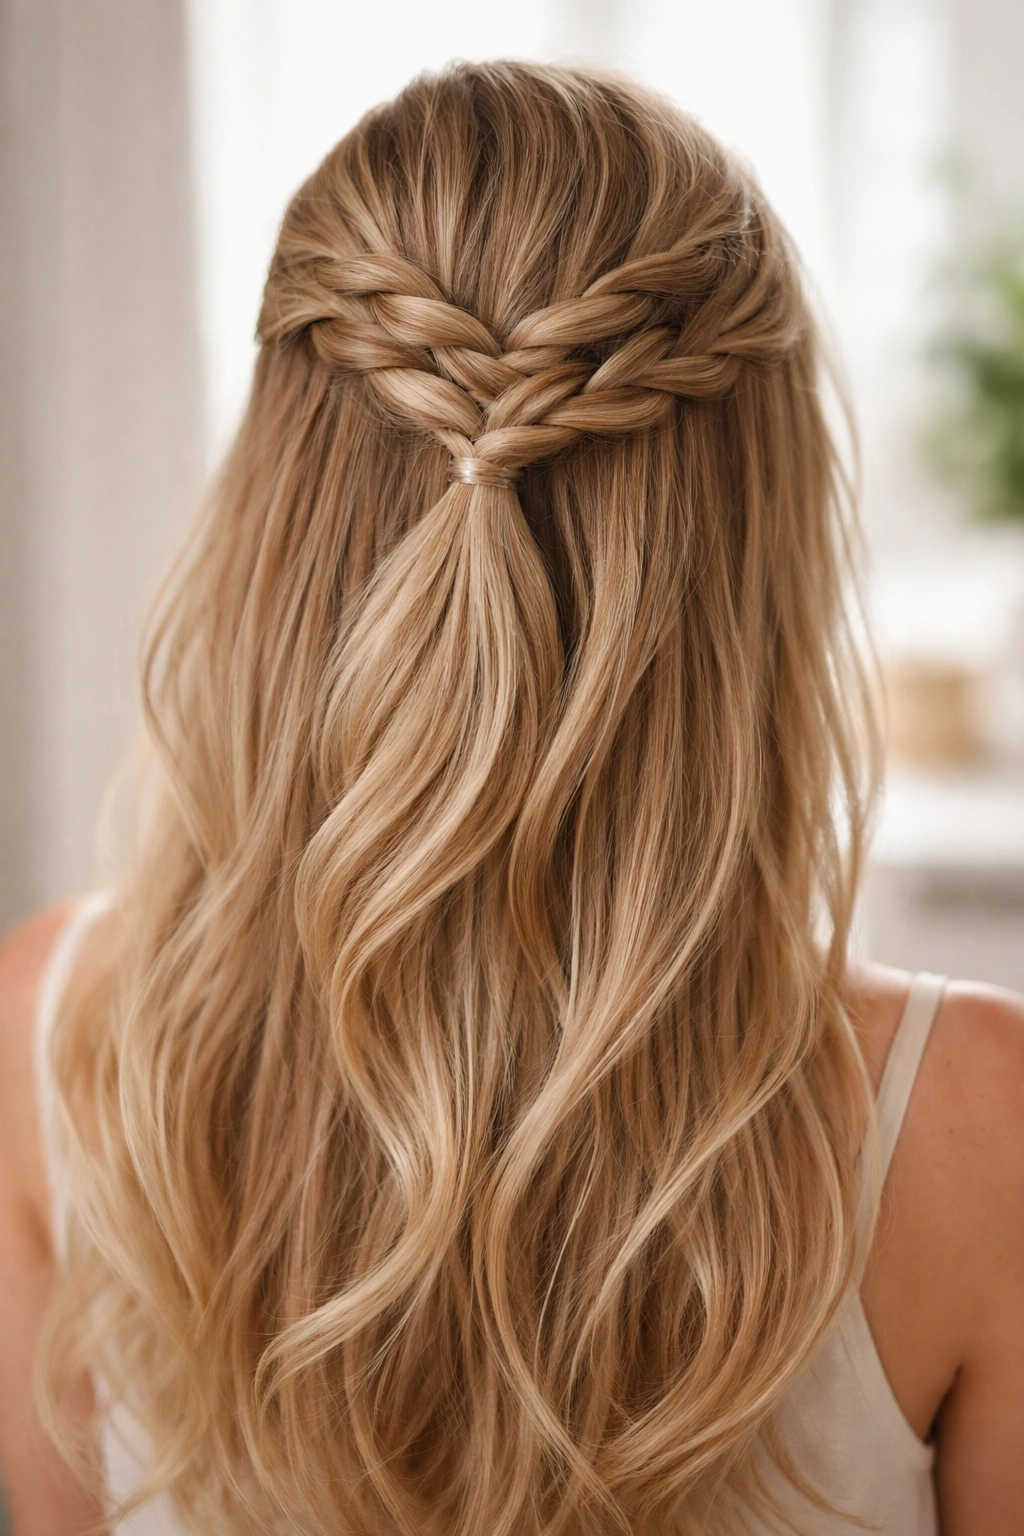
A half-up braid—where you braid only the top section of your hair and leave the rest down—is often easier to manage with thin hair because you’re working with a smaller amount of hair, and the visual impact is stronger because the braid itself becomes a featured accessory rather than your entire hairstyle. A half-up French braid specifically is flattering because the braid sits at the crown where hair is typically densest, and the braided section stands out against the down hair.
Why Half-Up Works for Thin Hair
Half-up styles immediately create more apparent fullness because the down portion of your hair provides visual density, while the braided portion showcases the styling detail. You’re not asking your thin hair to create a complete elegant style on its own; you’re combining it with down hair to create a composite full-looking style. This is both easier to execute technically (smaller section is easier to braid) and more forgiving visually.
Half-up styles also feel lighter on the scalp, which many people with fine hair prefer for comfort.
Creating a Polished Half-Up French Braid on Thin Hair
- Section off the top half of your hair from temple to temple, as if you’re creating a half-up ponytail
- Create your French braid using only that top section, beginning at the crown and braiding down the back of the head
- You can braid all the way down to where the bottom section of hair begins, or stop shorter (at the nape of the neck) for a more dramatic effect
- Pancake the braid generously for texture and fullness
- Gather the end of the braid with the bottom section of hair into a low ponytail, securing with an elastic
- This creates a style where the braid is visible as a defined feature, and the down hair adds apparent fullness
Alternative approach: Instead of pulling everything into a ponytail, you can secure just the braid and leave the bottom section completely down and unconfined. This creates a softer, more romantic look and requires less hair to look polished.
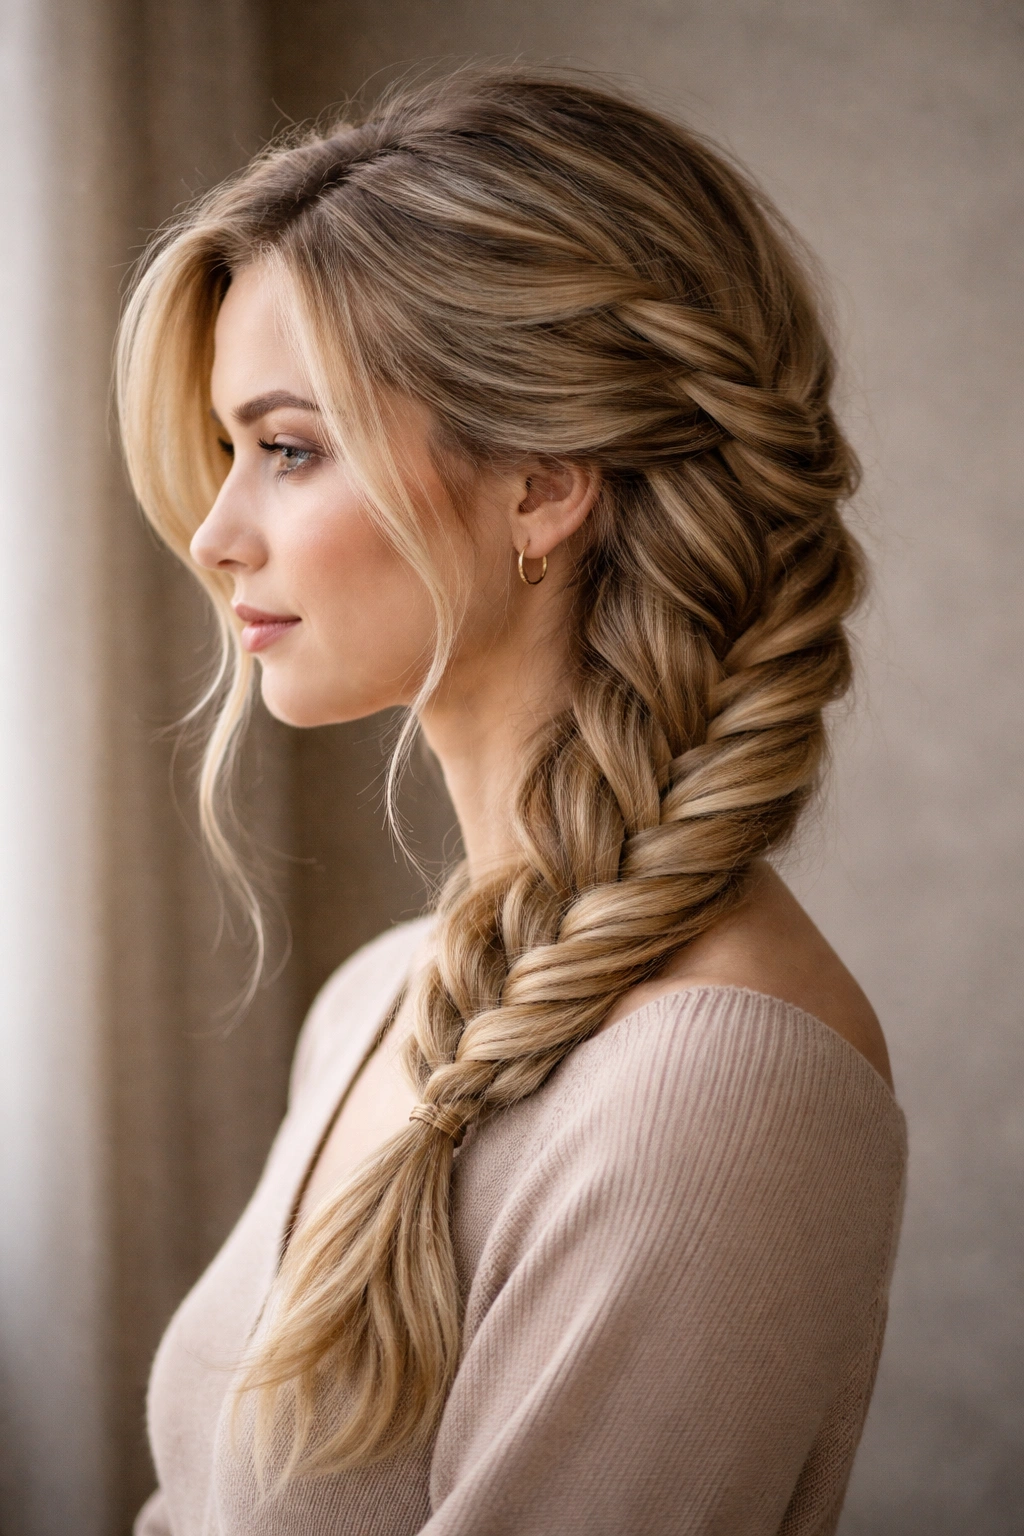
7. The Looped French Braid for Lightweight Hold
A looped braid—where you create loops along the braid structure rather than pulling the braid smoothly and tightly—is another name for a deliberately pancaked, loosely braided style, but it’s worth calling out separately because the intentionally looped aesthetic is particularly flattering for thin hair. This style prioritizes texture and softness over sleekness, which naturally suits fine hair better because it’s not expecting the braid to be tightly compressed and smooth.
The Advantage of Intentional Looseness
Looped braids celebrate the texture and movement of your hair rather than trying to compress it into a neat, tight form. For thin hair, this mindset shift is liberating. You’re not trying to hide the fact that your hair is fine; you’re creating a style that intentionally uses looseness and texture as design elements.
Looped braids also tend to feel lighter and less constraining on the scalp, and they feel less “done” and more effortlessly romantic—which is often more flattering than trying to achieve a sleek, tight, polished look that thin hair struggles to maintain anyway.
Creating Intentional Loops in Your Braid
- Braid loosely from the start, keeping your fingers relaxed and not pulling tight
- As you braid, periodically pull out sections to create loops—you can do this as you braid or after the braid is complete
- The idea is that the loops are visible and intentional, not flat and smooth
- Pull out larger loops in areas where your hair feels fuller, and smaller loops in areas where density is lower—this balances the visual appearance
- Finish with a light hold product that won’t weigh the loops down
The mindset piece: Looped braids require accepting that “perfect” isn’t the goal. Looser, softer, and textured is the goal, and that’s genuinely more flattering for thin hair and more comfortable to wear. This style also typically holds longer throughout the day because the loose structure is more flexible and less likely to slip or unravel.
8. The Messy Undone French Braid for Fine Hair
A deliberately messy or “undone” French braid—where the braid is created with intentional looseness, irregular sections, and visible texture—is possibly the most forgiving option for thin hair. Rather than trying to create a perfectly neat braid that your fine hair might struggle to maintain, you’re creating a style where slight looseness, irregular sections, and texture are literally the point.
Why Messy Suits Thin Hair Best
This style removes the pressure to achieve perfection, which is often the most stressful part of braiding thin hair. Messy undone braids are inherently forgiving of the things that make thin-hair braiding challenging: slight slipping, visible texture, irregular section sizes, and loose ends. These elements aren’t flaws in a messy braid—they’re features.
Messy undone braids also tend to last longer throughout the day because the loose structure is flexible and resistant to slipping, as opposed to tight braids which gradually loosen and look progressively worse as they come undone.
Technique for Intentionally Undone Braiding
- Don’t aim for perfectly even sections—take sections of slightly different sizes as you braid
- Braid loosely and don’t worry about whether your tension is perfectly even
- Pull out pieces near your face and around the braid as you go to create a softly undone appearance
- Once the braid is complete, go back and intentionally pull out sections and loops throughout the braid
- Leave some shorter pieces loose near your face and neck; they should look like they escaped the braid, not like you deliberately styled them there
- Use a light texturizing spray or dry shampoo to enhance the soft, undone texture
- A light hairspray hold is fine, but avoid heavy products that would make the braid look wet or sticky rather than soft and natural
Real experience: Many people with thin hair find that messy undone braids are the style they can actually maintain throughout the day. The loose structure means small amounts of slipping or loosening don’t create a noticeable flaw; the braid just looks like it’s supposed to be undone.
Final Thoughts
French braiding with thin or fine hair is entirely possible—it just requires working with your hair type rather than against it. The key is understanding that thin hair isn’t a limitation that forces you to choose less interesting styles; it’s simply a different design constraint that leads you toward the styles that often look most flattering and feel most comfortable.
Texture, intentional looseness, pancaking, and strategic product use transform thin hair from something you might feel limited by to something that allows you to create genuinely beautiful, effortless-looking braids. The styles that work best for thin hair—looped braids, halo braids, half-up variations, and messy undone structures—happen to align perfectly with the effortless elegance aesthetic that’s widely appreciated in contemporary styling.
Start with whichever of these eight styles resonates most with you, practice the specific technique for your hair type (texture spray, section size, pancaking intensity), and give yourself grace as you develop the feel for what works with your particular hair. The most successful thin-hair braids are created by people who’ve braided their fine hair enough times to develop intuition about tension, section size, and finishing techniques. That intuition develops faster than you’d expect, especially once you’ve found one or two styles that genuinely work with your hair.