If there’s one hairstyle that commands attention while keeping your face completely visible, it’s a high frontal ponytail. The appeal is undeniable — you get the polish of a pulled-back look without sacrificing visibility or coverage, and when it’s done right, it creates a seamless blend that makes your style feel intentional rather than rushed. The trick isn’t just pulling hair back; it’s creating that flawless transition from forehead to hairline that makes the whole thing look like it belongs on your head naturally.
The difference between a high frontal ponytail that looks polished and one that looks like you just yanked your hair back is often in the small details. The placement of that front section, how tightly or loosely you pull it, whether you add texture or keep it sleek, and how you smooth the hairline all factor into whether your ponytail reads as effortlessly chic or obviously constructed. What’s great about this style is that it works with almost any hair type, length, or texture — you just need to adjust your approach slightly depending on what you’re working with.
The 12 styles below showcase the most wearable, genuinely seamless high frontal ponytail variations. Each one translates to real life, not just editorial photos. Whether you’re aiming for gym-ready, office-polished, date-night glam, or somewhere in between, one of these will fit your vibe and your hair type perfectly.
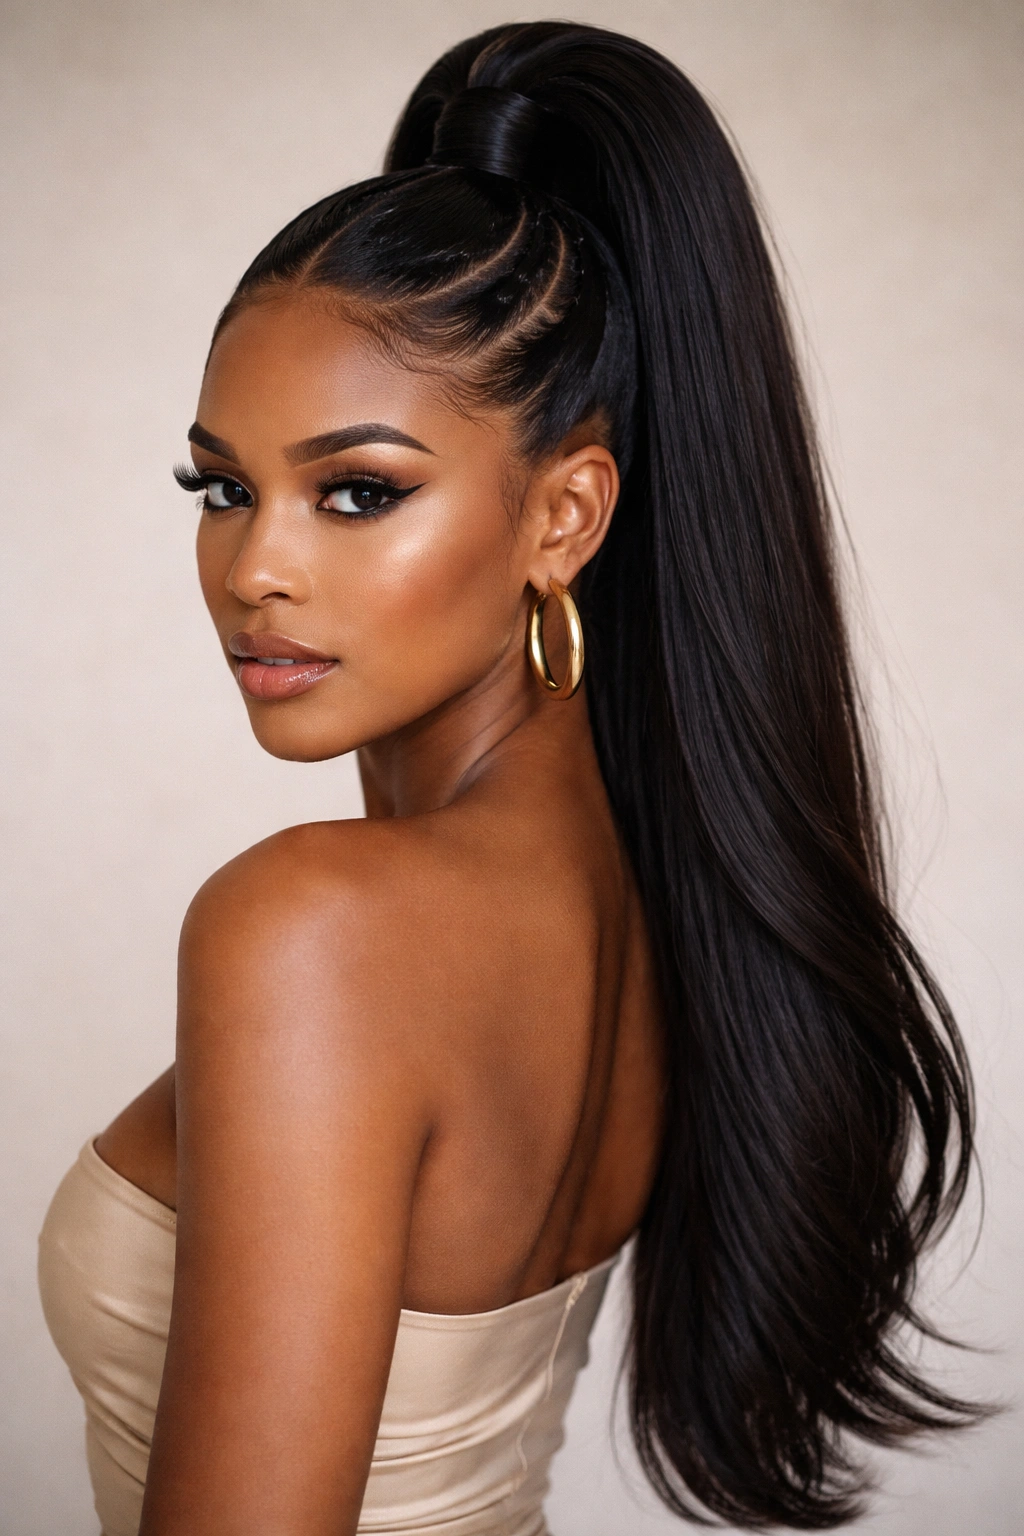
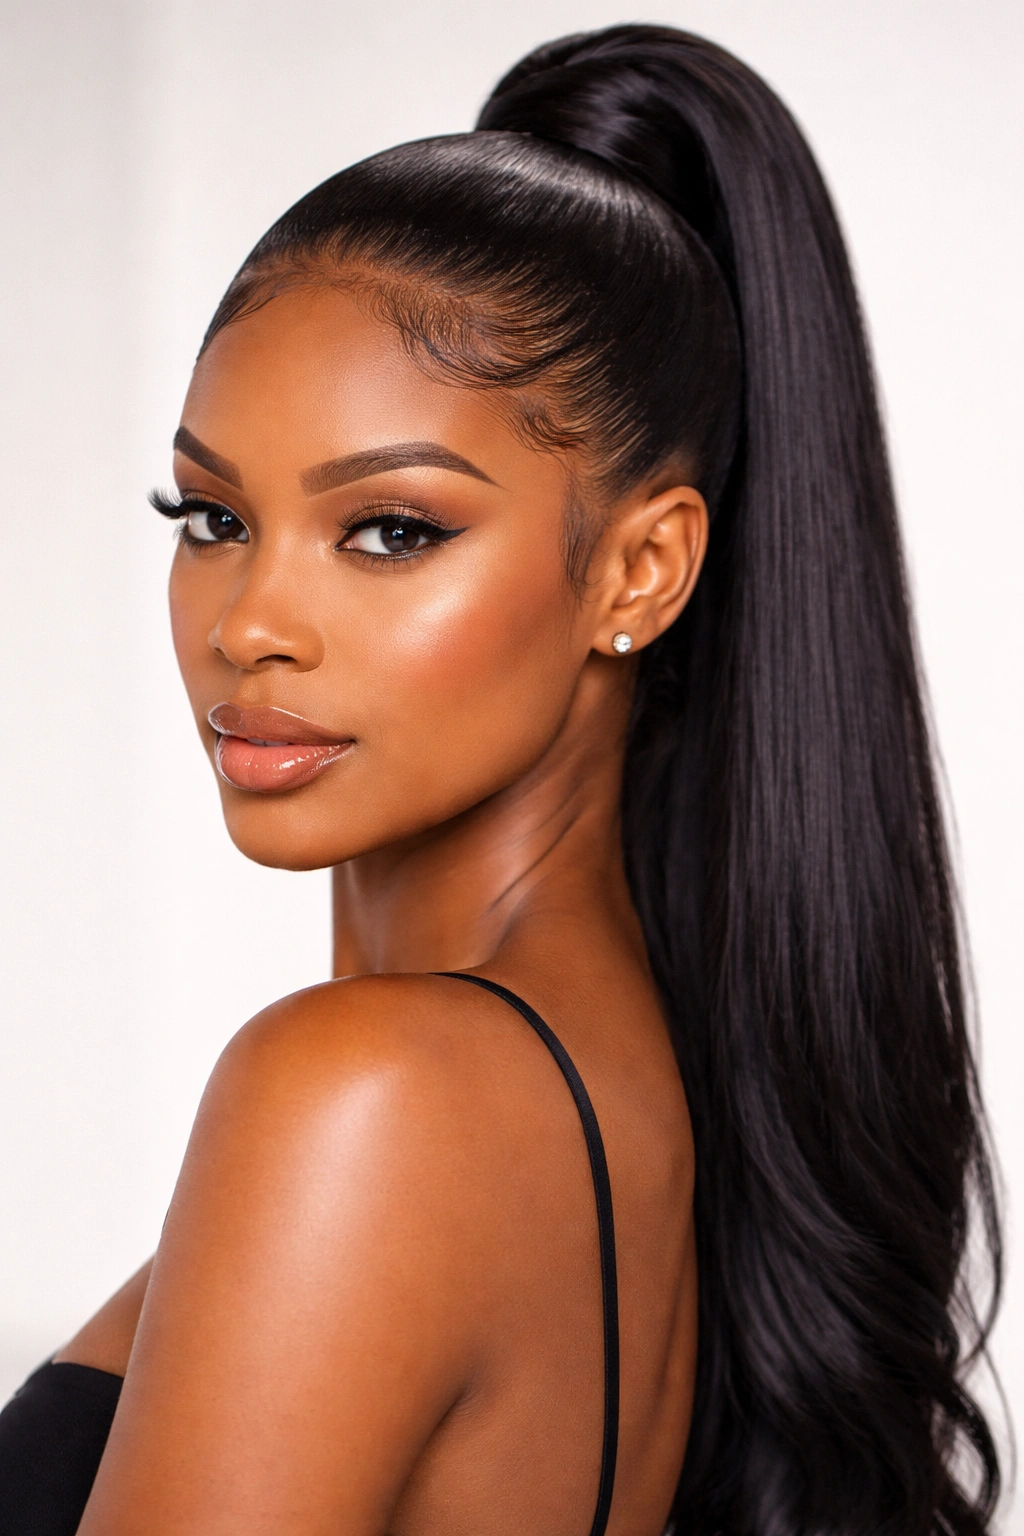
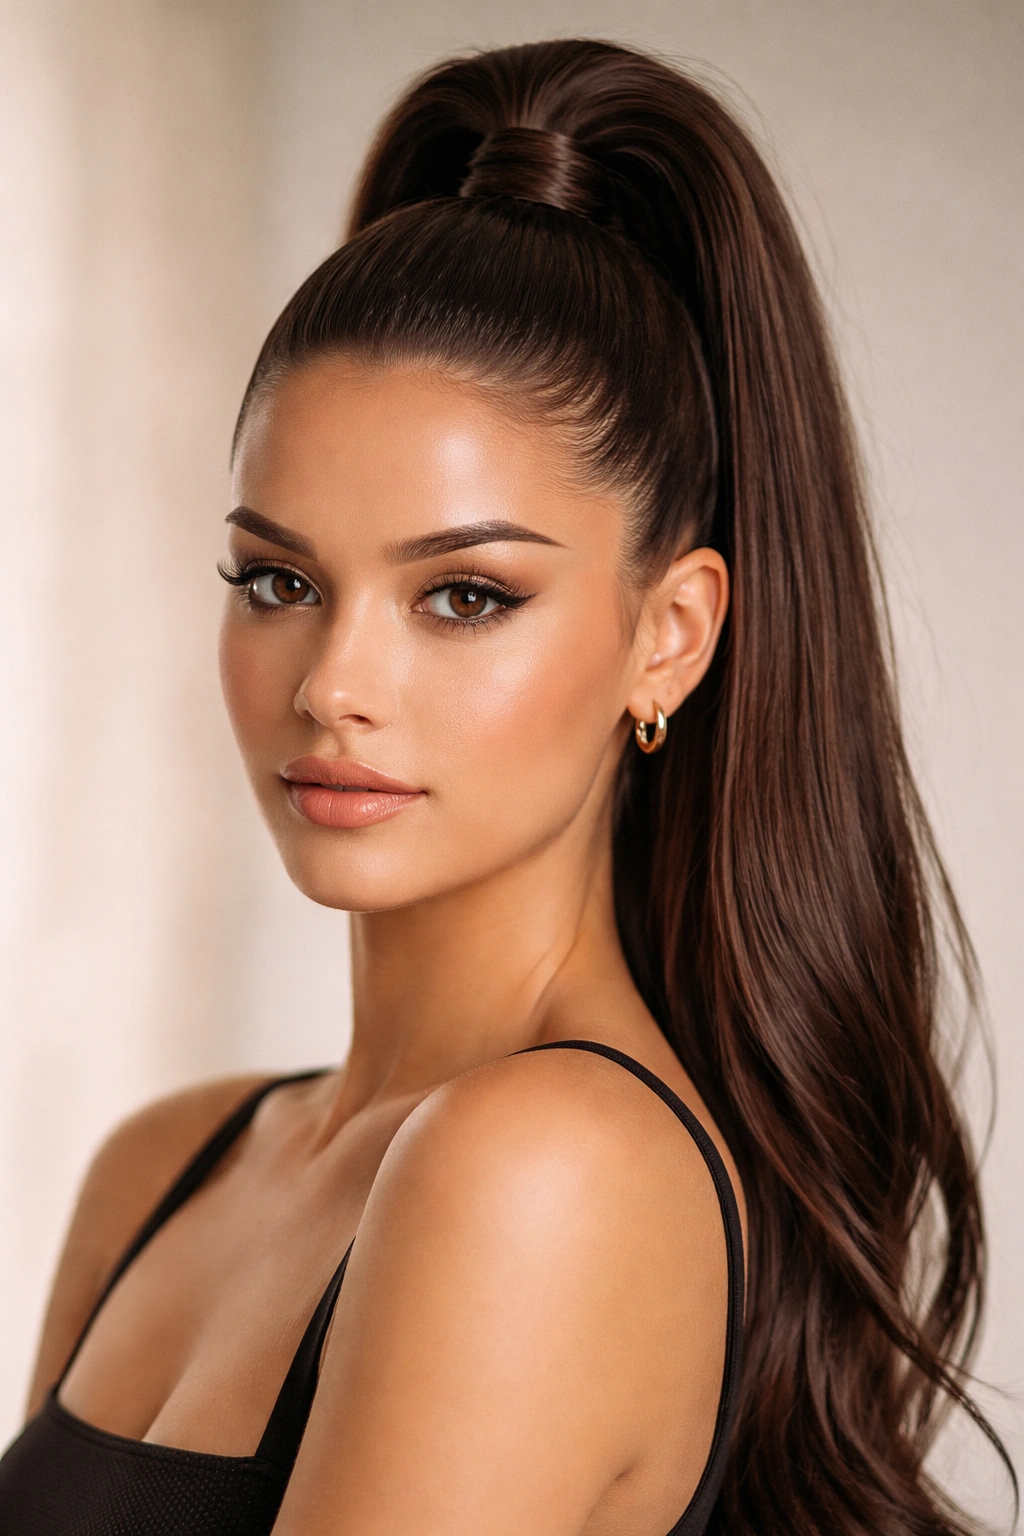
1. The Sleek High Frontal
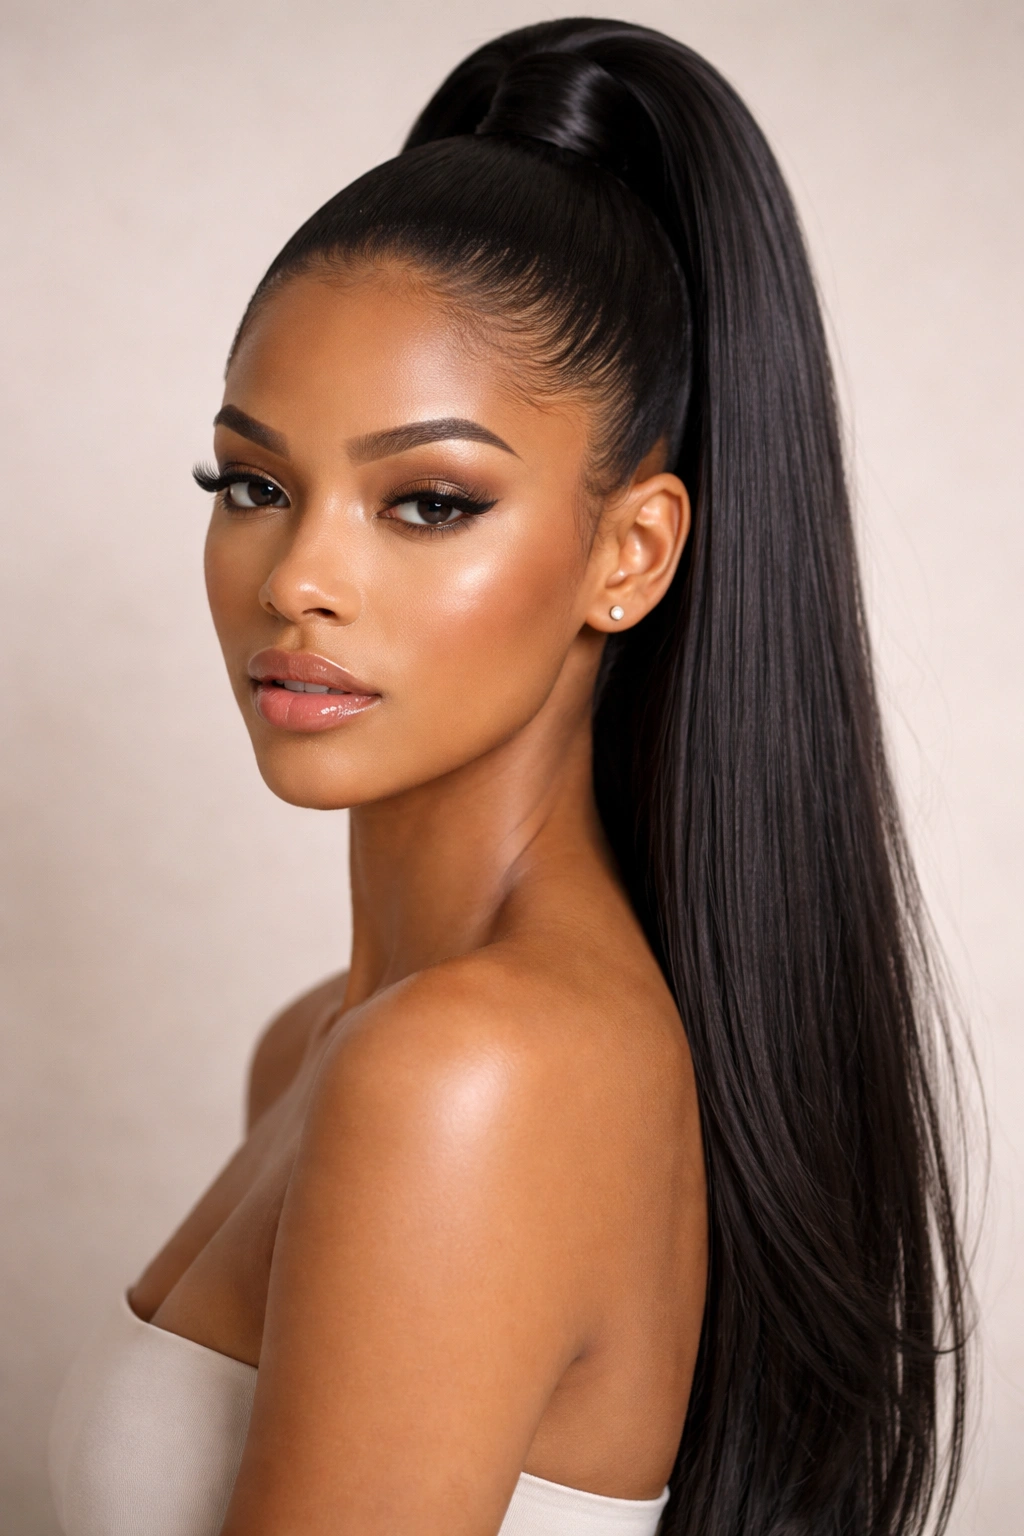
This is the foundation of all high frontals — clean, sharp, and deceptively simple. You’re not adding texture, not braiding, not playing with layers; you’re just creating the most polished version of a pulled-back look possible. The impact comes entirely from precision and the quality of your smoothing technique.
What Makes It Work
A sleek high frontal relies on three things: a strong hold product, a smooth hairline, and hair that sits high enough on your crown to look modern rather than dated. The front section should frame your face without feeling separated from the rest of the ponytail — it’s all one cohesive unit, just deliberately smoothed and shaped. Your hairline becomes a design feature here, so getting it smooth without that artificial, plasticky look is the whole game.
How to Get It Right
- Prep with a smoothing serum or lightweight gel on damp hair, working through from roots to ends
- Blow-dry your hair completely straight, using a paddle brush to smooth the front sections back toward your crown as you dry
- Once dry, use a fine-tooth comb and a small amount of pomade or edge control to define your hairline — apply it to the comb, not directly to your skin, and comb it straight back
- Gather your hair into a high ponytail at the crown, positioning it so the base sits just above the center of the back of your head
- Secure with a sturdy elastic, then wrap a thin section of hair around the base to hide the elastic
- Use a flat iron on low heat to smooth any flyaways around the front and face-framing sections if needed
Pro tip: A tiny dab of clear gel on a clean toothbrush, applied to your hairline right before heading out, keeps everything locked in place without looking wet or greasy.
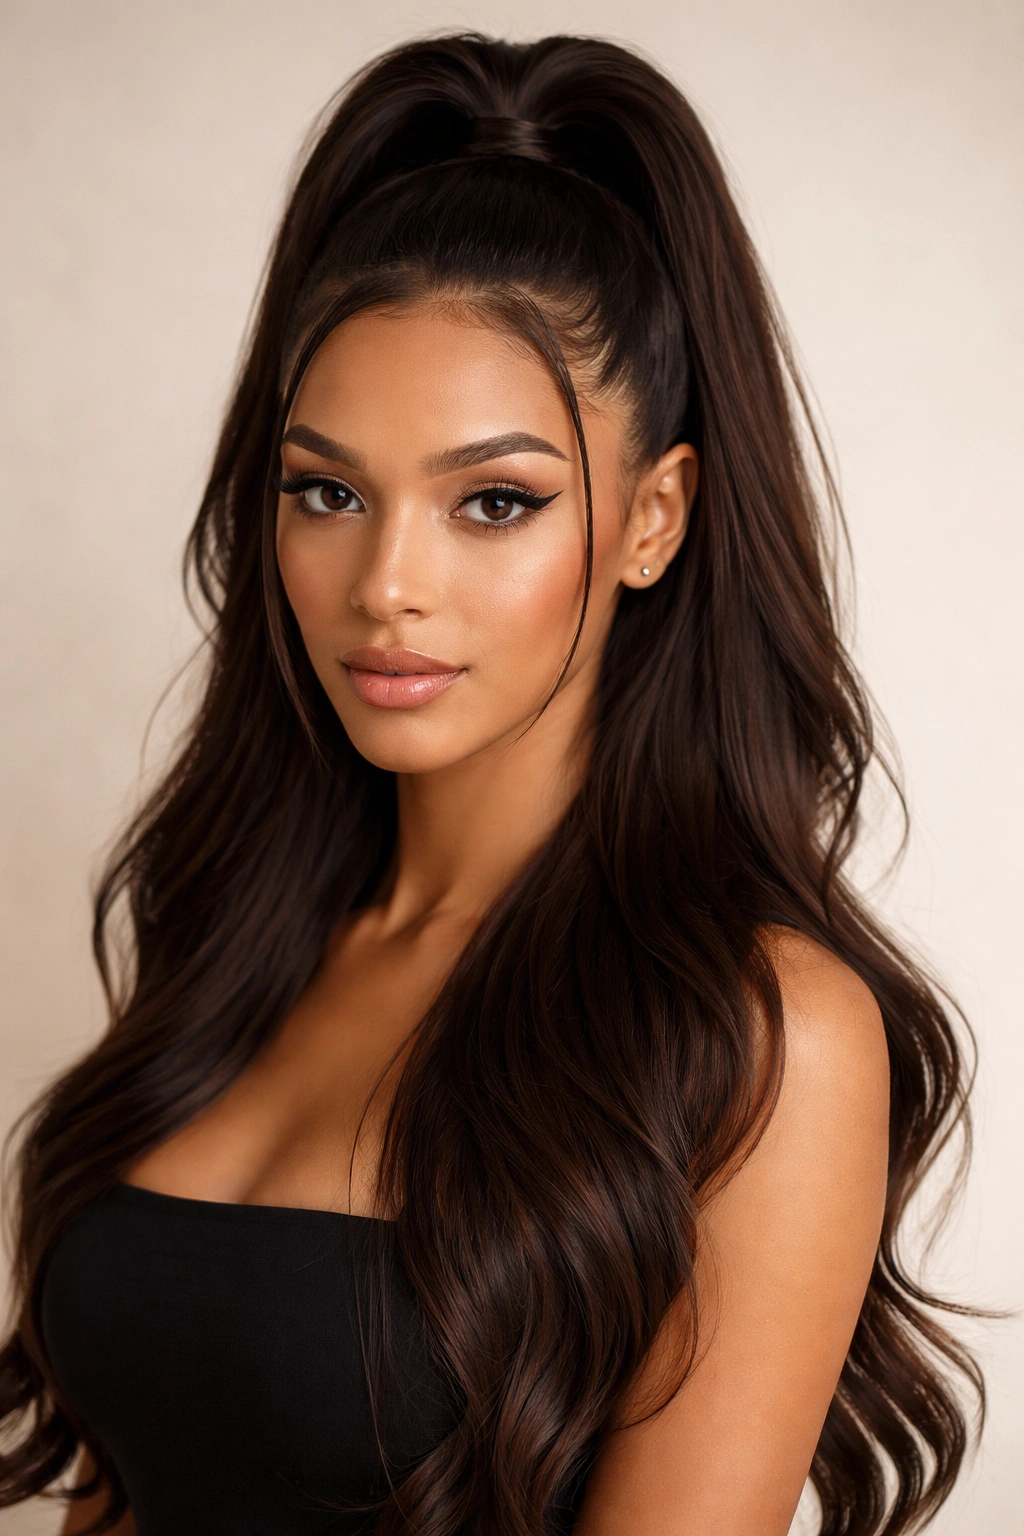
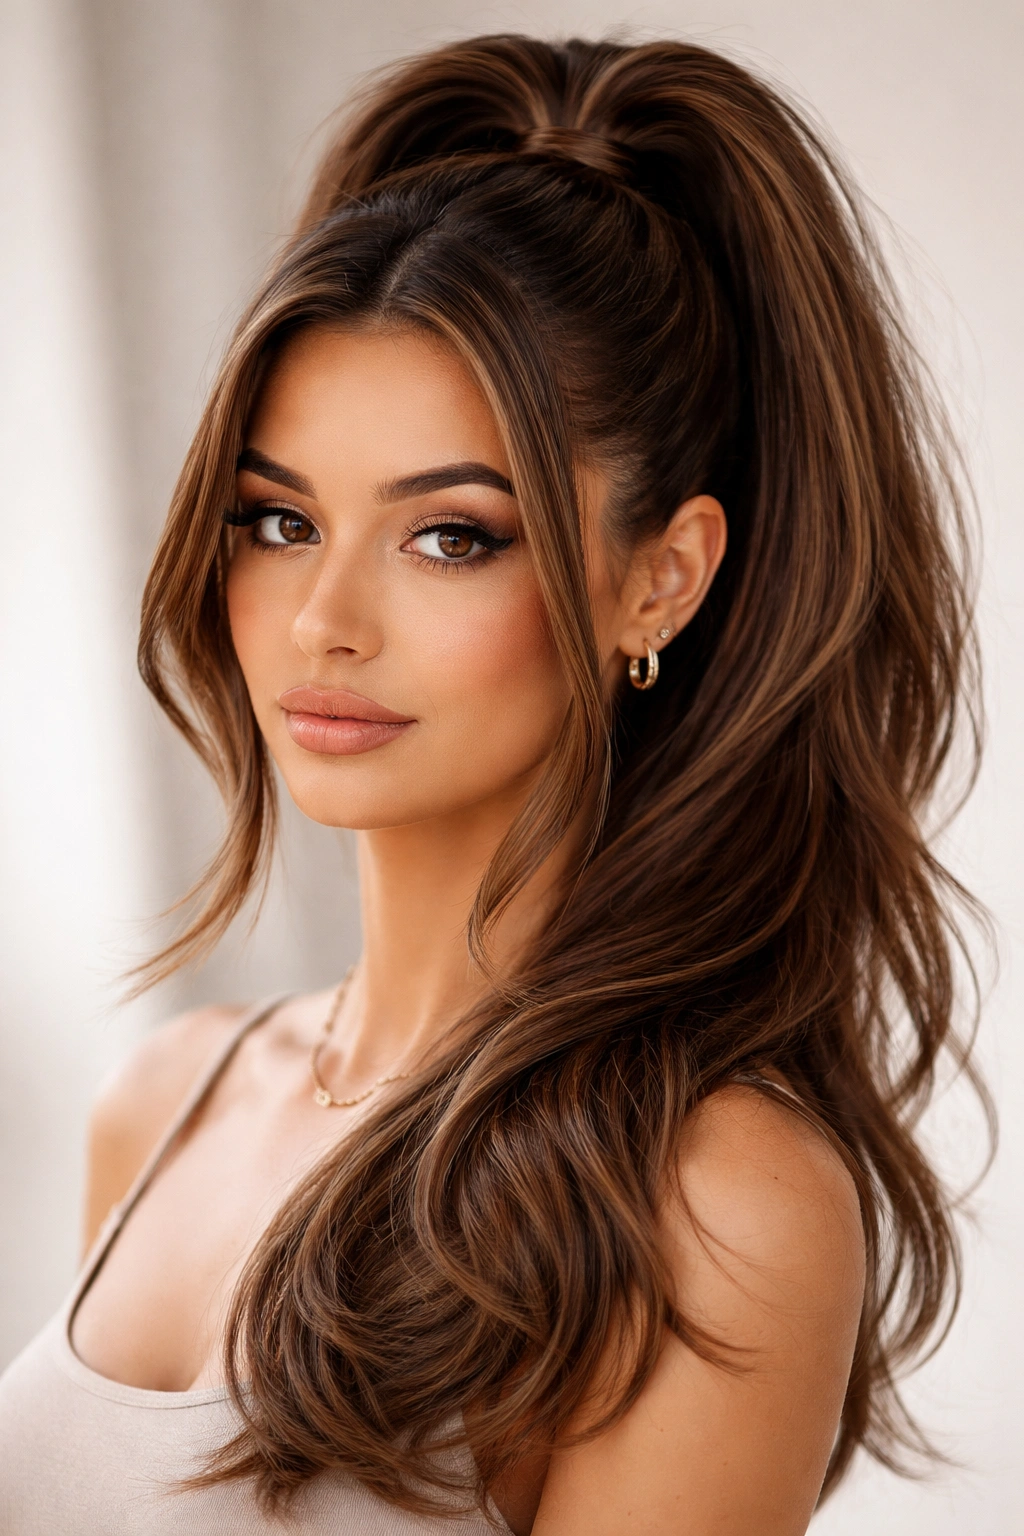
2. The Voluminous High Frontal
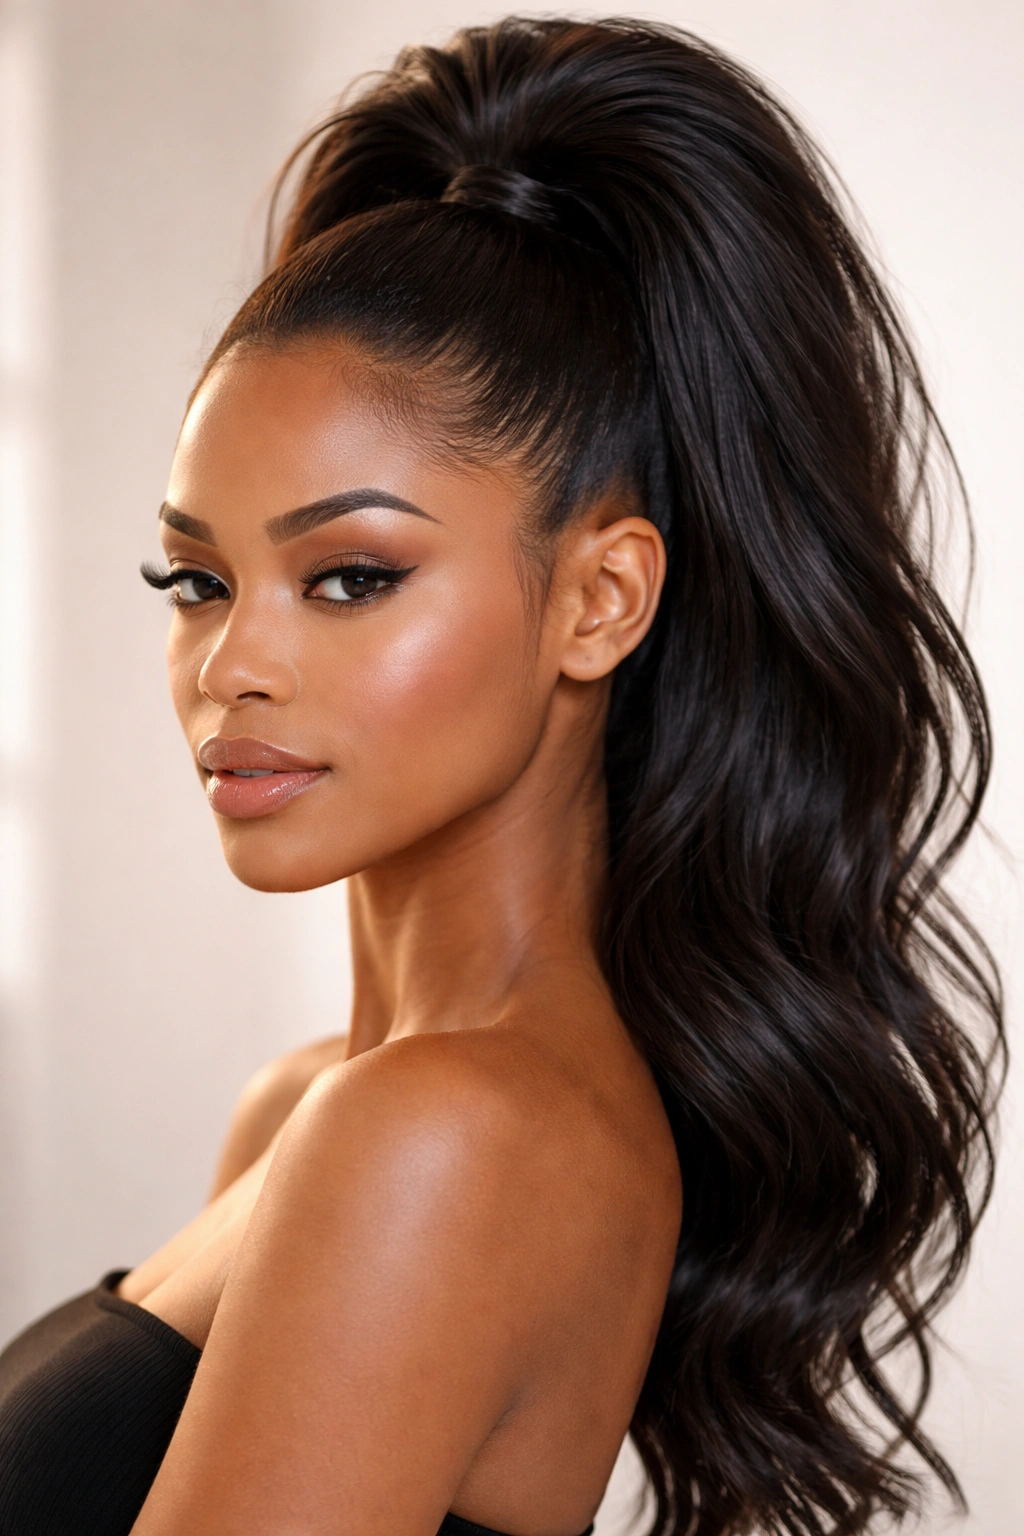
If the sleek version is about control, this one’s about controlled chaos. You want your high ponytail to have obvious height and dimension — hair that looks full and textured — while the front sections still read as intentionally styled rather than just naturally poofy.
What Makes It Work
Volume in the crown area makes a high frontal feel modern and youthful, but it has to be deliberate. You’re teasing or blow-drying with specific techniques to build height, not just puffing up your whole head. The front sections stay smooth while the crown and tail have obvious texture and body. This creates that desirable contrast where your face stays defined but your ponytail looks substantial.
How to Get It Right
- Blow-dry your hair with your head flipped forward and a round brush, lifting the hair straight up from the scalp to build root volume
- Once your hair is dry, flip your head back and gently tease the crown area with a fine-tooth comb, focusing on the section that will sit at the base of your ponytail
- Smooth the outer layer of the crown with your brush to blend the texture
- Smooth the front sections back with a fine-tooth comb and edge control, creating that sleek contrast
- Gather your hair into a high ponytail, positioning the base higher and slightly further back than you would with a sleek version
- Gently backcomb the first few inches of the ponytail to add texture and grip, then smooth the outer layer
- Wrap a thin section around the elastic to finish
Worth knowing: If your hair is naturally fine or thin, tease only the sections that will be hidden under the top layer — visible teasing on fine hair reads as intentional rather than full.
3. The Braided High Frontal
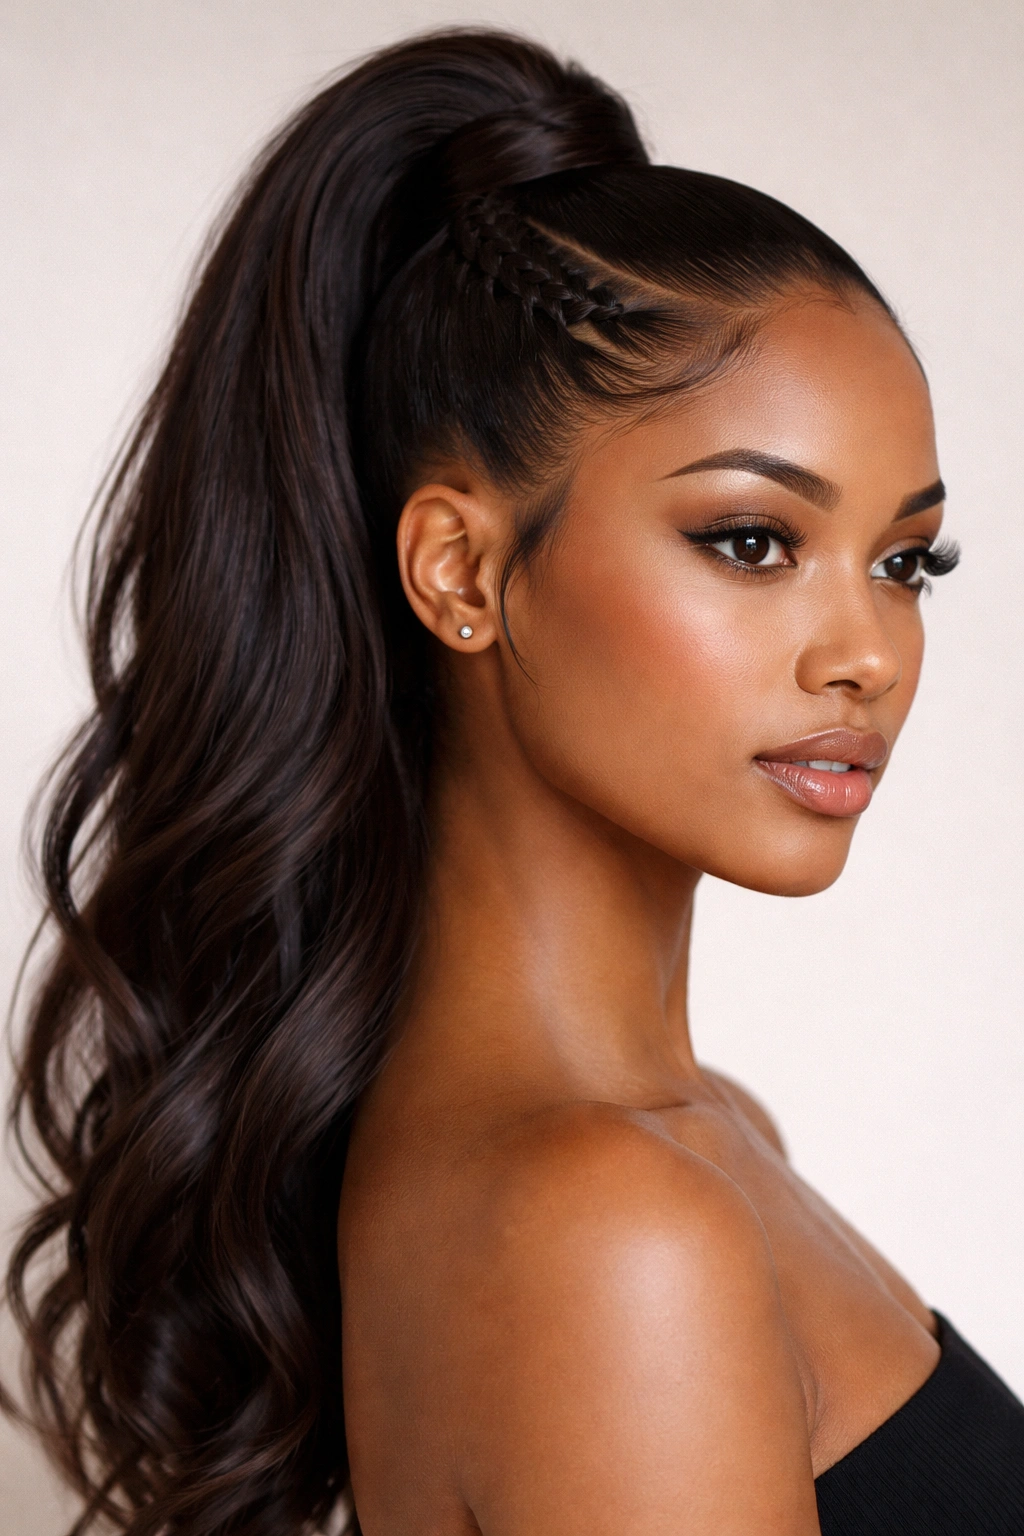
Adding a braid to your high frontal immediately elevates it from casual to deliberately styled, but it needs to integrate seamlessly with the rest of your ponytail. The braid should feel like part of the design, not like two separate styles competing for attention.
What Makes It Work
A braid works beautifully in a high frontal when it’s incorporated into the ponytail gathering itself — one or both front sections become braided as they travel back toward the crown, and that braid feeds directly into your main ponytail elastic. This creates a unified look where every element works together. You can do a simple three-strand braid, a Dutch braid for more definition, or even incorporate the braid into just one side of your face-framing section.
How to Get It Right
- Prep your hair with texture spray or dry shampoo on damp hair, then blow-dry completely — braids hold better in textured hair than in slippery-smooth hair
- Section out your hair: a face-framing section on one or both sides, and the rest that will go back into your main ponytail
- If braiding both sides, start at one temple and braid back toward your crown, keeping the tension consistent and slightly loose for a soft look
- When your braid reaches the crown area, secure it temporarily with a small clear elastic
- Do the same on the opposite side if you’re braiding both sides
- Gather all your hair — including the braids — into a high ponytail at the crown
- Remove the temporary elastics once your main ponytail is secured
- Secure the ponytail with a sturdy elastic and wrap a thin section of hair around the base
Pro tip: Braid slightly looser than you think you should — the braid will tighten slightly as the day goes on, and a looser braid looks softer and more intentional than a tight one.
4. The Textured High Frontal with Face-Framing
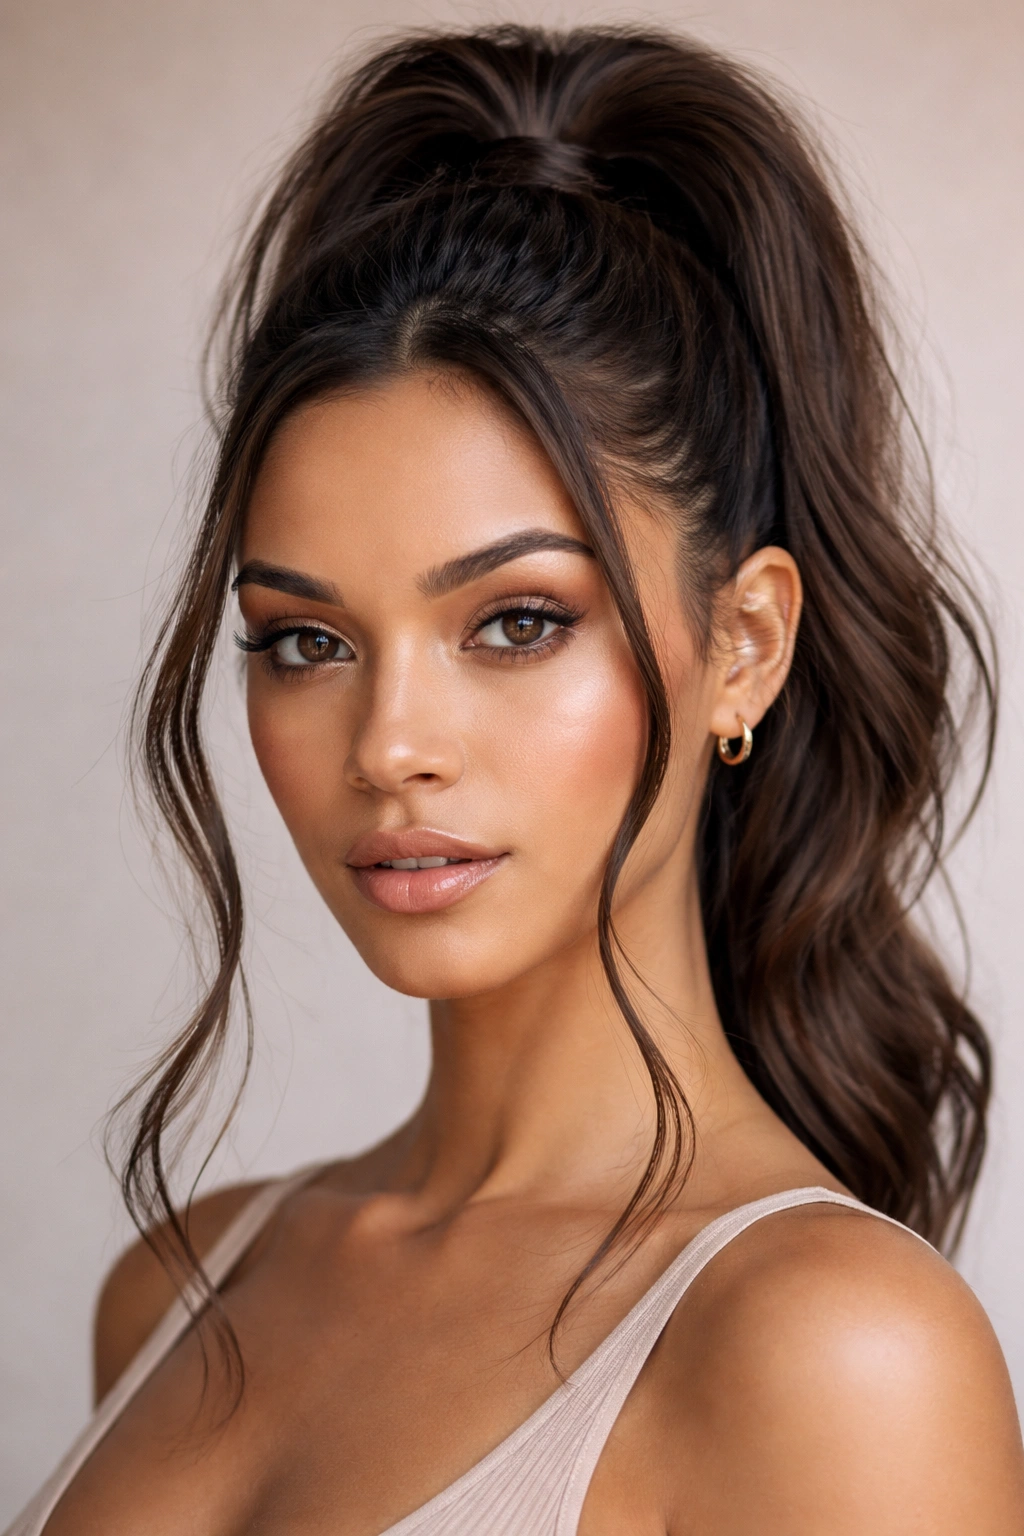
This style keeps your face completely visible through face-framing pieces that travel down alongside your face, while your main ponytail sits high and textured at the crown. It’s sophisticated without being severe.
What Makes It Work
The face-framing pieces need to be loose enough to move naturally when you move your head, but intentional enough that they don’t look like they just escaped your ponytail. They should start near your temple, curve slightly along your jawline, and finish somewhere around your collarbone. The rest of your hair creates an obvious ponytail at the crown, often with some texture or movement. This combination gives you the polish of a pulled-back style with the softness of slightly loose pieces.
How to Get It Right
- Blow-dry your hair with some texture — use a curling iron or wand on the lower two-thirds of your hair for loose waves, or apply texture spray to damp hair and scrunch as you blow-dry
- Section out two face-framing pieces starting at your temples, about 1 to 1.5 inches wide on each side
- Create loose waves or curls in these face-framing sections using a curling iron or wand
- Brush the texture slightly with your fingers to soften it
- Gather the rest of your hair into a high ponytail at the crown, leaving the face-framing pieces out
- Secure the ponytail with a sturdy elastic
- You can leave the face-framing pieces as loose waves, or lightly wrap them around your ponytail base for a bit more integration — just don’t pull them so tight that they look stiff
Worth knowing: Face-framing pieces work best when your hair has some natural wave or texture to begin with — if your hair is perfectly straight, face-framing pieces can look wispy and unfinished rather than intentional.
5. The Half-Up High Frontal
This style sits in the sweet spot between a full ponytail and completely down hair. You’re taking the top section of your hair back into a high ponytail while leaving the bottom half loose, creating movement and volume without the severity of a full ponytail.
What Makes It Work
A half-up high frontal works because it’s visually interesting — you get the polish and face-framing benefits of a pulled-back style, but with the movement and romance of down hair. The key is making sure the top section is clearly defined and intentional, not like you just grabbed whatever hair was highest. You want an obvious line between your half-up section and your down hair.
How to Get It Right
- Blow-dry your entire head with some texture using a round brush or by applying texture spray to damp hair
- Section out your top half by creating an imaginary line from ear to ear across the top of your head — everything above this line will go back, everything below stays down
- Gather the top section into a high ponytail at the crown, making sure you’ve lifted all the hair from the top of your head
- Secure with an elastic
- Gently tease the crown area around the base of your half-up section to create some dimension and make the secured section look more intentional
- Smooth the outer layer to blend the texture
- Wrap a thin section of hair around the elastic to hide it
- Take your down hair and add loose waves or curls using a curling iron or wand for movement
Pro tip: If your hair is thick or heavy, use a strong elastic and consider securing your half-up with bobby pins as well as an elastic — this prevents the weight of your down hair from pulling everything down throughout the day.
6. The Twisted High Frontal
Instead of braiding, you’re twisting sections of your front hair as they travel back toward your crown, creating a more sculptural, defined look than a braid. It’s graphic and polished without looking fussy.
What Makes It Work
Twists create sharp, defined lines that read as modern and intentional. Unlike braids, which have obvious texture and dimension, twists are smoother and more geometric. You can do one prominent twist on each side, or incorporate twists throughout as your hair travels back. The twists feed directly into your high ponytail, making them feel like part of the overall structure rather than a separate element.
How to Get It Right
- Prep your hair with texture spray on damp hair, then blow-dry completely — twists hold better in textured hair
- Section out a face-framing section on one side, about 1 to 1.5 inches wide
- Take this section and divide it into two equal pieces
- Twist these two pieces around each other as you move toward your crown, keeping the tension consistent
- When the twist reaches the crown area, secure it temporarily with a small clear elastic or bobby pin
- Repeat on the other side if you’d like symmetry
- Gather all your hair into a high ponytail at the crown, incorporating the twists into the base
- Remove temporary elastics and secure your ponytail with a sturdy elastic
- Wrap a thin section of hair around the base to hide the elastic
Worth knowing: Twists show every frizz and flyaway because they’re smooth, so do this style when your hair is freshly washed or has been smoothed with a serum — any texture will be visible against the twist.
7. The High Frontal with Accessory Detail
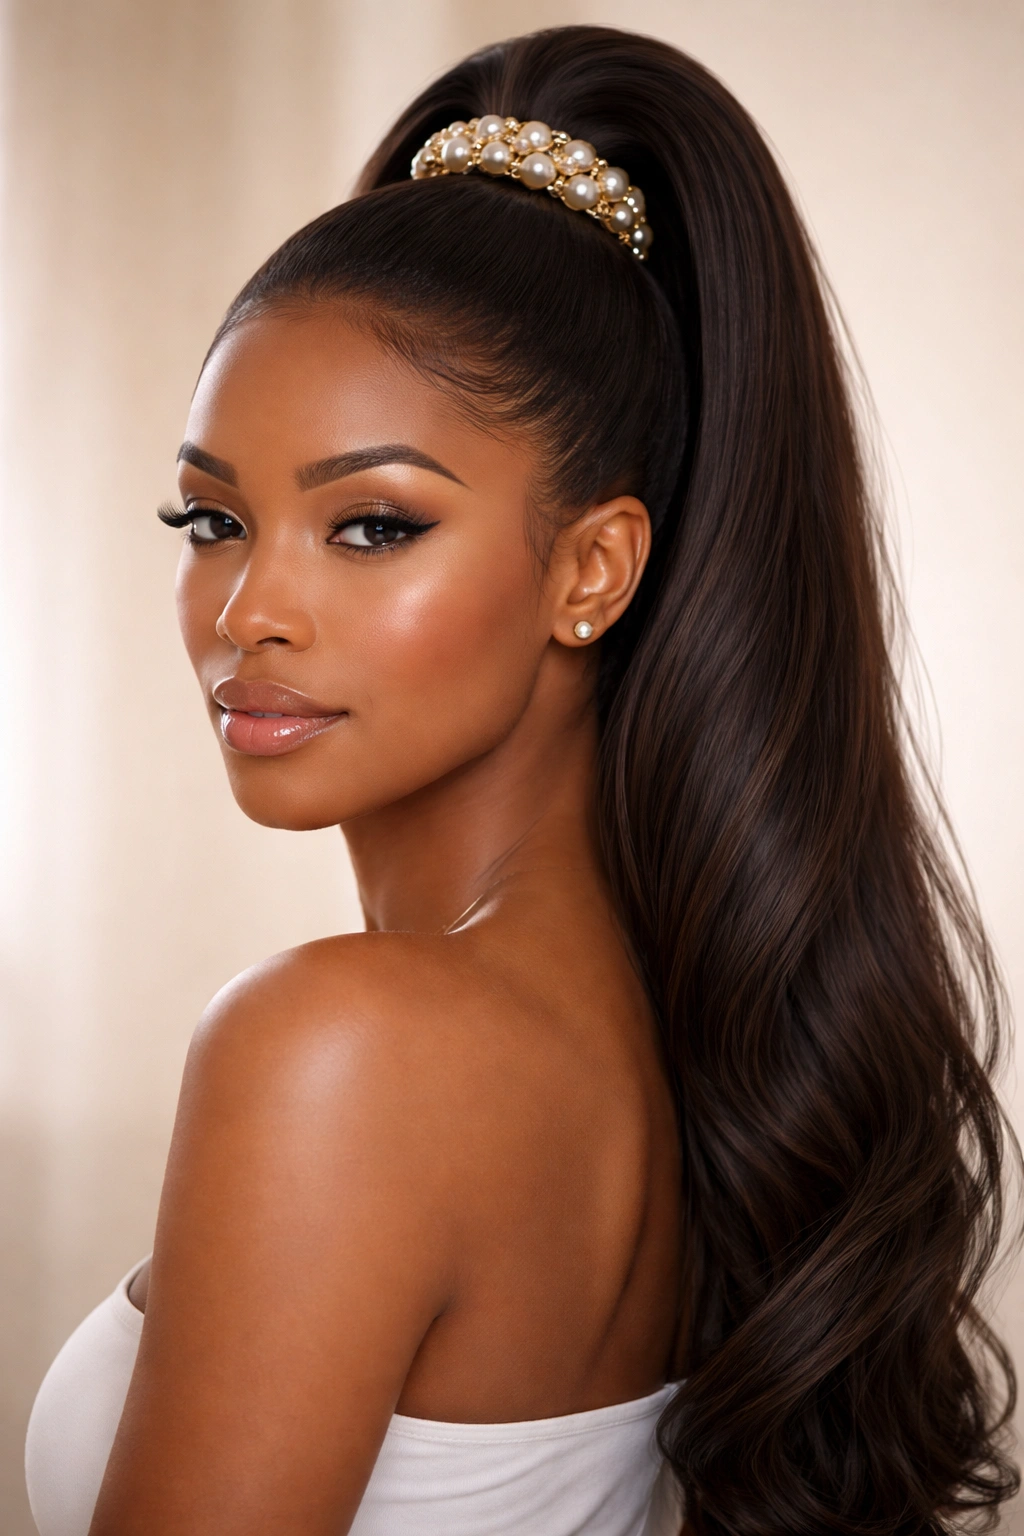
This version uses a hair accessory — a claw clip, a decorative barrette, pearl bobby pins, or a statement elastic — positioned at the base of your ponytail or through the front sections to add visual interest and intentionality.
What Makes It Work
The right accessory can completely shift how a high frontal reads. A delicate gold claw clip feels elegant and effortless. A pearl-studded elastic looks more formal. Decorative bobby pins woven through a twisted section add detail without bulk. The accessory becomes the focal point, drawing attention to that area and making your entire style feel more put-together. The key is choosing an accessory that complements your face shape, skin tone, and personal style — it’s not just decoration, it’s part of your overall design.
How to Get It Right
- Style your hair as you normally would for a high frontal — sleek, textured, braided, or twisted
- Gather your hair into your high ponytail
- Instead of immediately wrapping a hair section around the base, position your accessory at the base of the ponytail first
- If using a claw clip, open it and position it so it sits where your elastic would go, then clip it firmly closed over your elastic
- If using decorative bobby pins, pin them through twisted sections or through the ponytail base itself
- If using a statement elastic, this becomes your primary securing element — use it instead of a standard elastic
- You can add a thin hair section around the accessory for additional security and a finished look, or leave it bare to showcase the accessory
Pro tip: Cluster accessory bobby pins together (at least 3-4) so they read as intentional detail rather than looking like a random pin you grabbed to secure your hair.
8. The Bubble High Frontal
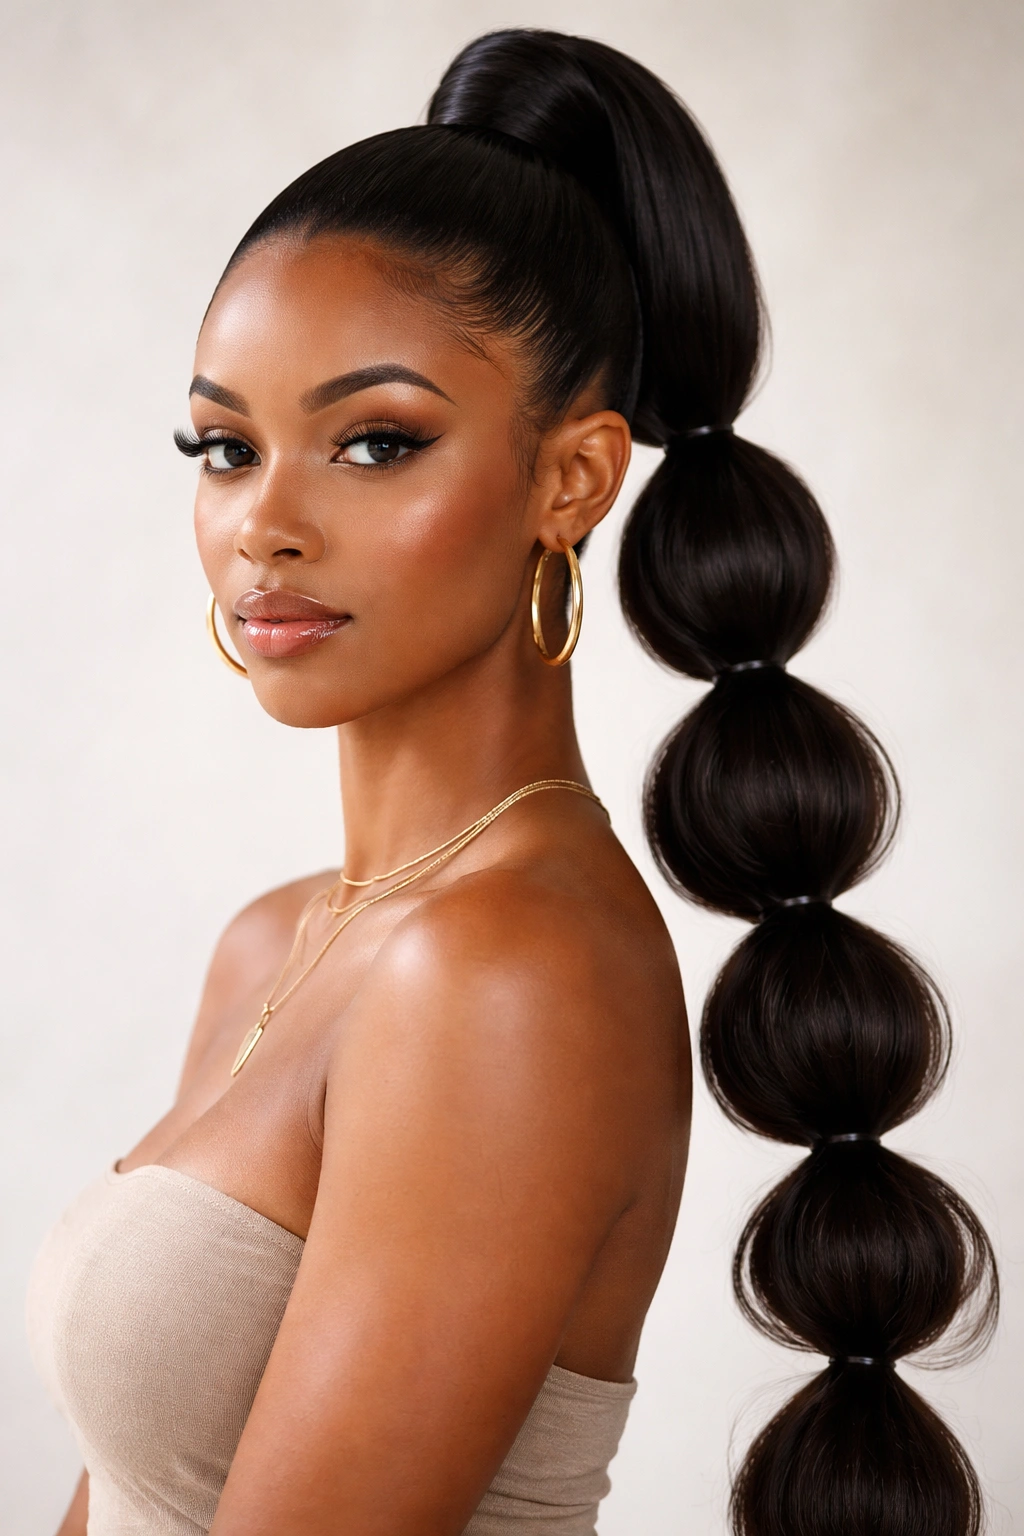
This playful, textured style is created by gathering your high ponytail into sections, then adding small elastics or clips down the length to create “bubbles” of gathered hair separated by defined sections.
What Makes It Work
Bubble ponytails look youthful and intentional without requiring complicated technique. The visual interest comes from the repetition of secured sections, which creates obvious dimensionality. You can make your bubbles large or small, tightly gathered or loosely puffed, depending on your vibe. The front sections stay smooth while the main ponytail gets the bubble treatment, maintaining that clean face-framing aesthetic while adding personality to the back.
How to Get It Right
- Blow-dry your hair with some texture, then gather it into a high ponytail at the crown
- Secure your ponytail with a sturdy elastic
- Decide on your bubble size — typically 2 to 3 inches of ponytail per bubble
- Working from the base of your ponytail downward, take the first section and secure it with a small elastic about 2 to 3 inches down from your main elastic
- Gently backcomb or tease the hair between your two elastics to create a puffy bubble of texture
- Smooth the outer layer slightly to blend
- Move down the ponytail and repeat with your next section
- Continue until you reach the end of your ponytail
- You can leave the hair below your last elastic loose and wavy, or secure it with another small elastic for a finished look
Worth knowing: Bubble ponytails work better on thicker or textured hair — if your hair is fine or straight, the bubbles won’t look as pronounced or defined. You may need to tease more aggressively or use smaller sections to create visible dimension.
9. The Layered High Frontal
This style uses the natural layers in your hair (or creates intentional layers) so that pieces of varying lengths frame your face and blend into your ponytail with obvious depth and dimension.
What Makes It Work
Layered hair naturally falls into a high frontal beautifully because shorter layers frame your face while longer layers integrate into your ponytail. Even if your hair is one length, you can create this effect by leaving intentionally longer pieces out as you gather your ponytail, creating the illusion of layers. The result is a high frontal that looks effortlessly textured and modern, with obvious face-framing without having to specifically style separate pieces.
How to Get It Right
- Blow-dry your hair with some texture using a round brush or texturizing products
- If your hair has natural layers, brush them out gently so they fall naturally around your face and blend into the length of your hair
- If your hair is one length and you want to create this effect, section out specific pieces of varying depths (some starting at your temple, some starting slightly further back) to leave out
- Gather the remaining hair into a high ponytail at the crown, making sure the secured section sits above your natural layers
- The layers that fall outside your ponytail will frame your face at varying lengths, creating depth
- Secure your ponytail with a sturdy elastic
- You can add loose waves or curls to the ponytail and face-framing pieces for movement, or keep them straight for a sleeker look
Pro tip: If you’re going to get a haircut specifically to work with this style, ask your stylist for face-framing layers that start at your cheekbones and a longer underlayer that sits around your shoulders — this range of lengths creates the most obvious depth in a high frontal.
10. The Slicked-Back High Frontal with Definition
This is where you deliberately emphasize your hairline and the shape of your face by slicking your entire front section back tightly, then defining the edges and hairline with precision edge control for a graphic, intentional look.
What Makes It Work
A slicked-back high frontal is all about the defined edges. Your hairline isn’t just smoothed back; it’s sculpted and outlined with edge control, making it a design feature rather than something you’re trying to minimize. This style is bold and modern, reading as very intentional and polished. It works particularly well if you have a strong facial structure or a beautiful natural hairline you want to showcase.
How to Get It Right
- Blow-dry your hair completely straight using a paddle brush, focusing on smoothing the front sections as you dry
- Once dry, use a fine-tooth comb to smooth your front sections back toward your crown, applying a small amount of lightweight pomade or edge control to the comb as you work
- Define your hairline by applying edge control with the comb, creating clean lines from your temples to the center of your scalp
- Take a small amount of edge control on a clean toothbrush and trace your entire hairline for precision definition
- Gather your hair into a high ponytail at the crown
- Use the fine-tooth comb and edge control again to define the exact placement of your ponytail base — the line where your ponytail begins should be sharp and intentional
- Wrap a thin section of hair around the elastic to finish
Worth knowing: This style requires maintenance throughout the day — you’ll likely need to reapply edge control or a light hairspray once or twice to keep everything sharp and defined.
11. The Curled High Frontal
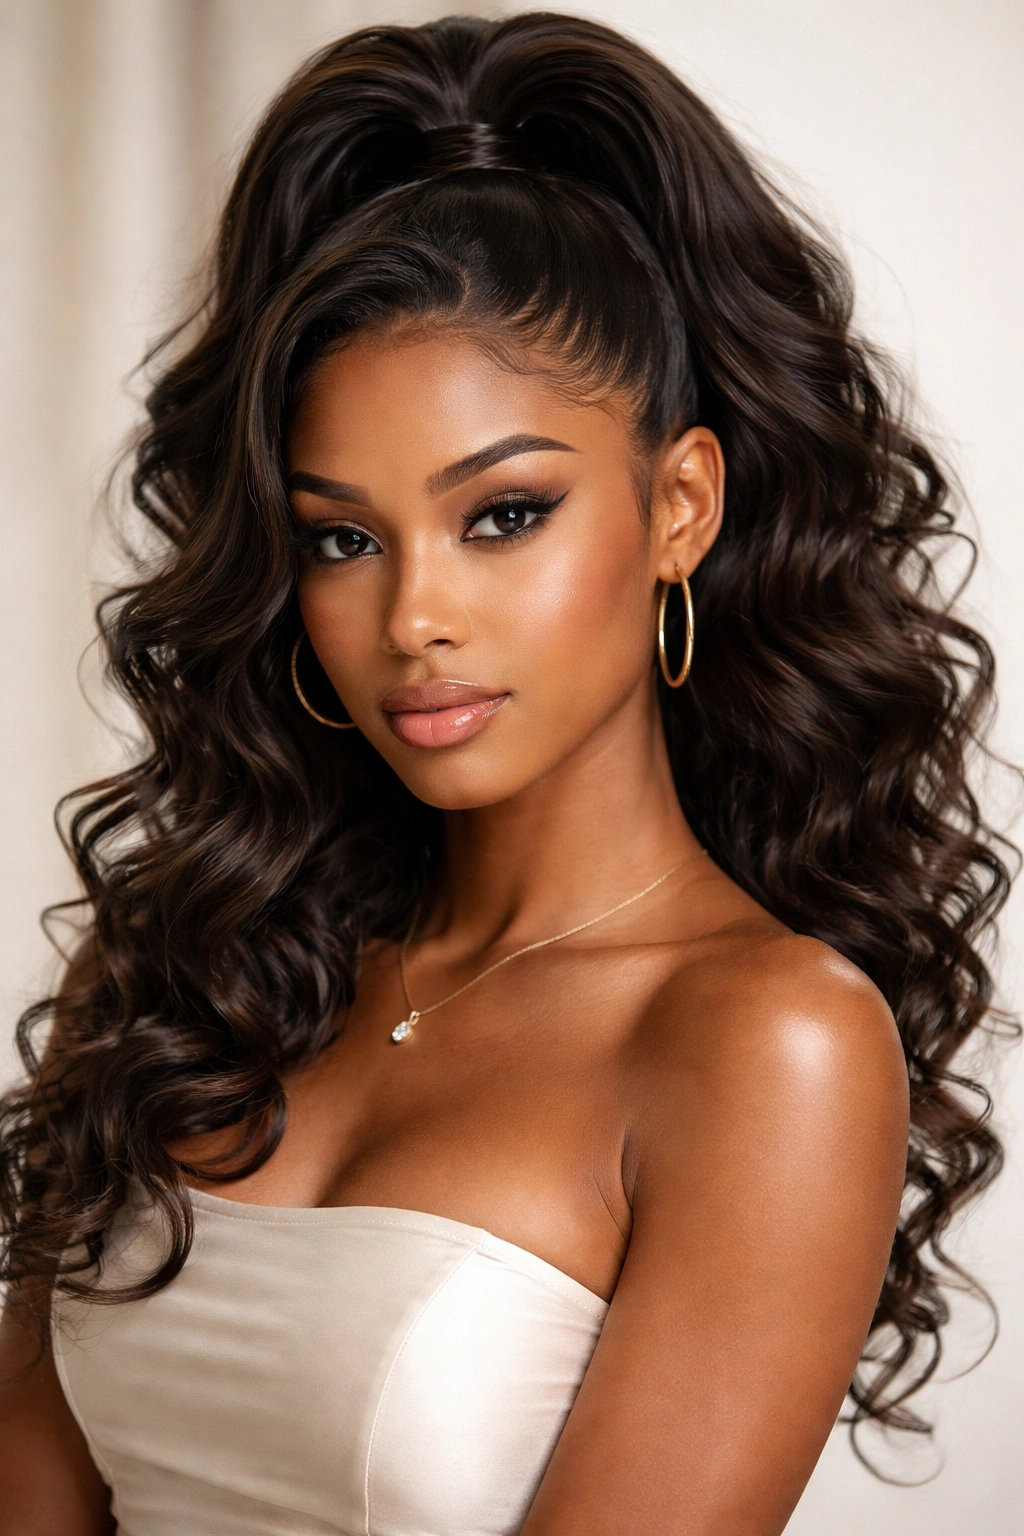
Instead of waves, you’re using actual curls throughout your ponytail and face-framing pieces, creating a romantic, textured, obviously styled look that balances the sleekness of your pulled-back front.
What Makes It Work
Curls read as intentional and special — they signal that you’ve put effort into your styling. A high frontal with curled hair throughout maintains that face-framing benefit while the curls add obvious volume and dimension to the ponytail. The key is curling your hair before you gather it into a ponytail, so the curls are built into the entire structure rather than looking like you curled your ponytail after securing it.
How to Get It Right
- Start with damp hair and apply a curling spray or mousse to help your curls hold
- Section your hair into 1 to 1.5-inch sections
- Using a 1.25-inch curling iron, wrap each section around the barrel and hold for 2 to 3 seconds, then release — the direction you curl alternates (away from your face on one side, toward your face on the other) to create movement
- Work through your entire head, including the front sections that will frame your face
- Once all sections are curled, let the curls cool for a few minutes before touching them
- Gently separate the curls with your fingers or a wide-tooth comb — over-brushing will turn them into waves
- Gather your hair into a high ponytail at the crown, positioning it so your curls fall naturally
- Secure with an elastic and wrap a thin section around the base
- Tousle the ponytail curls gently with your fingers to create a piecy, textured look
Pro tip: Use a smaller curling iron (0.75 to 1 inch) if you want tighter, more defined curls, or a larger iron (1.5 inches) for looser, beachy curls.
12. The Spiky/Choppy High Frontal
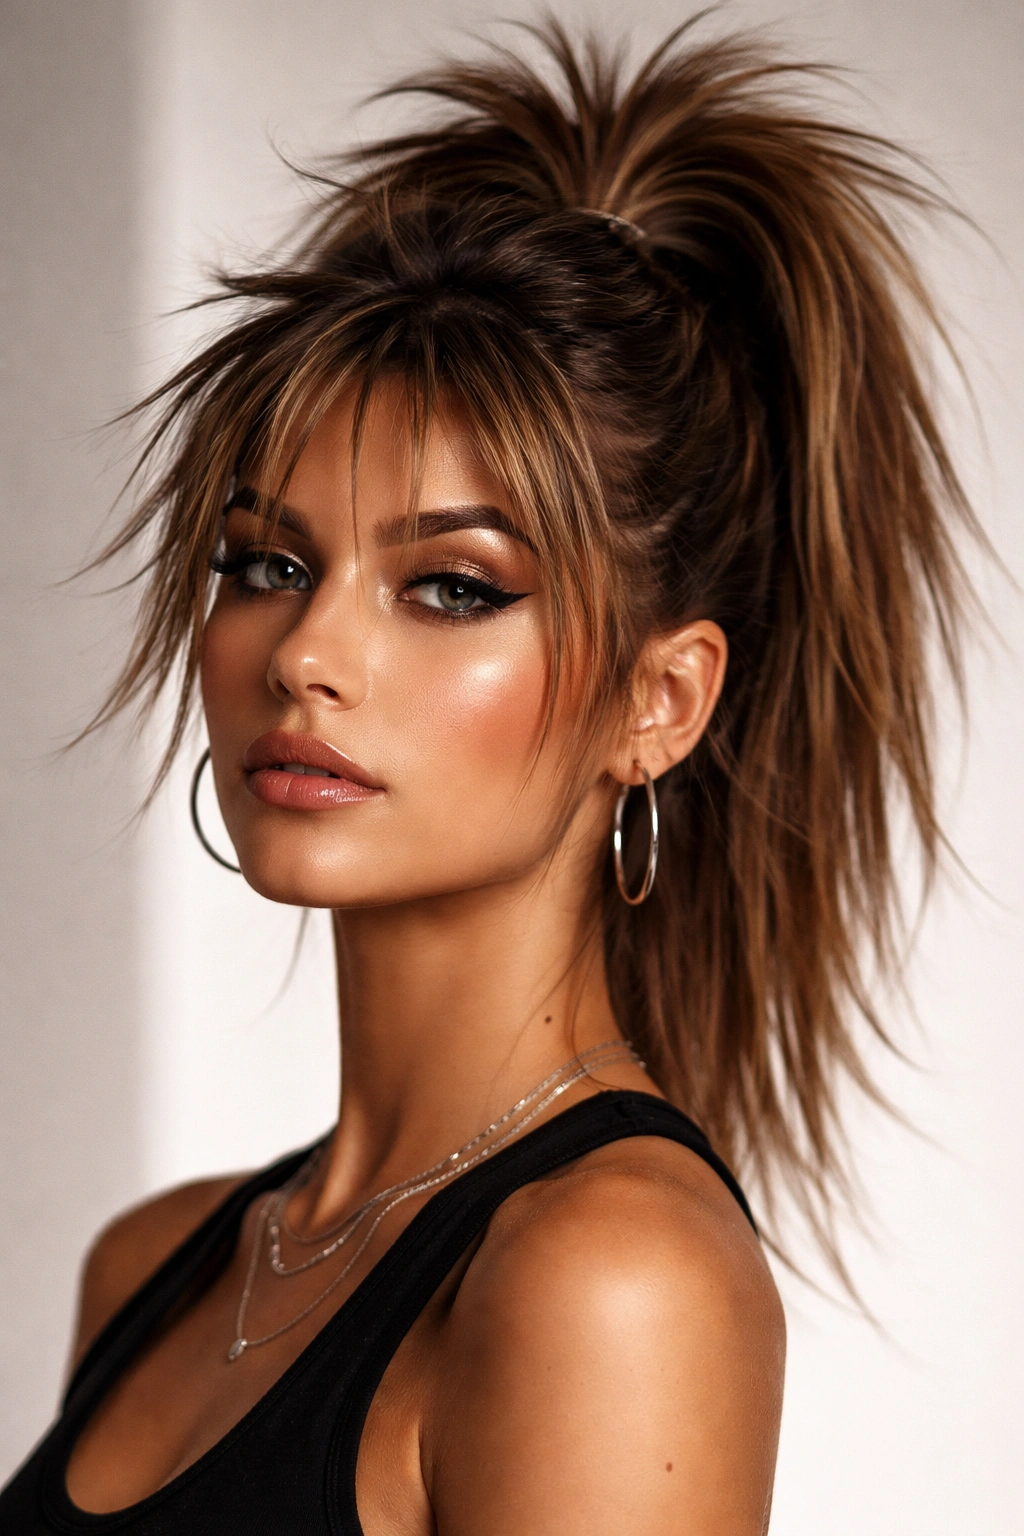
This edgy, modern style uses short, choppy layers throughout your hair (or styling technique that mimics them) to create a textured, piecy look that’s directional and definitely not boring.
What Makes It Work
A spiky or choppy high frontal works because it’s visually interesting and modern. Rather than smooth or clearly defined sections, you’re creating intentional texture and movement throughout. This style suits shorter hair or hair with significant layers particularly well, but you can create the effect on longer hair too by styling aggressively with texturizing products and using sharp, directional blow-drying.
How to Get It Right
- Start with damp hair and apply a texturizing spray or dry texture product throughout
- Blow-dry using a round brush, but rather than smoothing sections back, use the brush to lift hair at angles — creating directional movement rather than a uniform back-ward flow
- Once dry, use a small amount of texture paste or matte pomade through your hair, working it in with your fingers to create piecy, separated sections rather than blended ones
- Rough up the front sections with your fingers to create spiky texture around your face
- Gather your hair into a high ponytail at the crown — because of all the texture and choppiness, the ponytail will have obvious dimension even when secured
- Use a textured or matte-finish elastic rather than a shiny one; a claw clip also works beautifully with this style
- You can wrap a section around the base, but it’s often more effective to leave the base slightly tousled to match the spiky aesthetic
Worth knowing: This style works best when you embrace the intentional choppiness — trying to smooth it out defeats the purpose. If flyaways bother you, use a very light texturizing spray or matte pomade to control them without eliminating the piecy texture.
Final Thoughts
A seamless high frontal ponytail isn’t about complexity; it’s about understanding the specific technique that makes your chosen style sit naturally on your head while keeping your face completely visible. Whether you’re going for sleek polish, textured romance, or intentionally edgy dimension, the foundation is always the same: smooth front sections, a high, well-positioned ponytail at the crown, and attention to detail that makes the whole style feel deliberate rather than thrown together.
The beauty of these 12 variations is that they all live in the same territory — that sweet spot where your hair is clearly styled, your face is fully visible, and you look like you’ve put thought into your appearance without looking like you tried too hard. That’s the real skill. Once you master the mechanics of any one of these styles, you’ll find yourself returning to it because it actually works with your lifestyle, your hair type, and the way you want to present yourself on any given day.