A hat can flatten curls fast.
One minute your hair has shape, bounce, and a little attitude. The next, the crown is dented, the front is smushed, and the whole thing feels like it had a bad day under cotton. If you wear curls often, you already know the problem usually is not the hat itself. It’s the way the hat sits, the amount of friction at the hairline, and which parts of your curl pattern get pressed first.
The fix is not “skip hats.” That’s boring advice, and it ignores real life. You need styles that let the hat do its job while your curls keep some life at the edges, the back, or the front where people actually notice them. A low pineapple, a side part, a puff, a braid, even a single well-placed clip — each one changes the shape in a way that feels intentional instead of accidental.
I care a lot about one detail: the front hairline. If that area looks crushed, the entire look feels off, even when the rest of the hair is doing fine. Satin-lined beanies, deeper crowns, softer brims, and a little extra room at the top make a bigger difference than most people think. They don’t solve everything. They do buy you breathing room.
The hat hairstyles for curly hair below lean into that reality instead of fighting it. Some keep volume high, some tuck it low, and some split the difference so you can walk out the door without doing a full reset afterward.
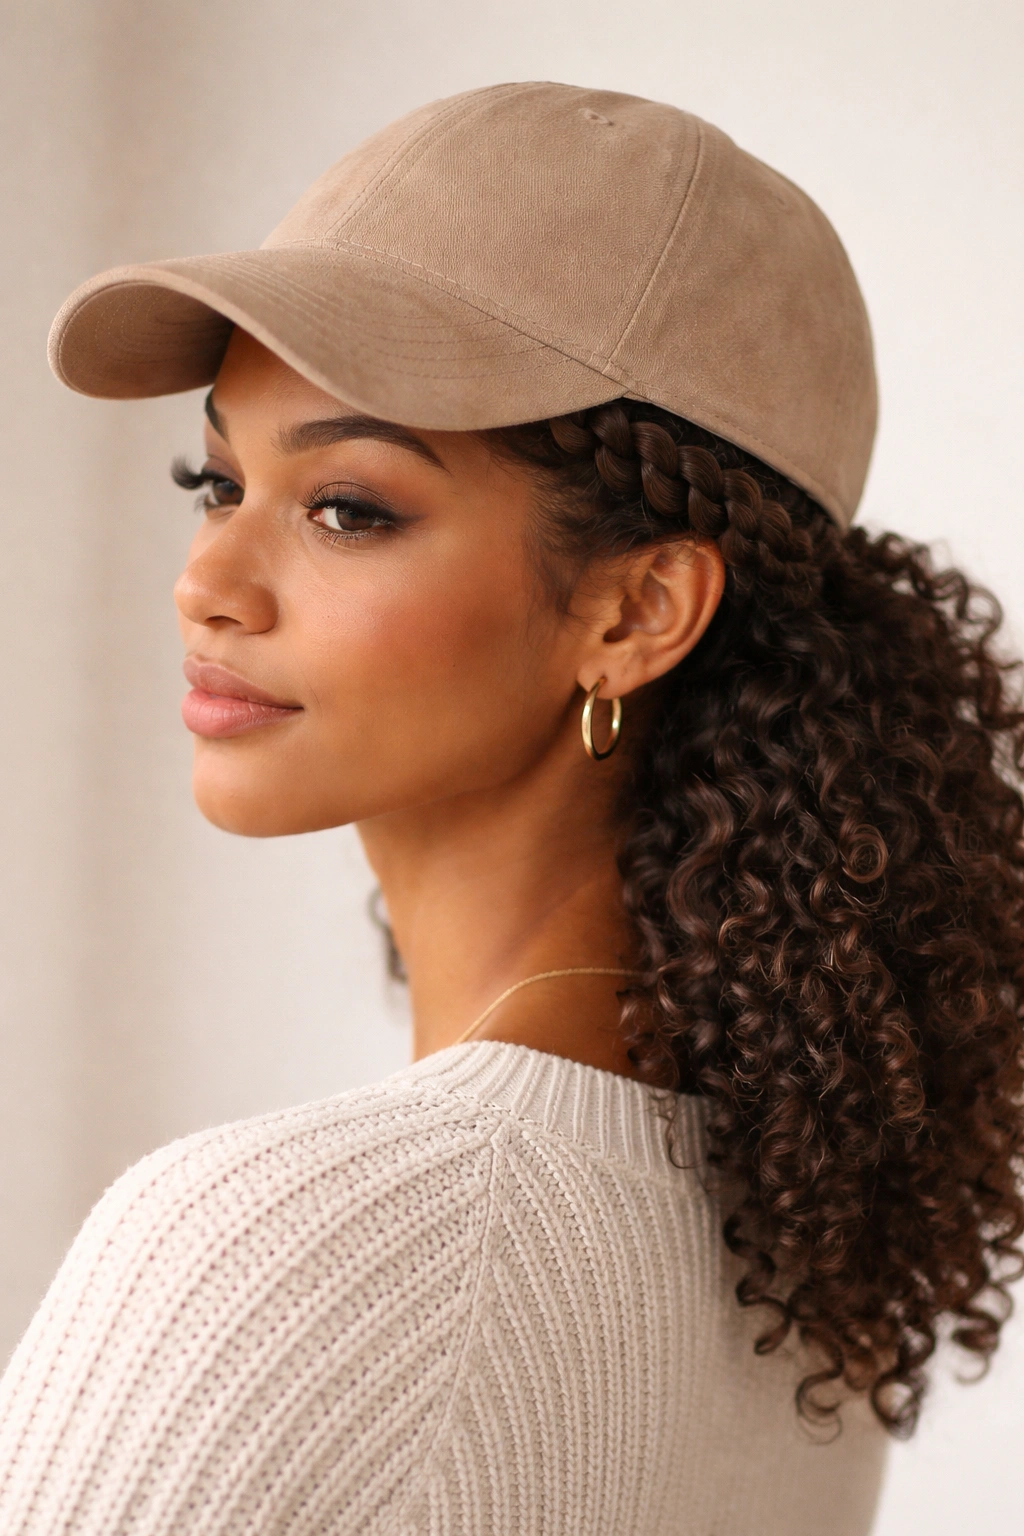
1. The Low Pineapple Under a Baseball Cap
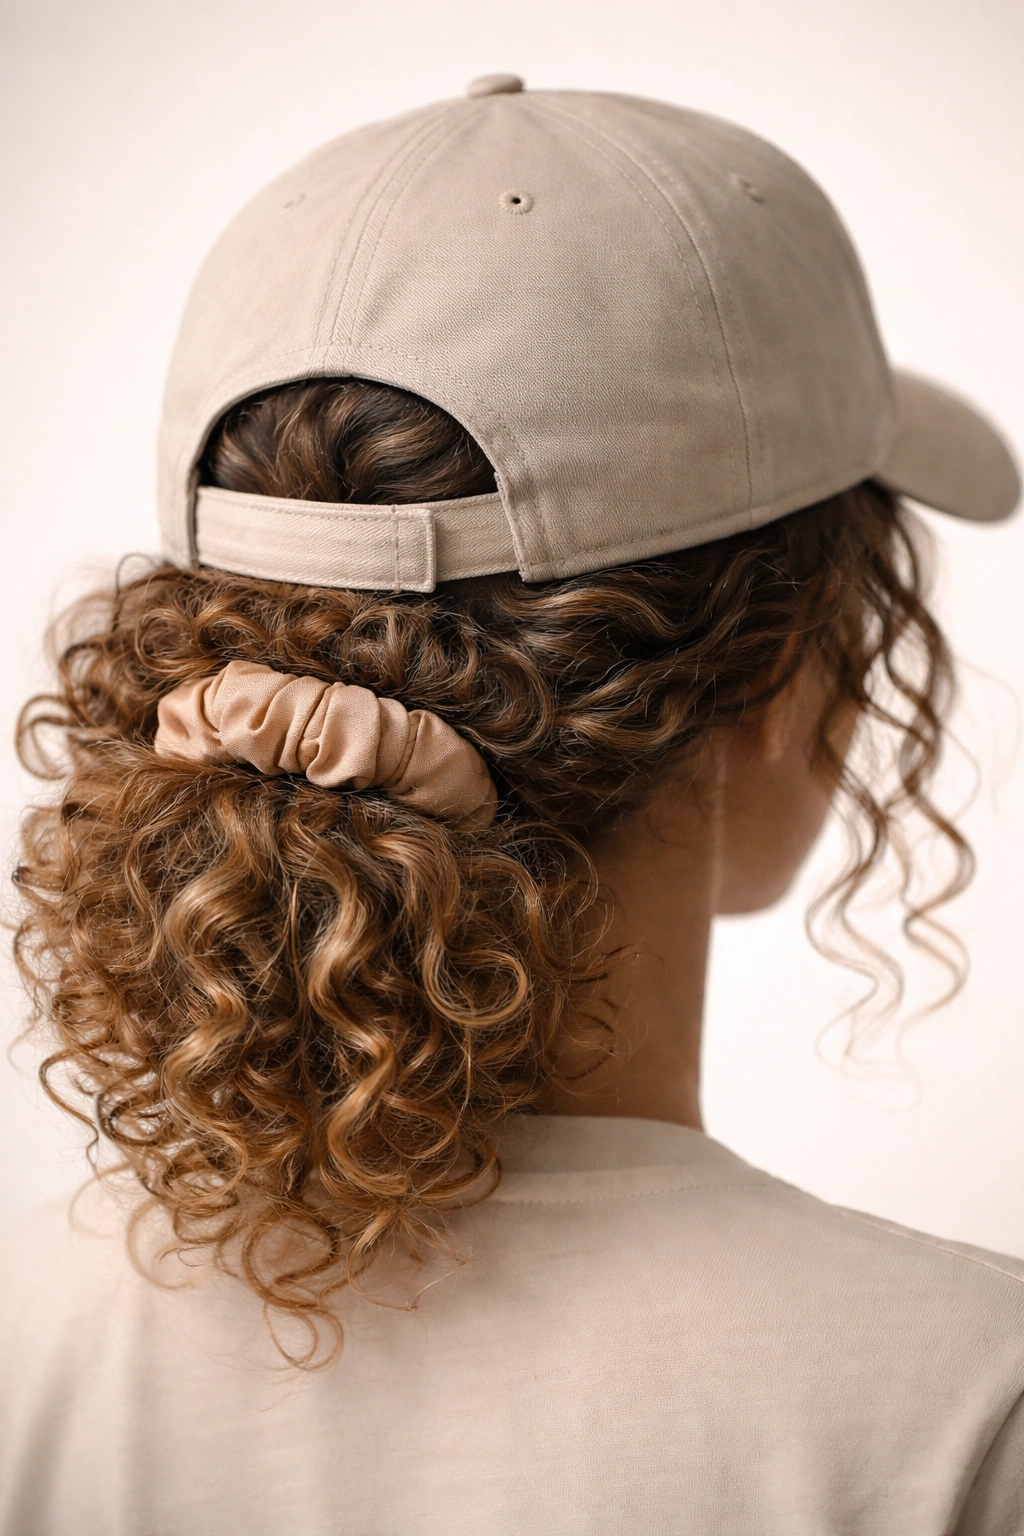
A low pineapple is the easiest cheat in the book. It keeps the top from getting flattened while the cap handles the front, and it works especially well if your curls already spring upward on their own. You want the puff low enough that the cap can sit comfortably, not perched so high that it turns into a lopsided bump.
Why It Works
The baseball cap presses most at the crown and along the front band. By gathering curls low at the back, you move the bulk out of the danger zone and leave the top section with a little height. That means the shape still reads as curly, even after the hat comes off.
A soft scrunchie matters here. A tight elastic can leave a hard bend that looks awkward the second the hat is gone.
- Best for shoulder-length curls and longer
- Works well with second-day hair
- Easier if the cap has a deeper crown
- Use a satin or fabric scrunchie, not a skinny rubber tie
Leave a few face-framing curls loose near the temples. That tiny choice makes the style look lived-in instead of over-controlled. If the pineapple gets too tight, the whole thing turns stiff. Loose is the point.
2. Side-Parted Curls Beneath a Wide-Brim Hat
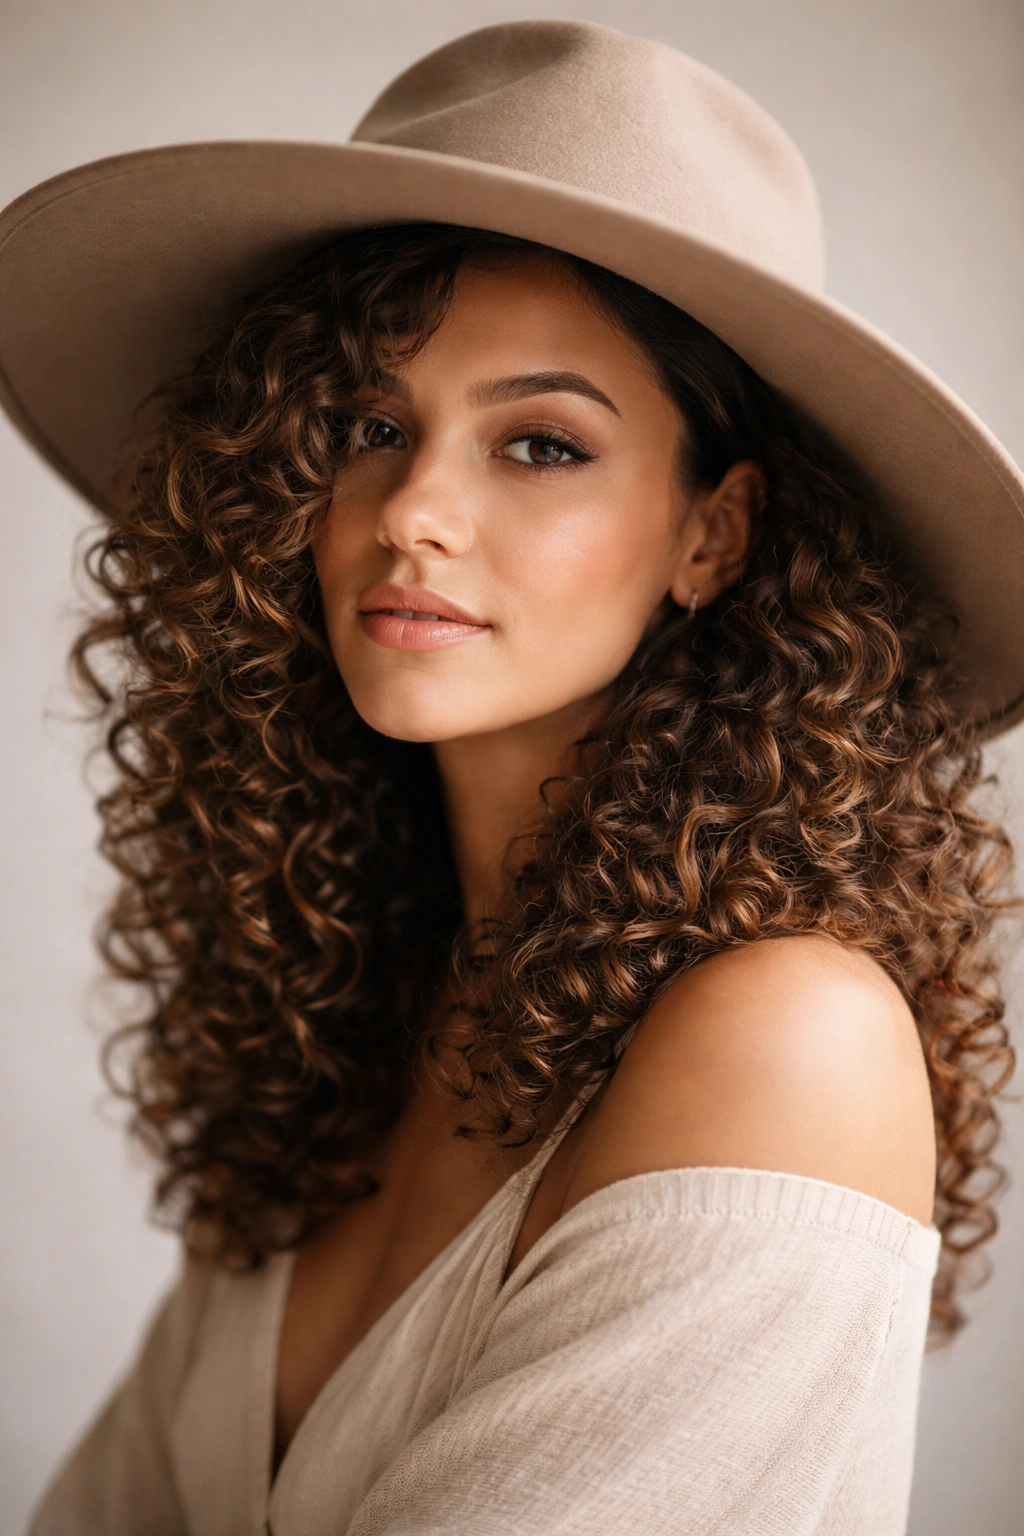
Wide brims ask for movement, not stiffness. A deep side part gives the curls a direction, and that direction keeps the look from collapsing into a flat oval under the hat. I like this one when the curls are freshly defined and still have enough spring to brush the shoulders.
The part does most of the work. Put the heavier side where the brim naturally casts a shadow, then let the lighter side show a little more volume near the cheekbone. That unevenness is the charm. It also keeps the hat from competing with the hair, which is a mistake I see all the time.
A wide-brim hat with a softer inner band feels easier than a stiff one. The front edge can sit just a touch farther back on the head so the curls at the hairline keep some shape instead of getting mushed flat.
One useful trick: tuck one side behind the ear and leave the other side full. That creates a deliberate line, and it keeps the silhouette from looking too busy. It’s simple. It works.
3. The Half-Up Puff That Fits Under a Beanie
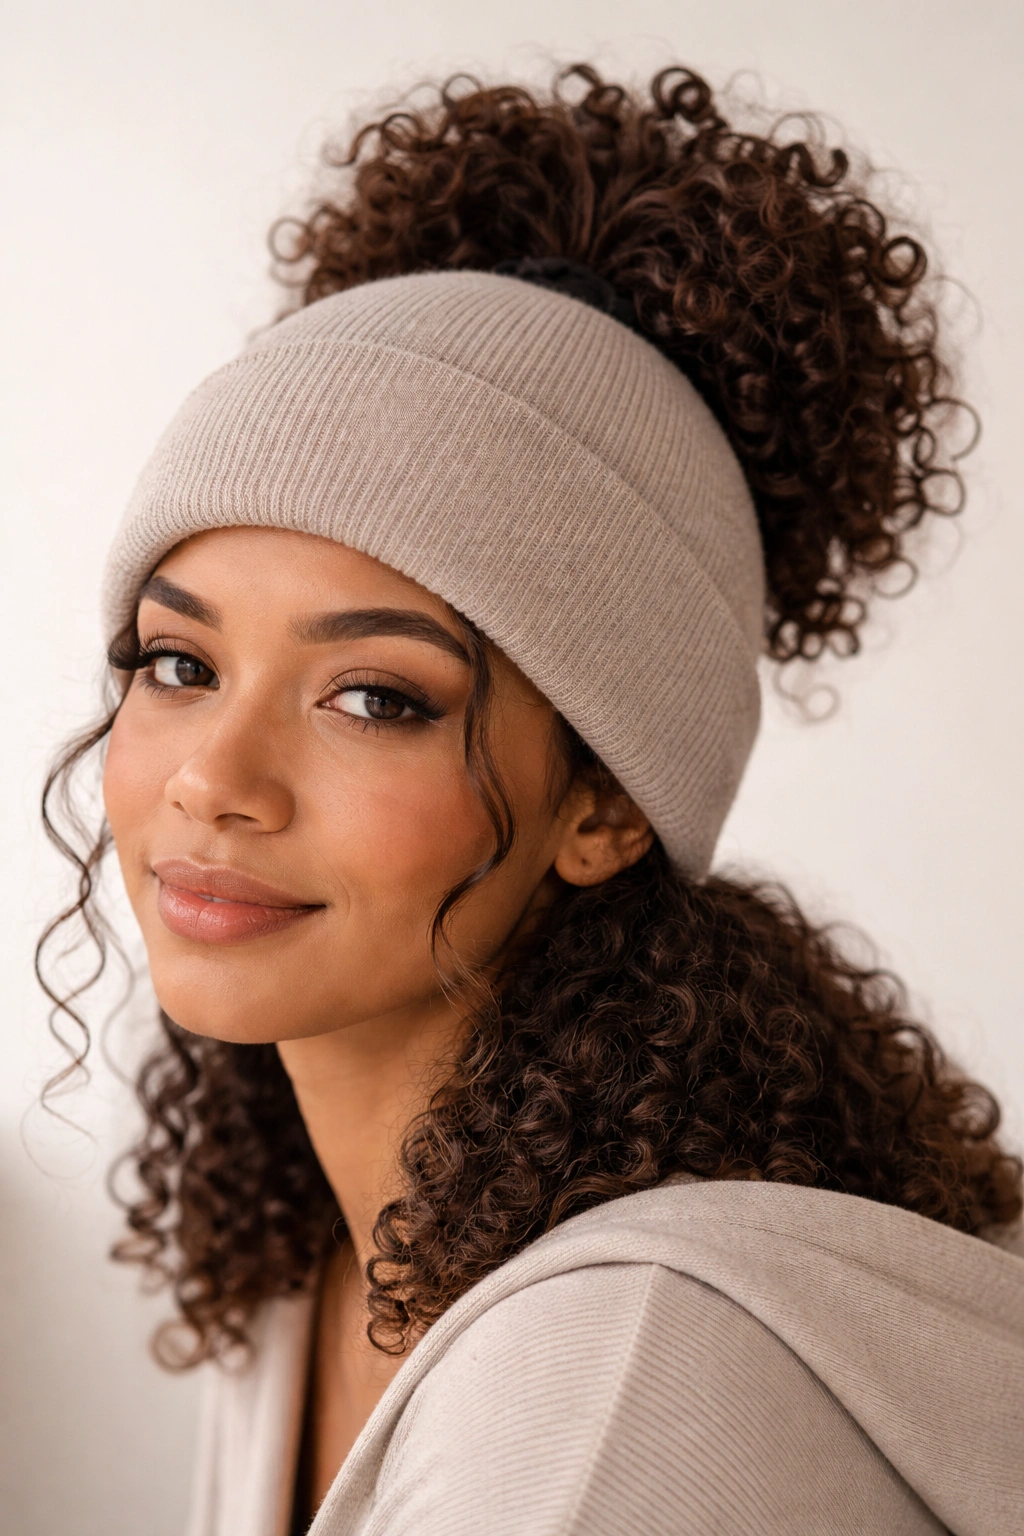
Can a beanie work without flattening your curls? Yes, if you stop trying to hide every strand under the knit. The half-up puff gives the beanie a place to sit while keeping the crown alive, which is why this style saves so many bad hair days.
How to Keep the Crown from Getting Crushed
Pull the top third of your curls into a small puff with a soft elastic or a coil-friendly tie. Don’t yank it tight. You want lift, not tension. Then slide the beanie low enough to cover the sides and back, but not so low that it smothers the puff.
A satin-lined beanie makes this easier, though a regular knit hat can work if you keep the fit loose. Fold the ribbed edge once if it helps the shape sit more cleanly. That extra half-inch can change how much pressure lands on the top curls.
- Use a light leave-in first
- Keep the puff centered or slightly back
- Let a few curls fall around the ears
- Avoid super-tight beanies that pull at the roots
This is one of those styles that looks casual on purpose. If you want it polished, smooth the front with your hands before the hat goes on. If you want it messier, don’t touch it much at all.
4. A Defined Wash-and-Go With a Bucket Hat
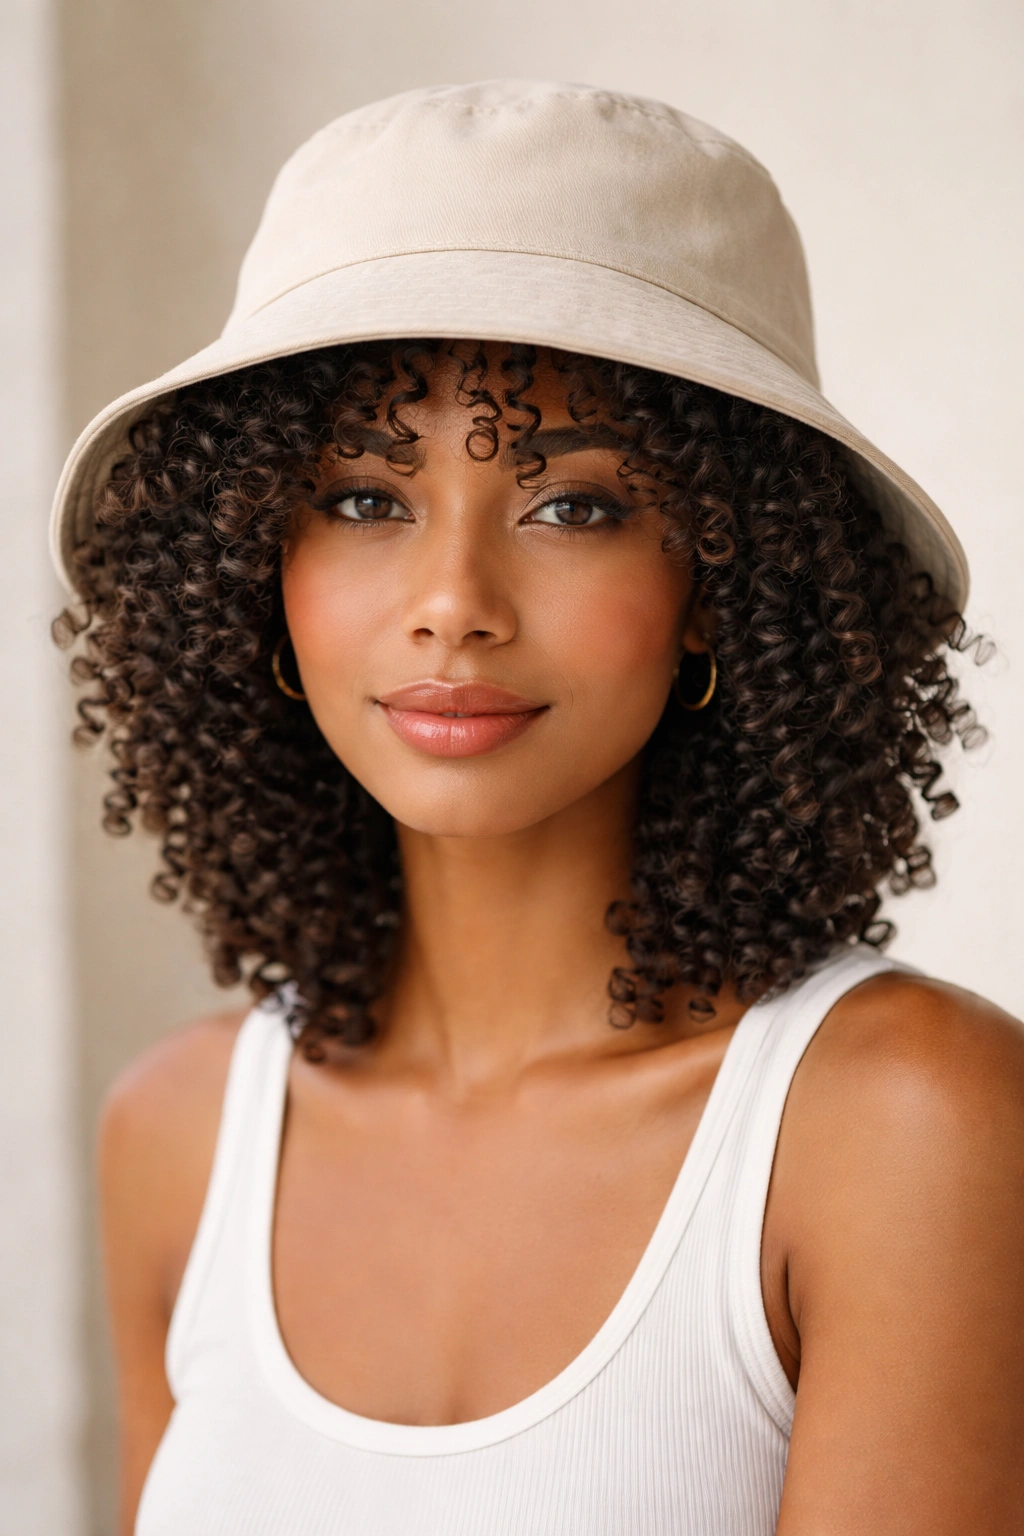
Picture a bucket hat, a fresh wash-and-go, and coffee in one hand. That’s the vibe here. This style works because the brim of a bucket hat drops low enough to protect the top while the curls below it stay visible and defined.
The key is definition. If the curls are frizzy and stretched out, the hat can make them look even less intentional. A curl cream plus a light gel usually gives enough hold for the shape to survive the brim. I prefer a softer bucket hat with a crown that has some depth. A stiff one can sit too tightly and make the hair under it puff in odd places.
This look is easy on looser curl patterns, but tighter coils can pull it off too if the hat isn’t jammed down. Let the front curls peek out a little. Let the back do its thing. The shape should look like it belongs there, not like the hat won a fight.
If your hair is longer, a loose low knot at the back can help. Keep it soft. You are not building a ballerina bun here.
5. Low Twists Hidden Under a Fedora
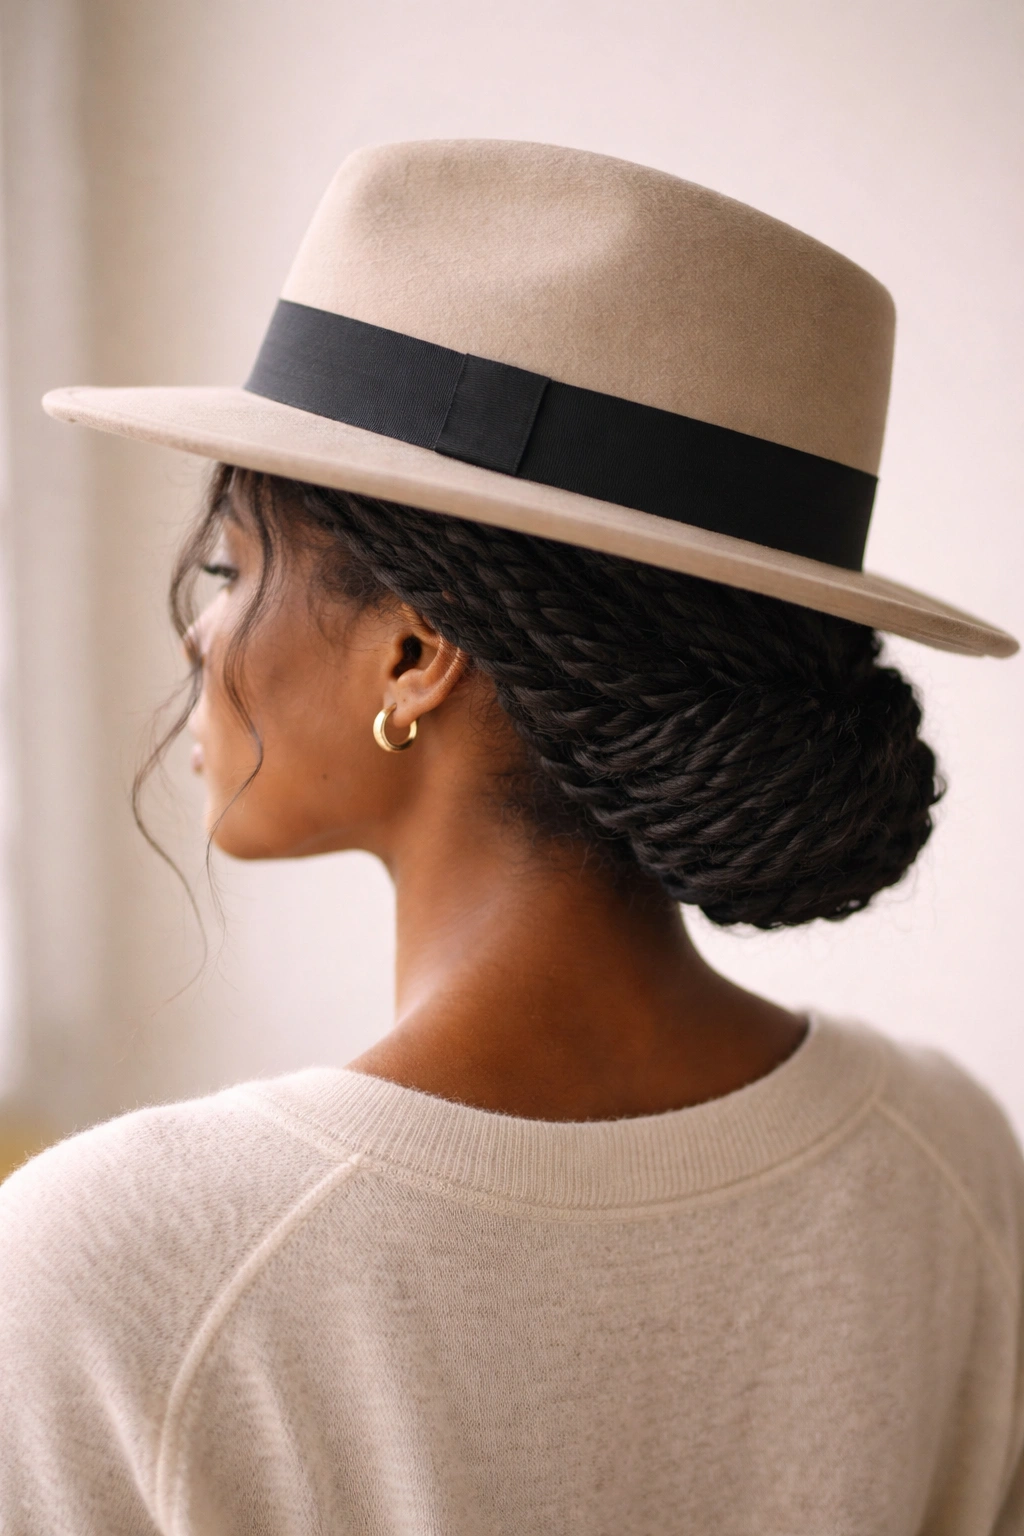
Unlike loose curls, low twists can take a little pressure and keep their shape. That’s what makes them such a smart match for a fedora, which tends to have a firmer crown and a more structured band than most casual hats.
Twists and flat twists give the hair a smoother base, so the fedora can sit without creating chaos at the sides. You still get texture, but it’s controlled texture. I reach for this when I know the hat will be on and off all day, or when I don’t want to spend time refreshing curls later.
What Makes It Different
Twists reduce the amount of free curl that can frizz up under the brim. They also make the roots look cleaner, which matters because a fedora draws attention right to the head shape. If the base is neat, the whole style reads sharper.
This style is a good fit for:
- Medium to long curly hair
- Humid days when frizz is a nuisance
- Styles that need to last from morning to evening
- Hat fits that sit lower on the crown
Leave the twist ends tucked low at the nape, or pin them under softly. The hat should rest over the smoother top section, not crush the most textured part of your hair. That little difference is why this style holds up better than most people expect.
6. Curly Bangs and a Soft Beret
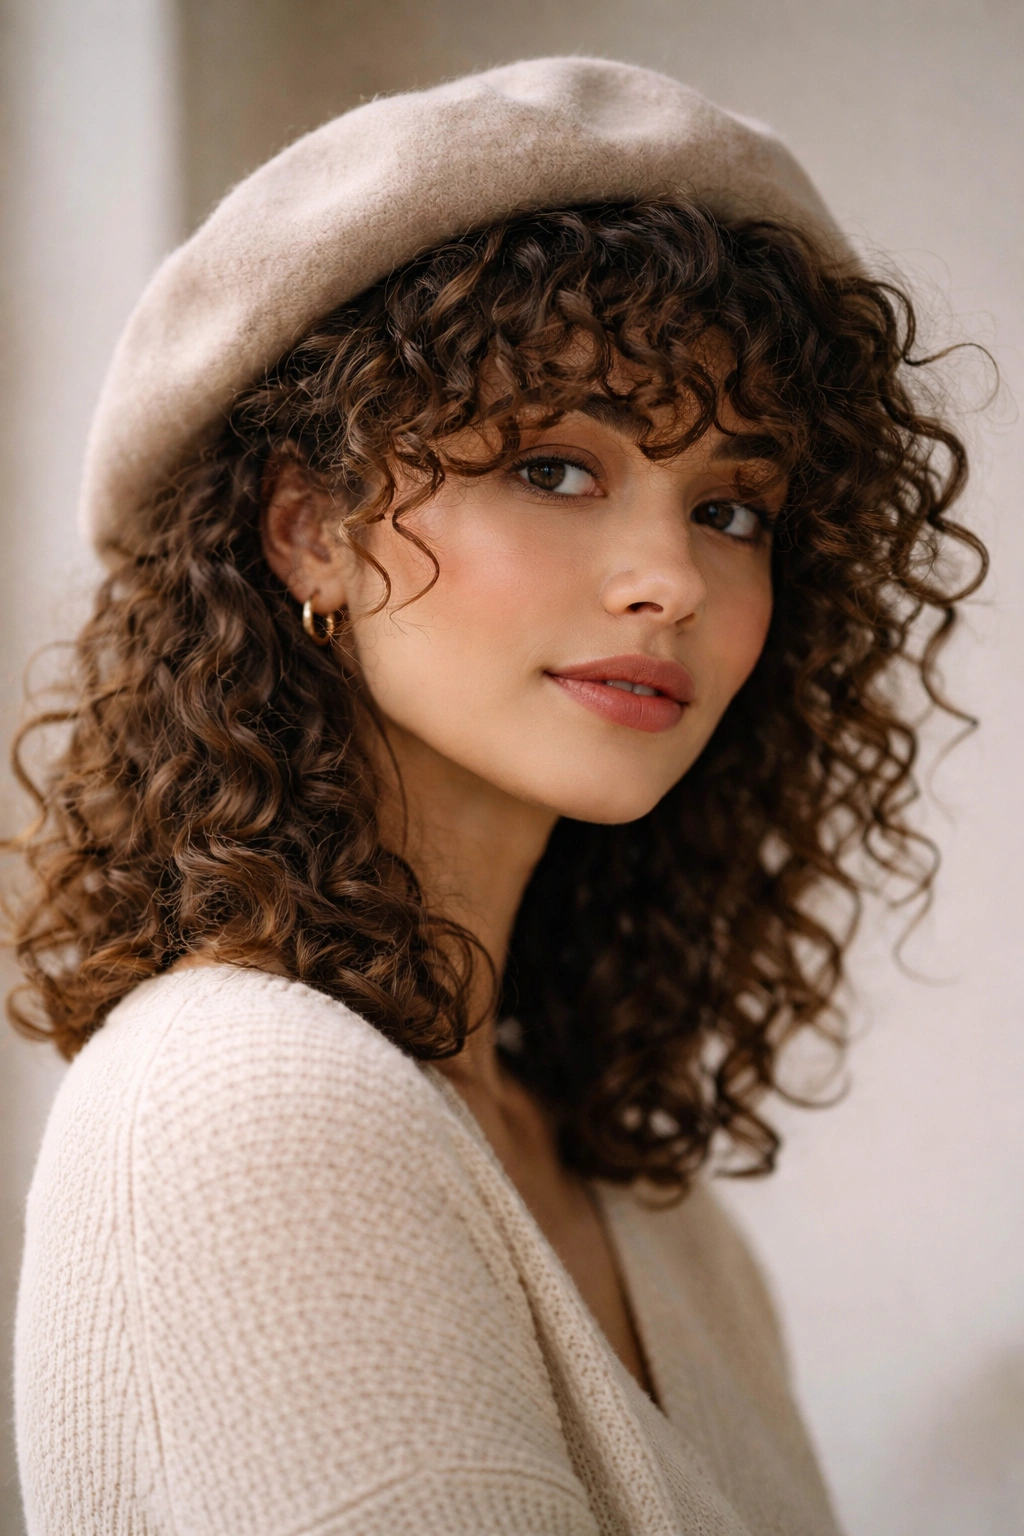
I like curly bangs under a beret more than I probably should. It feels a little bit artsy, a little bit playful, and a lot less fussy than it looks in photos. The beret does not have to sit flat and perfectly centered either. In fact, I think it works better when it’s angled slightly back so the bangs get room to breathe.
This style is all about front texture. If your bangs already have shape, let them show it. If they’re a little wild, even better. The beret softens the whole look, so you do not need every curl to behave. That’s the appeal.
A middle part gives a cleaner finish. A side part feels looser and more relaxed. Either one can work, but the beret should never sit so low that it smashes the fringe. That’s the whole style gone.
I’ll say this plainly: if you love your bangs, use a beret instead of a flatter hat. The shape is kinder to the front section, and the rest of the hair can stay easy.
7. The High Puff That Lets a Cap Sit Cleanly

A high puff with a cap can look sharper than a bun. It keeps the curls up and visible, which means the hat isn’t doing all the visual work. The shape feels energetic, and that matters when you want a hat to look like part of the outfit instead of a last-minute fix.
Nope, you do not need to flatten it.
How to Shape the Silhouette
Gather the curls high enough that the puff sits above the nape line, then position the cap so it sits a touch farther forward or slightly angled. Some people wear the cap backward with this style. Others leave it forward but let the puff show clearly behind it. Both can work. The exact angle depends on how full your curls are.
The main thing is not to force the cap down over the puff. That just makes the hat look tight and the hair look half-done. Let the puff have its own space.
- Use a stretchy tie that won’t snag
- Smooth the edges before you gather the hair
- Keep the puff rounded, not stretched flat
- Choose a cap with an adjustable back if possible
This is a strong look for dense curls and coils that naturally want height. It has a little swagger to it, which I appreciate.
8. Sleek Front Pieces Under a Sun Hat
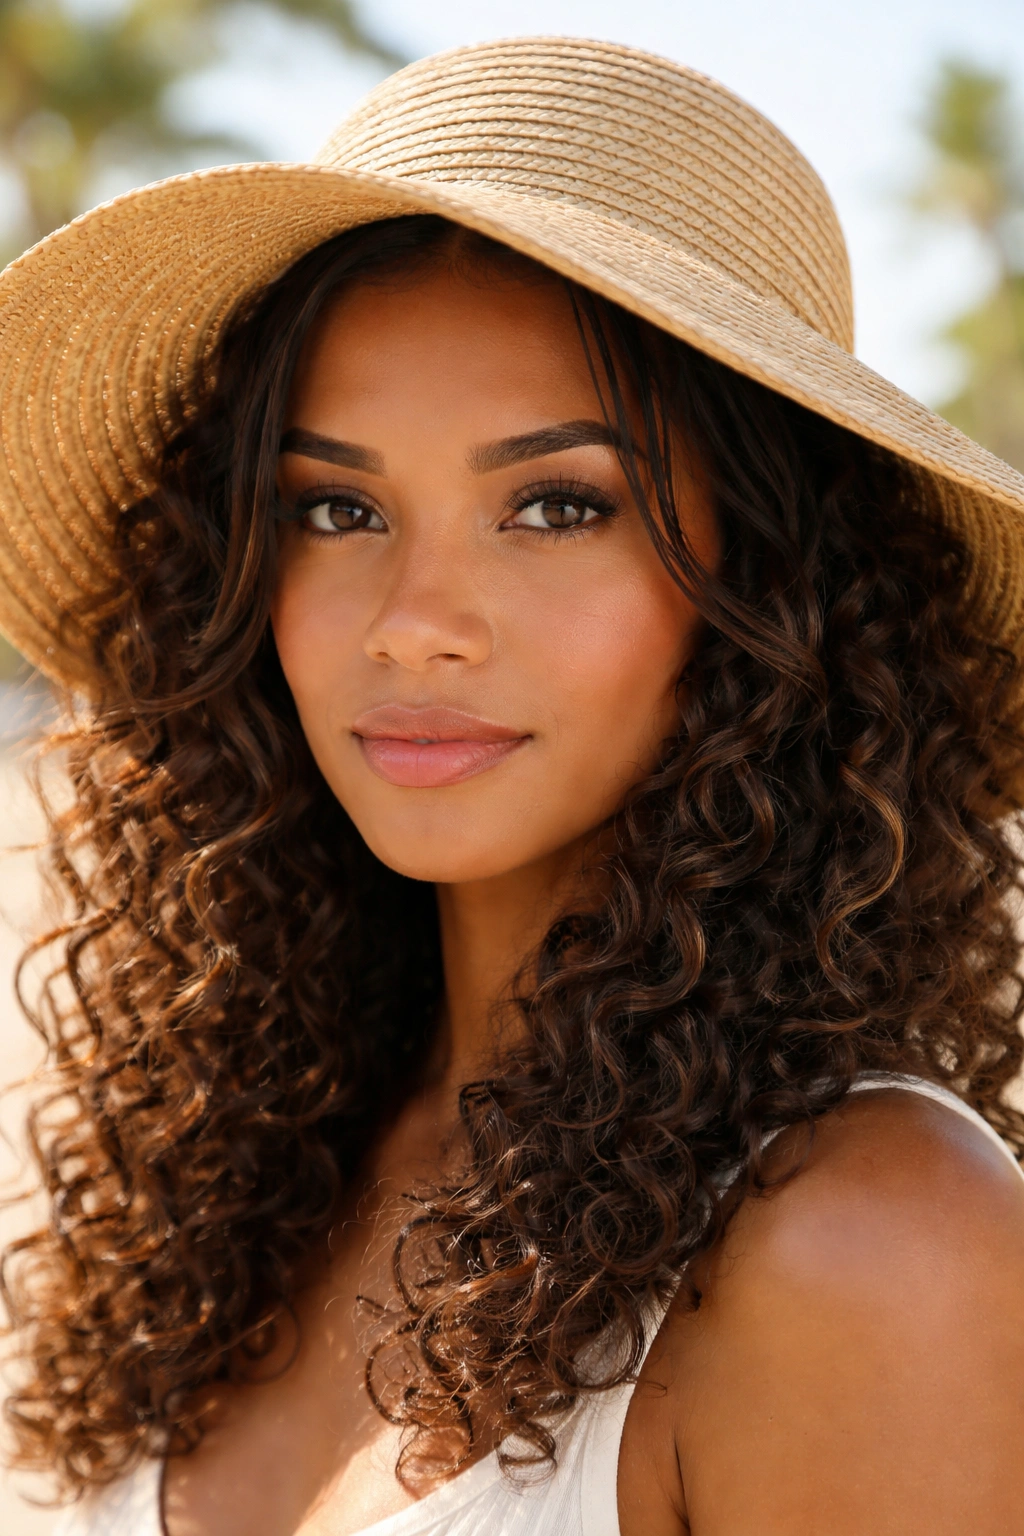
What happens when you want sun protection and face-framing curls at the same time? You split the job. The front pieces get a little smoothing, the rest of the hair stays loose, and the sun hat does the broad-brim part without stealing all the attention.
I like to soften the front two inches with a bit of gel or edge control, then leave the rest of the curls more relaxed. That keeps the hairline neat under the brim, which matters because a sun hat can press right where the front curls want to spring out. If the front is too bulky, the whole hat sits awkwardly.
The best sun hats for this look have a band that feels soft against the hairline. Some straw hats can scratch, and that gets old fast. A thin satin scarf underneath can help if the interior feels rough.
Where to Stop Smoothing
Stop at the temples. Maybe a little farther back if your hair is thick. The goal is not a helmet of slick hair. It’s a clean front edge with enough softness left in the rest of the curls that the style still feels like yours.
This one works especially well for outdoor lunches, market runs, or any day when you want your hair to look polished without spending twenty minutes on it.
9. Side-Clipped Curls Under a Newsboy Cap
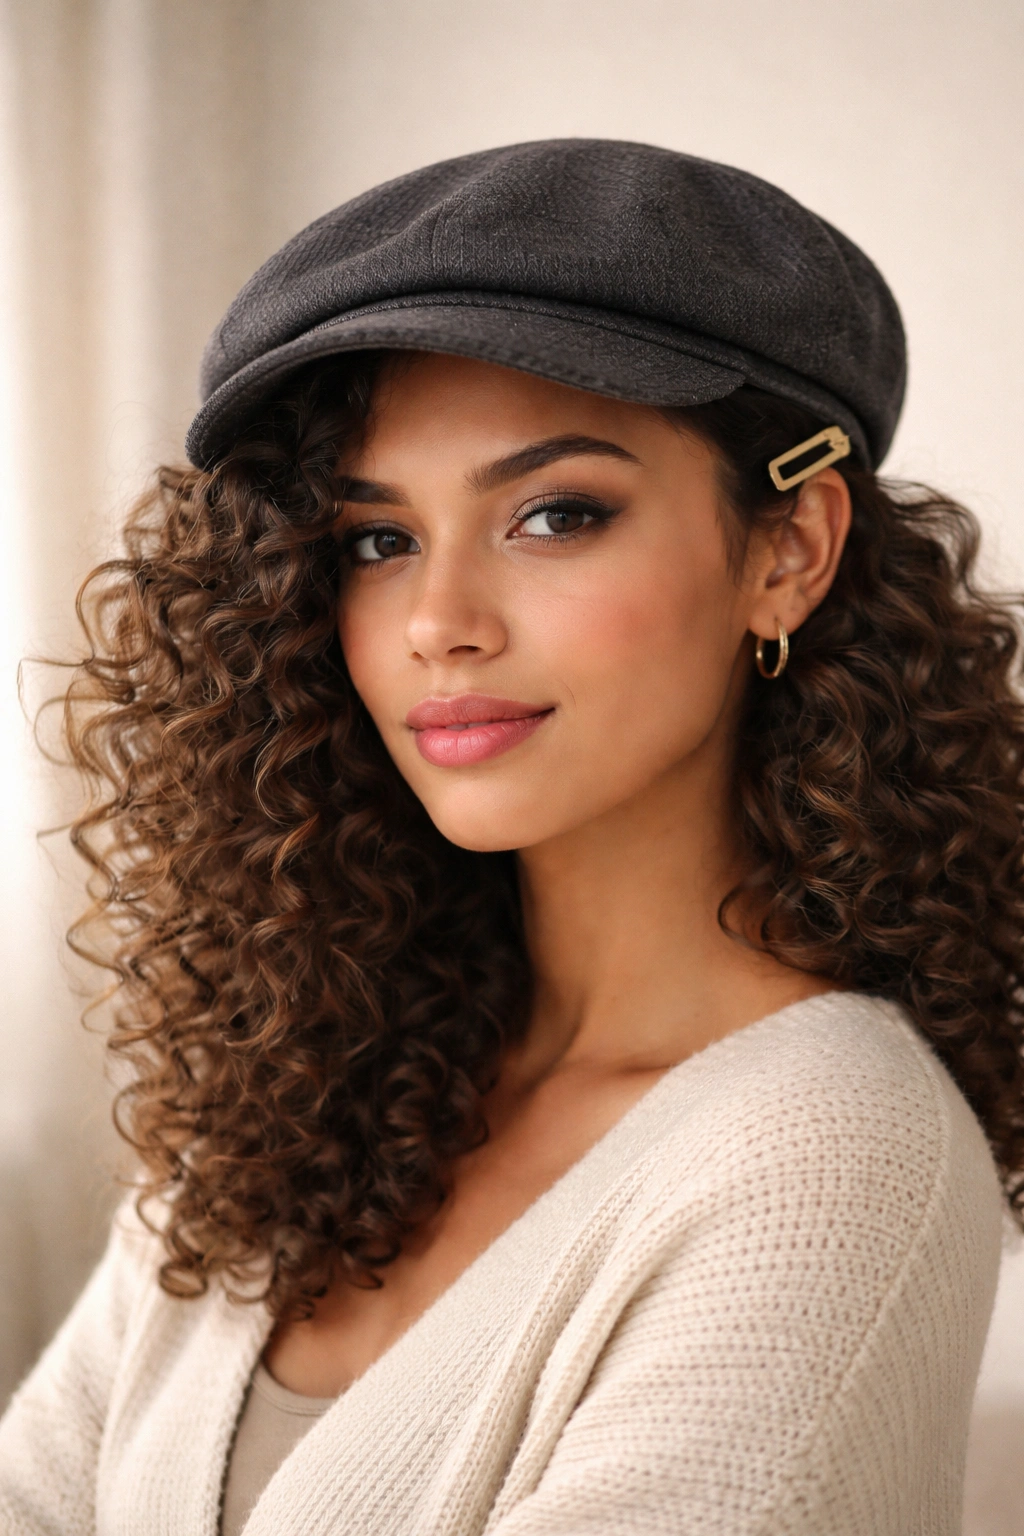
A newsboy cap changes the whole mood of curly hair. It sits with more shape up top and more presence around the front, so side-clipped curls make sense here. One side stays controlled, the other side gets to live a little. That contrast is what makes the look feel finished.
I usually part the hair deeply to one side, then clip the smaller side near the temple with a flat clip or a slim barrette. The cap goes on after that, and the curls on the fuller side spill out in a way that feels deliberate. The clip keeps the shorter side from puffing up under the edge of the cap.
This works especially well with medium-length curls and bob-length cuts. Shorter layers around the face can make it even better, because they frame the cheeks instead of disappearing under the brim.
A quick note on hardware: choose a clip with a flat back. Big decorative claws can fight the cap and leave a weird lump.
- Deep side part
- One flat clip at the temple
- Light curl cream for frizz control
- Cap tilted just enough to show the part
This style has a little polish, but not in a stiff way. It feels easy to wear.
10. A Braided Crown Under Any Hat
Braids beat loose curls when the hat comes on and off all day. They give you a smooth perimeter around the head, which means the hat can sit without turning the hairline into a frizzy mess. The crown braid, or a pair of braids wrapping the top edge, is one of the most useful hat hairstyles for curly hair if you need things to last.
How to Braid for Hat Wear
Part the hair from ear to ear or circle the hairline with a loose braid, depending on the length you have. Keep the braid close enough to the head that the hat can rest over it, but not so tight that it pulls at the scalp. A little softness matters here.
If your hair is long, tuck the ends low at the back. If it’s shorter, pin the braid ends flat and let the curls in the back stay loose. The hat then covers the smoothest part of the style, while the texture still shows where it matters.
This is a good match for bucket hats, wide brims, beanies, and even caps. It also holds up better if the weather is windy. Braids don’t get flung around as easily, which is a small mercy when you’re outdoors for hours.
The look is practical, but it’s not dull. That matters to me.
11. The Loose Side Sweep With a Trucker Cap
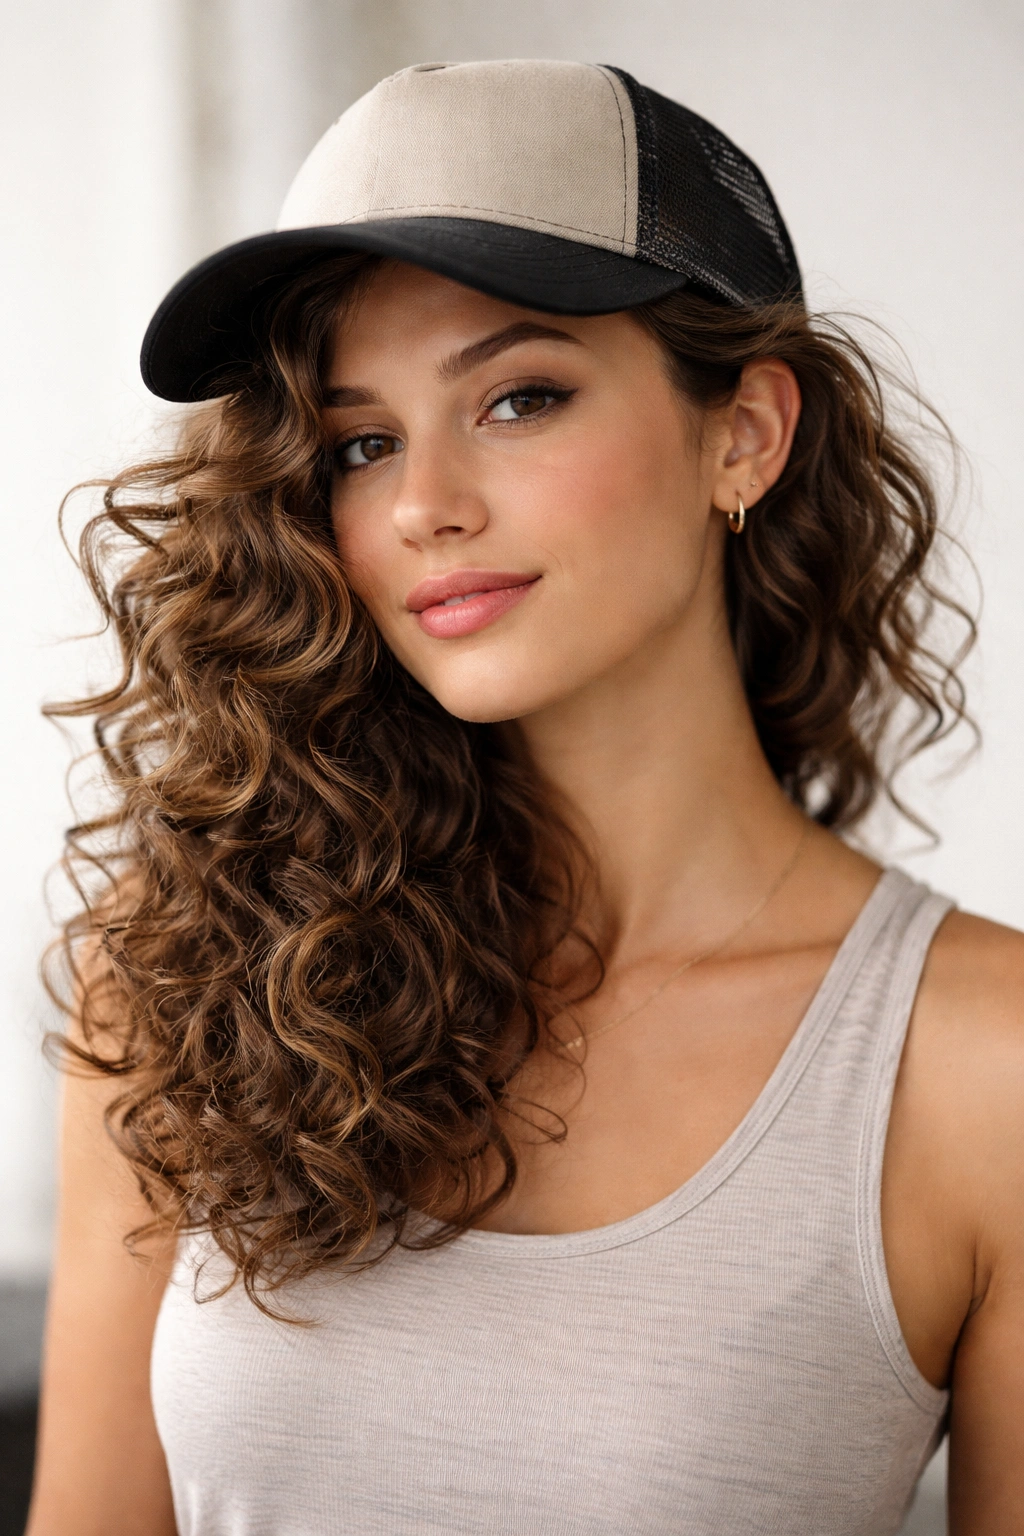
Trucker caps are not the curly-hair villain people make them out to be. The mesh back helps with airflow, and the front panel only becomes a problem if you push it too low. Wear it with a side sweep and suddenly the whole thing feels lighter.
The trick is asymmetry. Sweep the curls to one side, let the front panel sit a touch higher on the forehead, and keep the crown from getting squashed. If your hair is thick, size up a little so the cap has room instead of pressing into the roots. That one change can save the style.
This is one of the easier looks for errands, gym runs, and casual weekends. It does not ask for a polished finish. It wants movement, a bit of lift, and a side that looks intentionally fuller than the other.
Quick Fixes That Help
- Lift the cap a little at the front
- Use a small root clip if the crown falls flat
- Sweep curls over one shoulder
- Pick a cap with a softer front band
There’s a reason this one keeps showing up in real life. It’s unfussy, and the curls still get to look like curls.
12. The Tucked Nape Puff for Knit Hat Days
Knit hats need the most compromise, so a tucked nape puff wins more often than not. Pulling the curls low at the neck keeps the top from getting flattened into a sad, fuzzy shelf, and it gives the hat a smooth place to sit. You still get shape at the back, just not all the way up the crown.
I like to smooth the top lightly with leave-in or a tiny bit of cream, then gather the curls into a soft puff at the nape. Leave a few temple curls out if they help frame the face. The knit hat goes on last, and the whole thing should feel snug but not tight. If the hat has a scratchy interior, a thin silk or satin scarf underneath makes a bigger difference than people expect.
This style is not trying to be fancy. It is trying to keep your curls from turning into a frizz cloud when the weather calls for warmth.
Some days that is enough.
And honestly, it usually is. When you find the right hat hairstyle for your curl pattern, you stop treating hats like a problem and start treating them like another part of the look. That shift changes everything, or at least it changes the part you can actually control before walking out the door.