Medium-length hair is the sweet spot for versatility. It’s long enough to create interesting textures and dimension, yet short enough to manage without requiring hours of styling time or an arsenal of products. If you’ve got medium locks, you’ve probably discovered that ponytails are your best friend—they can look polished for work, playful for weekends, or effortlessly chic for basically anywhere in between. The challenge isn’t finding ponytail options; it’s choosing which one suits your mood, your outfit, and the occasion you’re heading into.
The beauty of styling medium-length hair into ponytails is that you don’t need special techniques or professional-level skill. Most of these styles come together in five to fifteen minutes, and they work whether your hair is straight, wavy, curly, or somewhere in between. A few bobby pins, a hair tie or two, and maybe a texturizing product are usually all you need. What makes a ponytail feel “easy” isn’t just the execution—it’s also how forgiving the style is when real life happens. The ponytails that follow won’t fall apart if you’ve got wind, humidity, or an active day ahead.
Medium hair also has an advantage that shorter lengths don’t quite match: you can create actual volume and movement in a ponytail. You’re not fighting against length constraints, and you’ve got enough hair density to make styles look full and intentional rather than sparse or struggling. Whether you prefer your ponytails sleek and polished or textured and tousled, romantic and loose or modern and graphic, there’s genuinely something here that will become a regular rotation in your styling routine.
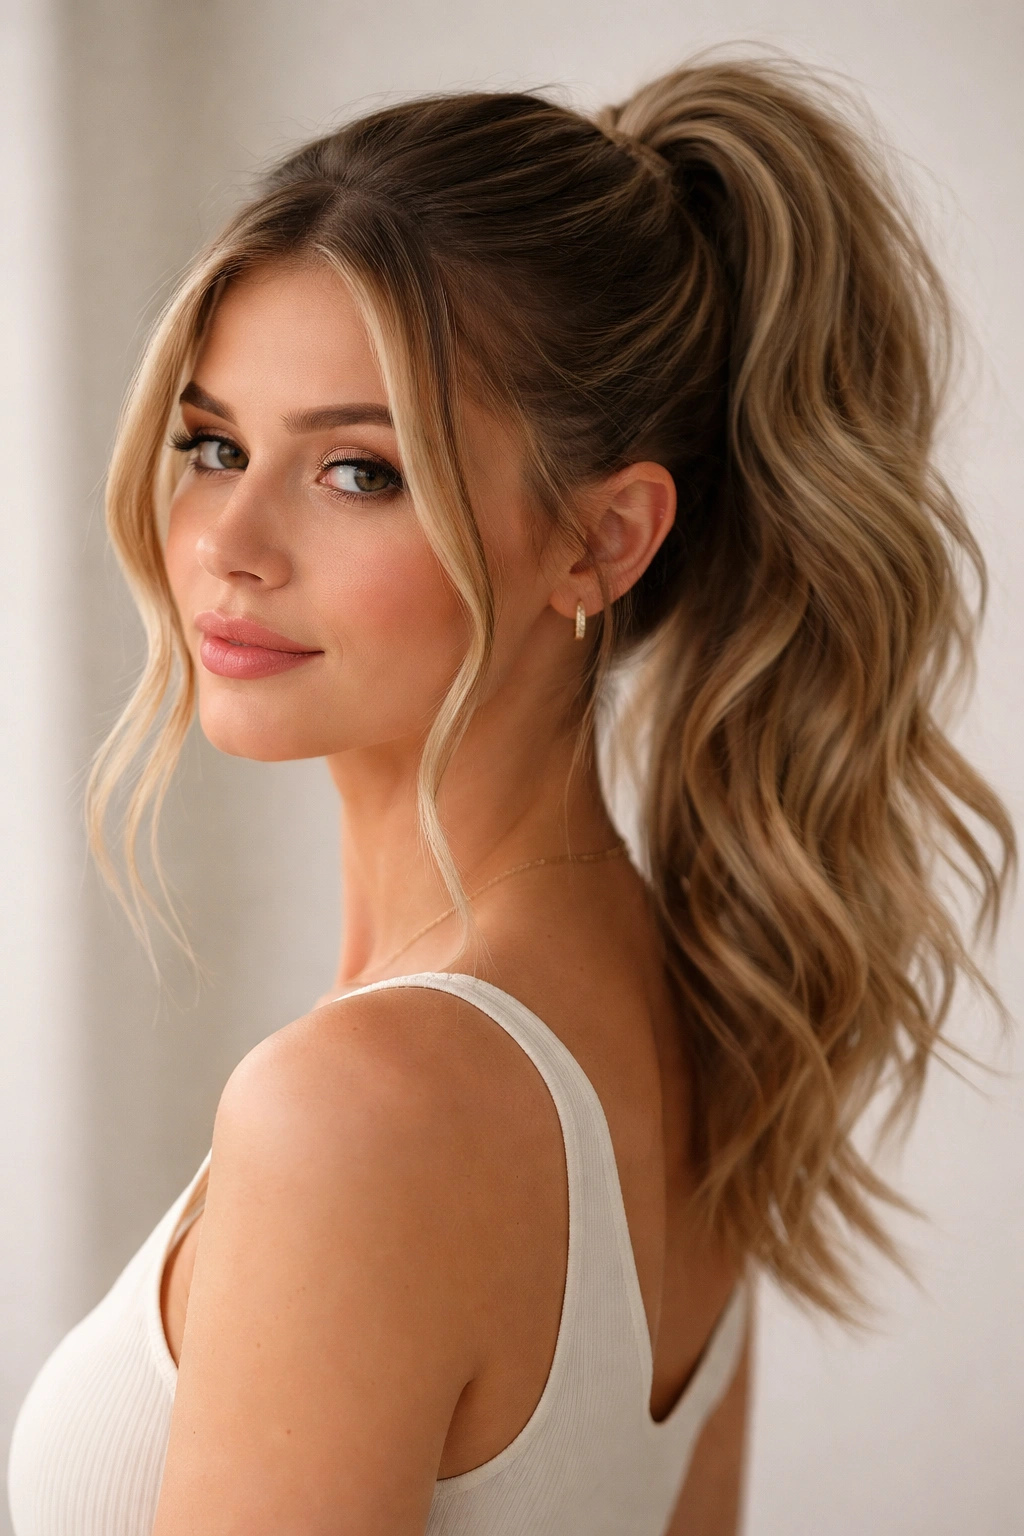
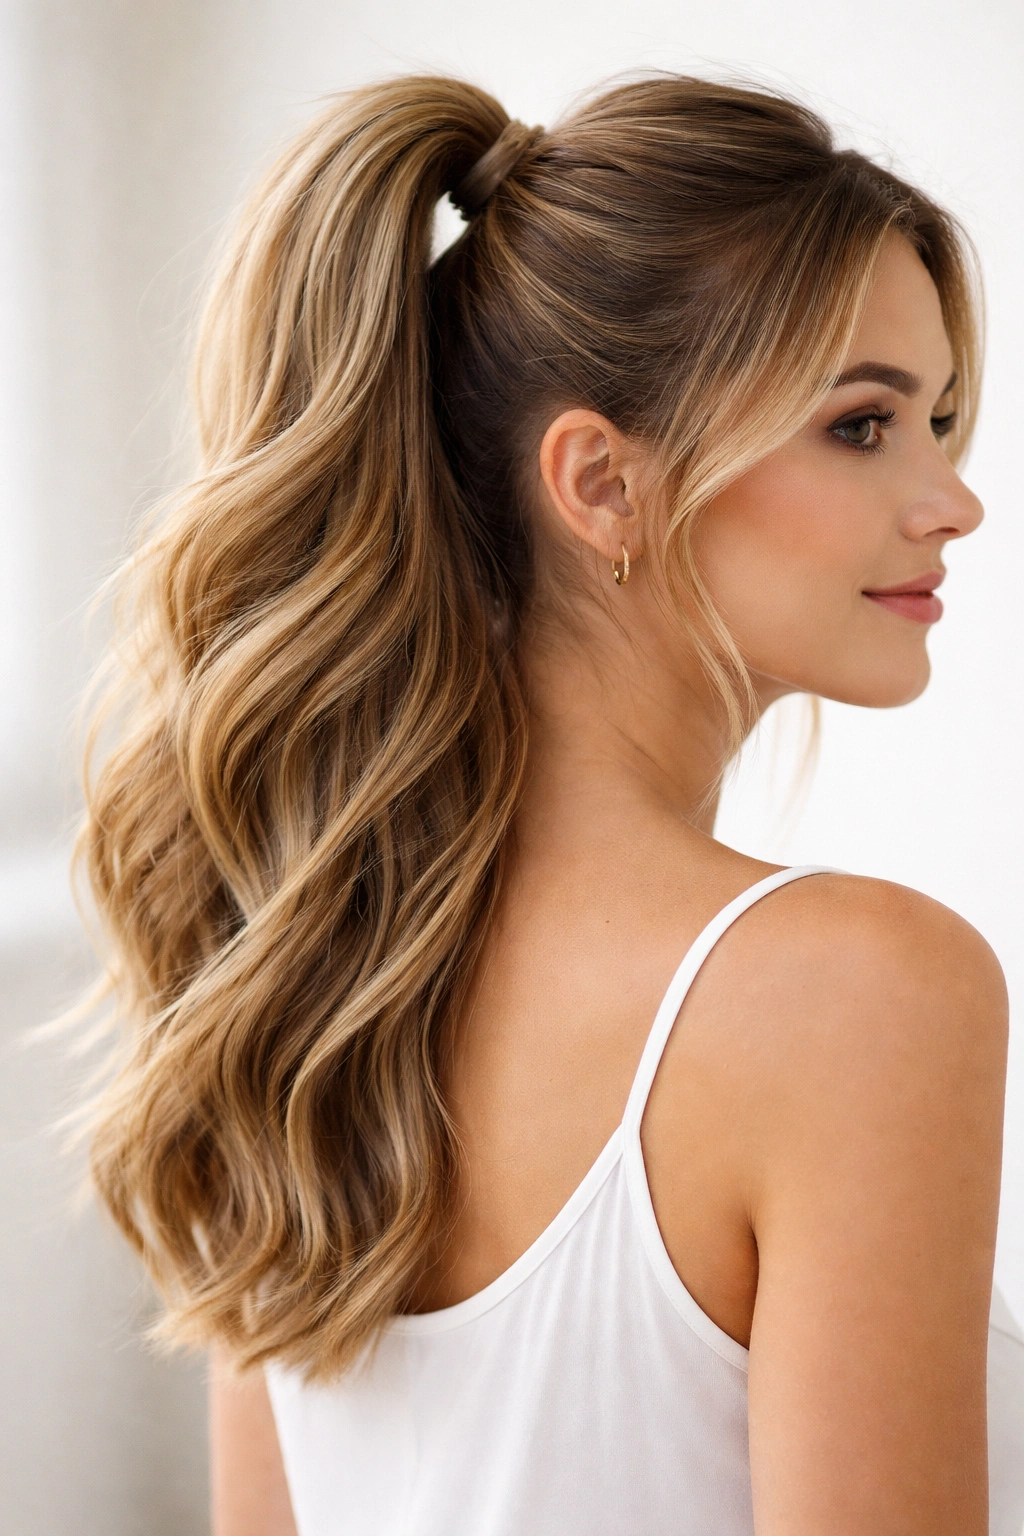
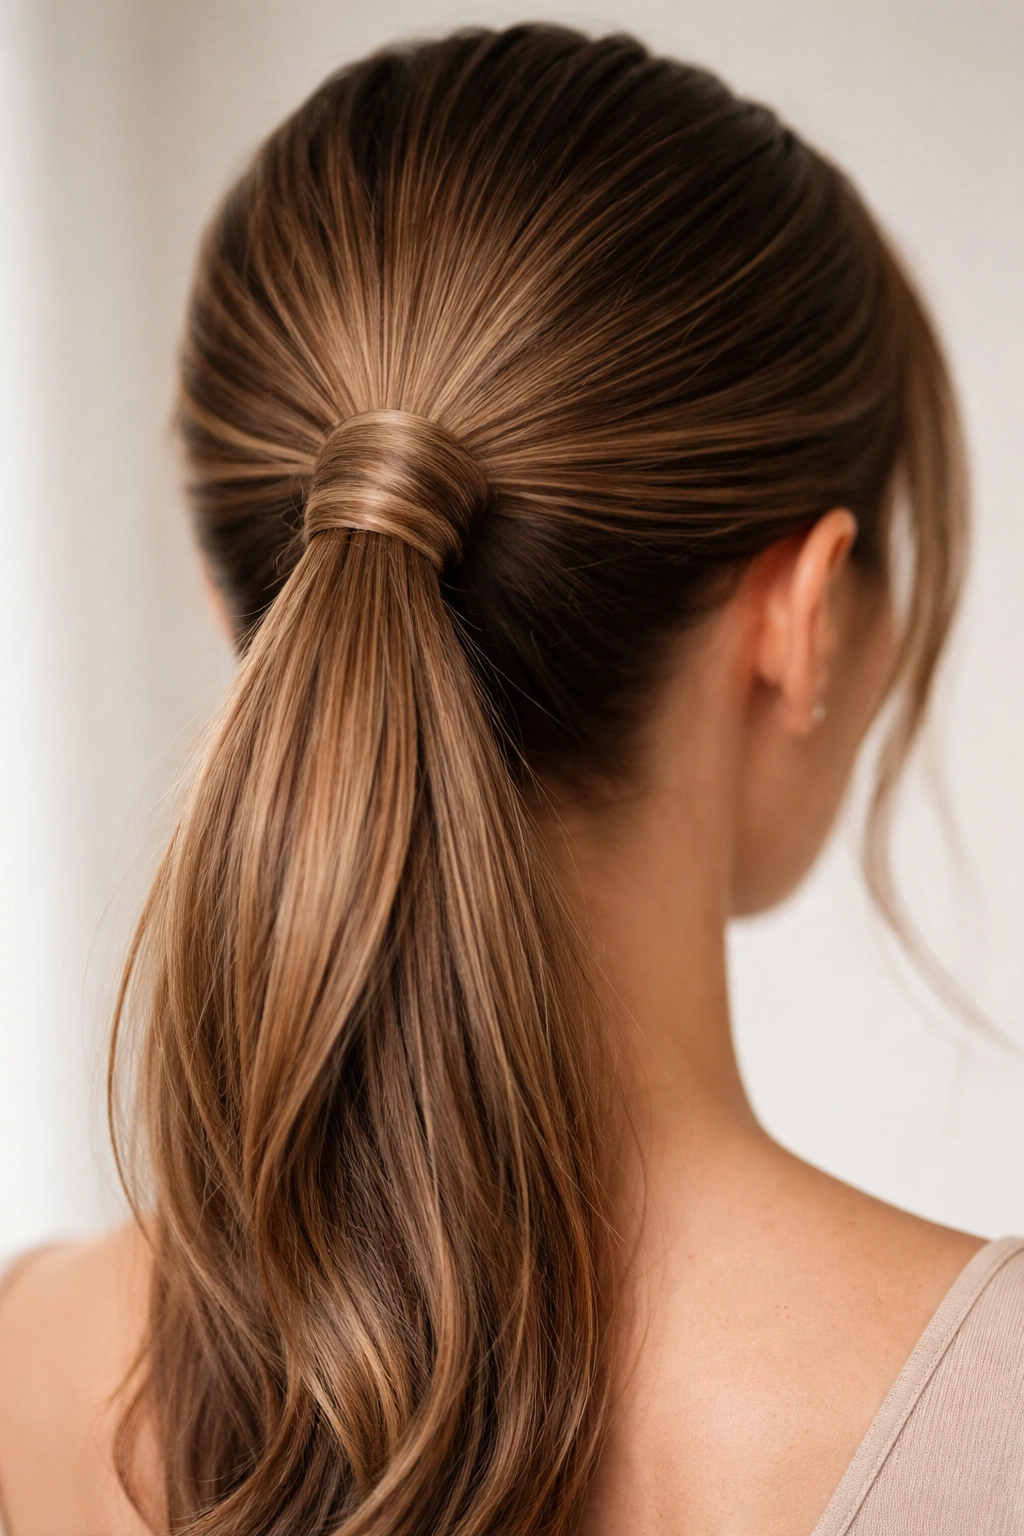
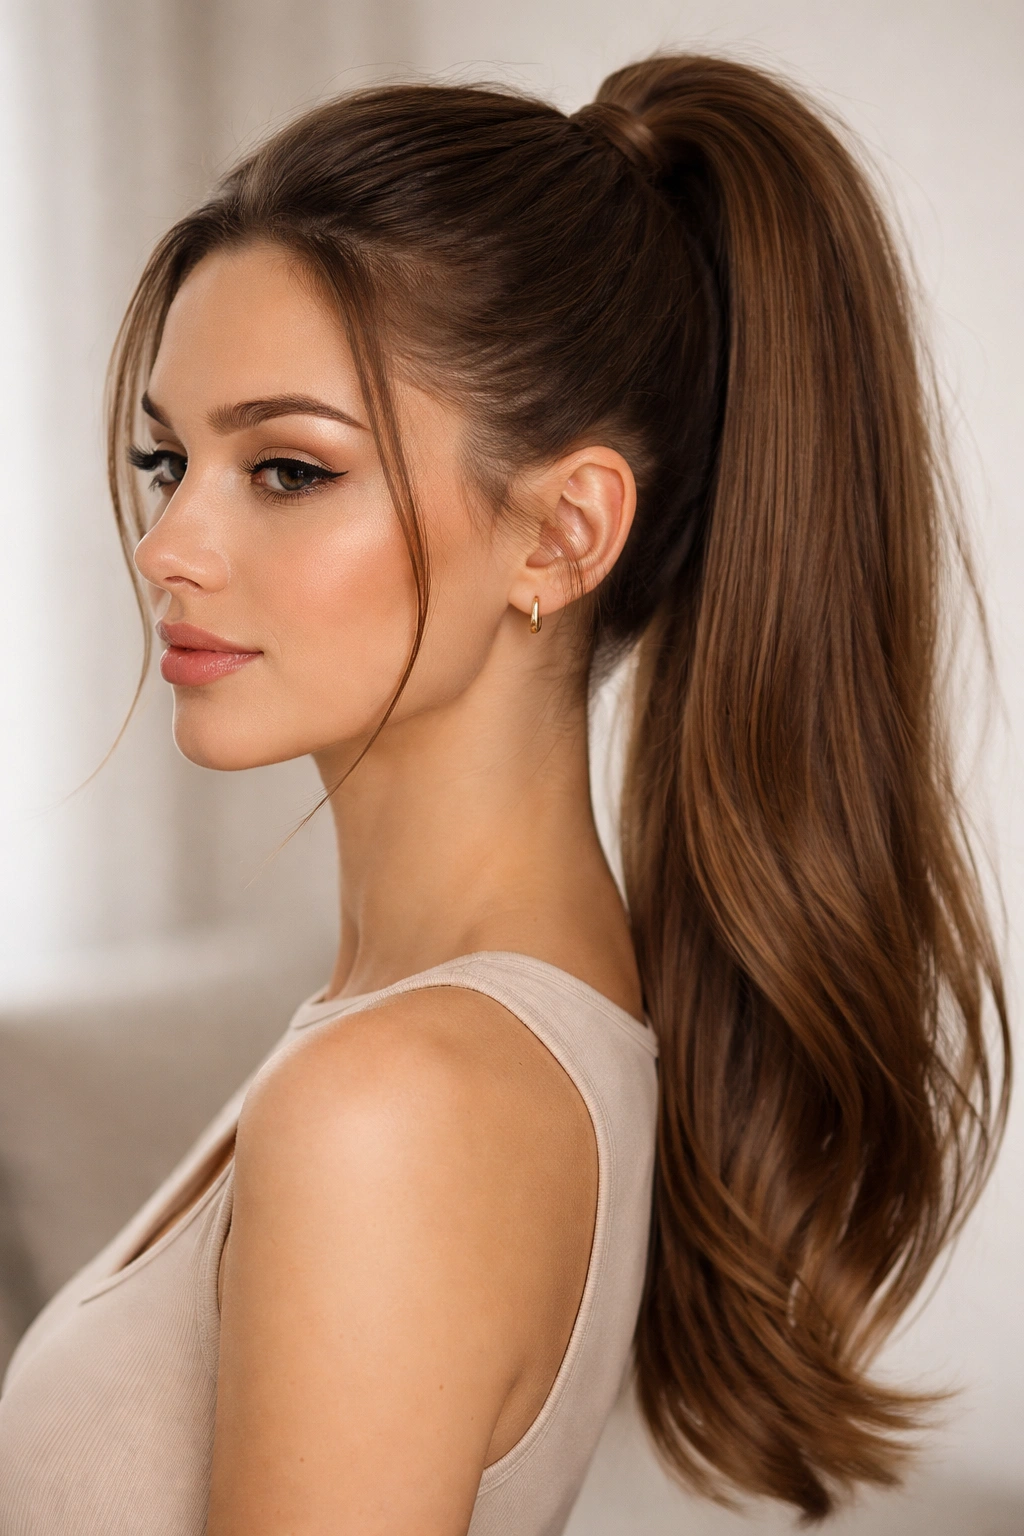
1. The Classic High Ponytail
The high ponytail is the foundational style that works for nearly every situation—professional meetings, casual Friday coffee runs, gym sessions, and everything between. What makes it timeless isn’t just that it works; it’s that the style itself is endlessly adaptable. Worn sleek with a pencil-thin part and zero flyaways, it reads minimalist and sharp. The same basic placement becomes romantic and relaxed when you start with textured waves or finish with a few strategically loose strands around your face.
How to Build It Right
Start with clean or second-day hair and apply a light texturizing spray or volumizing mousse to damp roots—this prevents that flat, plastered-to-your-head feeling that can happen with high ponytails. Blow-dry your hair smooth or wavy depending on your preferred finish. Flip your head upside down and gather your hair into a ponytail at the crown—flipping gives you instant lift and makes the ponytail sit higher naturally. Secure it with an elastic, then flip back upright and gently pull sections of the ponytail to create fullness at the crown.
Styling Tips to Elevate It
- Wrap a small section of hair around the elastic base to hide it and add polish
- Pull baby hairs around your face loose before tying for a softer, less severe look
- Use a boar bristle brush to smooth flyaways without adding weight
- Leave the front inch of roots slightly loose at the scalp for dimension
Pro tip: If your ponytail feels thin or limp by the end of the day, mist it lightly with dry shampoo to restore texture and grip.
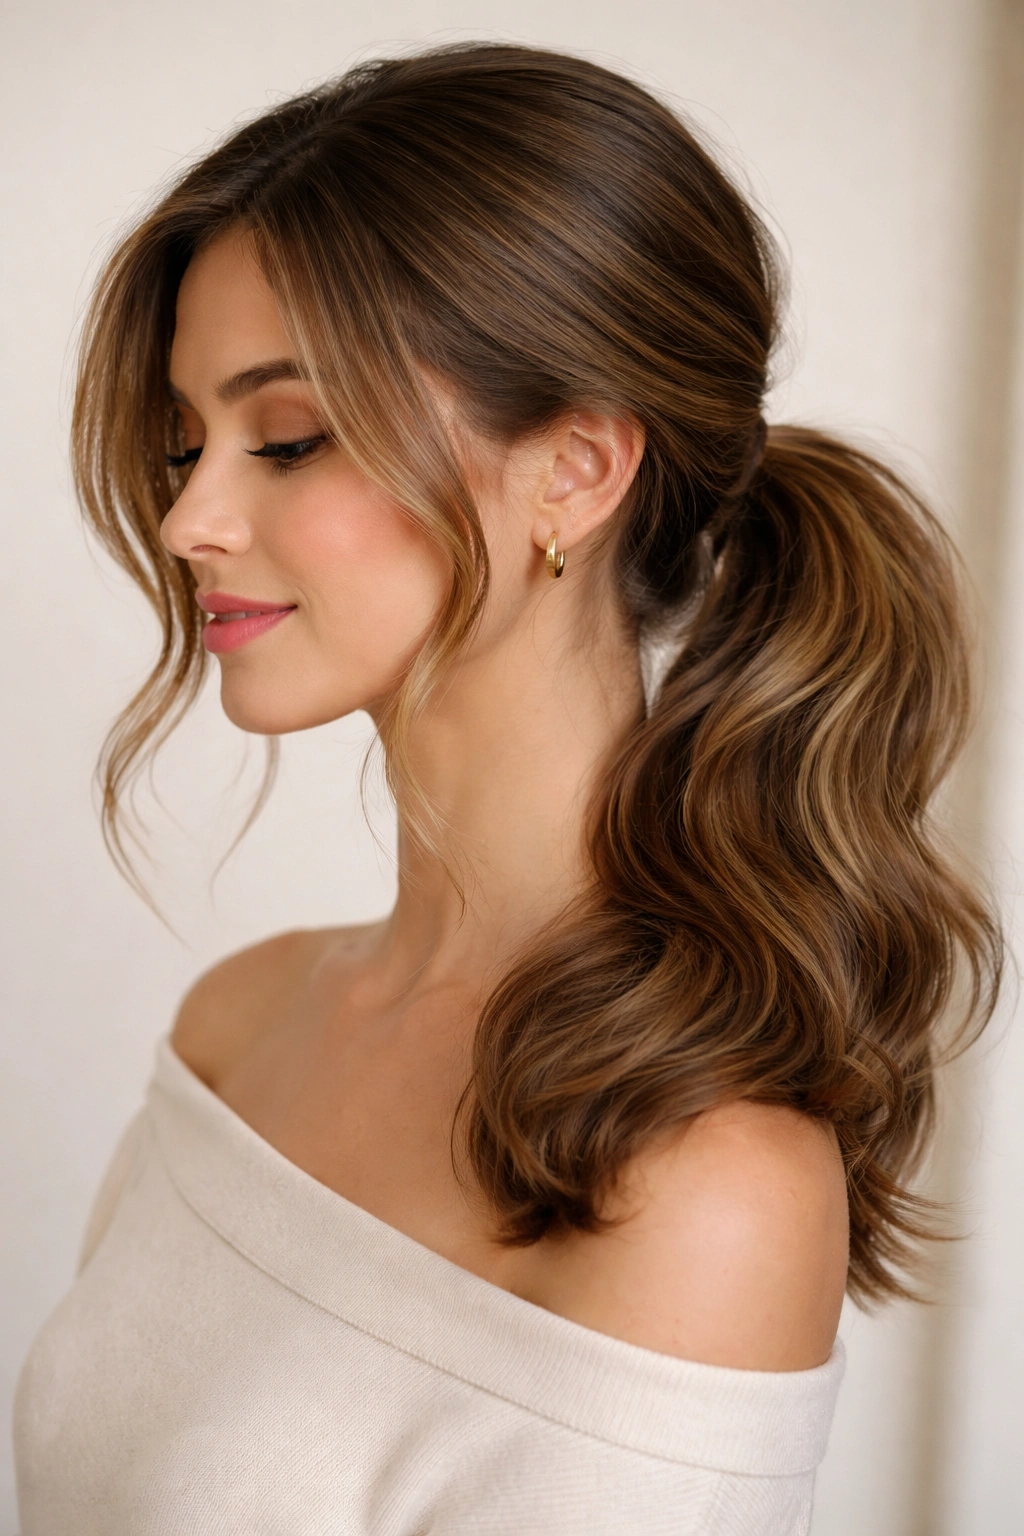
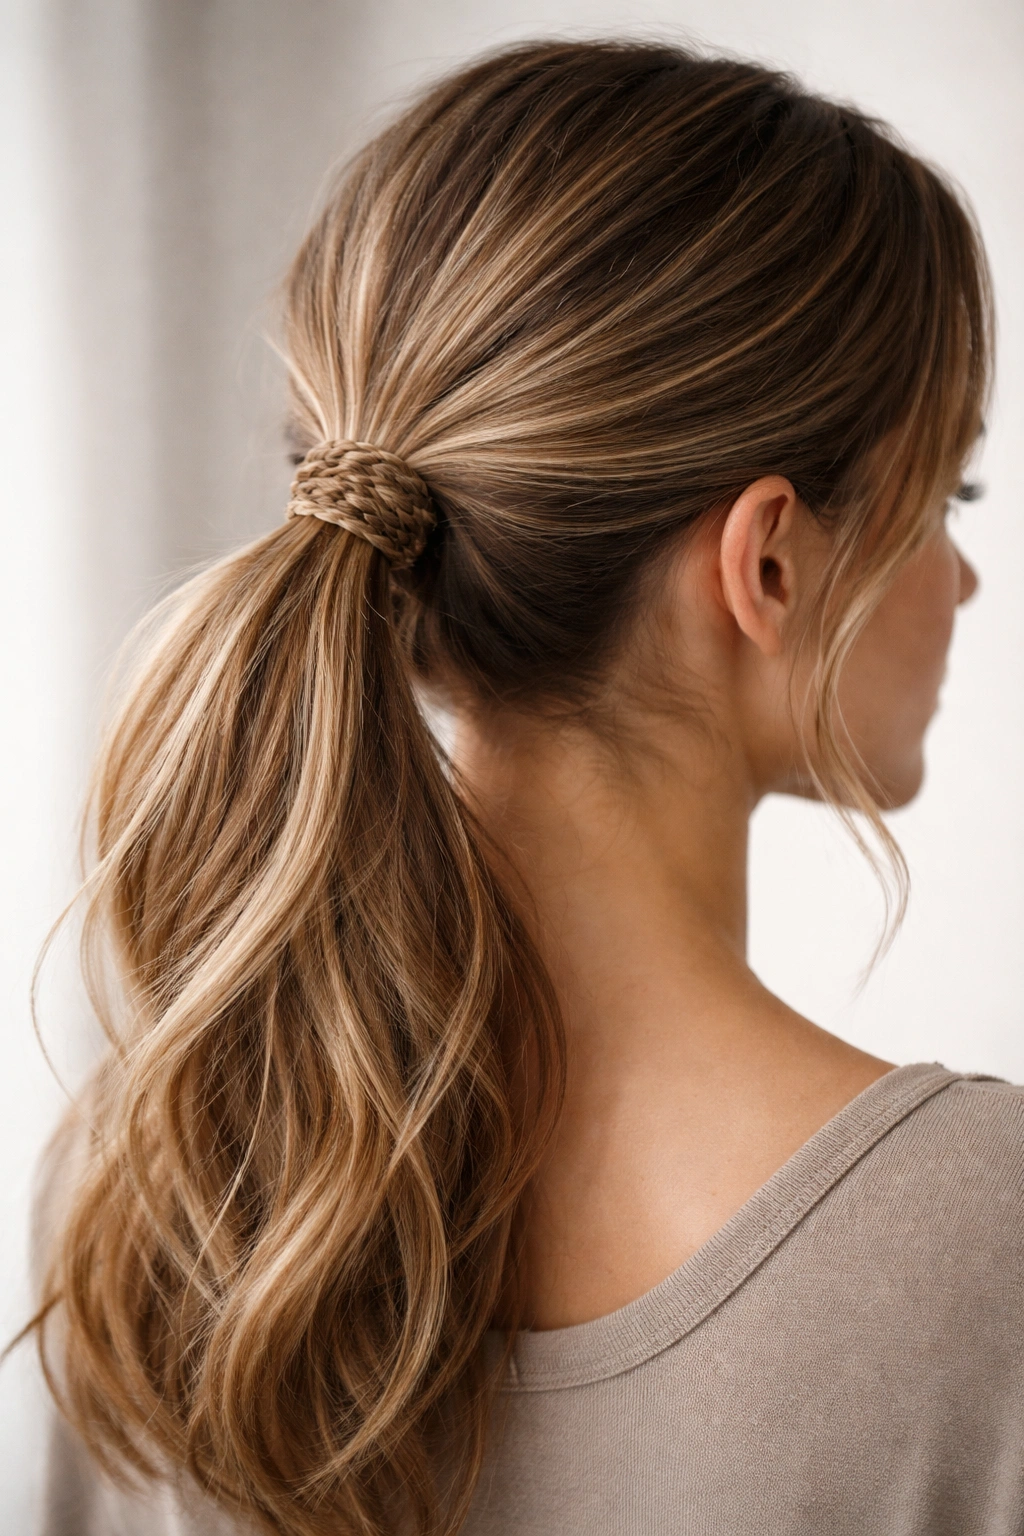
2. The Sleek Low Ponytail
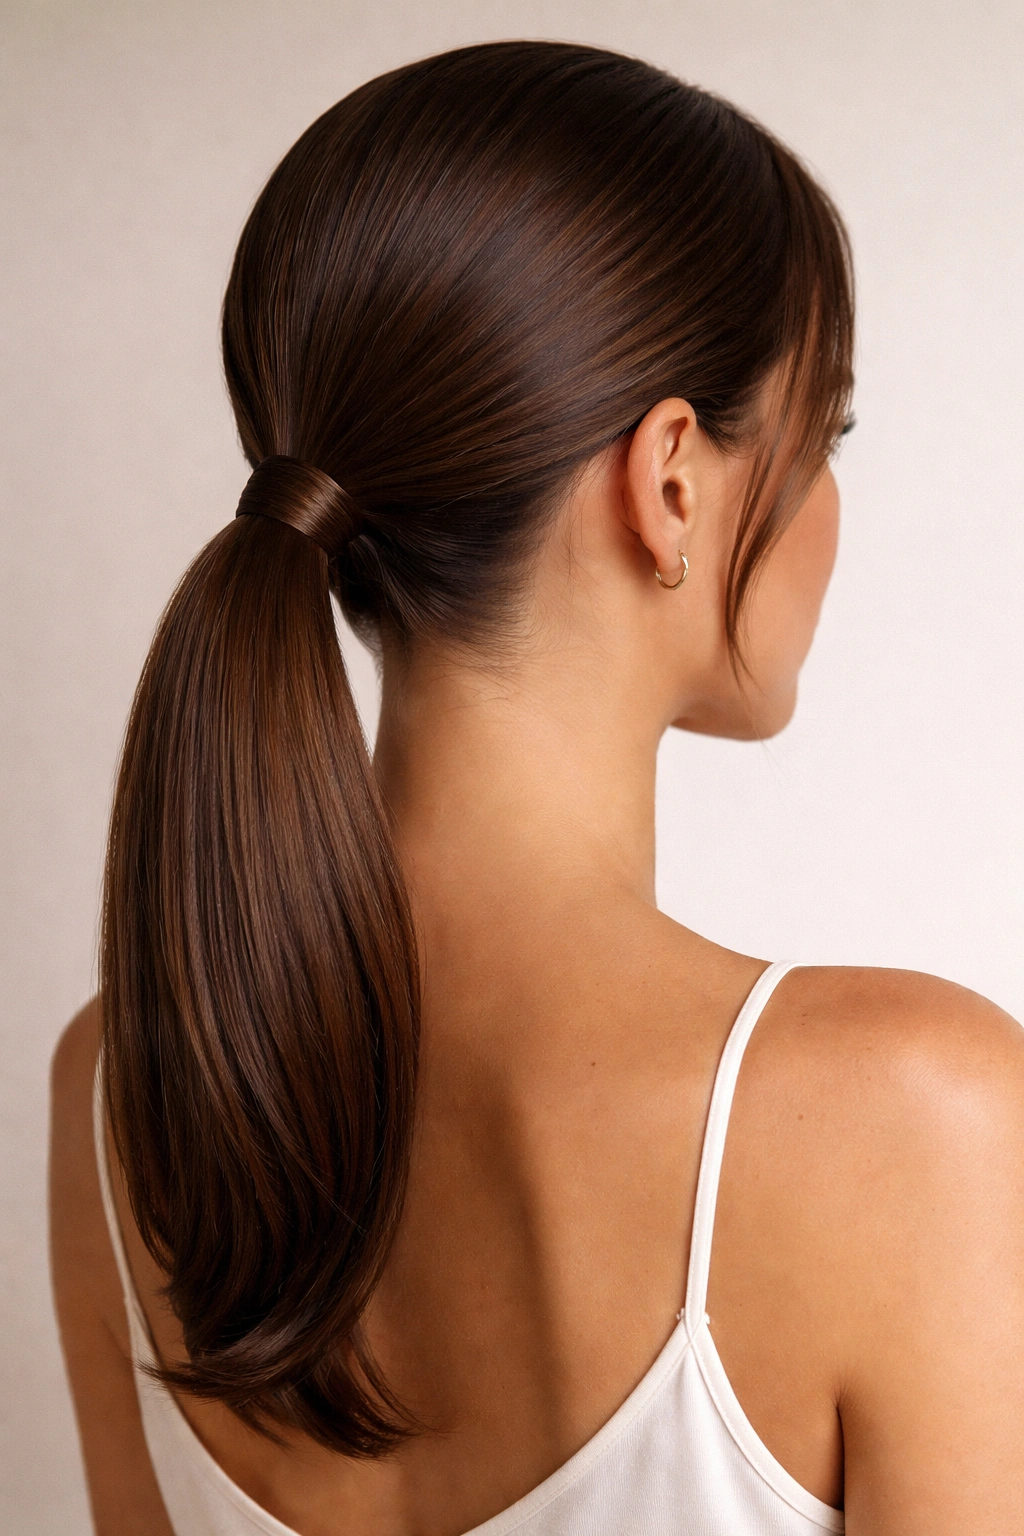
A low ponytail sitting at the nape of your neck or just below reads as deliberately polished. This placement works particularly well if you prefer a minimalist aesthetic or if you’re styling for a work environment where an extra-high ponytail might feel too casual. The lower placement also suits longer faces beautifully and takes pressure off your crown if you’re wearing a ponytail for extended hours.
Getting the Sleek Finish
The word “sleek” is the entire point here, so your approach matters. Apply a smoothing serum or anti-frizz cream to damp hair before blow-drying, working it through from roots to ends. Blow-dry with a paddle brush or a round brush for a smooth, shiny base. Section your hair at the crown with a fine-tooth comb to create a precise part, then gather everything into a low ponytail—aim for the base of your skull or just below.
Making It Stay Polished All Day
- Smooth the front sections with a thin-barrel straightener before tying (optional but makes a visible difference)
- Use a gel or smoothing wax on flyaways, applying with a toothbrush for precision
- Tease the crown gently before pulling back for invisible volume without sacrificing sleekness
- Smooth the entire surface of the ponytail with a boar bristle brush after securing
A sleek low ponytail paired with a sharp blazer and minimal jewelry says “I have my life together” without trying too hard.
3. The Textured High Pony with Face-Framing Pieces
This style is the polished-yet-relaxed cousin of the classic high ponytail. It takes the same placement and execution but adds intentional texture and softness by leaving face-framing pieces down and starting with intentionally undone waves or curls throughout. This version is especially flattering if you have a longer face or enjoy a slightly softer, less severe aesthetic.
Building the Textured Base
Create loose waves or curls throughout your hair using a 1.5-inch curling iron or by braiding damp hair overnight and releasing the waves. These should feel lived-in and natural, not salon-perfect waves. Apply a light texturizing spray or sea salt spray before styling to enhance that effortless quality. As you gather your ponytail high on your crown, intentionally leave two to three sections of hair out around your face—one on each side and possibly one smaller piece at the back of your neck for extra softness.
Finishing Touches That Matter
- Gently pull and loosen the waves throughout the ponytail to increase the tousled appearance
- Curl the loose face-framing pieces with a curling iron for definition and softness
- Mist everything with a flexible hold hairspray that won’t create a crunchy, stiff feeling
- Use a texturizing powder or dry shampoo at the roots for grip and dimension
This style works beautifully for weekend brunches, date nights, or any time you want to look put-together without looking like you spent three hours getting ready.
4. The Dutch Braid into Ponytail
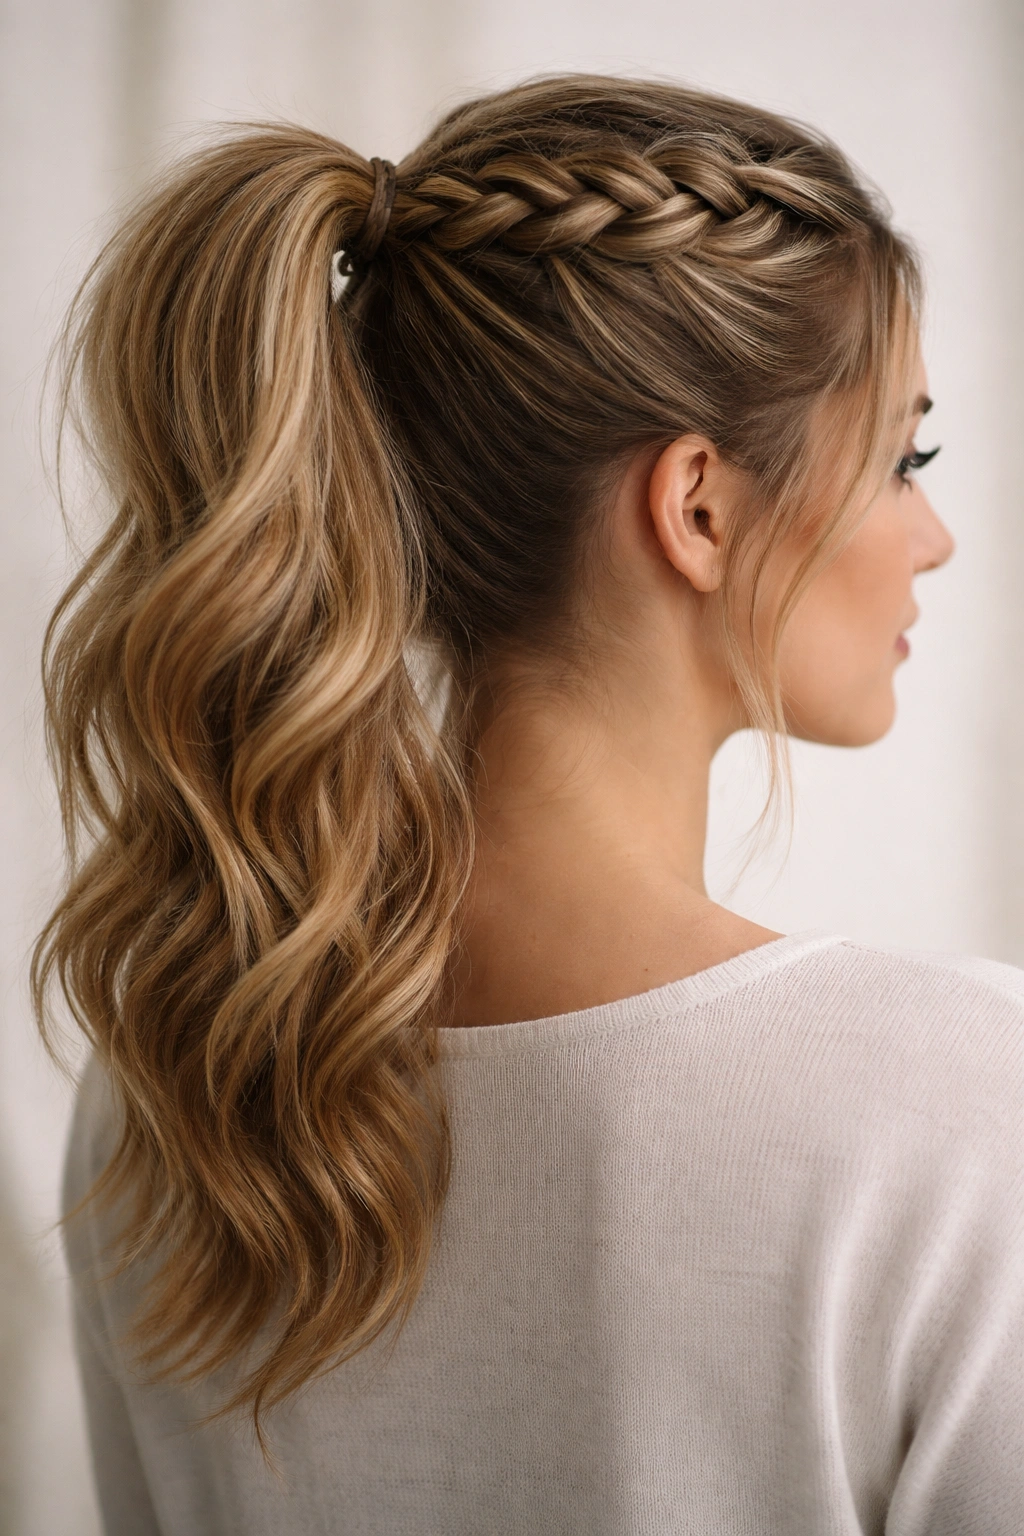
Combining a braid with a ponytail multiplies your styling impact without requiring additional time. A Dutch braid (braided underneath rather than over the top) running from your crown back into a high ponytail creates visual interest and texture while keeping everything off your face. The style looks intricate and deliberate, but it’s genuinely one of the easiest braided styles to execute on yourself.
Mastering the Dutch Braid Merge
Section a triangle of hair from your forehead back toward your crown—this will be the base of your braid. Start the Dutch braid at the crown, braiding downward and under (rather than the typical over-braid motion). As you braid, gradually add sections of hair from both sides, pulling hair into the existing braid as you work backward. Braid all the way down the back of your head, then gather the braid and all remaining hair into a high ponytail at the crown.
Pro Details That Transform It
- Backcomb the crown very lightly before starting the braid for invisible lift
- Dutch braids show texture more than regular braids, so textured, wavy hair actually looks better here than stick-straight hair
- Gently pull sections of the braid outward to create width and a more relaxed appearance
- Finish the loose ponytail section with a few waves or curls for dimension
This style is surprisingly easy once you’ve practiced it two or three times, and it’s a legitimate upgrade from a simple ponytail for any occasion where you want to feel like you made a styling effort.
5. The Twisted Ponytail
If braiding isn’t your thing, twisting is its simpler cousin. This style uses the same concept—wrapping sections of hair around each other as you move back—but without the three-strand coordination that trips some people up. A twisted ponytail looks almost as textured and intentional as a braided version and takes about the same amount of time.
Creating the Twist Mechanism
Section your hair into two sections at the crown. Twist one section around itself as you move backward, then twist the other section around that first twist. The effect is a spiral that wraps around the back of your head. Keep the twists loose and textured rather than tight and precise—this is what makes it look effortlessly chic rather than stiff. Gather the twists and any remaining hair into a ponytail at your preferred height.
Making It Look Intentional
- Use a texturizing spray on damp hair before styling to help the twist hold its shape
- Don’t worry about perfect tension; slightly loose twists look more modern and flattering
- Pull the twists apart gently after creating them to add volume and a lived-in quality
- Leave a few loose strands around your face for softness
The twisted ponytail is a hidden gem that doesn’t get nearly as much attention as braided versions, but it photographs beautifully and genuinely feels less complicated than it looks.
6. The Sleek Bubble Ponytail
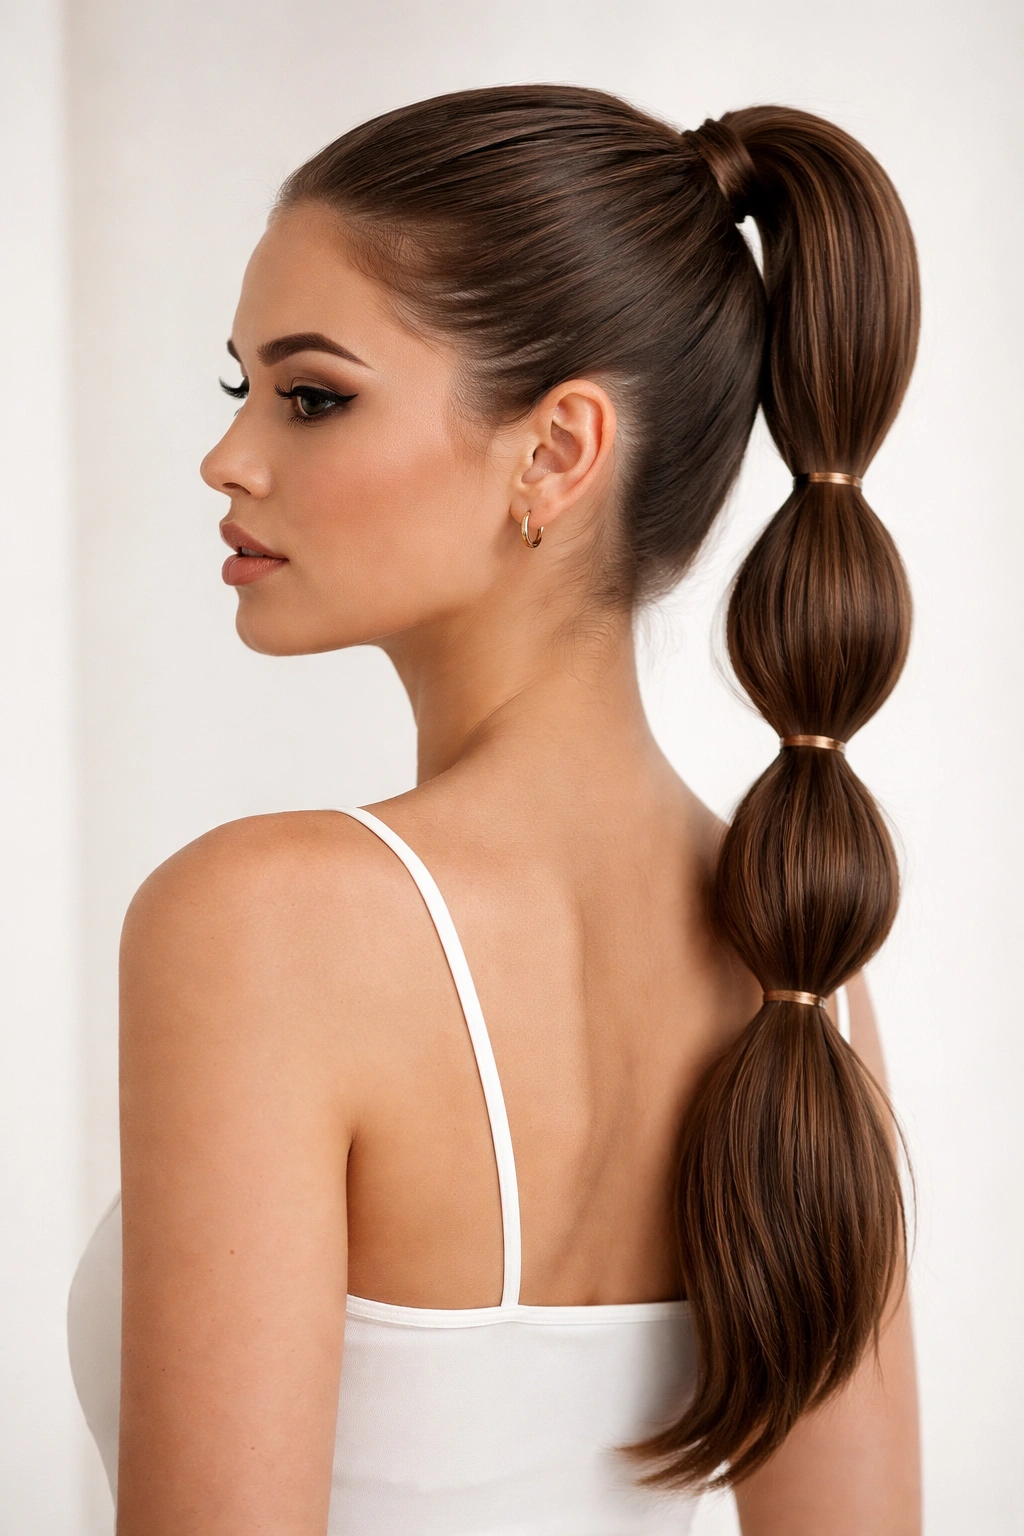
A bubble ponytail uses multiple elastics spaced evenly down the length of your ponytail to create distinct, rounded segments. The style is playful and modern—it reads young and fashion-forward without looking childish when executed with the right proportions and texture. It’s also surprisingly fun to wear and feels different from your everyday ponytail rotation.
Constructing the Bubble Sections
Create a sleek high ponytail first and secure it with an elastic. Position a second elastic about two inches down the ponytail and secure it gently. Gently fluff the hair section between the two elastics to create a rounded bubble shape. Repeat this process down the entire length of the ponytail, spacing each bubble evenly and ensuring each one has roughly the same amount of hair for visual balance.
Details That Matter
- Bubble ponytails work best with straight, sleek hair; texture makes the bubbles less defined
- Space your bubbles closer together for a dainty, refined look or further apart for a bolder statement
- Use clear elastics rather than colored ones for a more polished appearance
- Gently tease each bubble section before securing the elastic below it for fuller, rounder shapes
This style is surprisingly versatile—it works for creative office environments, casual weekends, and anyone who enjoys playing with their hair and doesn’t mind looking a little fashion-forward.
7. The Messy Low Bun with Ponytail Base
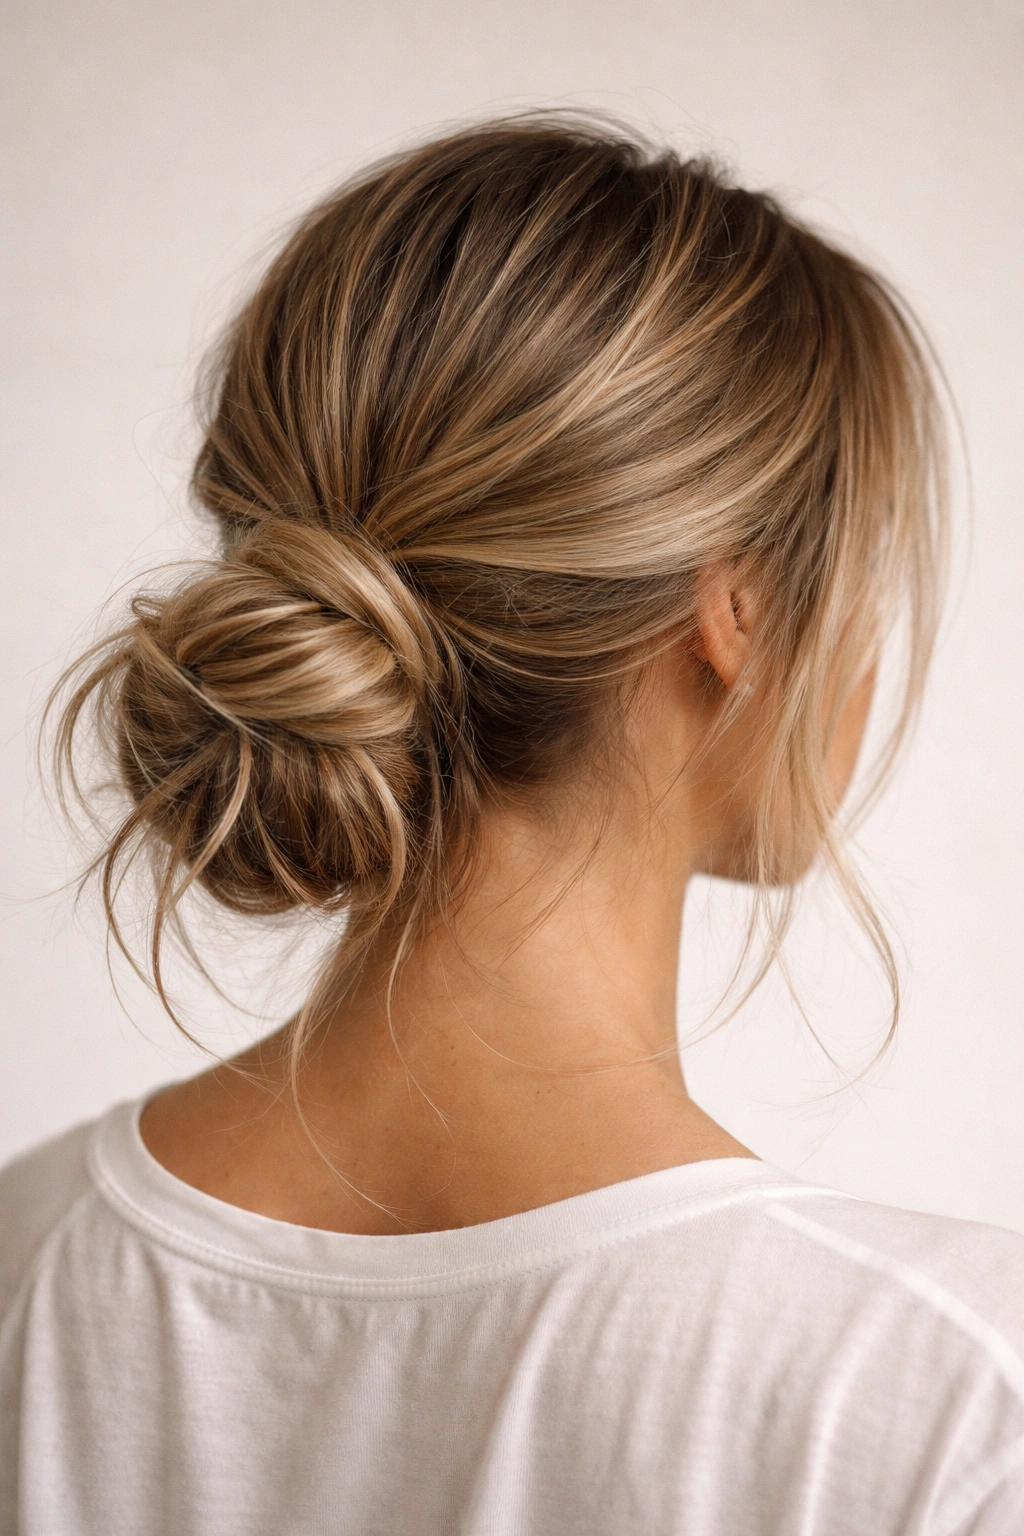
This style begins as a low ponytail but finishes as a relaxed bun, creating a hairstyle that feels intentionally undone. It’s perfect for when you want something that looks more finished than a loose ponytail but more relaxed than a structured bun. The style works best with textured hair and reads sophisticated in a genuinely effortless way.
Building the Foundation
Create a low ponytail at the base of your skull using a smooth base or textured waves—either works beautifully here. Using the elastic, secure the ponytail loosely rather than tightly; this creates the relaxed appearance that makes the style work. Take the ponytail, twist it gently, wrap it around its own base, and secure the twisted bun with bobby pins tucked underneath so they’re not visible from above.
Achieving the “Effortless” Appearance
- Pull several small sections out from the bun to create an undone, piece-y quality
- Leave 2–3 face-framing strands loose for softness
- Gently tease the base of the bun before securing it for volume and a fuller appearance
- Use texturizing spray or dry shampoo to enhance texture and prevent the style from looking flat
The messy low bun with ponytail base is your answer on days when you want to look thoughtfully put-together but genuinely don’t have the energy for precision styling.
8. The Side Ponytail
A side ponytail sits off-center, gathered to one side of your head rather than centered at the back or crown. This placement is surprisingly flattering—it elongates the face, works beautifully with side-swept bangs or longer face-framing pieces, and instantly creates a softer, less severe silhouette than a center-based ponytail.
Positioning It Correctly
Decide which side you’re favoring (typically the side that you naturally feel more confident showing is a good choice). Gather your hair to that side, roughly where it would sit if you were creating a high ponytail but shifted entirely to the side. This usually lands somewhere behind your ear and slightly lower than a traditional high ponytail placement. Secure with an elastic, then adjust how much hair you’re leaving out around your face until it feels balanced.
Styling for Maximum Flattery
- Create soft waves or curls throughout your hair before gathering the side ponytail
- Leave generous face-framing pieces down—at least an inch on either side of your face
- Use a smaller elastic for a more refined, modern look rather than a thick, chunky hair tie
- Wrap a thin section of hair around the base to hide the elastic and add polish
A side ponytail paired with a leather jacket or a casual linen shirt instantly looks editorial and put-together. It’s a subtle change in placement that creates a genuinely noticeable shift in your overall aesthetic.
9. The Half-Up Ponytail
The half-up ponytail splits the difference between wearing your hair down and fully pulling it back. You gather hair from roughly the crown area and secure it in a ponytail, leaving the bottom half of your hair down. This style is endlessly flattering, works with any hair type, and is perfect for situations where you want your hair off your face but not entirely contained.
Executing the Half-Up
Section the top half of your hair—gather everything from ear to ear across the crown and back to your nape. Pull this section upward and secure it into a ponytail at the crown. The lower half of your hair remains completely down and unstyled (or styled separately with waves or curls). This creates the visual effect of volume at the crown with movement and length flowing below.
Making It Look Intentional
- Backcomb the crown before gathering the top section for instant volume and lift
- Create waves in the bottom half of your hair for softness and movement
- Use a smaller elastic for the half-up section to keep it looking refined rather than heavy
- Pull the half-up ponytail slightly loose at the elastic to create a fuller appearance
The half-up ponytail is the hairstyle that does the most with the least effort, and it’s appropriate for nearly every setting—work, casual weekends, date nights, and everything in between.
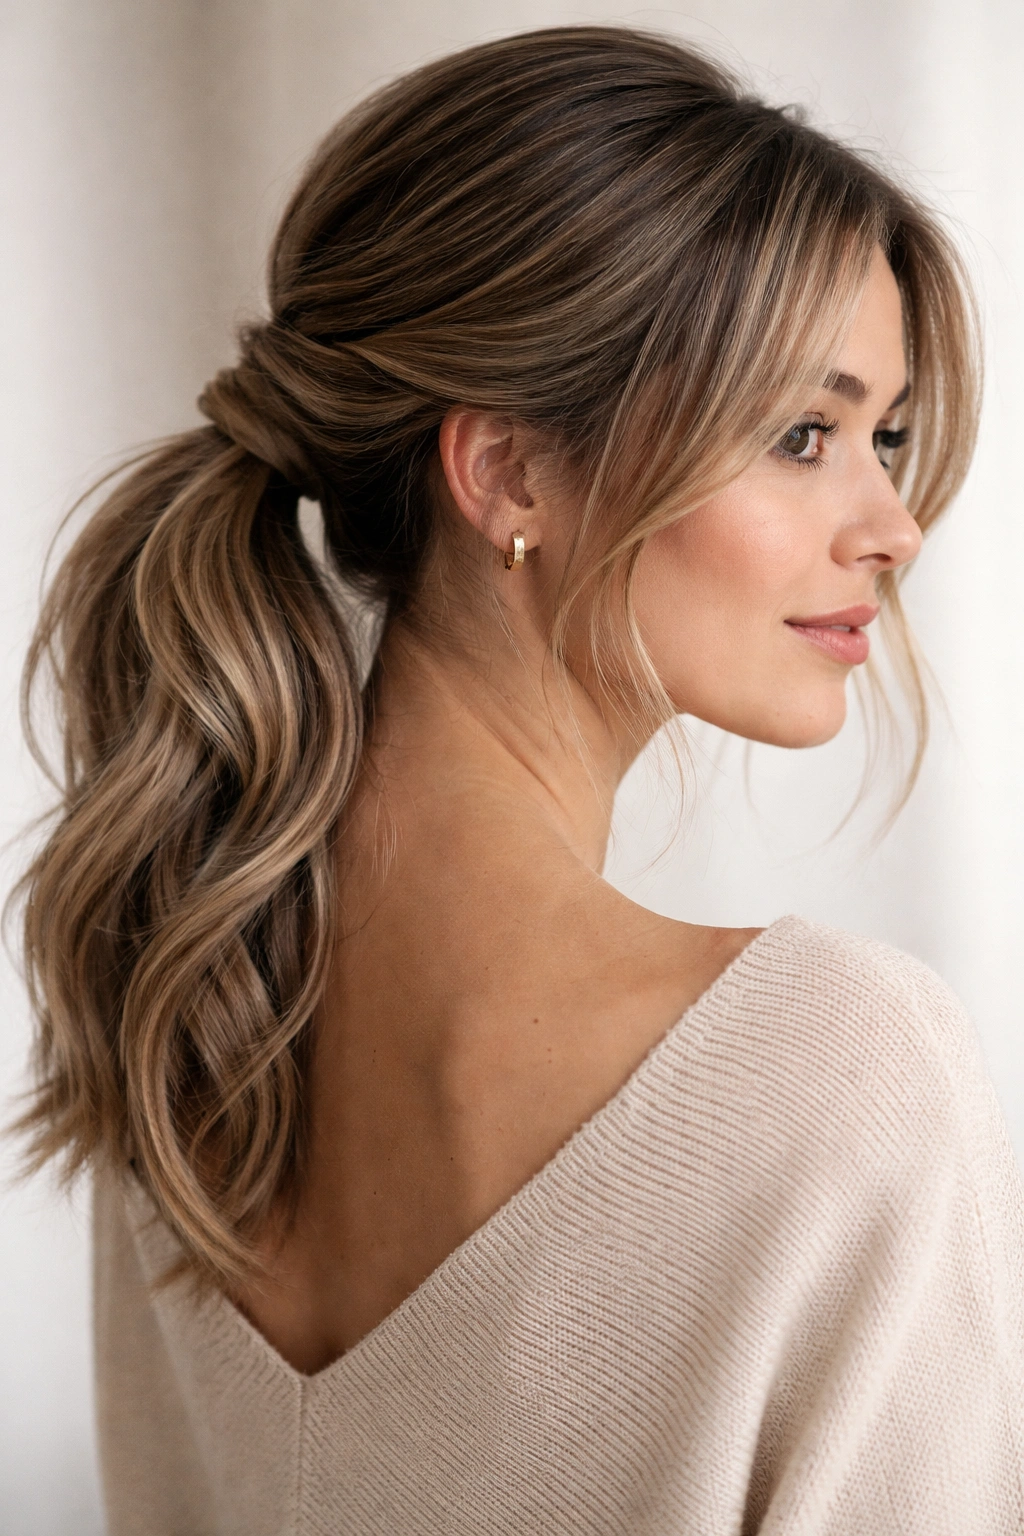
10. The Wrap-Around Ponytail
This style takes a simple ponytail and adds a visual detail: a section of hair wrapped around the elastic base, creating a polished, finished look that hides the elastic and adds intentionality to an otherwise basic style. The wrap transforms a casual ponytail into something that feels more deliberately styled without requiring any additional skills.
Creating the Wrap Effect
Gather your hair into a ponytail at your preferred height and secure it with an elastic. Separate a thin section of hair from the ponytail (roughly half an inch to an inch, depending on the thickness of your hair). Wrap this section around the elastic base, covering it completely. Secure the wrapped section with a bobby pin tucked underneath so it’s invisible from above. Gently smooth the wrap with a boar bristle brush.
Elevating the Details
- Choose a contrasting elastics color or a metallic elastic if you want the wrapped section to be a subtle design element
- Make the wrapped section slightly tighter than the main ponytail for definition and polish
- Leave the wrapped section completely smooth while keeping the ponytail below it slightly textured for contrast
- Use a small bobby pin that matches your hair color for a completely invisible finish
This seemingly tiny detail genuinely changes how polished a ponytail looks. It’s the kind of finishing touch that reads as thoughtful and intentional without being fussy.
11. The Braided Wrap Ponytail
For a step up in visual interest, replace the simple hair wrap with a tiny braid. This creates a more textured, detailed finish around the base of the ponytail. The braided wrap is still easy to execute and looks considerably more intricate and intentional than a simple wrapped section.
Braiding the Wrap
Create a standard ponytail and secure it with an elastic. Take a thin section of hair from the ponytail and create a three-strand braid using just that small section. Wrap the finished braid around the elastic base and secure it with a bobby pin. The braid should cover the elastic completely and create a distinct textured detail.
Details That Elevate It
- A three-strand braid is easiest, but you can also create a thin Dutch braid for extra texture
- Leave the braid slightly loose for a softer, less rigid appearance
- Make sure the braid is tight enough to hold its shape throughout the day but not so tight it looks severe
- Use bobby pins that match your hair color for a seamless, invisible finish
The braided wrap ponytail reads as more intentional and editorial than a simple wrap, but it takes only a few additional seconds to execute. It’s perfect for days when you want your ponytail to feel special without overhauling your entire styling routine.
12. The Curved Ponytail with Loose Waves

This final style combines placement with texture to create something that reads as effortlessly romantic. Rather than gathering your ponytail straight back, you position it slightly off-center and create intentional waves throughout your hair, including the ponytail itself. The result feels soft, undone, and flattering in a way that reads less “I styled my hair” and more “I woke up like this.”
Achieving the Curved Effect
Create loose waves throughout your entire head of hair using a curling iron or by braiding damp hair overnight. Gather your ponytail slightly off-center (not directly at the crown, but rather slightly to one side and slightly lower). The off-center placement combined with the waves creates a curved, flowing effect rather than a graphic, structured look. Secure the ponytail loosely to maintain the relaxed quality.
Styling for Maximum Romance
- Use a 1.5-inch curling iron to create loose, flowing waves rather than tight curls
- Leave generous face-framing pieces down for softness and movement
- Don’t try to smooth or perfect the waves; the imperfect quality is what makes this work
- Mist with a flexible-hold hairspray that allows the waves to move naturally throughout the day
This style is absolutely gorgeous for any occasion where you want to feel effortlessly beautiful. It works for first dates, casual weekend plans, family gatherings, and honestly anywhere you want to feel good about how you look without feeling like you made a obvious styling effort.
Final Thoughts
Medium-length hair genuinely gives you the best of both worlds when it comes to ponytails. You’ve got enough length to create interesting texture and movement, but not so much that styling becomes time-consuming or complicated. The styles above represent the core ponytail variations that will handle most of your styling needs—whether you’re dressing up, dressing down, hitting the gym, or trying something new.
The secret to making any of these styles feel effortless is understanding that imperfection is intentional. Slightly loose sections, textured rather than slick finishes, and strategically placed loose strands aren’t mistakes—they’re the details that make a ponytail feel like a real styling choice rather than just an attempt to get your hair off your face. Once you’ve practiced a couple of these styles two or three times, they become second nature.
Start with whichever style resonates with your aesthetic and your lifestyle. Whether you lean toward sleek and polished, textured and romantic, or playful and trend-forward, your medium-length hair has the versatility to deliver. You’ll likely find yourself rotating through these styles depending on your mood, your outfit, and your available styling time—and that’s exactly the point.