Homecoming deserves a hairstyle that makes you feel confident, beautiful, and like the best version of yourself—and wavy hair does exactly that. There’s something about soft, flowing waves that works beautifully with formal wear without looking overly rigid or overdone. Whether you’re wearing a classic dress, a bold gown, or something completely modern, the right wavy style can tie your entire look together and photograph perfectly under any lighting.
The beauty of wavy hairstyles for homecoming is their incredible versatility. Waves work with virtually every dress color, neckline, and body type. They suit different face shapes because you can customize the wave size, placement, and volume to flatter your specific features. Plus, waves feel moveable and natural—they’re not as sculpted-looking as tight curls, yet they’re more polished than straight hair. They strike that perfect balance between effortless elegance and intentional effort, which is exactly the vibe homecoming calls for.
Here’s what makes planning ahead so valuable: many of these styles work best when you give yourself time to build texture, practice the technique, or schedule time with a stylist who gets your vision. If you’re planning to have your hair professionally done, booking a consultation a week or two before the event means you can do a trial run, make adjustments, and feel completely prepared on the big day. And if you’re styling your own hair, these techniques become much easier with a little practice beforehand.
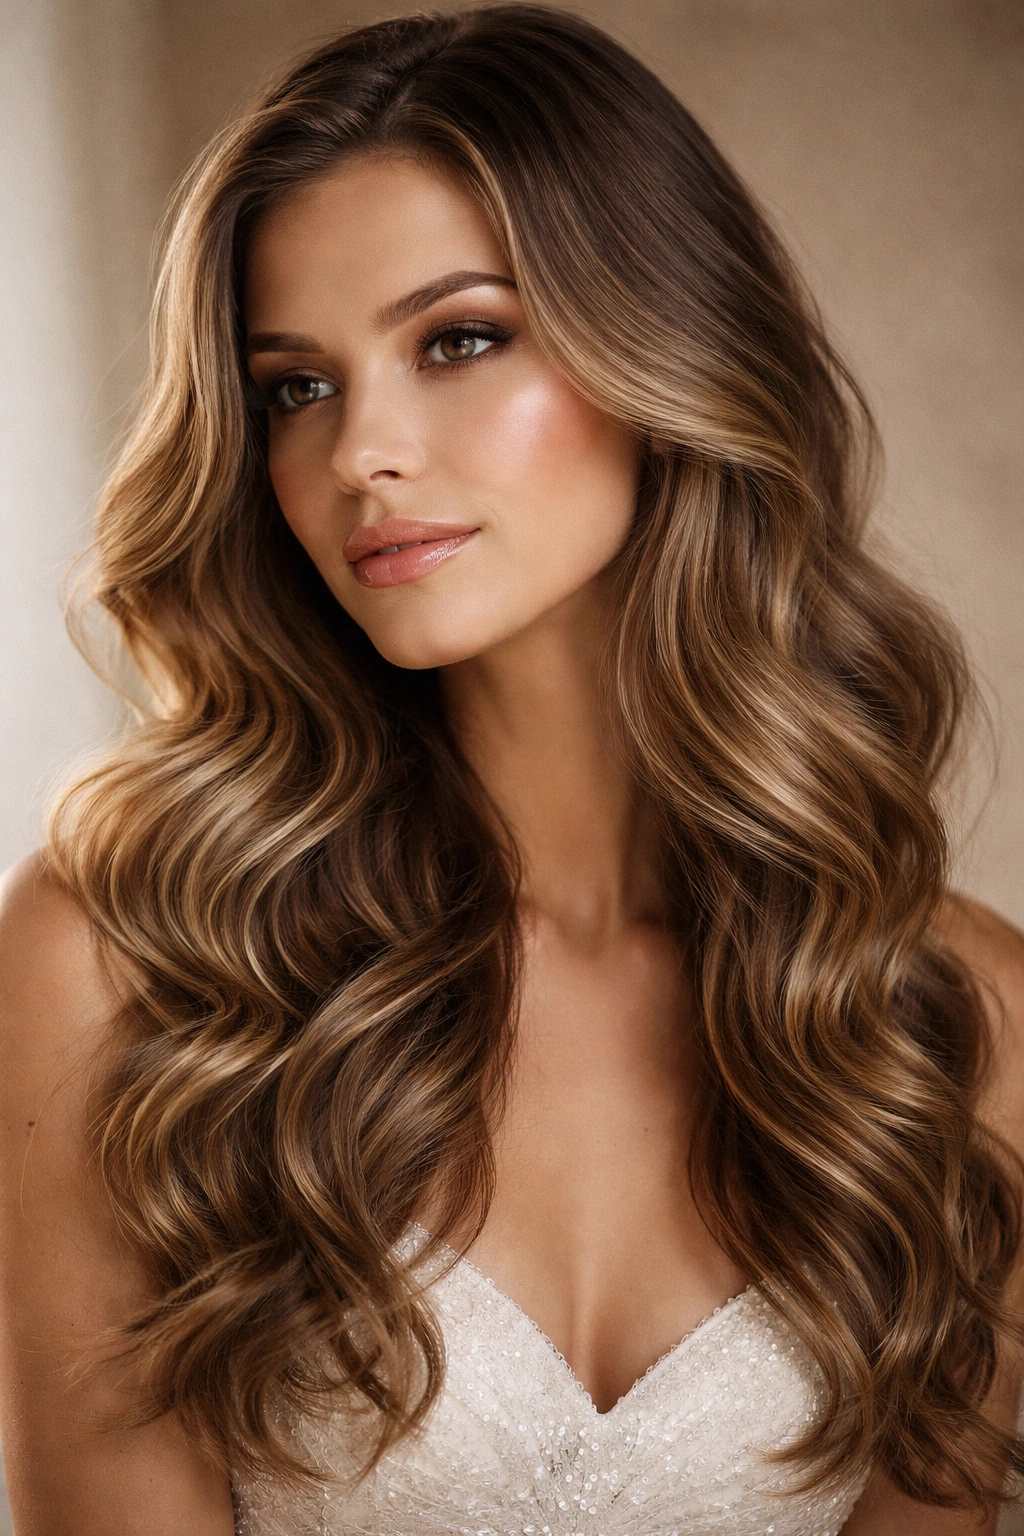
1. The Soft Beachy Waves with Sleek Roots
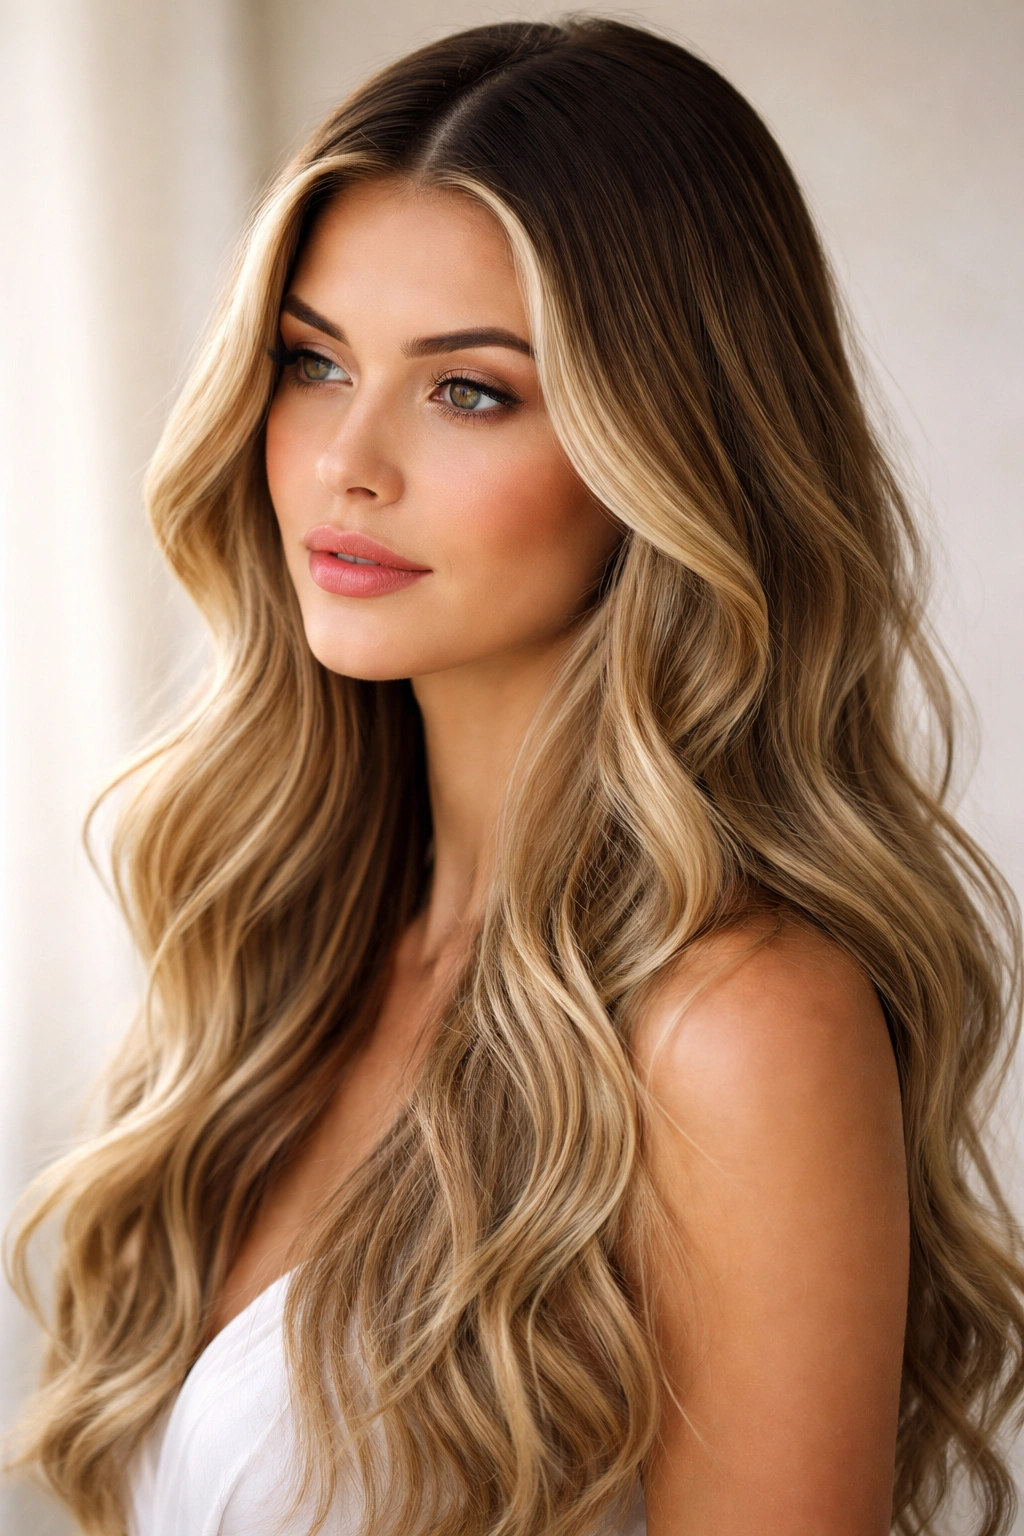
This style is iconic for a reason: it delivers red-carpet polish while looking approachable and fun. Soft, tousled waves in the lengths and ends create movement and romance, while the roots stay sleek and close to the scalp for a modern, controlled finish. The contrast between the smooth roots and the textured waves feels intentional and sophisticated.
Why This Works for Homecoming
Soft beachy waves give you serious volume and dimension without looking formal in an uptight way. The style reads as effortlessly beautiful—like you woke up with perfect waves—even though the sleek roots show clear intention. It flatters almost every face shape because the waves create soft framing around the face, and the root smoothness elongates your overall silhouette. This style photographs beautifully in flash photography and looks just as good in natural lighting.
How to Create the Look
You’ll need a few key products and tools: a smoothing serum or frizz-control cream for the roots, a texturizing spray or sea salt spray for grip, and a large-barrel curling iron or waving iron. Start with clean, dry hair (or second-day hair works great). Blow-dry your roots smooth using a paddle brush, angling everything away from the face. Then use a curling iron to create loose waves in sections, releasing the waves immediately for that relaxed texture. Finish with texturizing spray throughout the lengths and ends, and a light hairspray to hold everything in place without making it feel stiff.
Quick Styling Tips
- For extra sleekness at the roots, apply a smoothing serum before blow-drying
- Use a large-barrel iron (1½ inches or bigger) to keep waves loose and modern instead of tight
- Don’t curl the ends tightly—release them gently for that undone beachy quality
- If waves start to fall by the end of the event, a light spritz of texturizing spray adds grip without crunchiness
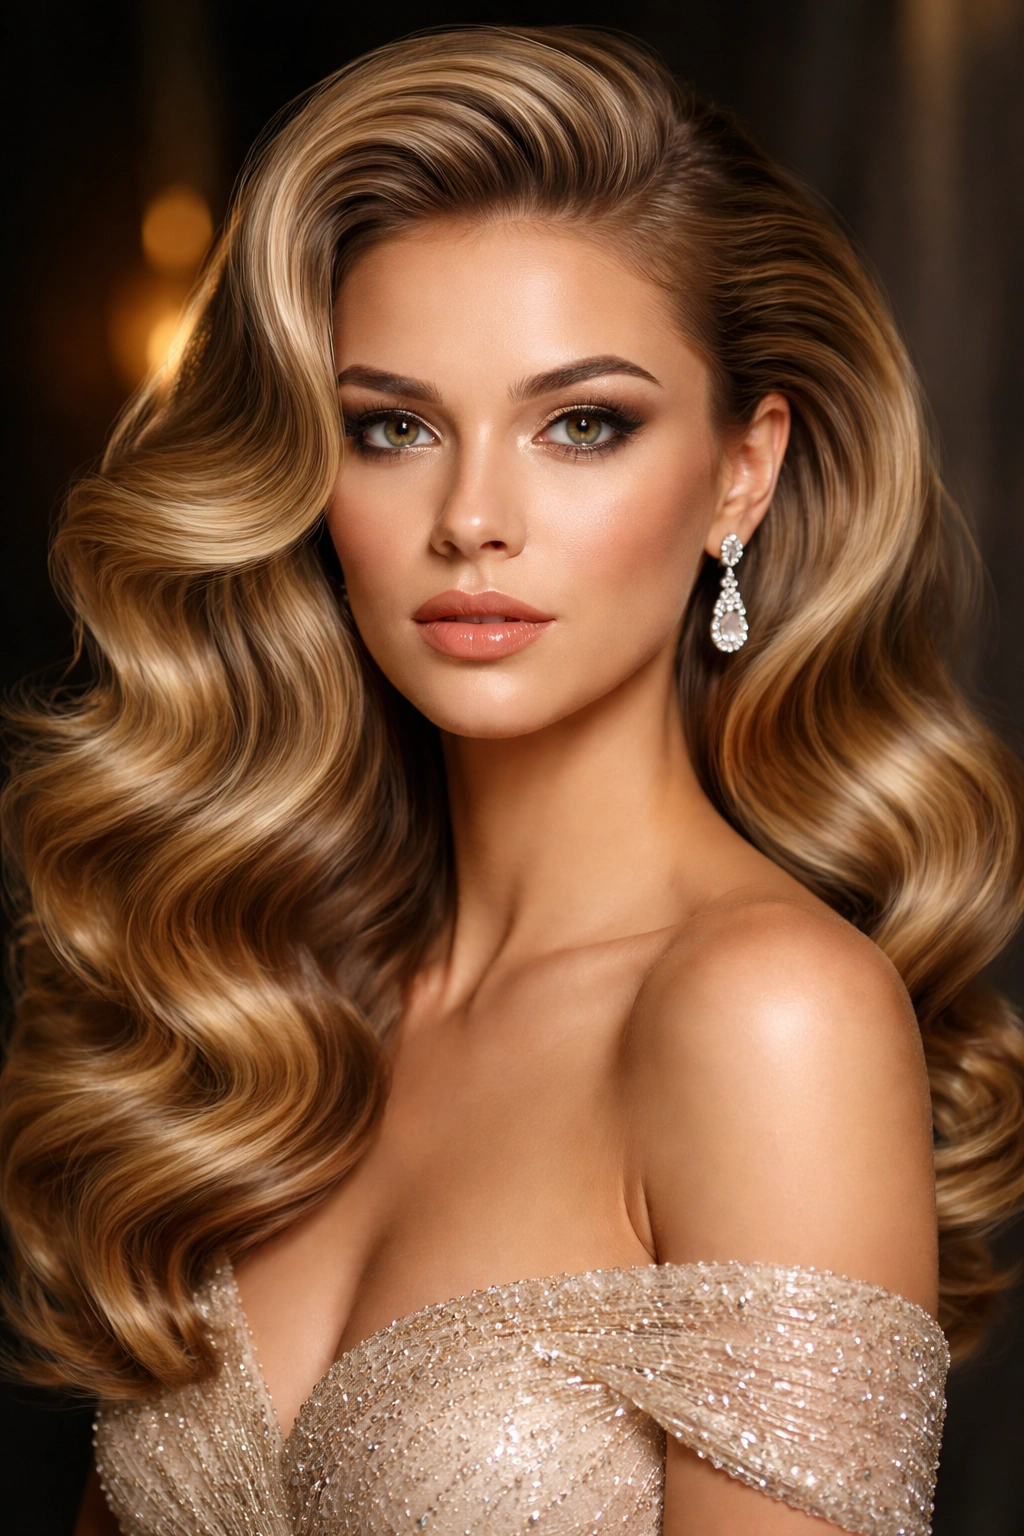
2. The Low Side Waves with Volume Crown
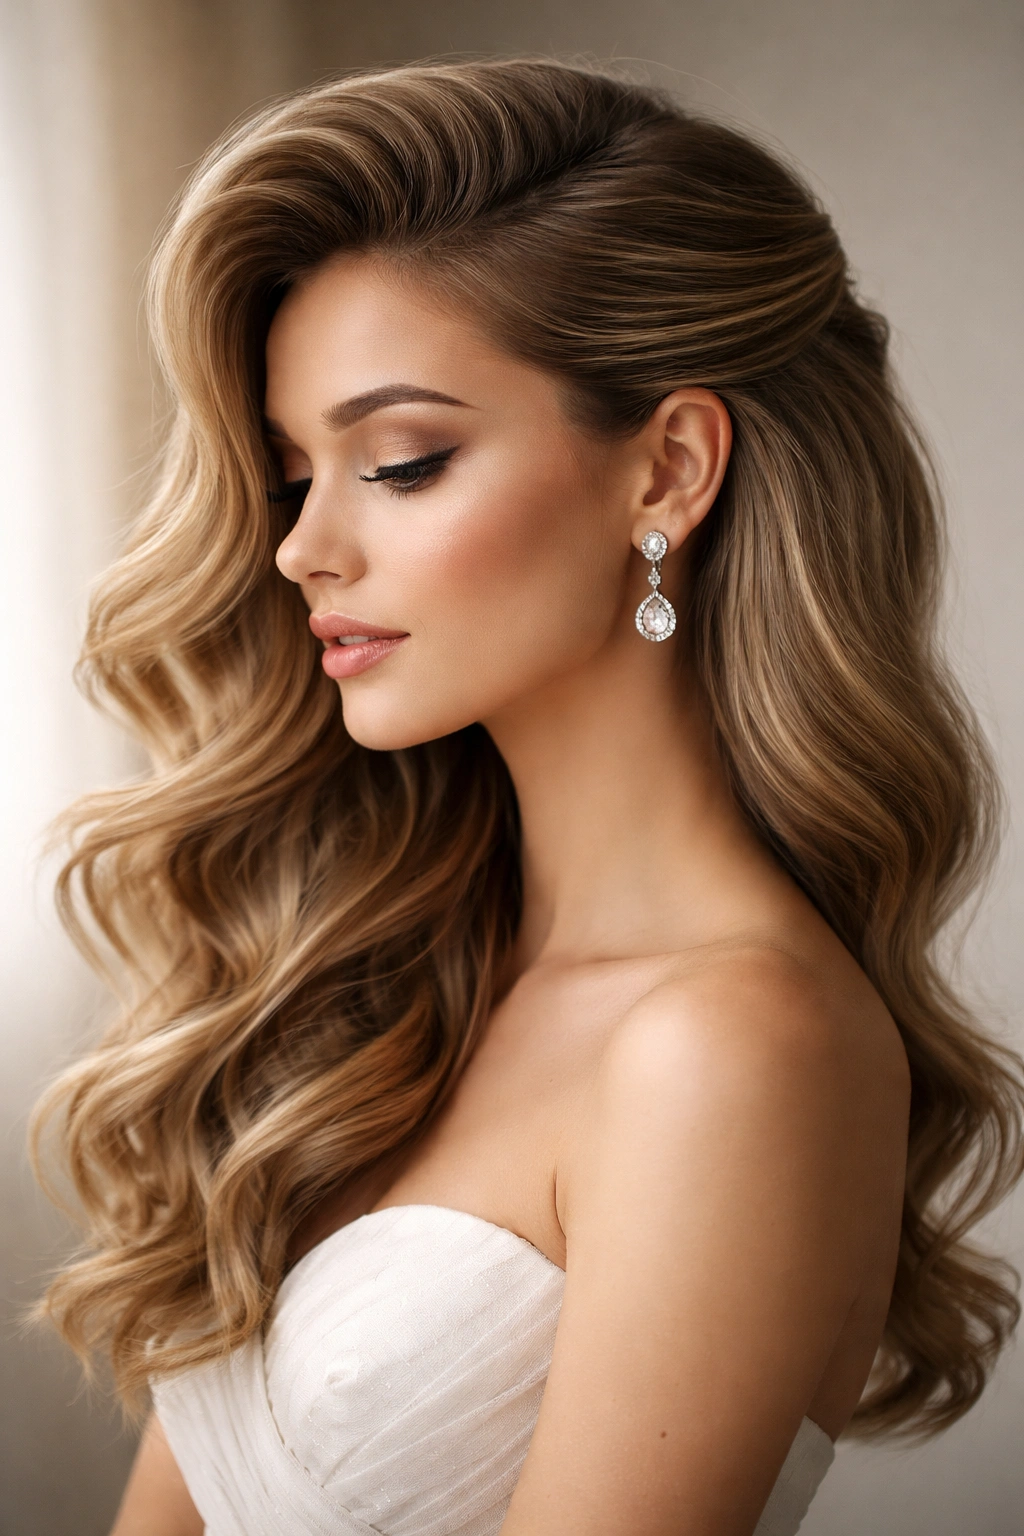
This style gives you dramatic volume where you need it most while keeping the overall look balanced and elegant. Waves sweep to one side, creating an asymmetrical silhouette that’s deeply flattering, especially with strapless or off-shoulder dresses. The volume at the crown adds height and helps your hairstyle stand out without being extreme.
What Makes This Look Special
The low side-swept wave is timelessly sophisticated—it works for traditional homecoming vibes and modern aesthetics equally well. Because the volume concentrates at the crown and the waves flow to one side, this style suits most face shapes beautifully. It shows off your ears and neck (great if you’re wearing statement earrings), and it pairs seamlessly with any dress silhouette. The asymmetry adds visual interest without looking unbalanced.
Creating the Crown Volume and Side Waves
Start by blow-drying your hair upside down to build natural root lift, then flip back and smooth. Use a large curling iron to create soft waves in sections, layering and curling away from the face on both sides. Gently tease the crown area to increase height—use a fine-tooth comb and gentle backcomb motions, then smooth the surface layer with your comb. Sweep the waves to one side, securing with bobby pins hidden beneath the top layer. Finish with light hairspray for hold without weight.
Styling Details to Perfect It
- Tease at the roots of the crown area, not the tips—this prevents damage and looks polished
- Pin waves in place using bobby pins that match your hair color, tucking them just under the top layer
- Add a delicate hair clip or pearl-studded bobby pin on the side for subtle detail
- Keep hairspray light so waves stay moveable throughout the night
3. The Romantic Cascading Half-Up Waves
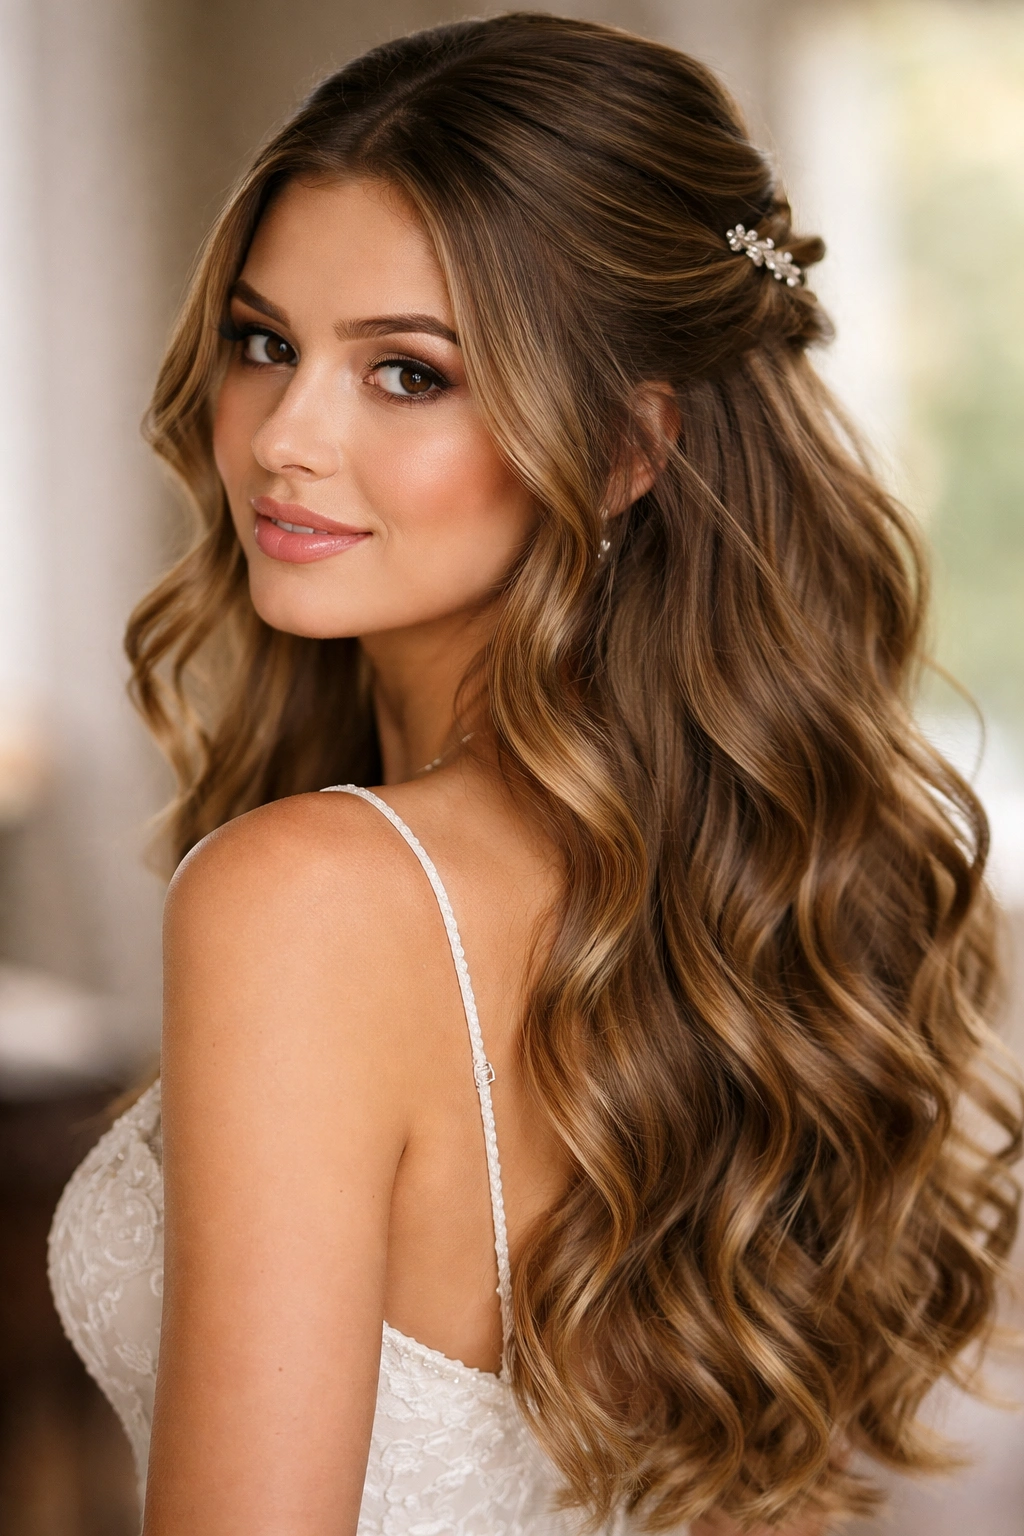
Half-up hairstyles are perfect for homecoming because they offer structure and intention without fully pinning your hair back. With cascading waves, the top section is gathered and secured while loose, flowing waves fall below, creating a dreamy, romantic look that’s simultaneously polished and soft.
Why This Style Is Perfect for Homecoming
The half-up format is flattering because it frames the face beautifully while still showing off length and texture. It’s practical for staying cool and keeping hair out of your face during dancing and photos, yet it maintains the romantic aesthetic that makes formal events feel special. The mix of secured structure and flowing waves feels balanced—not too casual, not too formal, exactly right for homecoming.
How to Execute the Half-Up Look
Start with full waves throughout your hair using a curling iron or waves iron—create them loosely for maximum movement. Once all waves are complete, take a section from your right temple to your left ear, gathering the top half of your hair and securing with an elastic or decorative clip. Leave the bottom half flowing freely. For extra polish, pull a few face-framing pieces out around your face, or twist a strand from each side and wrap it around the base of your half-up section for a refined detail.
Pro Styling Moves
- Use a clear or metallic elastic so it blends with your hair color
- Create waves before pulling the half-up section so you have full texture throughout
- Pull the half-up section slightly loose after securing—a tight, slicked-back look doesn’t read as romantic
- Wrap a thin strand of hair around the elastic base to hide it completely
4. The Deep-Side-Parted Waves with Extreme Volume

For a bold, statement-making look, this style brings serious volume and drama through deep-side-parted waves. One side gets dramatic height and voluminous waves, while the other side is softer and smoother, creating an striking asymmetrical silhouette that photographs beautifully and turns heads.
What Makes This Style Stand Out
Deep-side partings instantly look more sophisticated and fashion-forward than center parts. When combined with waves and extreme volume on one side, you get a style that’s undeniably polished and eye-catching. This works especially well with side-slit dresses, v-neck gowns, or any dress where showing off your profile and silhouette matters. The asymmetry is flattering because it draws the eye and creates visual interest without overwhelming delicate facial features.
Building and Sculpting the Volume
Start with a blow-dry using an angled approach—dry your roots with your head tilted to one side to build volume on that side. Once roots are dry, blow-dry smoothly on the other side for a sleek contrast. Create waves with a curling iron, making them progressively tighter and taller on the volumized side. On the smoother side, make waves looser and more subtle. Tease the roots heavily on the high-volume side, then smooth the surface. This creates a lot of hidden height. Finish with flexible-hold hairspray so everything stays in place while still moving naturally.
Techniques for Extreme Volume That Lasts
- Tease hair at the roots in vertical sections, not horizontal—this prevents matting
- Use texturizing spray before teasing for better grip
- Smooth only the top layer after teasing to keep your height intact
- Pin the waves in place on the high side using bobby pins placed parallel to the waves
5. The Polished Finger Waves with Modern Gloss
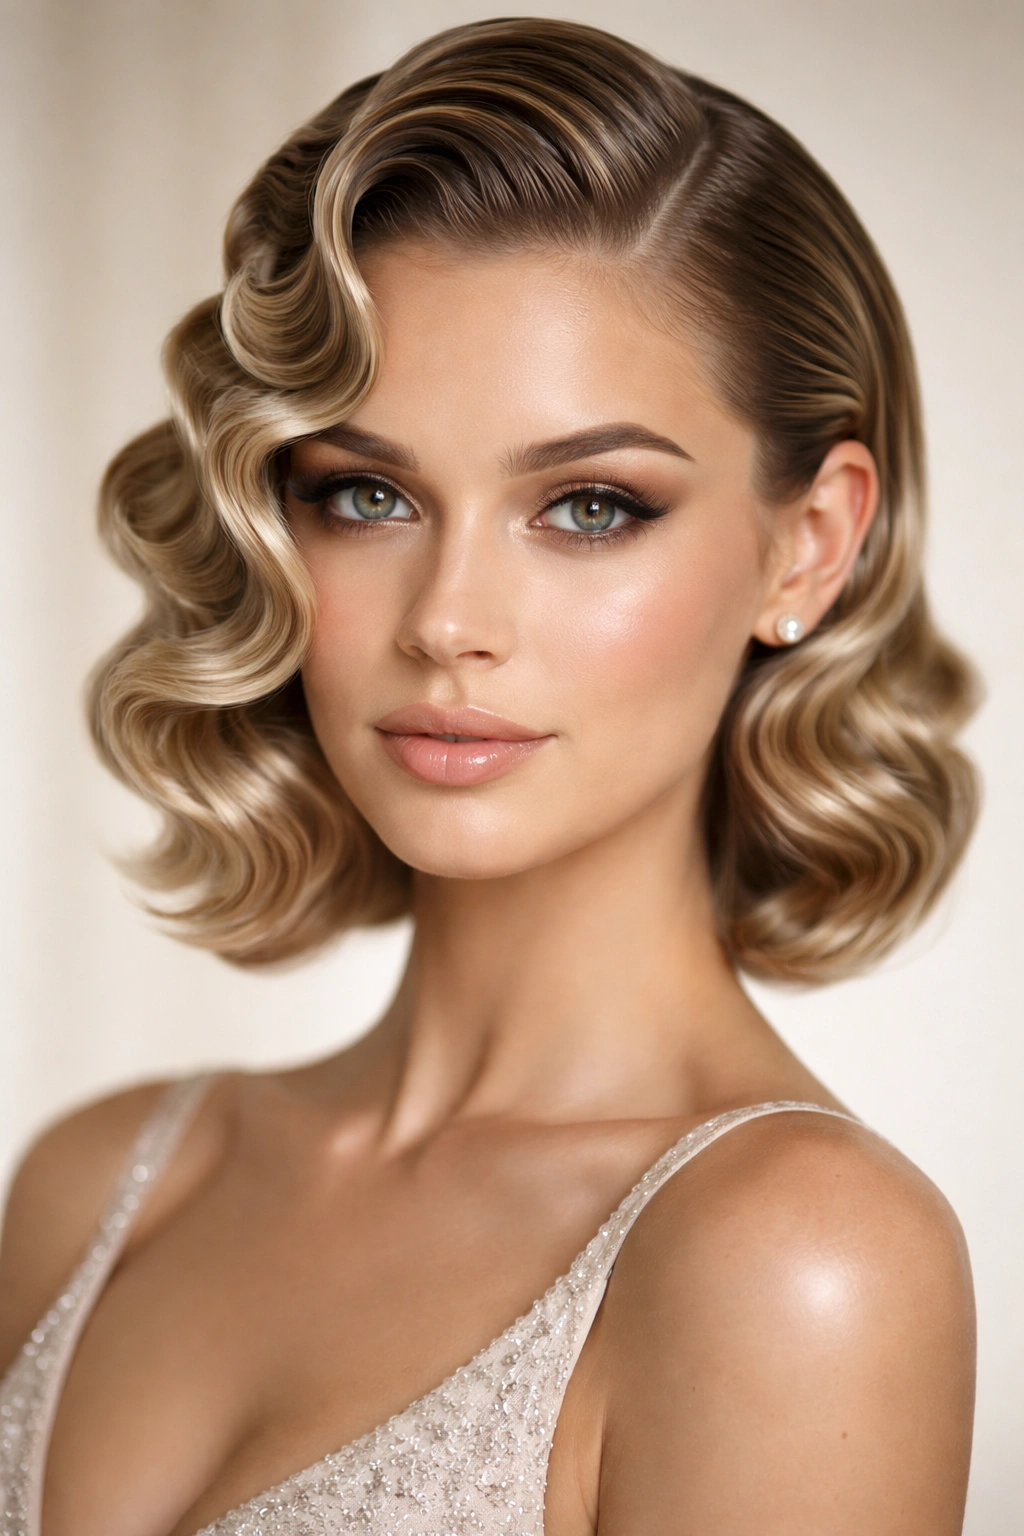
Finger waves are an elegant, vintage-inspired technique that reads as ultra-sophisticated when done in a modern way. These aren’t tight, structured pin curls—they’re subtle, sculptural waves that catch light beautifully and create a polished, grown-up aesthetic perfect for a formal event.
Why Finger Waves Feel Elevated
Finger waves show clear technical skill and intention in a way that other wave styles don’t. They catch light differently because of their precise sculpting, creating dimension and shine. This style suits people who want to look polished and put-together without being casual. It’s especially beautiful on people with darker hair where the light-catching dimension of waves becomes really visible, though it works on any hair color when done with precision.
How to Create Finger Waves Professionally
Finger waves require some practice but are absolutely achievable. Apply a smoothing cream or gel to damp hair in sections. Using a fine-tooth comb and your fingers, create an S-shaped wave pattern by pushing hair into curves, then pressing gently to set the shape. Use bobby pins to hold the wave pattern while hair air-dries or as you blow-dry. Once dry, remove pins and gently brush to blend and add shine. This technique works best on straighter-to-wavy hair types, though fine waves can be added to straight hair if you start with setting lotion.
Making Finger Waves Work for You
- Finger waves work better on clean, product-free hair as a starting point—use styling products after you’ve set the waves
- The deeper and more precise your initial wave pattern, the more defined the final look
- Finger waves + a sleek low bun or ponytail creates a hybrid style that’s incredibly elegant
- This style holds beautifully all night and photographs gorgeously with side lighting
6. The Textured Braided Waves with Undone Glamour
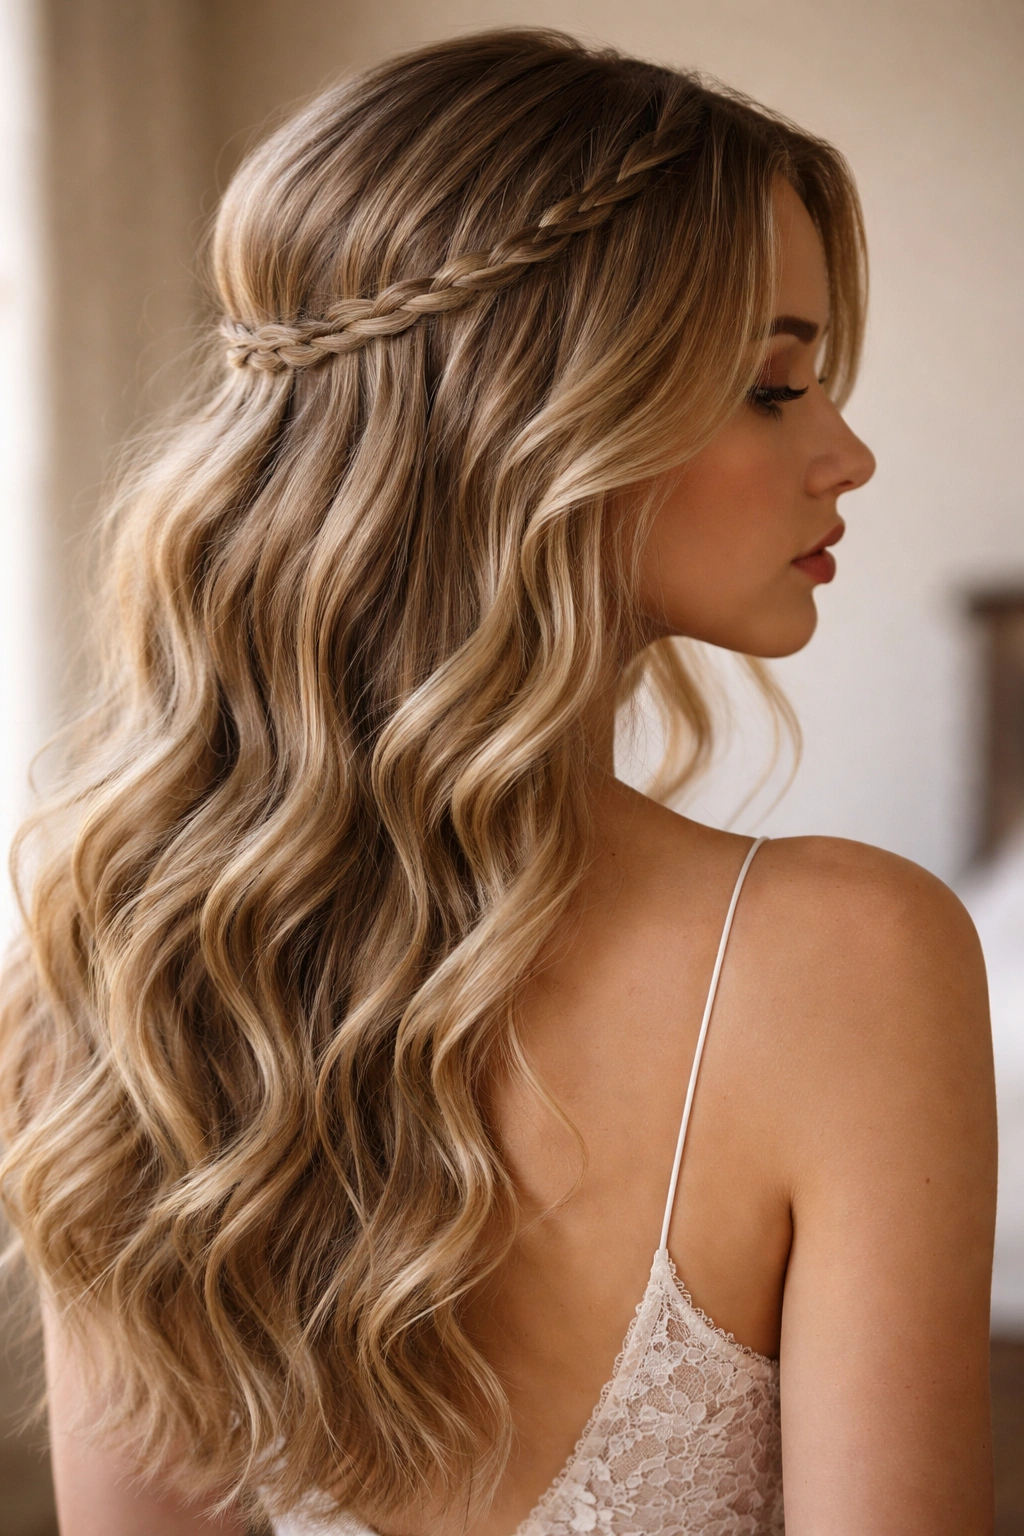
This hybrid style combines the structure and elegance of braids with soft, tousled waves for a look that’s romantic, interesting, and genuinely unique. A thin braid woven through or across the waves adds visual interest and prevents the style from feeling too simple, while maintaining the effortless, undone aesthetic.
What Makes Braids and Waves a Winning Combination
Braids + waves create a look that’s more interesting than waves alone while still feeling romantic and approachable. The braid adds a handmade, personalized quality that feels intentional, and it breaks up the visual expanse of waves beautifully. This style is perfect if you want something that stands out but doesn’t feel overly formal. It’s also excellent for keeping hair off your face slightly while still maintaining the flowing wave aesthetic.
Creating Waves First, Then Adding Braid Details
Start by creating soft waves throughout your entire hair with a curling iron or waving tool. Once waves are set, add one or more thin braids: a side-swept braid from temple to shoulder, a braid across the back of your head at ear level, or multiple small braids scattered throughout. You can braid loosely for an undone effect, or tightly for more definition. The braids work best when they’re thin and delicate—too-thick braids overpower the softness of the waves.
Styling Tips for Braided Waves
- French braids or Dutch braids create more visual texture than simple three-strand braids
- Gently pull the finished braids loose for an undone, romantic feel
- Pin braid ends under other hair or secure with decorative bobby pins
- Add small flowers or delicate hair clips along braids for extra detail without looking overdone
7. The Voluminous Crimped Waves with Sleek Accents
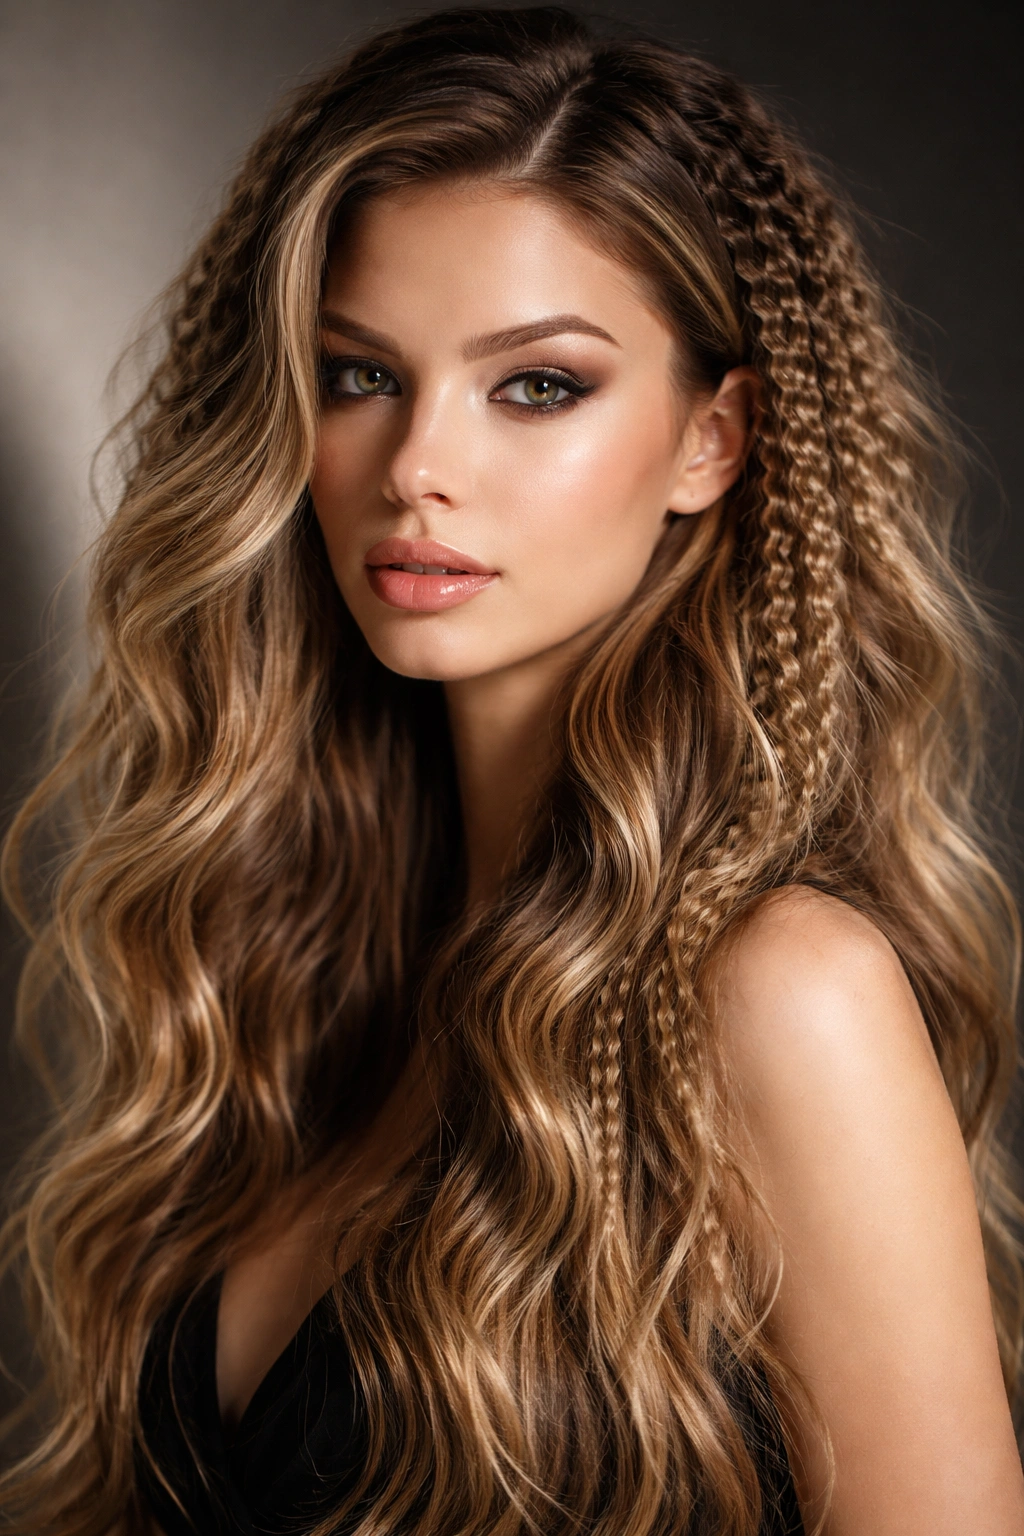
Crimped texture creates serious volume and visual interest when combined with looser waves. This style plays with different wave sizes—some sections are tightly crimped for maximum texture, while others are soft, loose waves—creating a high-fashion look that’s bold without being costume-y.
Why Crimped Texture Adds Dimension
Crimping multiplies your hair’s volume exponentially because it creates texture throughout the entire length, not just surface waves. When you combine tight crimped sections with looser waves, you get incredible dimension and movement. The style reads as fashion-forward and intentional. This is an excellent choice if you have fine hair and want maximum volume, or if you simply want a hairstyle that turns heads and makes a statement.
How to Create Crimped Waves
Using a crimp tool, apply crimping to specific sections—the crown for volume, or underneath bottom layers for hidden texture that adds movement. Crimp in vertical sections for the most natural look. Once crimping is complete, use a curling iron to add looser waves to other sections, or gently wave the crimped sections with your fingers and a texture spray. The combination of tight and loose creates beautiful visual contrast. Finish with volume-enhancing hairspray and light flexible-hold products so everything moves together.
Making Crimped Waves Work
- Crimping works best on layers—use it on underneath sections or crown for the most polished look
- Don’t crimp the entire head unless you want an extremely dramatic, editorial style
- Combine crimping with loose, romantic waves for balance
- This style is especially striking with hair color—dimension reads more dramatically with highlights or darker roots
8. The Mermaid Waves with Deep Gloss and Shine
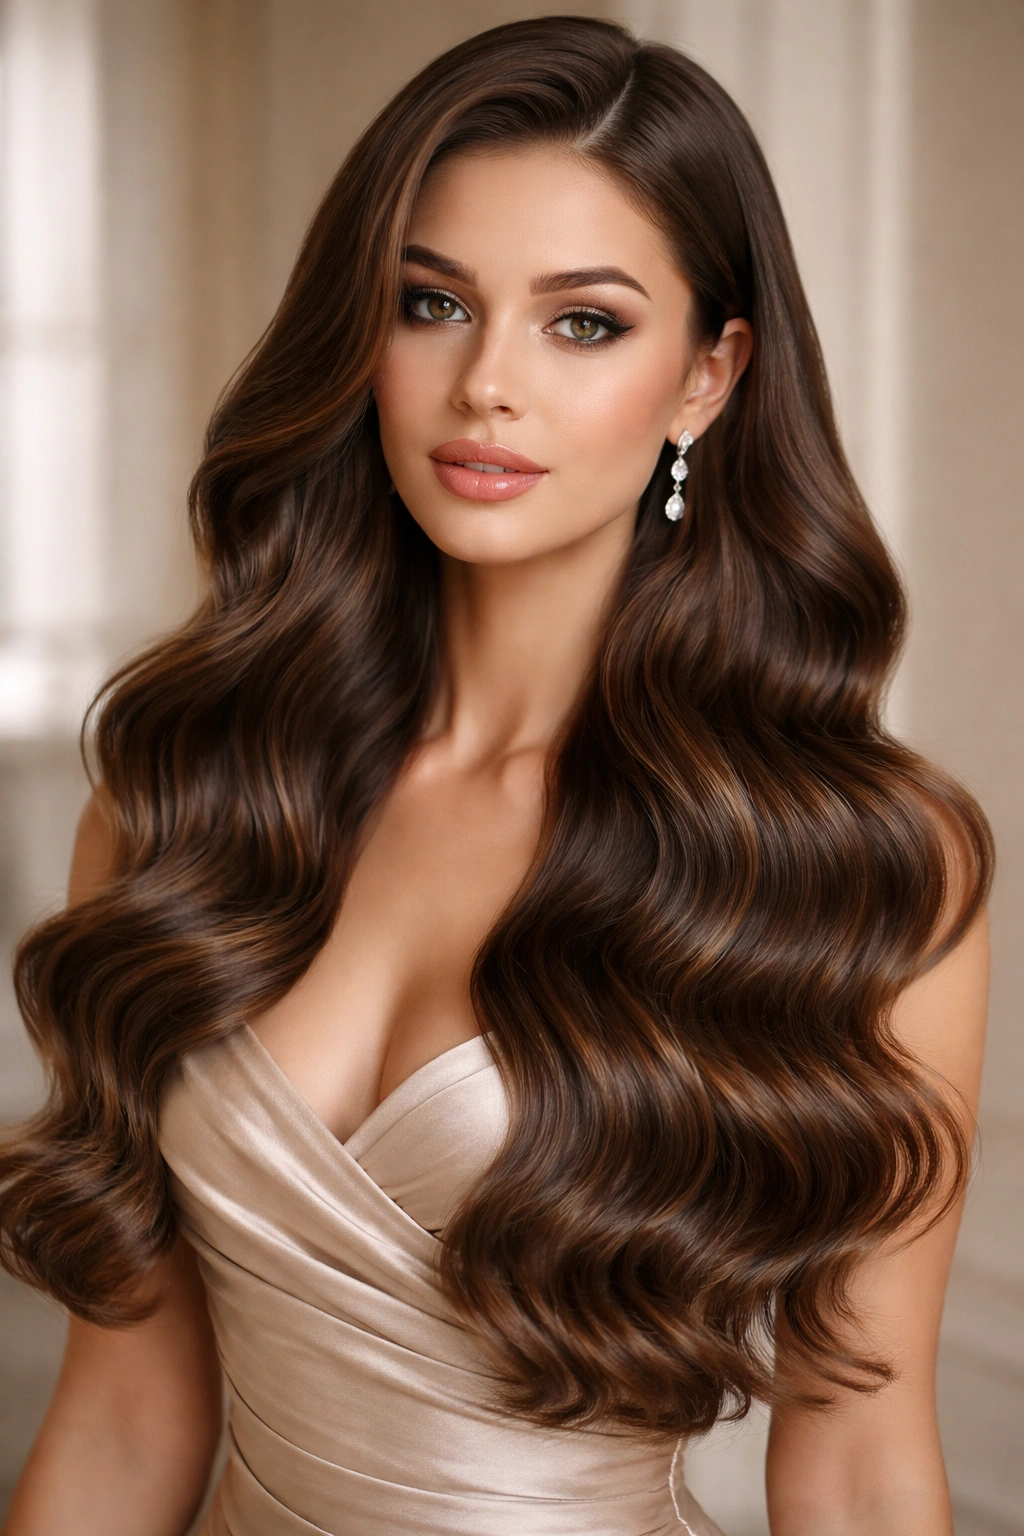
Mermaid waves are defined by their smooth, glossy surface and perfect sculptural shape. Unlike textured, tousled waves, mermaid waves are smooth and shiny, created to catch light and emphasize your hair’s natural shine and color. This style is ultra-polished and works beautifully with elegant dresses and up-styled makeup.
What Makes Mermaid Waves Shine
Mermaid waves feel luxurious because they showcase hair health and shine. The smoothness combined with dimension reads as expensive and well-cared-for. This style is perfect if you’ve invested in hair treatments or have naturally glossy hair you want to highlight. It pairs beautifully with sleek makeup and structured dresses, creating an cohesive, polished look from head to toe.
Technique for Smooth, Glossy Waves
Start with freshly washed and conditioned hair—clean, healthy hair is essential for this look. Apply a smoothing serum or shine spray throughout, then blow-dry using a paddle brush for maximum smoothness. Create waves using a large-barrel curling iron, taking sections carefully and curling with tension (hold the curl for a few seconds) so waves are smooth and defined, not wavy and textured. Release waves gently, then finger-comb through them just slightly to smooth the surface. Finish with a light shine spray or luminizing hairspray—this is crucial for the mermaid effect.
Creating Lasting Shine and Smoothness
- Apply smoothing products before blow-drying, not after, for best results
- Use a paddle brush when blow-drying to keep hair smooth and controlled
- Hold each curl against the barrel for 3-5 seconds so waves set smoothly
- Finish with a shine spray designed specifically for luminosity—it makes all the difference
9. The Boho-Romantic Waves with Floral Accents
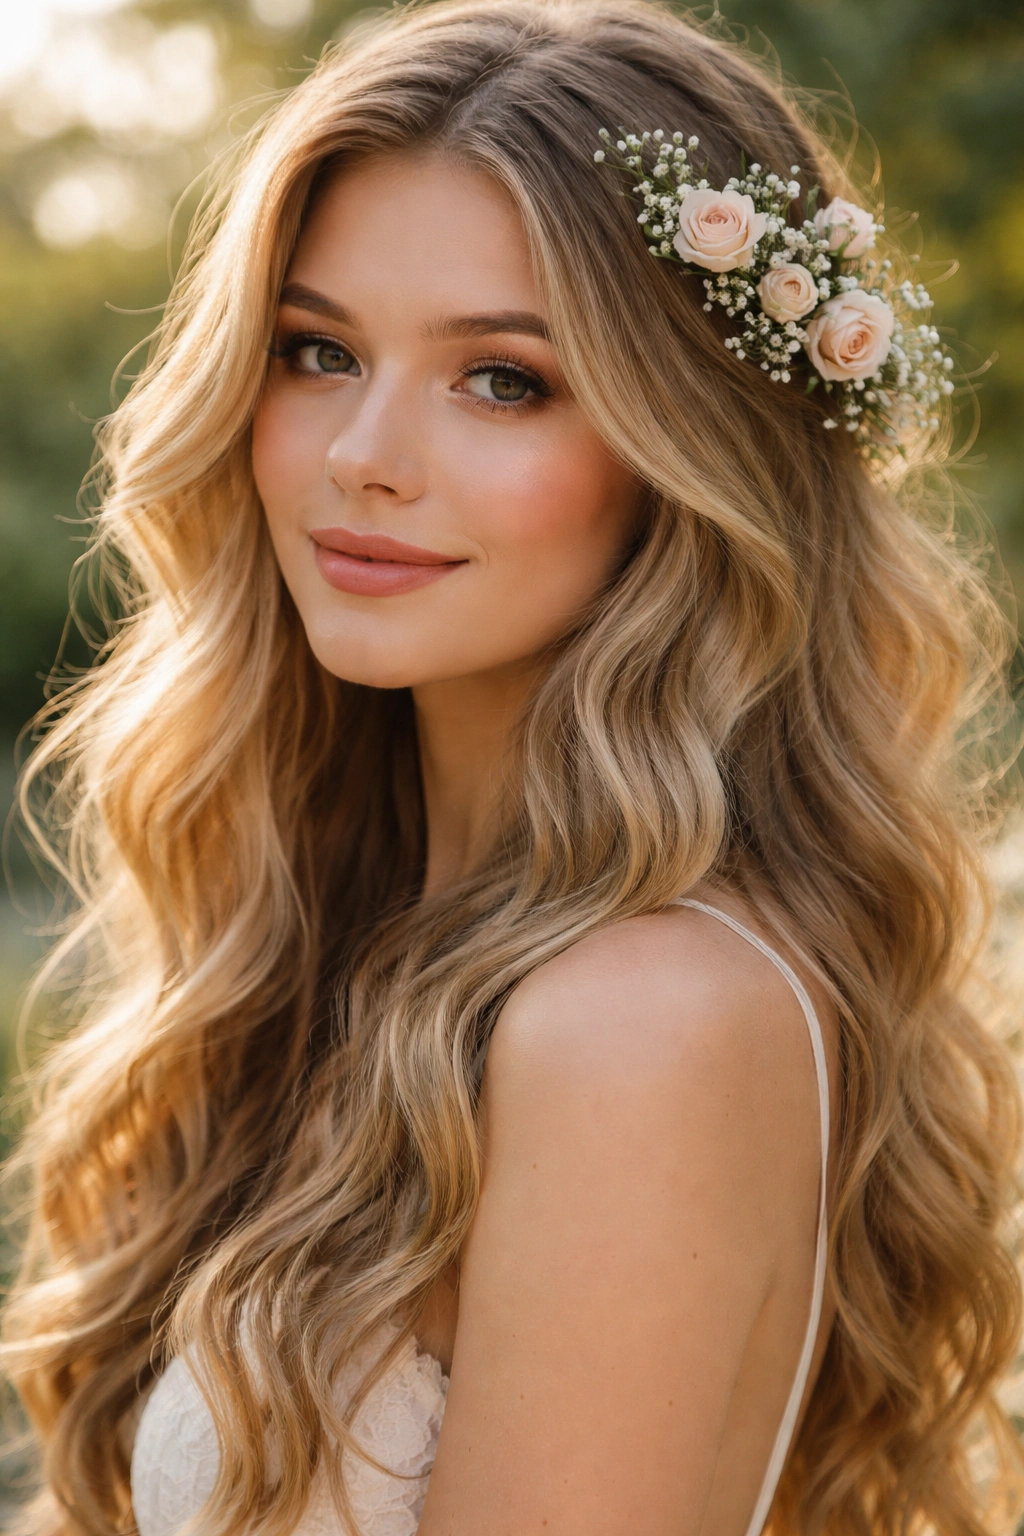
For a softer, more romantic approach to waves, add bohemian accents like flowers, delicate clips, or a headpiece. Soft, loose waves combined with floral or botanical elements create a dreamy, romantic aesthetic that feels special without being overly formal or costume-y.
Why Boho Waves Create Romantic Vibes
Bohemian styling embraces soft texture, natural movement, and delicate details—it’s the opposite of rigid or over-controlled. When you pair loose, romantic waves with flowers or nature-inspired accessories, you create a look that’s feminine, personal, and genuinely beautiful. This style works especially well for outdoor homecoming events, garden venues, or if you simply prefer a softer aesthetic. It suits all hair types and face shapes because the softness is universally flattering.
Building the Perfect Boho-Wavy Foundation
Create full, loose waves throughout your hair using a large-barrel curling iron or a waving tool. Keep waves soft and romantic—don’t crimp or texture too heavily. Once waves are set, you can add floral accents: a delicate flower crown across the front of your hair, a few individual flowers pinned throughout, small silk flowers in a thin braid, or a bohemian headpiece. The key is restraint—a few carefully placed flowers reads elegant, while too many feels costume-y.
Accessorizing Your Boho Waves
- Silk flowers last longer than fresh flowers throughout the night
- Pin flowers low in the waves, not in the crown, for a more romantic look
- Combine flowers with delicate gold or silver bobby pins for extra detail
- Fresh baby’s breath or eucalyptus work beautifully if you prefer botanical simplicity
10. The Hollywood Glamour Waves with Structured Volume
This is the ultimate red-carpet-inspired look: perfectly sculpted, dramatic waves with serious height at the crown and impeccable styling throughout. Every wave is intentional, every curve is defined, and every section is polished. This style screams glamour and confidence.
Why Hollywood Waves Feel Iconic
Hollywood waves represent old-school elegance combined with modern styling precision. This isn’t a casual, undone look—it’s intentional, sculptural, and absolutely gorgeous. It works beautifully with formal gowns, statement jewelry, and polished makeup. The style flatters strong features and photographs beautifully because the definition and shine catch light perfectly. This is the choice if you want to feel like a celebrity on your homecoming night.
Creating Perfectly Sculpted Hollywood Waves
Start with a blow-dry using a round brush to build smooth foundation and root volume. Use a medium-barrel curling iron to create waves section by section, taking your time and curling with precision. The key difference from other wave styles is the control: each curl is intentional and defined, not loose and tousled. After curling, gently finger-comb through the waves just enough to smooth the surface slightly while maintaining definition. Use a hold-and-shine hairspray to keep everything in place while adding luminosity.
Mastering the Glamour Details
- Blow-dry with a round brush for smooth, sculpted foundations
- Use a medium-barrel iron (1¼ inches) for waves that are defined without being tight
- Tease subtly at the crown for added height and grandeur
- Apply hairspray in light layers rather than one heavy coat—this prevents crunchiness while maintaining hold
- Do a final hair check 10 minutes after styling to ensure everything has set properly
Final Thoughts
Choosing the right wavy hairstyle for homecoming comes down to knowing yourself: your hair texture, what makes you feel confident, and what aligns with your dress and overall vision for the night. Some of these styles work beautifully with practice and at-home styling, while others are genuinely easier—and better—with professional help. There’s absolutely nothing wrong with booking a stylist, especially if you want to guarantee the look holds through dancing, photos, and the entire celebration.
What matters most is that you feel like the best version of yourself. When your hair feels secure, looks beautiful, and makes you feel confident, everything else—the dancing, the photos, the memories—flows from there. Pick the style that speaks to you, give yourself enough prep time, and get excited about your homecoming night. You’re going to look absolutely stunning.