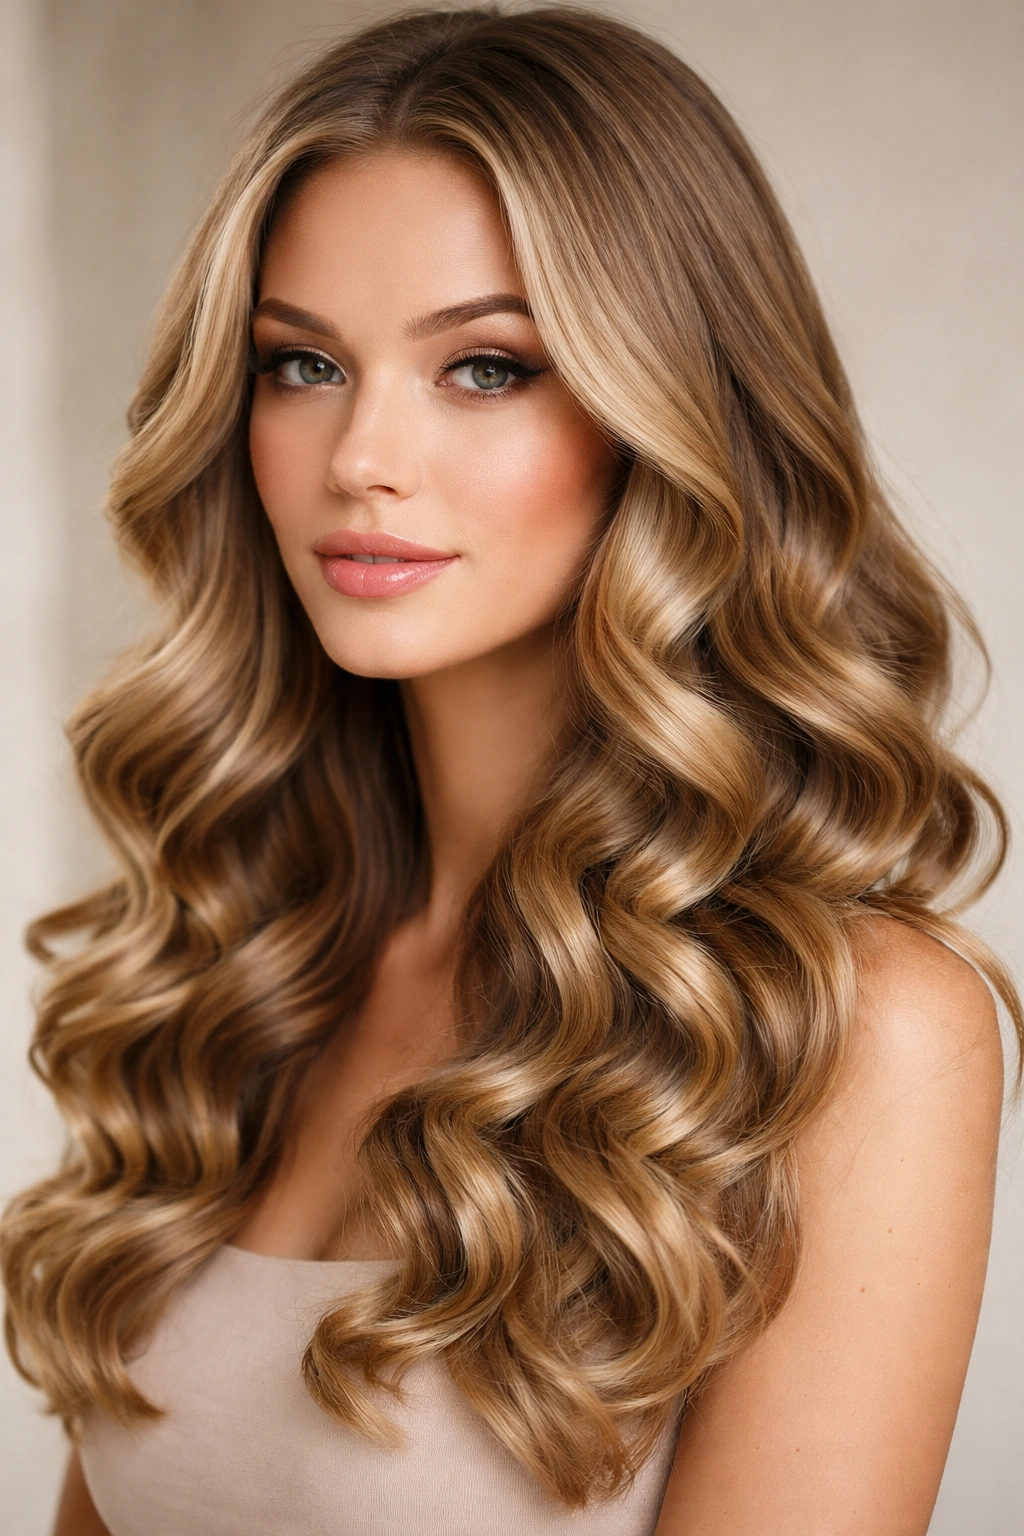
If you’ve got naturally straight hair but you’re tired of the same sleek look, a curling wand is genuinely one of the best tools you can add to your styling arsenal. The thing is, most people grab a wand and use it the same way every single time — wrapping, twisting, holding for a few seconds, and calling it done. But there’s so much more you can create with the right technique, wand size, and styling approach.
The beauty of straight hair is that it actually holds curl exceptionally well once you create it. Unlike naturally wavy or curly hair that can sometimes look undefined or frizzy, the curls you create on straight hair tend to be clean, defined, and long-lasting. You just need to understand how the size of your wand, the wrapping technique, the heat setting, and the cooling time all work together to produce completely different results.
What makes this even better is that you don’t need a closet full of different wands. A single quality wand — or maybe two different barrel sizes — can create at least a dozen distinct curl styles when you vary your wrapping method and technique. Some styles embrace the curl fully and lean into that dramatic texture, while others go for a softer, more natural wave that looks like you didn’t try too hard.
Let’s walk through ten completely different curl styles you can create on straight hair using a curling wand. Each one requires slightly different technique, a different mental approach, and will give you totally different results. By the end, you’ll understand exactly how to customize your curls to match any occasion, outfit, or mood.
1. Loose Beach Waves
Beach waves are the effortless-looking curl that somehow takes the most technique to get right. The goal here isn’t defined ringlets or tight coils — it’s that soft, undulating texture that looks like you spent the day at the ocean and your hair naturally dried that way. The waves should have movement and dimension, not structure.
How to Create the Look
To get genuine beach waves, you need a larger wand barrel — ideally 1.25 inches or larger. The bigger the barrel, the looser and softer the wave. Start with damp hair that’s been lightly prepped with a heat protectant spray and maybe a small amount of texturizing spray or sea salt spray. This gives your hair a slight grip so the curl holds better. Divide your hair into sections and wrap each section loosely around the wand — you’re aiming for maybe 1.5 to 2 rotations around the barrel, not tight wrapping. Keep the wand slightly tilted as you work through the hair rather than completely vertical. This creates that natural, relaxed wave pattern.
The Critical Timing and Technique Details
- Release the curl while it’s still warm, not after it cools completely — warm curls have more movement and less structure
- Alternate the direction of your wraps: one section wraps away from your face, the next wraps toward your face, and so on
- Don’t hold the wand in place for more than 5-8 seconds per section — longer heat creates tighter curls, shorter heat creates looser waves
- After you finish curling all your hair, run your fingers through the curls gently while they’re still cooling to break them up and create that undone texture
- Use a light-hold hairspray if you need staying power, but heavy product will weigh down the softness
Pro tip: Apply your texturizing spray while your hair is still damp, not after you’ve curled it. The spray works better on damp hair and helps the waves hold their shape without making them feel crunchy or stiff.
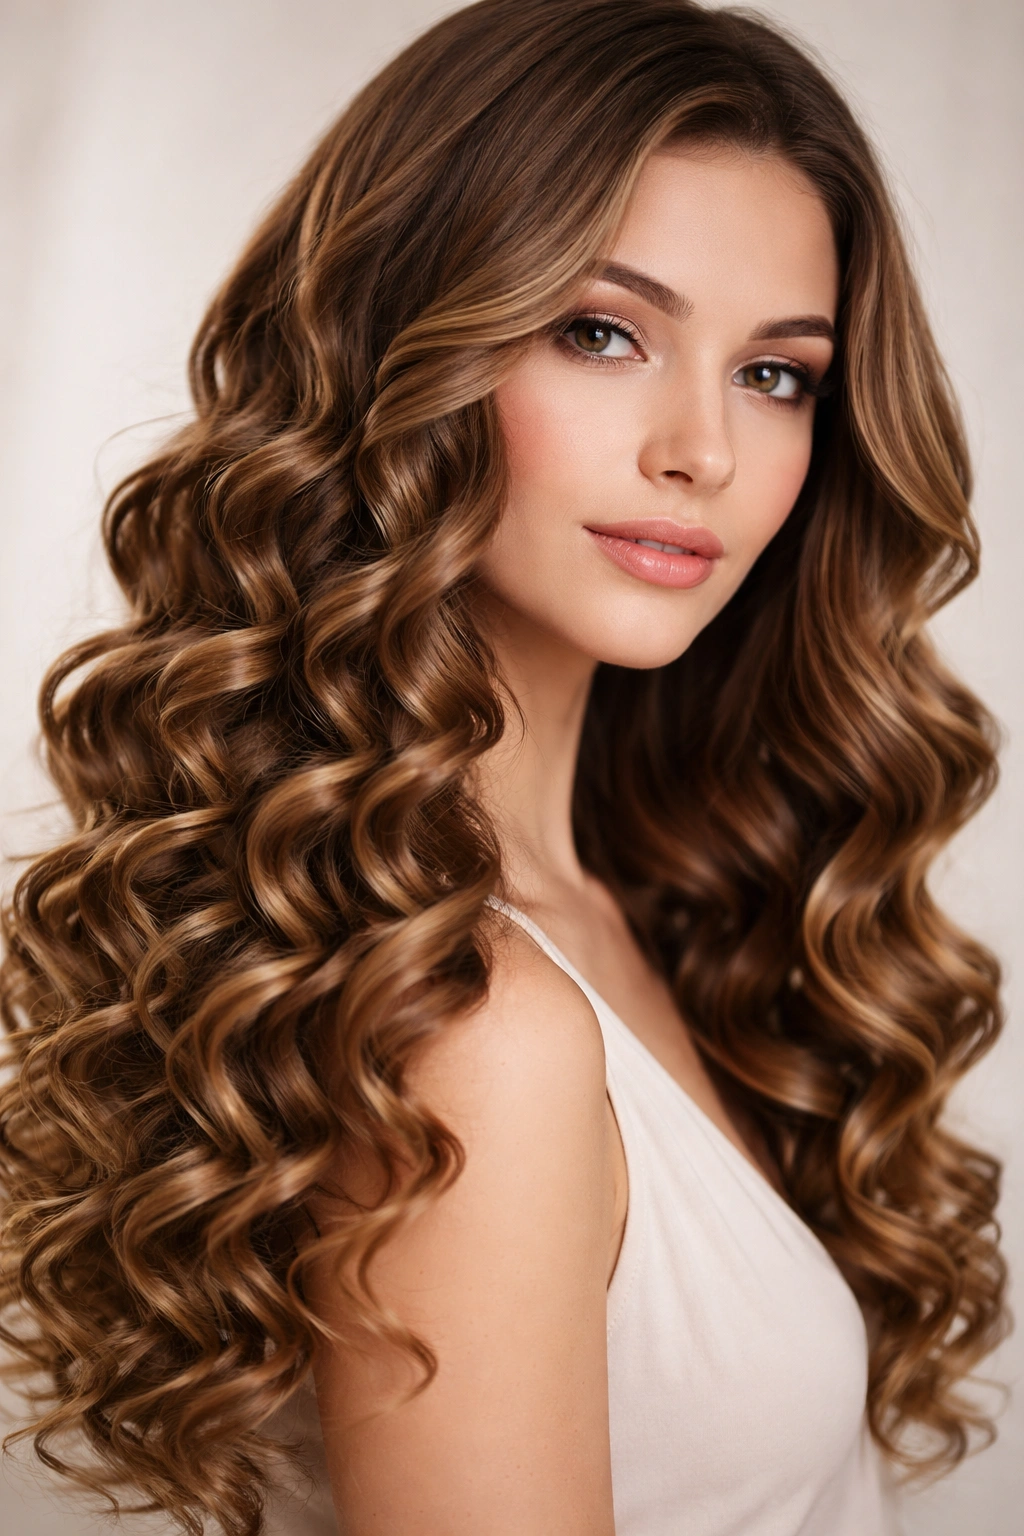
2. Tight Coils
Tight coils are the statement curl — dramatic, defined, full of personality, and unmistakably intentional. This is the style when you want texture that reads from across the room. The curls should be springy, individual, and tightly wound around the barrel with clear definition and separation.
Creating Defined, Bouncy Coils
For tight coils, you want a smaller barrel — somewhere between 0.75 and 1 inch. The smaller the barrel, the tighter the coil. Use completely dry hair (damp hair won’t hold as crisp a curl) and apply a straightening spray or curl-holding spray to each section before you wrap. These products add grip to your hair strands and help the curl set more firmly. Wrap each section tightly around the wand, keeping the wand vertical. You want at least 2 to 2.5 full rotations — the hair should have nowhere to go but to coil around the barrel.
Heat Setting and Cooling Process
- Set your wand to medium-high or high heat (around 350–400°F depending on your hair’s texture and thickness)
- Hold the wand in place for 10-15 seconds per section — tight coils need more time to set
- Let the coil cool completely around the wand before you unwind it; this is crucial for holding the shape
- Unwind the curl slowly and gently, supporting it with your fingers so it doesn’t drop or lose its bounce
- Don’t run your fingers through these curls to break them up — you want them to maintain their defined, individual shape
- Use a medium-to-firm hold hairspray once all curls are finished and fully cooled
Worth knowing: The direction matters less with tight coils because the definition is in the tightness, not the direction. But alternating directions still adds subtle dimension that makes the look feel less uniform and more intentional.
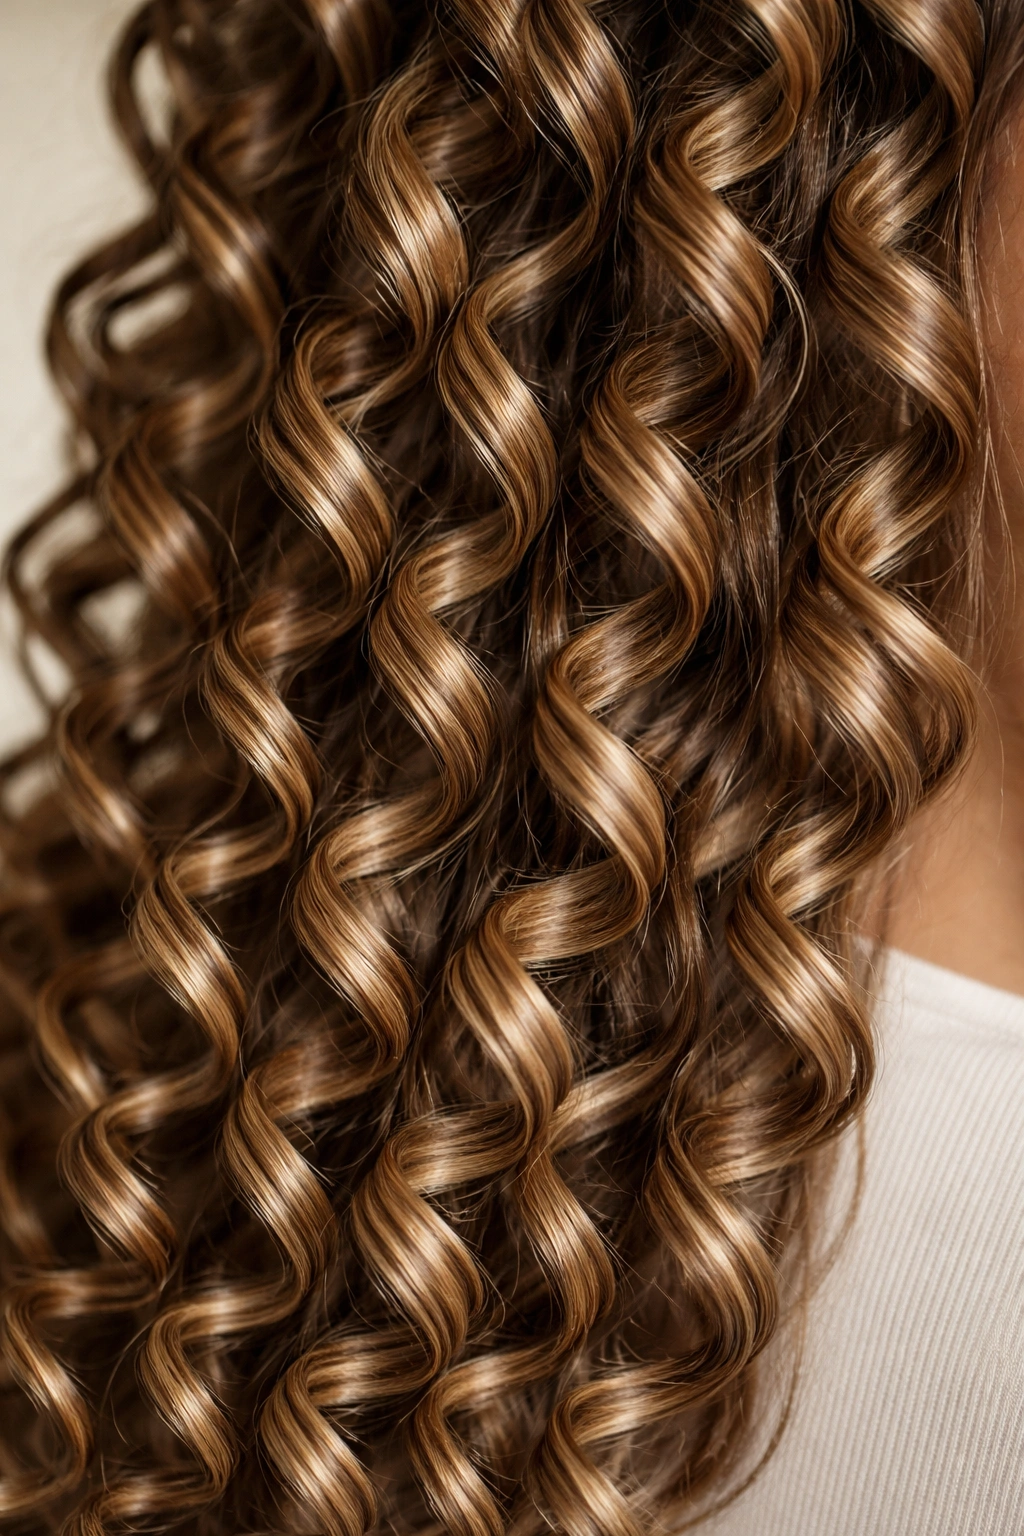
3. Spiral Curls
Spiral curls are the most dramatic style — every curl creates a distinct, helical pattern that makes your hair look noticeably fuller and more textured. These are tighter than beach waves but can have slightly more movement than pure coils because of how you release and style them. Spiral curls photograph beautifully and look absolutely stunning when you’re dressing up.
The Spiral Wrapping Technique
Use a medium barrel wand for spirals — 1 to 1.25 inches works best. Start with completely dry hair and divide it into clean sections. The key to actual spirals is how you wrap: instead of wrapping the hair around the barrel in the standard way, hold the hair vertically and slowly rotate the wand as you move down the strand. This creates that spiral pattern where the curl follows a helical path rather than just wrapping around the barrel. It takes a bit of practice to get smooth, even spirals, but once you nail the motion, it becomes intuitive.
Making Spirals That Hold and Look Polished
- Wrap each section slowly and deliberately — rushing creates inconsistent spirals
- Heat each spiral for 12-15 seconds, making sure the heat reaches all the way to the roots of that wrapped section
- Allow the spiral to cool completely — about 30 seconds — before gently unwinding it
- As you unwind, support the curl with your fingers to keep the spiral definition intact
- Use a firm-hold hairspray to lock the spirals in place once your entire head is done
- These curls can last all day and look great even the next day with a light touch-up from the wand
Insider note: Spray a texturizing or curl-setting spray on each section just before you spiral it. The spray gives the hair grip and helps the spiral hold its shape without needing excessive heat.
4. Bouncy Ringlets
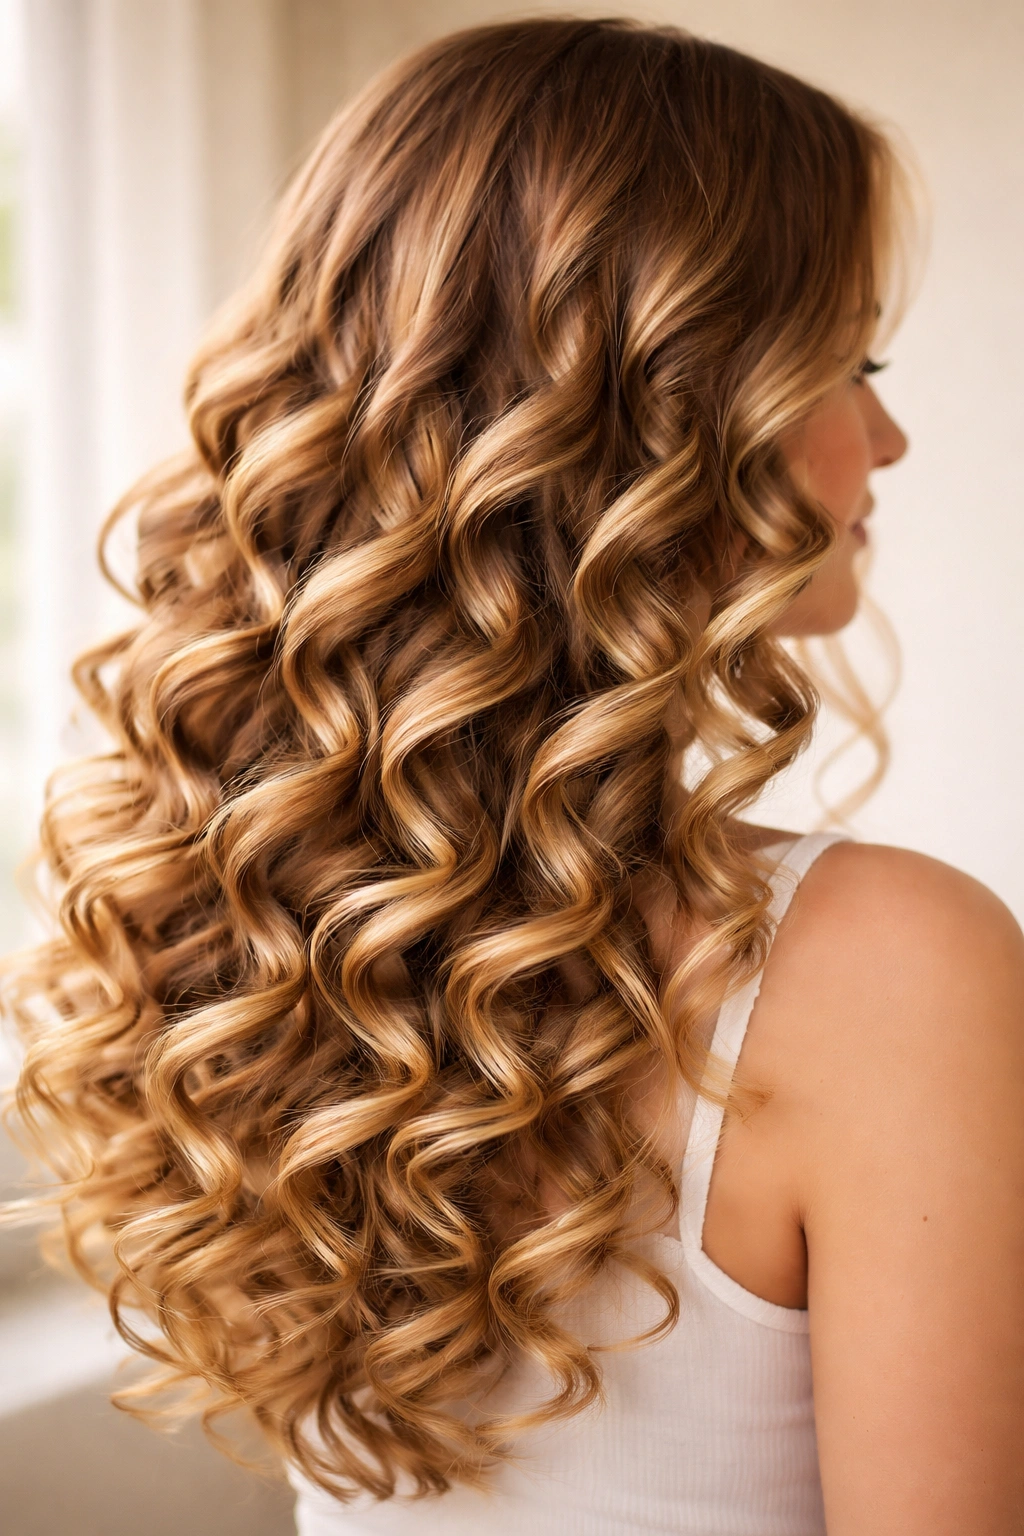
Bouncy ringlets feel playful, youthful, and energetic. They’re separate, defined curls with real bounce and movement — when you move your head, they actually move with you. The curls should feel springy to the touch and have a visible coil shape, but they’re not as tightly wound as full coils and not as loose as waves.
Getting Curls That Actually Bounce
Start with dry hair and use a 0.75-inch to 1-inch wand for ringlets. Divide your hair into clean, even sections. Wrap each section firmly but not excessively tightly — you want about 1.5 to 2 full wraps around the barrel. The wand should be held vertically or slightly tilted. Use medium-high heat (around 350–375°F) and hold each curl for 8-12 seconds. The timing here is important because too little heat and the curl won’t set, but too much heat will make the curl look fried and lose its bounce.
The Cooling and Release Process That Preserves Bounce
- After heating, remove the wand slowly from the curl, letting the curl fall naturally but still warm
- Cup the warm curl in your hand for about 10 seconds to help it set into that springy shape
- Once all curls are done and cooled, use a light-to-medium hairspray that won’t weigh them down
- Run your fingers through the curls very gently just once, loosening them slightly so they feel bouncy rather than crunchy
- Tilt your head to one side and shake gently; the curls should move with you
Quick tip: The distance you hold the wand from your scalp matters. Starting the curl further down the strand (maybe 2 inches from the root) creates bouncy, defined ringlets. Starting right at the root creates tighter coils.
5. Soft S-Waves
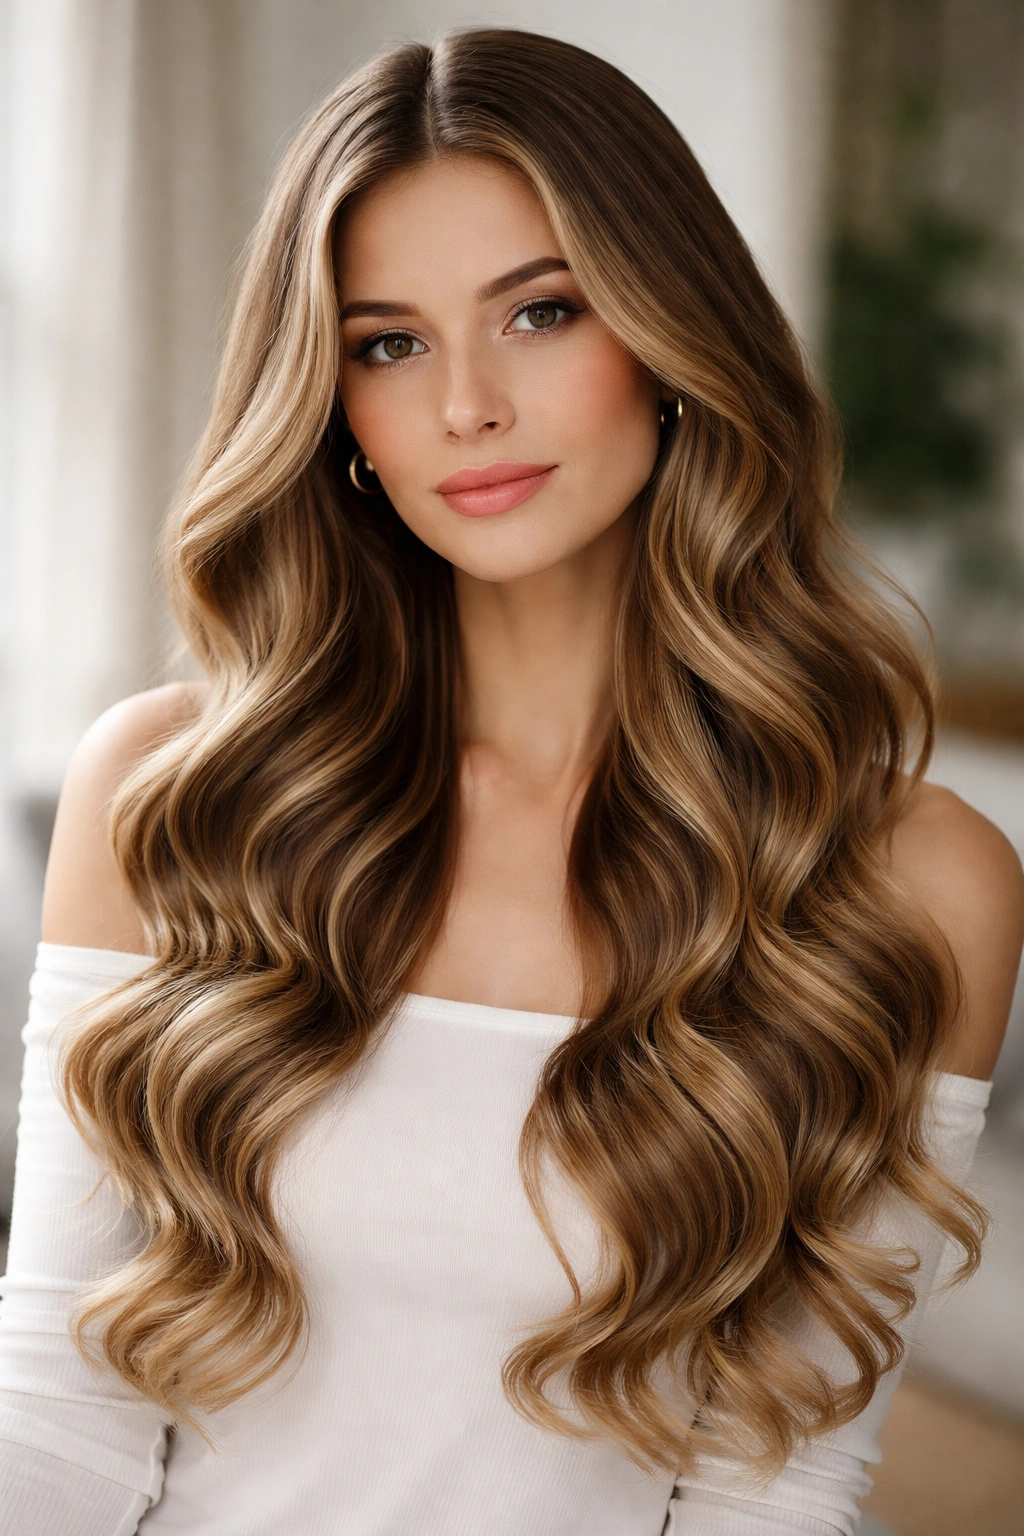
S-waves are that sophisticated, elegant wave pattern where your hair curves in soft S-shapes from root to tip. It’s more textured than a simple beach wave but has more fluidity than structured curls. This style works beautifully for formal events, professional settings, or any time you want to look polished but not stiff.
Creating the S-Wave Pattern
Use a 1.25-inch barrel for soft S-waves. Start with damp hair lightly sprayed with a heat protectant. The secret to S-waves is the wrapping direction: wrap one section away from your face, then the next section toward your face, then away, then toward, and so on. This alternating pattern, combined with medium heat and medium wrapping tension, creates those natural-looking S-curves. You’re essentially creating waves that follow a natural side-to-side pattern rather than spirals or coils.
Technique That Creates Polished, Flowing Waves
- Wrap loosely to medium tension — not tight, but with enough grip that the wave sets
- Hold each wave for 8-10 seconds with medium heat (around 325–350°F)
- Release the curl while still warm and let it cool in your hand, gently supporting it
- Don’t break up these waves too much; you want them to maintain their flow and pattern
- Use a light-to-medium hairspray that allows the waves to move naturally
- Run your fingers through once the curls are completely cool to add slight softness and movement
Pro tip: Pin each S-wave up in a loose coil while it cools. This helps the wave set into that smooth, flowing pattern rather than becoming straight or losing definition.
6. Defined Barrel Curls
Barrel curls are old-Hollywood glamorous and undeniably polished. Each curl wraps cleanly around the barrel in a distinct, separate coil that you can see and touch individually. This is the style for special events, photoshoots, or when you want hair that looks intentionally and beautifully styled.
The Barrel Curl Wrapping and Setting Method
Use a 1-inch barrel for classic barrel curls. Start with completely dry hair and apply a curl-setting spray or light hairspray to each section before wrapping. Wrap each section smoothly around the barrel, keeping tension even and consistent. You want about 1.5 to 2 complete wraps around the barrel. The wrapping should be neat and organized — not messy or loose. Use medium-high heat (around 350–375°F) and hold for 12-15 seconds.
Creating Curls That Hold Their Shape All Day
- While the curl is still on the wand and warm, mist it with a light hairspray
- Let the curl cool completely on the wand — don’t rush this step
- Unwind the wand slowly, letting the coil fall into your hand
- Hold the cooled coil gently in your hand for a few seconds to help it lock into shape
- Pin each finished curl up loosely on your head while you finish the rest of your hair (this keeps the shape intact)
- Once all curls are done and completely cool, remove pins and gently separate the curls with your fingers
- Finish with a firm-hold hairspray
Worth noting: Barrel curls look best when they’re all the same size and all wrapped in the same direction. This creates a uniform, intentional look. If you want more dimension, you can alternate the direction, but do it intentionally rather than randomly.
7. Tousled Textured Curls
Tousled textured curls are the “I woke up like this” style that actually takes work to create. The curls should look lived-in, a little bit messy in the best way, with texture and volume that reads as relaxed rather than perfectly styled. This works great for daytime, casual outings, or whenever you want personality and movement without perfection.
Building Texture With Varied Wrapping Techniques
Use two wand sizes for this look: a 1-inch and a 1.25-inch barrel. The variation in barrel size creates that mixed-texture look. Start with dry hair that’s been lightly texturized with a sea salt spray or texture spray. Wrap different sections with different techniques and barrel sizes. Some sections get tightly wrapped, others get loosely wrapped. Some get heated for longer, others for shorter. Some wraps go toward your face, others away.
Making It Look Intentionally Undone
- Vary your wrapping tension deliberately — some sections medium-tight, others loose
- Vary your heat time — some curls get 15 seconds, others get 8 seconds
- Don’t be too precise about section sizes; slightly uneven sections add to the tousled vibe
- Release each curl and immediately run your fingers through it to break it up a bit
- Tilt your head in different directions as you style to create volume and movement
- Use a light-hold hairspray that allows movement — this isn’t a “locked in place” style
- Shake your head gently and touch your hair while it’s still warm to encourage that undone feel
Pro tip: This style actually looks better the second day. On day two, lightly mist with a texturizing spray and scrunch your hair gently for that perfect “slept on these curls and they look amazing” texture.
8. Side-Swept Waves
Side-swept waves are romantic, face-framing, and universally flattering. All your curls flow from one side of your head to the other, creating movement and dimension while keeping the overall look cohesive and intentional. This style works beautifully for dates, special events, or any time you want to feel put-together and elegant.
Creating Unified, Directional Waves
Use a 1.25-inch barrel for side-swept waves. Start by creating a deep side part — the deeper the part, the more dramatic the side-swept effect. All your curls should wrap in the same direction: toward the heavier side of the part. Start at the lighter side of your part and work your way toward the heavier side, wrapping each section so the curl falls away from your face and toward the heavier side. Use medium heat and medium tension, holding each curl for 8-10 seconds.
Making Waves That Sweep and Flow
- Don’t break up these waves — you want them to maintain their flow and direction
- The curls should feel smooth and follow a clear directional pattern, all moving toward the same side
- Pin the curls up loosely on the heavier side of your head while they cool; this helps them all set in the same direction
- Once cool, gently remove pins and let the waves fall naturally
- Brush through the waves very gently with a soft paddle brush to smooth them and enhance the side-swept flow
- Use a light-to-medium hairspray that won’t weigh down the waves
- Tuck the lighter side of your hair gently behind your ear or let it frame your face, depending on the look you want
Insider note: The deeper your side part, the more dramatic the sweep. A subtle side part creates a softer, more balanced wave. A deep, dramatic part creates that “all the waves on one side” red-carpet look.
9. Romantic Pin Curls with Wand
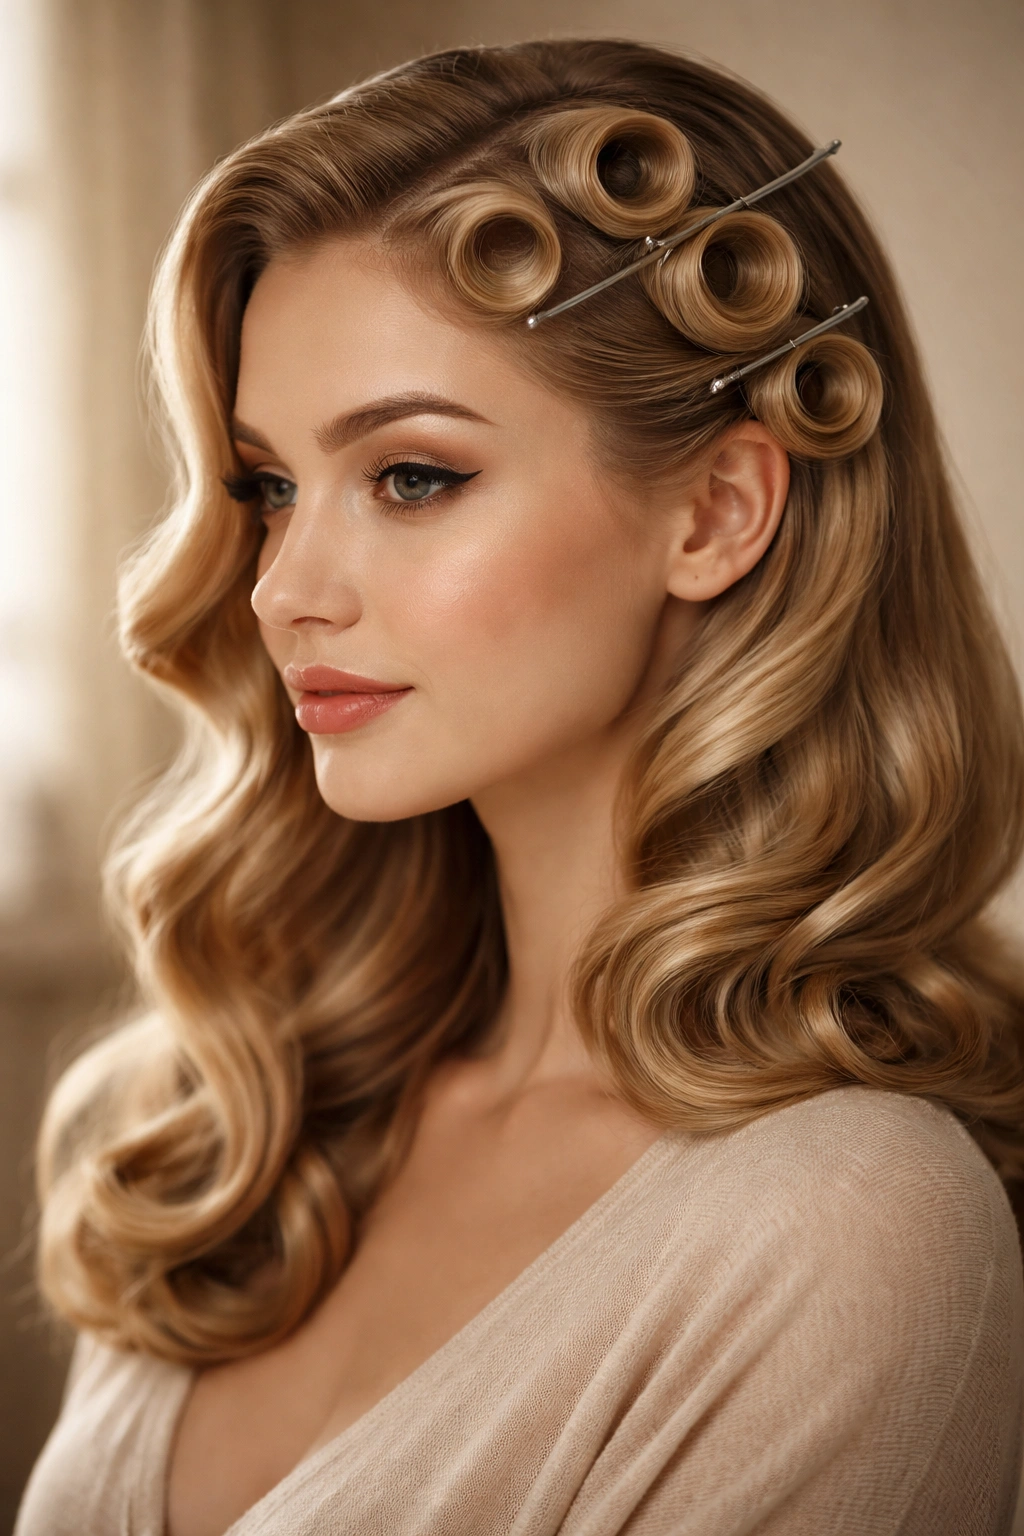
Pin curls created with a wand are more polished and defined than traditional finger pin curls, and they hold better too. This style is genuinely romantic — soft, vintage-inspired, with defined curls that feel elegant and put-together. It works beautifully for weddings, vintage-themed events, or when you want to feel like the best version of yourself.
Creating Pin Curls Using Your Wand
Use a 1-inch barrel for pin curls made with a wand. Start with dry hair. Wrap each section smoothly around the wand, then immediately roll the warm curl into a pin-curl shape (basically a coil that sits flat against your scalp). Secure it with a bobby pin while it cools. The key difference from standard wand curling is that you’re immediately forming the curl into a pin-curl shape right after heating, rather than letting it hang.
The Setting and Release Process
- Wrap each section around the wand as you normally would
- Before the curl cools, gently unwind the wand while simultaneously coiling the curl flat against your scalp in a spiral shape
- Secure the coil with a bobby pin that matches your hair color
- Let the pin curl cool completely — at least 30-45 seconds
- Continue this process with all your hair, creating pin curls across your whole head
- Once all curls are completely cool and pinned, remove the bobby pins carefully
- Run your fingers through gently, separating each curl slightly
- Use a medium-hold hairspray to lock the romantic shape in place
Pro tip: The size of your pin curls determines the final look. Smaller, tighter pin curls create more defined, retro-feeling ringlets. Larger, looser pin curls create softer, more romantic waves.
10. Lived-In Undone Waves
Lived-in undone waves are the style that looks effortless but is actually carefully crafted. The curls should feel soft, slightly imperfect, with movement and texture that makes it look like you haven’t thought about your hair much, even though you have. This is for days when you want to look great without looking like you tried hard — the sweet spot between polished and casual.
Building Soft, Imperfect Texture
Use a 1.25-inch to 1.5-inch wand for undone waves. Start with damp hair that’s been prepped with a heat protectant spray. Wrap sections loosely around the wand — you’re aiming for maybe 1 to 1.5 rotations, not full coils. Use medium heat (around 325–350°F) and only hold the wand for 5-8 seconds per section. The shorter heating time is key here; it creates waves that aren’t too defined or too structured.
Making Waves That Look Naturally Beautiful
- Alternate your wrapping directions randomly rather than in a pattern — this creates an organic, unplanned look
- Release each curl immediately while it’s still warm and run your fingers through it right away
- Don’t wait for the curl to cool in your hand; just let it fall and move naturally
- Vary the amount of hair you grab for each section — uneven sections add to that undone vibe
- Use a light hairspray or texture spray, not a firm-hold product
- Once your entire head is done, shake out your hair and tousle it gently with your fingers
- The goal is waves that look like they happened naturally, not waves that are precisely placed
Worth knowing: This style actually gets better as the day goes on. The waves soften slightly and become more lived-in looking. It’s the perfect style for a long day where you want your hair to look great from morning through evening without needing touch-ups.
Final Thoughts
The real power of a curling wand comes down to understanding that the same tool can create completely different styles depending on your barrel size, your wrapping technique, your heat setting, your timing, and how you release and style the curl afterward. You don’t need ten different tools — you need one good wand (or maybe two different barrel sizes) and the knowledge of how to manipulate it to create the exact look you want.
Straight hair is actually your advantage here. Because you’re starting with a clean canvas, the curls you create will be defined, last longer, and look intentional. Take time to practice each style a few times until it feels natural. Once you’ve got the technique down, you’ll be able to create any of these looks in 20-30 minutes, giving you serious versatility for your daily styling.
The best style is the one that makes you feel confident and matches what you’re doing that day. Master a couple of these techniques first, then gradually add others to your rotation. Before long, your straight hair won’t feel like a limitation — it’ll feel like a blank slate full of possibilities.