Pin straight hair with layers is a powerful combination—it’s sharp, modern, and actually easier to style than many people assume. The key is understanding how layering works with perfectly straight strands, because unlike curly or wavy textures where layers blend naturally, straight hair creates defined lines that either look intentionally chic or undeniably choppy depending on the cut and styling approach.
What makes layered pin straight hair so compelling is that it catches light differently at every level. When you have depth and movement built into the cut itself, your hair gains dimension without needing heat styling or teasing. The layers create visual interest while the straightness keeps everything polished and intentional-looking. It’s a styling sweet spot that works for everything from professional environments to editorial-worthy everyday looks.
The styling possibilities with this combination are broader than you’d think. You can lean into the sharp geometry of the cut for a very modern aesthetic, or soften the layers with gentle styling techniques to create something more undone. You can add texture through various blow-dry methods, or keep everything super sleek for maximum minimalist impact. The foundation of a good layered straight-hair cut opens dozens of styling doors.
If you’re considering a cut like this, or you already have one and want to push it in new directions, these ten looks show the real range of what’s possible. Each one demonstrates how different approaches to layering, styling, and finishing transform the same basic concept into something uniquely wearable.
1. Classic Blunt Layers with Modern Edge
This is the gold standard for pin straight hair—layers cut with precision blunt lines that create stacked depth without softness. The effect is architectural and intentional, with each layer sitting distinctly above the one below it. The length typically ranges from shoulder-length to mid-back, with the shortest layers usually starting around the cheekbones or jawline. What makes it feel modern rather than dated is the precision of the cutting technique and the way it’s finished with a super-sleek straightener, creating almost mirror-like shine.
Why This Cut Works on Straight Hair
The blunt layers on straight strands create immediate visual weight and structure without any thinning or point-cutting that would leave hair looking wispy. When a stylist cuts blunt layers into straight hair, every line is visible, which means the cut itself carries all the visual interest—you don’t need texture or waves to make it look intentional. This is actually freeing because it means minimal styling effort yields maximum impact.
Styling for Maximum Impact
- Blow-dry straight with a paddle brush for sleekness, then run a straightener through damp sections using a smoothing serum to lock everything down
- Apply a lightweight silicone spray to finished hair to amplify shine and create that polished, almost lacquered appearance
- Use a smoothing cream or anti-frizz serum on damp hair before blow-drying to prevent any halo effect around the layers
- Part hair down the center or deeply to one side—part placement completely changes the geometry of blunt layers
- Keep straightening maintenance regular (every 4-6 weeks) because blunt lines show grow-out immediately
Pro tip: The quality of your straightener actually matters here more than with any other hair type. A good ceramic or tourmaline flat iron creates a smoother, shinier finish than a basic one, and that shine is doing 50% of the visual work for blunt layers.
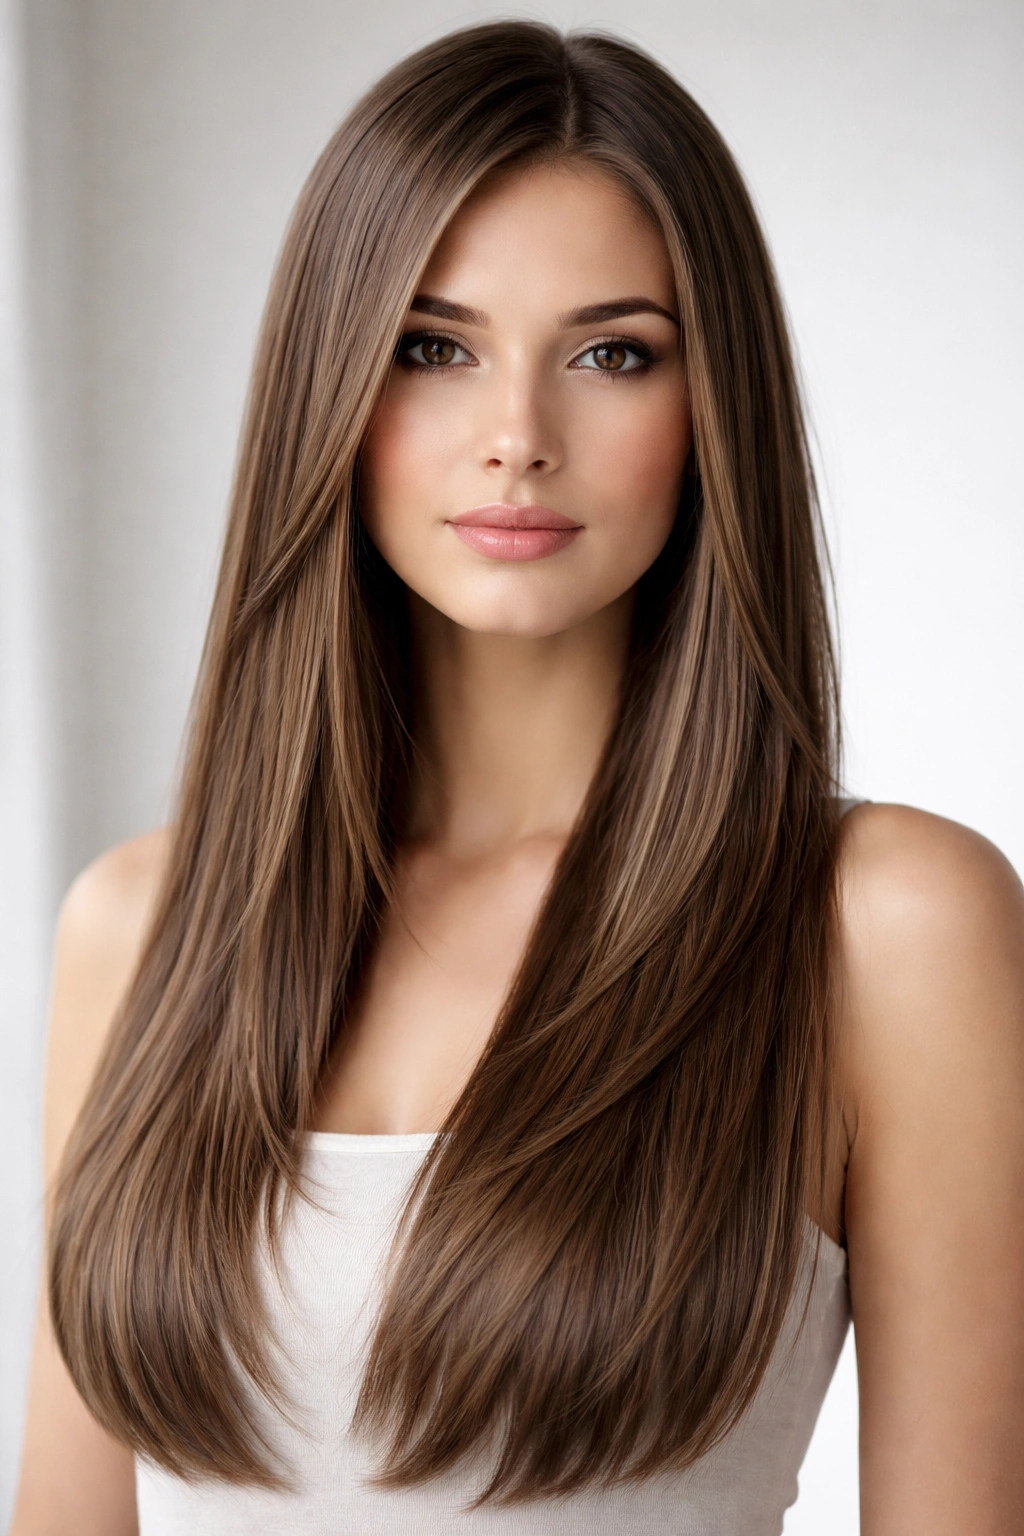
2. Feathered Money Piece Layers
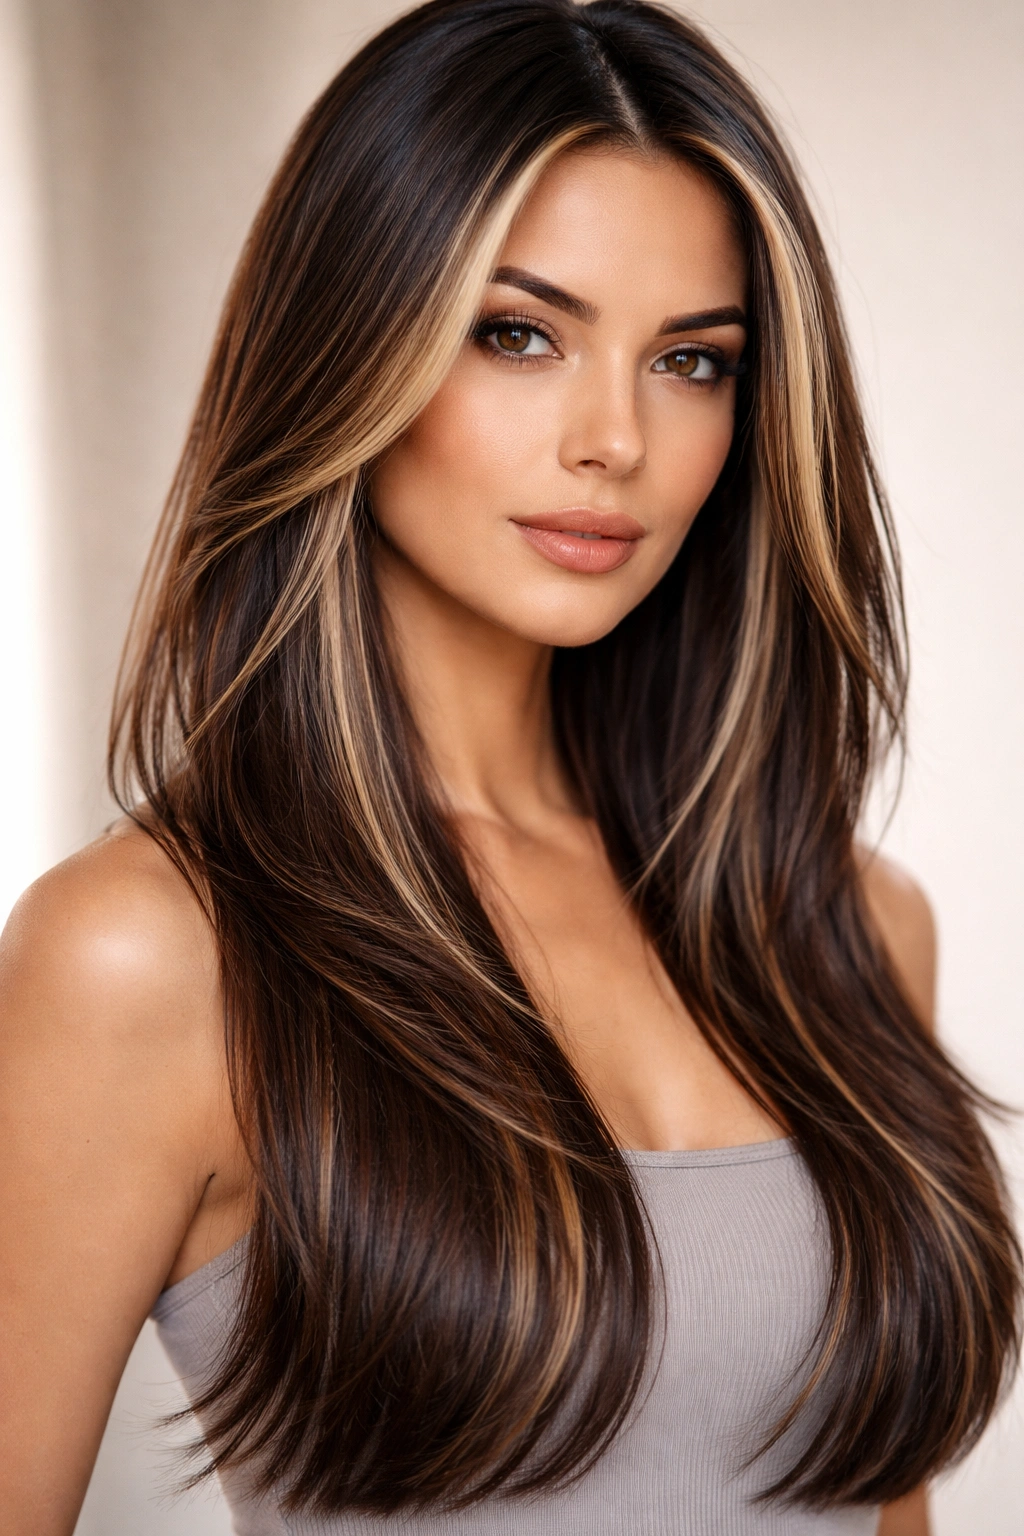
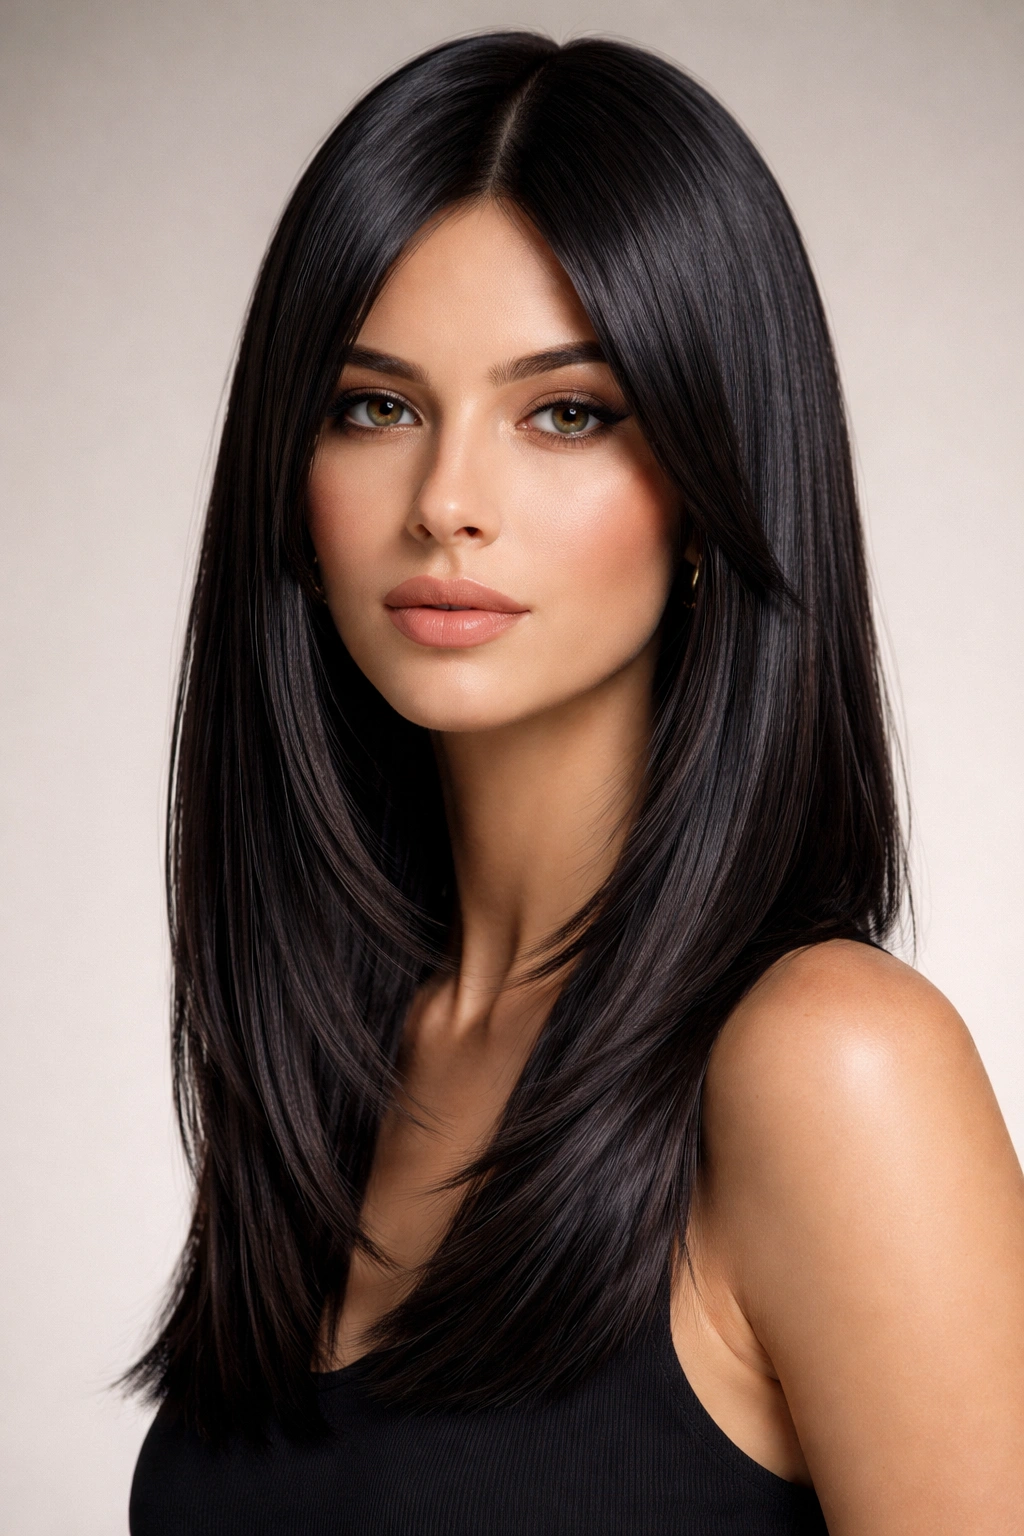
This look combines heavily layered face-framing pieces (the “money pieces”) with straighter, longer layers underneath. The front sections have significant texture and movement built into the cut, with shorter, feathered layers that begin around the cheekbones and gradually blend into longer lengths as you move toward the back. When styled straight, these shorter front layers create beautiful dimension when the light hits them, while the longer back stays relatively solid and grounded.
The Money Piece Strategy
The money pieces are the most visible layers in the entire cut—they frame your face and catch every bit of light when you move. On pin straight hair, feathered money pieces create a soft halo effect around your face while keeping everything polished. The feathering technique means the layers are cut at angles rather than straight across, so they blend into each other instead of sitting in distinct stacks. This approach softens the geometric look of straight hair without making it look undone or messy.
How to Style for Maximum Shine
- Blow-dry money pieces (the front layers) slightly away from your face using a round brush, creating a subtle forward movement that shows off the feathering
- Straighten the entire head with a smoothing serum, paying special attention to directing money pieces to frame your face rather than lying flat against your cheeks
- Add a volumizing mousse to damp roots before blow-drying to create height that supports the feathered layers
- Use a straightener with a curved plate edge—this allows you to create a subtle inward flip at the layer lines, giving movement without waviness
- Consider a lightweight texturizing spray on just the money pieces to add grip and visibility to those front layers
Worth knowing: This cut requires slightly more maintenance than blunt layers because the feathering is more visible as it grows out. You’ll want trims every 6-8 weeks to keep the feathered lines looking intentional.
3. Choppy Textured Straight Layers
Choppy layers are cut with significant variation in length and are often thinned throughout to create built-in texture. When worn pin straight, this creates a rocker-chic, deliberately undone aesthetic that somehow looks effortlessly cool. The layers are shorter and more dramatically stacked than classic layering, with noticeable gaps between different sections. Because straight hair shows every chop line, a good choppy cut on pin-straight strands reads as intentionally edgy rather than accidental.
Building Texture Into the Cut
Choppy layers work because the cut itself does all the textural work. A stylist uses point-cutting and choppy techniques to thin out hair throughout while creating distinct layers at different lengths. When you straighten choppy layers, you’re not trying to hide texture—you’re enhancing the graphic quality of the cut. The thinner points create air and movement even when hair is completely straight, which is the magic of this approach.
Styling to Enhance the Choppy Attitude
- Start with a texturizing spray or sea salt spray on damp hair before blow-drying to add grip and definition to each layer
- Blow-dry using your fingers or a diffuser rather than a paddle brush—this disturbs the layers less and lets them sit more independently
- Straighten sections individually rather than dragging through the entire head at once, which helps maintain the separation between layers
- Use a texturizing dry spray over finished hair to add grip and prevent layers from clumping together
- Avoid heavy serums or smoothing products—lightweight or dry-finish products work better with choppy layers
- Part hair in unconventional ways (off-center, zigzag) to emphasize the intentional choppiness of the cut
Insider note: Choppy layers look better with slightly second-day hair than freshly washed hair. Texture products and some natural oils work together to define the layers rather than flatten them.
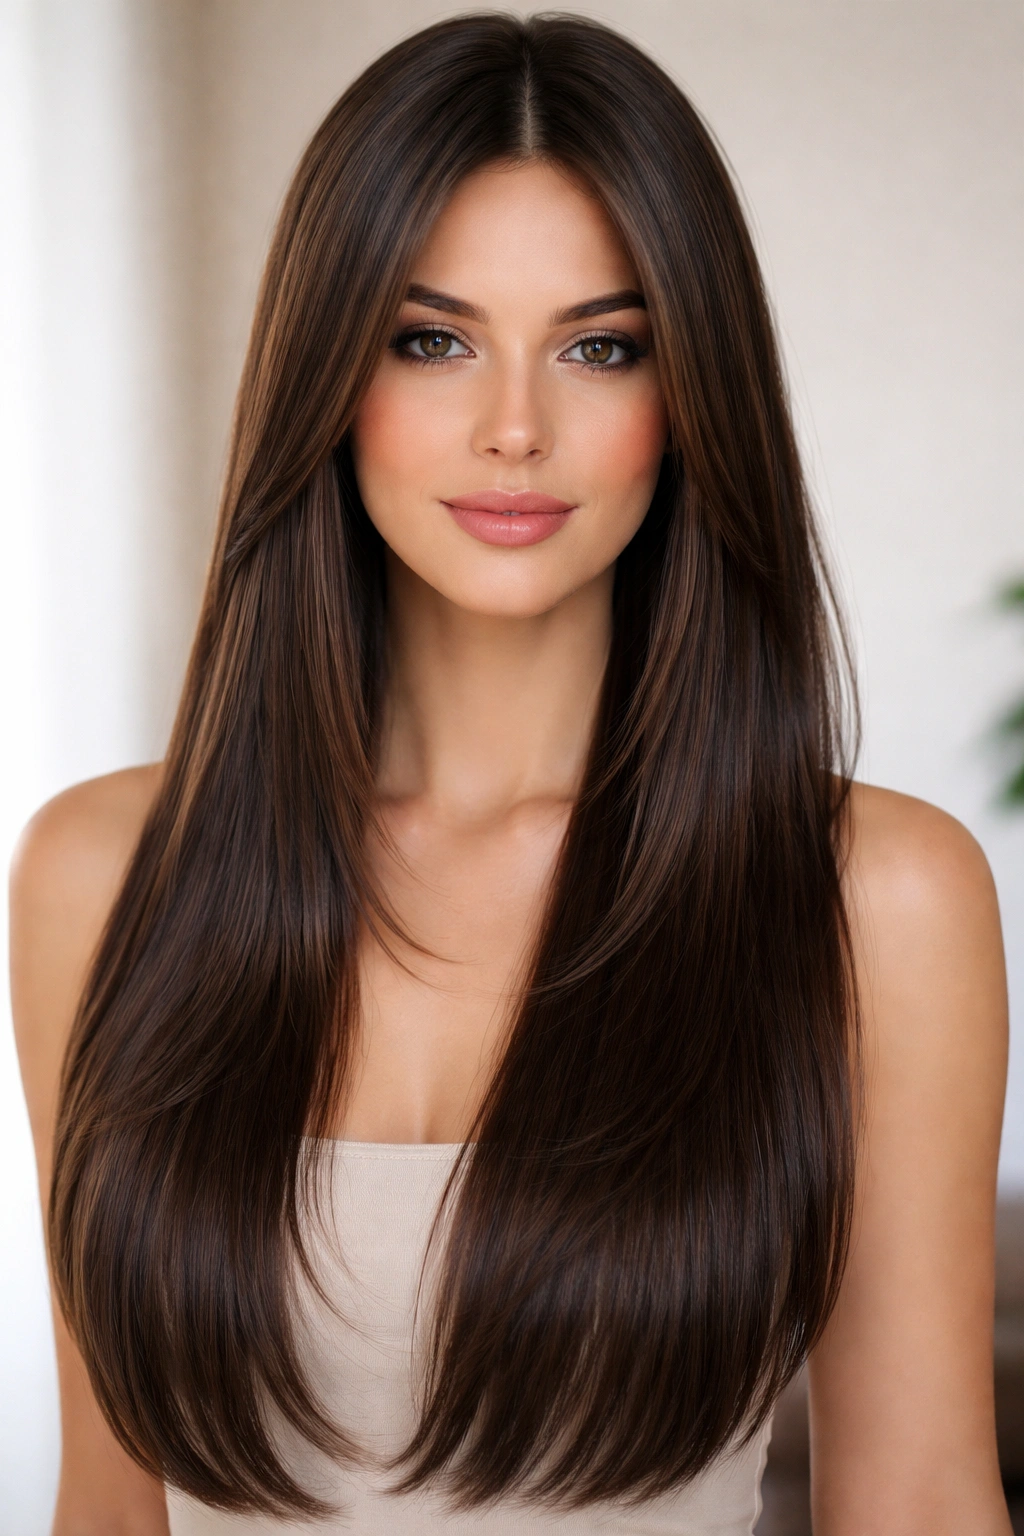
4. Long Straight Layers with Subtle Graduation
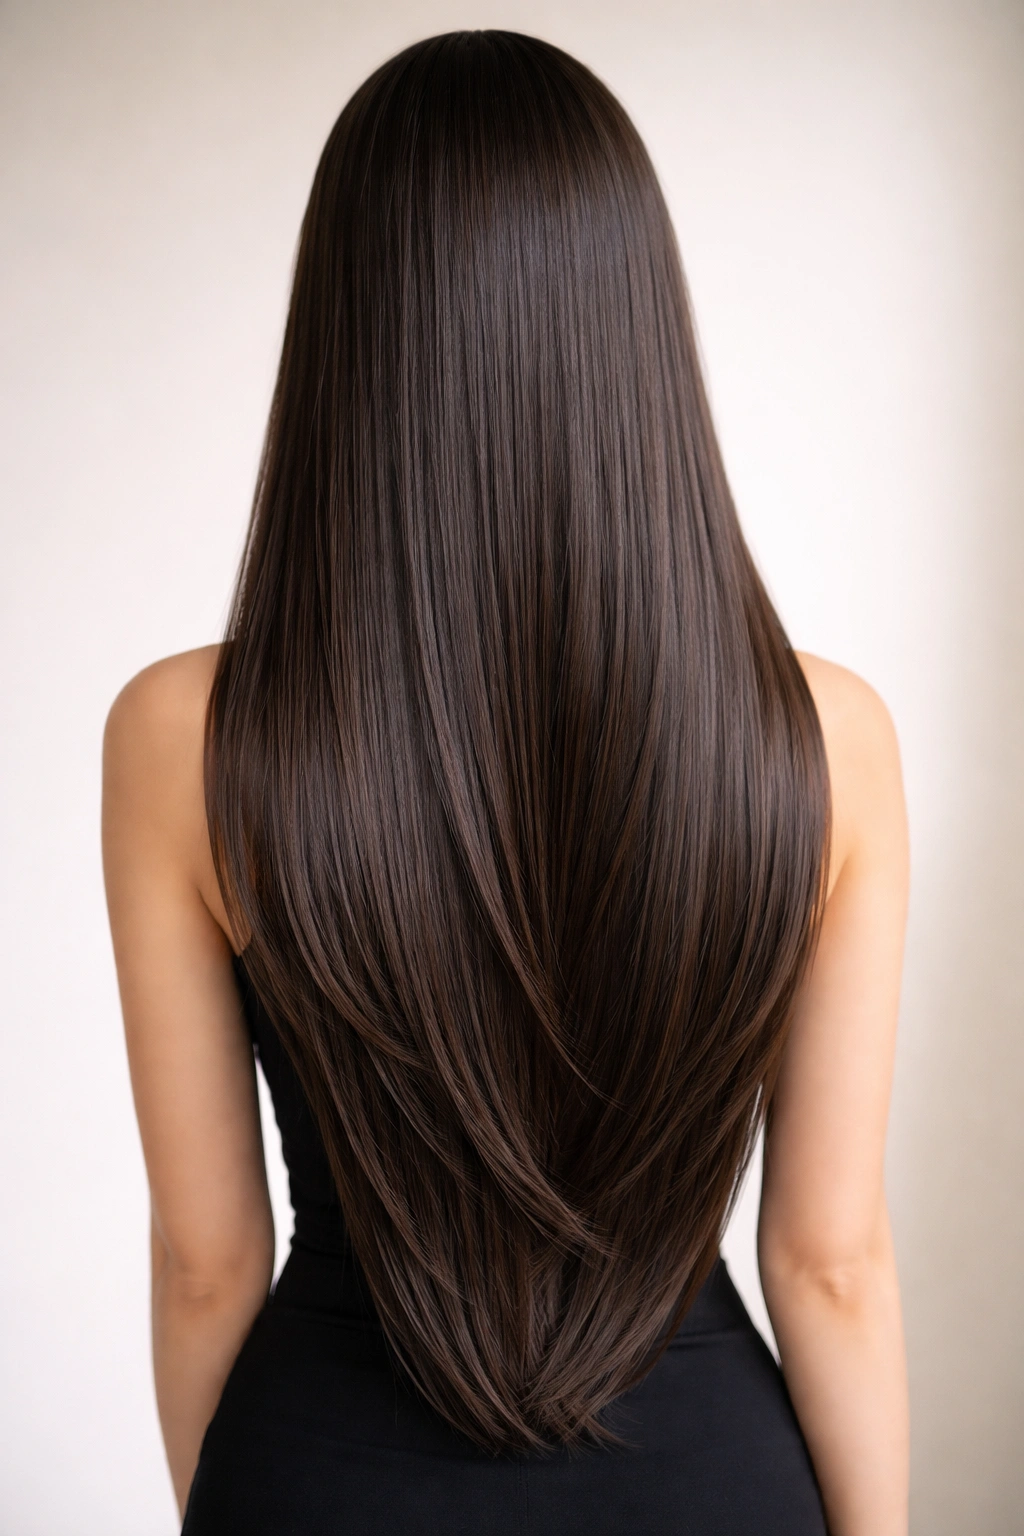
This is the sophisticated, barely-there approach to layering. Long straight hair (often waist-length or longer) has subtle, gradual layers that create barely perceptible movement and dimension. Rather than obvious stacked layers, the hair gets progressively slightly longer as you move toward the center and back, creating an almost imperceptible graduation. It’s a look that relies on the beauty of healthy, shiny straight hair rather than dramatic cutting technique.
The Art of Subtle Layering
With this cut, the skill is in the restraint. A stylist creates layers so gradually that most people won’t immediately notice them, but the effect is that light moves across the hair differently, creating dimension without any choppiness or obvious texture. This works especially well on very thick hair that would otherwise look blunt and heavy if cut in one length. The subtle graduation allows thickness to show through while maintaining the sleek, straight aesthetic.
Styling for Maximum Shine and Flow
- Blow-dry completely straight, working in sections and directing hair downward for smooth cuticles
- Finish with a cool shot on a blow dryer to seal cuticles and maximize shine
- Apply a hydrating serum or oil to mid-lengths and ends to create glossy shine without greasiness
- Straighten hair with a lightweight serum to create that mirror-like finish
- Keep hair moisturized with regular deep conditioning—long straight hair needs hydration to look shiny rather than dull
- Wear hair down and unstyled for maximum impact; the simple elegance is the entire point
Worth knowing: Long layered straight hair requires healthy ends to look good. Get regular trims (every 8-10 weeks) to keep ends blunt and shiny rather than letting them fray and split.
5. Micro-Bangs With Straight Layered Length
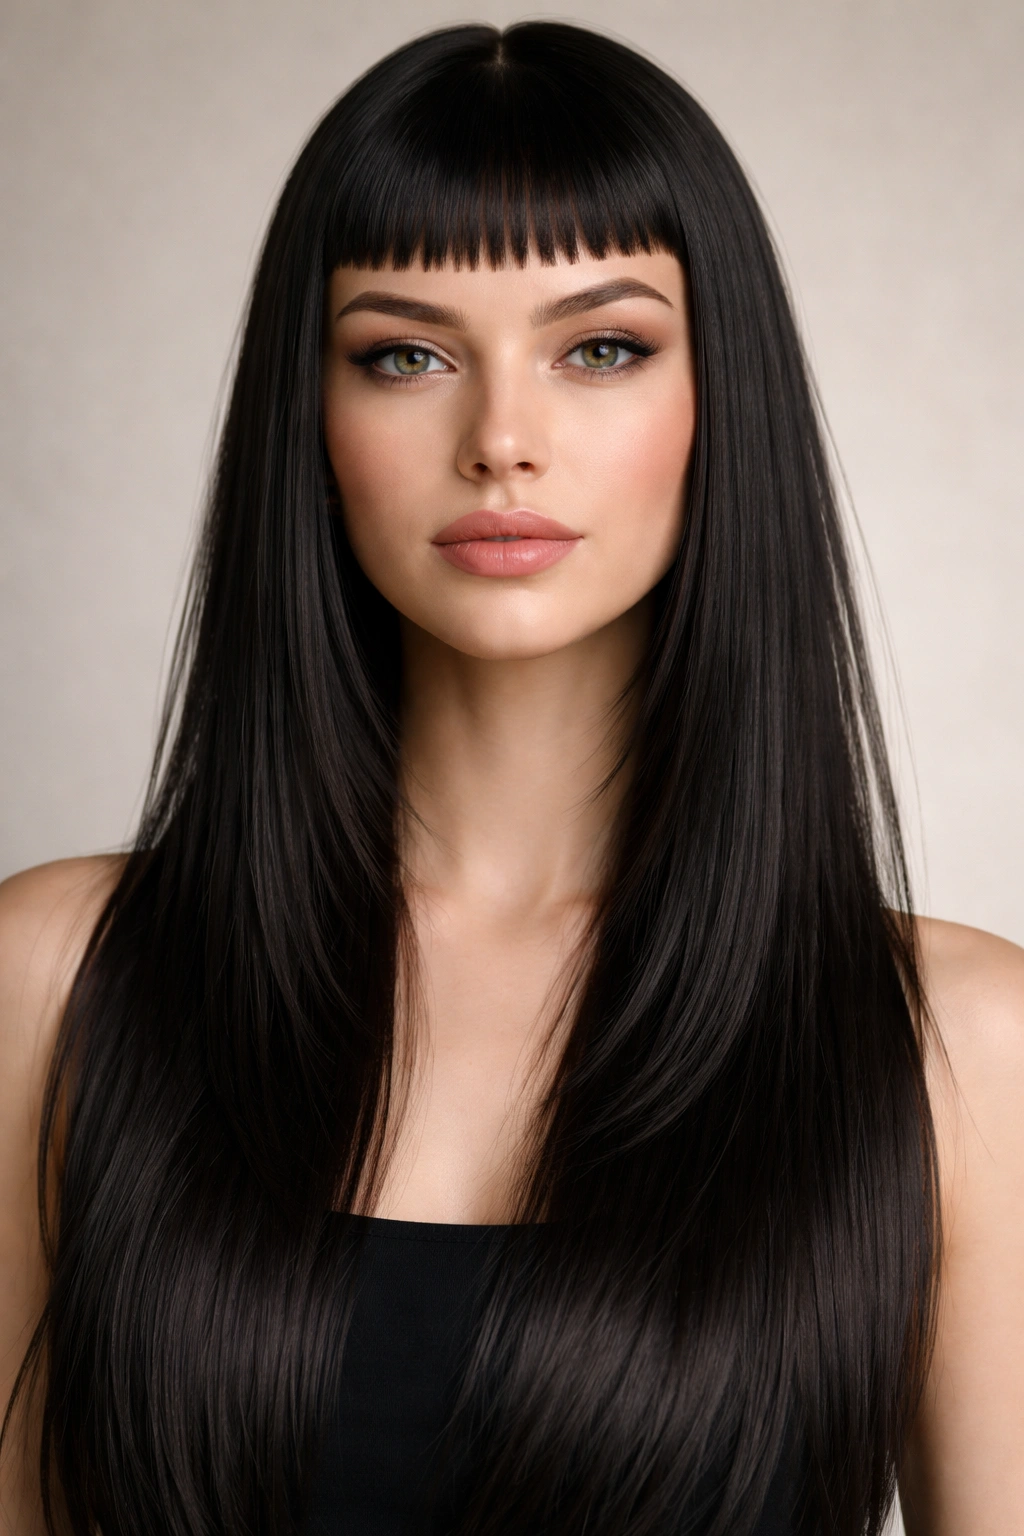
Micro-bangs (very short, ultra-blunt bangs that sit close to the eyebrows) paired with long straight layers underneath create an unexpectedly modern, fashion-forward look. The contrast between the extremely short front and longer lengths behind is deliberately bold. When the micro-bangs are cut razor-sharp and straight, and the rest of the hair falls pin-straight and layered, the effect is editorial and intentional. This is a look that requires commitment because micro-bangs need very frequent trims to maintain the sharp line (every 2-3 weeks).
The Impact of Micro-Bangs on Straight Hair
Micro-bangs change your entire face proportions and become the focal point of your entire look. On straight hair, they’re cut so bluntly and maintained so precisely that they look almost severe, which is part of their appeal. The micro-bangs anchor the entire look and make the layers behind them feel more dramatic by comparison. This combination works best on people with solid, confident personal style and the commitment to maintain the bangs.
Styling to Keep Micro-Bangs Sharp
- Straighten bangs separately with a smaller, narrower straightening iron (1-inch plates work better than full-width plates)
- Apply a lightweight styling cream to bangs before straightening to prevent flyaway hairs that ruin the clean line
- Use a precise, practiced motion straightening the bangs—go slowly and let the straightener do the work rather than rushing
- Keep the rest of the hair maximally sleek so attention stays on the micro-bangs and their sharp line
- Plan bang trims every 2-3 weeks as part of your regular routine; don’t let them get soft or wispy
- Consider having a professional trim your bangs rather than DIY, especially if you’re new to this length
Pro tip: Micro-bangs show every imperfection in your straightening technique and every grain of product buildup. Use a clarifying shampoo weekly to prevent product buildup that makes them look dull.
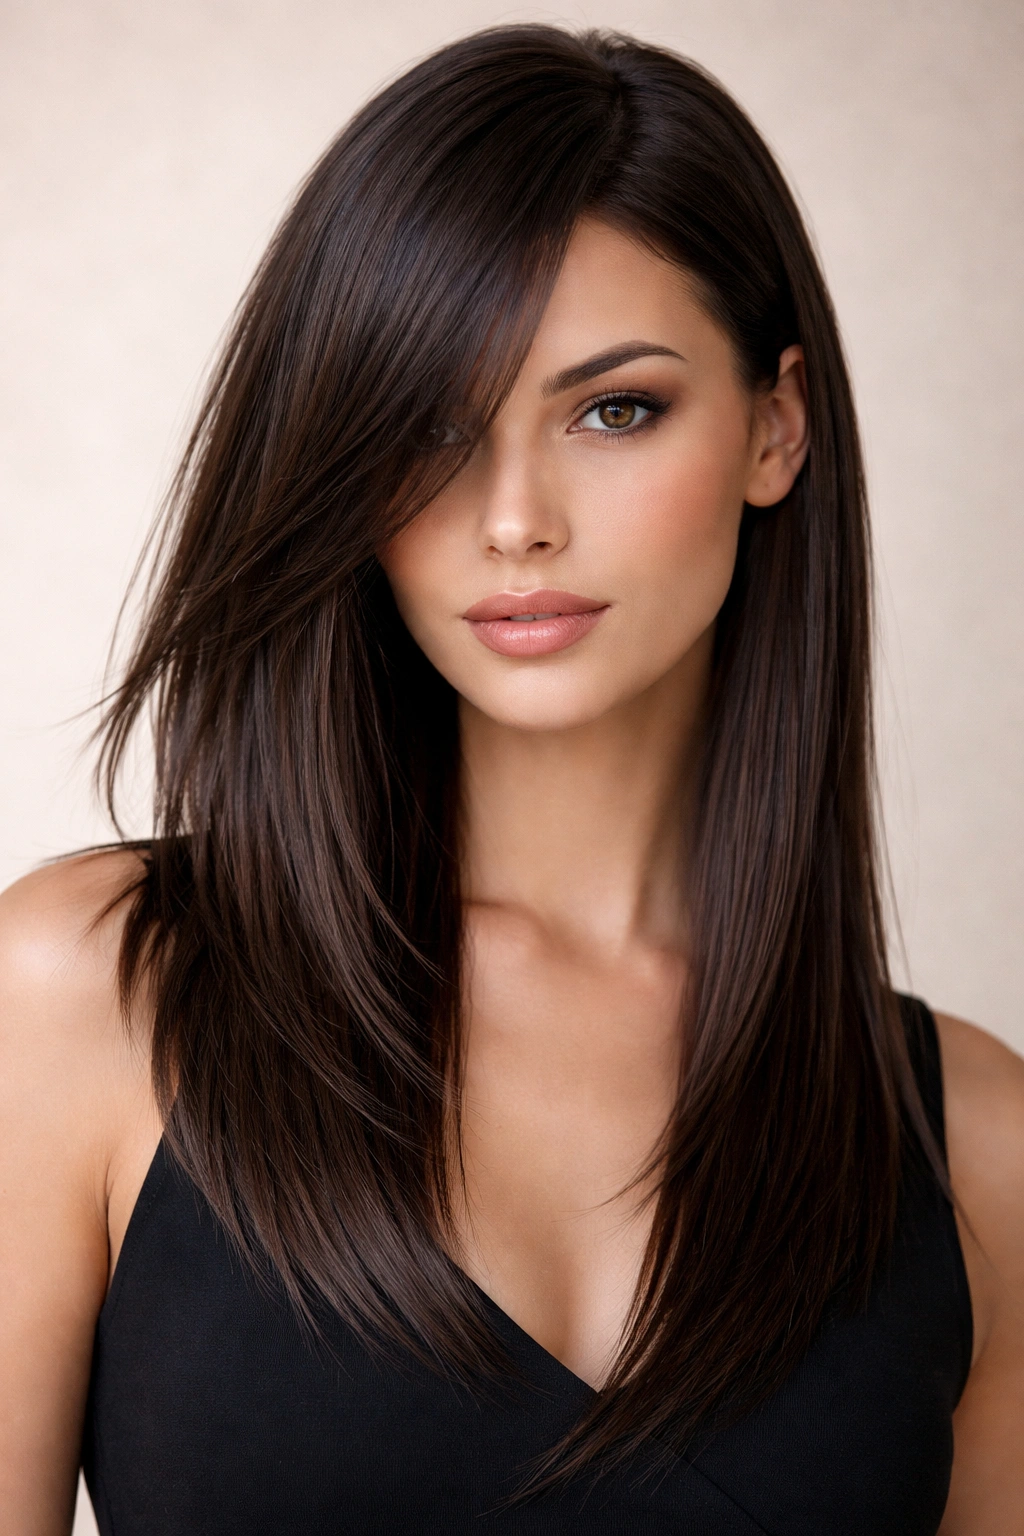
6. Pin Straight Layers With Face-Framing Pieces
This sophisticated look features longer overall length (usually past shoulder) with strategically shorter layers that frame the face but don’t disrupt the long, straight silhouette. The face-framing pieces are cut to hit around the cheekbones or slightly below, while the majority of the hair remains long and relatively one-length. The effect is polished and grown-up, with softness around the face that prevents the style from feeling too severe.
Positioning Face-Framing Layers
Face-framing pieces work differently than money pieces because they’re integrated into the overall haircut rather than being the main feature. They’re subtle enough that your hair can still read as essentially long and straight, but they add dimension and softness where it matters most—around your face. This approach works well for people who want length but need softness in their styling, or people with longer faces who benefit from horizontal movement at the cheekbones.
Styling for Soft Sophistication
- Blow-dry the overall length straight and smooth, then focus styling attention on the face-framing pieces
- Use a curling iron (1.25 to 1.5 inches) or a rounded straightening iron to add subtle inward curves to face-framing pieces only
- Straighten the remainder of the hair with a smoothing serum for maximum contrast with the shaped pieces
- Part the hair in a way that shows off the face-framing pieces—deep side parts work particularly well
- Use a light-hold hairspray so the shaped face-framing pieces stay in place without looking stiff
- Consider adding soft highlights or balayage to the face-framing pieces to make them more visible
Worth knowing: This look requires styling every time you wash your hair if you want the face-framing pieces to maintain their subtle shape. If you prefer wash-and-go styling, talk to your stylist about whether this cut is the right fit.
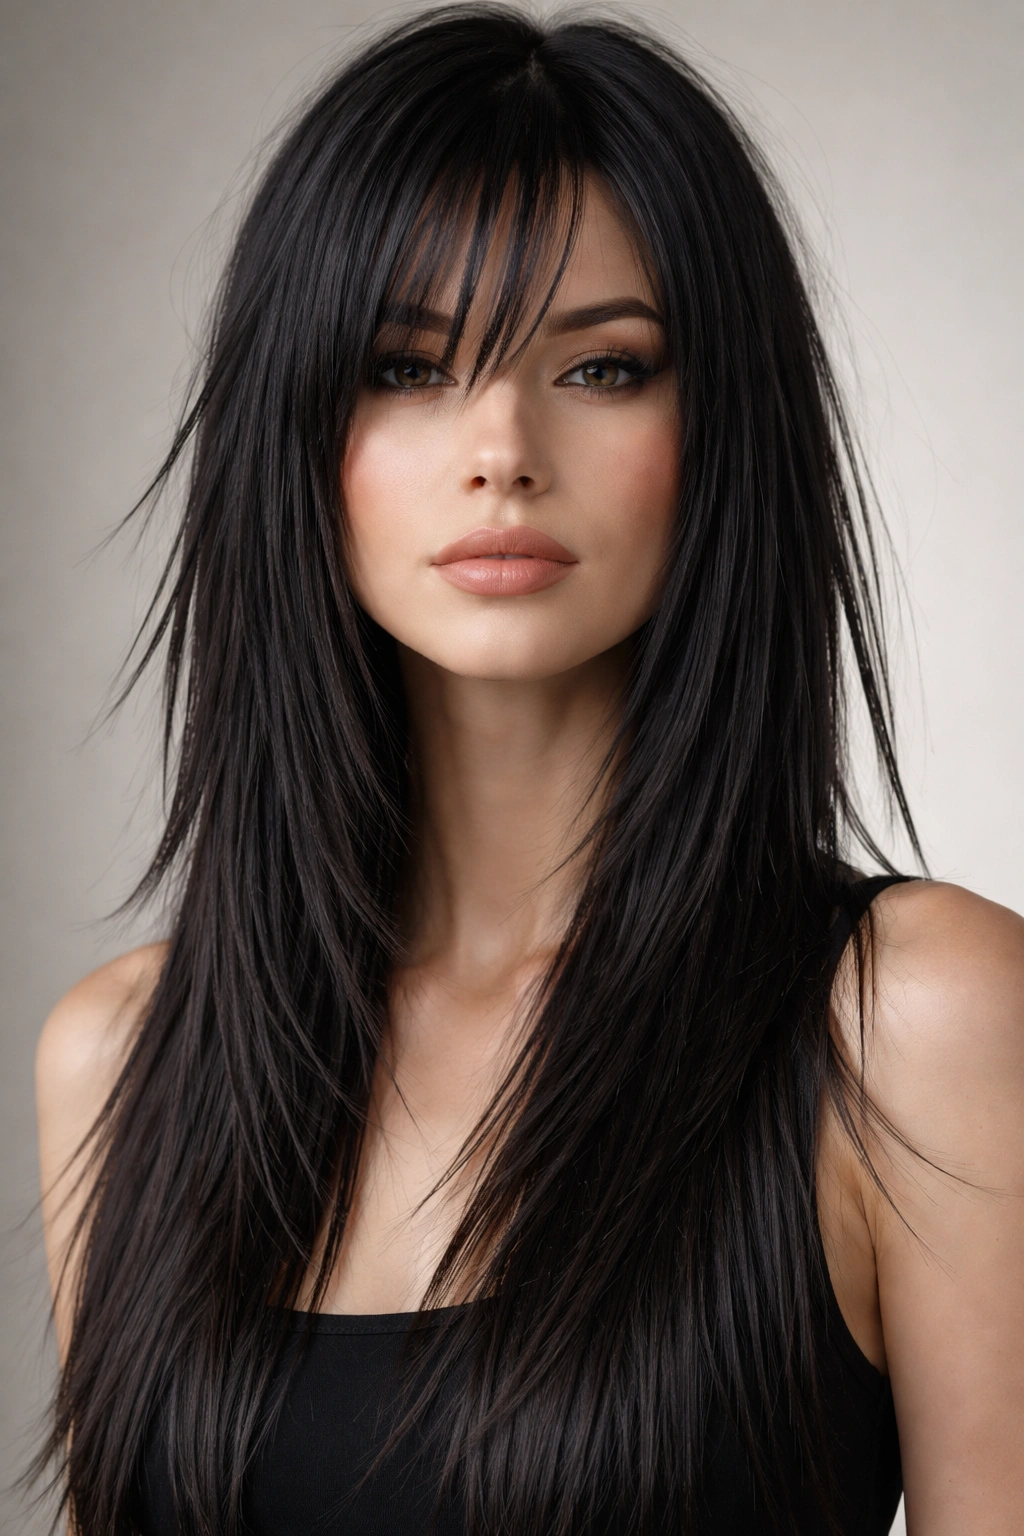
7. Straight Shag Layers for Effortless Cool
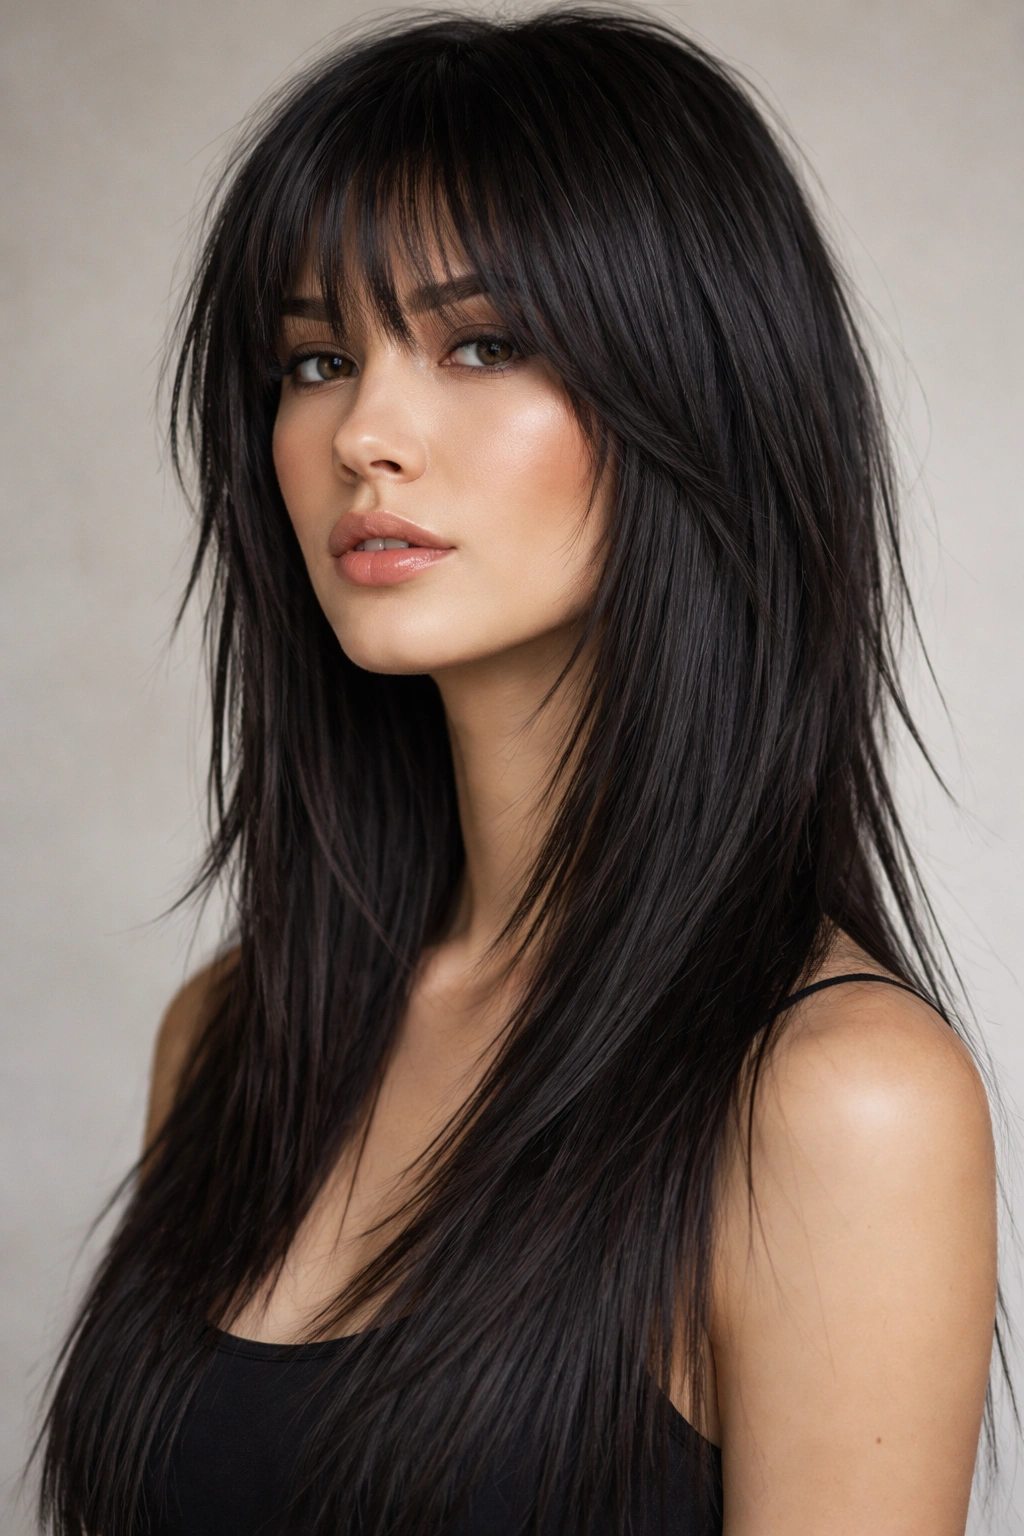
A modern shag is essentially choppy layers throughout with shorter layers on top that gradually blend into longer pieces underneath. When worn pin straight, a shag becomes graphic and deliberately textured, with clear visual separation between different lengths. The key to this look is that it’s cut specifically to be layered throughout rather than having a defined long length—every section has movement and independence. Despite being choppy, when straightened, a good shag looks intentional and cool rather than chaotic.
What Makes a Shag Work on Straight Hair
A shag thrives on straight hair because each choppy layer is visible and contributes to the overall graphic quality of the cut. You’re not trying to hide layers or blend them—you’re celebrating the fact that different sections are different lengths. The cut usually includes some internal thinning and point-cutting so that even when straight, hair has built-in texture and doesn’t clump together. This is a cut for people who want an attitude and are willing to style accordingly.
Styling Your Straight Shag
- Apply a sea salt spray or texturizing spray to damp hair before blow-drying to add grip and definition
- Blow-dry using fingers or a diffuser, allowing the shorter layers on top to have volume while longer pieces underneath stay sleeker
- Straighten sections individually rather than in full passes to maintain the separation between layers
- Flip your head upside down while blow-drying the bottom layers to create volume at the roots
- Use a light or dry-finish texturizing product rather than heavy creams that flatten the choppy layers
- Tousle hair with your fingers after straightening to enhance the intentionally undone aesthetic
- Don’t over-groom this cut—it looks better slightly tousled than perfectly sleek
Insider note: A shag is one of the few layered cuts where second-day hair genuinely looks better than freshly washed hair. The natural oils and slight texture make the layers more visible and intentional.
8. Asymmetrical Straight Layers
Asymmetrical layers mean different amounts of length and different numbers of layers on either side of the head. One side might be shorter with more layers while the other is longer with fewer, creating visual asymmetry and movement. When straightened, this cut reads as very modern and deliberately avant-garde. It works for people who want something unexpected and fashion-forward, and who are comfortable with styling asymmetry rather than defaulting to a centered part.
Creating Movement Through Asymmetry
Asymmetrical layering isn’t just about having different lengths—it’s a deliberate design choice that affects how hair moves and how your face is framed. The shorter, more heavily layered side might create volume while the longer side is sleeker, creating visual balance through contrast rather than symmetry. This cut requires a stylist who understands asymmetrical design and can execute it in a way that looks intentional rather than accidental.
Styling Asymmetrical Layers
- Straighten both sides separately, paying attention to subtle directional variations that enhance the asymmetry
- Wear your part off-center, always on the same side, to maintain the visual asymmetry the cut creates
- Style the shorter side to have slightly more volume or texture, and keep the longer side smoother
- Use directional blow-drying to enhance the shape—blow the shorter side slightly outward, and the longer side slightly inward
- Consider having asymmetrical styling products or color (like balayage on just one side) to emphasize the cut’s asymmetry
- Be consistent with part placement; asymmetrical layers look confusing if you change where you part every day
Worth knowing: This cut works best for people with confidence in their personal style. It’s a statement look that reads clearly whether you’re aiming for that or not, so commit to the aesthetic fully.
9. Blunt Straight Layers With Peekaboo Highlights

Blunt layers paired with strategic highlight placement create dimension through both cut and color. Highlights are placed on specific layers (often the front face-framing pieces or the shorter choppy layers) so they become visible when hair moves or when light catches certain sections. On pin-straight hair, these highlights create pops of brightness that move across the head as you move. The cut remains blunt and architectural, but the color adds visual interest without requiring more texture.
Strategic Highlight Placement
Rather than all-over highlights, peekaboo highlighting places color only on layers you want to emphasize. For straight blunt layers, highlights might go on just the shortest layers around your face, or on internal layers that peek out when you move your head. When straightened, these internal highlights create movement and dimension that the cut alone wouldn’t provide. This approach is sophisticated because it adds complexity without looking chaotic.
Styling for Highlight Impact
- Keep hair maximally straight and shiny so highlights reflect light clearly
- Blow-dry with lots of shine-enhancing products because straight, sleek hair allows light to bounce off highlights dramatically
- Use a smoothing serum containing luminizing particles to amplify how much highlights glow
- Keep highlights well-maintained with glossing appointments every 4-6 weeks to prevent brassiness that dulls the dimensional effect
- Style hair in ways that show off the highlighted layers—center parts and side parts both work depending on where highlights are placed
- Use a light-reflecting hairspray to enhance the glossy, shiny appearance that makes highlights pop
Pro tip: Subtle highlights work better on straight hair than bold ones because straight hair shows every color variation clearly. What might look seamless on curly hair can look stripy on pin-straight strands, so discuss subtle placement with your colorist.
10. Sleek Straight Layers for Fine Hair
Fine hair often struggles with layering because layers can make thin hair look even thinner. This approach uses slightly longer, more subtle layering that adds shape and movement without compromising fullness. The layers are graduated rather than choppy, creating visual interest without too much thinning throughout. When straightened, this creates a polished, put-together look that doesn’t sacrifice the appearance of density.
Layering Strategy for Fine Straight Hair
The key with fine hair is cutting in a way that adds shape through length variation rather than through thinning and texture. A stylist might cut longer layers that begin lower (around the shoulders or mid-back) rather than short layers that start at the chin. This maintains the illusion of fullness while still creating dimension. Some thinning is necessary to prevent hair from looking too blunt, but it’s done strategically at the ends rather than throughout, preserving density.
Styling Fine Hair With Layers
- Use volumizing products at the roots to create fullness that makes layers more visible without being wispy
- Blow-dry with a round brush, directing hair slightly outward at the roots to create volume that supports the layers
- Straighten gently—aggressive straightening can make fine hair look flat and thin, so use medium heat and a light touch
- Consider a lightweight volumizing spray rather than heavy serums that weigh fine hair down
- Keep layers blunt at the ends (get trims every 6-8 weeks) so they don’t fray and disappear
- Use a texturizing spray designed for fine hair that adds grip without heaviness
- Style hair in a way that maximizes fullness—messy buns, half-up styles, or slightly tousled down hair all work better than slicked-back styles
Worth knowing: Fine hair needs moisture but not heaviness. Use lightweight leave-in conditioners and serums specifically formulated for fine or thin hair, and apply them only to mid-lengths and ends, never roots.
Final Thoughts
Layered pin-straight hair isn’t one look—it’s a framework that adapts completely depending on how it’s cut and styled. The foundation matters enormously. A great cut from a stylist who understands how straight hair behaves with layers is the difference between a look that feels intentional and polished versus one that feels choppy or incomplete. Once you have the cut, styling becomes about deciding what attitude you want—sharp and architectural, or soft and romantic, or deliberately undone.
The real advantage of going layered with straight hair is that your styling options expand dramatically. You can keep everything completely sleek one day and add texture or movement the next without the haircut feeling wrong. The layers built into the cut give you a foundation that works in multiple directions. Focus on maintaining the cut every 6-8 weeks so layers stay defined, invest in good straightening tools and smoothing products because they matter more with straight hair, and don’t be afraid to style differently depending on your mood or the occasion. A good layered straight-hair cut is versatile enough to be your everyday style and polished enough to be your going-out style too.