15 Straight Hair Looks Under 5 Minutes
Getting ready in a rush doesn’t mean you have to sacrifice style, especially when you’ve got naturally straight hair or a flat iron that works magic. The beauty of straight hair is that it’s incredibly versatile — you can rock polished, professional looks, effortless casual styles, or even romantic waves without spending forever at the mirror. What most people don’t realize is that some of the most striking hairstyles actually take less time to create than the complicated versions you see in tutorials. The secret isn’t complicated techniques; it’s knowing which styles leverage the strengths of straight hair and how to execute them efficiently.
This guide is for anyone with straight hair who wants to go beyond the basic “wash and straighten” routine but doesn’t have 30 minutes for elaborate styling. Whether you’re heading to work, meeting friends, running errands, or going on a date, these fifteen looks prove that gorgeous hair doesn’t require a time commitment. Each style comes together in five minutes or less once you understand the mechanics — and honestly, once you master a few of these, you’ll be able to mix and match elements to create your own signature variations that fit your day and your mood.
The real advantage here is that straight hair holds styles longer than textured hair, meaning you can do your hair once and it’ll look great all day without needing touch-ups. You’re also working with natural shine as your baseline, which means even simple styles have inherent polish. Let’s walk through each of these quick, impactful looks and show you exactly how to nail them.
1. Sleek Low Ponytail with Twisted Detail
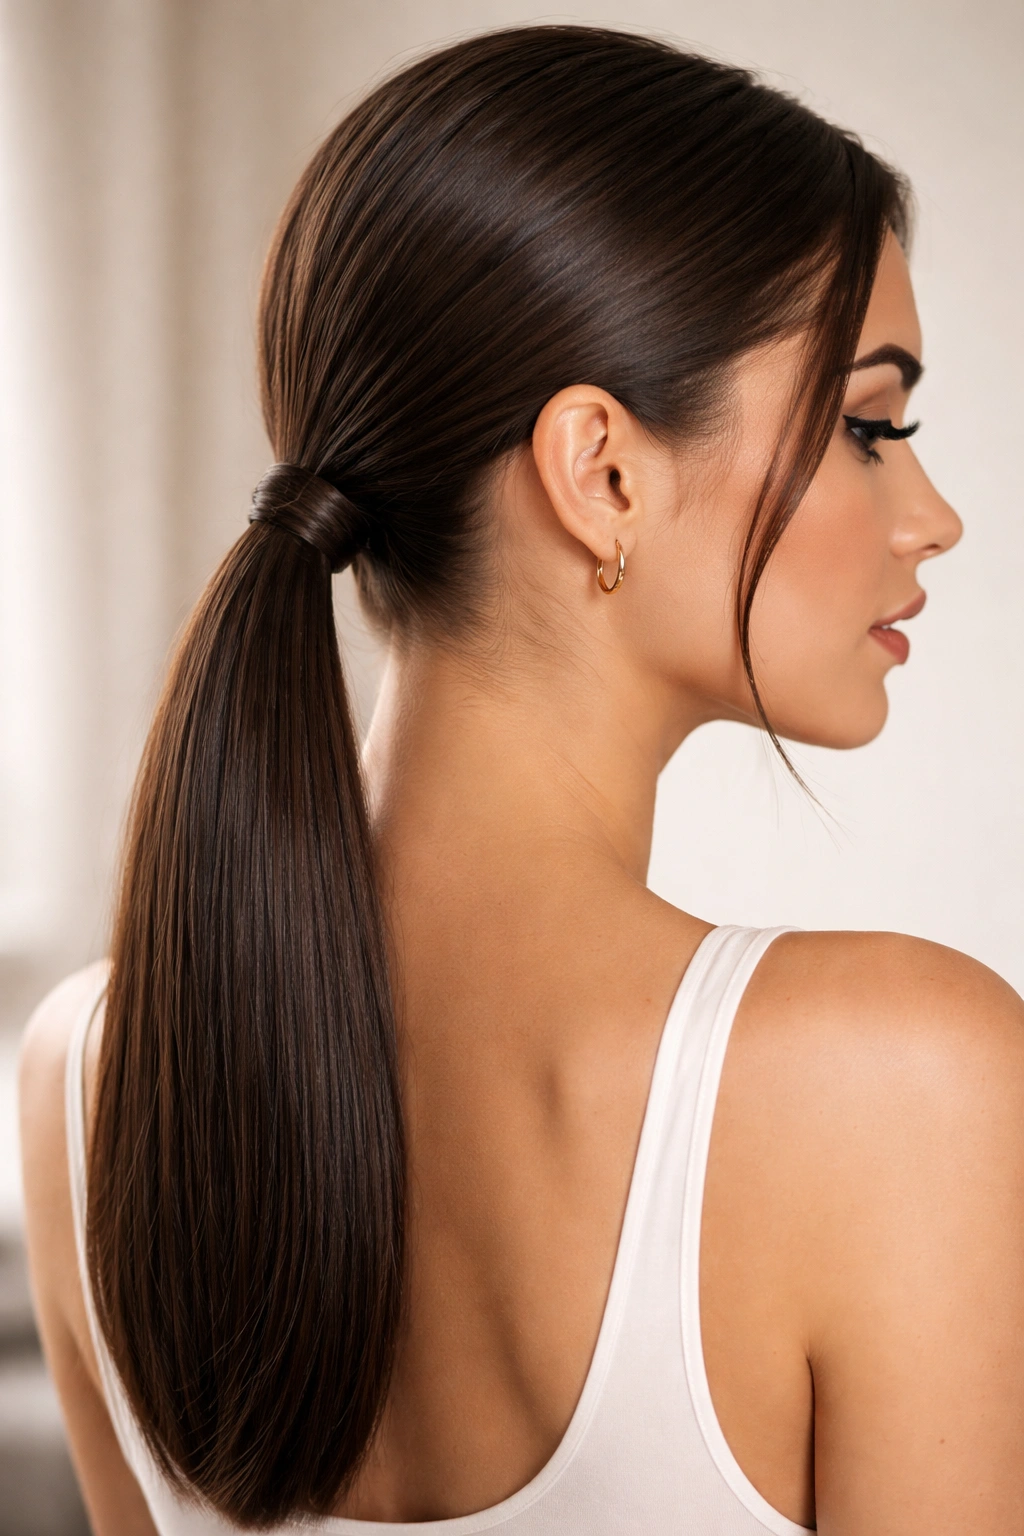
A low ponytail is the quintessential quick style for straight hair, and adding a twisted section elevates it from basic to intentional in just two extra seconds. The sleek finish works because straight hair naturally lies smooth without frizz, so minimal product and a tight brush are all you need.
Why It Works Fast
The beauty of this style is that you don’t need to create texture or curl — you’re working with what you’ve already got. Straight hair already has the sleek quality that makes this look effortless. You’re simply directing that sleek texture into a specific shape and securing it, which is infinitely quicker than styling hair that needs smoothing or taming.
How to Create It
- Brush your hair straight back into a low ponytail at the nape of your neck, positioning it slightly to one side rather than dead center for a modern, less-formal vibe
- Twist a small section from the left side of your head around the base of the ponytail, securing the twist with a clear elastic underneath the main ponytail holder
- Optionally, use a fine-tooth comb to smooth any flyaways and add a light hairspray mist for longevity
- The whole process takes about three minutes once you’ve got your technique down
Pro tip: Keep a clear elastic in your pocket or bag — it’s nearly invisible on straight hair and keeps the focus on the style rather than the hair tie.
2. Half-Up Twisted Crown
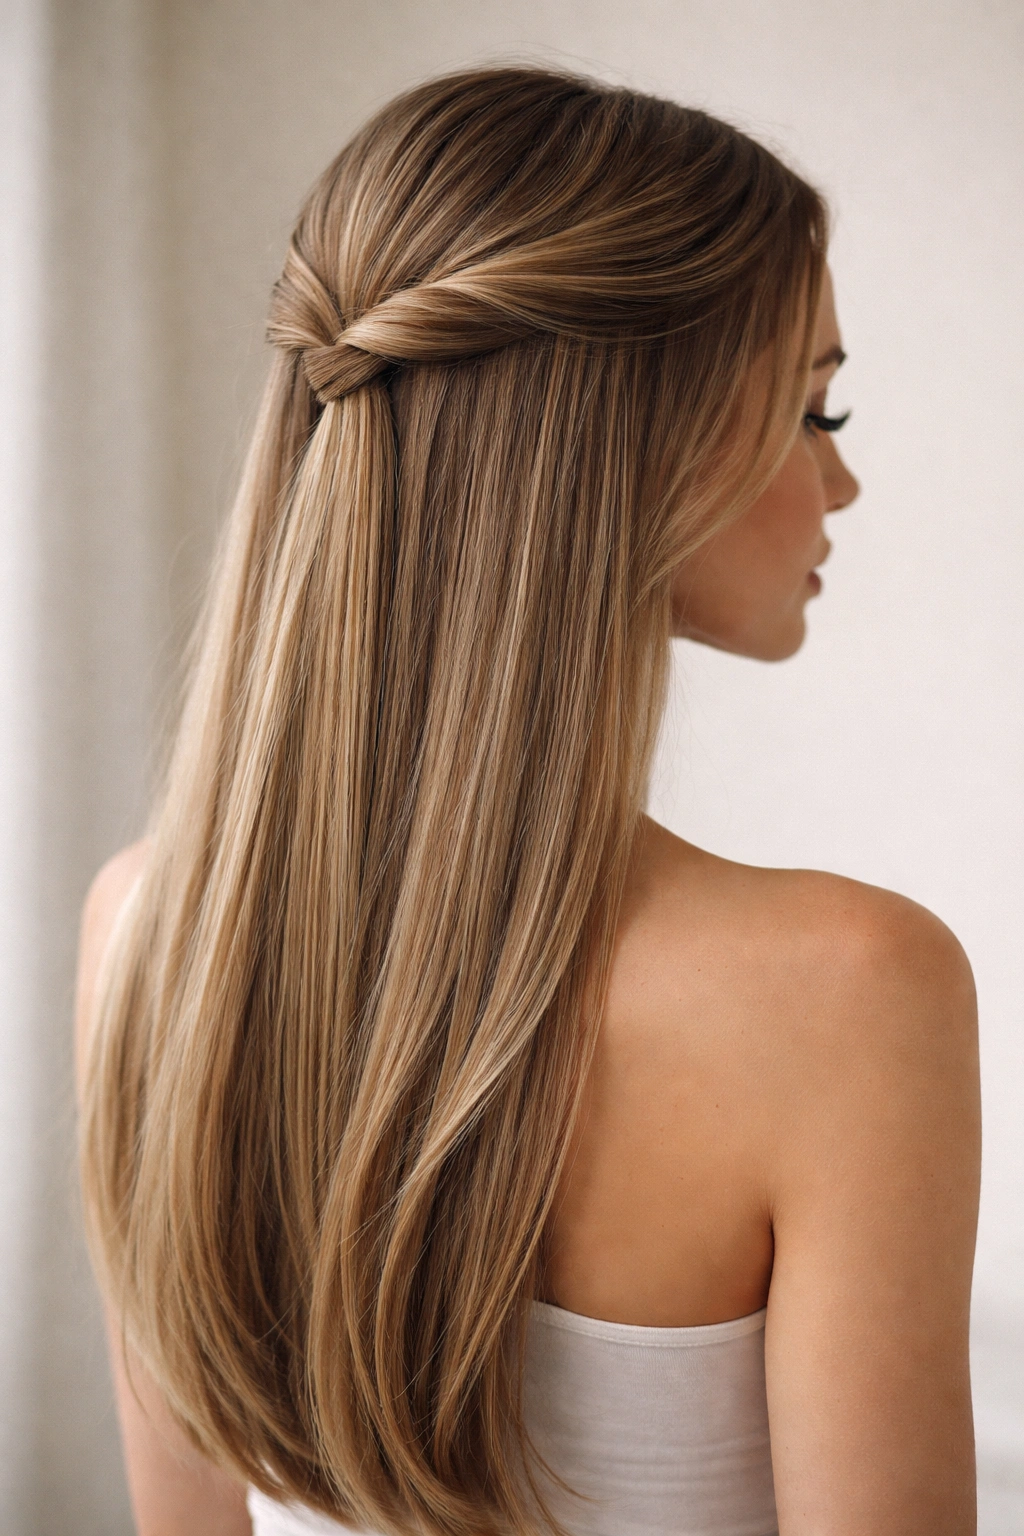
This style gives serious elegance without requiring you to style your entire head. You’re creating just enough structure at the crown to feel polished while keeping the rest of your hair down and straight, which is the absolute fastest approach.
The Mechanism Behind the Speed
Twisted styles appear complex but are mechanistically simple — you’re just wrapping hair around itself. Unlike braids, which require coordination of three strands, a twist is literally two sections of hair wrapping around each other, which means you can do this almost on autopilot once you’ve tried it twice.
Step-by-Step Execution
- Section off a portion of hair from one temple, pulling it back toward the crown
- Twist this section loosely (loose twists look more modern and romantic than tight ones) and pin it at the back with a bobby pin that matches your hair color
- Repeat on the opposite side, twisting the other temple section back and pinning it to overlap with the first twist
- Leave the rest of your hair straight and down, or add a smooth wave if you have a flat iron handy
- Time: approximately four minutes, and it looks like you spent much longer
What Elevates This Look
The key is keeping the twists relaxed and slightly undone — a perfectly tight twist looks manicured, which is fine, but a looser twist with a few face-framing pieces pulled free reads as effortlessly chic and hides any imperfections.
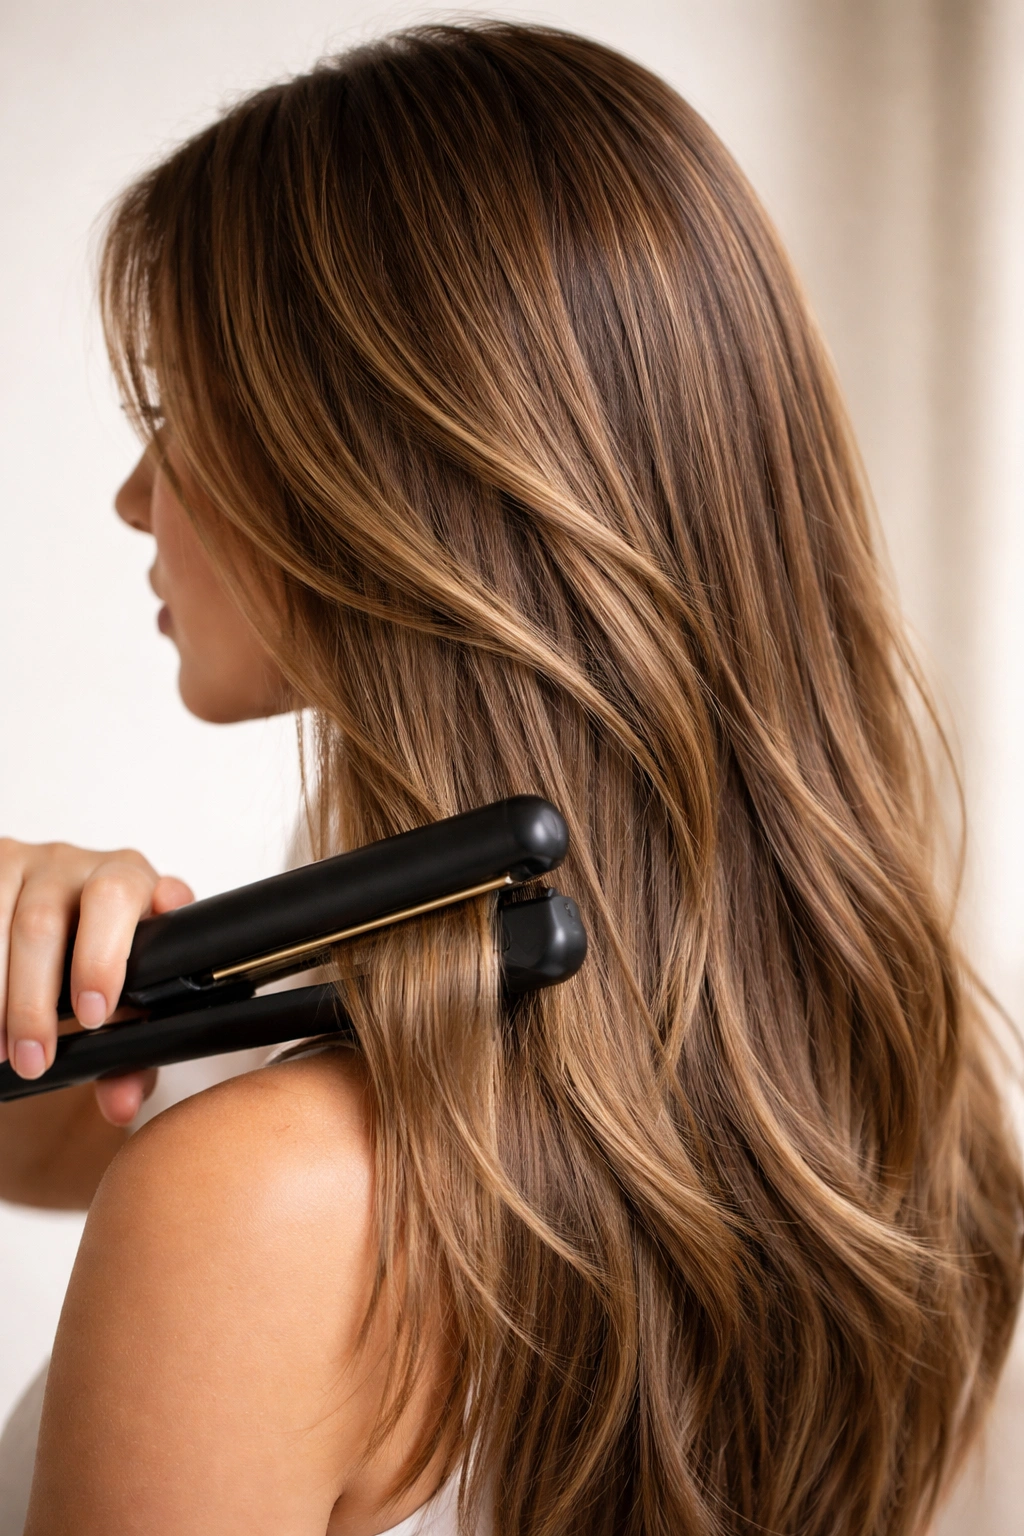
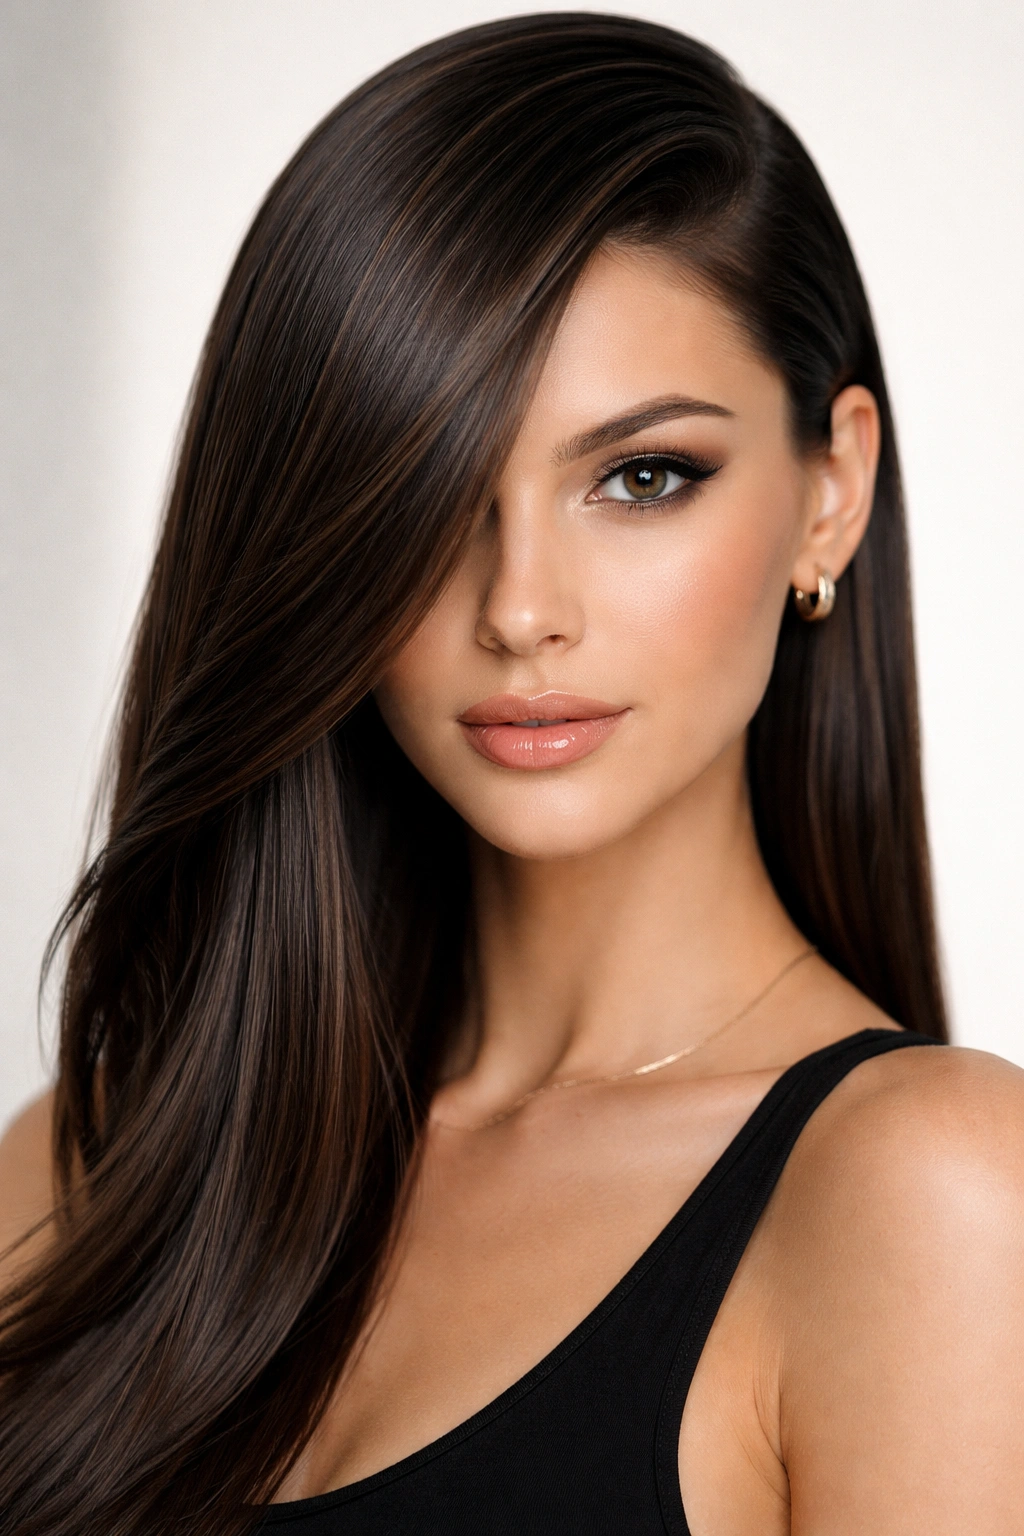
3. Deep Side Part with Subtle Waves

A deep side part instantly transforms the silhouette of your face and makes straight hair look fuller. If you add barely-there waves, you’ve got a look that reads as styled without looking fussy, which is the holy grail of quick-morning hair.
Why Straight Hair Excels Here
The straight hair base means your waves will fall naturally and stay in place longer because they’re not fighting against texture or curl. You’re not fighting gravity or trying to hold curl in naturally wavy hair — you’re simply adding a gentle bend to hair that wants to be straight, which means it’ll cooperate.
Creating the Effect
- Use your part line to section your hair dramatically — instead of a center part, angle it from one eyebrow up toward the back of your head
- Run your flat iron through each section with a slight rotation at the ends to create a soft bend rather than a crimp
- The bent ends will naturally fall into a subtle wave without looking overly curled or artificial
- Flip your head over and shake out the waves, then flip back and use your fingers to distribute the volume
- Total time: approximately four to five minutes, and you’ve got a completely different look from your everyday straight style
Worth knowing: The depth of your side part matters more than perfect waves. A deep side part alone, even with completely straight hair, creates an instant style that reads as intentional.
4. Blunt Straight Bob with Tucked Sides

If you have or want a bob, straight hair is where this cut truly shines. A blunt bob on straight hair is crisp and architectural, and the tucked-sides variation adds sophistication without requiring any styling beyond combing it out.
The Physics of the Blunt Bob
A blunt line is naturally visible on straight hair because there’s no wave or curl obscuring the edge. This is why blunt bobs look cleaner and more intentional on straight hair than on textured hair — the cut line is the style, not the texture, so you’re getting maximum visual impact with zero effort.
Styling the Look
- Blow-dry your bob straight, using a flat paddle brush to smooth it as you go (or if you’re already straightening your hair daily, this step is already done)
- Tuck the front pieces behind your ears or use a small bobby pin to secure them on each side
- The tucked detail adds a polished, put-together vibe without changing the fundamental hairstyle
- This adjustment takes maybe 30 seconds but completely changes the energy of the look
Why This Saves Time
A proper bob cut means you don’t have layers or texture that needs styling direction — you’re working with clean lines that are designed to sit a specific way. As long as your hair is straight, the style is automatically intact.
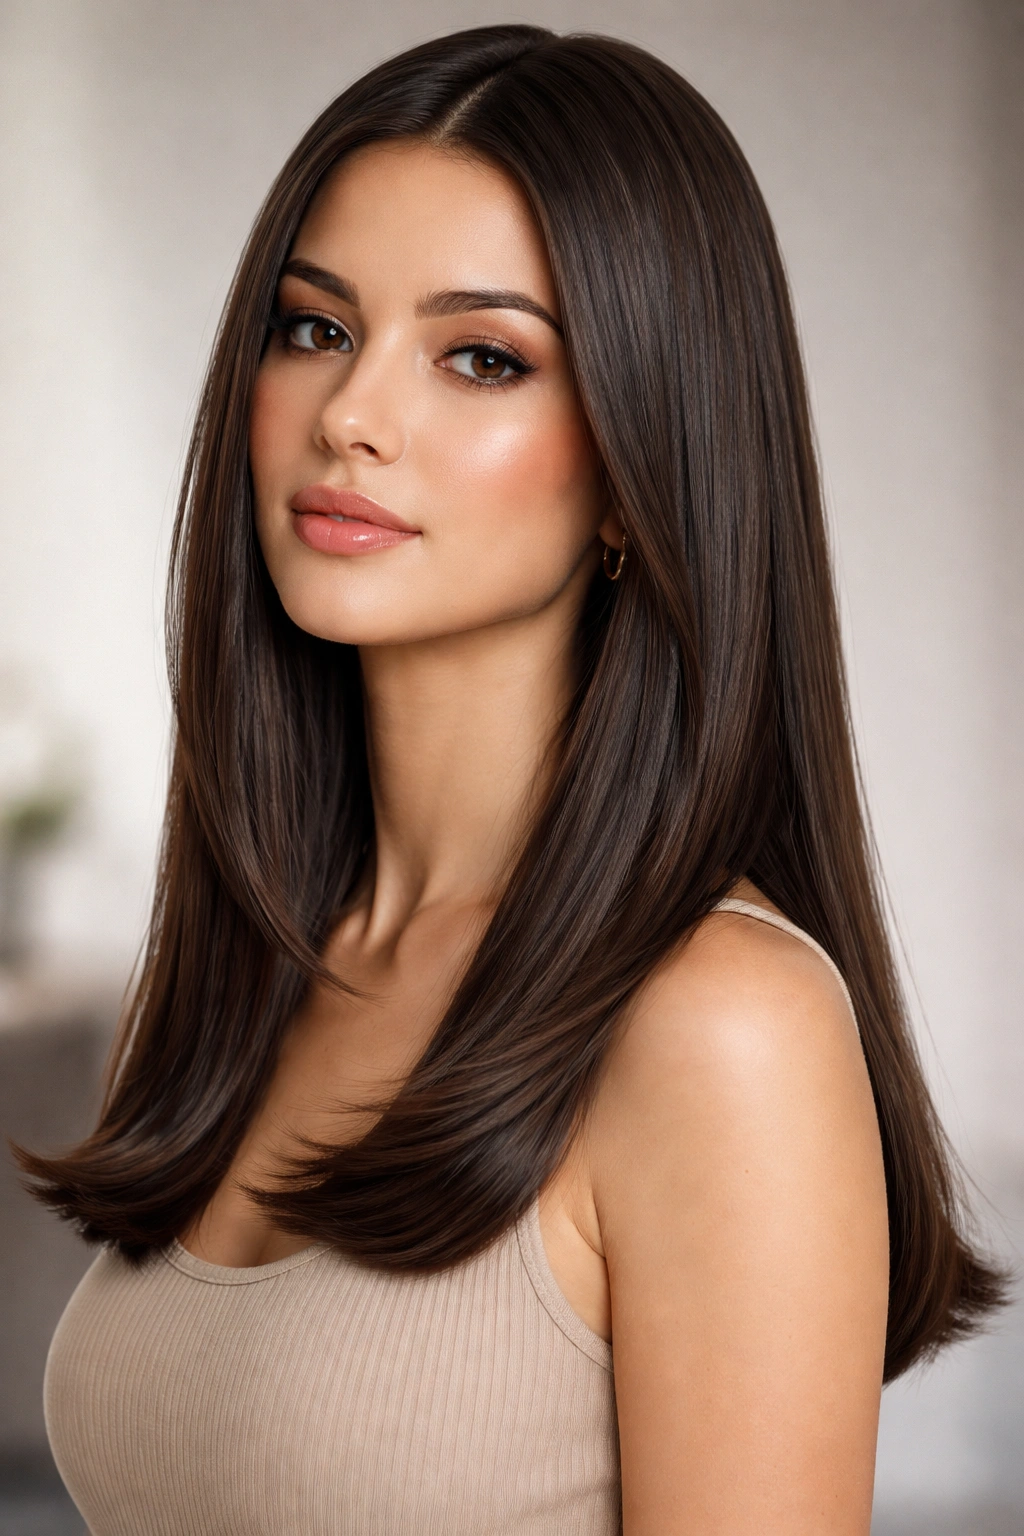
5. Center Part with Maximum Volume at the Crown
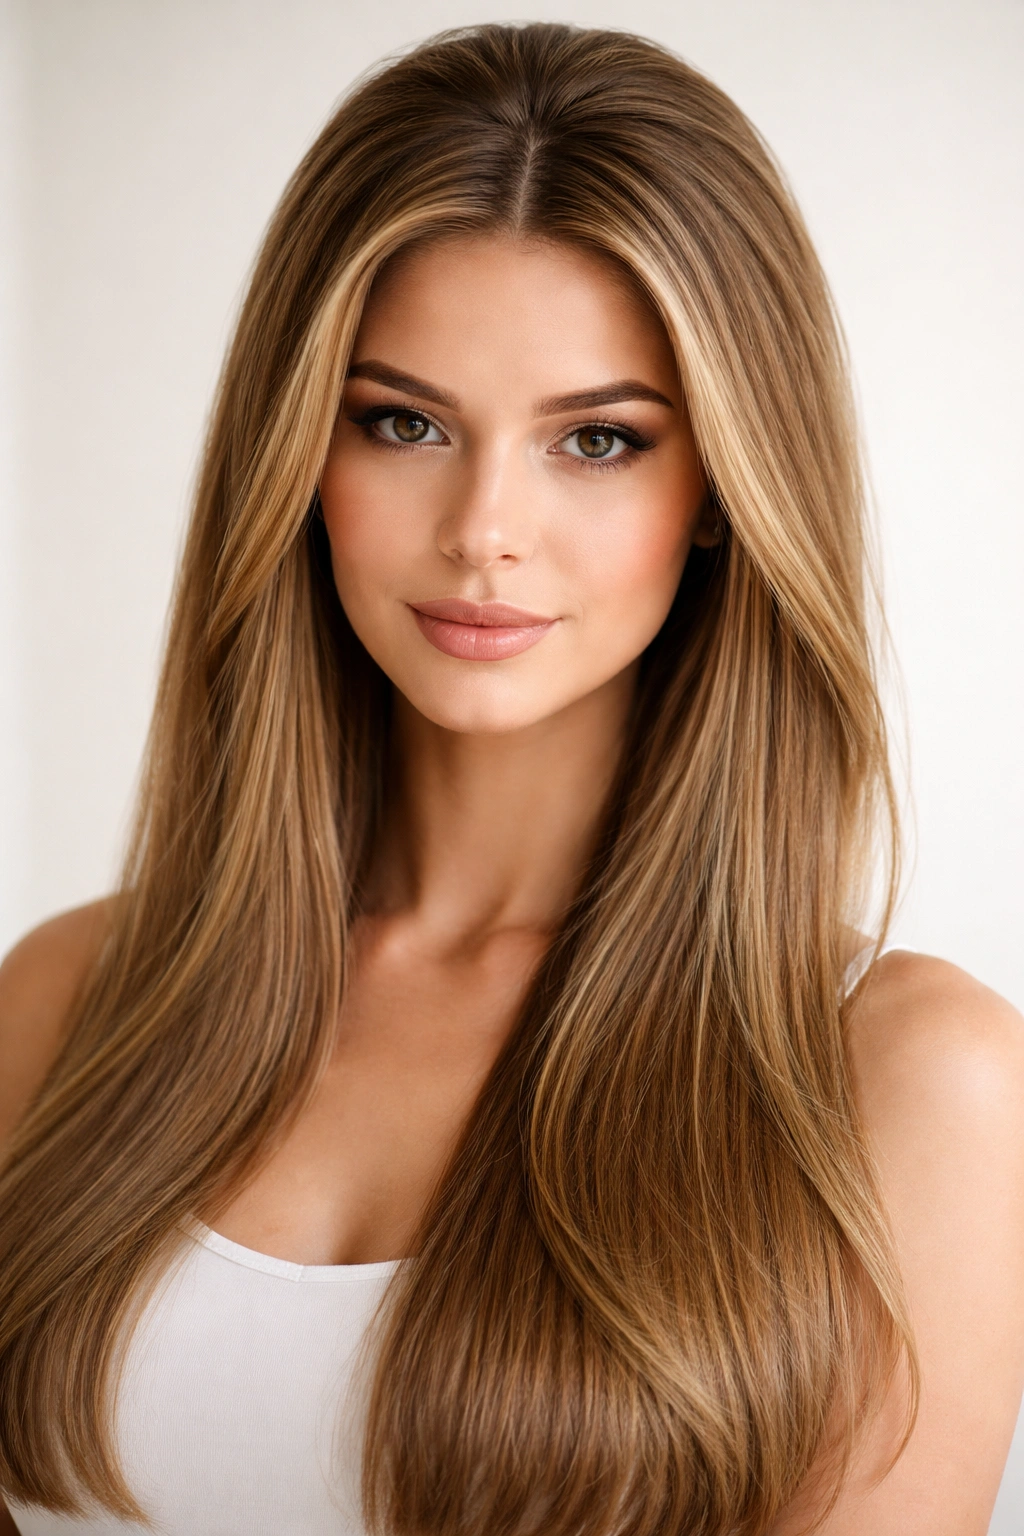
A center part reads fresh and balanced, and adding volume at the crown creates the illusion of fuller hair while keeping everything else completely straight. It’s one of the quickest ways to go from flat and boring to styled and intentional.
Building Volume Fast
You don’t need teasing or backcombing to add volume to straight hair — you need lift at the roots and a blow dryer directed upward. The straight texture means you don’t need to create hold or structure; you just need directional volume, which is much quicker to achieve.
The Process
- Create a clean center part using the tip of a rattail comb
- Rough-dry your roots with a blow dryer pointed upward against the root, focusing on the crown and top sections
- Once the roots have the direction you want, smooth the rest of your hair straight with a flat iron if needed
- Use a texturizing spray or lightweight hairspray to keep the volume in place without weighing hair down
- Total time: four to five minutes, depending on how thick your hair is
Insider note: A center part naturally pulls focus to your face and eyes, so this style works exceptionally well if you’re wearing makeup you want to highlight.
6. High Sleek Ponytail with Face-Framing Pieces
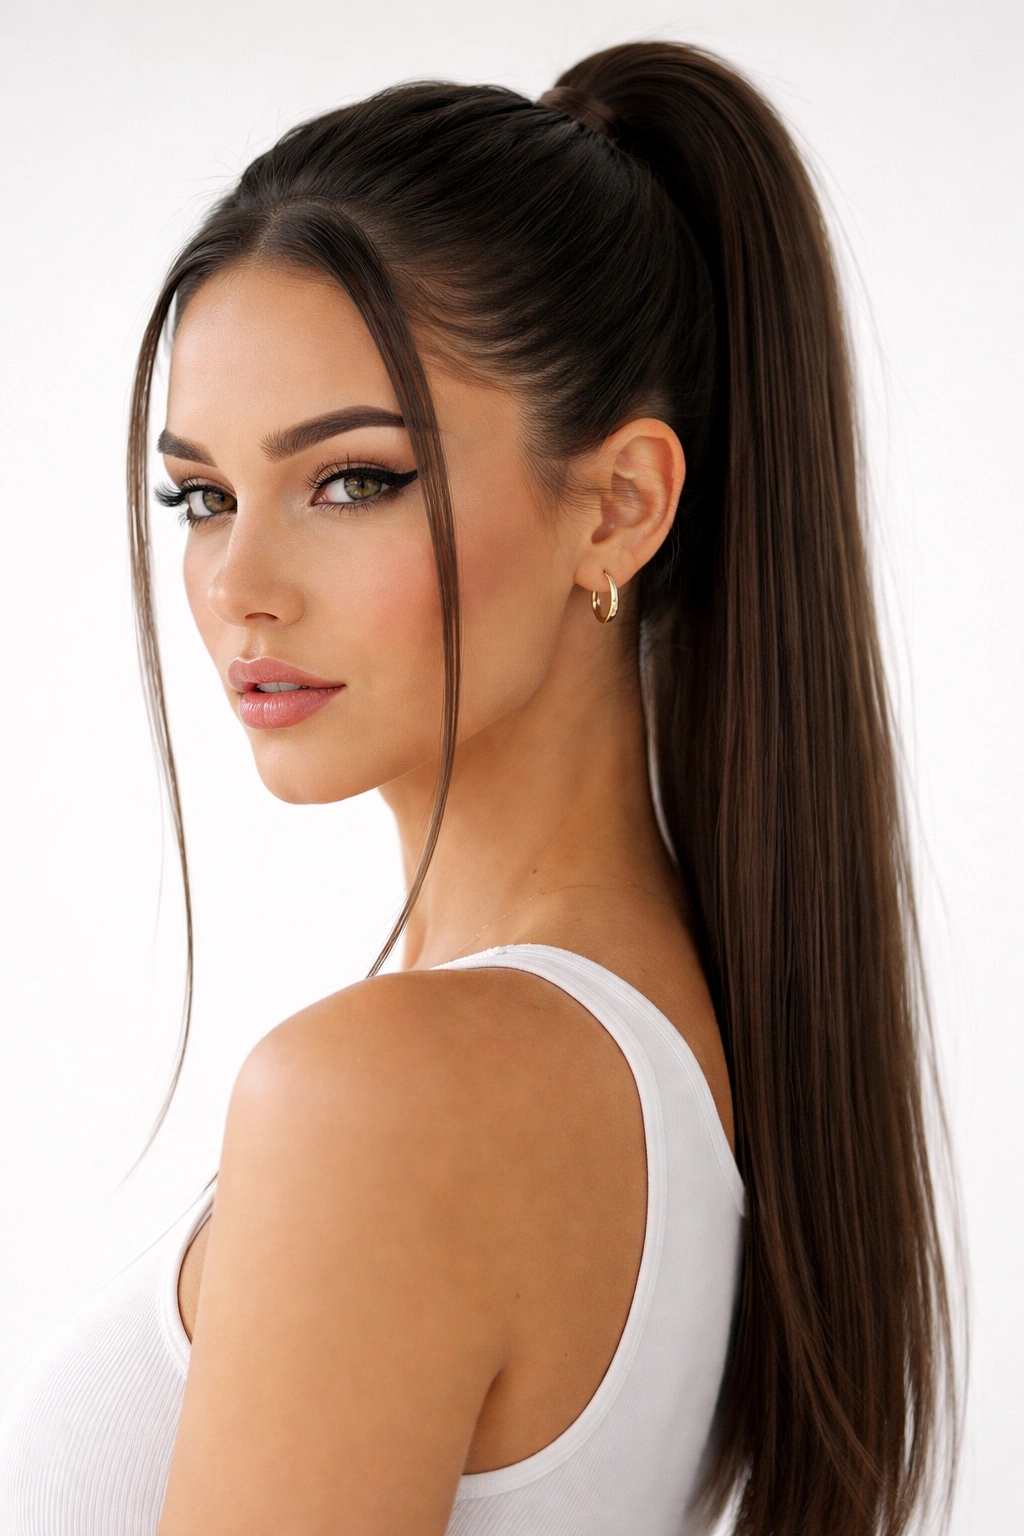
A high ponytail is energetic and practical, and leaving two face-framing pieces down softens the look so it feels less severe. Straight hair holds a high ponytail with incredible polish because there’s no frizz or texture disrupting the smooth lines.
Why High Ponytails Suit Straight Hair
When your hair is pulled back tightly, any texture or frizz becomes visible and can look messy. Straight hair in a high ponytail looks sharp and intentional instead of sloppy, which is why this style is so effective on people with straight hair — it’s nearly impossible to get wrong.
Creating It
- Brush all your hair straight back and gather it into a high ponytail at the crown
- Take two small sections from the front (one from each side of your face) and pin them down, leaving them loose and face-framing
- These pieces create softness around your face and prevent the look from feeling too severe or gym-like
- Smooth any flyaways with a fine-tooth comb and seal with a light hairspray
- Time required: three to four minutes
The Softening Effect
The face-framing pieces are crucial — they transform a high ponytail from purely utilitarian to intentionally styled. This is a style you can wear to work, a casual date, or the gym, and it reads appropriately for each context based on how polished you make those face-framing pieces.
7. Textured Straight Layers with a Flat Iron
Textured layers create dimension and movement without being full waves or curls. You’re using a flat iron to create subtle bends at different lengths, which makes straight hair look fuller and more dynamic while maintaining that sleek, straight-hair aesthetic.
The Technique Explained
Instead of running your flat iron straight through each section from roots to ends, you’re pausing at intervals and rotating the flat iron slightly. This creates small, irregular texture throughout the hair rather than uniform waves, and the irregular texture reads as intentional and modern.
How to Execute
- Section your hair into three or four horizontal sections
- Starting with the bottom section, run your flat iron through, pausing every inch or so to add a subtle kink
- Rotate the flat iron slightly at each pause — one section clockwise, the next counter-clockwise — so the texture isn’t uniform
- Move up through each section, working your way to the top, using the same inconsistent rotation
- The result is hair that’s still mostly straight but has subtle movement and texture that catches light and adds dimension
- Total time: four to five minutes once you’ve got the rhythm down
8. Face-Framing Curved Bangs Look

You don’t need actual bangs to create this effect — you’re simply carving out curved sections on either side of your face that frame your features, and this is exponentially faster than growing in actual bangs or getting them cut.
Why This Works Without Real Bangs
Curved bangs on straight hair can look blunt and heavy if they’re actual bangs, but face-framing pieces create the same softening effect without the commitment. You’re getting the benefit of the style without the drawbacks of maintenance and regrowth.
The Method
- Take a vertical section of hair from above your temple, about an inch wide
- Use a flat iron to curve this section inward toward your face, creating a subtle C-shape
- The curve should arc around your cheekbone, framing your face
- Repeat on the other side with a matching curve
- You can leave the rest of your hair completely straight, or add additional texture as desired
- Time: approximately three to four minutes
Pro tip: The direction of your curve matters — curving toward your face is softening and flattering; curving away from your face can look accidental or unflattering.
9. Sleek Straight with Face-Framing Flat Iron Flips
This is essentially the simplest style possible — completely straight hair — with one small addition that makes it look intentional rather than just “not styled.” You’re flipping the very ends inward with a flat iron, which takes 30 seconds but reads as intentional styling.
Why the Flip Matters
The ends of straight hair can look stringy or thin if they’re completely blunt. A slight inward flip at the ends creates a finished look and adds a subtle curve that makes the hair look thicker and more polished. It’s the difference between “haven’t done anything with my hair” and “I chose this look.”
The Technique
- Run your flat iron through your hair as usual to ensure it’s completely straight
- On the final pass through each section, when you reach the ends (about the last two inches), rotate your flat iron slightly so the ends flip inward
- The flip should be subtle — just enough to create a small curve, not a dramatic C-shape
- Do this all around your head, working through each section
- Total time: two to three minutes, including your initial straightening
10. Straight Hair with Structured Headband or Clip
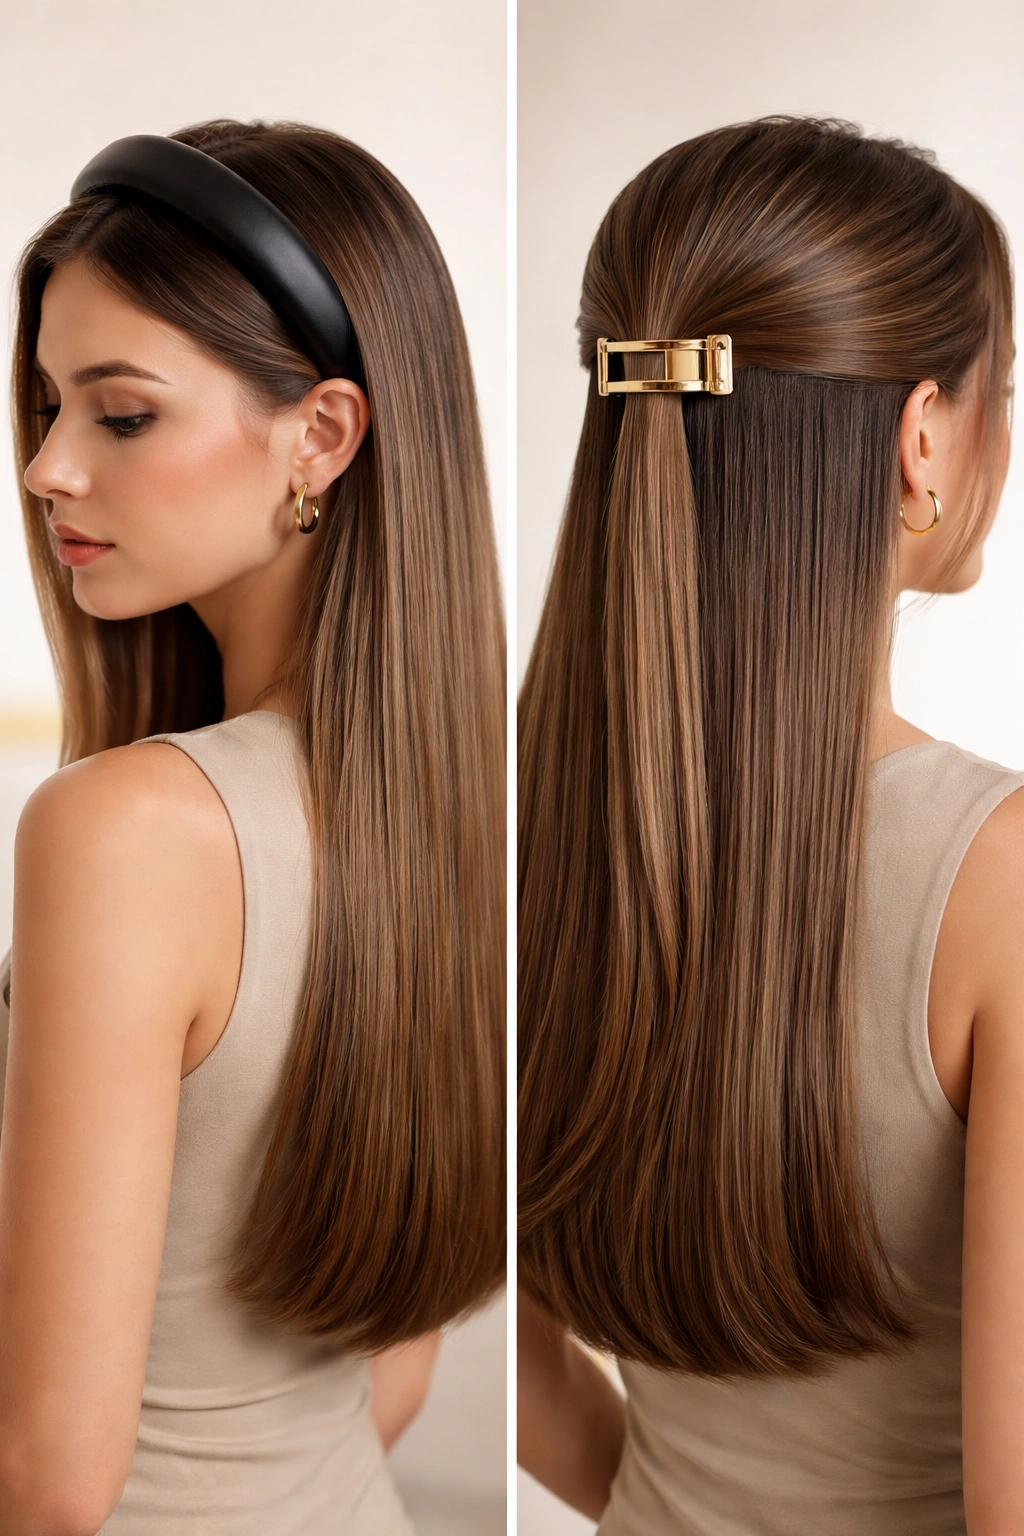
Sometimes the quickest style involves leveraging accessories rather than actually styling your hair. A well-placed headband or statement clip can transform completely straight, unstyled hair into an intentional look in seconds.
The Accessory as Style
The right accessory can transform the entire mood and perceived effort of your hair. A sleek metal clip positioned at the back of your head instantly makes your hair look styled, and a structured headband adds polish without requiring you to do anything with your actual hair beyond combing it.
How to Use This Strategy
- Keep your hair completely straight and simple as your base
- Position a headband about an inch from your hairline, pushed back slightly so it’s visible
- Alternatively, use a decorative clip to gather a small section at the back of your head, securing just enough hair to create a focal point
- The clip or headband becomes the “style,” and your straight hair becomes the backdrop
- Total time: less than a minute — this is literally the fastest option on this list
Worth knowing: The more statement-making your accessory, the less polished your base hair needs to be. A bold clip can make completely undone-looking straight hair read as intentionally effortless.
11. Half-Up Pin Curl
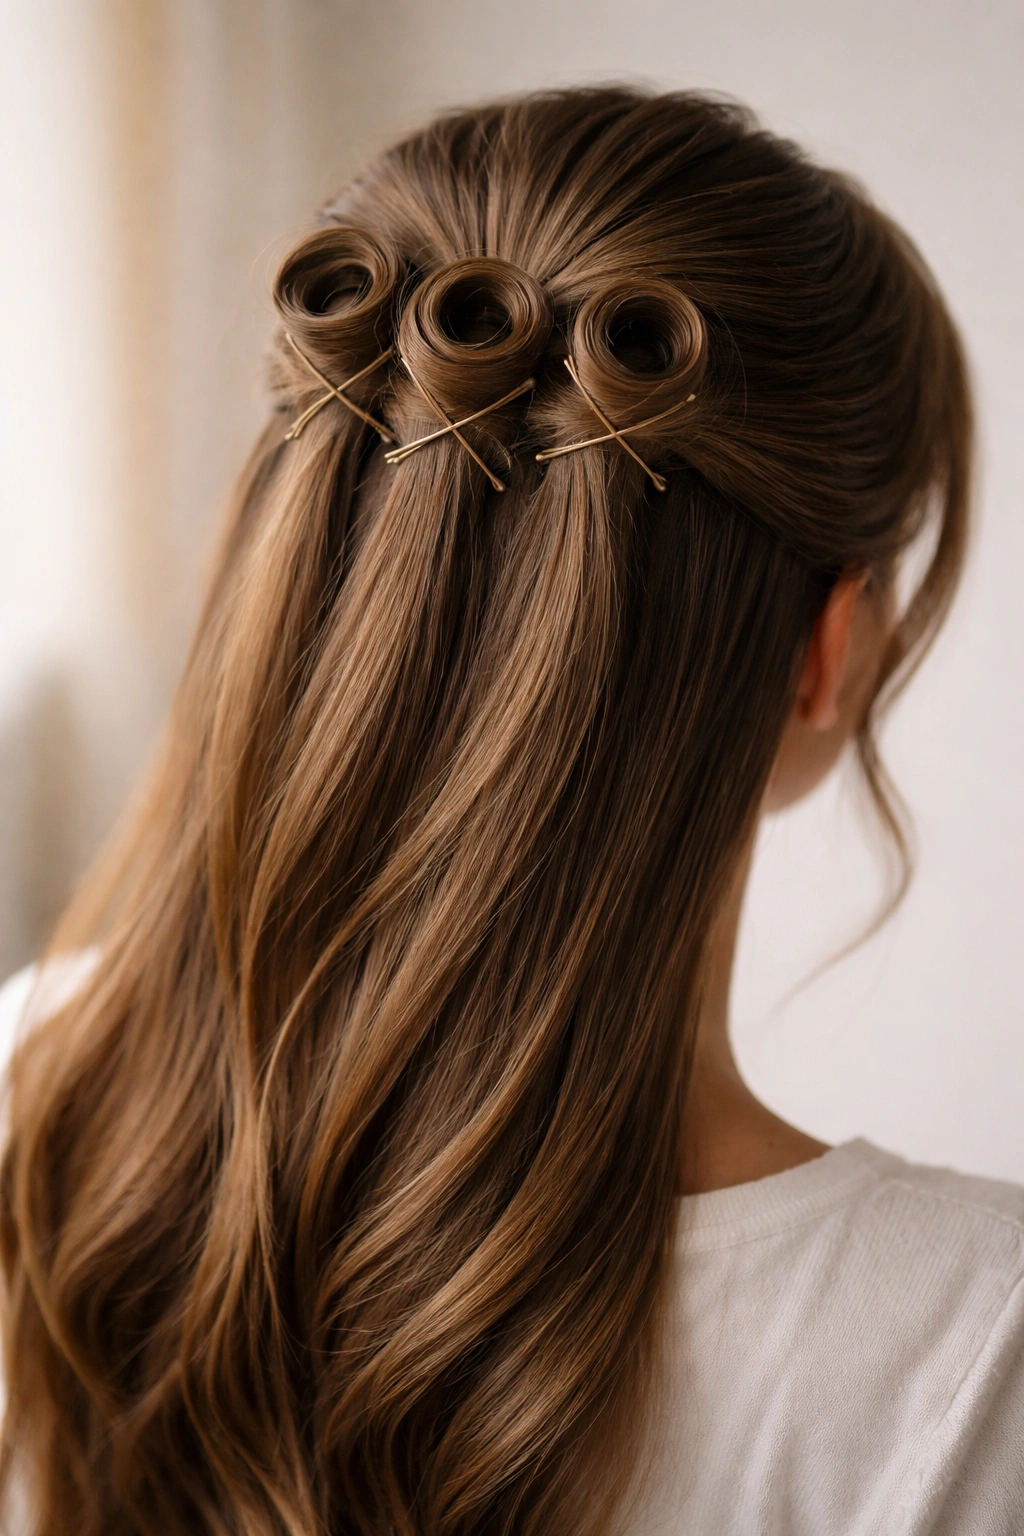
A pin curl is a classic style that adds dimension and a slightly vintage vibe without requiring a curling iron. You’re creating the curl with bobby pins and your straight hair, which is faster than actually curling the hair because you’re working with smooth strands instead of trying to get a curl to hold.
The Pin Curl Mechanics
A pin curl is created by rolling a section of hair into a coil and securing it with bobby pins while it sets. On straight hair, this creates a soft, loose curl because you’re not working against your hair’s natural texture — you’re just asking it to hold a shape temporarily.
Steps to Create It
- Section off a two-inch square of hair from the crown area
- Twist this section slightly, then roll it up toward your scalp, creating a small spiral
- Secure the spiral at the base with two bobby pins in an X-shape
- Repeat this process two or three more times across the crown area
- Leave the pins in for five minutes while you do other parts of getting ready (this doesn’t extend your total time if you’re doing it while doing makeup)
- Remove the pins and gently run your fingers through to loosen the curls
- The result is soft, intentional curls that look effortless
- Active styling time: four to five minutes (plus five minutes of hands-off setting time)
12. Razor-Sharp Side Swoop
A side swoop is a more dramatic version of the side part, where you’re creating an extreme angle that brings a large volume of hair to one side. It’s a bold, fashion-forward look that’s surprisingly easy to execute on straight hair because the sleek texture creates clean lines.
The Visual Impact
A dramatic side swoop instantly looks intentional and editorial. This is the kind of style that people notice, which means you’re getting significant style impact with minimal actual effort — which is the definition of a good quick hairstyle.
How to Create It
- Create a very deep side part — start the part almost at your ear on one side and sweep it back to create a dramatic angle
- Blow-dry or flat-iron all your hair toward the side where the part ends, creating volume on that side
- Use your flat iron to create one subtle wave in the swept section if desired, or leave it completely straight for a more modern edge
- Pin down the smaller side with a bobby pin tucked behind your ear if needed to keep it stationary
- Finish with a light hairspray to set the direction
- Time: three to four minutes
13. Textured Straight Bun
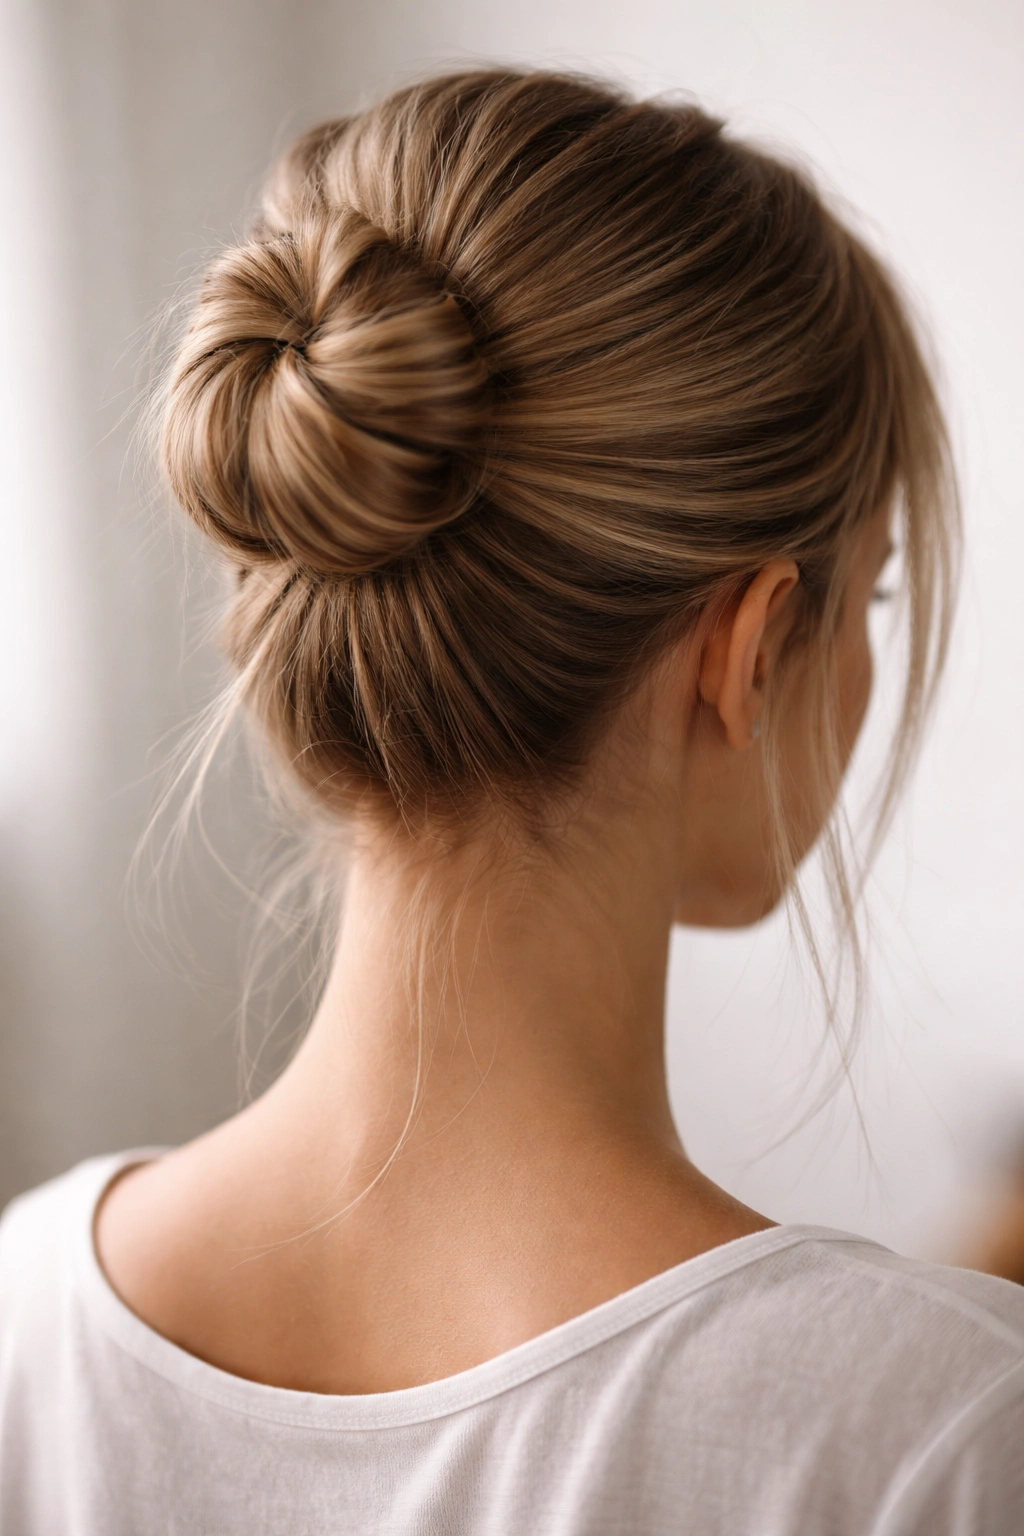
A bun typically reads casual, but a textured bun — one with subtle irregularities rather than a perfectly smooth finish — reads as intentionally styled. You’re creating dimension within the bun itself, which elevates it beyond a basic hair-out-of-the-way style.
Why Texture Changes the Bun’s Vibe
A sleek bun can read like you just threw your hair up because you didn’t have time. A bun with subtle texture reads like you actually styled it, even though the process is nearly identical. The texture is what transforms the perception.
Creating a Textured Bun
- Gather your hair into a ponytail at the base of your skull or crown, depending on how formal you want the look
- Using a texturizing spray or dry shampoo, spray the ponytail lightly to create grip and texture
- Twist the ponytail loosely and wrap it around itself to create the bun shape
- Secure with bobby pins, intentionally leaving some pieces slightly loose rather than pulling everything smoothly
- The slight looseness and texture make it look intentional rather than careless
- Total time: three to four minutes
14. Sleek Straight with Statement Barrette or Clips
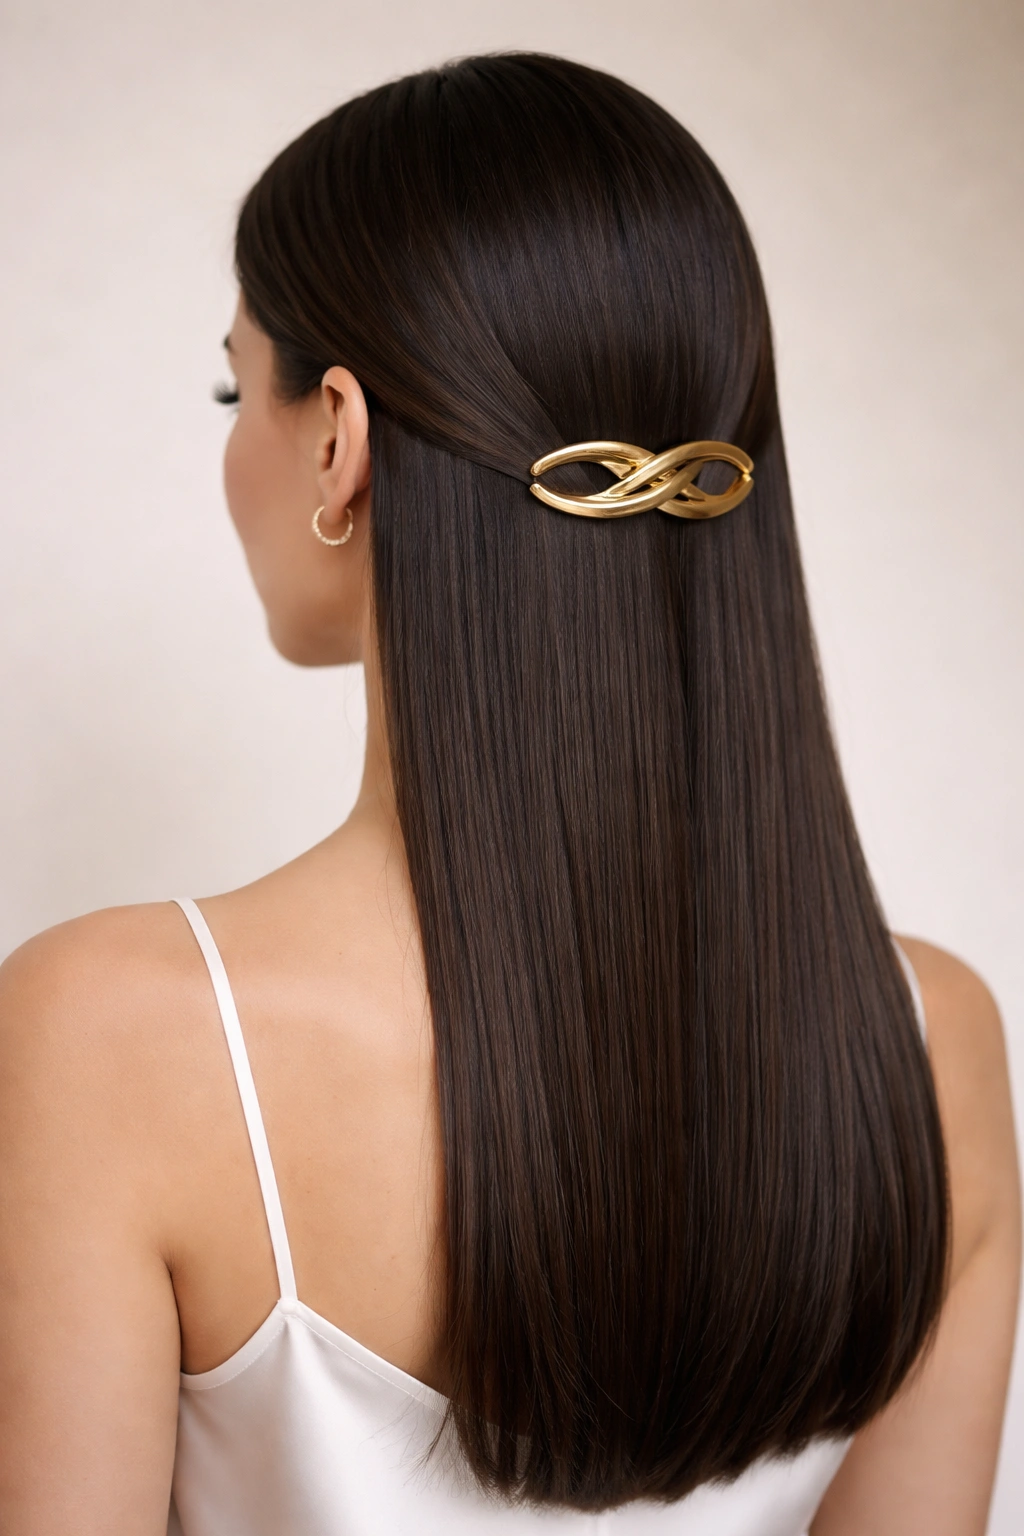
Another accessory-focused option, this approach involves adding a luxe barrette or a pair of sculptural clips to completely straight hair. The accessory does the heavy lifting of style, and your hair simply provides the backdrop.
The Appeal of This Approach
This is the fastest possible route to looking styled. You’re not actually doing anything with your hair beyond combing it straight — the accessory creates the entire look. It’s perfect for days when you’re short on time but still want to look intentional.
Execution
- Comb your hair straight with no additional styling
- Add a sculptural barrette at the back of your head, securing a small section of hair, or use two matching clips positioned symmetrically
- The clips or barrette become the focal point, and the straight hair is simply what they’re fastening
- The look is complete in under a minute
- Change the accessory, change the entire vibe of your look
Insider note: Tortoiseshell, metal, and pearl clips read more elevated than basic plastic ones, and they work beautifully on straight hair because the clean lines of your hair create a sophisticated backdrop.
15. Soft Straight with Barely-There Bend
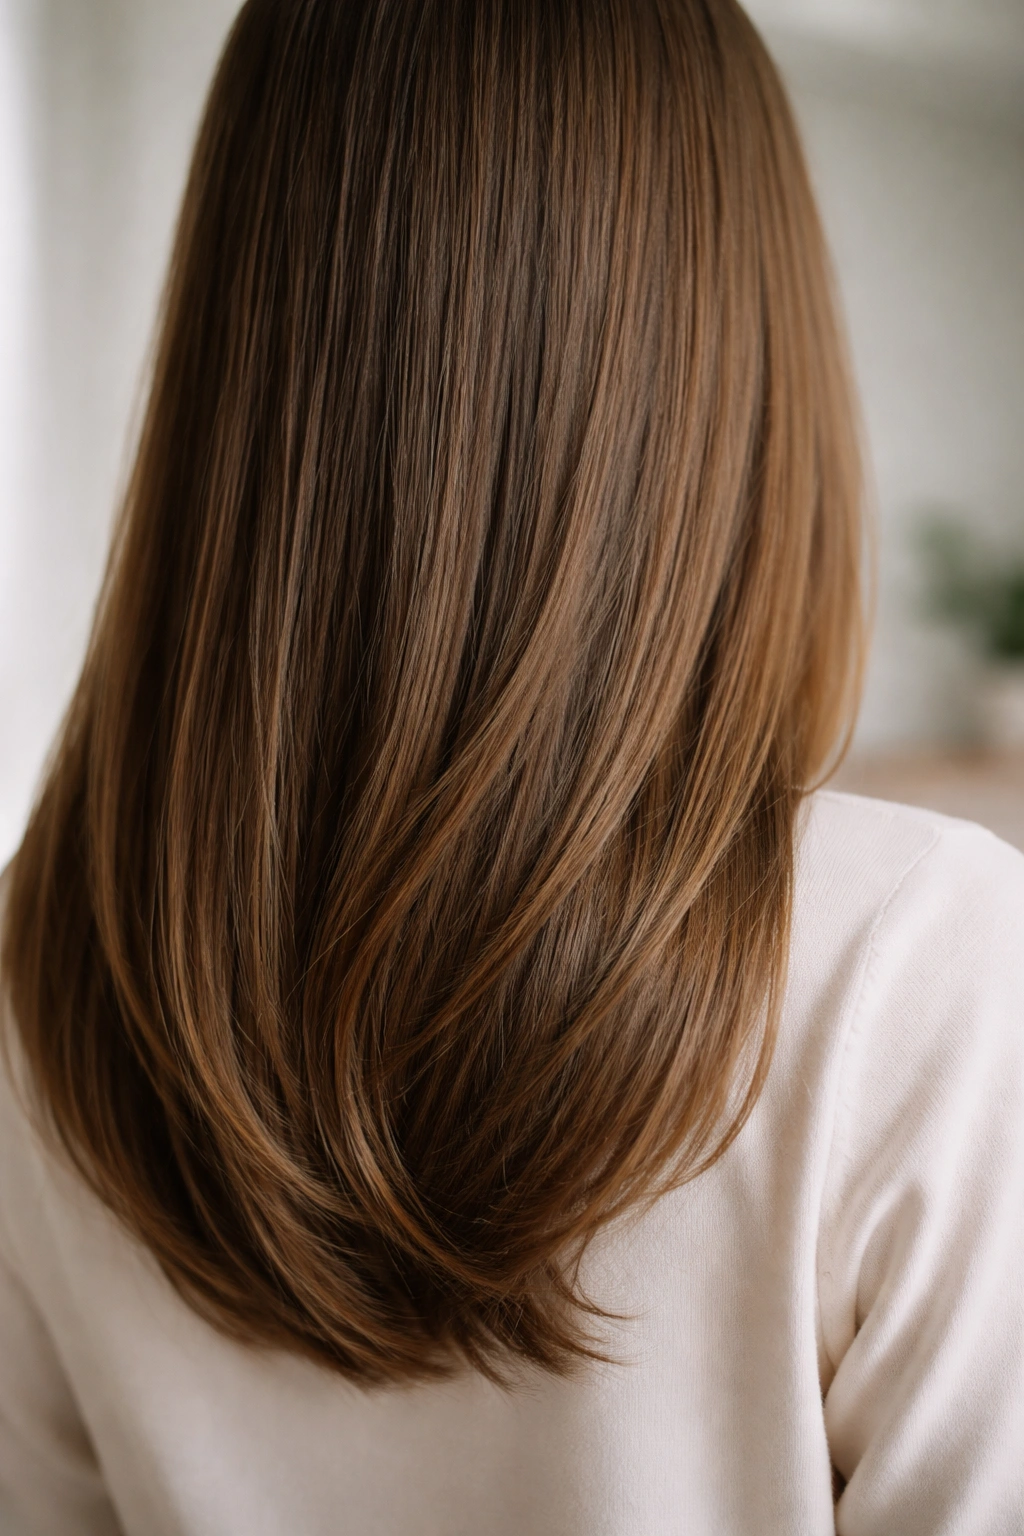
This final look is about the most minimal change possible — you’re adding just enough of a subtle bend to your straight hair to make it look intentionally styled rather than simply unstyled. Think of it as the middle ground between completely straight and wavy.
The Power of Subtle Change
Sometimes people overthink styling and assume that noticeable change equals good styling. The truth is that a barely-there bend can look just as intentional as waves or curls, especially when done on sleek straight hair. The subtlety actually reads as more sophisticated than overdone styling.
How to Achieve It
- Use a flat iron to straighten your hair completely
- On the final pass through each section, instead of keeping the flat iron completely straight, angle it just slightly so the hair exits the iron with a gentle curve
- You’re not creating visible waves — just asking the hair to bend very slightly instead of being perfectly flat
- The result is hair that looks straight at first glance but has subtle movement and catches light differently than completely flat hair
- Time: three to four minutes
Final Thoughts
The throughline across all of these styles is that straight hair is your greatest asset when you’re short on time. You’re not fighting texture, managing frizz, or waiting for curls to set — you’re working with hair that naturally wants to be sleek and smooth, and you’re simply directing that sleekness into intentional styles. What takes 10 to 15 minutes on other hair textures takes three to five on straight hair, which means you’ve got zero excuse for a boring hair day, even on your most rushed mornings.
The styles that serve you best will depend on your lifestyle and face shape, but the beauty is that you can rotate through several of these looks throughout the week and never repeat the same style twice while staying well within your time constraints. Start with the two or three that feel most natural to you, nail those techniques, and then branch out to others. Once you’ve got a few of these down cold, you’ll develop the confidence to modify them based on what you’re wearing, where you’re going, and how you want to feel that day.