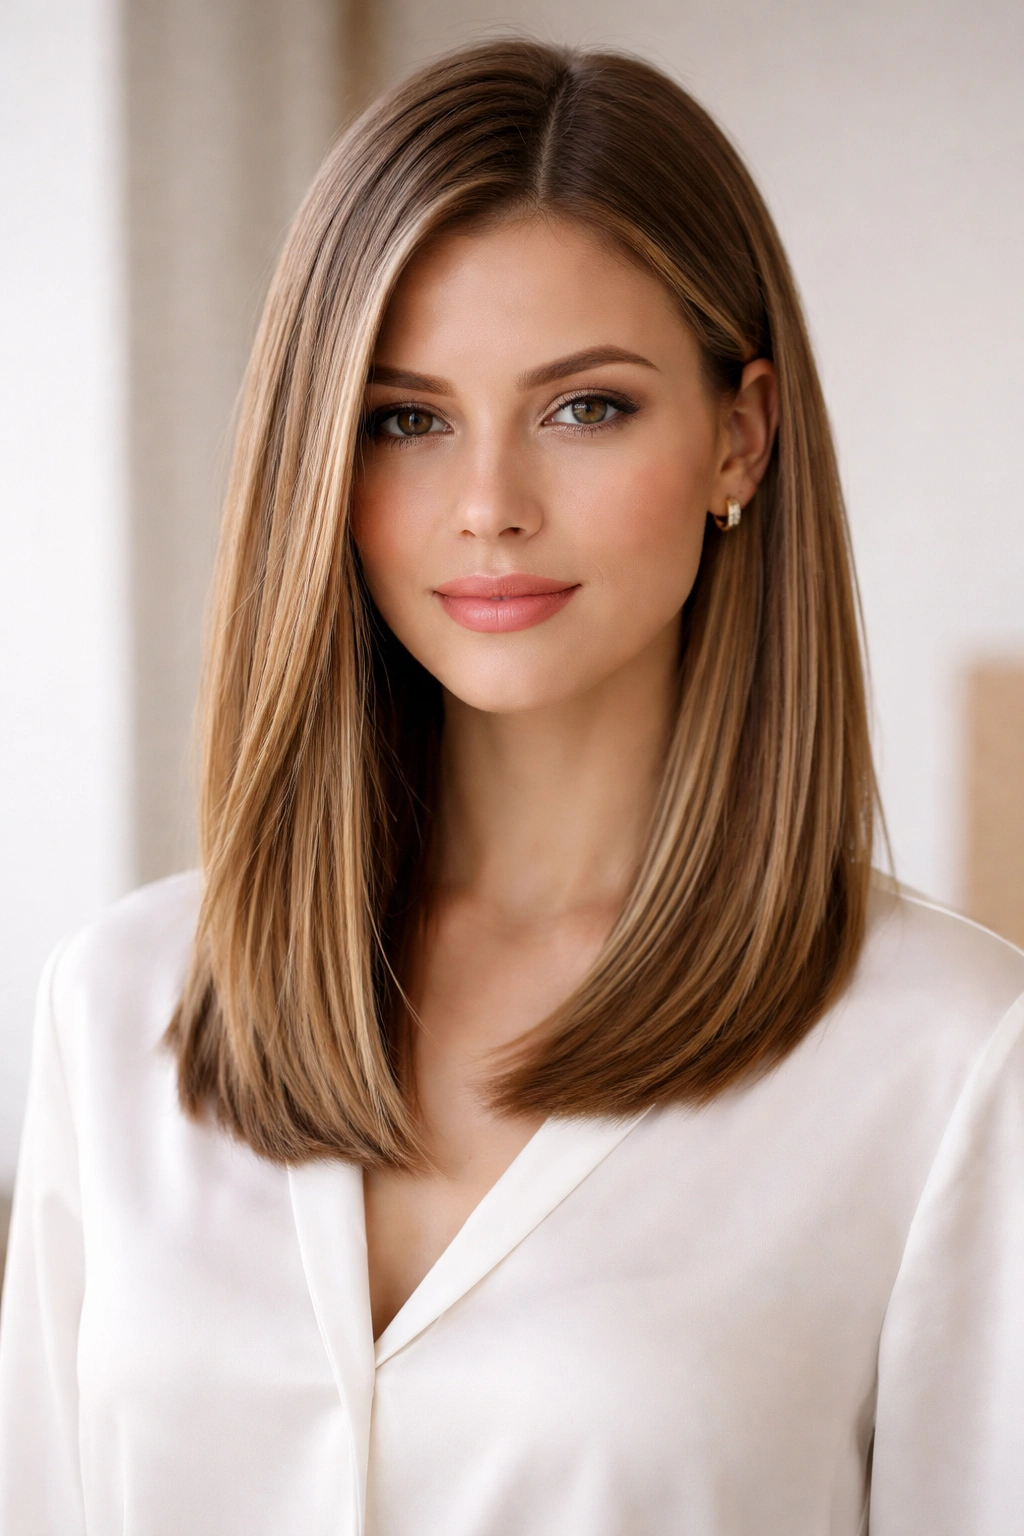
Straight hair might seem like the ultimate office canvas — no frizz to tame, no waves to fight, clean lines that photograph beautifully in video calls. But that same sleekness can feel one-note if you’re wearing the same style day after day. The real power of straight hair is that it’s endlessly versatile. You can shift from polished and corporate to approachable and creative just by changing where you part your hair or how you position a few strategic layers.
The key to office-appropriate straight hair styles isn’t about being boring — it’s about intentional refinement. These looks work because they’re technically clean (no pieces escaping everywhere), they hold throughout a full workday without constant touch-ups, and they read as put-together without looking like you spent two hours getting ready. Most importantly, they’re styles you can actually recreate yourself at home, not elaborate designs that require a professional stylist’s hands.
What follows are fifteen distinct straight hair looks, each adapted for the office environment. Some prioritize polish for client-facing days, others offer approachability for team meetings, and a few strike the balance between professional and personality. The best part? You can rotate through these based on your mood, the demands of your day, and the specific impression you want to make.
1. Sleek Low Ponytail
A low ponytail is the workhorse of office styling — it keeps hair off your face and neck without the “I’m too strict” energy of a severe high bun. With straight hair, the magic is in how you gather and finish it. Pull your hair back gently at the nape of your neck, keeping it smooth but not aggressively tight.
Why It Reads Professional Without Feeling Stiff
The low positioning makes this look inherently approachable. It says you’re organized and focused, not that you’re trying to project authority through severity. A loose, low ponytail actually softens your face compared to pulled-back styles, which matters when you’re spending eight hours at a desk under harsh overhead lighting.
How to Execute It Perfectly
- Brush hair straight back with a soft paddle brush, not a comb (gentler on the hair and leaves it smoother)
- Gather at the very base of your neck — about two inches above where your neck meets your shoulders
- Use a smooth elastic or a covered hair tie that matches your hair color exactly (this makes the ponytail read as more intentional, less emergency)
- Leave a few face-framing pieces if your hair texture cooperates (even two tiny pieces by your ears add dimension)
- Smooth the surface with a lightweight serum or finishing spray to eliminate flyaways
Pro tip: Wrap a small piece of hair around the base of the ponytail to hide the elastic — this elevates the whole look immediately and makes even a quick five-minute styling feel finished.
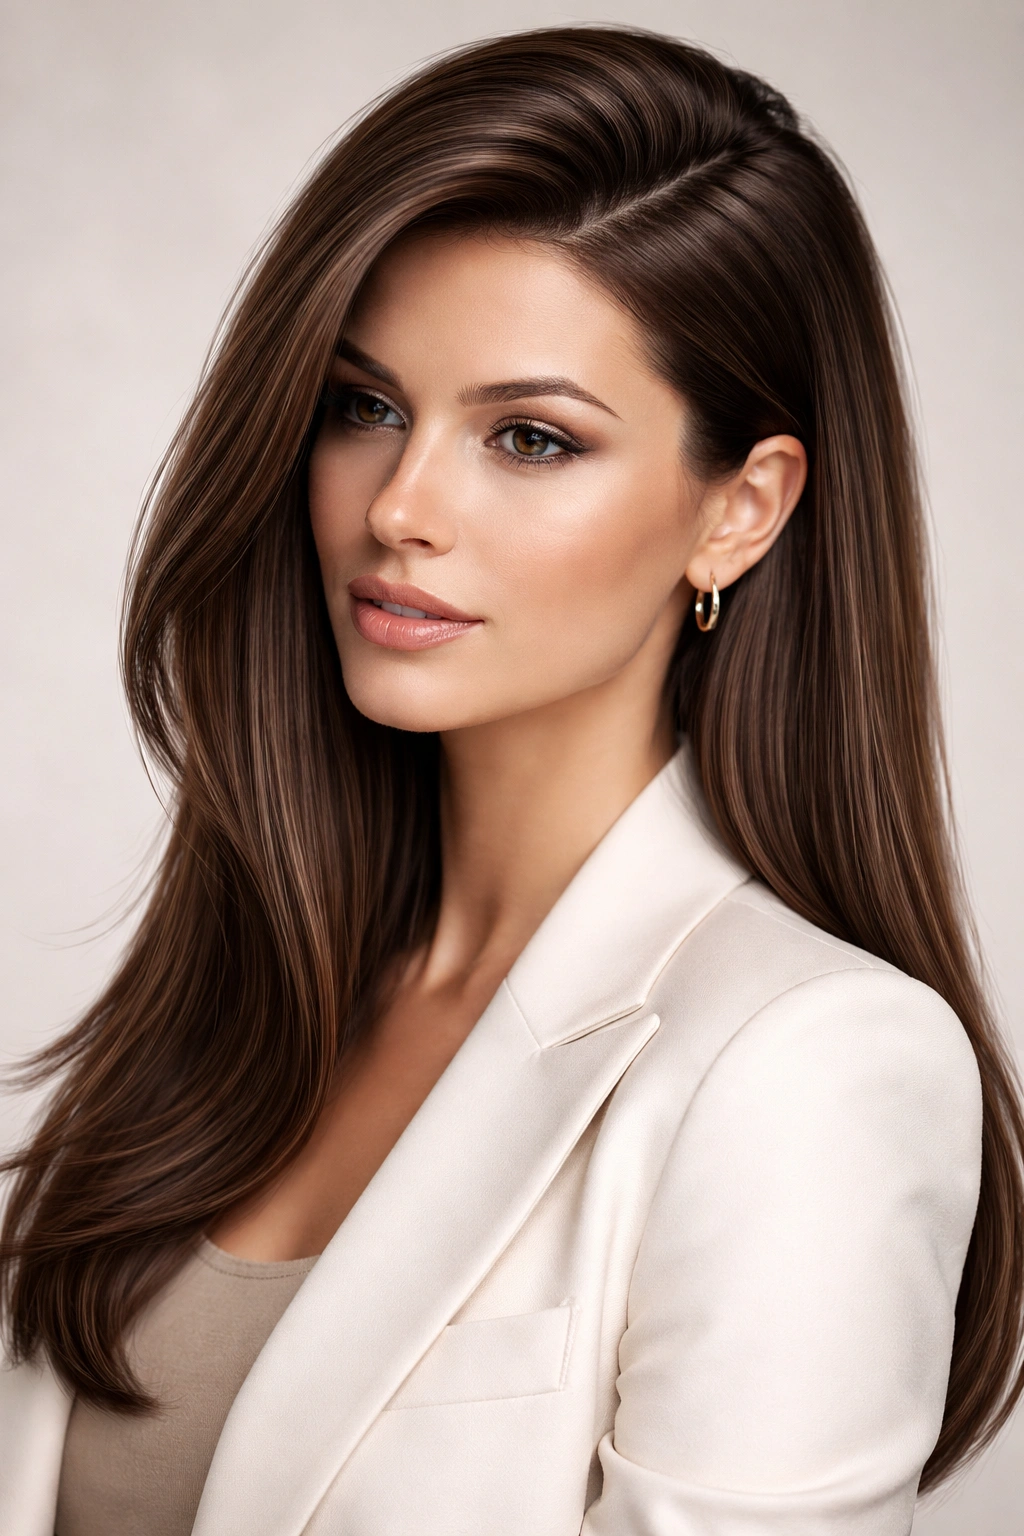
2. Center Part with Tucked Sides
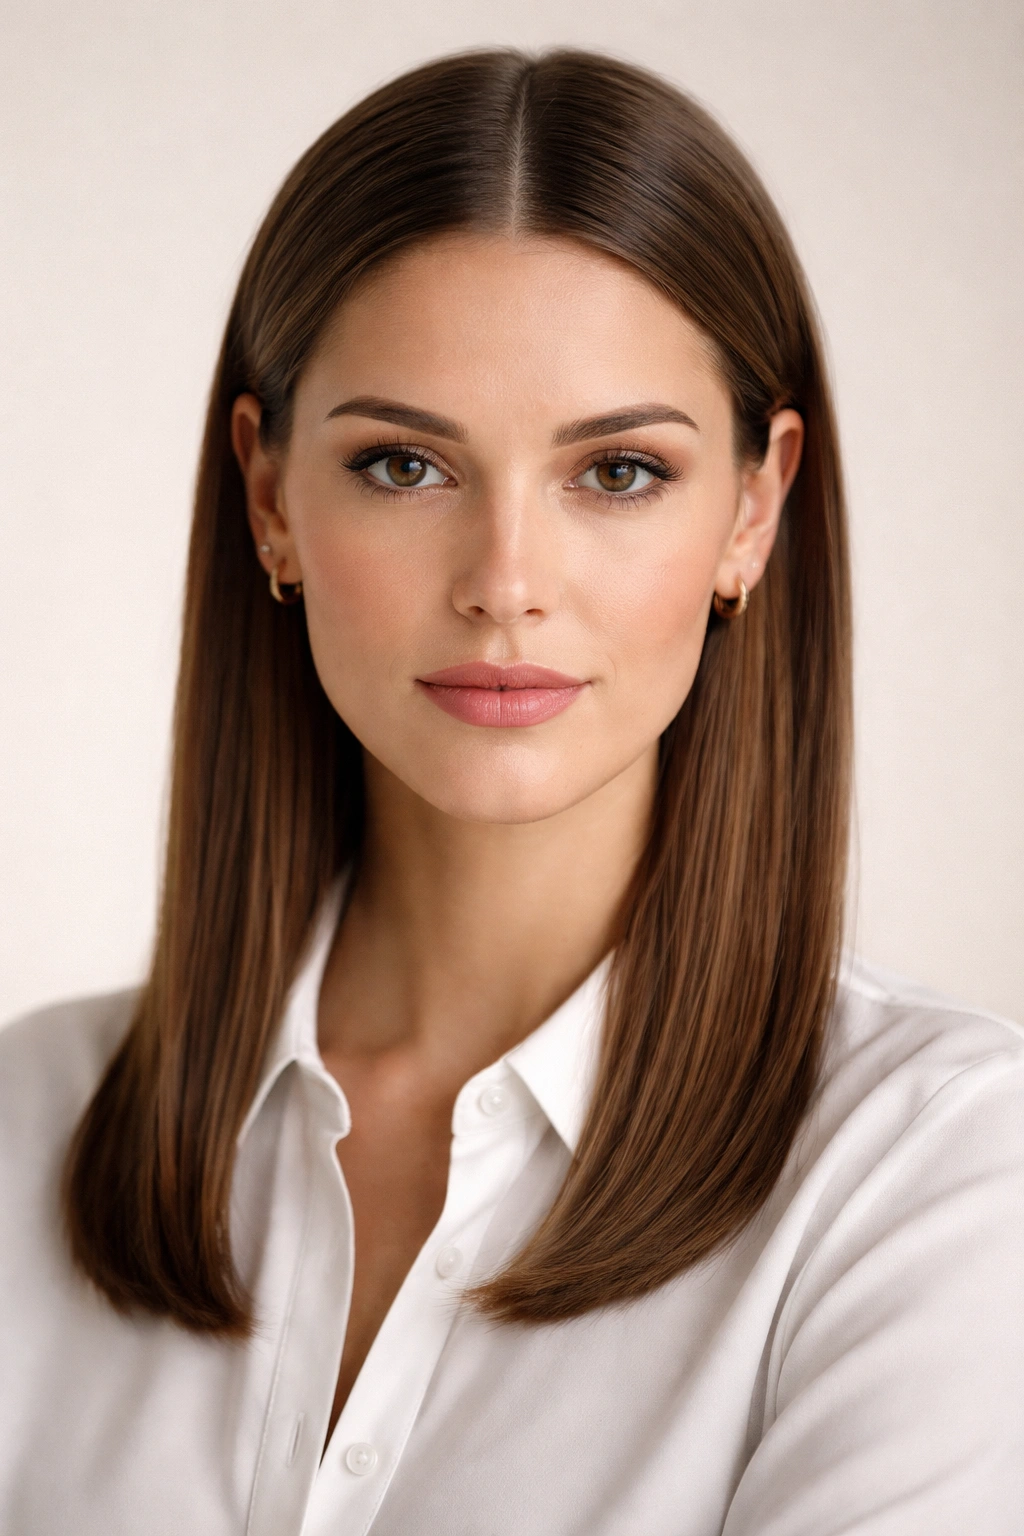
This deceptively simple look is understated confidence. A clean center part divides your face evenly and reads as modern and intentional. Tucking the sides back subtly prevents hair from falling forward during focus-heavy work.
The Psychology of the Center Part
A center part is inherently more approachable than a side part — it’s symmetrical, which our brains register as trustworthy and calm. For straight hair, a center part also showcases the hair’s natural shine and straightness, since there’s nothing pulling it sideways or creating visual confusion.
The Steps That Matter
- Use a rattail comb to create a perfectly straight line from your hairline back to the crown
- Brush each side back firmly so the hair lies flat against your scalp (loose, floppy sides look unintentional)
- Tuck small sections behind your ears using bobby pins that match your hair color
- Secure the pins low, where they disappear into the tucked hair, not visibly on top
- Finish with a light hairspray on the part line to keep it defined throughout the day
Worth knowing: This style works best if your hair is at least shoulder-length or longer. Shorter straight hair can look severe with a center part; a side part is usually more flattering for bobs.
3. Half-Up, Half-Down with Subtle Texture
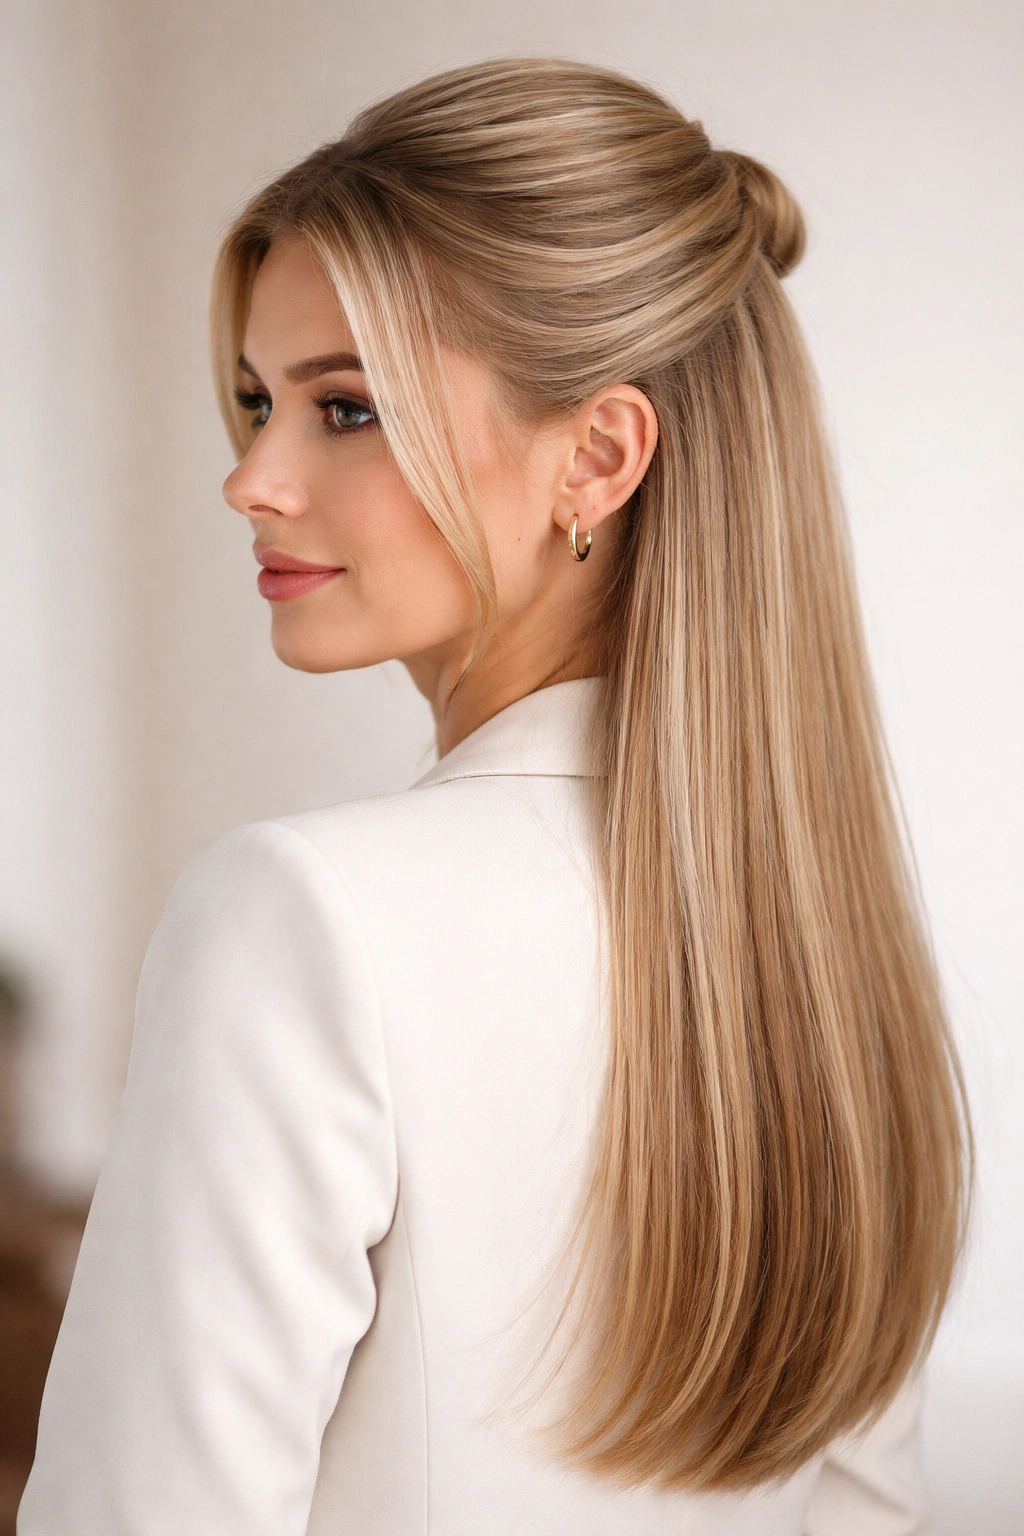
For days when you want the polish of a pulled-back style but don’t want to fully commit, a half-up does the heavy lifting. With straight hair, the key is creating just enough texture at the crown to keep it from looking limp.
Why This Balances Professional and Approachable
Half-up styles give you the best of both worlds: hair is off your face and neck (professional), but you’re still showing length and movement (approachable). It’s the style that works equally well in a board meeting or at your desk doing independent work.
Technique for Polished Half-Up
- Section off hair from ear to ear across the crown
- Tease this section gently at the roots with a fine-tooth brush to create a subtle cushion of volume
- Smooth the teased hair with your brush so it looks intentional, not messy
- Gather the section back and secure with a small elastic or clip at the back of your head
- Leave the bottom half of your hair down and straight (the contrast between the gathered section and the flowing bottom half is what makes this look modern)
- Smooth any flyaways at the crown with a light serum or texturizing spray
Insider note: Straight hair can look a bit flat with this style, so that gentle teasing at the roots is essential — it creates depth and visual interest that the eye is drawn to.
4. Slicked-Back High Bun

This is the look for days when you need to project focus and capability. A high bun is formal without being costume-y, and with straight hair, you can make it sleek and modern rather than ballet-dancer rigid.
The Confidence Factor
A high bun says you’re about your work. It’s the style worn by surgeons, executives, and anyone who doesn’t want their hair to be part of the conversation. With straight hair, the clean lines of a high bun are especially striking.
Creating a High Bun That Reads Polished
- Start with completely dry, straight hair (wet or damp hair can create bumps as it dries)
- Brush your hair straight up toward the crown, using both hands to keep tension even
- Gather at the highest point on your head, right where your hair naturally wants to collect at the crown
- Twist the ponytail tightly before wrapping it around itself into a bun shape
- Secure with multiple bobby pins, weaving them through the bun interior so they’re completely hidden
- Finish with hairspray, applying it smoothly over the surface rather than in bursts (bursts can create a sprayed look)
Quick facts:
- Use a fine-tooth comb on the outer surface of the bun to smooth any bumps or irregularities
- Matte hairspray works better than shiny spray for this look (shiny spray can look greasy)
- A high bun looks best when it’s pulled taut; loose, messy high buns read as unfinished in office settings
5. Side Part Blowout
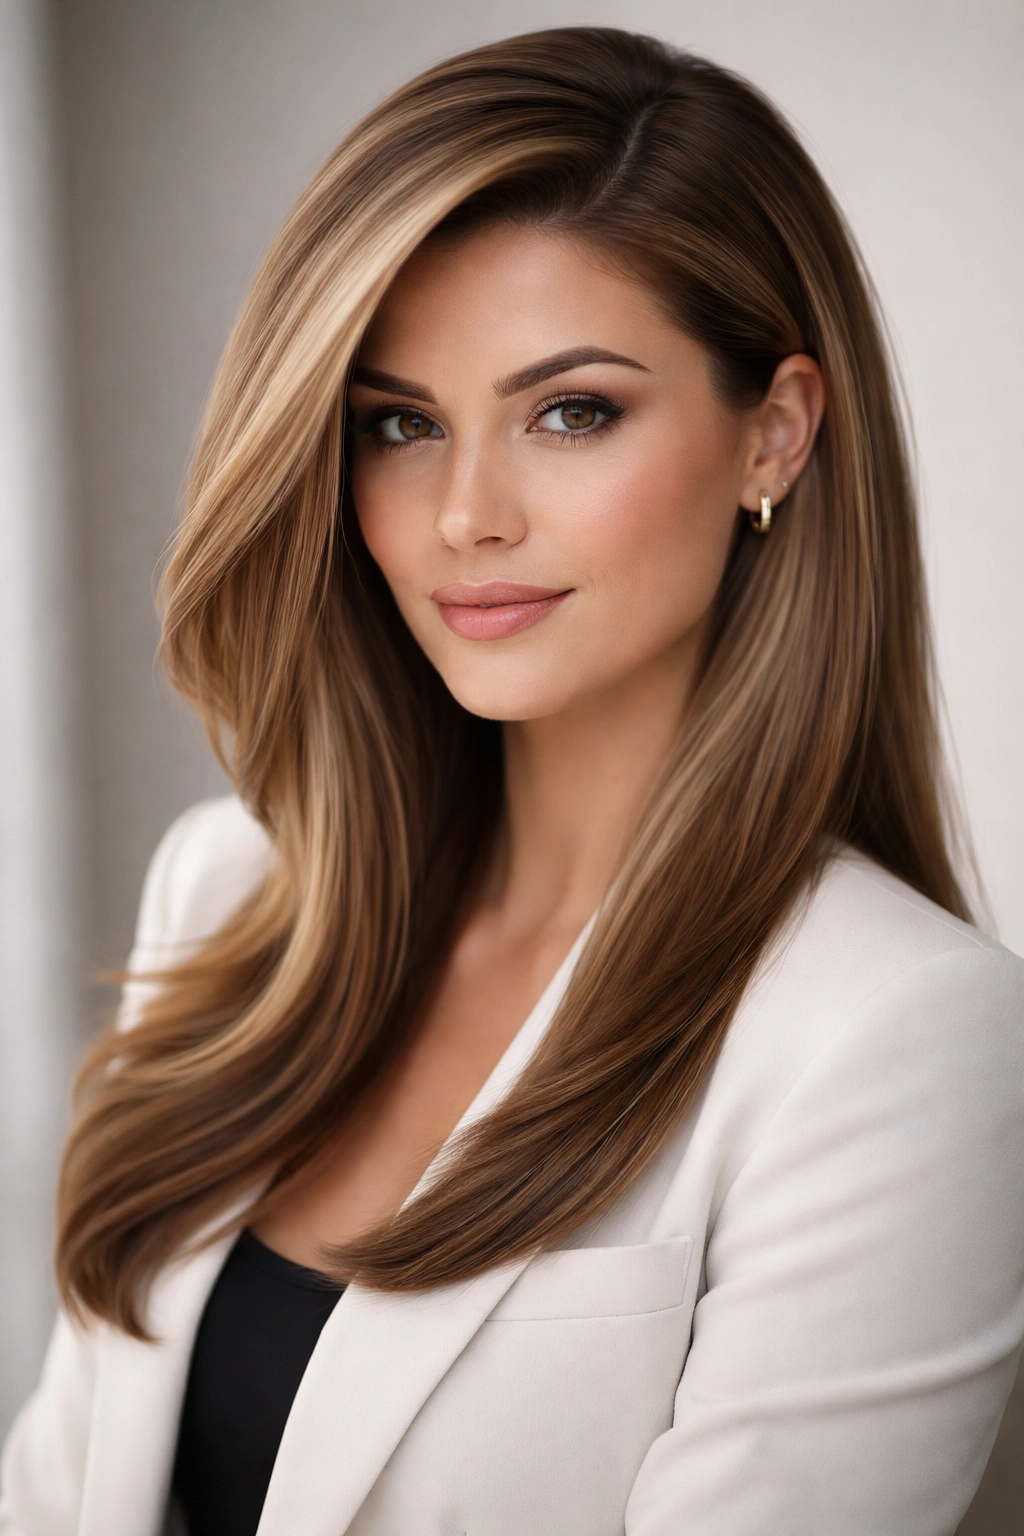
A deep side part paired with slight volume on one side creates the illusion of more texture and dimension. This style says “polished” without saying “I woke up three hours early.”
Why Side Parts Photograph Well
In office environments with video calls, side parts are camera-friendly — they photograph as intentional and modern, and they create a slimming effect on the face. For straight hair, a side part also breaks up the visual monotony of hair falling completely straight.
Executing a Polished Side Part
- Determine your ideal side by parting where your natural hair growth patterns suggest (parting against your growth pattern causes the part to separate and shift throughout the day)
- Create the part with a rattail comb, making it a sharp, clean line
- Brush the smaller side smoothly behind your ear and secure with a bobby pin
- On the larger side, use a round brush to add subtle volume at the crown, directing the brush upward and back
- Smooth the rest of the larger side straight down
- Apply a lightweight serum to the ends to enhance shine without weighing down the volume at the crown
What to watch for: If your side part constantly falls flat by midday, your hair might be too fine for this style, or you might need to adjust your parting angle slightly. Experiment with parting a bit further back or more forward until you find the angle that naturally supports volume.
6. Blunt Bob with Minimal Texture

A well-cut straight bob is the professional’s greatest asset. If your hair naturally falls perfectly straight, a sharp-edged bob says you have your act together while requiring minimal daily effort.
The Sophistication of Simplicity
A blunt bob works because it’s decisively modern. There’s nothing tentative about it — it’s either a bob or it’s not. With straight hair, the bluntness of the cut is what makes it striking. Layers would soften it; a blunt edge celebrates straightness.
Maintaining a Blunt Bob’s Impact
- Get trims every four to six weeks to keep the blunt line sharp (a dull, grown-out bob reads as neglected)
- Blow-dry with a flat paddle brush, directing the brush straight down to elongate the strands
- Use a flat iron if needed to ensure the ends are perfectly straight and even with each other
- Apply a shine serum to the very ends to make the blunt line visually crisper
- Avoid layering entirely — even one choppy layer can break the clean line that makes a bob look sophisticated
Pro tip: A blunt bob is the only style where a slightly blunt fringe works beautifully in office settings. If you’re considering this cut, ask your stylist about a subtle fringe that hits your eyebrows — it adds intrigue without reading as experimental.
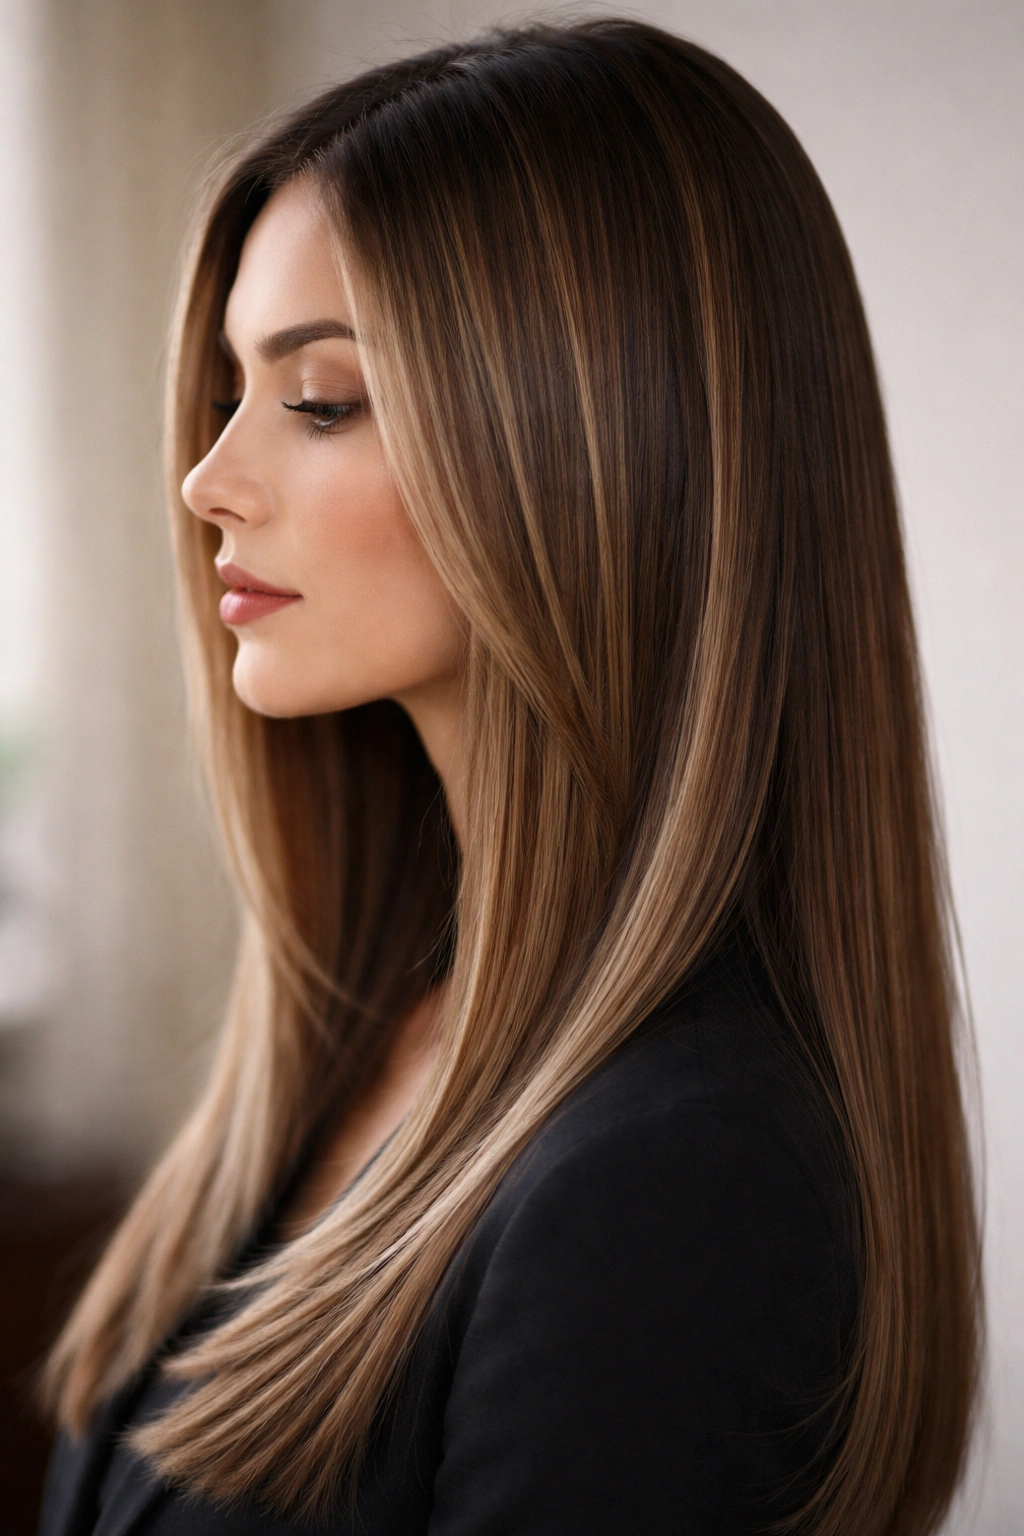
7. Long Straight with Minimal Layers
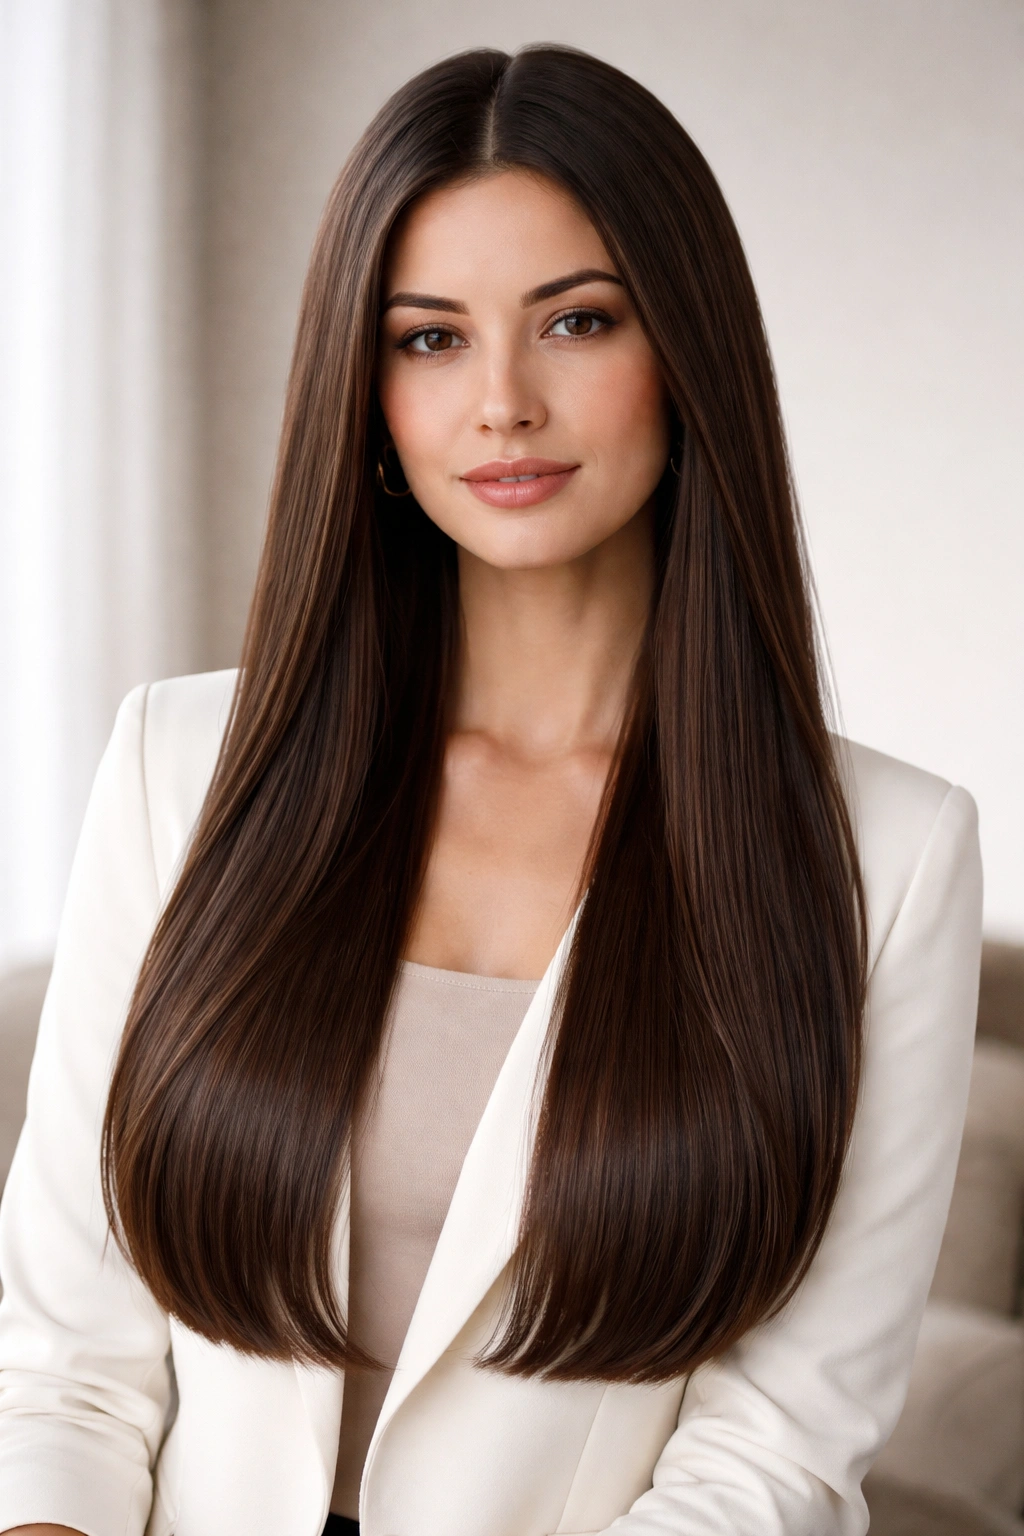
If you prefer to keep your length, straight hair with just the slightest layering is endlessly office-appropriate. The key is restraint — you want the shape to be so subtle that most people don’t realize the layers are there.
Why Minimal Layers Work on Straight Hair
Layers add dimension and movement, which is great for texture, but on straight hair they can make strands look wispy or thin if there are too many. One or two subtle layers add just enough shape to make the hair feel intentional without creating visual fragmentation.
The Minimal Layer Approach
- Ask your stylist for internal layers only (layers that don’t show at the very ends)
- Keep the shortest layers no more than two inches shorter than the longest sections
- Maintain blunt ends below the layers so the overall silhouette still reads as long and straight
- Style by brushing straight down and smoothing with a flat iron if needed
- Add shine to the ends with a lightweight serum (the shine draws the eye to the length)
Quick facts:
- Minimal layers mean you can wear your hair down or in an up-style with equal polish
- The longer your hair, the more subtle your layers should be (very long hair with obvious choppy layers can look unkempt)
- This style requires trims every eight to ten weeks to maintain the blunt ends
8. Deep Side Part with Volume
Where a simple side part is clean, a deep side part with intentional crown volume is striking. This look works best when your hair is thick enough to support the volume without looking sparse on the smaller side of the part.
The Modern Power of Volume
Volume at the crown conveys confidence and presence. It’s a subtle assertiveness that reads well in professional settings — you’re not aggressive, but you’re definitely there. For straight hair, crown volume breaks up the potential flatness that can happen when everything falls perfectly straight.
Building and Maintaining Crown Volume
- Part your hair very deeply on one side, almost to your temple rather than the center
- Blow-dry the smaller side smoothly in the direction of the part
- Use a large round brush to direct the larger side up and back, creating volume at the crown
- Once dry, use your fingers to gently tease at the roots on top (not enough to look messy, just enough to create a cushion)
- Smooth the teased section back into place with your brush
- Mist with a texturizing spray, which helps hold volume without the stiffness of regular hairspray
Worth knowing: This style works best when you style it on wash day. Day-two or three hair has lost its hold and won’t maintain the volume effectively. If you have fine hair, this might not be the right style for you — it can emphasize the lack of volume rather than create it.
9. Wrapped Low Bun
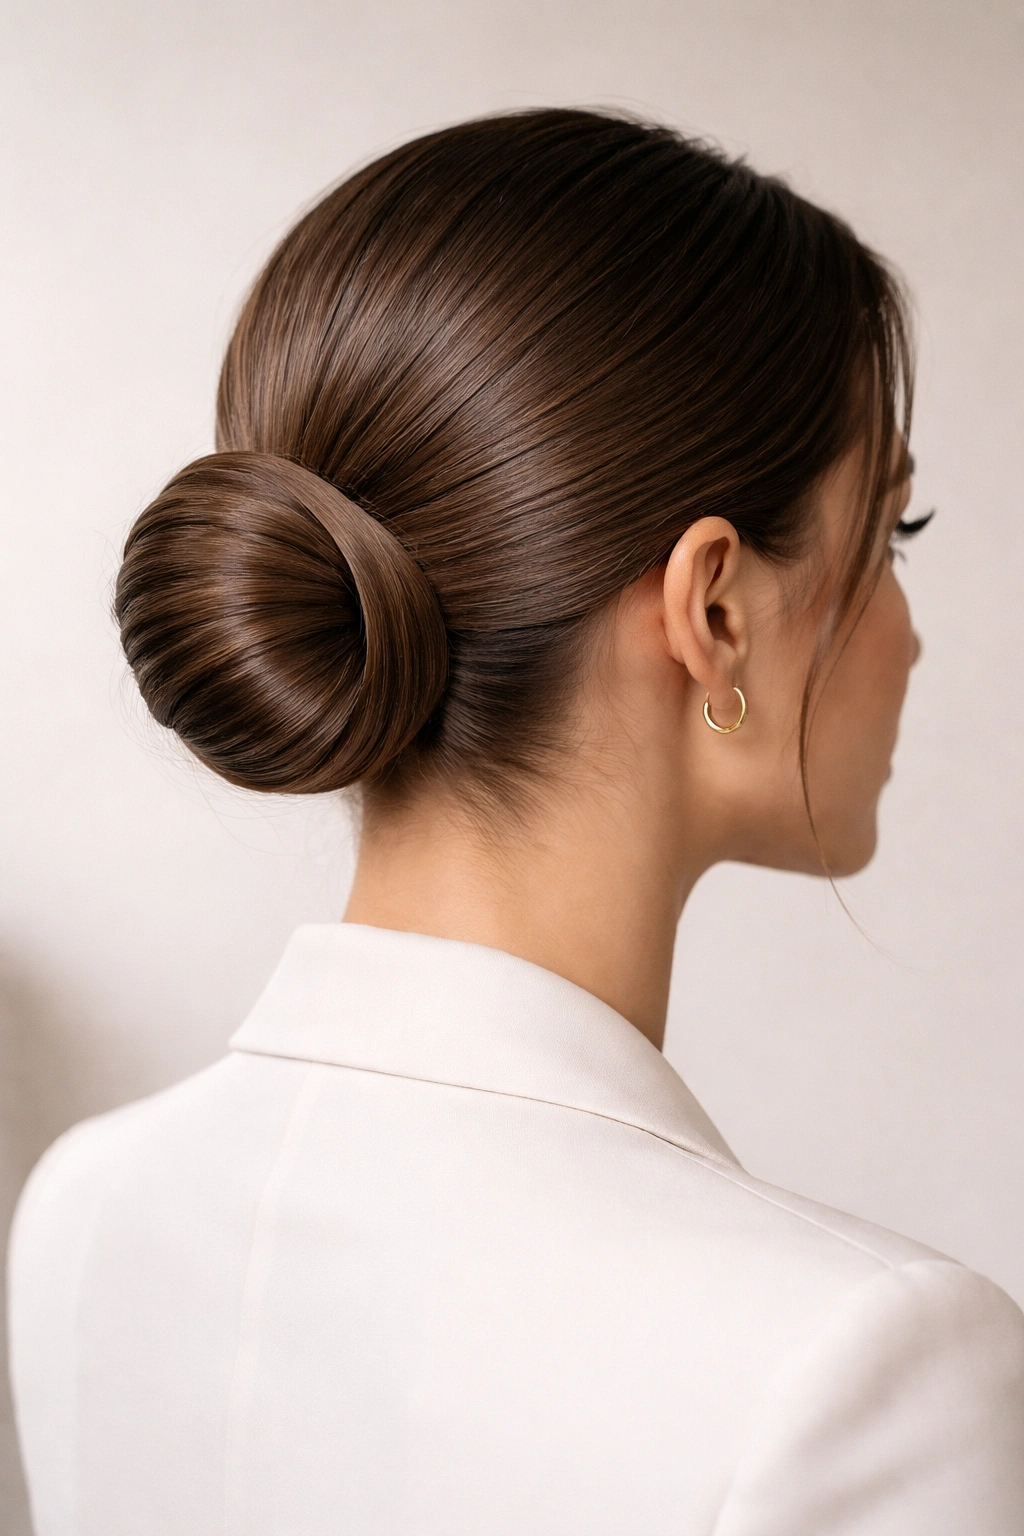
A wrapped bun is the elevated version of a basic bun. Instead of simply twisting hair into a bun shape, you wrap sections of straight hair around the base, creating a more refined and intentional look.
The Refined Feel of a Wrapped Bun
This bun style reads as more designer and less utilitarian than a simple twisted bun. It says you paid attention to the details. With straight hair, the clean lines of the wrapped sections are especially visible and polished.
How to Wrap a Bun Properly
- Create a low ponytail at the nape of your neck, leaving it fairly tight
- Divide the ponytail into three sections
- Take the first section and wrap it tightly around the base of the ponytail, securing the end with a bobby pin
- Repeat with the second section, wrapping it around the base in the opposite direction, covering any visible bobby pins
- Take the third section and repeat, ensuring the wrapped sections create a smooth, seamless circle
- Tuck the end of the final section underneath the bun and secure with pins
- Finish with a light hairspray applied smoothly over the surface
Pro tip: Practice this style at home several times before wearing it to a high-stakes meeting. It’s not difficult, but the wrapping technique requires muscle memory to make it look effortless rather than fussy.
10. Straight Hair with Wispy Bangs

Bangs add personality to any straight-hair style while remaining entirely office-appropriate, especially if you keep them wispy and shoulder-skimming rather than blunt and severe.
Why Wispy Bangs Complement Straight Hair
Wispy bangs soften your face while maintaining the sleekness of straight hair. They create a frame around your eyes and forehead without the severity of thicker, blunt bangs. This style tells people you’re creative and detail-oriented, not purely conventional.
Maintaining Wispy Bangs
- Have your stylist cut your bangs in sections, creating slight length variation so they look wispy rather than like a straight wall of hair
- Blow-dry bangs with a round brush, directing them forward and slightly to one side
- Use a flat iron to refine the edges and create a subtle wave if desired
- Keep your bangs dry (wet bangs are harder to style and look stringy)
- Trim them every three to four weeks to maintain the wispy shape
- Wear them pinned back or clipped to one side on days when you don’t have time to style them
What to watch for: If you have a low hairline or a round face, bangs might not be your best choice. Bangs emphasize whatever feature sits directly above them, so be honest about whether they flatter your specific face shape.
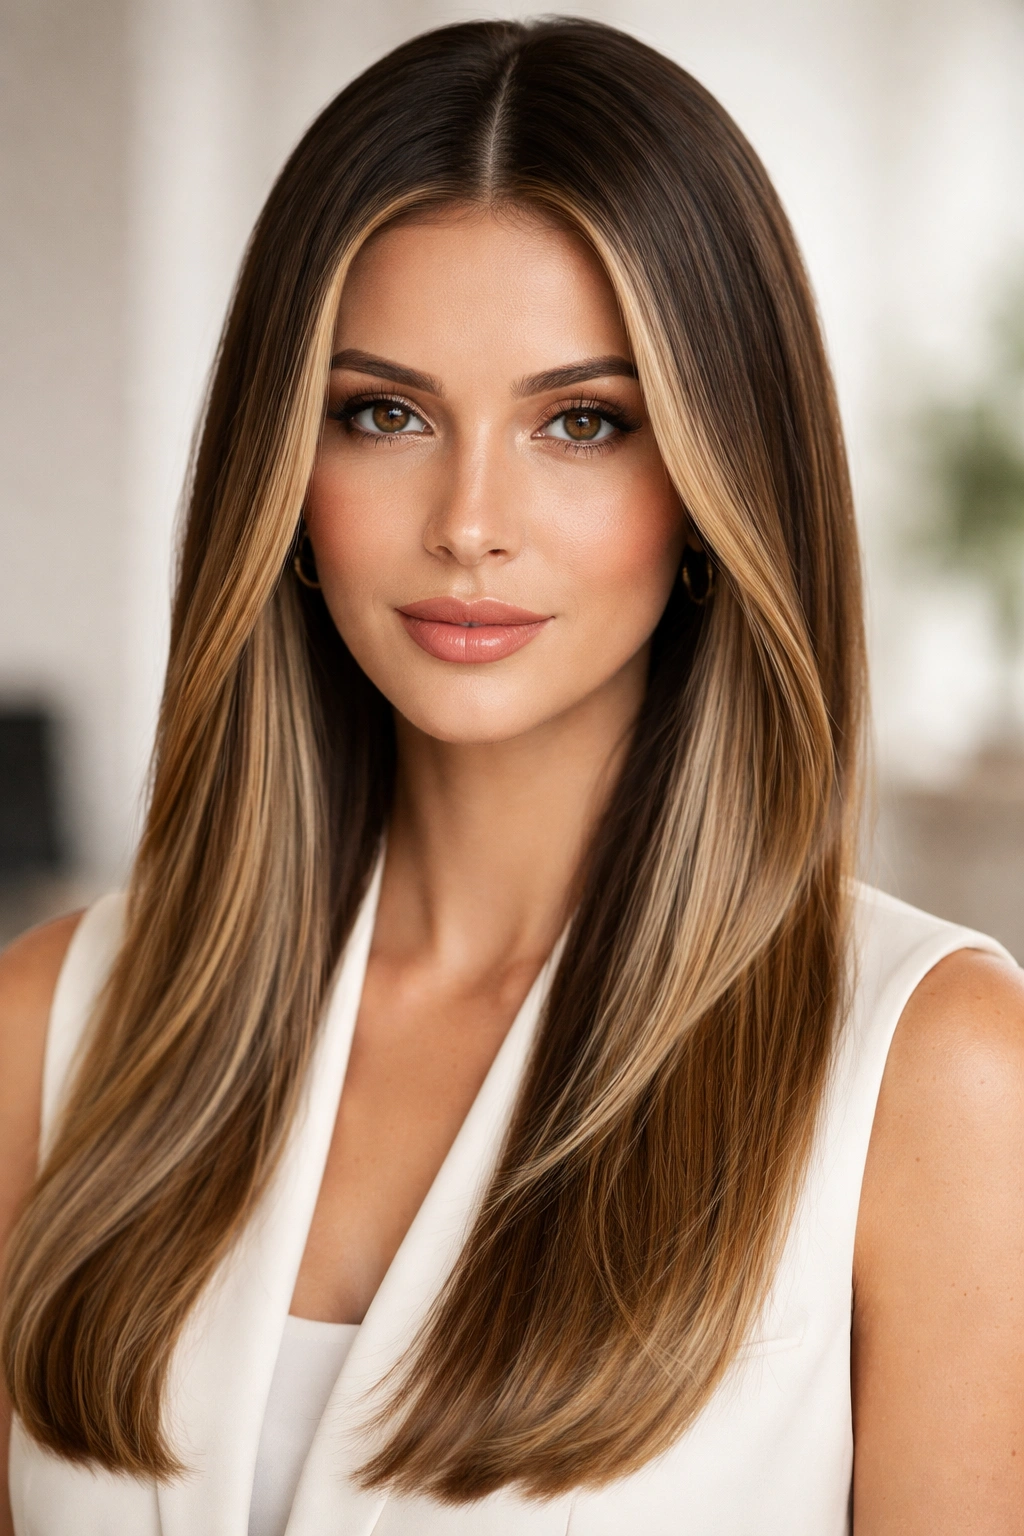
11. Straightened with Subtle Highlights
Highlights aren’t strictly a style, but they transform straight hair by adding dimension and visual interest. Subtle, well-placed highlights make straight hair look healthier, shinier, and more intentionally styled.
How Highlights Elevate Plain Straight Hair
Single-color straight hair can sometimes read as flat or one-dimensional, especially under office fluorescent lighting. Highlights create the illusion of movement and add warmth and depth that plain straight hair lacks. They also make fine hair appear thicker by creating visual texture.
Choosing the Right Highlight Placement
- Ask your stylist for dimension that’s closest to your natural color (within three shades, rather than five or six)
- Request placement around the face and at the crown, where highlights naturally catch light
- Avoid a bold contrast; subtle highlights are more office-appropriate than dramatic lightening
- Consider rooted techniques like balayage, which grow out gracefully and require less frequent touch-ups
- Space out your highlight appointments to every ten to twelve weeks, allowing your natural roots to blend with the highlighted sections
Quick facts:
- Highlights require moisturizing treatments every week to maintain shine and prevent damage
- If you swim regularly in chlorinated water, consider protective treatments before and after swimming
- Straight hair shows every flaw in highlighting, so go to a stylist experienced with your specific hair type and desired effect
12. Sleek Pulled-Back Look with Face-Framing

This style is the middle ground between a full ponytail and completely down hair. You pull the hair back from the face and secure it at the crown, allowing the length to flow freely below.
The Approachable Authority of This Look
Pulling hair back from your face immediately makes you appear more focused and present. You’re not hiding behind your hair, but you’re not fully committing to an up-style either. It’s the perfect balance for leadership positions where you need to seem both open and professional.
Creating a Secure Pulled-Back Style
- Brush a section from each temple straight back toward the crown
- Gather these sections at the crown with a small elastic or clip
- Leave the crown section loose enough that it doesn’t create tension and headaches after several hours
- Let the rest of the hair flow down your back, completely straight
- Smooth any flyaways around the face with a light serum
- This style works best with at least shoulder-length hair; shorter hair can look odd pulled back this way
Pro tip: Secure the gathered section with a clip rather than an elastic, which allows you to remove it during lunch without causing a dent in your hair. The clip also sits more comfortably for long workdays.
13. Middle Part with Balayage
A middle part combined with balayage highlights creates a modern, sophisticated look that feels current without being trendy. Balayage specifically works well because the hand-painted technique creates natural-looking dimension.
The Modernity of Middle Parts with Color
Where a center part alone can read as somewhat severe or simple, combining it with balayage adds warmth and depth. The highlights draw the eye and make straight hair look less one-dimensional. This combination says you’re modern and intentional about your appearance.
Executing Middle Part with Balayage
- Get balayage highlights placed primarily around the face, at the crown, and through the ends
- Style your middle part as described in earlier sections (straight, clean line, tucked sides if desired)
- Blow-dry straight down, allowing the highlights to catch the light naturally
- Use a shine spray specifically designed for highlighted hair, which enhances the dimension
- Schedule balayage touch-ups every twelve to fourteen weeks, since the technique is designed to blend naturally with growing roots
What to watch for: Balayage can sometimes look muddy on very cool-toned skin if the highlight color isn’t chosen carefully. Work with a stylist who understands color theory and your specific undertones.
14. Straight Lob with Depth
A lob (long bob) hitting around collarbone length is incredibly versatile for office settings. With subtle layering for depth, it’s short enough to feel modern but long enough to wear up when needed.
Why a Lob Is the Sweet Spot
A lob is the Goldilocks length for professional styling — not so short that you’re limited to down-styles, not so long that it feels high-maintenance. Straight hair in a lob cut looks intentionally styled rather than like you’re “growing your hair out.” The length creates natural movement without relying on texture or waves.
Styling a Straight Lob
- Get your lob cut with subtle internal layers that create shape without making the ends look choppy
- Maintain a mostly blunt perimeter, with the smallest layers grazing your collarbone
- Blow-dry straight down for a sleek, polished look
- Alternatively, curl the ends slightly with a flat iron for softness (one-inch barrel, wrapped around the iron and held for two seconds)
- Wear down for a soft, approachable look, or pull up into a low bun for a more formal day
- Use a shine serum on the ends to emphasize the length and create visual polish
Quick facts:
- A lob requires trims every six to eight weeks to maintain the shape and prevent wispy ends
- This length photographs beautifully in video calls, hitting right at the collarbone where it appears intentional
- If your hair is extremely thick, request more layers to prevent the lob from looking bulky
15. Polished Straight with Silk Pillowcase Shine
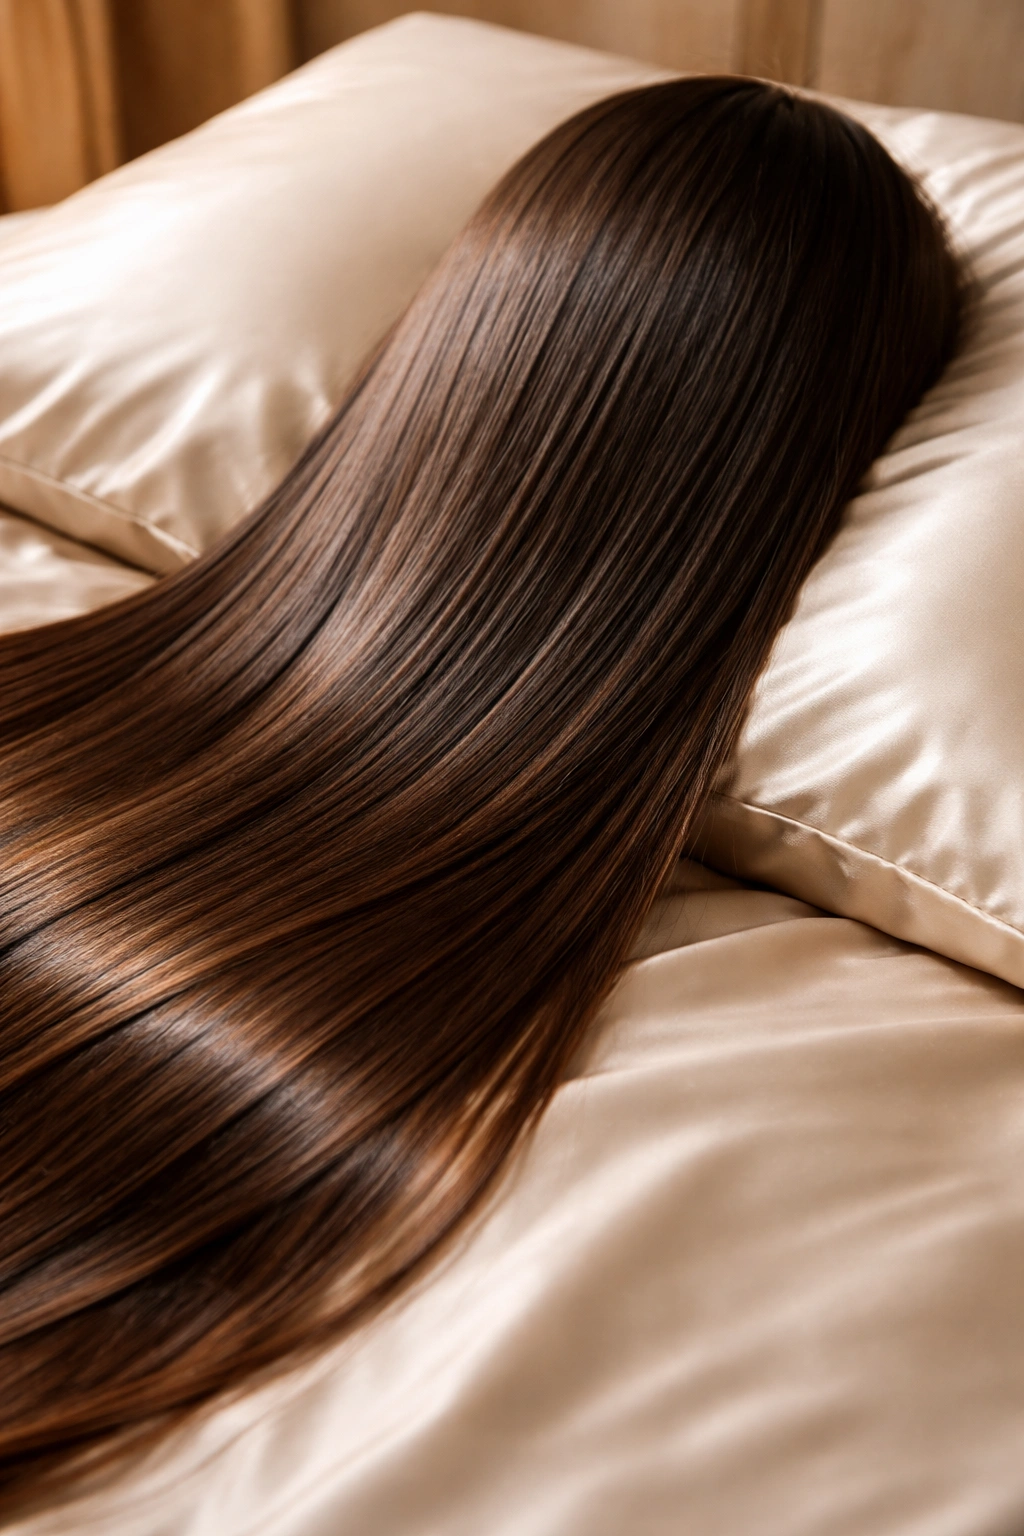
This is less a specific style and more a philosophy: straight hair at its most pristine, with maximum shine and zero damage. It’s the look of someone who respects her hair and takes care of it properly, which reads as sophisticated and intentional.
The Power of Shine and Integrity
When straight hair is genuinely healthy — shiny, undamaged, with no split ends — it communicates that you take care of yourself. There’s something deeply professional about hair that clearly isn’t struggling. This version of straight hair works with any styling choice, but the foundation is always health.
Building a Shine-First Routine
- Sleep on a silk or satin pillowcase, which eliminates friction damage and frizz (this alone is transformative)
- Use a smoothing shampoo and conditioner designed for straight or fine hair (heavy products weigh straight hair down)
- Apply a lightweight leave-in conditioner to ends only, never the scalp
- Use a heat protectant spray before any blow-drying or flat-ironing
- Finish every style with a light shine spray or serum applied to the mid-lengths and ends
- Get trims every six to eight weeks to remove split ends before they travel up the hair shaft
- Deep condition every week, especially if you use heat styling tools regularly
Worth knowing: Shine isn’t about product buildup — it’s about hair health. The most polished look comes from hair that’s genuinely strong and undamaged, not heavily coated in oils or serums. Less is often more when building shine on straight hair.
Final Takeaway

Straight hair is your blank canvas for professional styling. The beauty of these fifteen looks is that they’re not locked into specific hair lengths or face shapes — you can adapt each one based on what you’re working with. Some days you need the authority of a high bun; other days the approachability of your hair down with a deep side part is exactly right. The real skill is knowing which look serves both your day and your intention.
The consistent theme across all these styles is intentionality. Every look works because it’s clearly been thought through, not thrown together. Your straight hair makes that easier than people with texture often have it — you’re not fighting to tame anything. Use that advantage. Keep your tools simple, your techniques clean, and your execution polished. The confidence that comes from knowing your hair looks exactly like you intended it to look is the real accessory that matters in any office environment.