Straight hair has a timeless elegance that transcends trends, and some of the most iconic hairstyles in fashion history relied entirely on sleek, polished strands. From the mod geometric bobs of the 1960s to the glamorous waves of Old Hollywood, vintage straight hair looks offer a sophisticated aesthetic that feels effortlessly chic and endlessly wearable today. Whether you’re drawn to the sleek minimalism of the 1970s or the structured perfection of vintage salon styling, these retro hairstyles prove that straight hair doesn’t need layers, texture, or movement to make a powerful statement.
The beauty of vintage straight hair styles is their versatility—they work whether your hair is naturally straight, gently relaxed, or blown out smooth. Many of these classic looks are surprisingly easy to recreate with just a flat iron, some styling products, and a clear understanding of what made each era’s aesthetics distinctive. The key is understanding not just the cut and length, but the attitude behind the style: was it all about precision and geometry, or sensuality and drama? That distinction changes everything about how you’ll approach the styling.
Let’s explore fifteen timeless straight hair looks that have shaped beauty culture and continue to inspire modern styling choices. Each of these retro hairstyles carries its own story, technique, and personality—and each one proves that sometimes the simplest approach to hair creates the most memorable impact.
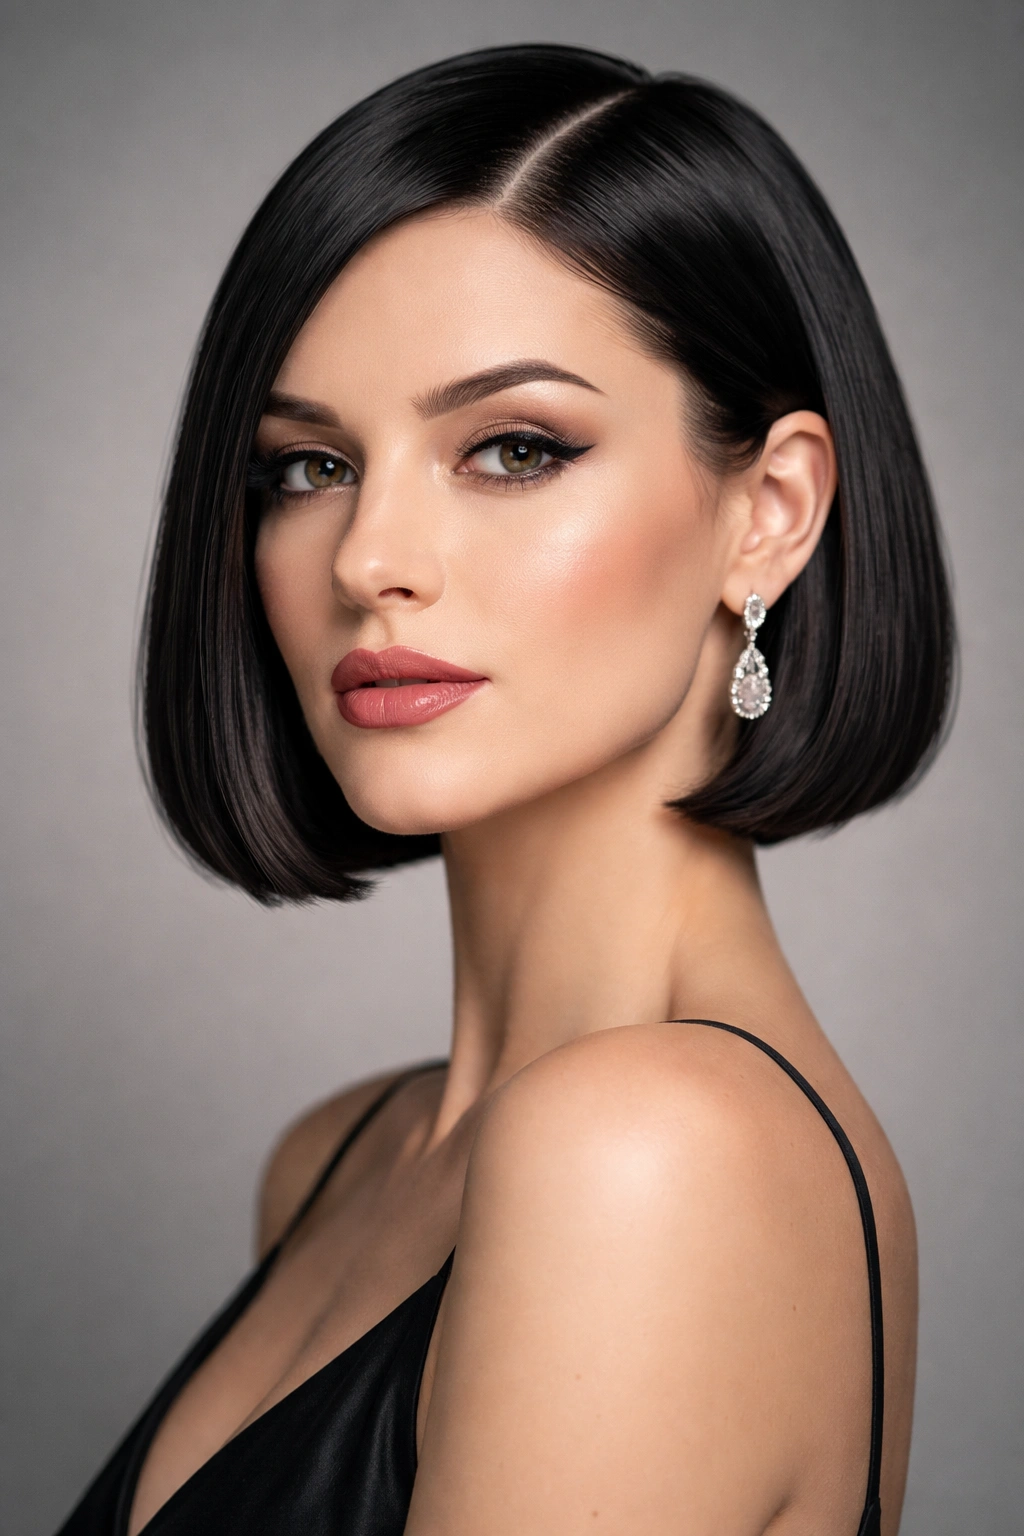
1. The Sleek 1920s Bob
The 1920s bob is the definition of vintage straight hair elegance—a blunt, chin-length cut worn perfectly straight and polished to almost architectural precision. This iconic style marked a radical departure from the long, curled hair of the Victorian era, symbolizing a new era of female independence and modernity. The cut itself is deceptively simple: usually a blunt line just below the chin, often with the sides tucked slightly behind the ears to frame the face.
The Technical Details
The original 1920s bob required hair to be completely straight and smooth, often set in pin curls overnight and then carefully combed out to maintain that sleek finish. The cut itself is precision-heavy—it needs to be blunt across the back and carefully tapered or layered (very minimally) around the face to avoid a harsh line. Many 1920s bobs featured a slight wave or pin curl at the ends, but the overall line remained geometric and clean.
How to Style It Today
To recreate this look, start with a blunt bob at chin length—if you have some natural texture, a professional blow-out is essential before styling. Use a flat iron to ensure completely straight strands, working section by section from the roots to the ends. Apply a light smoothing serum or finishing spray to create that signature shine. If you want to add the subtle pin-curl wave at the ends that some vintage bobs featured, you can use a 1-inch curling iron on just the last inch of hair, then gently brush it out for a soft wave rather than a tight curl.
Pro styling tip: The 1920s bob looks best when your hair is freshly cut every 4-6 weeks—any damage or uneven ends will be immediately visible in this ultra-precise style.
2. The Pin-Straight Hollywood Waves
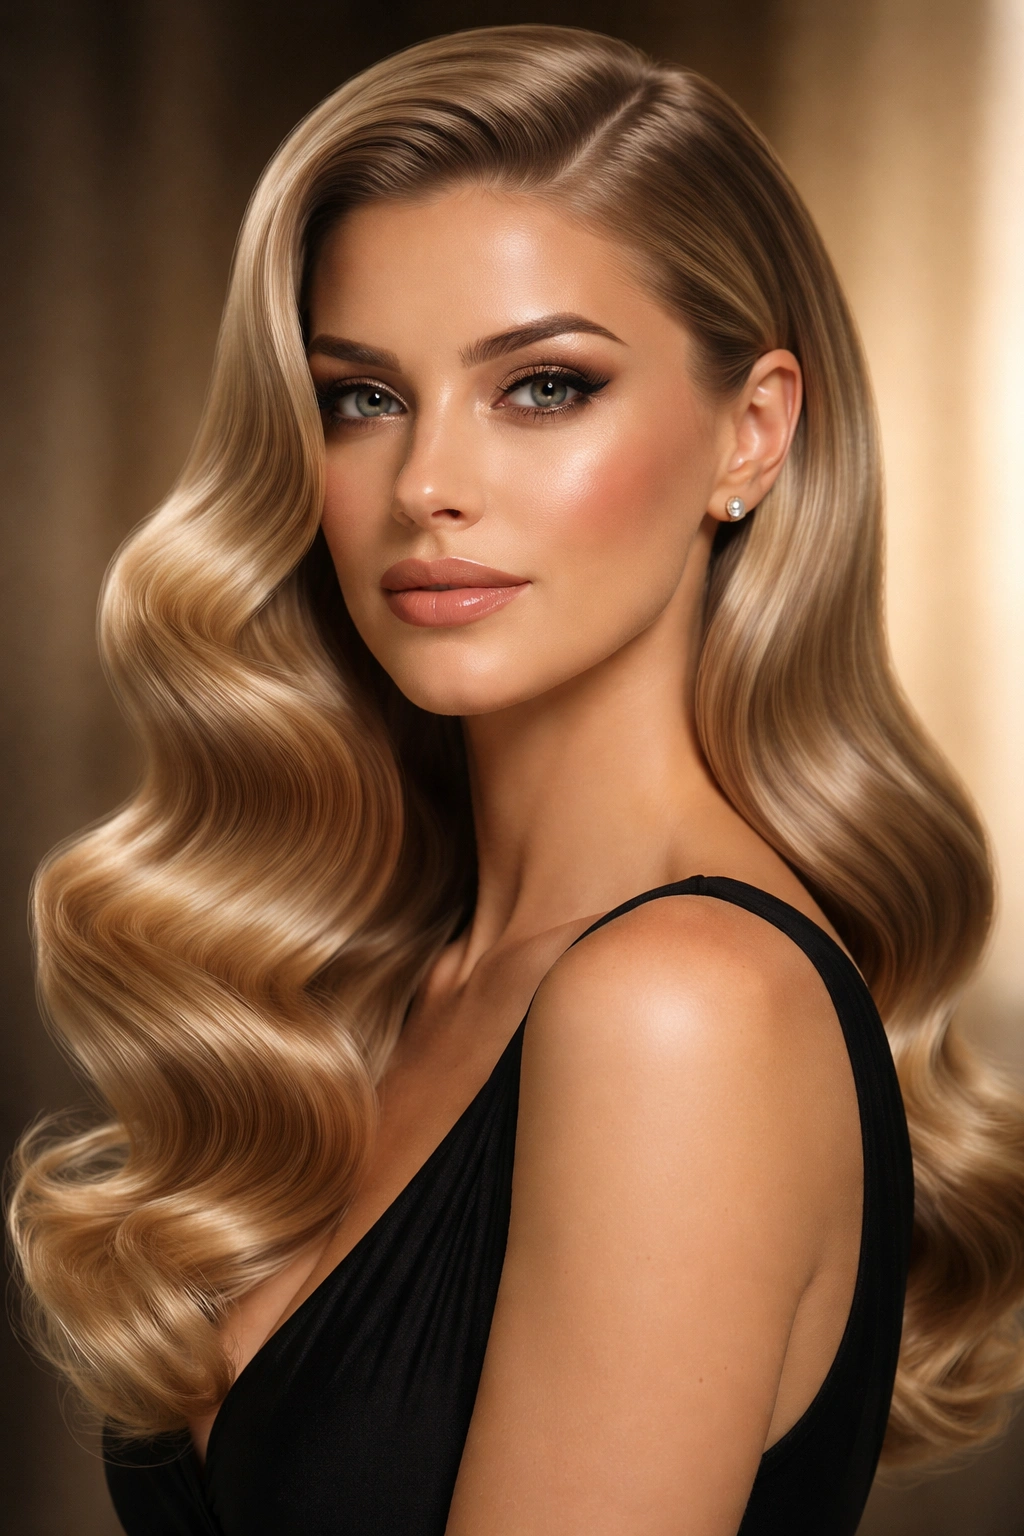
This is the contradictory magic of vintage Hollywood styling: hair that looks undeniably wavy, yet achieves that effect through meticulous straightening and setting techniques. These weren’t loose curls, but rather structured, intentional waves that sat smoothly against the head, created by setting pin curls on straight hair and then carefully brushing them into soft S-curves. The result was glamorous, controlled, and undeniably sophisticated.
The Wave Structure
Classic Hollywood waves are characterized by their uniformity—each wave is roughly the same width, usually 2-3 inches wide, and follows a consistent pattern from one side of the head to the other. The waves themselves are soft and blended, not crispy or separated. What makes them so elegant is that they look like they’re part of the hair’s natural structure, not added afterward.
Creating the Effect
Start with completely straight hair using a blow dryer and flat iron. Then, using a 1.5-inch curling iron, curl sections of hair away from the face, but only curl to mid-length, leaving the ends straight. Hold each curl for just a few seconds—you’re not making ringlets, but rather suggesting a wave. Once you’ve curled all the sections, let them cool completely (this takes 5-10 minutes). Gently brush through the curls using a paddle brush to blend the waves together and soften them. The brushing is crucial—it transforms separate curls into one continuous, elegant wave pattern.
Styling secret: Set these waves with a light hairspray while they’re still warm from the curling iron, and avoid touching your hair while it cools. The cooler the wave sets, the longer it holds.
3. The 1960s Mod Geometric Bob
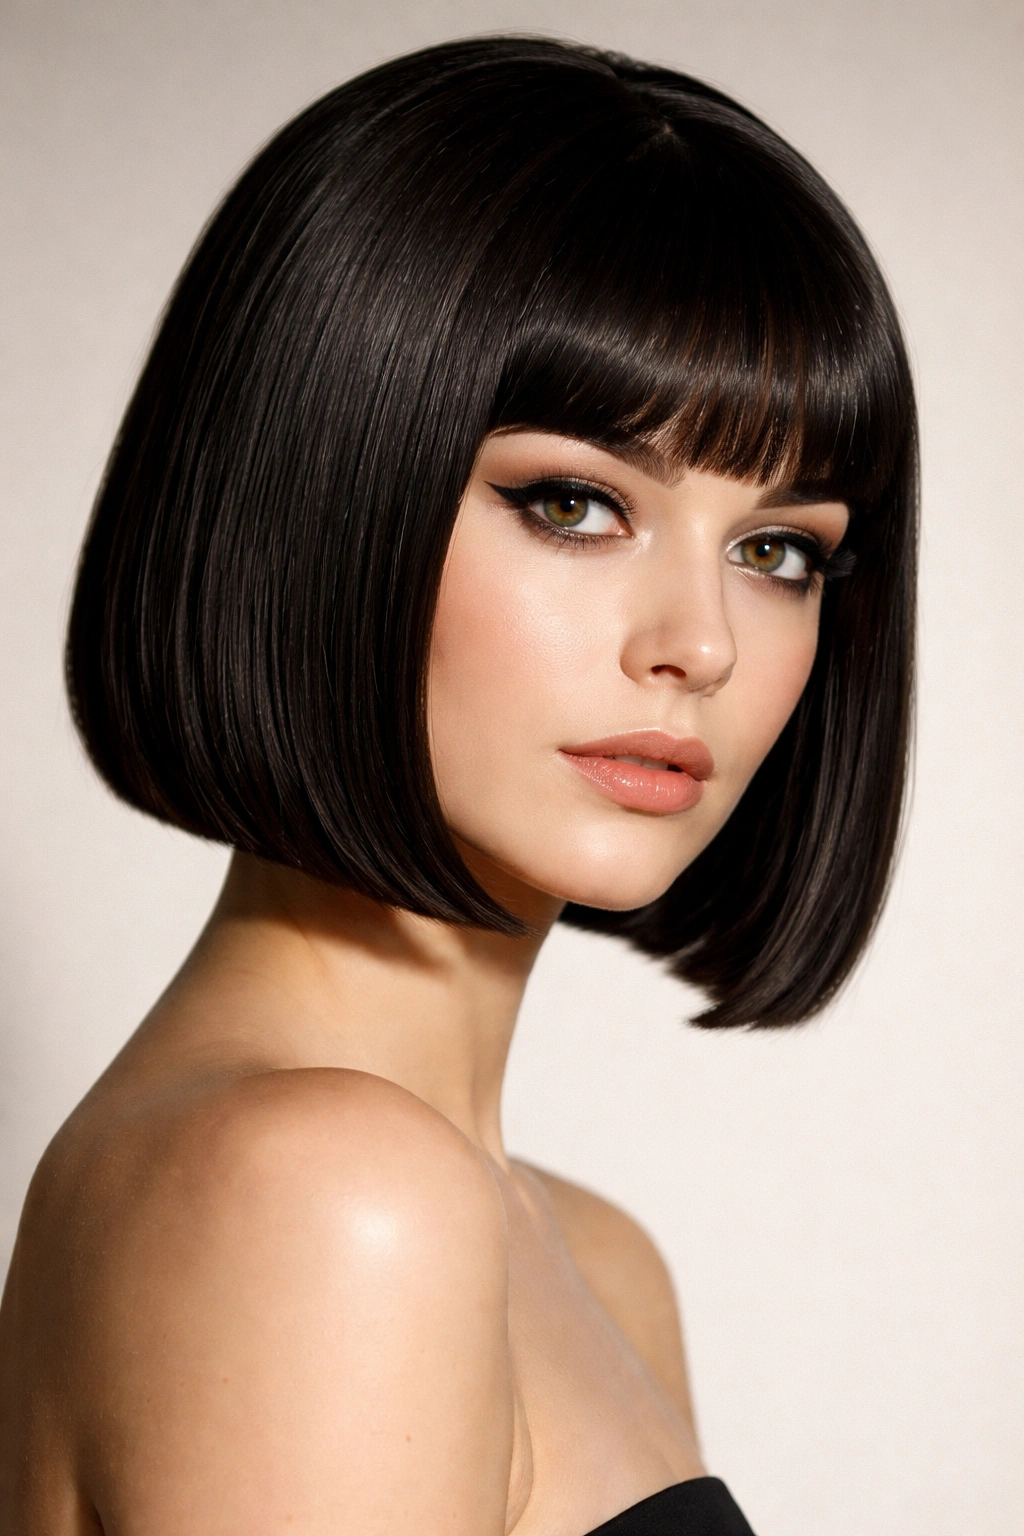
The mod bob of the 1960s took the blunt bob concept and made it even more architectural and dramatic. This version often featured an extremely blunt cut with sharp, clean lines—sometimes with bangs that were equally blunt and severe. The overall effect was graphic, youthful, and undeniably striking. It was a cut that demanded confidence and worked best on those willing to embrace its bold geometry.
Cut and Proportion
The mod bob typically sits at the cheekbones or jaw, with minimal layers (if any), creating an almost severe bluntness that frames the face in a very specific way. Many mod bobs featured heavy, blunt bangs that covered the entire forehead, creating an even stronger graphic statement. The sides were often cut shorter than the back, creating a slight angle that moved toward the face.
Styling for Impact
To style a mod bob, straightness is non-negotiable. Blow-dry your hair smooth using a paddle brush and flat iron to ensure there’s absolutely no bend or wave. The entire power of this look comes from its geometric precision—any frizz or texture undermines the effect. A light smoothing cream and finishing spray will help maintain that sleek look throughout the day. Part your hair where it naturally wants to go, or create a deep side part for extra sophistication.
Keep in mind: The mod bob looks best on those with fairly dense hair and strong facial features—this isn’t a style that hides anything, so the cut needs to suit your face shape.
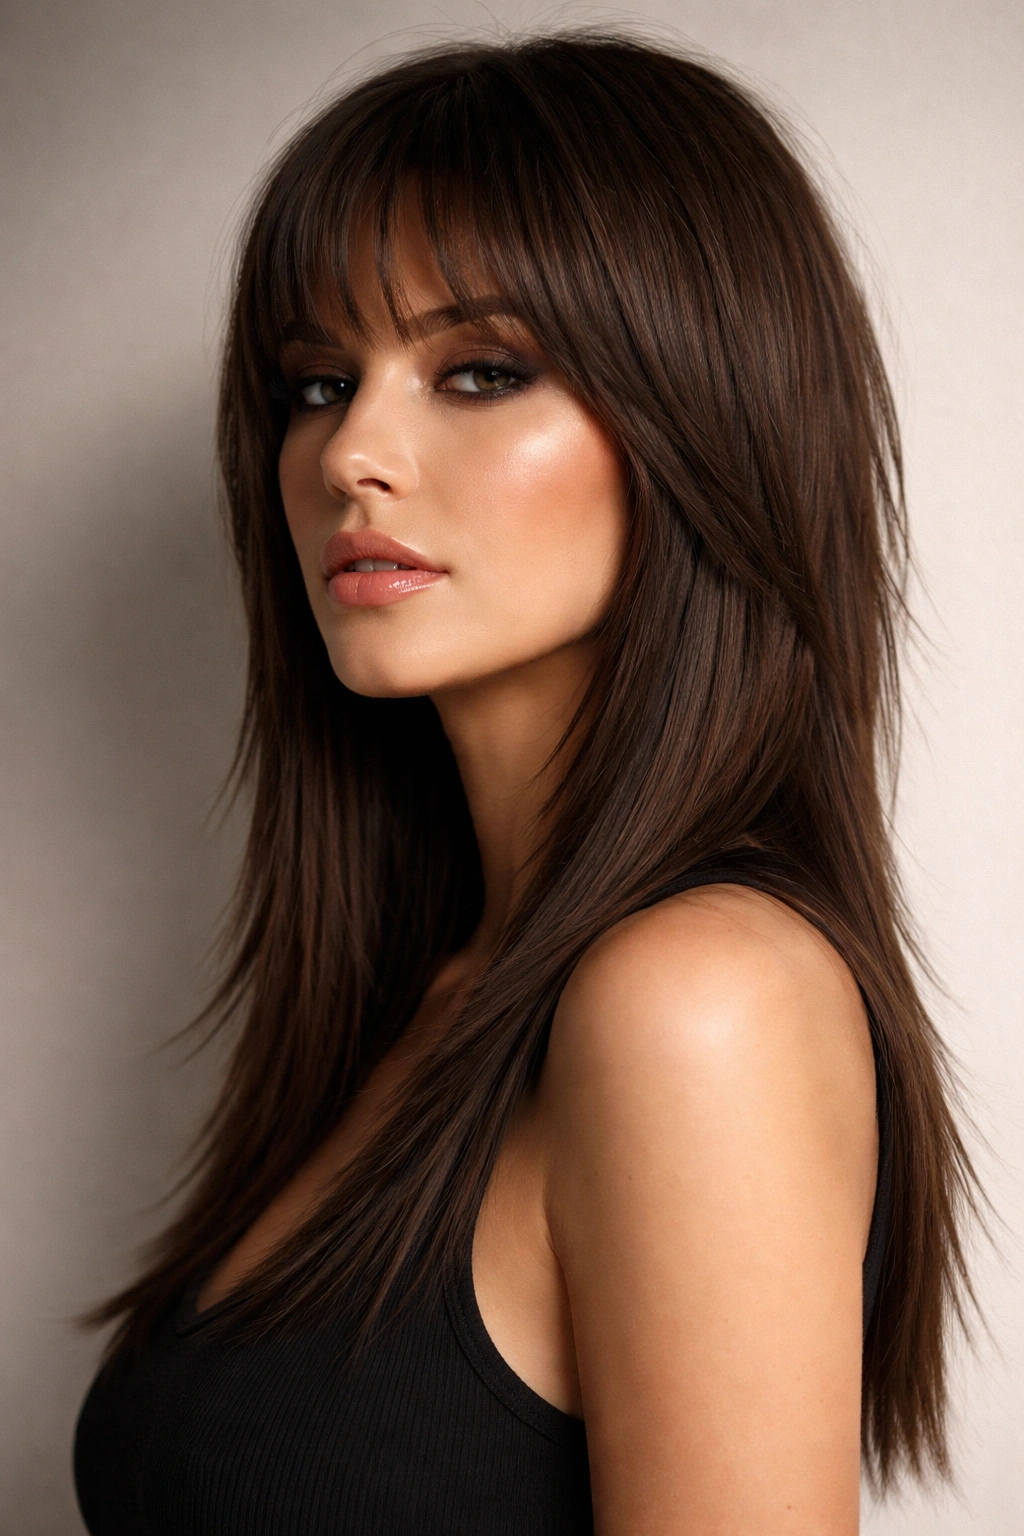
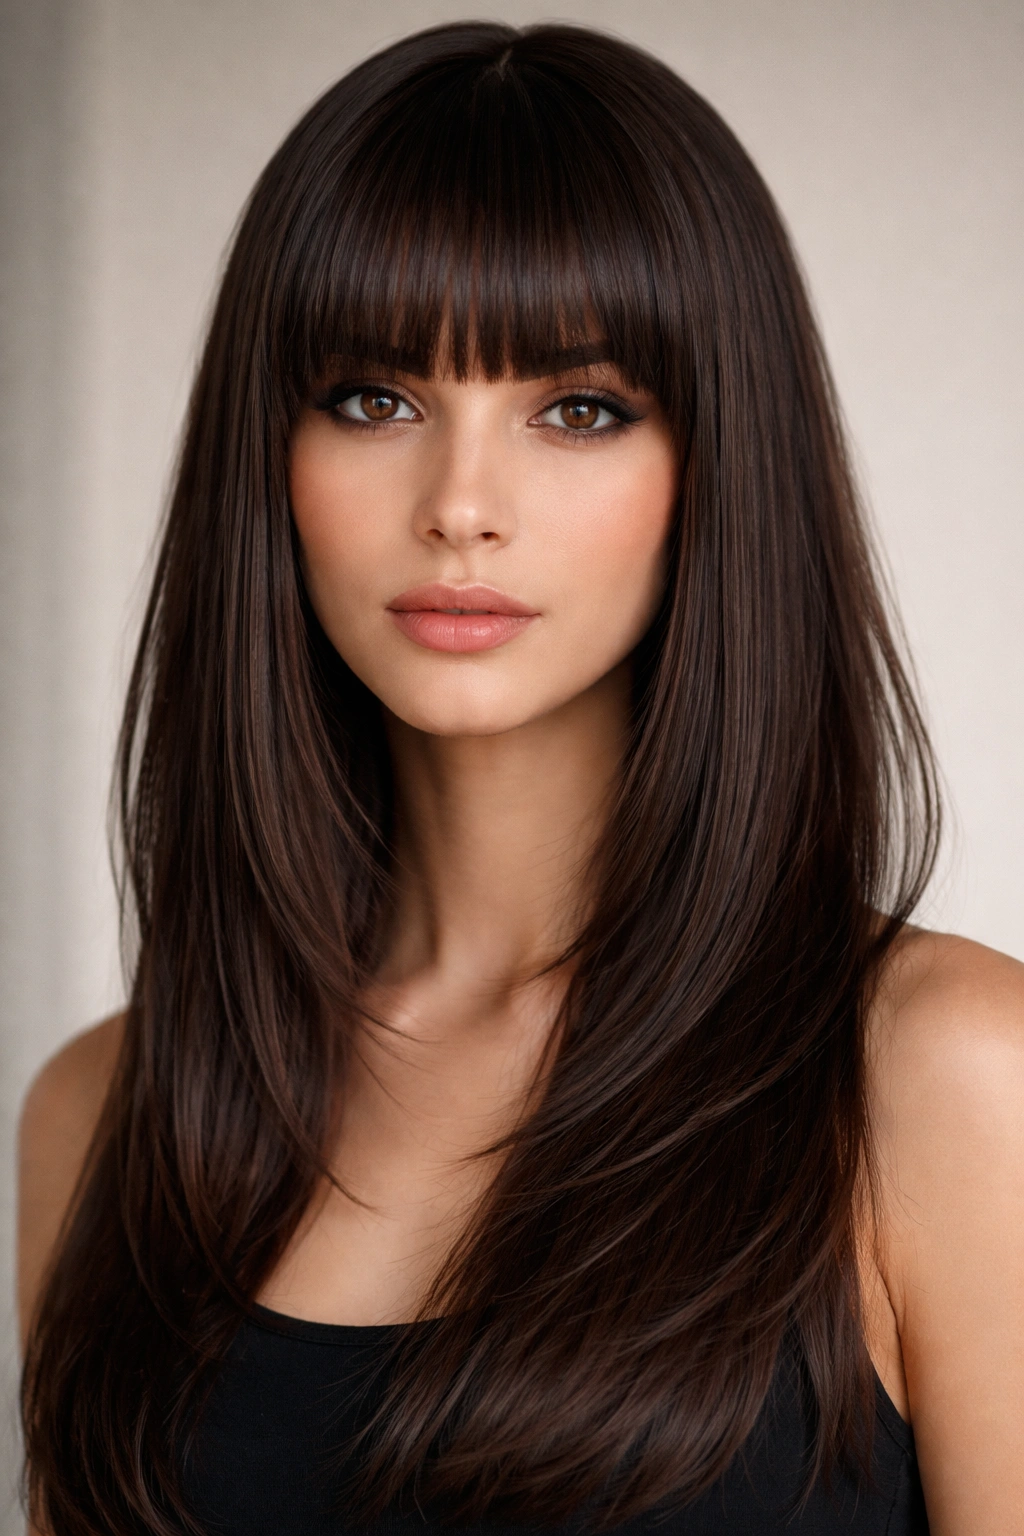
4. The Blunt, Straight Bangs with Shoulder-Length Hair
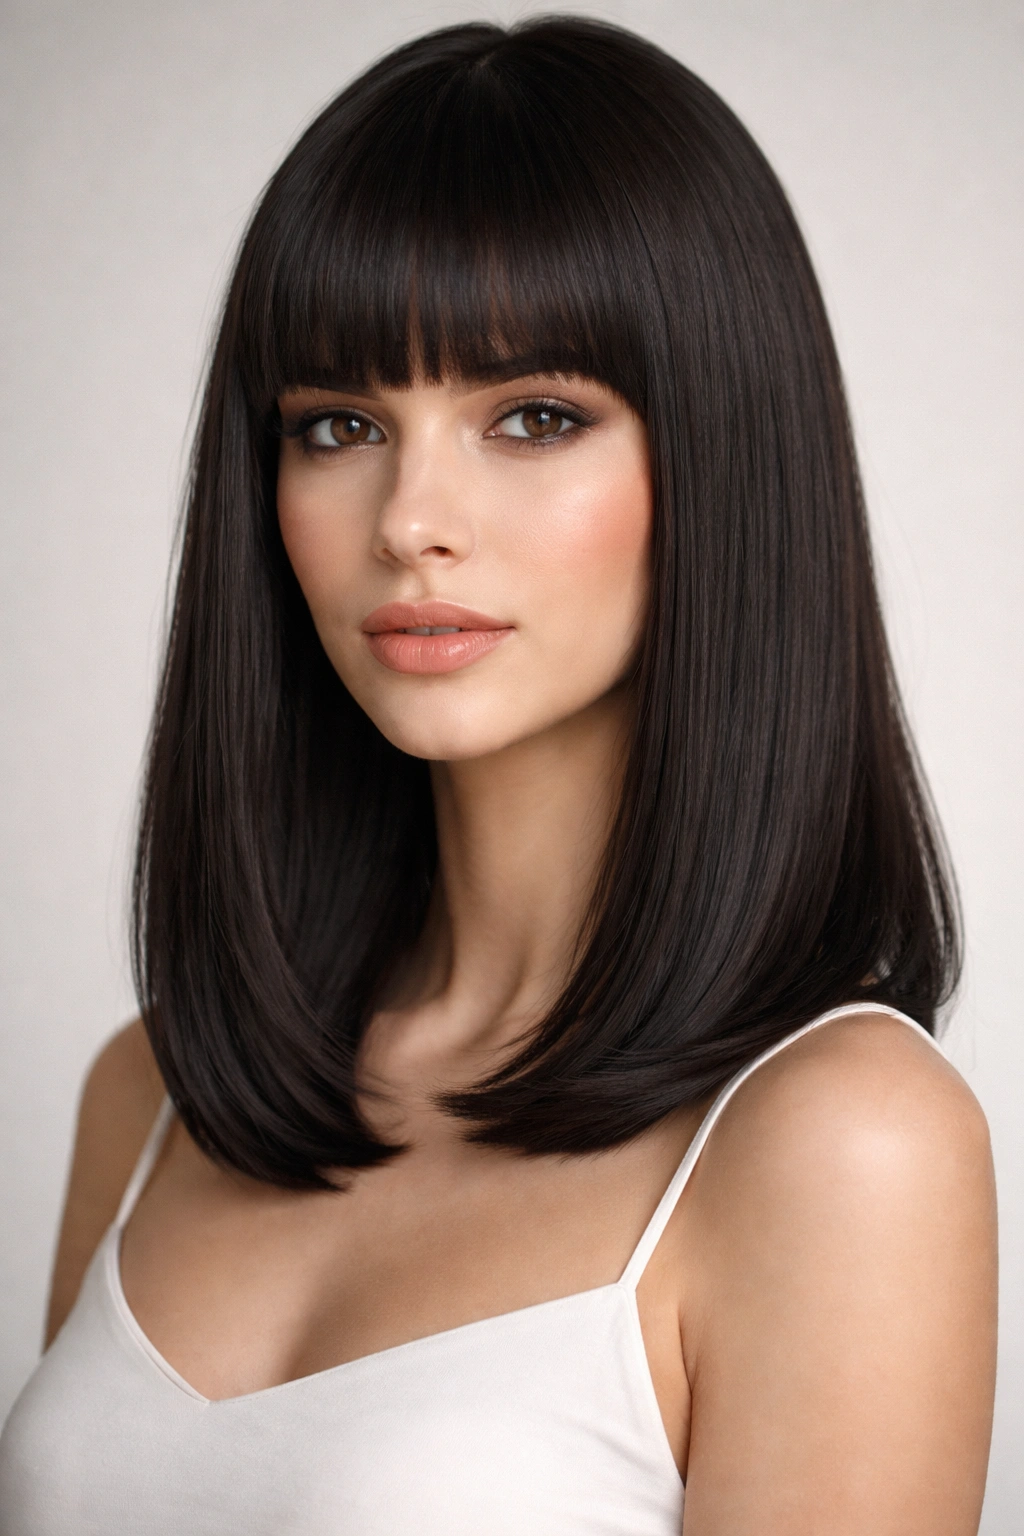
This look combines the precision of a blunt bob with additional length, creating a sophisticated style that works for straighter hair types. The defining feature is the blunt bangs—cut perfectly straight across the forehead at eyebrow level or slightly above. The rest of the hair falls straight to the shoulders or just below, often with minimal layers to maintain that sleek silhouette. It’s a style that manages to be both minimalist and striking.
The Bang Factor
Blunt bangs are the star of this look, and they need professional maintenance. Unlike soft, wispy bangs, blunt bangs show every bit of unevenness and require touching up every 3-4 weeks to maintain their precision. The best blunt bangs hit right at the eyebrow and have a perfectly clean line—not so short that they look severe, but not so long that they disappear into the rest of your hair.
Daily Styling Routine
Every time you style this look, your bangs need individual attention. Blow-dry them first using a small round brush to create a smooth surface, then go over them with a flat iron to ensure they’re perfectly straight. The length of hair behind the bangs should be equally straight—blow-dry from roots to ends using a paddle brush, then flat iron if needed. The overall effect should be pristine and polished.
Maintenance reality: This style requires more styling effort than you might expect because the bangs demand precision every single day.
5. The 1970s Feathered Straight Hair
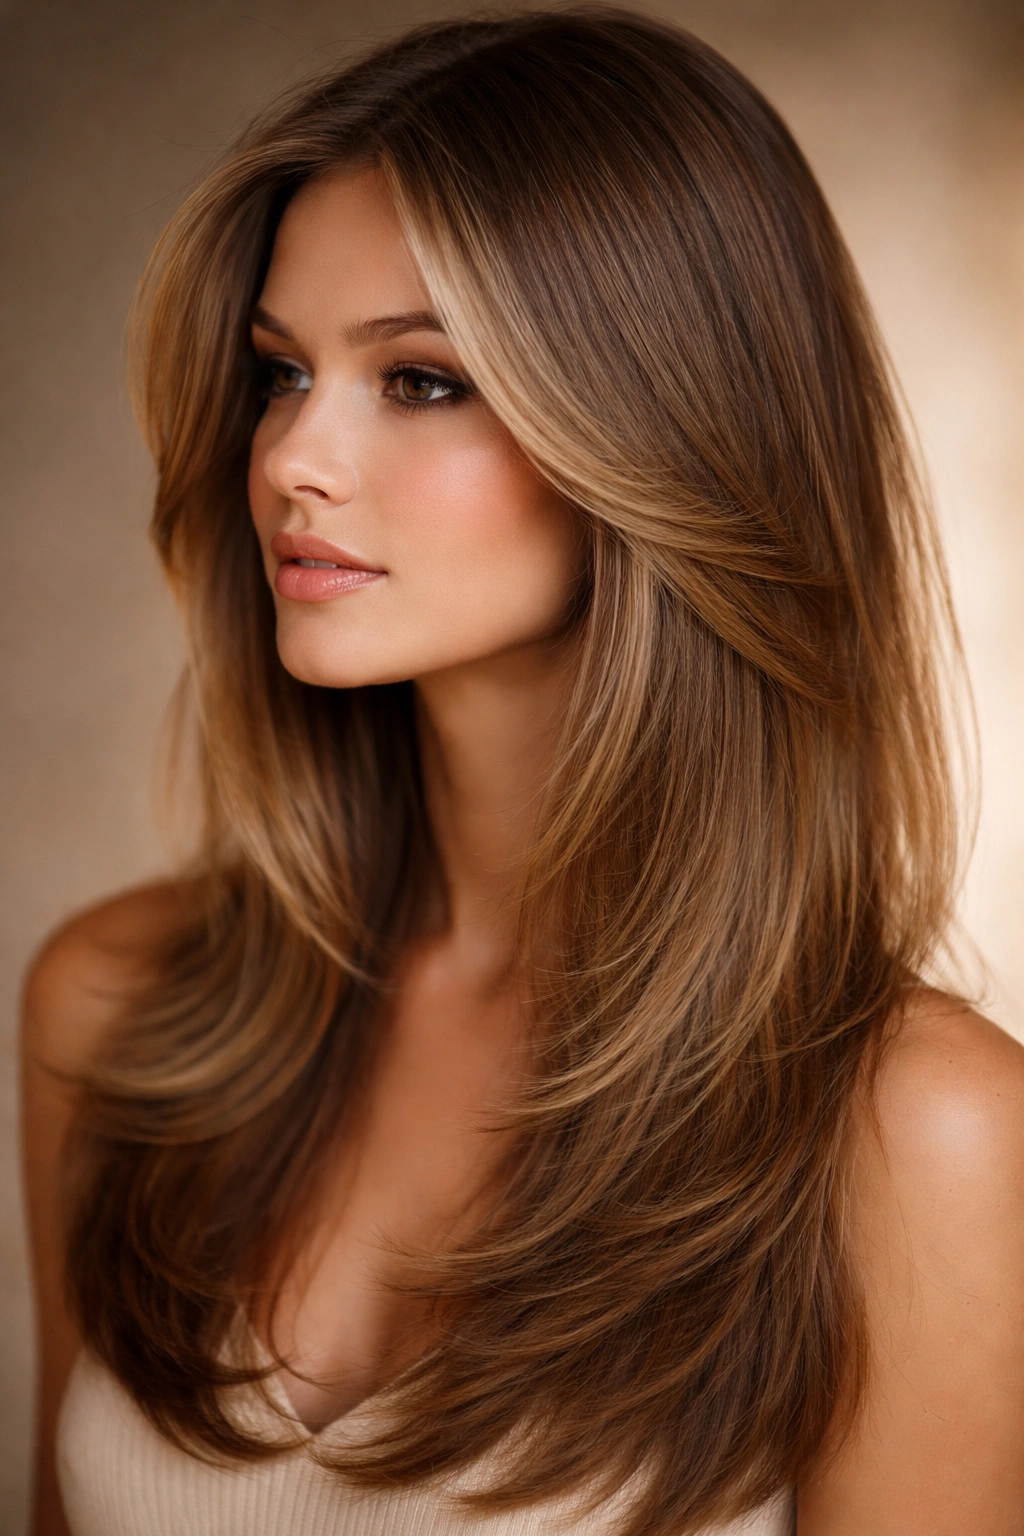
The 1970s introduced a different approach to straight hair—longer lengths with face-framing layers that were meant to feather back and away from the face. While these layers created movement, the foundational style was still straight hair, often with a center part. The feathering technique created soft, curved layers that flipped away from the face, giving the illusion of movement while maintaining the straight hair aesthetic. Think of it as straight hair with strategically placed texture.
The Feathering Technique
Feathering involves cutting angled layers throughout the hair that are shorter at the ends and blend smoothly into longer hair underneath. When styled with straight hair, these feathered layers sit close to the head, creating a sleek silhouette that’s still interesting and textured. The cut requires a skilled stylist who understands how to create layers that complement straight hair rather than fighting against it.
Recreating the Look Today
To style feathered straight hair, blow-dry your hair straight using a round brush, paying special attention to flipping the layers back and away from your face as you dry. You can use a flat iron to ensure everything is smooth, then gently brush through to encourage the layers to sit in their feathered position. A light texturizing spray applied to the mid-lengths and ends can help the feathered sections hold their shape without looking crispy.
Styling tip: Center parts work beautifully with this style, as they emphasize the symmetrical feathering on both sides of the face.
6. The Straight Shag with Modern Precision
The shag is often associated with texture and movement, but the vintage straight-hair version is something entirely different—a structured cut with multiple layers that somehow maintains a sleek overall appearance. This style appeared throughout the 1970s and early 1980s, characterized by shorter layers on top for height and volume, with longer layers underneath creating length. When worn straight, the effect is polished yet undeniably cool.
Layer Structure and Balance
A straight shag works because the layers are cut with intention and precision rather than randomly choppy. The shorter layers on top are usually 2-3 inches above the longer underneath layers, creating distinct separation. When blow-dried straight and smooth, these layers create visual interest without actual texture. The cut itself is usually quite dramatic—not a subtle, blended shag, but one where you can clearly see each layer breaking.
Styling Straight and Sleek
Blow-dry this style completely straight, using a paddle brush to smooth each layer down and ensure no fluff or volume beyond what the cut naturally creates. Work section by section, making sure the shorter top layers aren’t lifting away from the head. Once fully dried, you can use a flat iron to perfect the straightness, especially around the face. The result is a style that looks modern and edgy while maintaining that smooth, straight aesthetic.
Worth knowing: This cut requires regular trims every 4-6 weeks because the layers lose their precision as the hair grows out.
7. The Long, Straight Mermaid Hair of the 1940s
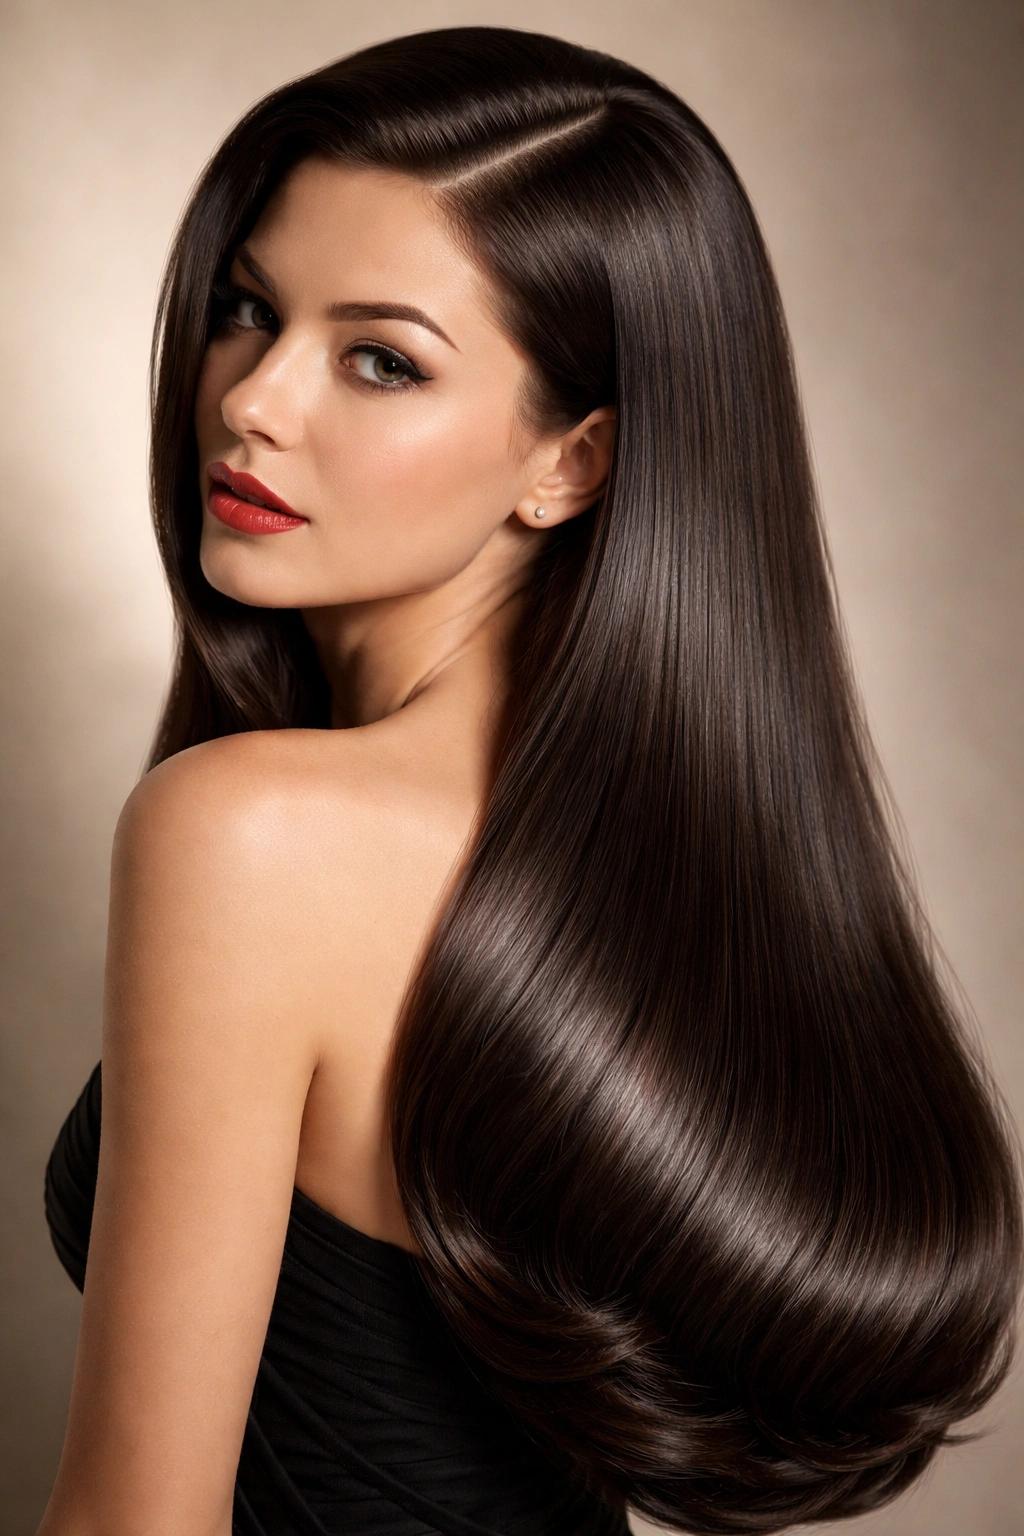
During the 1940s, one of the most coveted straight hair looks was very long, flowing hair with a deep side part and center brightness or shine. This wasn’t the curly, set-in-pin-curls style that was simultaneously popular—it was purely about length, straightness, and shine. The look conveyed femininity, luxury, and glamour through simplicity. Long, straight hair with visible health and shine was a status symbol that required time and effort to maintain.
The Shine Factor
What made 1940s long straight hair so striking was the emphasis on shine and health. Hair was often set with setting lotion and dried straight, then finished with a light oil or pomade to create a glossy finish. The straightness itself was the point—it showed off the hair’s shine and created an unbroken line of light reflecting off the strands. Without shine, this look falls flat.
Modern Styling for Length
If you’re working with very long straight hair, focus on creating maximum shine and health. Deep conditioning treatments, leave-in conditioners, and hair oils are essential. Blow-dry your hair straight using a paddle brush, working from roots to ends to smooth the cuticle and encourage shine. You can finish with a light serum applied to the ends and mid-lengths. A deep side part emphasizes the length and creates a flattering frame for the face. Keep the ends regularly trimmed to maintain that healthy appearance.
Practical consideration: Very long straight hair requires significant daily styling time and regular maintenance to look polished rather than limp.
8. The Structured Victory Rolls with Straight Hair Base
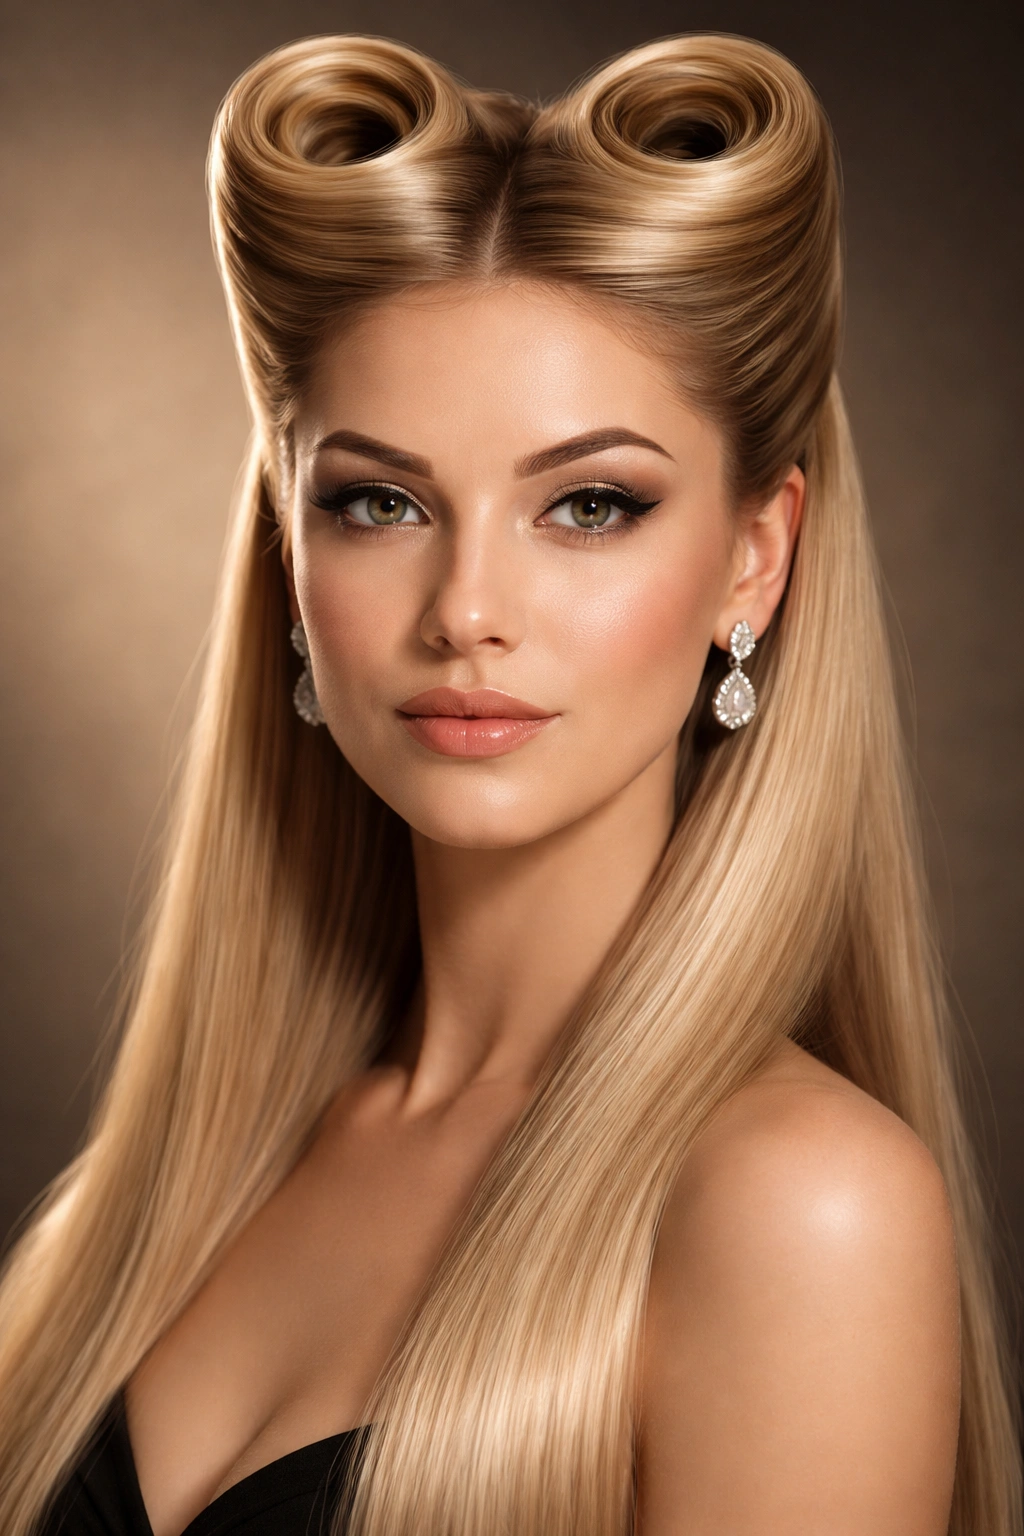
The 1940s also gave us victory rolls—a structured updo where two coiled rolls of hair sit on top of the head, framing the face. The rolls themselves are created by rolling straight hair tightly and pinning them in place. The style requires completely straight hair as the foundation; any texture or curl makes the rolls look messy rather than architectural. The face-framing sections and crown area remain visible and straight, creating a bold, geometric statement.
Rolling and Pinning Technique
To create victory rolls, you’ll need to section off the front portion of your hair (roughly from the temples backward), leaving the crown area loose for now. Pomade or gel is essential—work it through the front section and roll it tightly backward and upward, creating a coil. Secure with bobby pins as you go, making sure the roll is tight and smooth. Repeat on the other side, then style the remaining hair straight or pin it up to complete the updo. The rolls should sit symmetrically on either side of the head, creating a striking visual anchor.
Making Rolls Stay Put
The secret to victory rolls that hold all day is a combination of pomade (for grip), tight rolling, and plenty of bobby pins. Don’t skimp on pins—use at least 4-6 per roll, positioning them so they’re hidden but provide serious hold. A light hairspray spritzed over the rolls before pinning helps set the shape as well.
Styling note: This is an advanced updo that takes practice to master, but it’s absolutely showstopping when done well.
9. The Sleek, Straight Pixie Cut
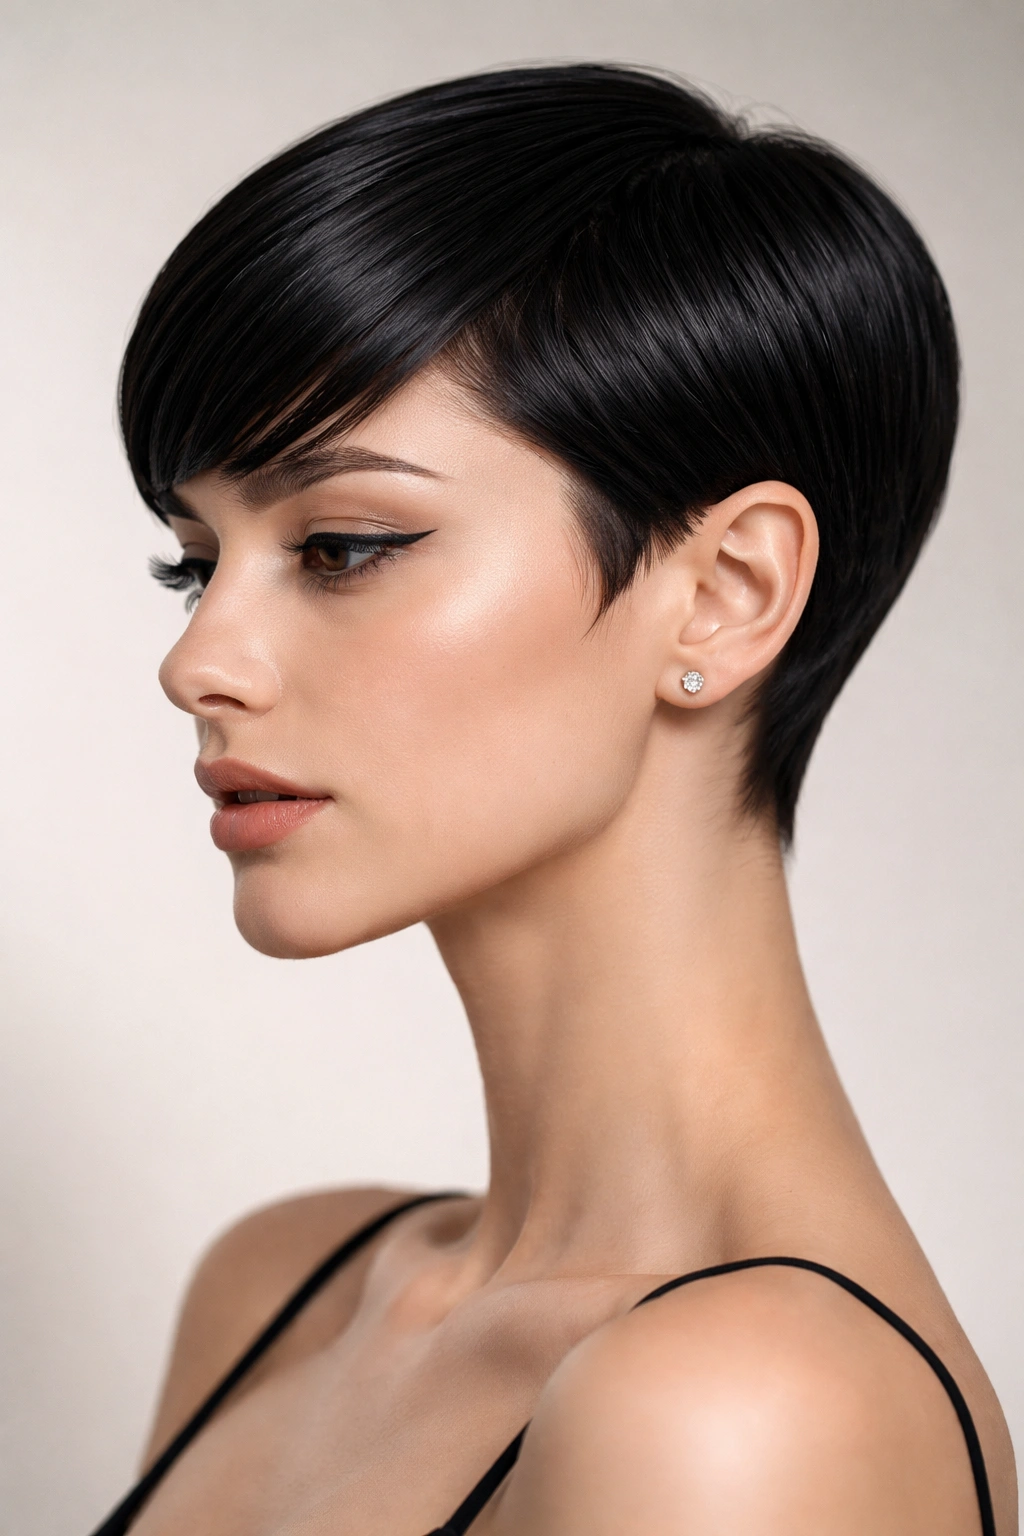
Though the pixie cut became more famous in the 1950s and 1960s, the sleek, straight version of this very short style is a vintage classic that endures. Short, straight hair styled close to the head creates an elegant, almost sculptural look that emphasizes facial features and bone structure. Unlike textured or tousled pixie cuts, the straight version is polished, feminine, and surprisingly sophisticated.
The Cut Itself
A straight pixie is typically 1-2 inches on top and tapered very short at the sides and back. The key is that it sits extremely close to the head—there’s minimal volume or height. Some versions have slight feathering on top, but the overall effect is smooth and sleek. The cut really does accentuate facial features, so it works best for those comfortable with a lot of face exposure.
Daily Styling
To style a short pixie straight, blow-dry your hair using your fingers or a small paddle brush to direct the hair where you want it. Once dry, you can use a flat iron on short sections to ensure everything is perfectly smooth and straight. Most pixie cuts need touch-ups every 3-4 weeks to maintain their shape, so be prepared for regular salon visits. The payoff is that daily styling is genuinely quick—usually just a few minutes.
Honest assessment: This cut is high-maintenance in terms of frequent salon visits, but low-maintenance in daily styling time.
10. The Straight, Sleek Ponytail with a Deep Center Part
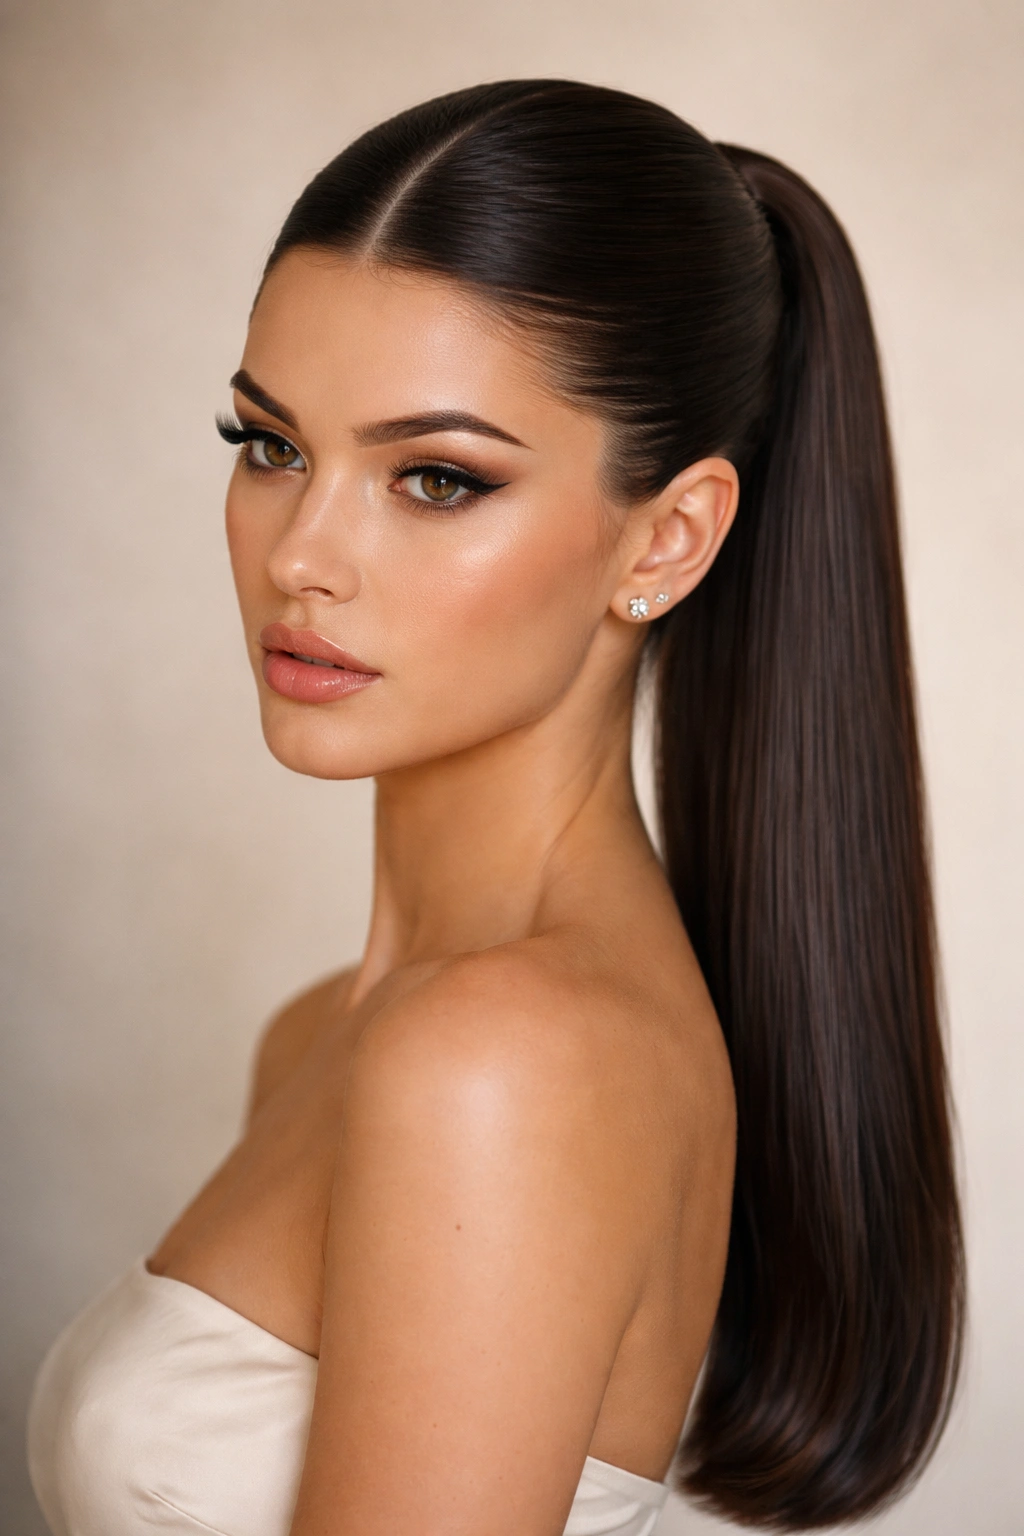
A simple, pulled-back ponytail might seem too basic to be considered a vintage style, but when executed with the precision of classic Hollywood styling, it becomes a polished, sophisticated look. The key elements are a perfectly deep center part, completely straight hair pulled back tight but not aggressively so, and a smooth finish with no flyaways. This was a go-to style for Old Hollywood actresses photographed off-duty, projecting elegance through minimalism.
The Preparation and Execution
Creating this look requires your hair to be completely straight before pulling it back. Blow-dry smooth, then flat iron if necessary. The center part should be perfectly precise—use a rattail comb to create a clean line from your forehead to the crown. Gather your hair at the crown or just slightly lower, depending on the effect you want, and secure with a sleek elastic band (silk or a brand designed not to damage hair). Smooth any flyaways using a small brush and lightweight styling gel or serum. The ponytail itself should sit smooth and shiny against your head.
Styling Options
You can wear this ponytail sleek and smooth all the way down, or you can gently curl the ends using a 1.5-inch curling iron to create subtle waves in the ponytail itself—reminiscent of classic Hollywood. Either way, the foundation remains perfectly smooth and straight.
Pro tip: Use a boar bristle brush to smooth the hair back into the ponytail, as it creates less friction and breakage than plastic bristles.
11. The Blunt Bangs with Straight, Layered Length
This is a variation that combines the geometric precision of blunt bangs with longer, layered straight hair—giving you the best of both worlds. The bangs are severe and precise, hitting right at the eyebrow, while the rest of the hair falls straight with subtle layers that create texture and movement without disrupting the straight aesthetic. This look works particularly well for those who want something more interesting than a one-length cut but still want that clean, sleek vibe.
Cut Architecture
The bangs are the statement piece—they need to be absolutely blunt and precise. The layers throughout the rest of the hair should be graduated, typically longer in the back than in the front, creating a subtle A-line silhouette. The layers shouldn’t be dramatic or choppy; instead, they should blend smoothly so the overall impression remains sleek and straight.
Styling This Combination
Start by blow-drying your bangs straight first, using a small round brush to create a smooth surface. Then dry the rest of your hair straight using a paddle brush, working section by section. The layers will naturally create some dimension and movement, so you don’t need to add texture. If you want extra smoothness, finish with a flat iron, paying careful attention to the bangs. A light serum or finishing spray will enhance the shine and sleekness.
Maintenance note: Blunt bangs require touch-ups every 3-4 weeks, so factor that into your styling commitment.
12. The Old Hollywood Side Sweep with Straight Hair
This elegant style combines a dramatic deep side part with straight hair swept across one side of the head, often tucked slightly behind the opposite ear. Popular during the 1930s and 1940s, this look is all about asymmetry and glamour. The hair sits smooth against the head on one side, creating a sleek line, while the opposite side has more visual weight and presence. It’s theatrical in its elegance.
Creating the Asymmetry
The deep side part is crucial—it should be positioned significantly off-center, closer to one side of your head. Part your hair where it naturally wants to go, or use a rattail comb to create a precise line. The sweep involves styling the hair so it moves toward one side, with the hair on the heavier side either pinned slightly or just styled to fall in that direction. Some versions of this look tucked the lighter side behind the ear, creating an even more dramatic asymmetrical effect.
Styling for Drama
Blow-dry your hair straight, using a paddle brush to direct the heavy side toward its sweep direction. You can add subtle waves using a curling iron if desired, but the foundational style is straight. If you’re pinning the lighter side back, use bobby pins colored to match your hair, and position them discretely. A light hairspray throughout the style will help maintain the sweep and prevent flyaways.
Styling tip: This look photographs beautifully and works particularly well for special occasions or date nights.
13. The Straight, Sleek Bun at the Crown
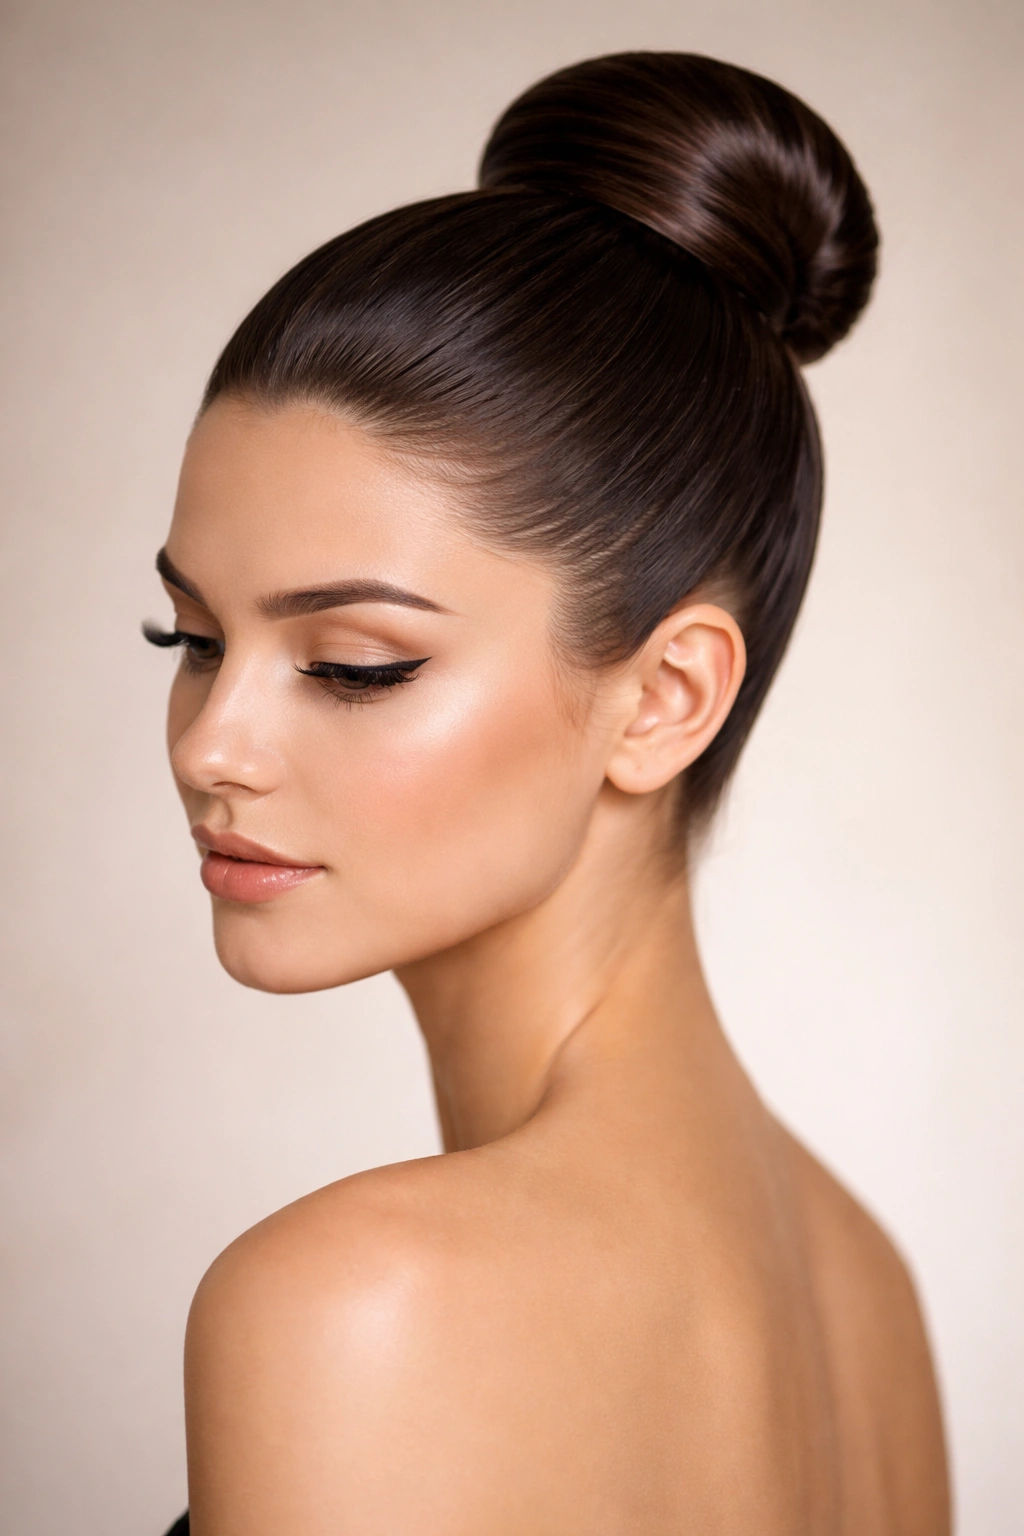
A polished bun created from straight hair is understated elegance at its finest. Unlike textured, messy buns, the straight bun is sleek and architectural—hair is smoothed back completely, gathered at the crown, and twisted or rolled into a compact, smooth bun. This was a classic style for working women, keeping hair off the face while maintaining absolute polish and professionalism. It conveys competence and sophistication.
Creating a Sleek Bun
Start with completely straight, smooth hair—blow-dry using a paddle brush, then flat iron if necessary to eliminate any texture. Use a rattail comb to smooth your hair back and gather it at the crown or slightly lower, depending on your preference. Twist the gathered section tightly and wrap it around itself to form a bun, securing with bobby pins as you go. Smooth any flyaways using a fine-tooth comb and a touch of styling gel. The result should look almost wet-smooth and polished.
Bun Variations
You can style the bun tightly at the nape of your neck for a more severe, dramatic look, or at the crown for something softer. Some vintage buns had a small roll of hair (like a French twist) before the bun itself. The key is that the hair approaching the bun should be completely smooth—any bumps or texture shows.
Worth noting: This bun works best when you refresh your styling products after a few hours, as gravity and heat can eventually create flyaways throughout the day.
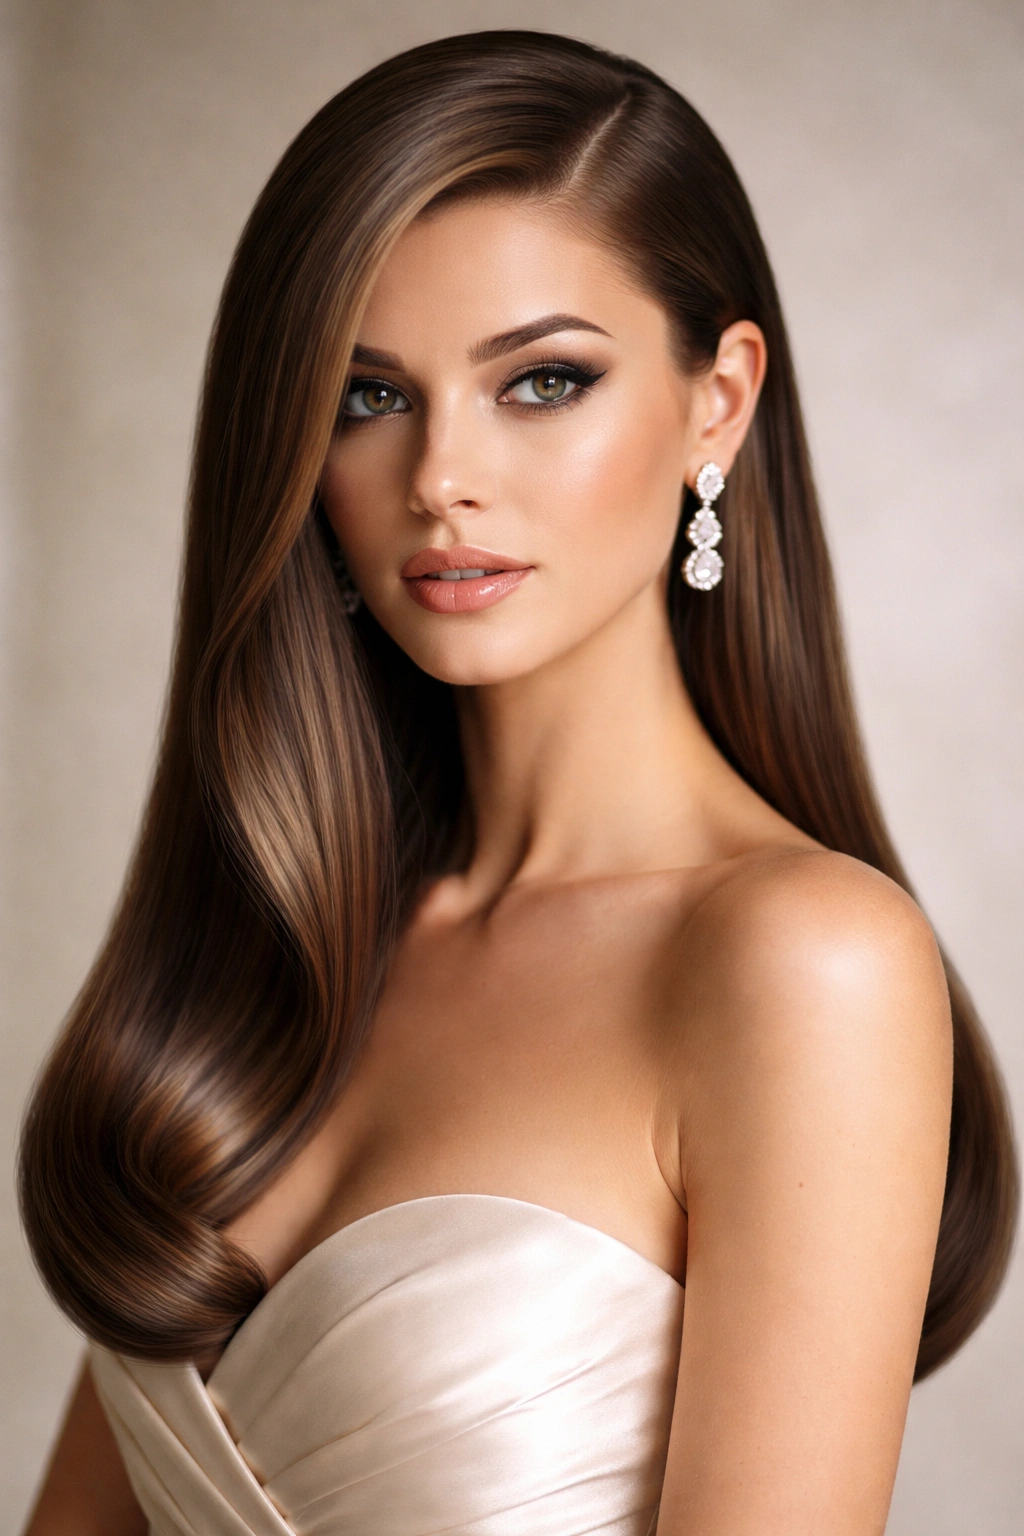
14. The Straight, Shiny Long Hair with a Deep Center Part
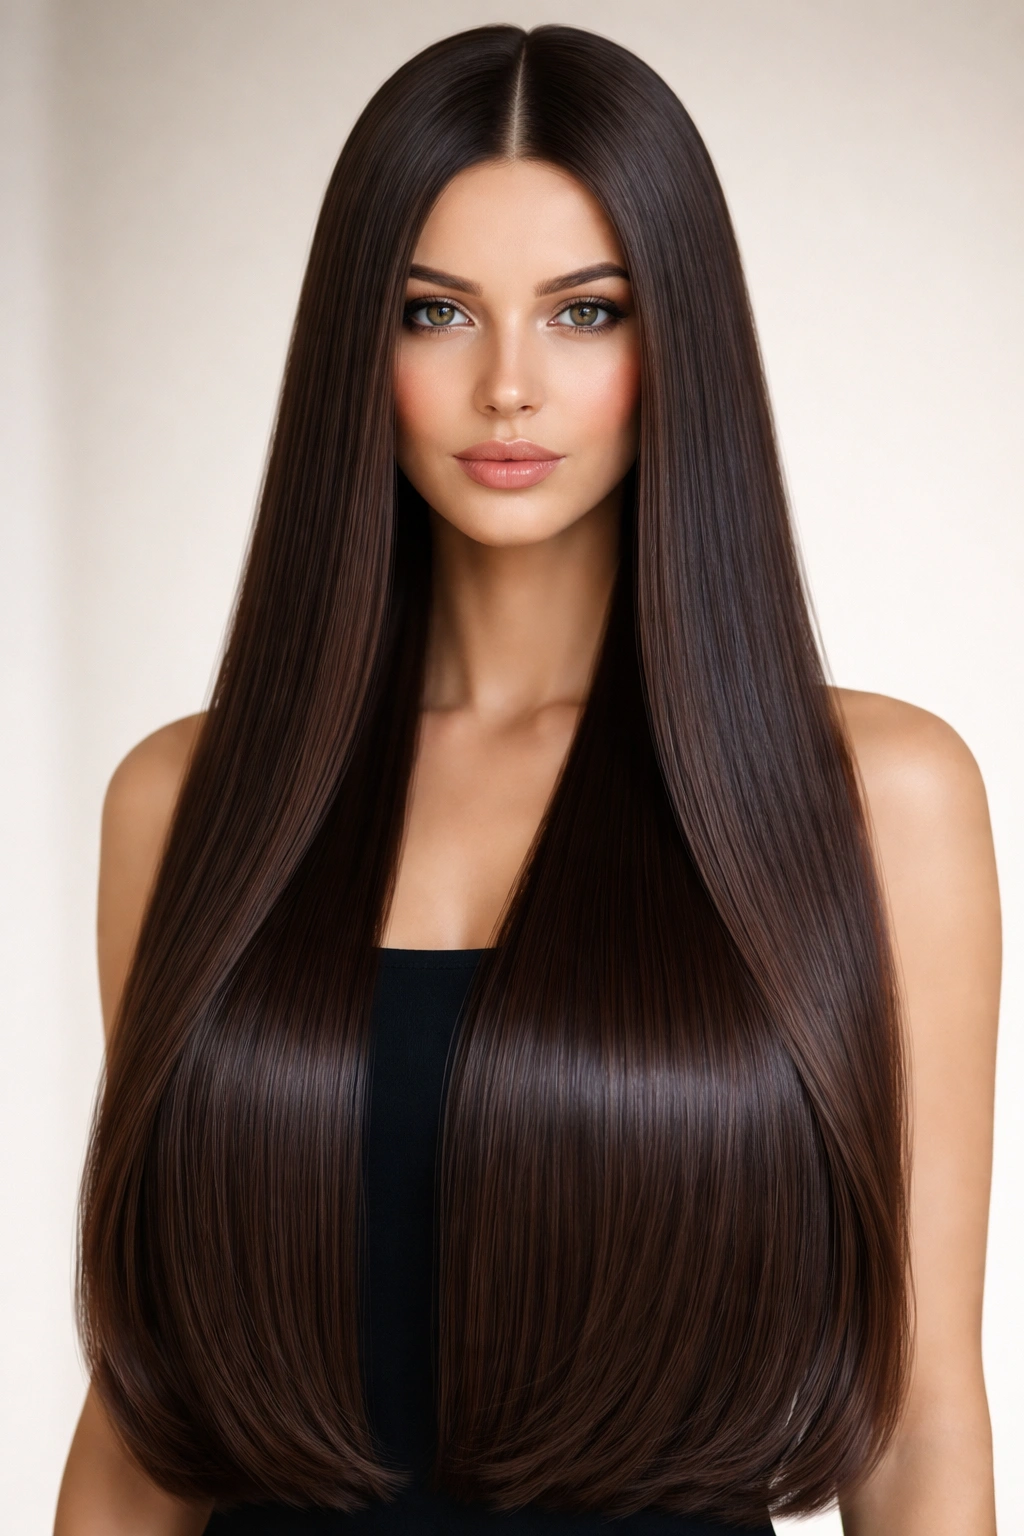
Pure simplicity: long, completely straight hair with a deep center part and nothing else. This look relies entirely on the health, shine, and straightness of your hair—there’s nowhere to hide. Popular during the 1970s and beyond, this style is about trusting your hair’s natural beauty and maintaining its condition impeccably. The deep center part frames the face symmetrically, and the straight length creates an unbroken vertical line that’s visually flattering.
The Shine Imperative
This look succeeds or fails based on shine. Dull, lifeless hair just looks thin and limp. Invest in high-quality, moisturizing shampoo and conditioner, and use a deep conditioning treatment at least weekly. Leave-in conditioner and hair oil are your friends. The goal is for light to visibly reflect off your strands.
Daily Styling
Blow-dry your hair straight using a paddle brush, working from roots to ends. Create a precise center part using a rattail comb—draw the line from your forehead straight back through the center of your crown. The rest is just letting your hair fall straight. You can add subtle waves using a curling iron if you want softness, or keep it completely straight for a more severe, modern aesthetic.
Practical tip: This style requires regular trims (every 6-8 weeks) to keep the ends healthy and prevent splitting.
15. The Straight, Sleek Wrapped Updo
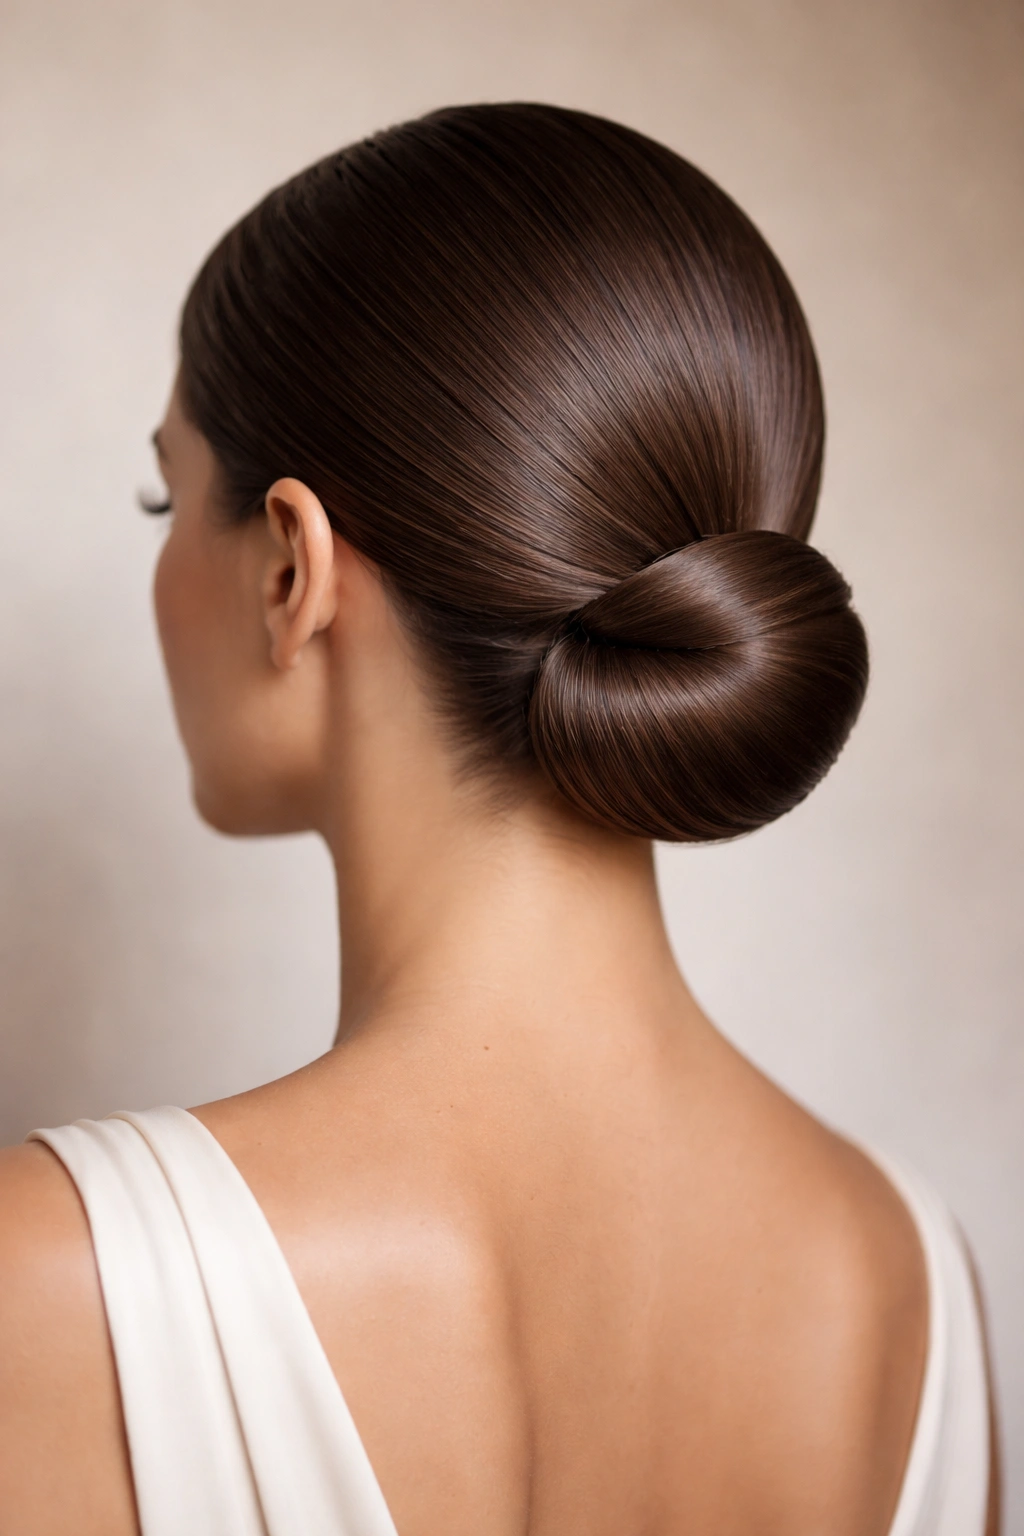
An elegant wrapped updo is created by pulling straight hair back smoothly and twisting it or wrapping it around itself to form a low knot at the nape of the neck. This style requires no visible pins or clips (they’re hidden underneath) and projects timeless elegance. The entire appeal comes from the smoothness of the wrapped sections and the polished finish of the style. It works for everything from office wear to special occasions.
Technique and Execution
Blow-dry and flat iron your hair until it’s perfectly smooth and straight. Pull it back smoothly—not too tight, but secure enough that it won’t slip. Gather it into a low ponytail at the nape of your neck, then twist the ponytail section and wrap it around the base, securing with bobby pins as you go. The wrapping should be smooth and tight, with no bumps or loose sections. Once secured, smooth any flyaways using a fine-tooth comb and lightweight gel.
Styling Variations
You can create a wrapped updo with the hair twisted once around the base (creating a sort of chignon), or with multiple wraps for a more voluminous effect. The number of wraps depends on your hair thickness and how much volume you want. Some versions had a small decorative clip or comb hidden in the wrap itself, adding subtle elegance.
Pro styling secret: Practice this updo several times before you need to wear it for an event—it becomes much faster and more secure with repetition.
Final Thoughts
Vintage straight hair looks prove that elegance doesn’t require complexity. These timeless styles—from blunt bobs to wrapped updos—demonstrate that straightness itself is a powerful design choice, one that creates visual clarity and polish. The common thread running through all of these looks is precision: precise cutting, smooth styling, and attention to shine and finish. They work because they trust the beauty of straight hair rather than fighting against it.
If you’re drawn to one of these vintage straight hair styles, start by assessing your hair’s natural texture and the realistic time commitment of styling and maintenance. A 1920s bob requires regular trims and daily styling, while long, straight hair with a center part requires less frequent trims but more emphasis on health and shine. Consider your face shape as well—some styles are more flattering for certain features than others.
The best part about vintage straight hair looks is that they’re timeless enough to feel current, no matter when you’re reading this. A blunt bob never looks outdated, and perfectly straight hair always projects sophistication. Pick the style that resonates with your aesthetic, find a skilled stylist who understands vintage cutting techniques, and commit to the daily styling and maintenance these looks deserve. Your polished, elegant result will prove that sometimes the most powerful style choices are the simplest ones.