Straight 4C hair offers a canvas of styling possibilities that often feel underexplored. When your naturally textured hair has been straightened—whether through heat tools, relaxers, or blow-drying—the potential for dimension, movement, and personalized style really opens up. The challenge many people face is knowing exactly what styles will look flattering, feel manageable, and actually work with the hair’s natural properties even when straightened. Your hair texture, density, and the care you’ve put into maintaining your straightened lengths all matter when choosing what to try next.
The reality is that straightened 4C hair has its own specific needs and characteristics. Because 4C hair is naturally drier and more fragile than other hair types, straightening requires extra moisture management and heat protection. But once you’ve got those fundamentals in place, you can explore styles that leverage the sleekness of your straight hair while respecting what your curls actually want to do. The styles that work best aren’t just about copying what works on other hair types—they’re adapted specifically for the texture, moisture requirements, and personality of 4C hair that’s been straightened.
What follows are ten genuinely styleable, maintainable looks that flatter straight 4C hair and showcase why this particular combination of texture and treatment opens doors to really beautiful everyday styling. These aren’t complicated styles requiring hours at the salon or a dozen products. They’re looks that acknowledge that your hair has a story—it’s textured at its root, treated to be straight, and absolutely capable of looking polished, dimensional, and distinctly yours with the right approach.
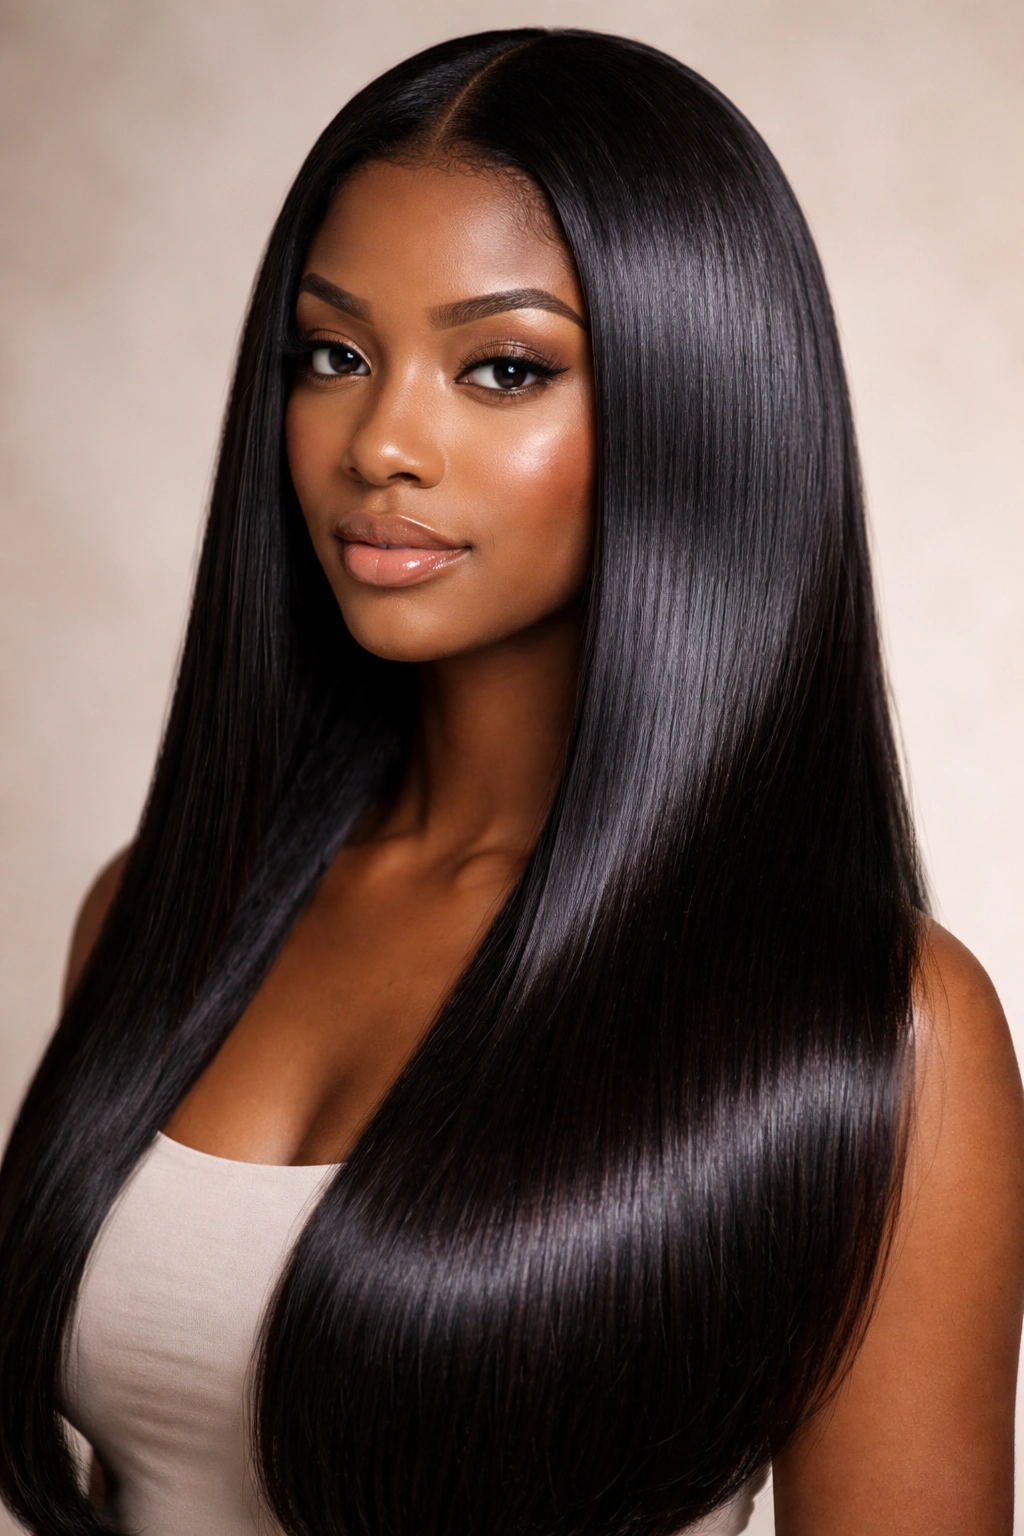
1. Sleek Straight Blowout
This is the foundation style—the one that maximizes the shine and smoothness that straight 4C hair can deliver when it’s properly hydrated and sealed. A sleek blowout starts with soaking wet hair, a smoothing serum or leave-in conditioner applied section by section, and a blow dryer with a concentrator nozzle that keeps heat focused and directional. The goal isn’t just dryness; it’s the smooth, glass-like finish that comes from directing the cuticle layer downward as the hair dries.
The Technique That Creates That Signature Shine
Start by applying a lightweight, heat-protective serum to damp hair—this is non-negotiable with 4C hair. Divide your hair into four quadrants using clips, then work through one section at a time. Use a paddle brush or a boar bristle brush (which smooths the cuticle without creating frizz) and direct the dryer downward, following the brush stroke. The downward direction is what creates shine; going against it disrupts the cuticle and kills the reflective quality. This isn’t about speed—it’s about patience and direction.
Why This Matters for Your Hair Type
Straight 4C hair can look truly luminous when moisture is sealed in properly. The protein-moisture balance is critical; if your hair is overproteinized, it becomes rigid and won’t have movement. If it’s under-moisturized, it looks dull no matter how sleek it is. A good blowout routine includes a hydrating leave-in (check for ingredients like glycerin or hydrolyzed proteins) followed by a light oil or serum to seal. Your hair should feel soft, not stiff or crunchy, even when it’s bone-dry.
Pro tip:
Invest in a concentrator nozzle attachment for your blow dryer if you don’t have one—it makes the difference between frizzy-smooth and glass-smooth. Also, let your hair cool completely before touching it; the cuticle needs to set in that smooth position as the hair cools.
2. Textured Layers with Movement
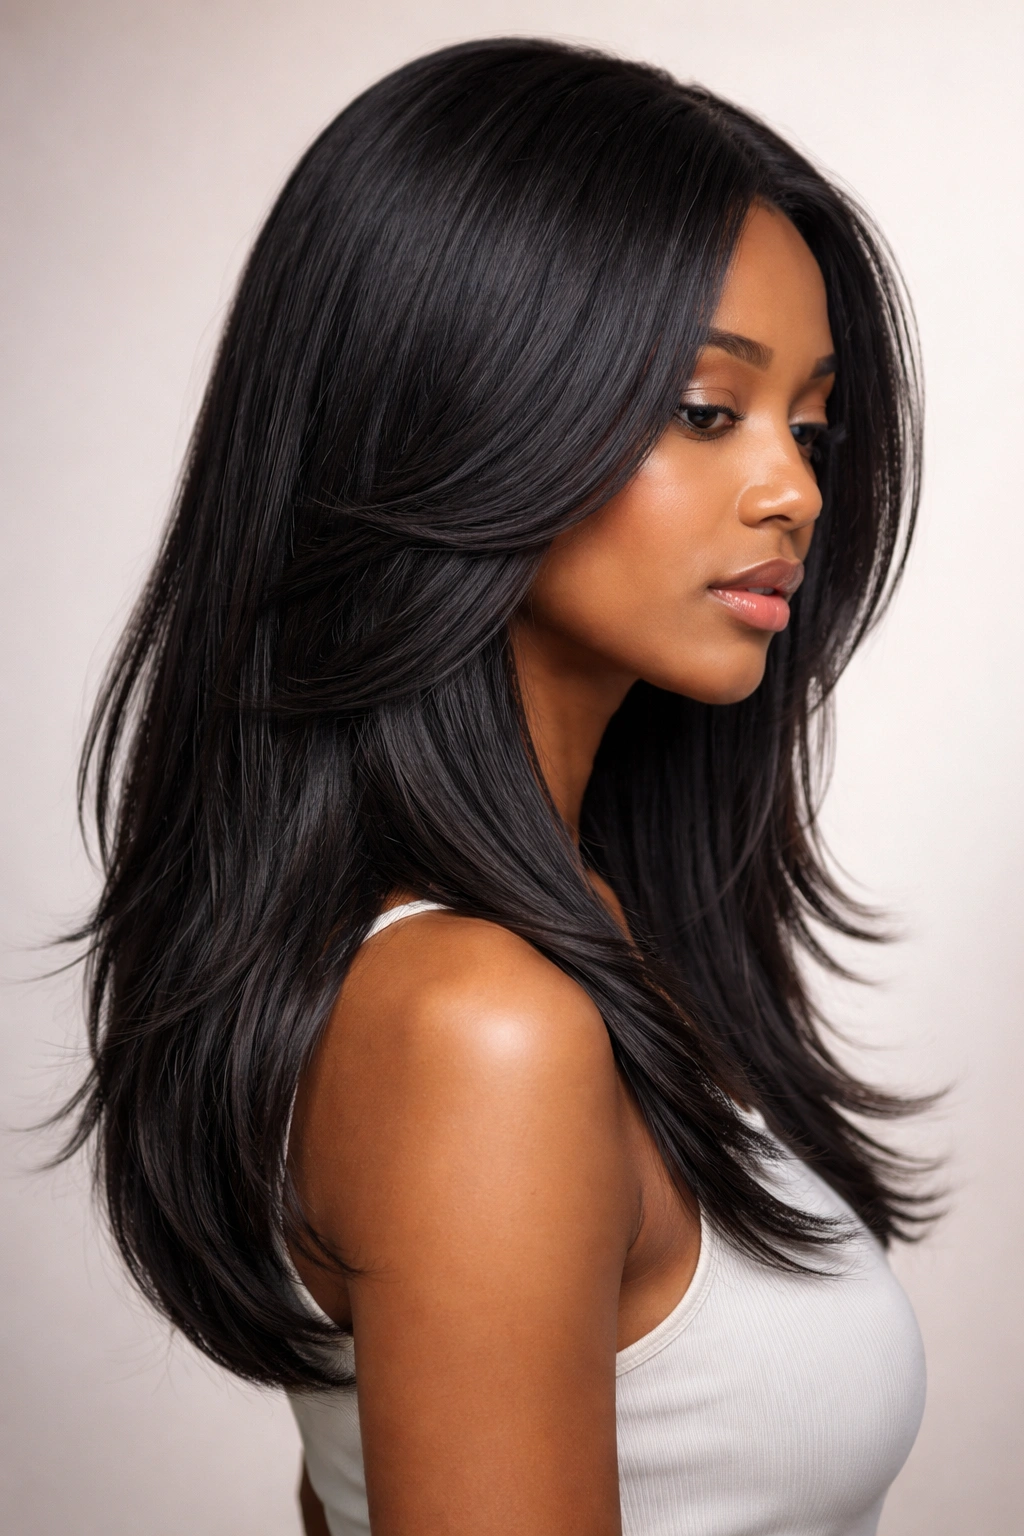
Straight hair can feel a bit one-dimensional if it’s all the same length, especially with 4C texture underneath. Layers create the illusion of dimension and allow for actual movement—your hair swings and catches light differently at different lengths. This is the style for people who want their straight hair to feel active and modern, not blunt and severe.
How Layers Transform Your Straight 4C Hair
Layers work on straightened 4C hair because they reduce the weight that can make dense hair look flat. When you remove length strategically—shorter layers toward the face, gradually getting longer as you move toward the back—you create airspace between the sections. This is especially powerful if you have thick, dense hair. The layers also prevent that heavy, one-block appearance that can make some people with 4C hair feel like they’re hiding rather than styling.
The Length and Angle That Matters
Face-framing layers should start around chin length or slightly shorter, angling forward slightly so they catch light when you move. Mid-length layers (around shoulder length or just below) add movement and the ability to tuck or style in different ways. Longer layers at the back give you flow without requiring you to maintain extremely long hair everywhere. The key is avoiding that choppy, over-layered look that can read as damage on straightened hair—you want smooth transitions and intentional placement.
Strategic Considerations
Straight 4C hair responds beautifully to layers because the style actually honors your hair’s density and texture rather than fighting it. Ask your stylist for layers that will look intentional when you wear your hair straightened, but also allow room for your natural texture if you ever want to stretch or refresh your hair. Layers that are too short or too aggressive can look scraggly on 4C hair; you want clean, purposeful cuts with clear length gradations.
Worth knowing: Layered straight hair needs trims every 6-8 weeks to maintain the shape and prevent the layers from blending back together as your hair grows.
3. Classic Side Part and Tuck
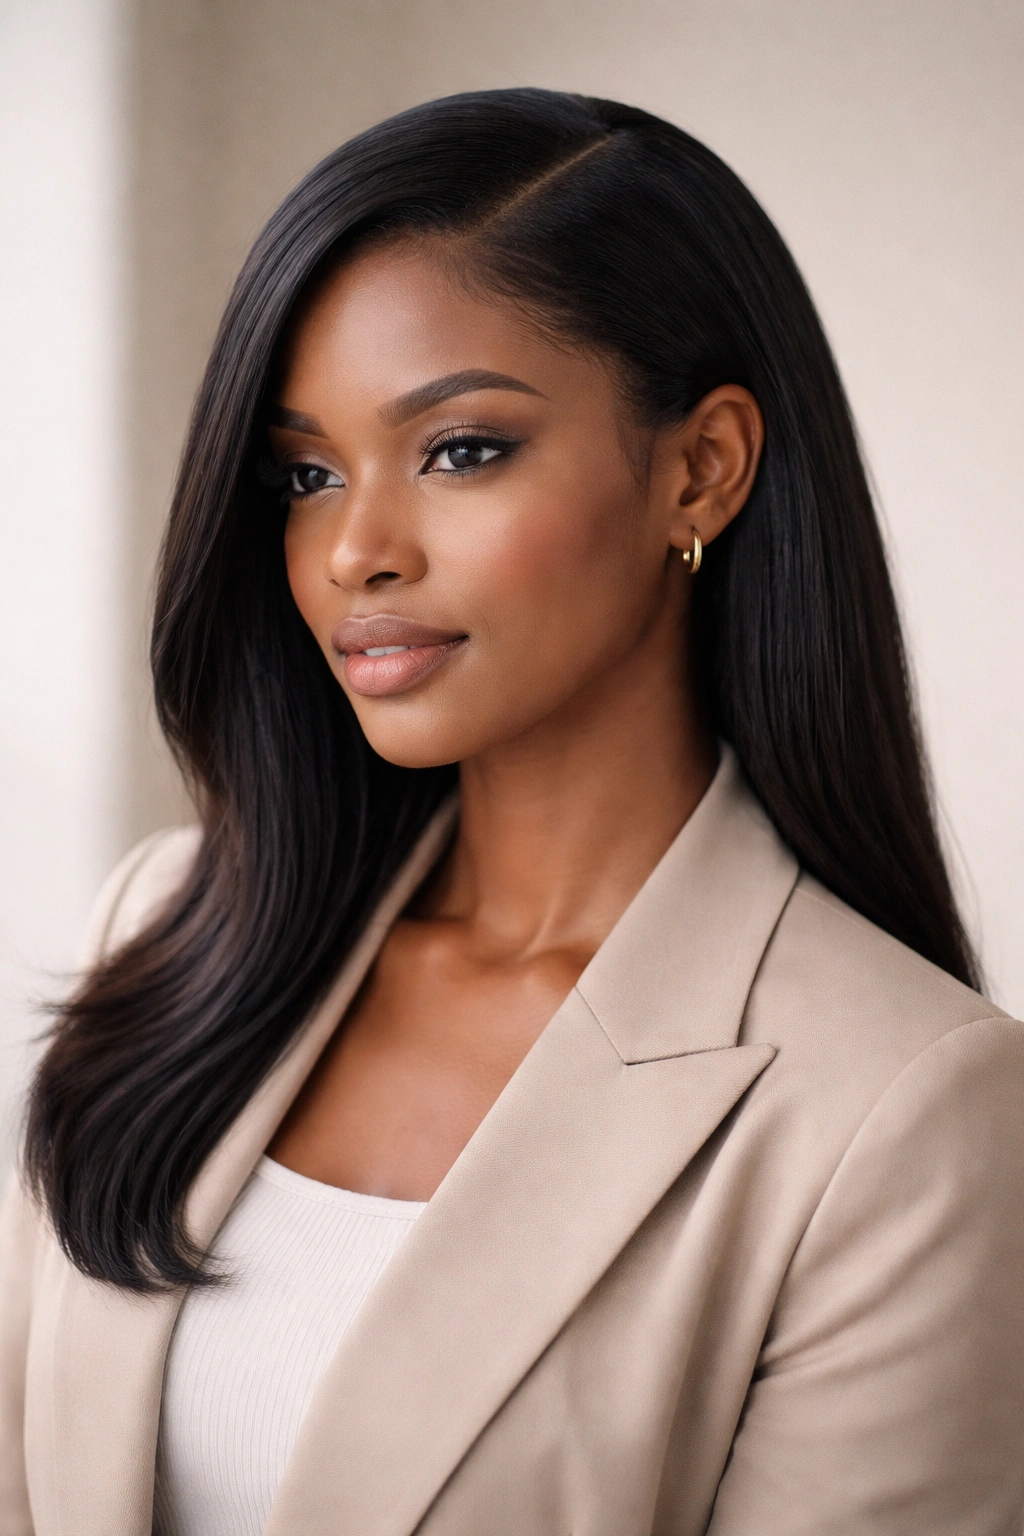
This is the refined, polished option—a deep side part with one side smoothed back and tucked behind the ear, the other side left to frame the face. It’s effortless in appearance but creates a completely different vibe depending on whether you’re heading to work, a date, or a casual hangout. The beauty of this style on straight 4C hair is that the sleekness is actually an advantage; it looks intentional and put-together.
Creating a Part That Actually Lasts
A good side part on straightened hair stays put because of the weight distribution—the shorter side against the head and the longer side with more volume naturally falls into place. When blow-drying, create the part first, then dry each side separately. Use a fine-tooth comb or edge brush to establish a clean, crisp part line, then blow-dry against the direction you want the hair to fall, then flip and dry it in the right direction. This trains the hair to sit where you want it.
The Tuck and Why It Changes Everything
Tucking one side behind your ear (or tucking both sides and securing with bobby pins for a sleeker look) instantly elevates the style from everyday to intentional. It shows off your face, neck, and jawline—and it’s especially flattering with straight hair because there’s no texture competing for attention. On straight 4C hair, this tuck can look surprisingly sophisticated because the smoothness reads as polish rather than severity.
Styling Options That Flow From This Base
Once you’ve got the side part and tuck established, you can add texture with a curling iron for the loose waves to come, leave it straight for a minimalist vibe, or create a low ponytail using the tucked side as an anchor. The style is infinitely customizable, which is why it’s a legitimate go-to for anyone who wants to look polished without spending an hour styling.
Pro tip: Use a lightweight pomade or edge control only along the part line, not throughout your hair—this keeps the style defined without making your hair look heavy or greasy.
4. Half-Up Half-Down with Volume
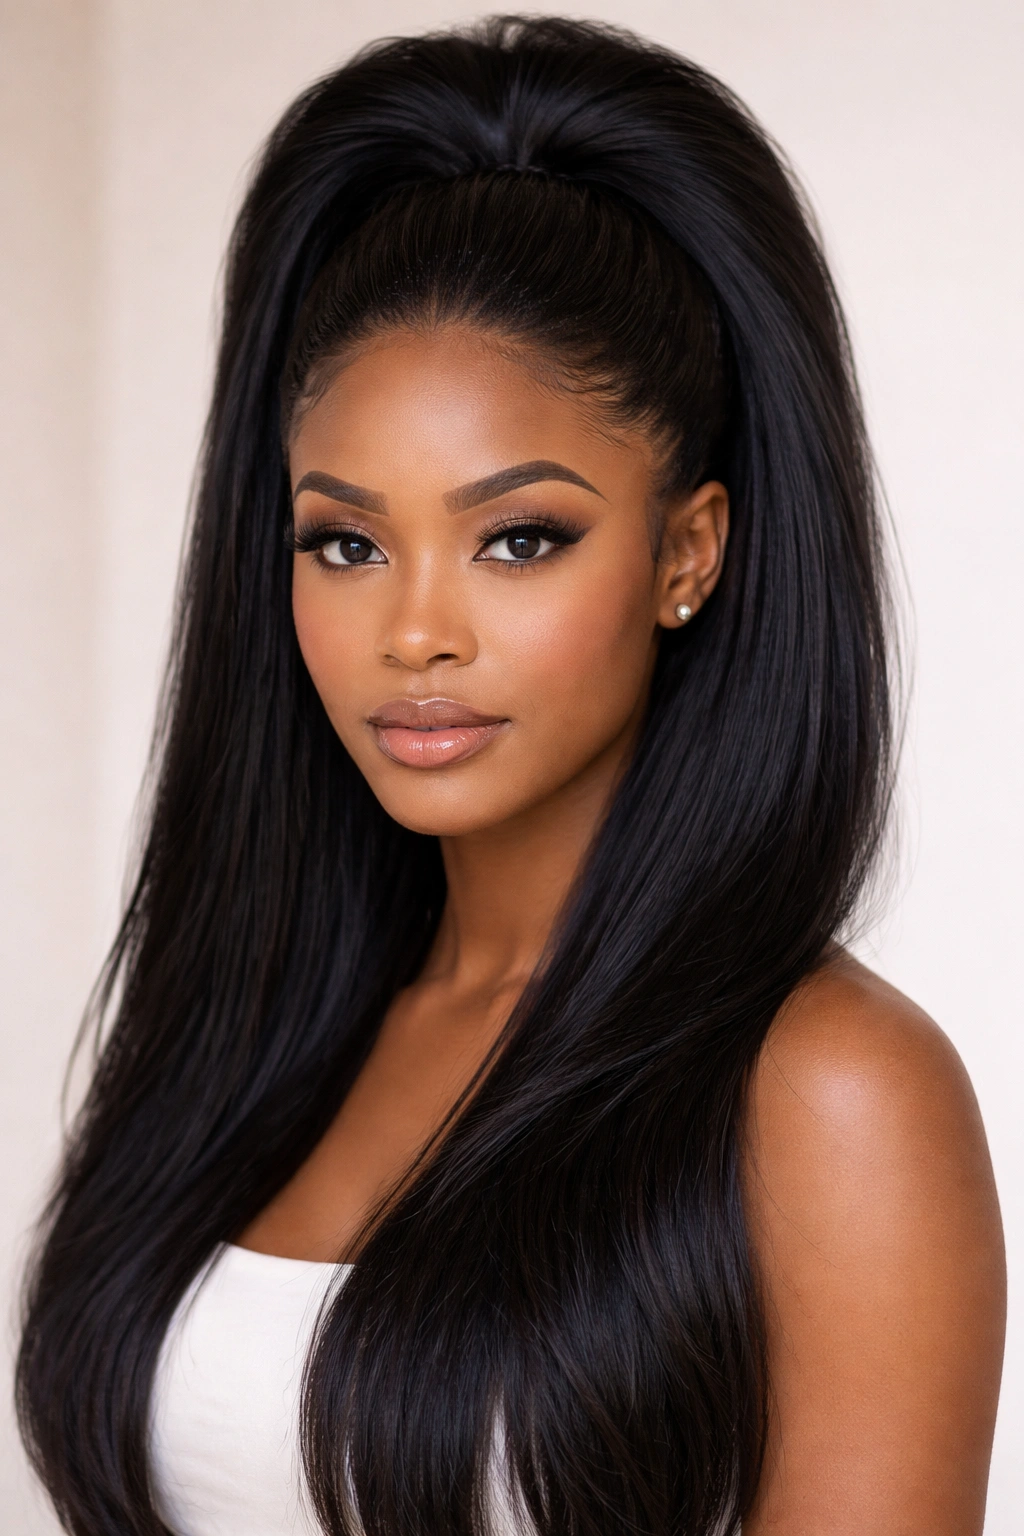
This style gives you the best of both worlds: the sophistication of having your hair partially pulled back, plus the softness and movement of leaving hair down. On straight 4C hair, this works beautifully because you can create genuine volume at the crown by backcombing or using a teasing brush, then secure it in a way that looks intentional rather than accidental.
Building Volume Without Damage
The key to volume on straightened 4C hair is working with the hair’s natural density, not against it. Start by blow-drying your hair in a way that creates lift at the roots—flip your head upside down as you dry, or direct the dryer upward along the roots of the back sections. Once your hair is completely dry, take the top section (from your natural part line to about 2 inches back) and gently backcomb the underside using a teasing brush or fine comb. You’re not creating a rats-nest; you’re creating texture that will hold volume. Smooth the top layer with a brush, and you’ll see instant crown height.
The Placement That Matters
Pull the top section back and secure it with a claw clip, sleek hair tie, or bobby pins at the base of the crown. You want the crown volume to sit visibly above where you’ve secured the hair—this creates the most flattering proportion. The bottom section (your lower hair) remains completely down, creating that half-up silhouette. This style is forgiving; it looks polished even if it’s slightly imperfect, and it keeps hair off your neck and face without the full-on pulled-back appearance.
Customizing for Your Face Shape
If you have a rounder face, the volume should be high and slightly backward; if you have an angular face, the volume can be higher and the secured section can be slightly lower on the head. The half-up style naturally elongates the face because of the visible forehead, so adjust based on what you want to emphasize.
Worth knowing: This style actually benefits from a day-old blowout, where your hair has settled slightly and has a bit of texture to hold the style without too much manipulation.
5. Deep Side Sweep
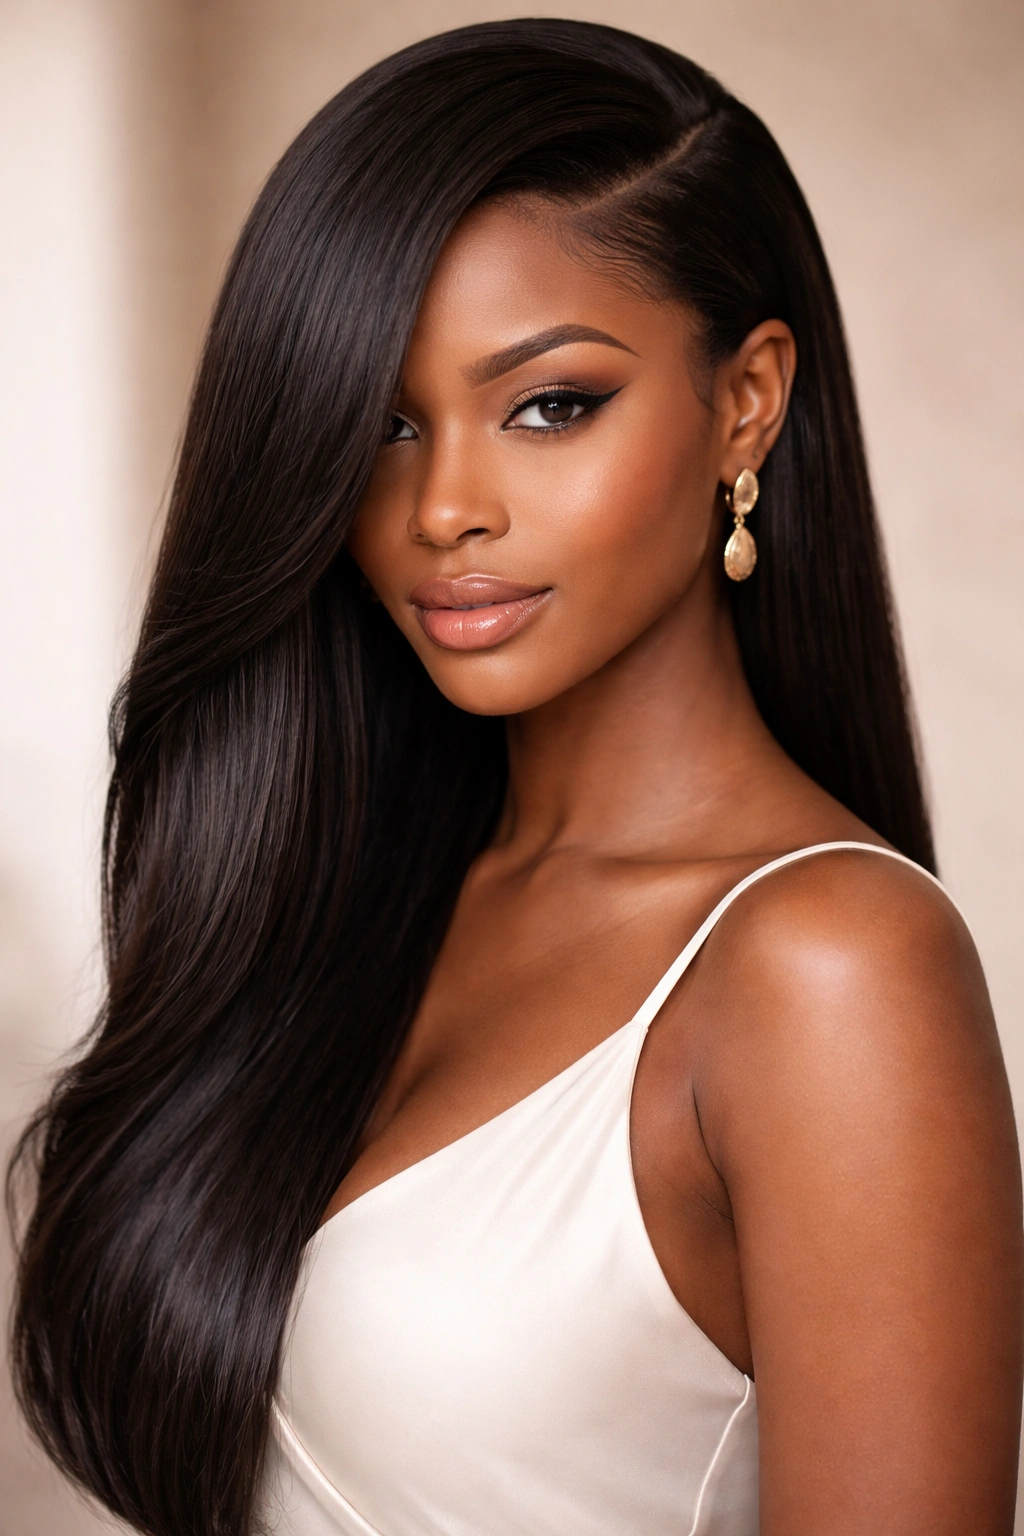
The deep side sweep takes the side part concept and extends it into a full sweep—one side of your hair is dramatically longer and fuller, covering part of your face and shoulder, while the other side is tucked away. This is an editorial, high-impact look that works spectacularly on straight 4C hair because the sleekness creates clean lines and the length creates drama.
How to Create a Sweep That Stays
The mechanics of a side sweep start with your part—it needs to be far to the side, usually 2-3 inches from your natural part line, creating an asymmetrical appearance. The shorter side is blow-dried smooth against your head; the longer side is blow-dried with volume and direction, swept across to drape over the shoulder. You can secure the back of the longer side with bobby pins clipped into the shorter side’s section, creating an invisible hold that keeps the sweep in place without looking pinned.
The Styling That Elevates It
A deep side sweep on straight hair can look sleek and modern, or you can add softness by curling the swept side lightly with a large-barrel curling iron. Even loose waves change the vibe from severe to romantic. The length of your hair matters here too—a deep side sweep works best on hair that’s at least shoulder-length, ideally longer, so there’s enough hair to actually sweep with and create visual weight on one side.
Why This Works on Your Hair Texture
Straightened 4C hair’s natural density means a side sweep will have body and presence. It won’t look thin or wispy; it will look intentional and full. The style also works with your hair’s need for moisture and care—because one side is tucked away, you’re not dragging the entire length of your hair across your face and body constantly, which reduces friction and potential breakage.
Pro tip: Refresh a side sweep with dry shampoo at the roots of the shorter side—it helps the hair grip and hold the style even longer without needing to re-style.
6. Blunt Bob Cut

A blunt bob on straightened 4C hair is striking. When I say blunt, I mean a clean, straight line at the end—no layers, no choppy texture, just a precise, sharp edge. This cut honors the straightness of your hair and creates a bold, modern silhouette. It’s not about hiding your hair; it’s about showcasing it.
The Length and Proportion That Works
A blunt bob on 4C hair looks best when it hits somewhere between your chin and your collarbone—short enough to feel intentional and sculptural, long enough to have presence. The cut should be blunt across the back and slightly angled forward at the sides, creating that distinctive bob shape where the back is slightly longer than the front. This angle is crucial; it’s what gives the bob dimension and prevents it from looking like you just hacked off your hair.
Maintenance and Styling Options
Straight 4C hair in a blunt bob needs precise trims every 4-6 weeks to maintain the sharp edge—as soon as that line gets soft or uneven, the whole vibe changes. For daily styling, you’ve got options: wear it completely straight and sleek, add waves with a curling iron for movement, blow-dry with a round brush for subtle volume at the crown, or tuck one side behind your ear for a different proportion. The bob is versatile precisely because it’s so clean and defined.
Why Your Hair Type Makes This Work
4C hair’s natural density makes a blunt bob look intentional and sculptural rather than thin or wispy. The volume and texture of your hair, even when straightened, gives the cut substance. And honestly, there’s something powerful about a blunt bob on straightened 4C hair—it’s a style choice that feels confident and contemporary.
Worth knowing: A blunt bob requires your straightening routine to be solid—if your hair is frizzing or breaking, the blunt line will look damaged rather than deliberate. Invest in good heat protectant and a solid moisture routine before committing to this cut.
7. Long Layers with Face-Framing Bangs
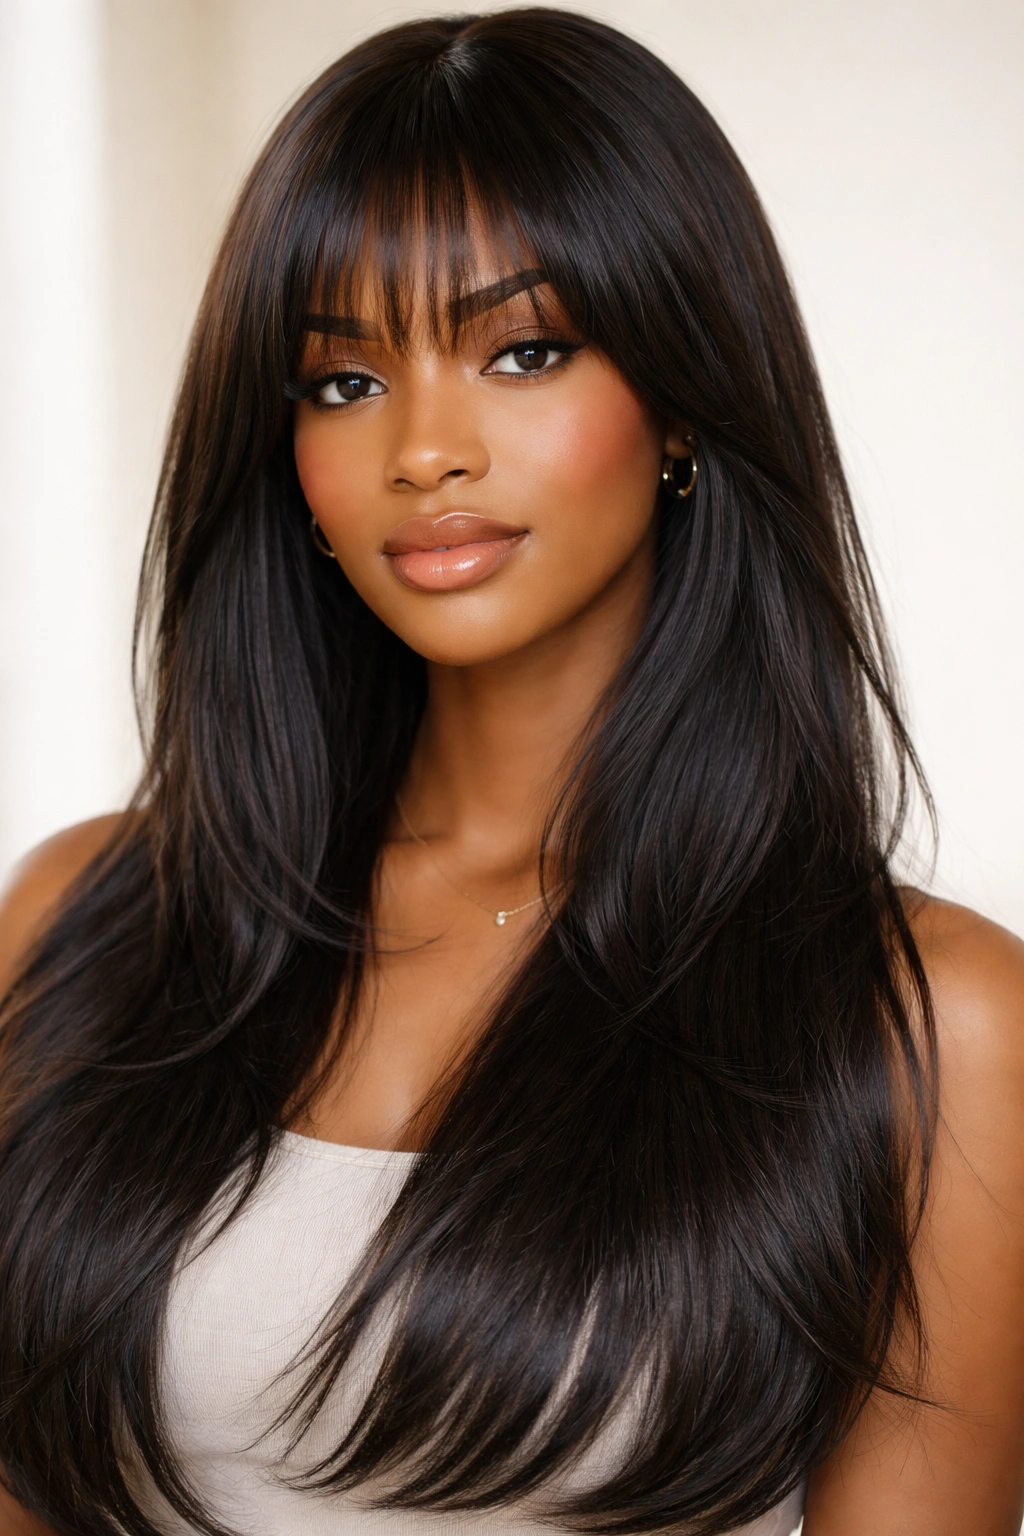
This is the romantic, textured option—long hair with strategic layers throughout, plus face-framing bangs that create softness and movement around the face. On straight 4C hair, this combination is stunning because the bangs create an unexpected softness (bangs are typically associated with curly or textured hair) while the long layers show off length and allow for movement.
The Bang Style That Complements Your Hair
Bangs on straightened 4C hair should be soft, not blunt. Think wispy, textured bangs that curve slightly rather than a heavy, severe bang. Longer bangs that fall to your eyebrows or slightly below work better than very short bangs, which can look stark. The softness of the bang style is what prevents the look from being too severe; it adds femininity and movement to the sleekness of the straight hair.
Layering Strategy for Long Hair
Layers should be more subtle in long hair than in shorter cuts. Start with face-framing layers that begin around cheekbone length, then add layers throughout the mid-lengths and ends, each slightly longer than the one before. This creates movement without destroying the length you’ve worked to maintain. The layers should be visible when you move—you’re aiming for dimension and flow, not a choppy appearance.
Daily Styling and Texture Options
Long layers with bangs can be worn completely straight and sleek, which creates a polished, editorial look. Add texture with waves or curls for a softer vibe. Partial styles like half-up ponytails or braids integrate beautifully with this cut because the layers and bangs frame your face whether it’s up or down. The bangs need to be styled each day (they won’t naturally fall into place), so factor that into your decision.
Pro tip: Bangs on straightened 4C hair benefit from a light, texturizing product applied to the ends—this keeps them from looking like a rigid wall and adds dimension.
8. Sleek High Ponytail
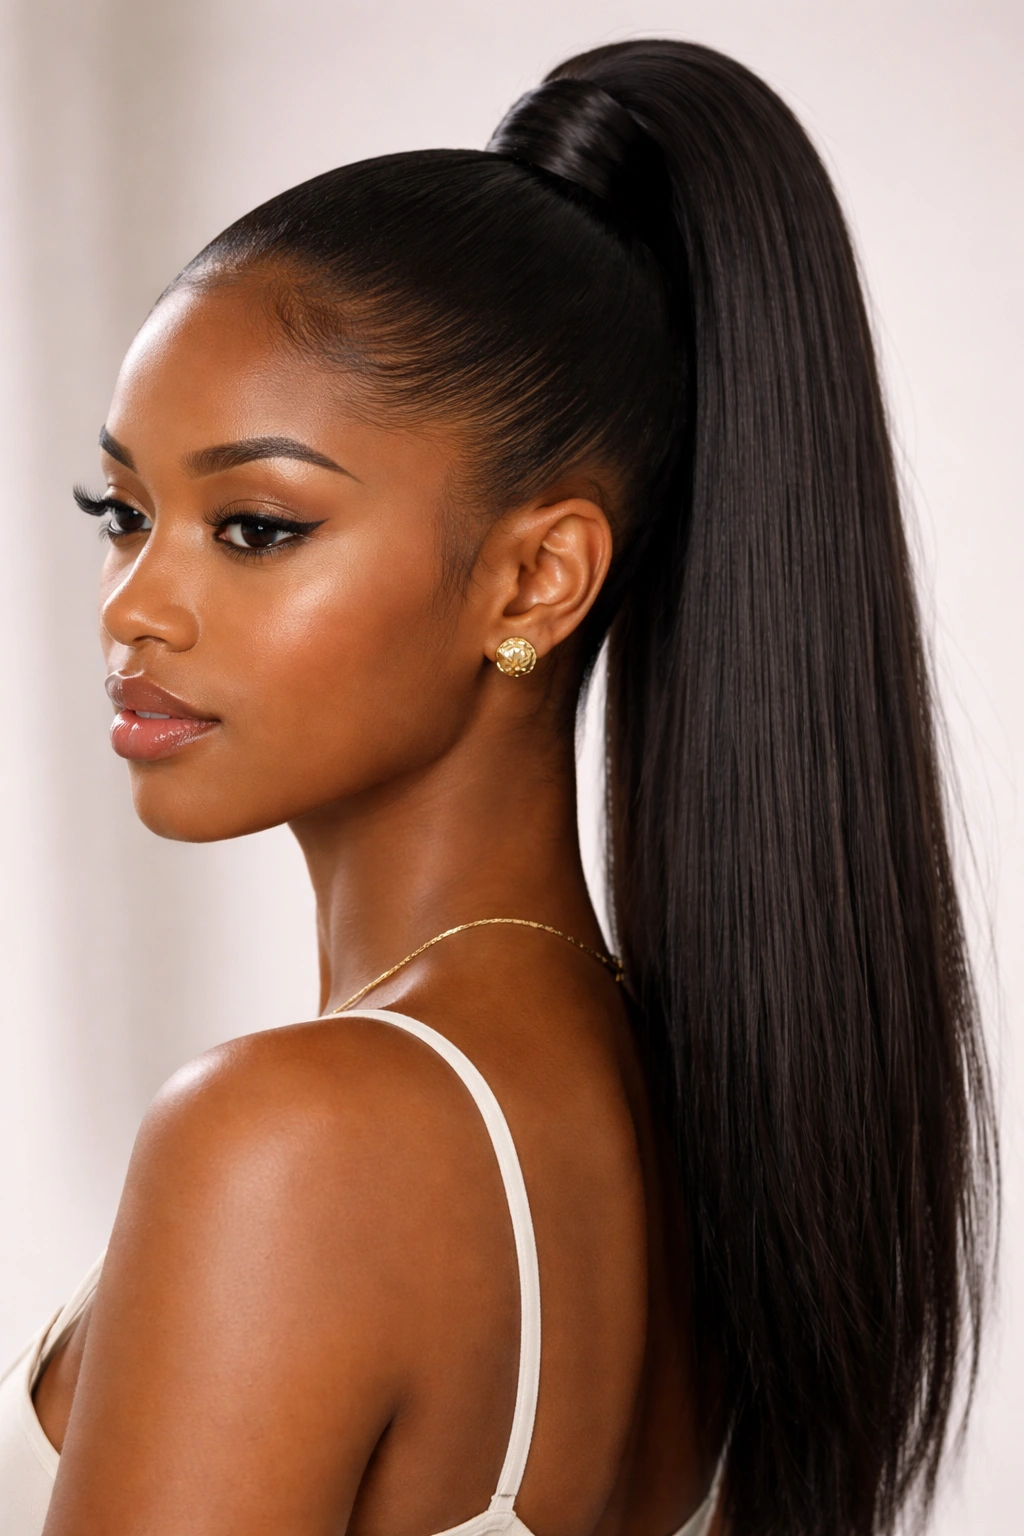
A high ponytail on straight 4C hair is bold and polished. The style pulls hair away from the face completely, showcases your face shape and features, and has an inherent sophistication when executed cleanly. The key is the word “sleek”—this isn’t a voluminous, messy ponytail; it’s a precise, smooth, pulled-together ponytail that makes a statement.
Creating the Smooth Base
Start with blow-dried hair and apply a smoothing serum or light pomade to any flyaways around your hairline. Use a fine-tooth comb to gather your hair into a high ponytail—position it at the crown or slightly toward the back of the crown, depending on your face shape. Secure it with a strong elastic or claw clip. The key to sleekness is smoothing every strand as you gather; no bumps, no loose hairs, no texture. Some people like to apply a bit of edge control to their hairline for an ultra-polished look, but be sparing—too much product looks heavy.
Finishing Details That Elevate It
Once you’ve secured the ponytail, take a small section of hair from the base and wrap it around the elastic, securing the wrap with a bobby pin. This creates the illusion of a seamless ponytail and hides the elastic completely. If you want to add softness, curl the ponytail lightly with a large-barrel curling iron, or leave it straight for maximum polish. Some people add a silk or satin hair tie (which is gentler on 4C hair than standard elastics) for a refined touch.
When to Wear This Style
A high ponytail on straightened 4C hair is perfect for workouts, work events, date nights, or any time you want to look put-together without making a low-key style statement. It’s a workhorse style that bridges casual and formal depending on whether the ponytail is curled or straight.
Worth knowing: Tight ponytails can cause tension alopecia with repeated use, especially on 4C hair, which is more prone to breakage at stress points. Alternate between high and low ponytails, and don’t pull your hair so tight that you feel tension at your hairline.
9. Textured Waves and Curls (Heat-Styled)
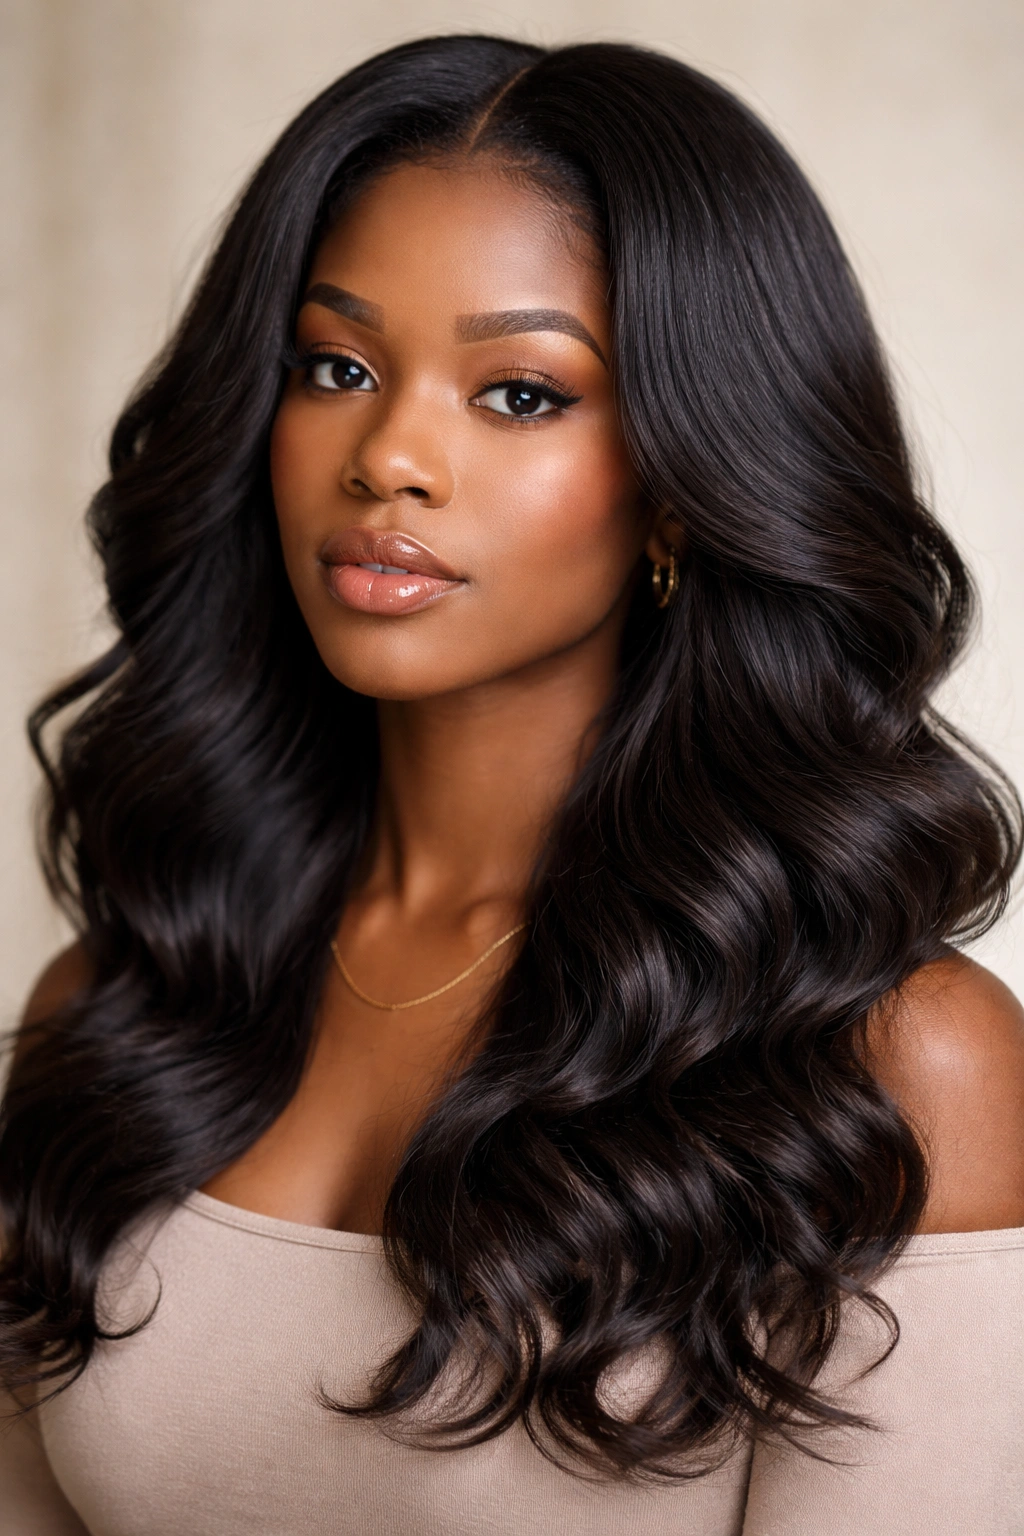
This is the style that embraces the beauty of your natural texture while honoring the fact that you’ve chosen to straighten. Using a curling iron or wand to create waves and curls on straightened 4C hair creates texture that’s controlled, defined, and dimensional—it’s different from your natural curl pattern, which is part of the appeal. You get the benefits of straight styling plus the dimension and movement of texture.
The Tools and Technique
A large-barrel curling iron (1.5 inches or larger) or a curling wand creates loose, defined waves. Wrap a section of hair around the barrel, holding it for 8-10 seconds, then release. The size of the barrel determines the size of the curl—larger barrel equals looser waves, smaller barrel equals tighter curls. For 4C hair specifically, I recommend a ceramic or tourmaline barrel (which distributes heat evenly and reduces damage) and absolutely using a heat protectant spray before you curl anything.
Creating Dimension and Longevity
Alternate the direction you wrap the barrel around different sections—one section toward your face, the next section away from your face—this creates a lived-in, dimensional wave pattern rather than a uniform ringlet. Once you’ve curled all your hair, let it cool for at least 15 minutes before touching it; the curls need to set in their spiral shape as they cool. Using a light hairspray helps the waves last longer without making your hair stiff.
Why This Style Bridges Two Worlds
The beauty of heat-styled waves and curls on straightened 4C hair is that you’re getting intentional texture without the commitment of a permanent style change. You can have straight, sleek hair one day and textured waves the next. It’s the best of both worlds, and it acknowledges that your hair is versatile.
Pro tip: Apply a curl-enhancing cream or lightweight mousse to damp hair before blow-drying, then curl the dry hair with the iron. This gives the curls something to grip and makes them last much longer.
10. Braided Crown with Straight Hair

A braided crown is a classic protective and styling option, and when applied to straightened 4C hair, it’s absolutely stunning. A two-strand twist or three-strand braid wraps around the crown of your head, anchoring the straight hair and creating a romantic, intentional style. It works on both long and medium-length hair and can be done with your natural hair or with added extensions for more braiding width.
Technique for a Crown That Holds
Start by creating a deep side part or a straight part down the middle—this determines where your braided crown will sit. Begin braiding from one side, incorporating hair as you move around the head in a semicircle or full circle, depending on how dramatic you want it. The braid should sit snugly against your head without being so tight that it pulls; you’re aiming for security without tension. Secure the end of the braid with bobby pins clipped into the hair underneath.
Styling Variation and Customization
You can create one thick braid that forms a crown, or multiple thinner braids arranged in a crown pattern. You can leave the straight hair flowing loose below the crown, pull it into a ponytail that starts where the braid ends, or pull all the hair up into a high bun. The braided crown creates an anchor point and a completely different silhouette depending on how you style the rest of your hair.
Why This Works With Straightened 4C Hair
The contrast between the texture of the braid and the smoothness of the straight hair is genuinely beautiful. The braid catches light and creates visual interest, while the straight sections maintain sleekness. The style also protects the crown and hairline from friction and weather, making it functional as well as beautiful.
Worth knowing: A braided crown looks best on day-two or day-three hair, when your straightening style has settled slightly and has a bit of grip. Freshly blow-dried hair can be too slippery for the braid to hold securely.
Final Thoughts
Straightened 4C hair is a legitimate styling choice, and it opens doors to looks that your natural hair texture might not easily accommodate. The key is respecting what your hair actually needs—moisture, heat protection, careful handling—while enjoying the sleekness, shine, and styling flexibility that straightening provides. None of these styles requires salon-level skill or hours of styling time; they’re all achievable with basic tools and a little practice. Pick one that speaks to you, commit to the moisture routine that keeps straightened 4C hair healthy, and own the style completely. Your hair is versatile, beautiful, and absolutely capable of looking polished and intentional in any of these styles.