Round faces have their own beautiful geometry, and the right straight hair look can enhance your features while creating the illusion of length and definition. The key isn’t fighting your face shape—it’s working with it strategically. Straight hair is your secret weapon here because clean lines and sharp angles create visual contrast that naturally elongates a rounder silhouette. The best styles for round faces tend to use vertical elements, strategic layering, and asymmetrical angles to add dimension where you need it most.
The misconception that round-faced people should avoid certain styles holds a lot of people back from trying looks they’d actually love. The truth is more nuanced: it’s not about avoiding rounded shapes entirely, but about balancing them with deliberate length, movement, and strategic styling choices. Whether you’re working with naturally straight hair or you use a straightening iron to achieve that sleek aesthetic, these ten styles prove that round faces can pull off absolutely stunning straight-hair looks. Each one works because it respects the face shape while adding visual interest and structure.
1. Side-Swept Bangs with Sleek Long Layers
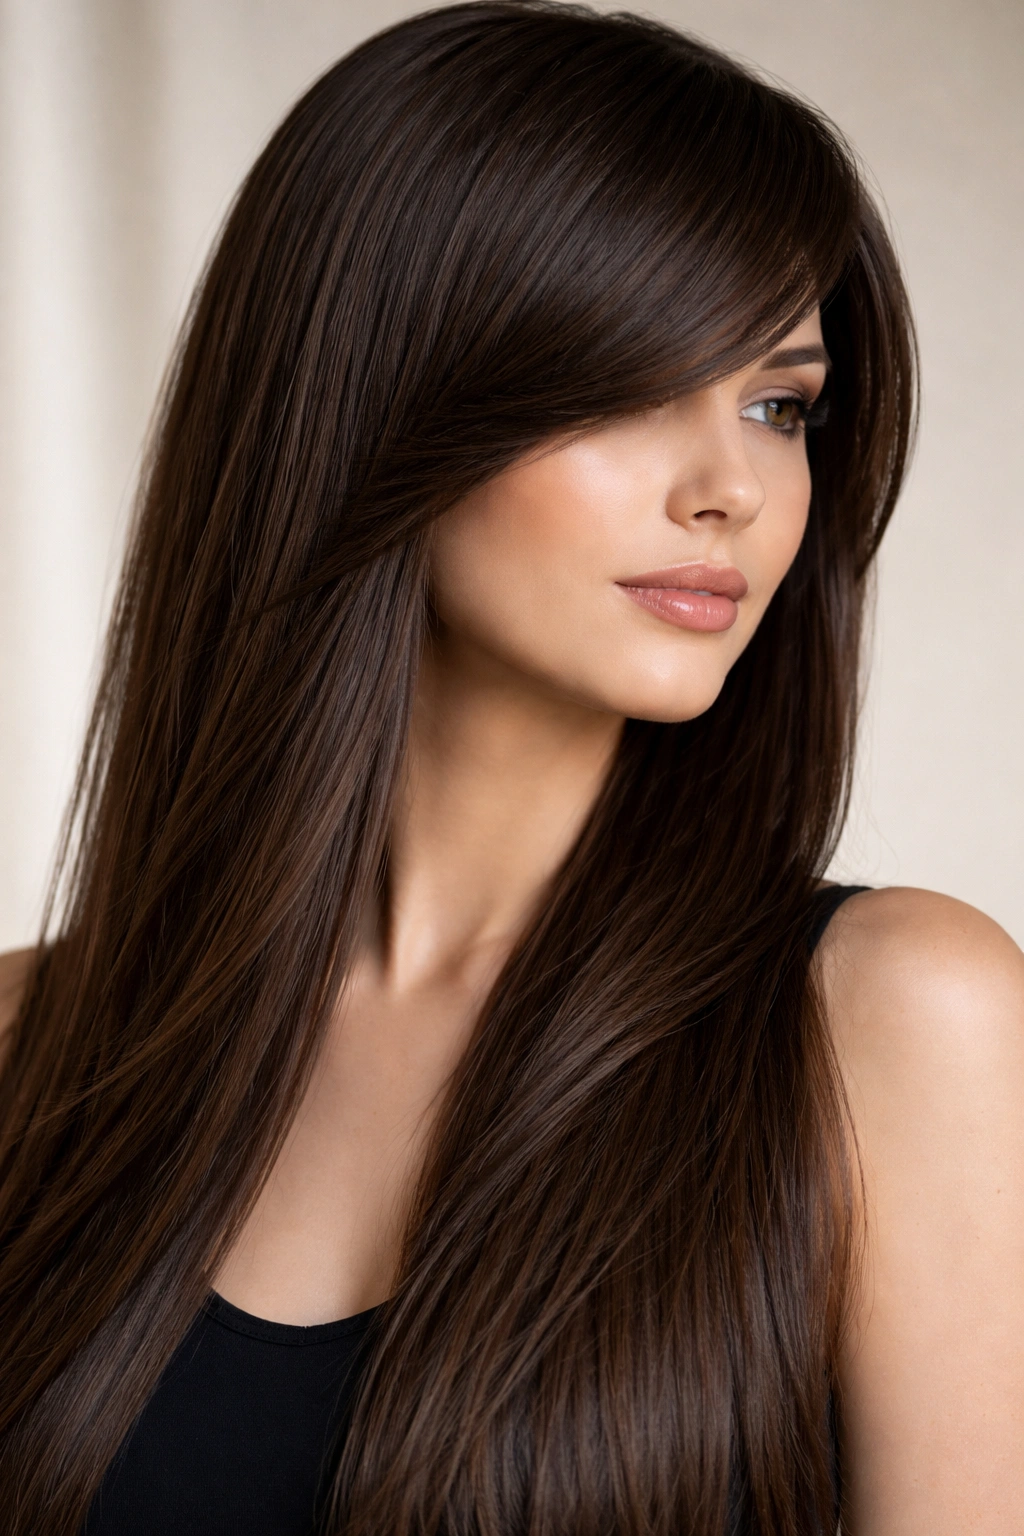
Side-swept bangs instantly create an angled line that breaks up the roundness of your face, and when paired with long straight layers, they create a flattering vertical flow that draws the eye downward. This look works because the bangs sweep across rather than sitting bluntly, which maintains the softness of your features while adding strategic definition along your cheekbones. The layers underneath cascade in a way that creates movement without sacrificing the sleekness straight hair provides.
Why This Shape Works Magic for Round Faces
Side-swept bangs create an optical illusion of length by interrupting the horizontal line of your face. They also help conceal the widest part of your face—usually around the cheekbones and temples on rounder faces. The long layers extend that visual lengthening all the way down your back, so even when your hair is down, the proportions feel more balanced.
How to Achieve and Maintain This Look
- Ask your stylist for bangs that start at your cheekbone and sweep across to hit mid-cheekbone on the opposite side
- Request long layers beginning around mid-chest, with each layer being subtle rather than choppy
- Blow dry the bangs away from your face using a rounded brush and directing the airflow at an angle
- Straighten the rest with a flat iron for that polished finish
- Use a light texture spray if you want to add grip to the bangs and prevent them from falling flat
Pro tip: This style requires regular bang trims every 3-4 weeks because the angle matters. When they start to lose that purposeful sweep, they lose their magic.
2. Blunt Bob at Chin Length
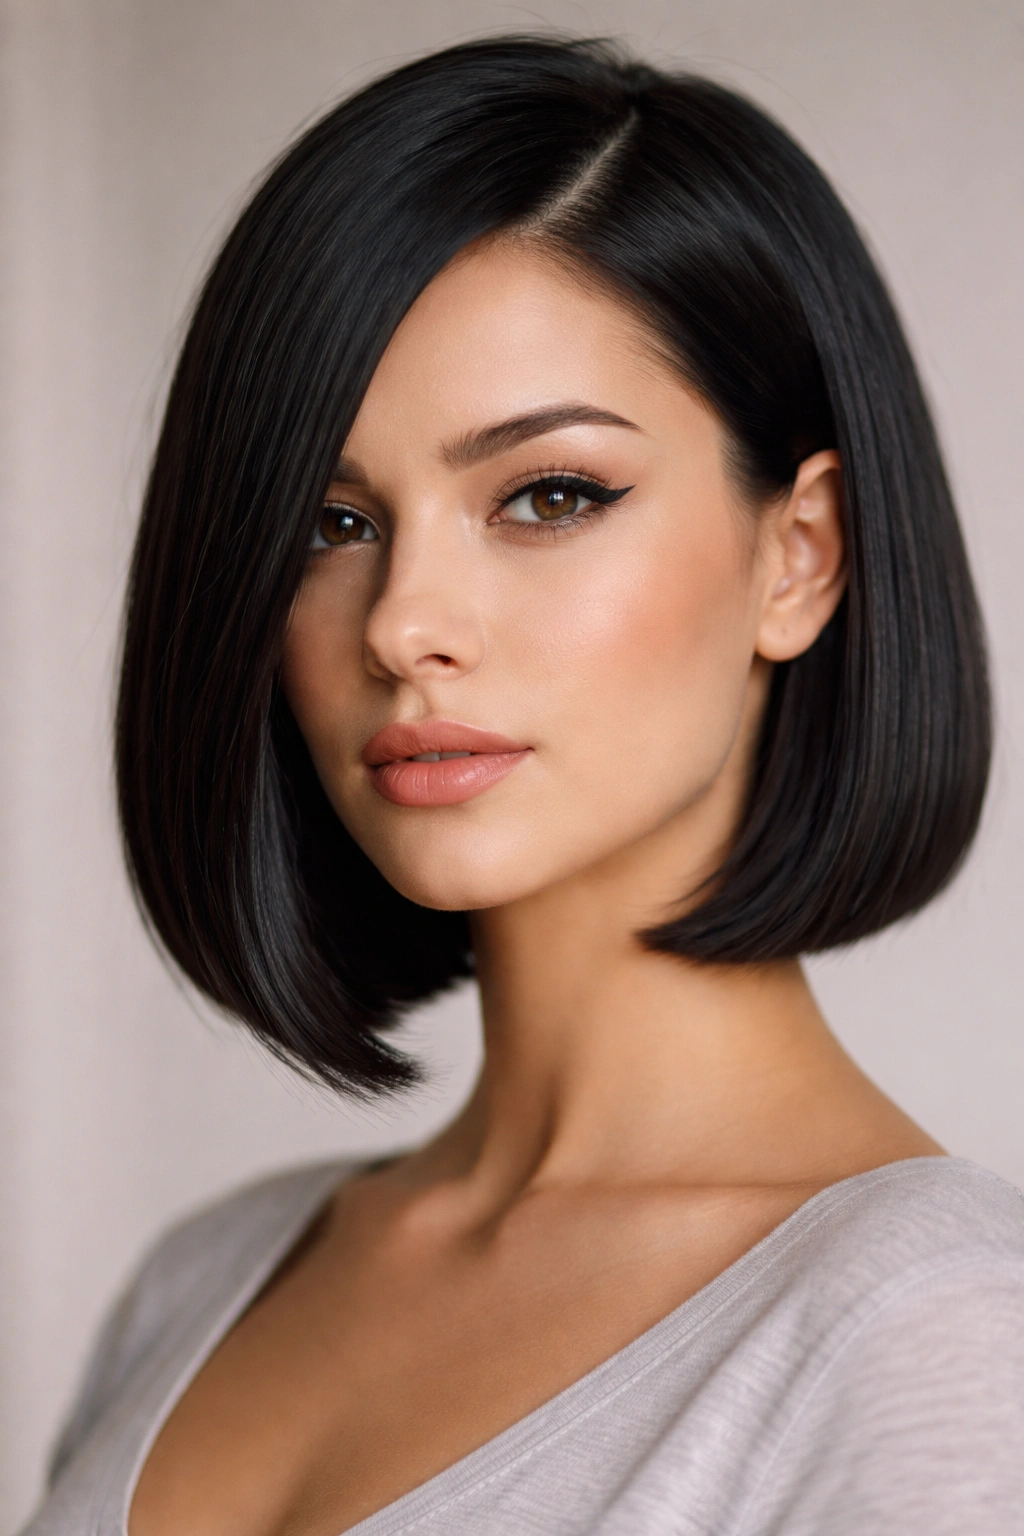
A blunt bob—cut precisely at chin length with no layers—seems like it should emphasize roundness, but the trick is in the styling and the exact length. When cut to land right at your jawline and paired with a deep side part, this style creates a sharp, clean line that actually defines your face rather than blending into it. The key is committing to the bluntness; any waviness or layers soften the effect you’re going for.
The Secret to Making Blunt Bobs Work
The reason a blunt bob flatters round faces isn’t obvious at first. That clean horizontal line at chin length acts almost like a visual frame—it gives your face edges and definition rather than letting everything blend together softly. A side part adds another line of asymmetry, which is exactly what round faces benefit from. The bluntness creates confidence and structure.
Styling Tips for Maximum Impact
- Blow dry with tension using a paddle brush to keep the ends from flipping outward
- Use a flat iron to ensure a perfectly straight, blunt bottom line
- Experiment with deep side parts—try switching which side you part on to see which direction flatters you more
- Apply a smoothing serum to the ends to maintain that crisp finish throughout the day
- Style with your natural texture underneath the blunt line to create subtle contrast
Worth knowing: This style demands commitment to frequent trims—every 4-6 weeks is ideal to maintain that sharp, blunt edge.
3. Asymmetrical Cut with Side Part
An asymmetrical cut where one side is noticeably longer than the other is one of the most sophisticated moves for round faces because it breaks up symmetry in an intentional, flattering way. When you have one side that skims your collarbone and the other that falls past your shoulder, you’ve created an unbalanced visual line that makes your face shape less obvious. Straight hair makes this look incredibly polished and modern.
Why Asymmetry Flatters Round Faces
Symmetry emphasizes face shape because it puts equal visual weight on both sides of your face. Asymmetry disrupts that, drawing attention upward and outward instead of highlighting the roundness. An asymmetrical cut also gives you styling versatility—you can wear it sleek straight, tuck the longer side behind your ear for a different effect, or pin up the shorter side for evening.
Building and Maintaining This Style
- Work with your stylist to determine how much length difference actually flatters you—it could be 2 inches or 6
- Request that the shorter side frame your face with subtle layers that don’t bulk up
- Keep the longer side predominantly one length so it maintains that clean, straight aesthetic
- Use a straightening iron on both sides to keep the effect sharp and intentional
- Consider how this style photographs from different angles before committing
Insider note: This cut is incredibly forgiving as it grows out because the asymmetry means you don’t need precise trims as often as other styles.
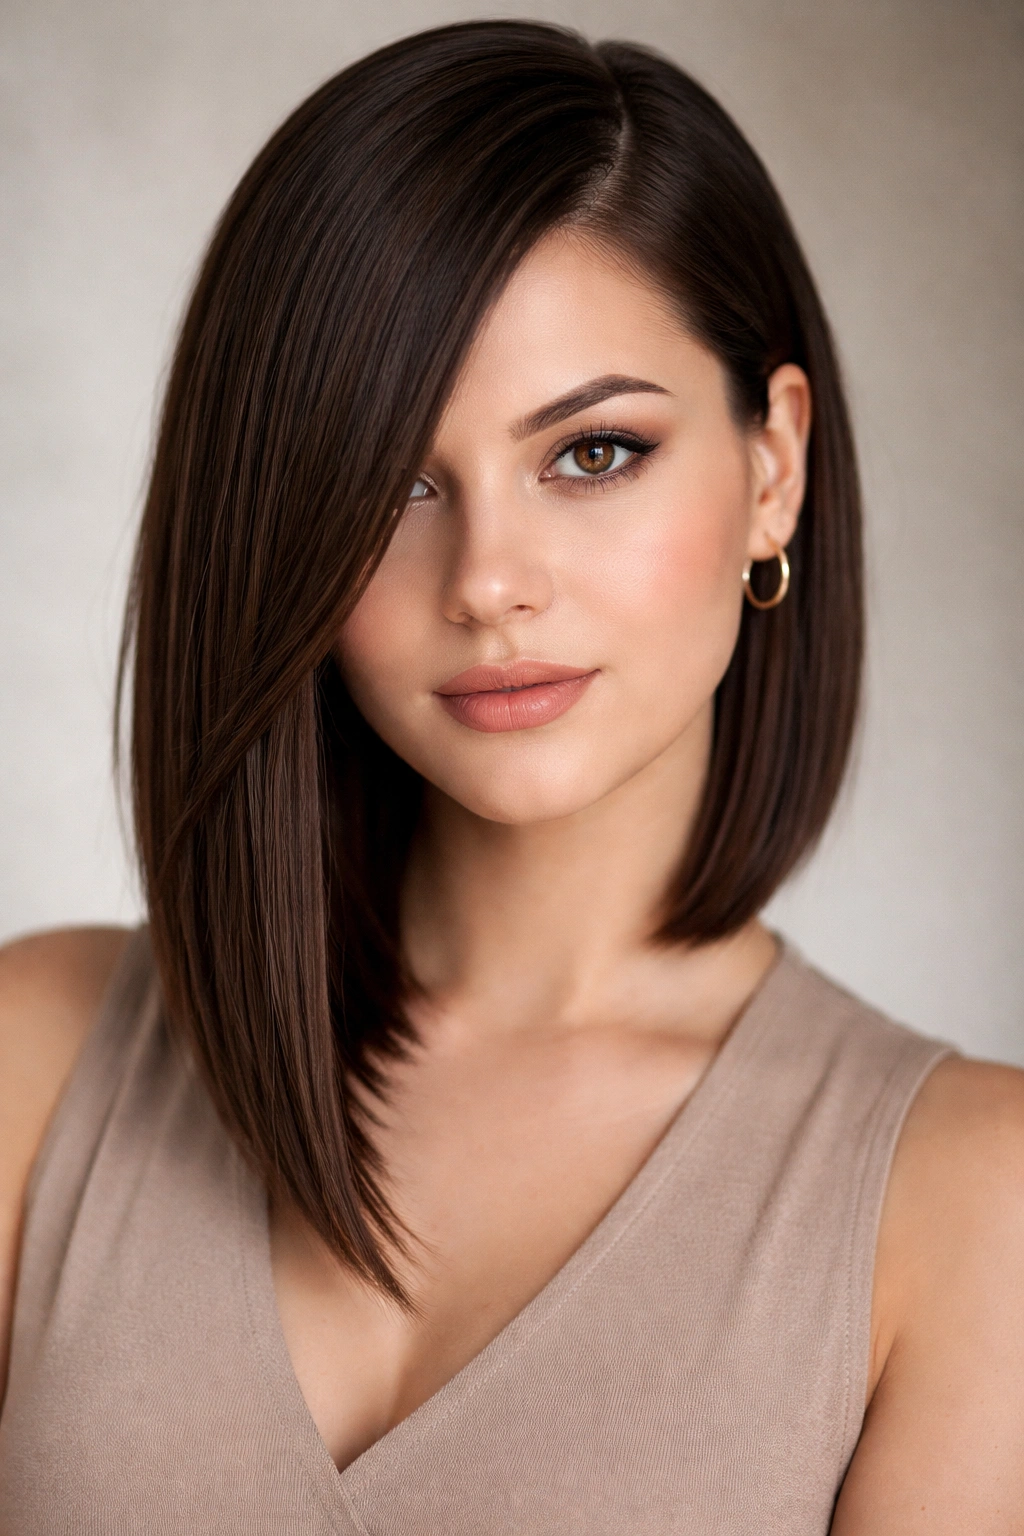
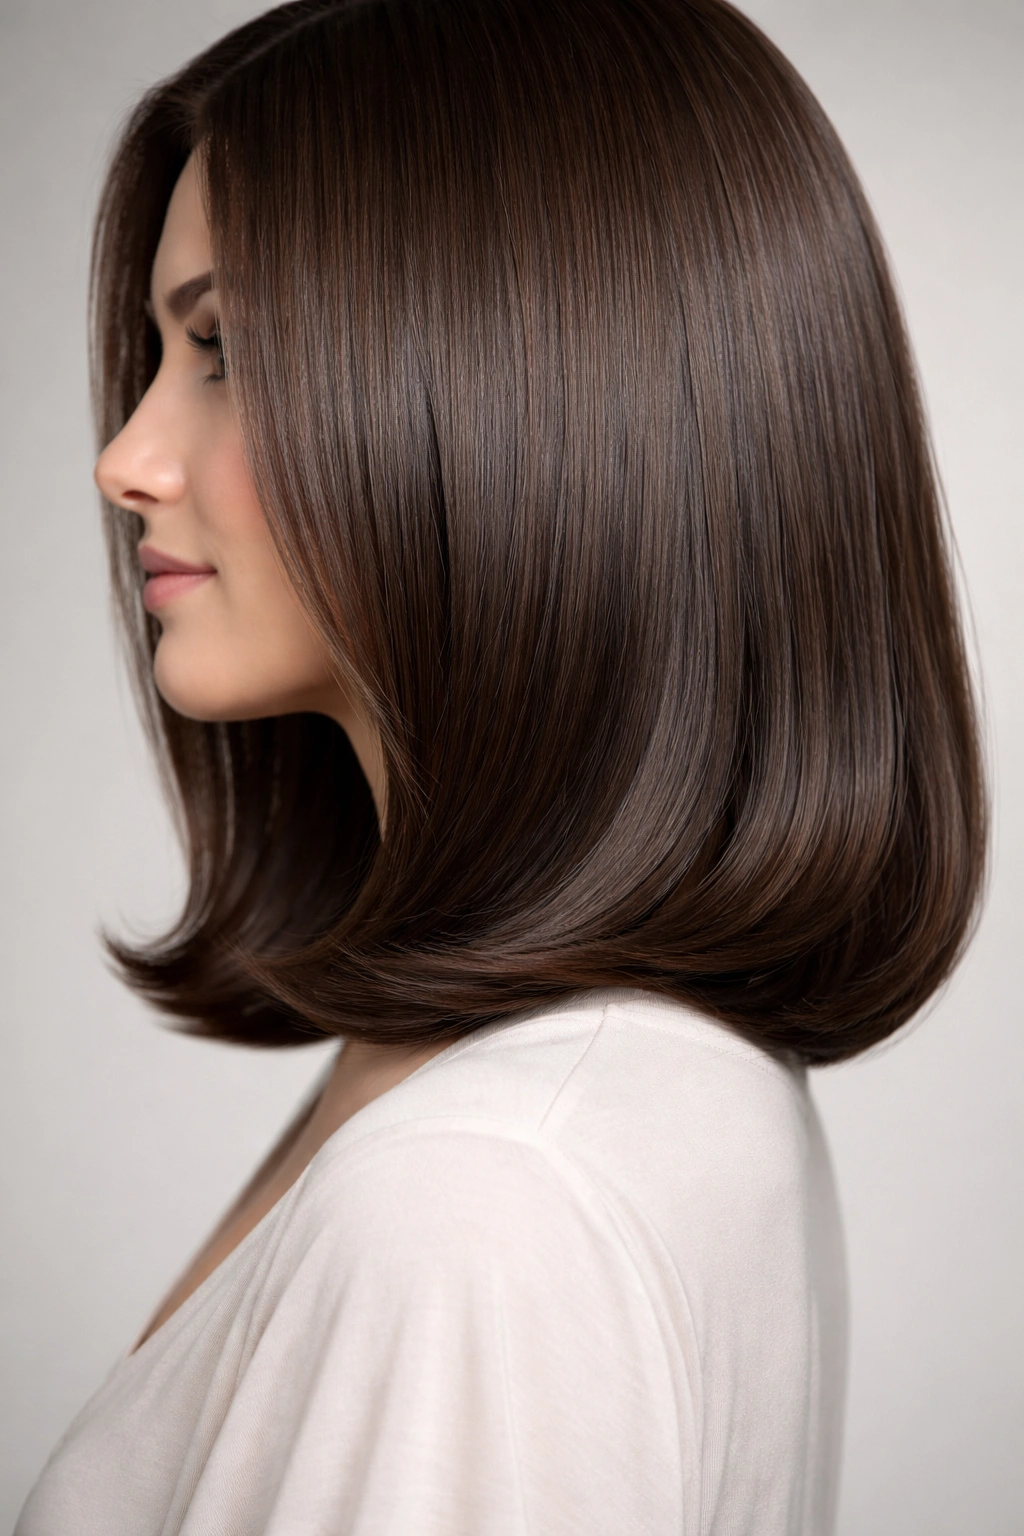
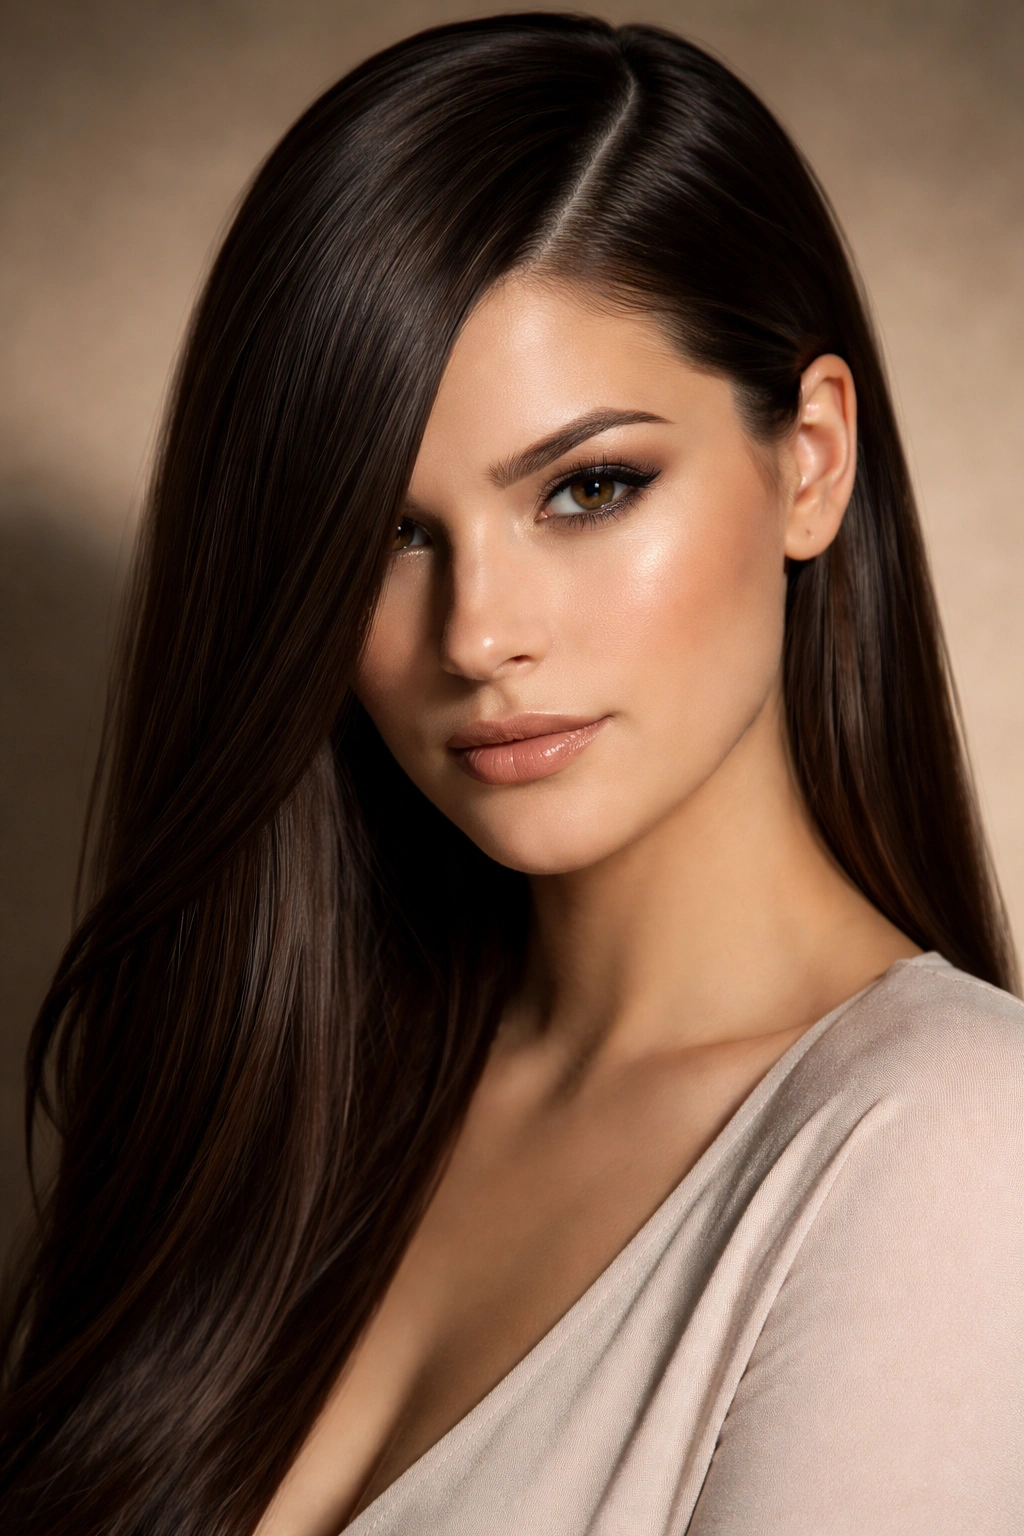
4. Sleek Middle Part with Face-Framing Layers
A middle part naturally elongates your face, and when you add subtle face-framing layers that start around cheekbone height, you’ve created the geometry that round faces actually thrive with. The middle part splits your face in half, which immediately makes it feel longer, and the face-framing layers add shape without disrupting the sleekness of straight hair. This look is effortlessly chic and surprisingly flattering.
The Power of Strategic Face-Framing
Face-framing layers work because they soften the overall harshness of a middle part while keeping the sleekness and length-creating effect. These layers don’t have to be short or choppy—they’re usually just subtle changes in length that start around your cheekbones and create movement around your face. The middle part does the heavy lifting in terms of elongation; the layers just add refinement.
How to Style This for Maximum Effect
- Blow dry from a middle part using round brushes on both sides to create subtle volume at the crown
- Straighten the face-framing pieces with a flat iron, angling them slightly outward at the ends for dimension
- Straighten the rest of your hair on a medium heat setting for that polished finish
- Use a root-lifting spray at the crown to create the illusion of added height
- Smooth everything with a light serum for shine without frizz
Pro tip: Let your hair air-dry about 60 percent of the way before blow-drying the part into place—this helps it actually stick.
5. Textured Straight Pixie Cut
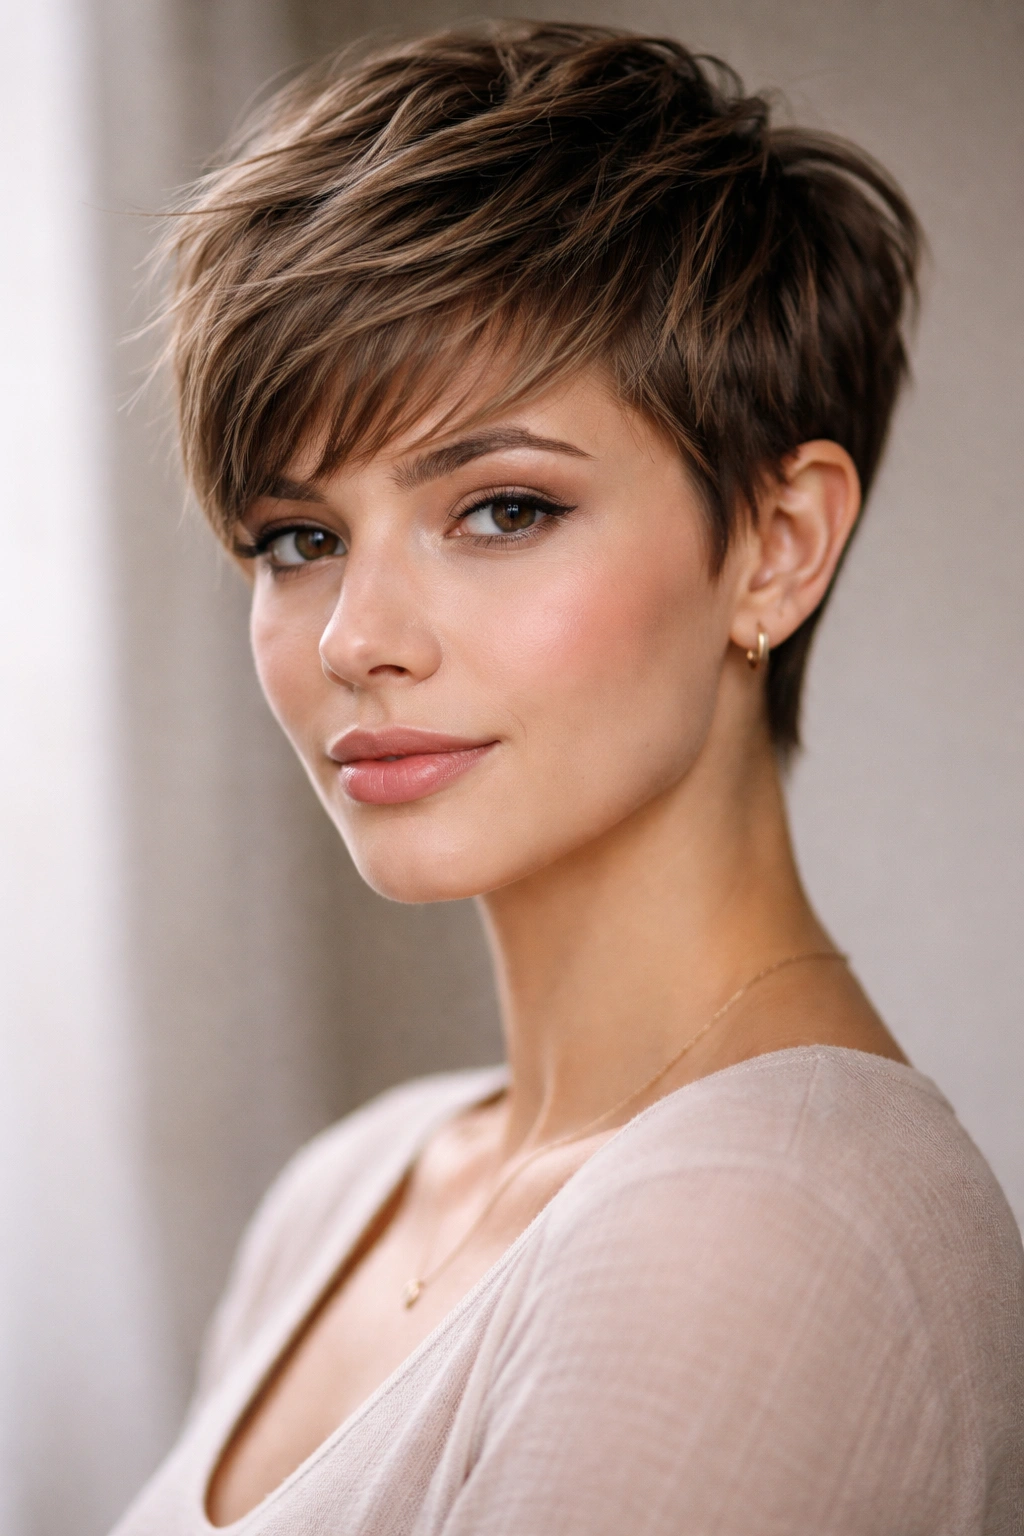
A pixie cut on a round face might sound counterintuitive, but a textured pixie—cut short on the sides and slightly longer on top with choppy texture throughout—actually creates dimension that flatters round faces beautifully. The key is that the texture creates visual interest and prevents the shortness from emphasizing roundness. You’re trading length for strategic texture, which is a completely valid approach.
Textured Pixies Create Shape Where You Need It
The reason a textured pixie works is because the choppiness breaks up what could otherwise be a blunt, round silhouette. When the top is slightly longer and tousled, your eye travels upward rather than around the width of your face. The texture also catches light differently than smooth, straight hair, which creates subtle dimension and prevents any unflattering flatness.
Cutting and Maintaining a Textured Pixie
- Ask your stylist for longer length on top (at least 3-4 inches) that gradually tapers to shorter on the sides
- Request choppy, disconnected texture throughout rather than a smooth taper
- Plan for trims every 3-4 weeks because pixies grow out quickly and lose their shape
- Blow dry the longer top pieces upward and forward for maximum dimension
- Use a texturizing spray or pomade to emphasize the choppy pieces and prevent everything from lying flat
Worth knowing: This style requires styling product and blow-drying to look its best—it’s not a wash-and-wear cut.
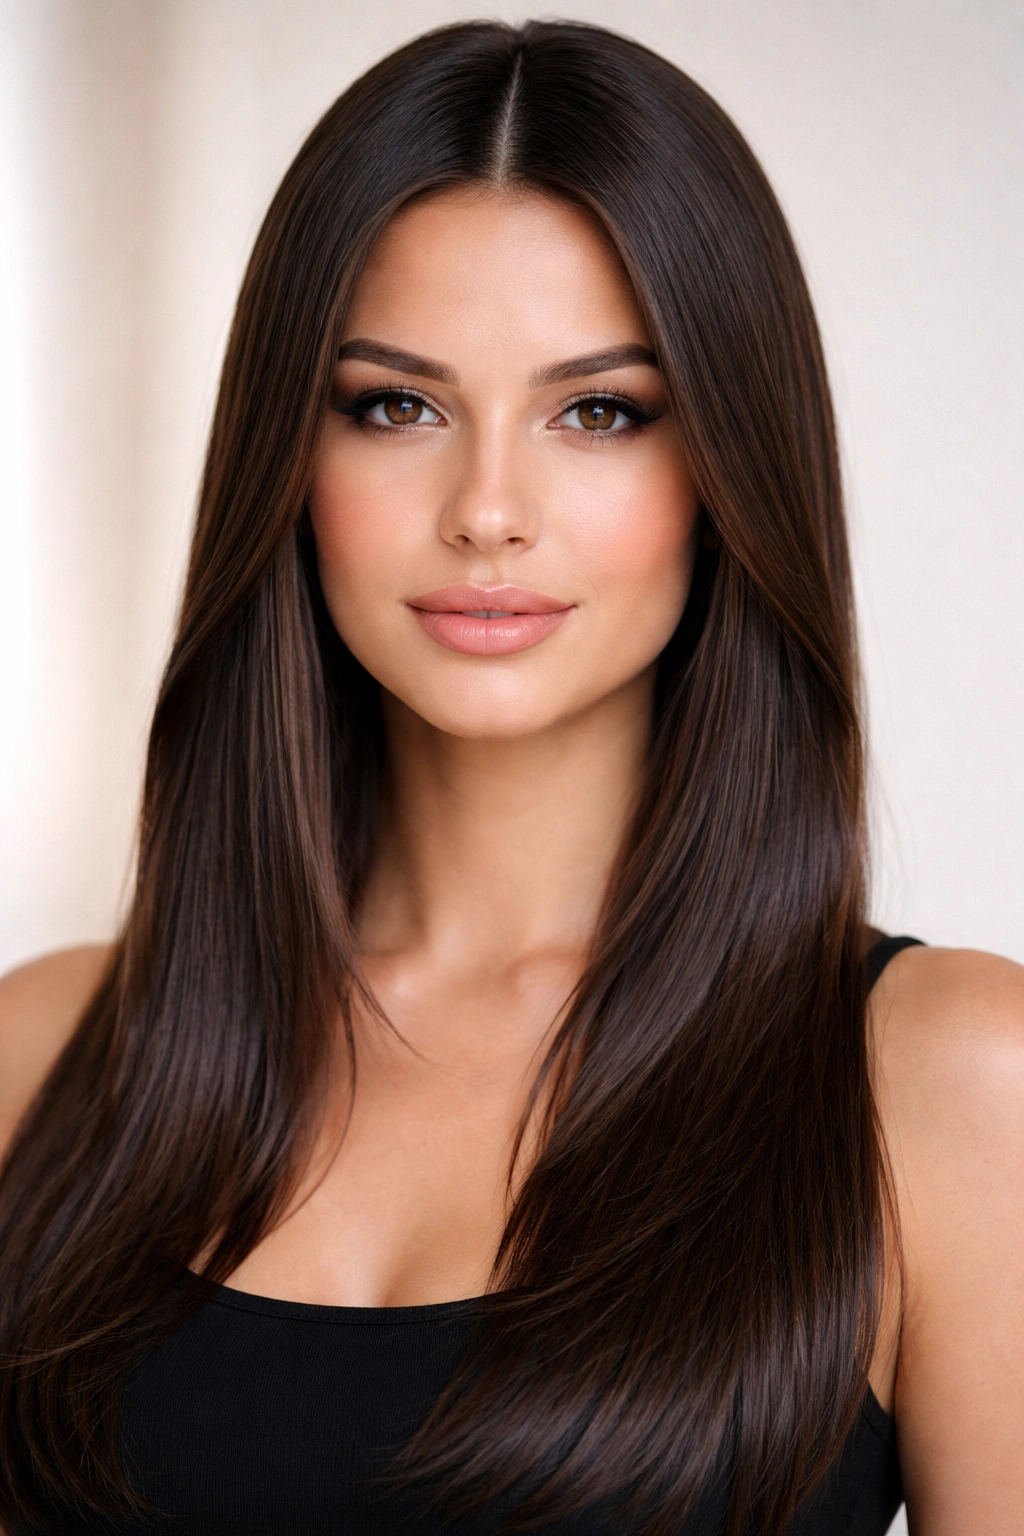
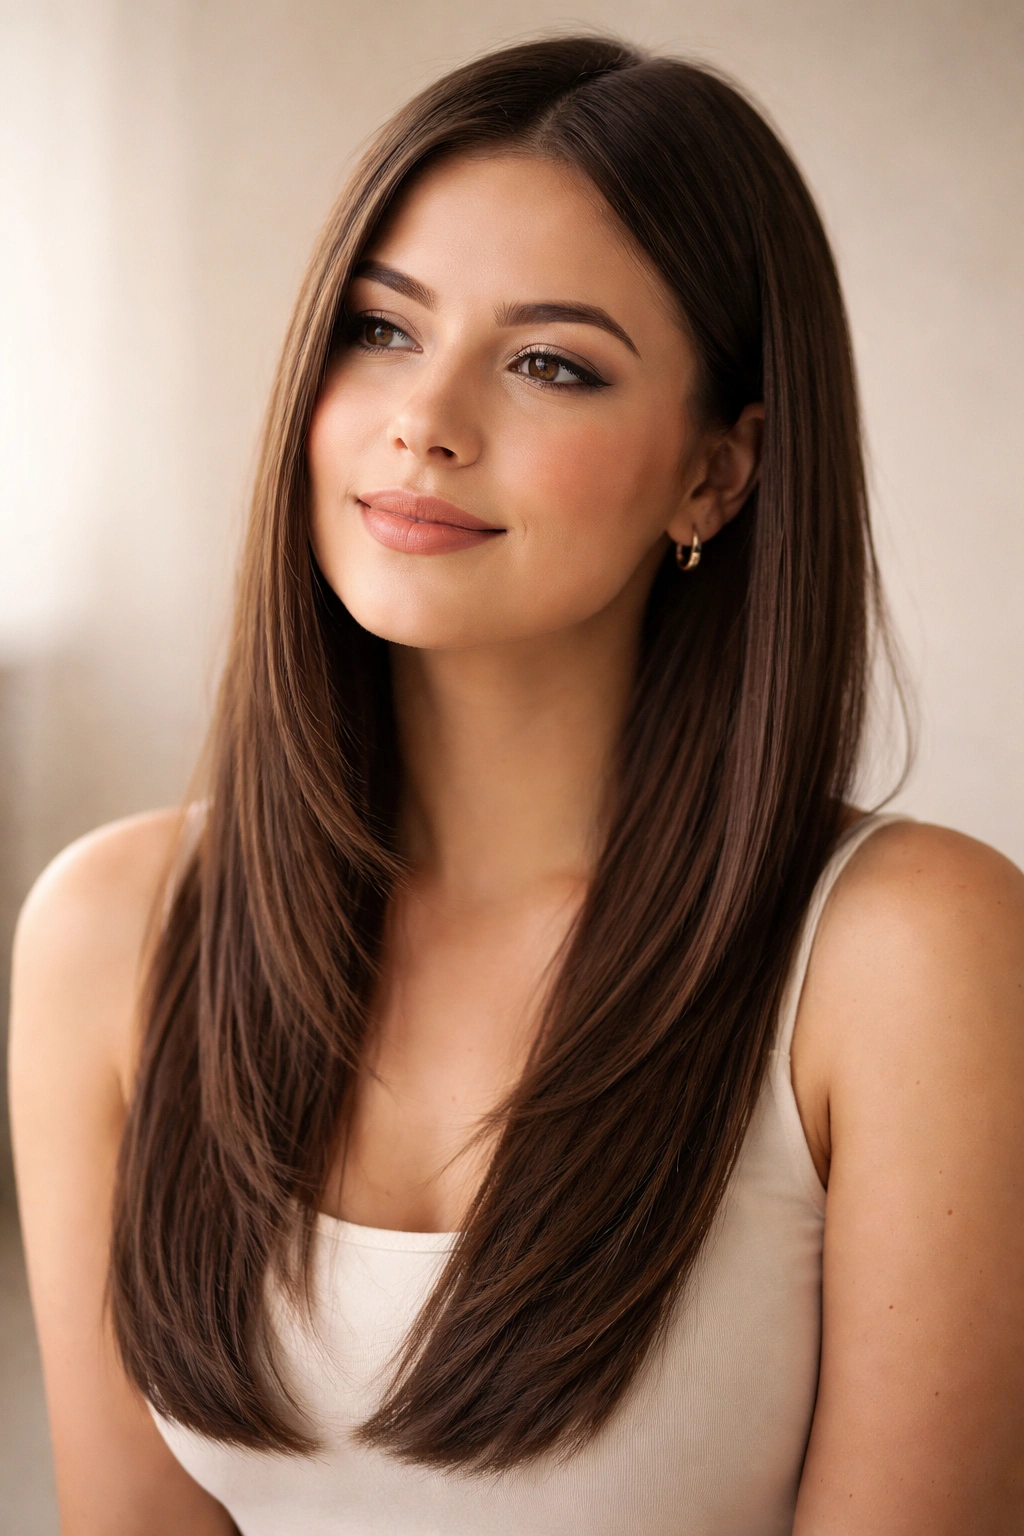
6. Long Straight Hair with Subtle Layers
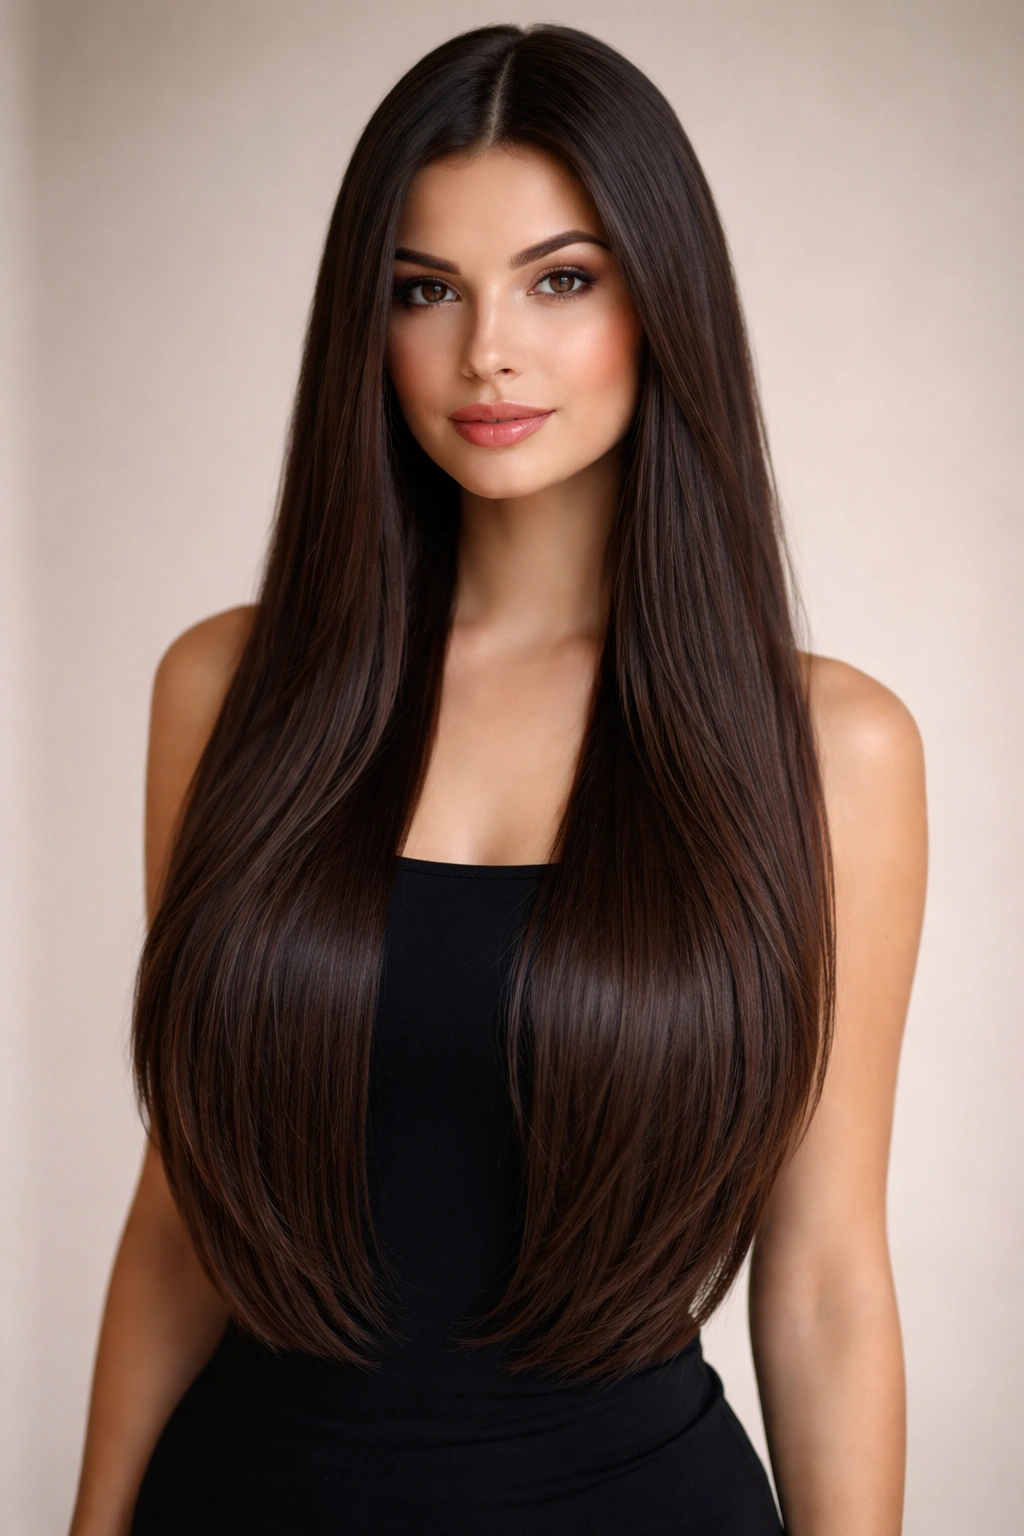
Sometimes the simplest approach is the most elegant. Long, straight hair with very subtle layers—barely perceptible changes in length—can actually be incredibly flattering for round faces because the length does all the elongating work, and the minimal layers prevent bulk without sacrificing sleekness. This look works if you commit to keeping your hair genuinely straight and well-maintained.
Why Length Matters More Than You Realize
Long hair automatically makes your face feel longer because the proportions shift—your face occupies a smaller percentage of your overall silhouette. Subtle layers prevent the bluntness that can sometimes emphasize roundness, without creating the choppy texture that changes the whole aesthetic. The key is keeping layers so subtle that they’re almost invisible, just enough to prevent flatness without obvious choppy edges.
Keeping Long Straight Hair Polished
- Schedule trims every 6-8 weeks just to maintain those subtle layers and remove dead ends
- Straighten regularly with a flat iron, especially at the ends where frizz tends to start
- Use a heat protectant spray before any heat styling
- Deep condition weekly because long straight hair needs moisture
- Consider a smoothing treatment quarterly to maintain shine and reduce frizz
Pro tip: Long straight hair looks best when it’s healthy and shiny, so invest in quality shampoo and conditioner—it makes more difference than you’d think.
7. Curved Lob with Inward Flip
A lob (long bob) that hits between your chin and shoulder becomes seriously flattering when the ends flip inward subtly rather than falling straight. This curved, inward flip creates a frame around your face that shortens the appearance of your lower face while the length still provides elongation. It’s the Goldilocks of hairstyles—not too short, not too long, with just enough movement to flatter a round face.
The Physics of Inward Flips
When hair flips inward at the ends, it draws attention upward and inward rather than letting your eye travel around the perimeter of your face. This subtle directional change is enough to create structure and definition without requiring choppy layers or dramatic texture. The flip happens because of how the hair is cut and how it’s blown dry—it’s not about permanent waves or heat-damage curls.
Achieving and Maintaining the Inward Flip
- Cut your lob to land between chin and shoulder, slightly longer in front and shorter in back if possible
- Ask your stylist for rounded layers that encourage the ends to curve inward naturally
- Blow dry the ends under using a round brush, rolling inward as you move down the length
- Straighten with a flat iron at a slight downward angle, then flip the iron slightly at the very end
- Use a texturizing spray to help the ends grip and hold that inward direction
- Straighten underneath the flip to keep the effect polished and intentional
Worth knowing: This style works best when you commit to blow-drying or straightening—air-dried lobs tend to flip outward instead.
8. Straight Bangs with Shoulder-Length Layers
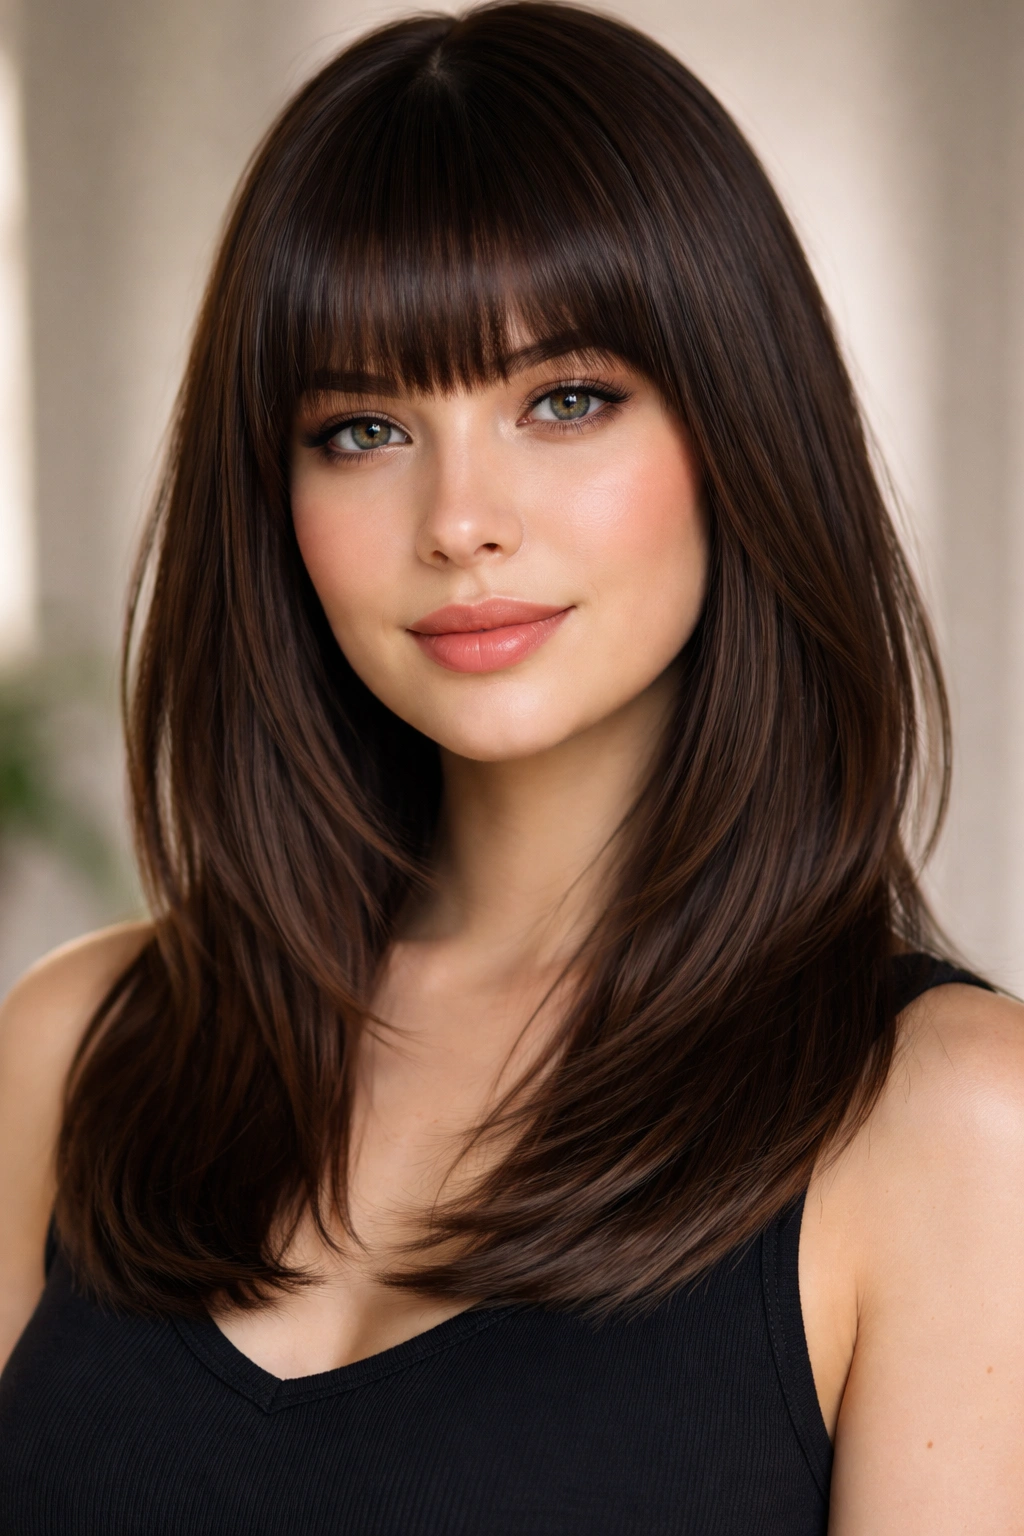
Blunt, straight bangs paired with shoulder-length layered hair creates a bold statement that works beautifully on round faces because the bangs add a horizontal line that’s crisp and definitive, while the shoulder-length layers below add vertical length. The contrast between the blunt bangs and the softer layers creates visual interest that prevents your face shape from being the focal point. This style has an undeniable cool factor.
Straight Bangs: The Ultimate Game-Changer
Straight-across bangs—cut bluntly rather than swept to the side—create a bold frame for your face. On a round face, this works because the bluntness of the bangs commands attention and creates structure, while the layers underneath provide length. It’s a statement look that says you’re intentional about your style. The key is that the bangs need to be genuinely straight and blunt; any waviness defeats the purpose.
Styling Blunt Bangs and Layers
- Dry bangs first, straight down, using a paddle brush and blow dryer
- Straighten bangs with a flat iron to ensure sharpness and to prevent any downward curve
- Blow dry the layered sections at your crown with a round brush for subtle volume
- Straighten all layered sections with a flat iron, working methodically from back to front
- Use a volumizing spray at the crown to add height and elongate proportions
- Keep bangs trimmed every 3 weeks to maintain that crisp, blunt edge
Pro tip: This style looks best when bangs are cut to graze your eyebrows or sit just above them—too long and they hide your eyes, too short and they can look harsh.
9. Graphic Deep Side Part
A graphic deep side part—where your hair is heavily weighted toward one side, sometimes with dramatic undercut styling on the other—creates asymmetry that’s deeply flattering for round faces. The depth of the part means you’re creating shadow and contour on one side of your face, which adds definition. When paired with sleek straight hair, this style feels polished and intentional.
Why Deep Side Parts Create Flattering Shadows
When your part is dramatic—starting from near your ear or temple on one side—it creates a visual shadow line that adds depth to your face. This shadow effect is similar to contouring makeup; it makes your face feel less round and more structured. The side of your hair that has less volume looks smaller because of the shadow, while the fuller side balances it. It’s subtle but remarkably effective.
Creating and Maintaining the Graphic Look
- Ask your stylist to cut your layers in a way that encourages volume on the fuller side
- Create your part starting as far back as your temple, driving it dramatically to one side
- Blow dry your fuller side with volume and height at the crown
- Blow dry your lighter side smooth and relatively flat to enhance the contrast
- Straighten both sides to create that polished, intentional look
- Use a side-parting spray to help your part stay exactly where you’ve created it
Worth knowing: This style requires styling to look intentional—without blow-drying and straightening, it just looks like you have a crooked part.
10. Straight Shag with Choppy Layers
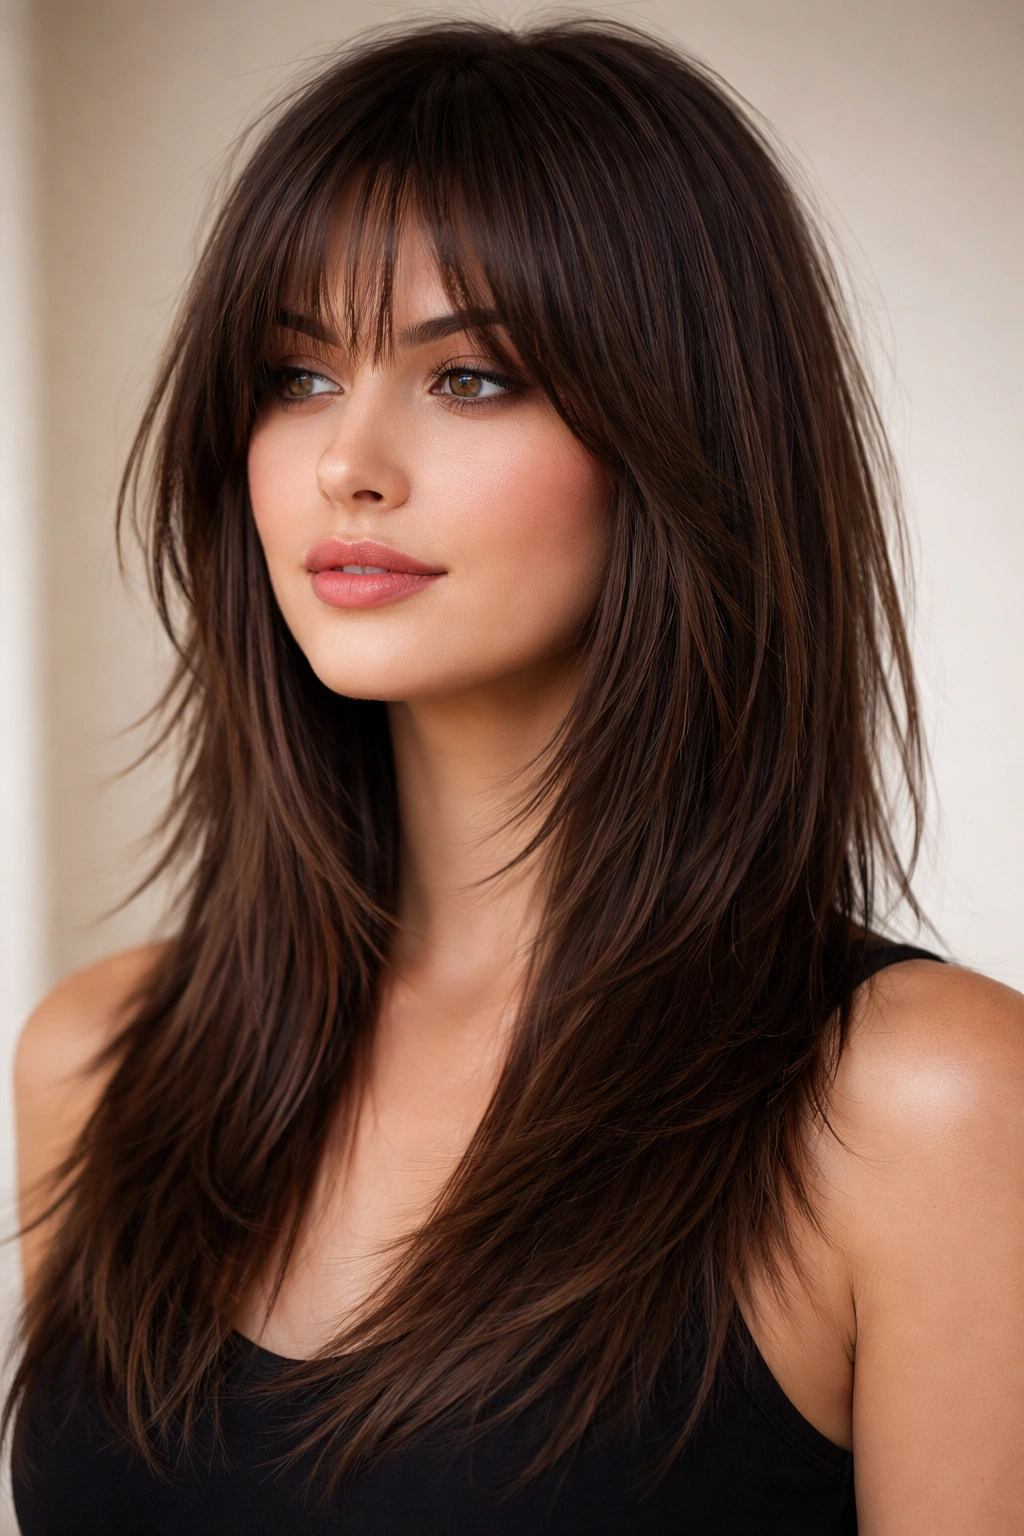
A shag cut—textured, choppy layers throughout that create movement and dimension—might seem to contradict everything about straight hair, but a shag styled straight creates an incredibly chic, modern look that actually works beautifully for round faces. The choppy texture creates visual interest and prevents any heavy, round appearance, while keeping your hair predominantly straight maintains the polished aesthetic. This style walks the line between texture and sleekness perfectly.
Choppy Layers Create Movement Without Bulk
A shag is intentionally choppy rather than subtly layered, and that choppiness is exactly what round faces benefit from. Each choppy layer catches light differently, creating dimension that makes your face feel less flat and round. When you style a shag straight with texturizing products rather than curly and tousled, you get an edgy, modern look that’s distinctly flattering. The texture happens at every length, creating a unique silhouette.
Building and Styling a Straight Shag
- Ask your stylist for choppy layers throughout, starting around mid-cheekbone and increasing in choppiness toward the ends
- Keep more length on top than the sides to create the shag proportions
- Blow dry the longer top layers upward for height and dimension
- Straighten each choppy layer with a flat iron to keep the effect sharp and intentional
- Apply a texturizing spray or sea salt spray to emphasize the choppy texture throughout
- Work product through with your fingers to separate the layers and prevent them from clumping together
Pro tip: Shags look best when you embrace the choppy texture and don’t try to smooth everything into one flat surface—let each layer show its individuality.
Final Thoughts
The straight-hair styles that flatter round faces all share one crucial element: they deliberately interrupt the horizontal lines of your face shape through strategic angles, asymmetry, or length. Whether you’re choosing height through layers, creating shadow with a deep side part, or using blunt lines to add definition, the goal is always to add visual interest that prevents roundness from being the dominant visual element.
The beautiful thing about working with straight hair is that it holds clean lines beautifully, so your stylist’s vision actually translates to your real-life styling. You don’t have to worry about texture adding unexpected softness or waves changing the proportions you’ve worked to create. Straight hair gives you precision, which means you can trust that the flattering angles and lines your stylist cuts are going to work exactly as intended.
Remember that face-shape dressing isn’t about fighting who you are—it’s about understanding the proportions that make you look and feel most confident. Round faces are gorgeous, and the right straight-hair style celebrates your features while adding structure where you want it. Experiment with different options, work with a stylist who understands your goals, and don’t underestimate how much a perfectly executed style can make you feel like the absolute best version of yourself.