Edge styles for straight hair offer a sophisticated way to frame the face and add intentional detail to even the simplest hairstyle. Whether you’re working with naturally straight hair or have straightened your texture, the edges—those delicate baby hairs around your hairline, temples, and nape—deserve as much attention as the rest of your look. The right edge styling can completely transform your appearance, creating polish, personality, and a finished quality that elevates even an ordinary ponytail or loose waves into something intentional and put-together.
Straight hair presents a unique advantage when it comes to edge control. Because straight hair lies close to the scalp and lacks natural curl or wave pattern, it responds beautifully to sculpting products and styling techniques that would be impossible to execute on textured hair. You can create crisp geometric patterns, achieve mirror-smooth definition, or craft soft, feathered edges with equal ease. The challenge isn’t about fighting your hair’s natural behavior—it’s about choosing a style that complements your face shape, your personal aesthetic, and the overall vibe you’re going for on any given day.
The edges of your hair are the frame for your face, and when they’re styled with intention, people notice. From sleek, minimalist lines to soft, romantic waves, from bold graphic patterns to subtle texture, there’s an edge style that fits every personality and every occasion. The best part? Most of these styles require just a few basic tools and products that you probably already have at home. Let’s explore 10 edge styles that work beautifully with straight hair and how to achieve each one.
1. Sleek Gel Edges
The sleek gel edge is the gold standard for polished, no-nonsense sophistication. This style flattens the baby hairs against your head in a perfectly smooth line, following the natural contour of your hairline. It works whether you’re styling your hair into a tight bun, a slicked-back ponytail, or wearing it down—the tidy edges simply make everything look more intentional and controlled.
Why It Works for Straight Hair
Straight hair naturally wants to lie flat and smooth, which makes achieving crisp gel edges almost effortless compared to working with curl or texture. The hair cooperates with your styling efforts instead of fighting back, allowing you to create clean lines that actually hold their shape throughout the day. A light-to-medium hold gel is all you need—gel that’s too heavy can look clumpy or sticky, while gel that’s too light won’t offer the control you’re going for.
How to Apply Gel Edges Like a Pro
- Use a fine-tooth comb or edge brush to section and smooth your edges before applying product
- Apply gel in thin, directional strokes following your hairline’s natural curve
- Start at one temple and work around toward the nape, always moving in the direction you want the hair to lay
- Use your fingers or brush to smooth any flyaways, pressing them into the gel
- For extra hold, apply a very light second layer once the first layer begins to dry
- Let the gel dry completely before touching your hair—usually 5-10 minutes—so the hold sets properly
Pro tip: Apply your gel edges as the final step of your styling routine. If you do them first and then manipulate your hair while creating your main hairstyle, you’ll disrupt the smoothness you just created.
2. Soft Wave Edges
If sleek edges feel too severe for your taste, soft wave edges offer a romantic, approachable alternative that still looks intentional and finished. Rather than creating a ruler-straight line, you’re sculpting gentle undulations that follow the contour of your face. This style softens your overall look while maintaining that polished edge-control aesthetic.
The Technique Behind Soft Waves
Creating soft waves in your edges requires a slightly different product approach than sleek styles. Instead of a firm-hold gel, you want a lightweight mousse, a soft-hold cream, or even a styling lotion that provides texture without the stiffness. The goal is to guide your hair into subtle S-curves that look natural rather than sculpted. Because straight hair has no natural wave pattern, you’re essentially teaching it to move in a specific direction through product and gentle heat.
Steps to Style Soft Wave Edges
- Apply a lightweight styling mousse or cream while your edges are still slightly damp
- Use a fine-tooth comb or edge brush to create gentle wave shapes, starting from your temple
- For more pronounced waves, use a small curling iron on the lowest heat setting, following the directional line you created with your comb
- Allow waves to cool completely (this sets the shape) before releasing them from the curl
- Smooth the waves lightly with your fingers to create an organic, undone feeling
- Optional: finish with a very light hairspray to preserve the waves without adding crunch
Worth knowing: Soft wave edges pair beautifully with loose waves or straight styles worn down, as well as slicked-back ponytails where you want a touch of femininity at the edges.
3. Swooped Bangs with Curved Edges
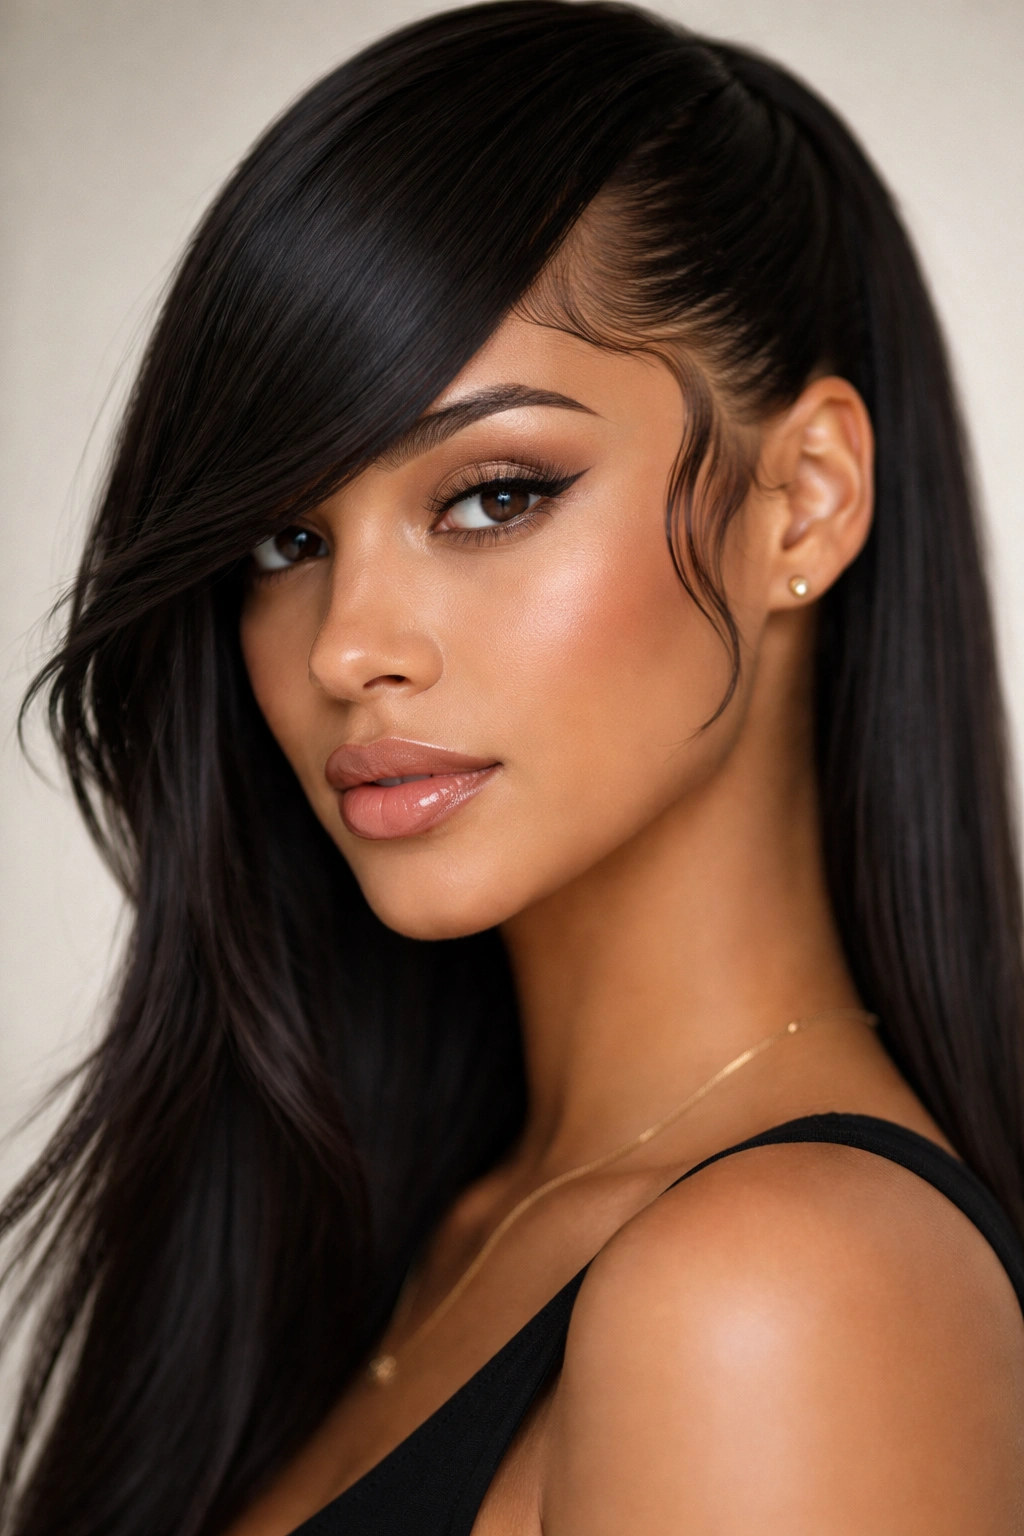
This style combines a longer side-swept bang with curved, sculpted edges that frame the face dramatically. The edges aren’t perfectly smooth or straight—instead, they follow the swooping motion of the bang, creating a cohesive, intentional design. It’s bold and fashion-forward while remaining timeless.
What Makes This Style Distinctive
The swooped edge is essentially asymmetrical by nature. One side of your hairline gets more edge definition and curvature than the other, creating movement and visual interest. Your straight hair’s natural ability to lie smoothly against your head means you can achieve this dramatic shape without fighting curl or texture. The curved edges actually guide the eye toward your face and can be particularly flattering if you have a longer face shape or prominent cheekbones.
Achieving the Perfect Swooped Edge
- Start with a deep side part on whichever side you want the swooped bang to favor
- Blow-dry or straighten your edges smooth, then apply a flexible-hold gel or edge control cream
- Using an edge brush, sculpt a curved line that follows the movement of your longer side bang, creating a subtle arc
- The curve should be most pronounced near your temple and gradually straighten as it moves toward the back of your head
- You can make the curve more or less dramatic depending on how pronounced you want the swooped effect
- Allow gel to dry for at least 10 minutes so the curved shape sets properly
Pro tip: This style works best when you refresh the edges every morning or every other day, depending on how well the gel holds up for you.
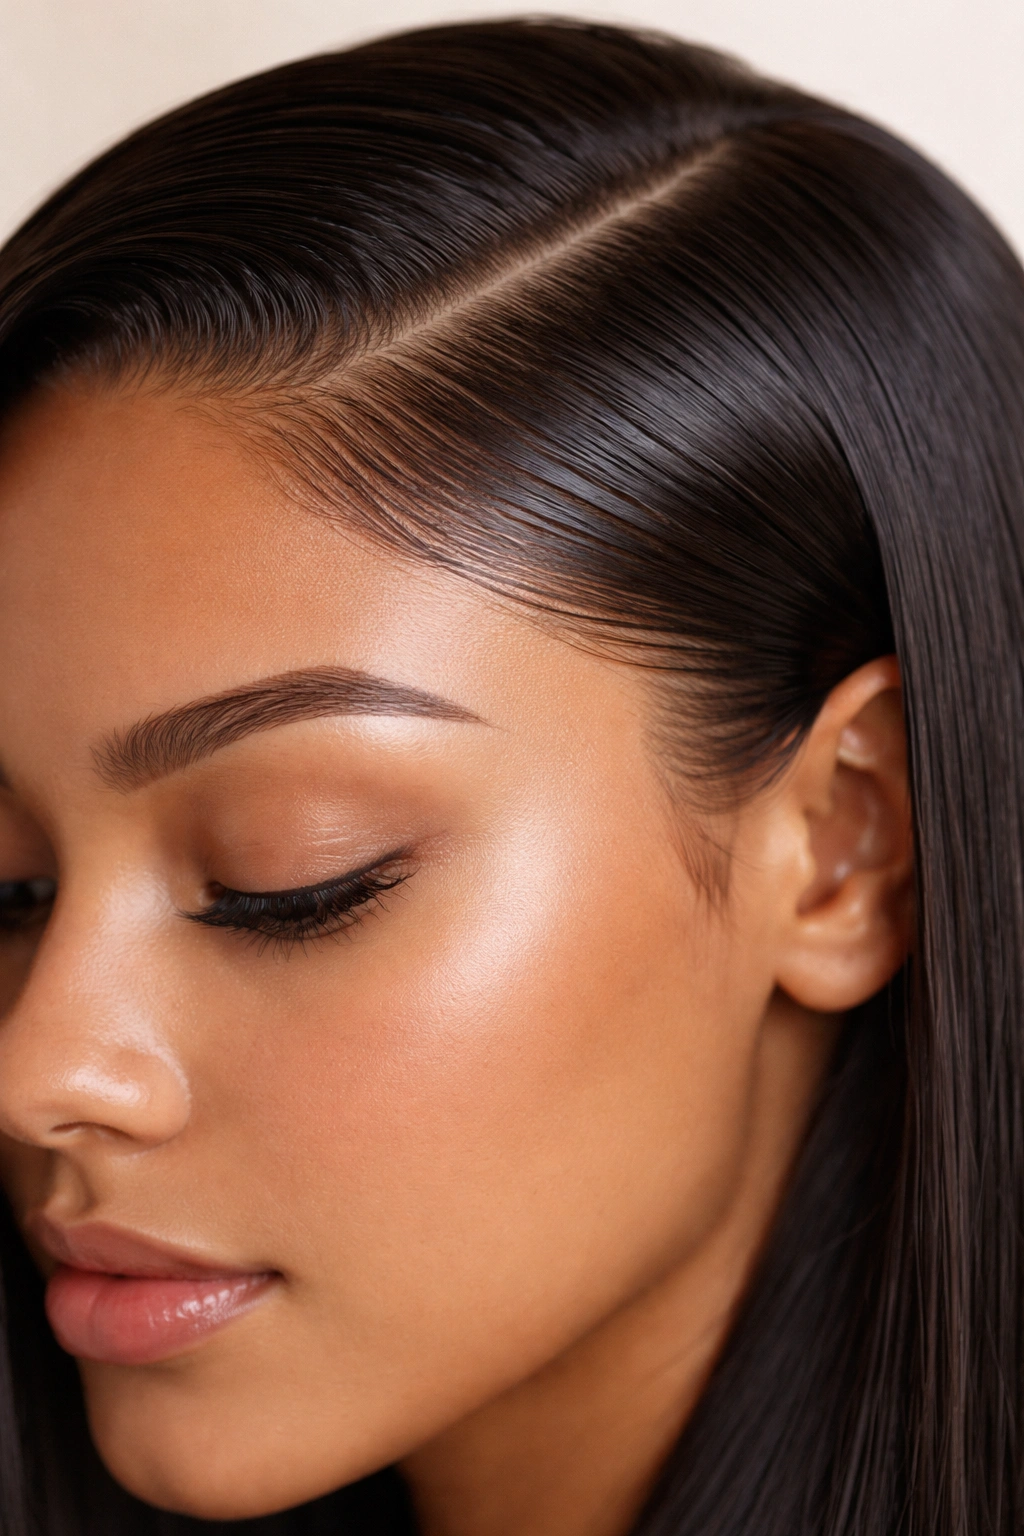
4. Side Part Edges with Definition
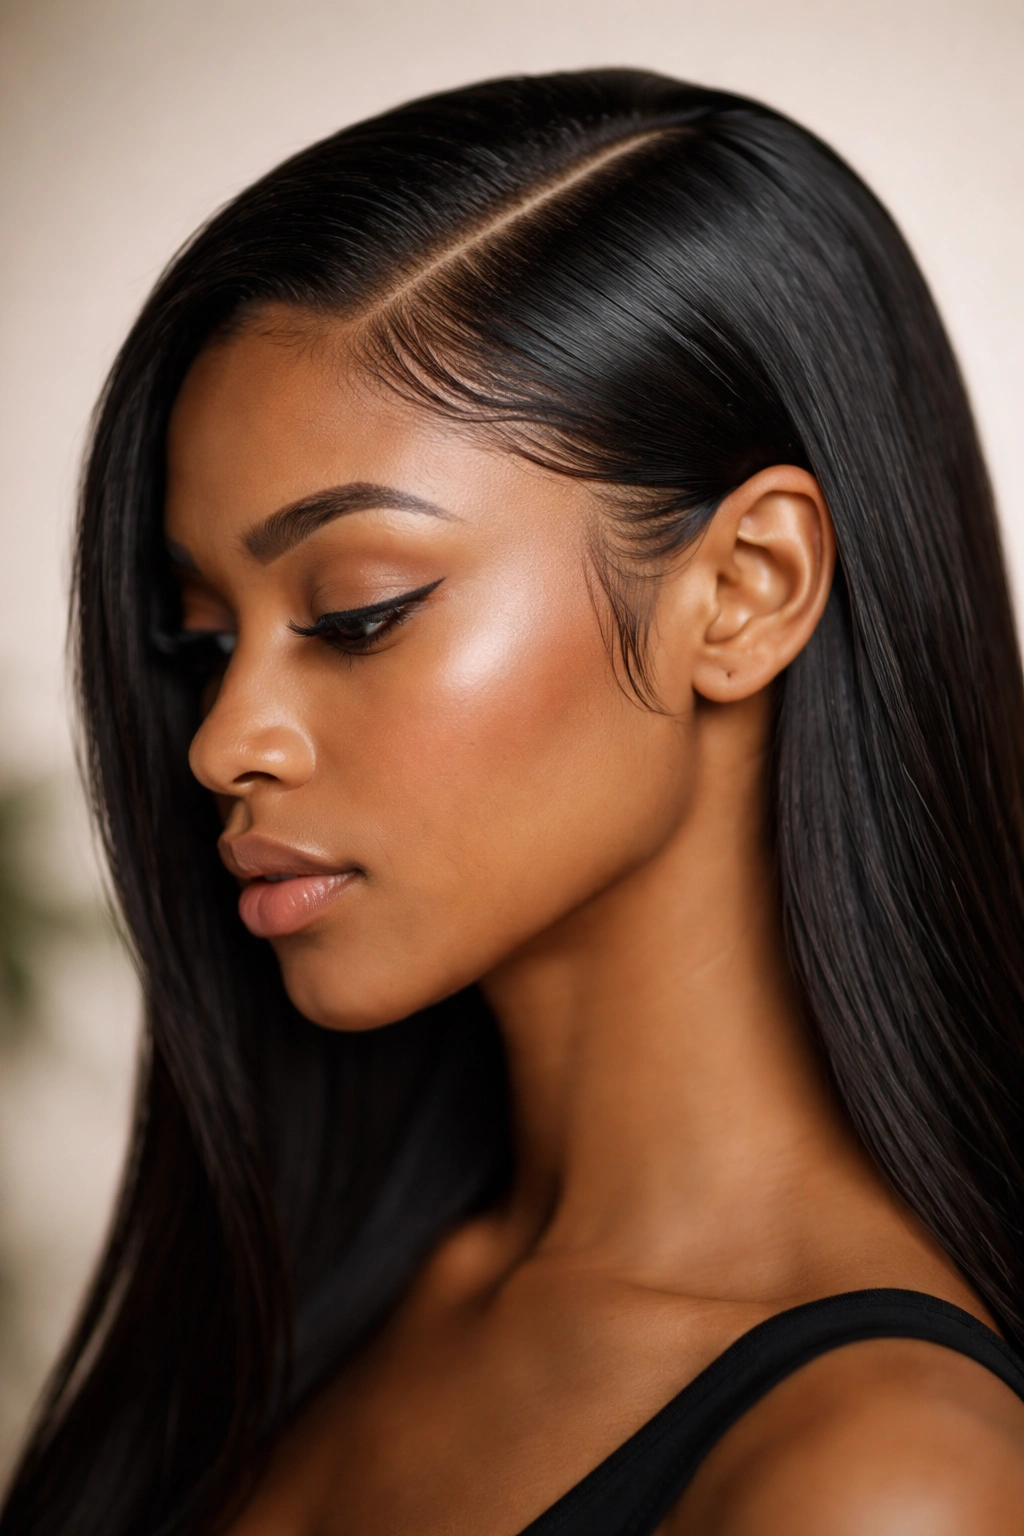
A sharp side part is a classic that never goes out of style, and when you pair it with deliberately styled edges, it becomes something more striking than just a regular part. Your edges get clean definition that extends the line of your part down around your hairline, creating an almost architectural quality to your overall look.
The Power of Edge Definition at Your Part Line
When you sculpt your edges to emphasize your side part, you’re drawing attention to the deliberate structure of your style. This works particularly well if you have a symmetrical or oval face shape, as the strong side-part line can create the illusion of angularity. Straight hair makes this technique easy because the hair naturally wants to separate along your part line and lie smoothly on either side.
Building Clean Side-Part Edges
- Create your side part using a fine-tooth comb or rat-tail comb, making sure the line is clean and precise
- Apply edge control gel starting at your part line, working down one side of your hairline toward your ear
- Use an edge brush or the applicator brush that comes with most edge controls to create a clean line
- The edges on your part side should be noticeably more defined and controlled than the other side
- On the smaller side of the part, you can keep edges softer and less defined, or match the sculpted look on both sides if you prefer symmetry
- A light hairspray over the finished style will help everything stay put throughout the day
Worth knowing: This edge style looks particularly sharp when paired with a sleek low bun or a straight blowout worn down.
5. Blunt Forehead Fringe Edges
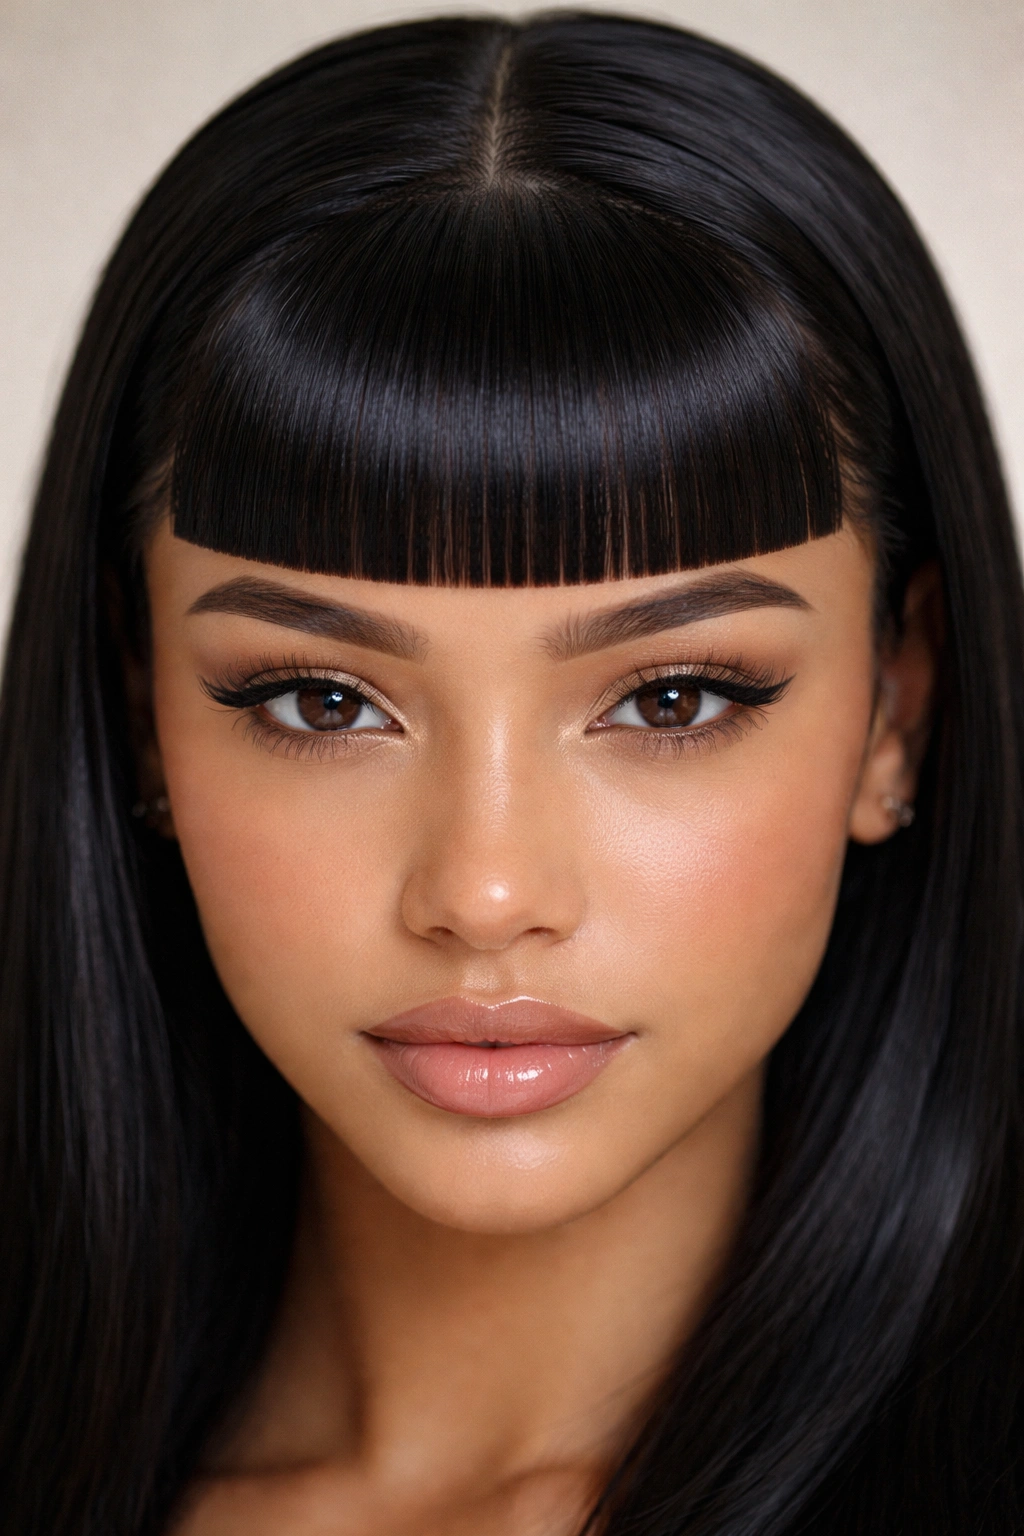
For a bold, statement-making look, try styling your edges to create the illusion of a blunt forehead fringe. Rather than letting baby hairs be wispy and undefined, you sculpt them into a horizontal line across your forehead that mimics the look of bangs—even if you don’t actually have bangs cut into your hair.
Why a Faux-Fringe Edge Works
This style is particularly clever because it offers the visual impact of bangs without the commitment or maintenance of actually cutting them. If you’re curious about bangs but not ready to commit, or if you love the bang aesthetic but your hair texture doesn’t cooperate with cut bangs, sculpted edges can give you that look. It’s also a fun way to change up your appearance without any haircut.
Creating a Blunt Forehead Edge Line
- Blow-dry or straighten your edges completely smooth and flat against your skin
- Apply a medium-hold gel or edge control with a firm applicator brush
- Starting at one temple, create a horizontal line across your forehead following the curve of your hairline
- The line should be blunt and defined, almost like you’re drawing with the brush
- Work slowly and deliberately, making sure the line is even on both sides of your face
- Use your fingers to smooth any wispy hairs into the line, pressing them into the gel
- For extra bluntness and hold, consider a second pass of gel once the first layer is nearly dry
Pro tip: A blunt forehead edge is most striking when you wear your hair slicked back or in a high style where your entire face and hairline are visible.
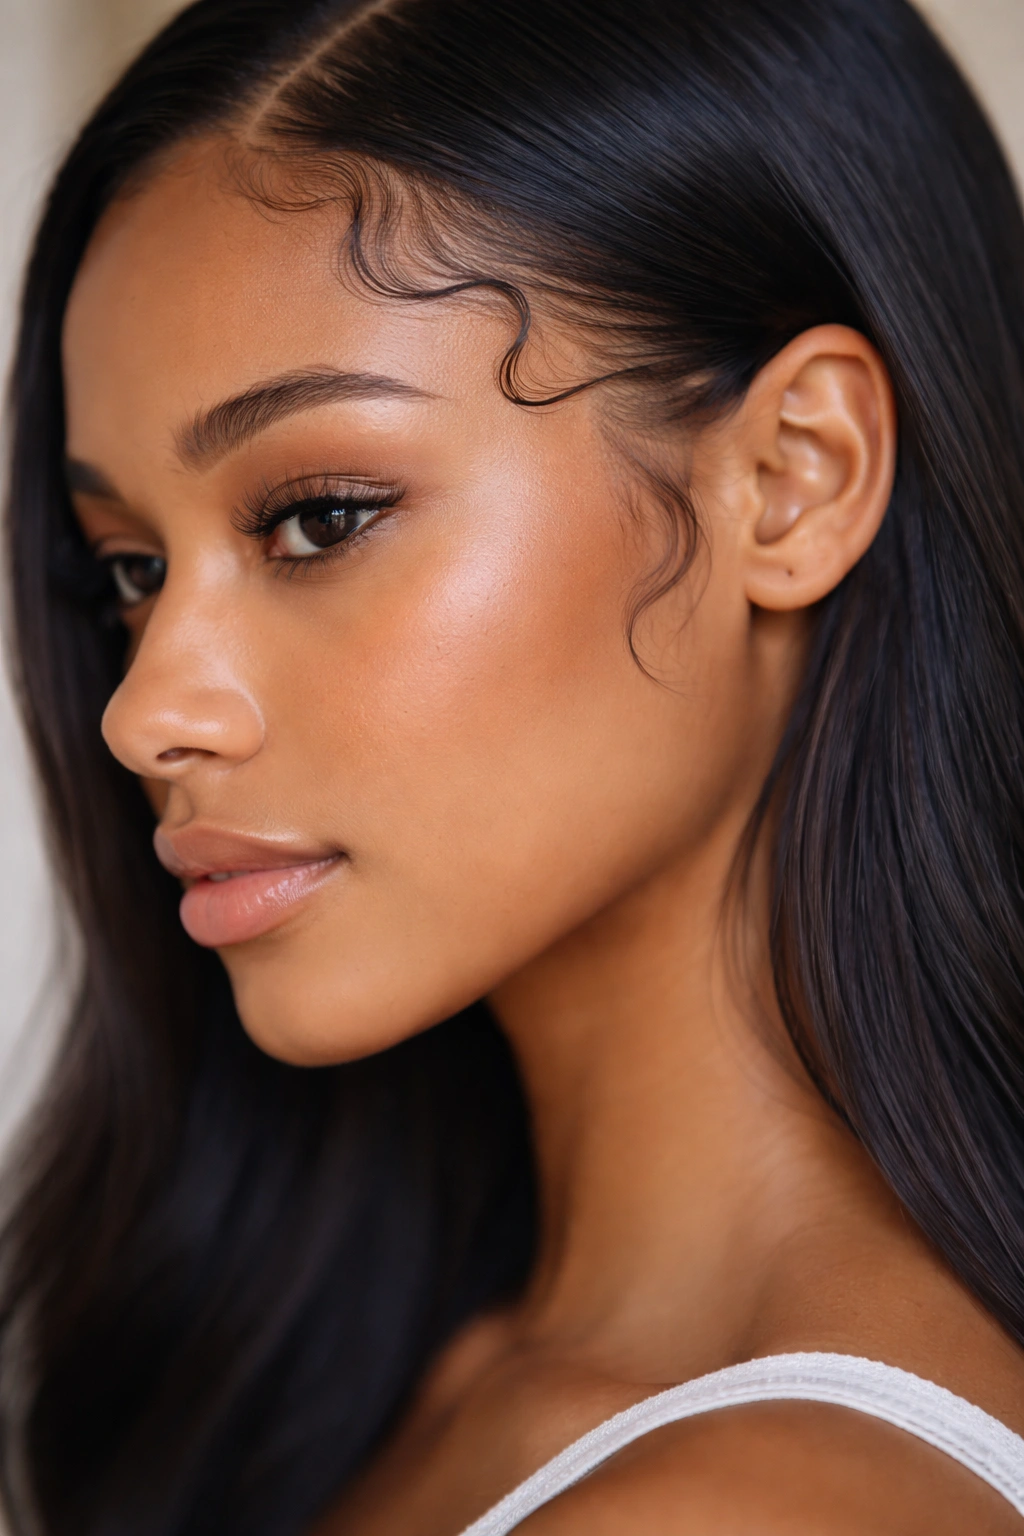
6. Curved Baby Hair Edges
Curved edges follow the natural shape of your hairline in a gentle arc, creating soft definition without the severity of perfectly straight lines. This style feels both polished and romantic—structured enough to look intentional, but soft enough to feel approachable.
The Beauty of Working With Your Natural Hairline
Instead of fighting against or flattening your natural hairline, curved edges celebrate and enhance its shape. Everyone’s hairline has a unique curve or pattern, and by sculpting your edges to emphasize that natural contour, you create a style that looks custom to your face. Straight hair makes this easier because it cooperates with the curves you’re creating rather than pulling or curling in unexpected directions.
Sculpting Natural Curved Edges
- Apply a lightweight gel, mousse, or edge control cream while your hair is still slightly damp
- Use a soft edge brush or comb to follow the natural curve of your hairline
- Work in small sections, starting from one temple and moving around toward the nape
- Curve around your ear (if you’re styling hair back) and down the back of your neck
- The curves should be subtle and organic rather than exaggerated or geometric
- Use your fingers to smooth everything into place, creating a soft, finished look
- Allow to dry for 5-10 minutes so the curved shape sets without looking stiff
Worth knowing: Curved edges look beautiful with almost any hairstyle—down hair, ponytails, buns, braids, or simply a sleek blowout.
7. Braided Edge Detail
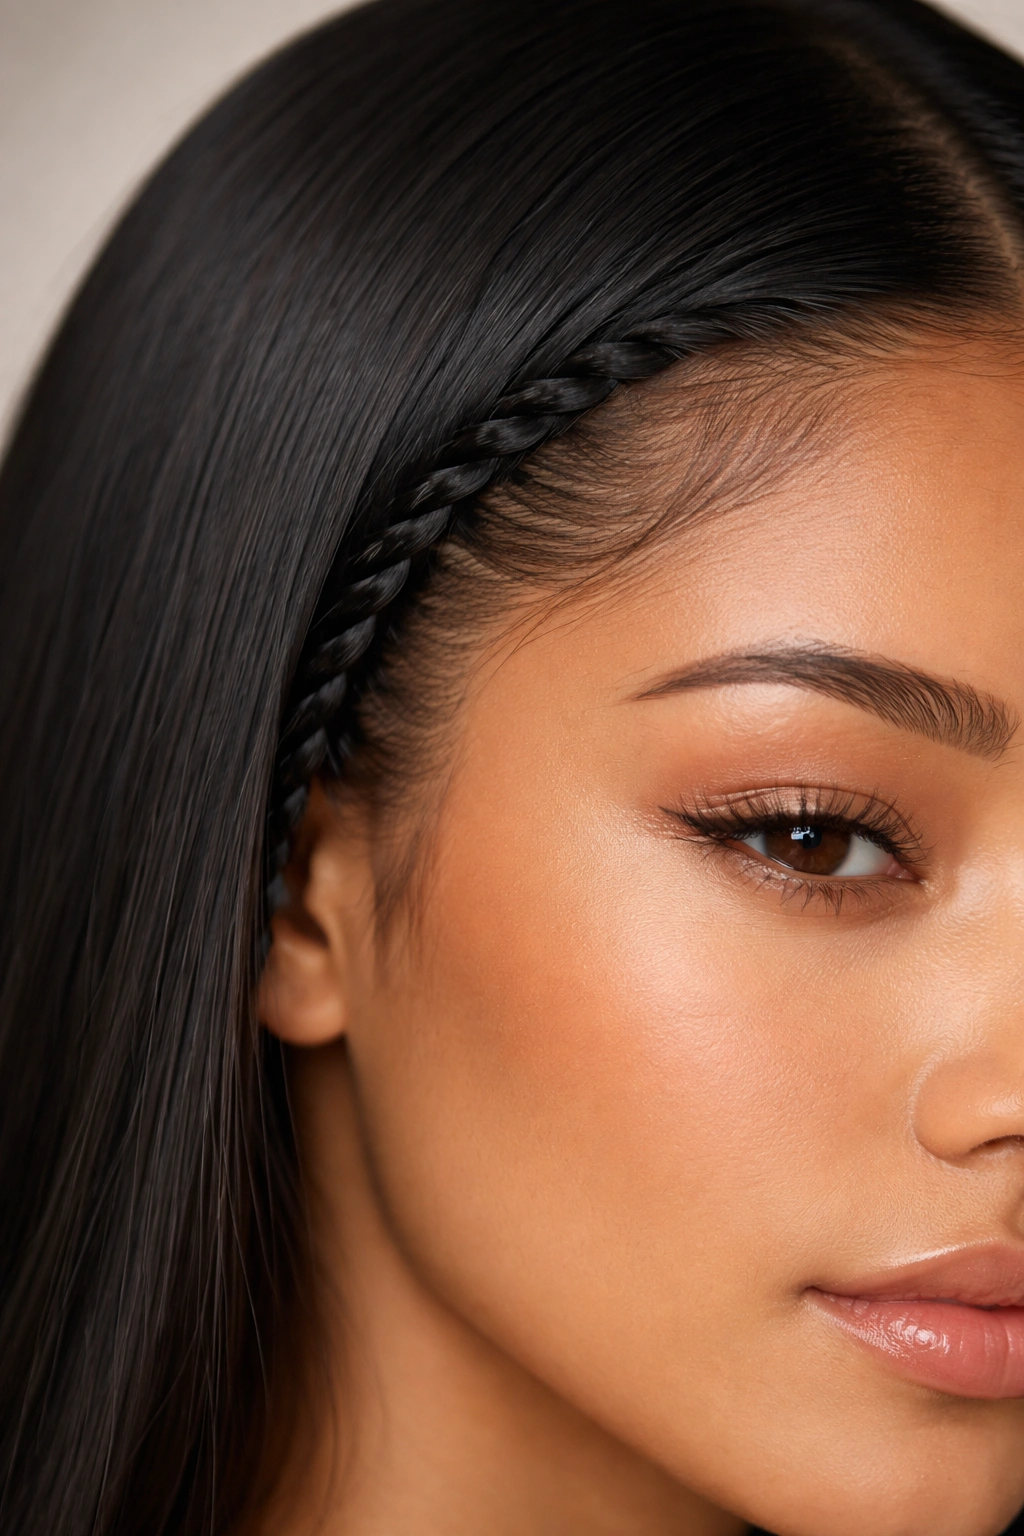
For a more textured, fashion-forward approach, try incorporating a thin braid into your edge styling. A single braid running along your hairline or temple adds dimension and visual interest while still maintaining that polished, intentional quality that great edge styling delivers.
How Braiding Adds Texture to Straight Hair
Because straight hair doesn’t have inherent texture or curl, adding a deliberate braid element creates a striking contrast between the smooth sections and the textured braid. This style works beautifully if you want to add interest without making your overall look too complicated. A thin three-strand braid or even a fishtail braid can be incorporated into your edges in multiple ways.
Incorporating Braids Into Your Edge Style
- Start with straightened or blow-dried hair that’s completely smooth
- Create a thin braid along one or both sides of your hairline, beginning at the temple
- Secure the braid end invisibly with a tiny elastic or bobby pin hidden in your hair
- You can create a single braid on one side only, or matching braids on both sides for symmetry
- Optional: Add a thin gel or mousse to the rest of your edges for a polished look alongside the braided detail
- The braided section creates its own natural texture, so the remaining edges can stay smooth and simple
- This style pairs beautifully with a high ponytail or bun where the braided edges draw attention to your face
Pro tip: Even if you’ve never braided hair before, start with a simple three-strand braid and practice once or twice—you’ll master it quickly.
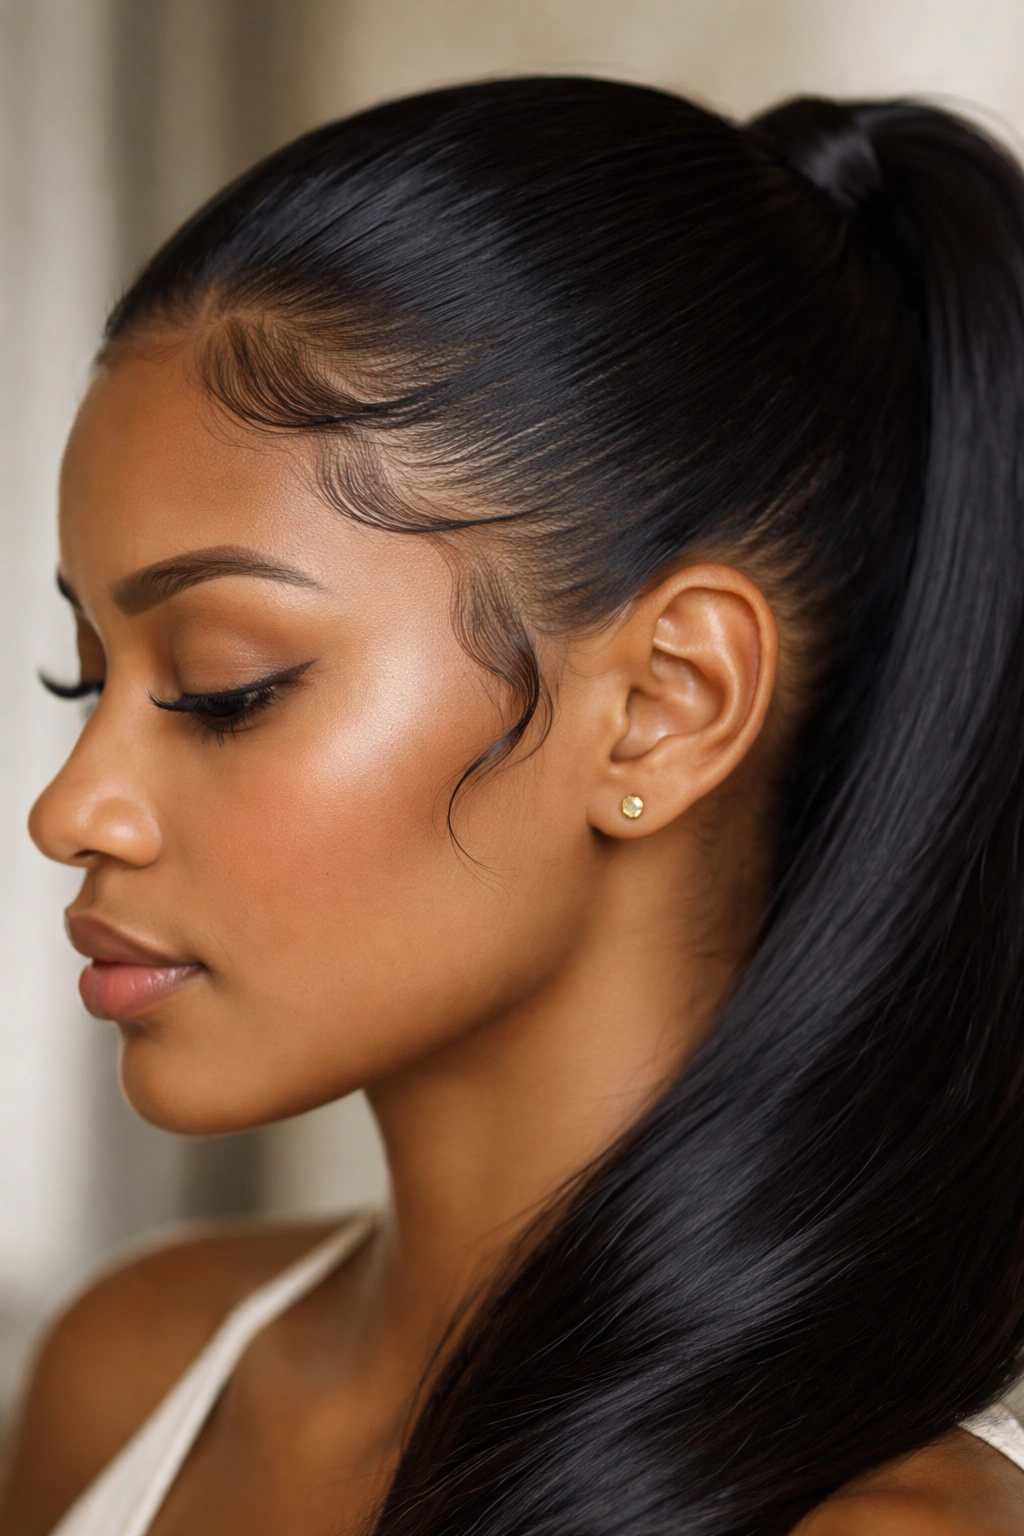
8. Slicked-Back High Bun Edges
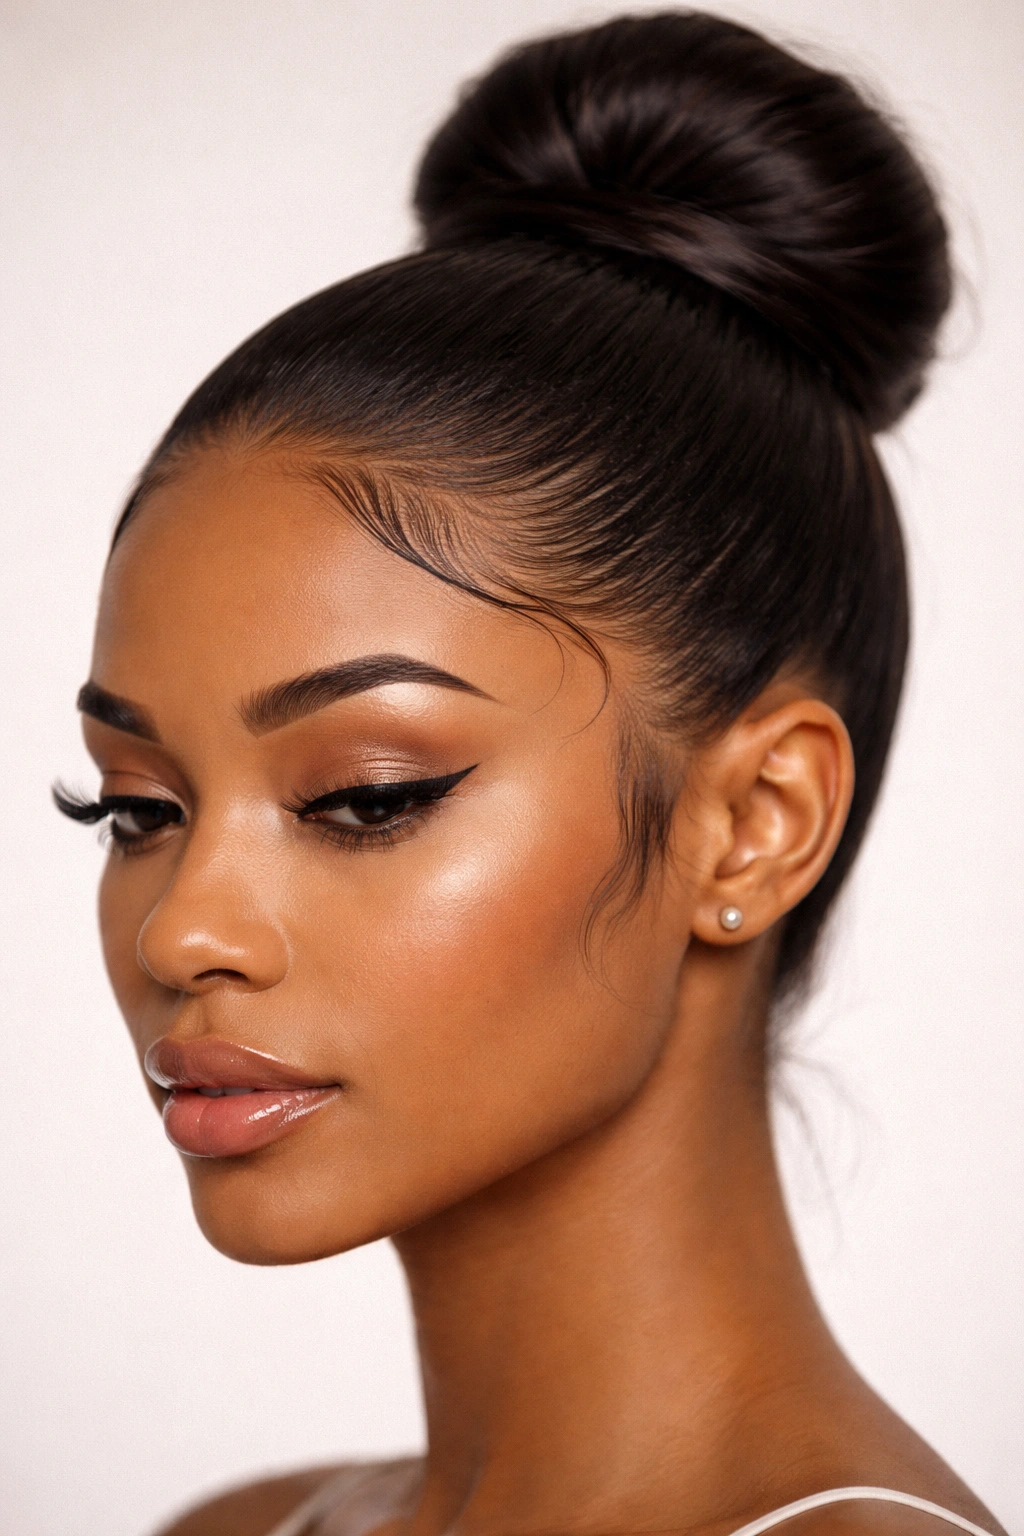
When you pull your hair into a sleek high bun or top knot and sculpt your edges dramatically, you create one of the most striking and sophisticated looks possible. With your hairline completely exposed, perfectly styled edges become the star of the show. This style demands precision and hold, and straight hair delivers both effortlessly.
Why Edges Matter More in Pulled-Back Styles
When your hair is completely off your face, there’s nowhere for your edges to hide. Every imperfection, every wispy hair, every lack of definition becomes visible. Conversely, when your edges are flawlessly sculpted to frame this exposed hairline, the effect is incredibly polished and intentional. The edges essentially become a design element that completes your entire look.
Perfecting Edges for a High Bun
- Create your high ponytail or bun first, securing it tightly but not so tight that it causes discomfort
- Apply a firm-hold gel to all your edges in smooth, directional strokes
- Work around your entire hairline, smoothing any baby hairs back and into the gel
- Pay special attention to your temples and the area directly in front of your ears
- Use an edge brush to create crisp definition, almost like you’re painting a line around your hairline
- For the nape area, curve the edges gently to follow your natural neck contour
- Allow the gel to dry completely for a long-lasting hold
Worth knowing: This is the edge style that requires the strongest hold gel and the most frequent touching up, as any movement of your bun can disturb your edges.
9. Textured Piece-y Edges
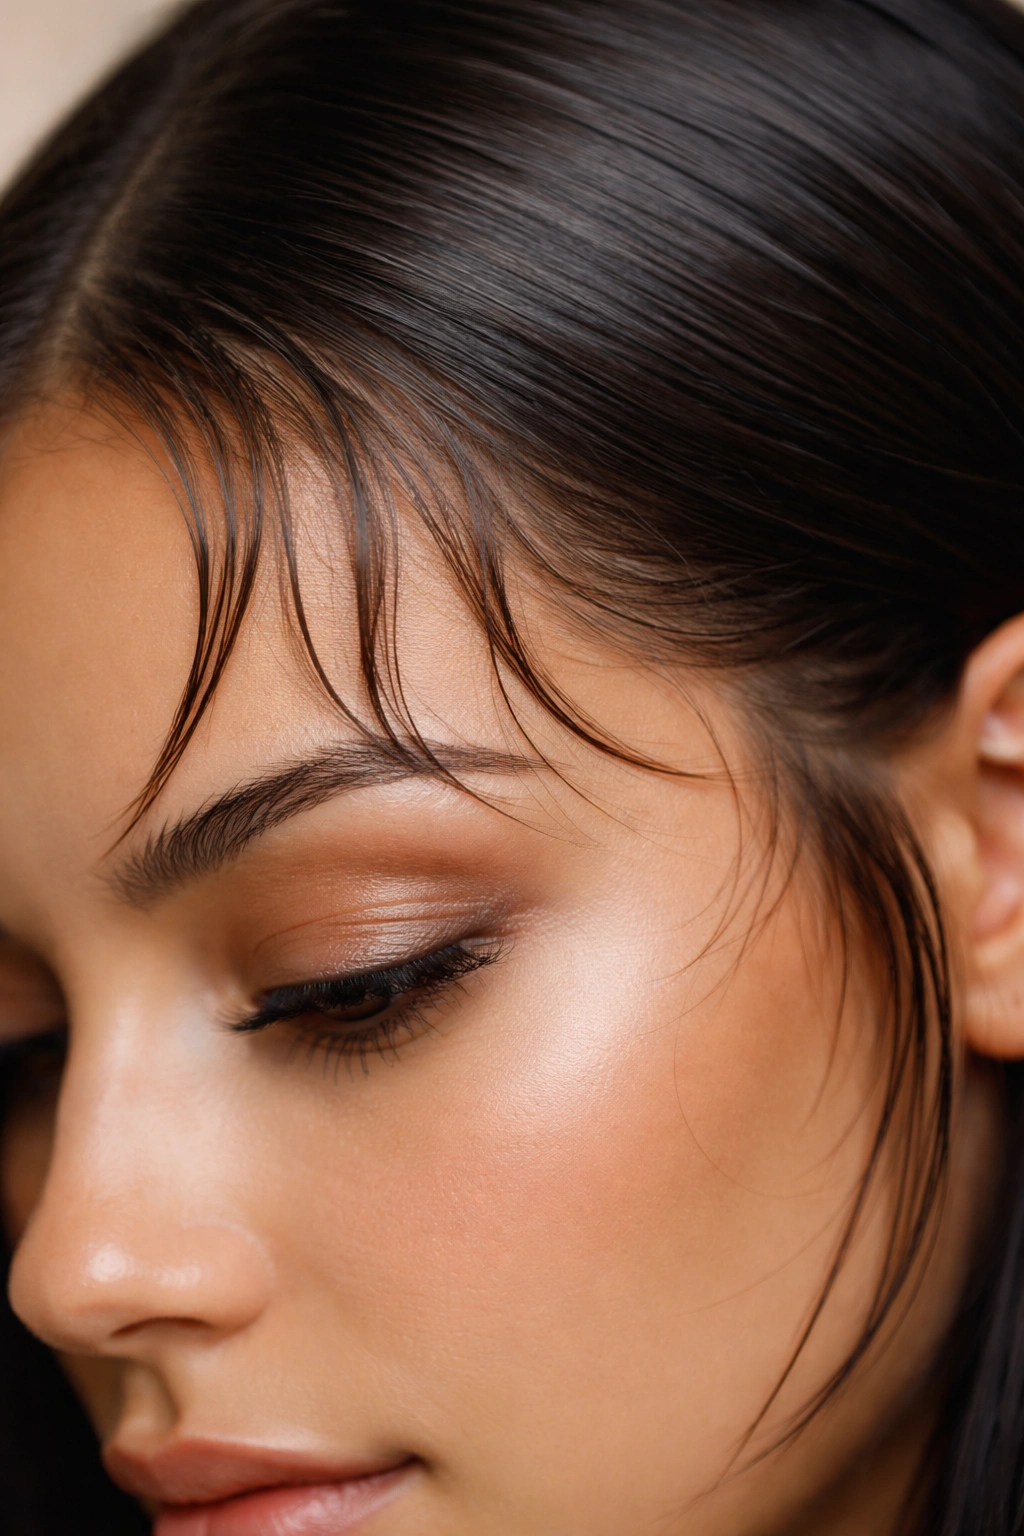
For a more undone, modern aesthetic, try styling your edges with a textured, piece-y quality that looks intentionally disheveled. Rather than smooth lines, you’re creating tiny separated sections that look casually styled. This approach works beautifully with straight hair because the contrast between the smoothness of your main style and the deliberate texture of your edges creates interesting visual movement.
Creating Intentional Texture
This style requires a lighter-weight product than gel—think texturizing spray, sea salt spray, or a light cream. The goal is to separate and define individual hair sections rather than smooth everything together. It feels more modern and less formal than traditional edge control, making it perfect for everyday wear or creative styling.
Styling Piece-y Textured Edges
- Spray a light texturizing product onto your edges while they’re slightly damp
- Using your fingers (not a brush), separate the hair into small, intentional sections
- Twist or curl each tiny section loosely, then release it slightly so it holds a subtle texture
- Don’t smooth everything down—the point is to create definition through separation rather than through straight lines
- You want the edges to look like you casually styled them rather than carefully controlled them
- A very light hairspray helps the texture last without making it crunchy
- This style pairs well with tousled waves, beach-textured hair, or even a loose ponytail
Pro tip: Start with less product than you think you need—you can always add more, but it’s harder to dial back too much product.
10. Zigzag or Geometric Edge Pattern
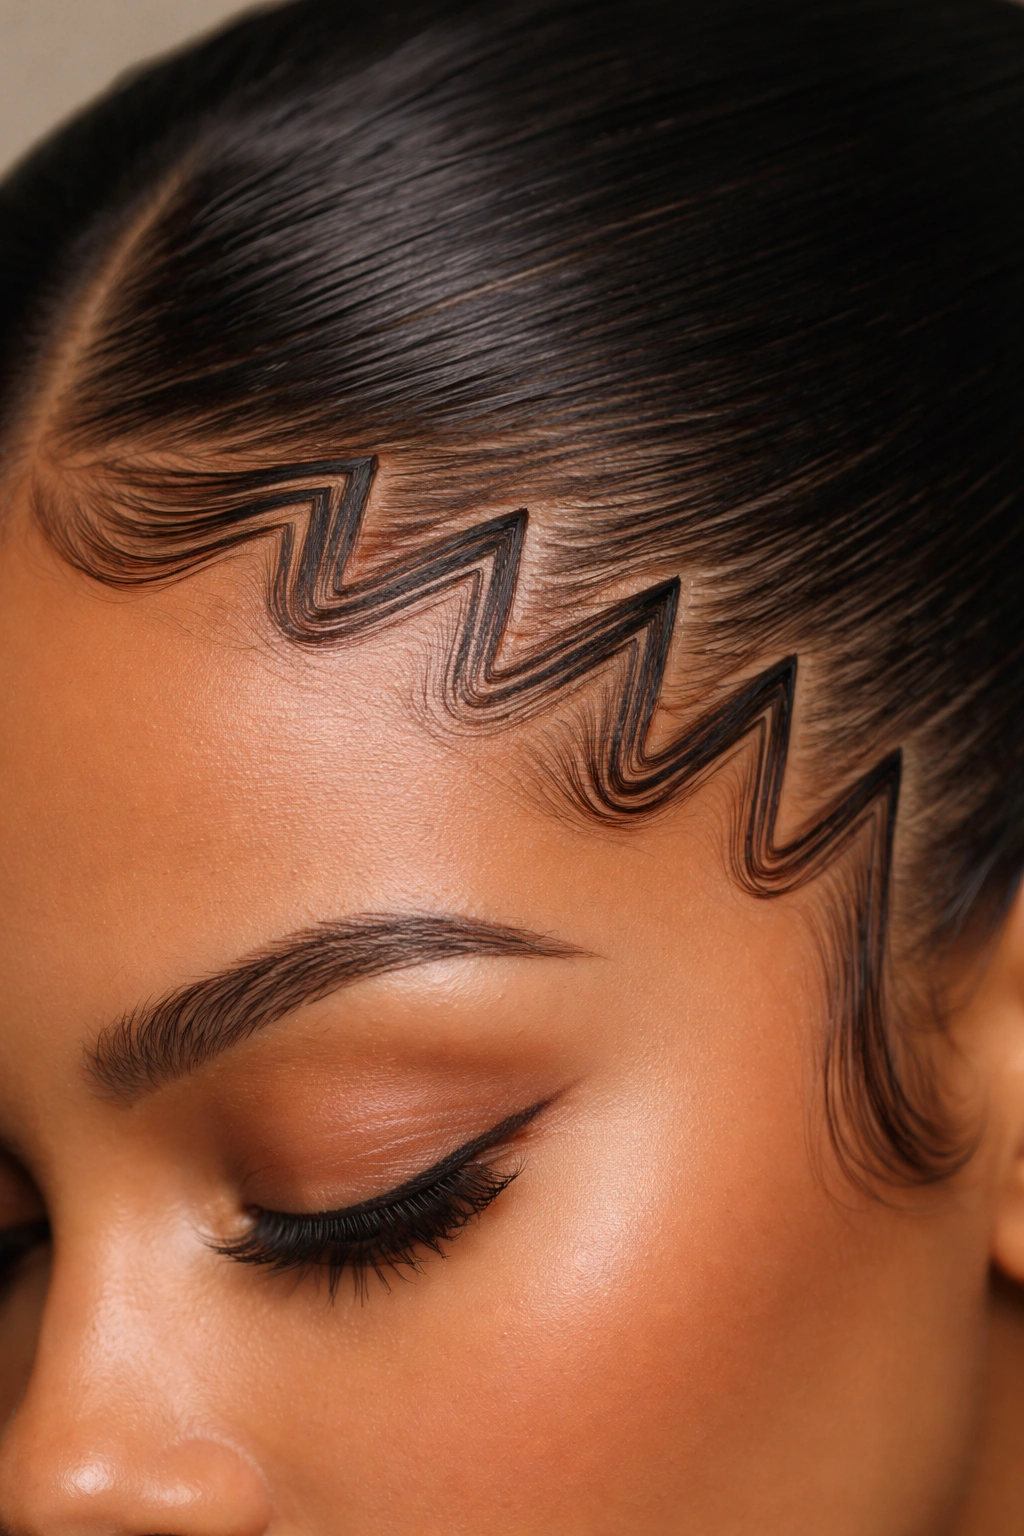
For the bold and fashion-forward, a geometric pattern along your hairline makes a statement that goes far beyond typical edge styling. A zigzag, checkerboard, or other precise geometric pattern requires skill and patience, but the impact is undeniable. This is edge styling as actual art.
The Artistry of Geometric Edges
This technique involves using gel, edge control, or even styling mousse to create defined lines that form a specific pattern. It’s most commonly seen as a zigzag that runs along the hairline, but you can also create horizontal stripes, checkerboard patterns, or other designs depending on your creativity and skill level. Straight hair is ideal for this because the hair cooperates with your styling efforts and holds precise shapes.
Executing a Geometric Edge Design
- Start with completely straightened or blow-dried edges
- Lightly sketch out your intended pattern using a fine-tooth comb so you know where your lines should go
- Apply firm-hold gel using a very fine applicator brush or an old toothbrush for precision
- Create your first set of lines carefully, following your planned pattern
- Allow the first layer of gel to dry slightly (about 3-5 minutes) before creating perpendicular lines
- Build the pattern in layers, allowing each layer to set slightly before adding the next
- Once you’ve created your entire pattern, apply a final layer of gel or light hairspray to lock it in place
- These patterns typically hold best when your hair is pulled back or styled up, where the edges are fully visible
Worth knowing: This style requires patience and practice—your first attempt might not be flawless, and that’s completely normal. Each time you do it, you’ll refine your technique.
Final Thoughts
The most important thing to remember about edge styling is that it should feel authentic to you. Not every edge style will suit your personality, your face shape, or your lifestyle, and that’s perfectly fine. Sleek gel edges might be your everyday go-to, while you experiment with braided details or textured edges on weekends. The beauty of straight hair is its versatility—it cooperates with nearly any edge styling technique, giving you complete freedom to experiment until you find your signature look.
Start with a product that works for your hair type and climate (humid environments might need stronger hold, for example) and invest in a quality edge brush or comb. These tools make the difference between edges that look polished and edges that look like you’re trying too hard. Most importantly, remember that great edges aren’t about achieving perfection—they’re about intention. When your edges are deliberately styled, every other element of your look becomes elevated. Straight hair makes this easier than almost any other texture, so take full advantage of that natural advantage.