If you’ve got thin hair and a love for the straight aesthetic, you’re probably caught between two frustrations: straight styles can emphasize the lack of volume, yet you’re drawn to that sleek, polished look anyway. The good news? Straight hair can absolutely look fuller and more luxurious when you choose the right cut, styling technique, and strategic details. The secret isn’t abandoning straight hair — it’s understanding exactly which straight cuts and styles create the illusion of thickness, add movement without frizz, and work with (rather than against) the realities of fine hair texture.
The most common mistake people with thin hair make is assuming every straight-hair look requires the same flat, one-length approach. Actually, the smartest straight styles for thin hair use subtle layering, textural contrast, smart parting choices, and styling tricks that add perceived density without introducing the bulk that weighs down fine strands. Whether you prefer a blunt, sharp silhouette or something with gentle movement, there’s a straight-hair option that works for you.
This article breaks down 10 specific straight-hair looks that genuinely work for thin hair — each with the exact styling technique, cut details, and daily maintenance steps so you can actually recreate what you’re seeing. No generic advice here; every look includes the precise tricks that prevent that scraped-flat-to-the-scalp appearance and instead create dimension, texture, and the visual fullness that makes thin hair look its absolute best.
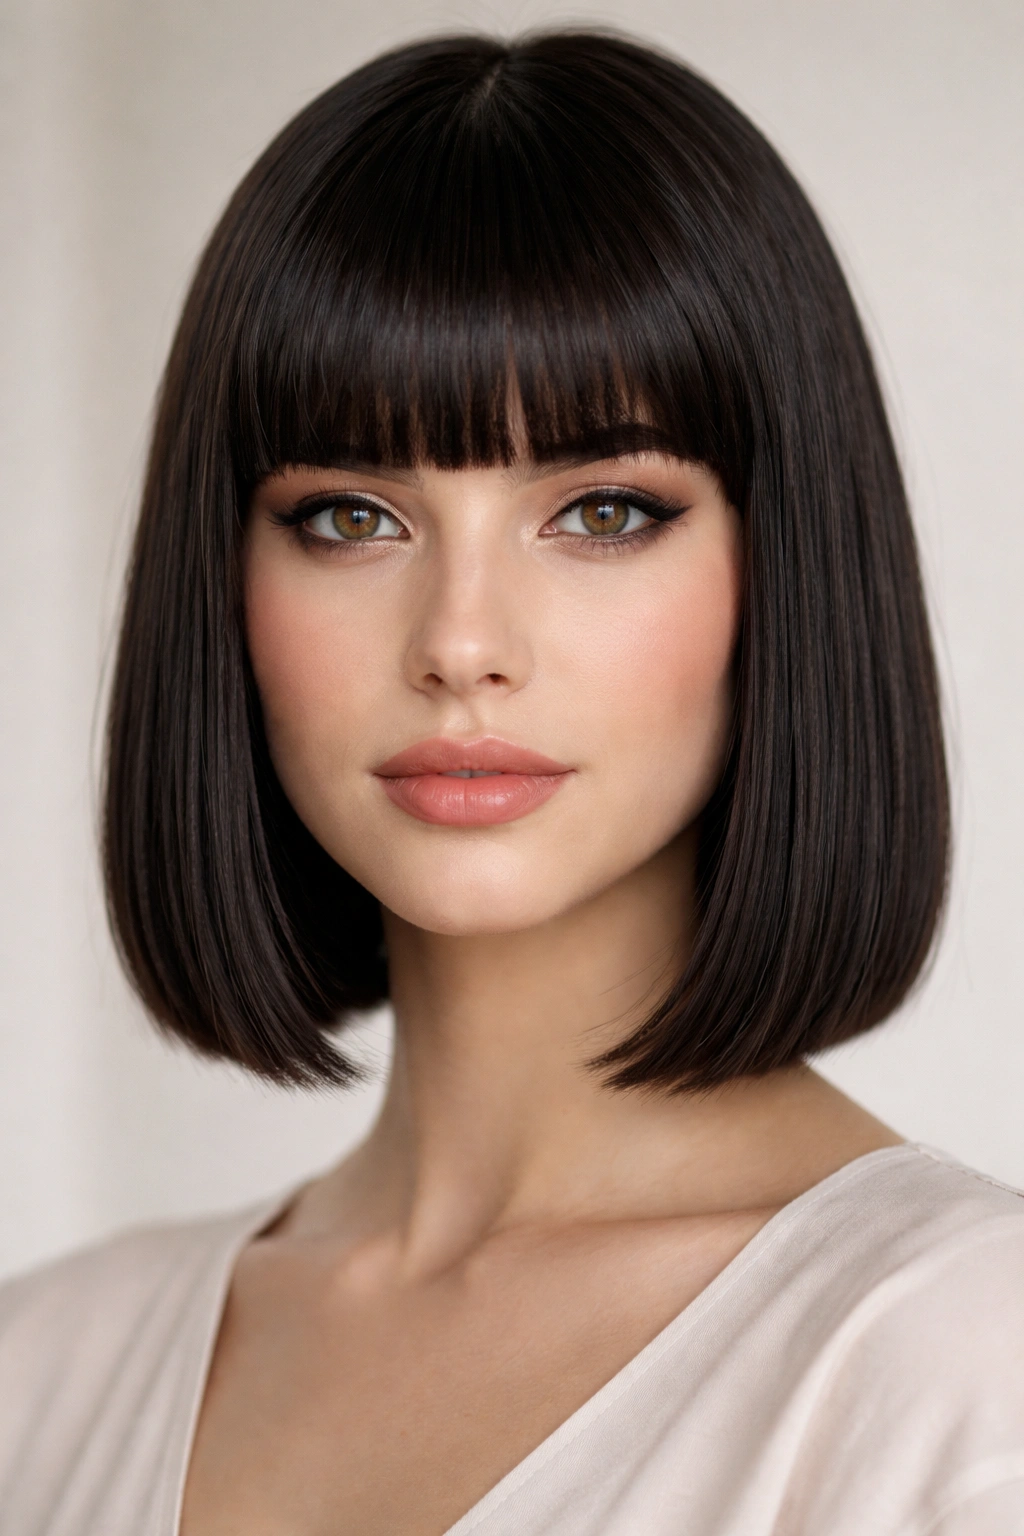
1. Blunt Bob with Volume at the Crown
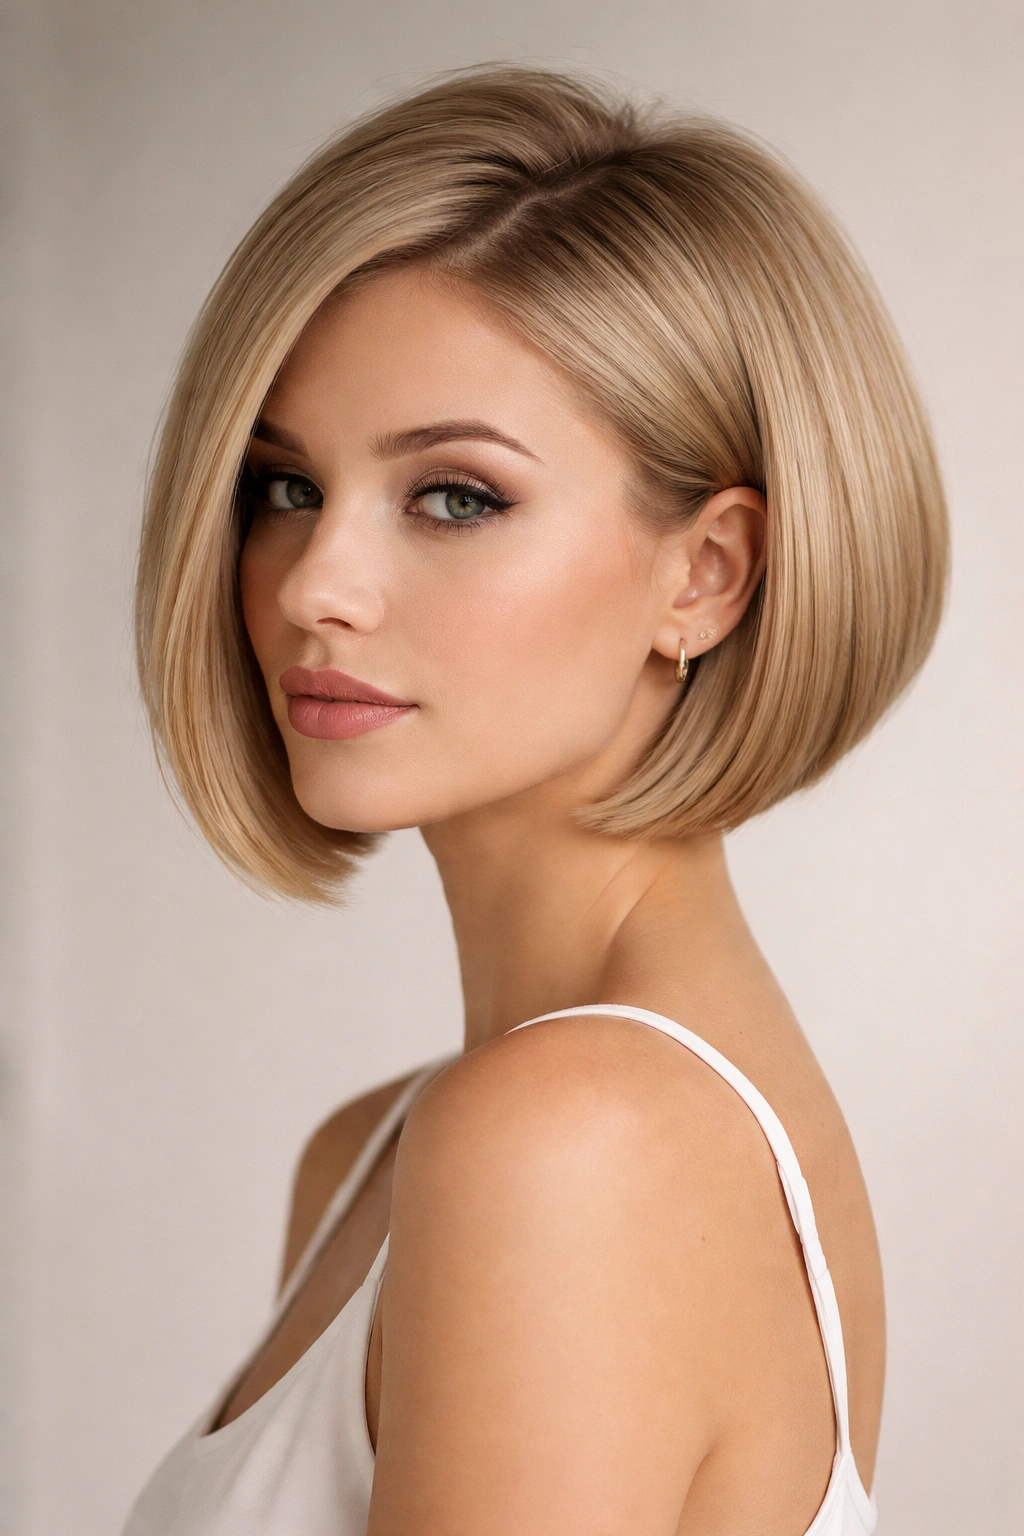
A blunt bob is a bold statement for thin hair when cut correctly — and that correctness matters enormously. The secret is positioning the bulk of the cut at the crown and occipital bone (the back curve of your head) rather than distributing weight evenly. A professional cut should remove nearly all length at the nape while keeping crown length intentionally longer, creating an inverted triangle that naturally lifts away from the scalp.
Why It Works for Thin Hair
Blunt bobs create the strongest visual density per strand because every single hair has the same length, which means there’s zero see-through gaps between them. When a fine-haired bob is cut at chin-length or slightly shorter, the minimal weight actually prevents that limp, flat look that longer thin hair often develops. The bluntness is doing optical work — your eye registers a solid shape rather than counting individual hairs.
How to Cut and Style It
The cut should hit between the chin and jaw, with the back slightly shorter than the front for a soft angle. Ask your stylist to add minimal internal layers — maybe 2-3 at most around the face — rather than choppy texture throughout. Too many layers defeat the purpose by creating transparency. For daily styling, blow-dry your roots upward using a round brush, focusing on lifting at the crown. The trick is getting the brush underneath the crown section and directing heat slightly upward and backward, which physically trains your roots to stand rather than flatten.
Styling Products That Add Volume
Use a volumizing mousse or thickening spray applied to damp roots before blow-drying — products with polymers literally coat each strand and make it appear thicker. Avoid heavy serums or oils; they weigh fine hair down immediately. After blow-drying, a light texture spray or dry shampoo at the roots on day-two hair creates gripping texture that prevents that slicked-down look. The matte finish of dry shampoo also adds perceived density because light doesn’t slide smoothly across the surface — it gets caught and dispersed.
2. Sleek Straight Ponytail with Textured Pieces
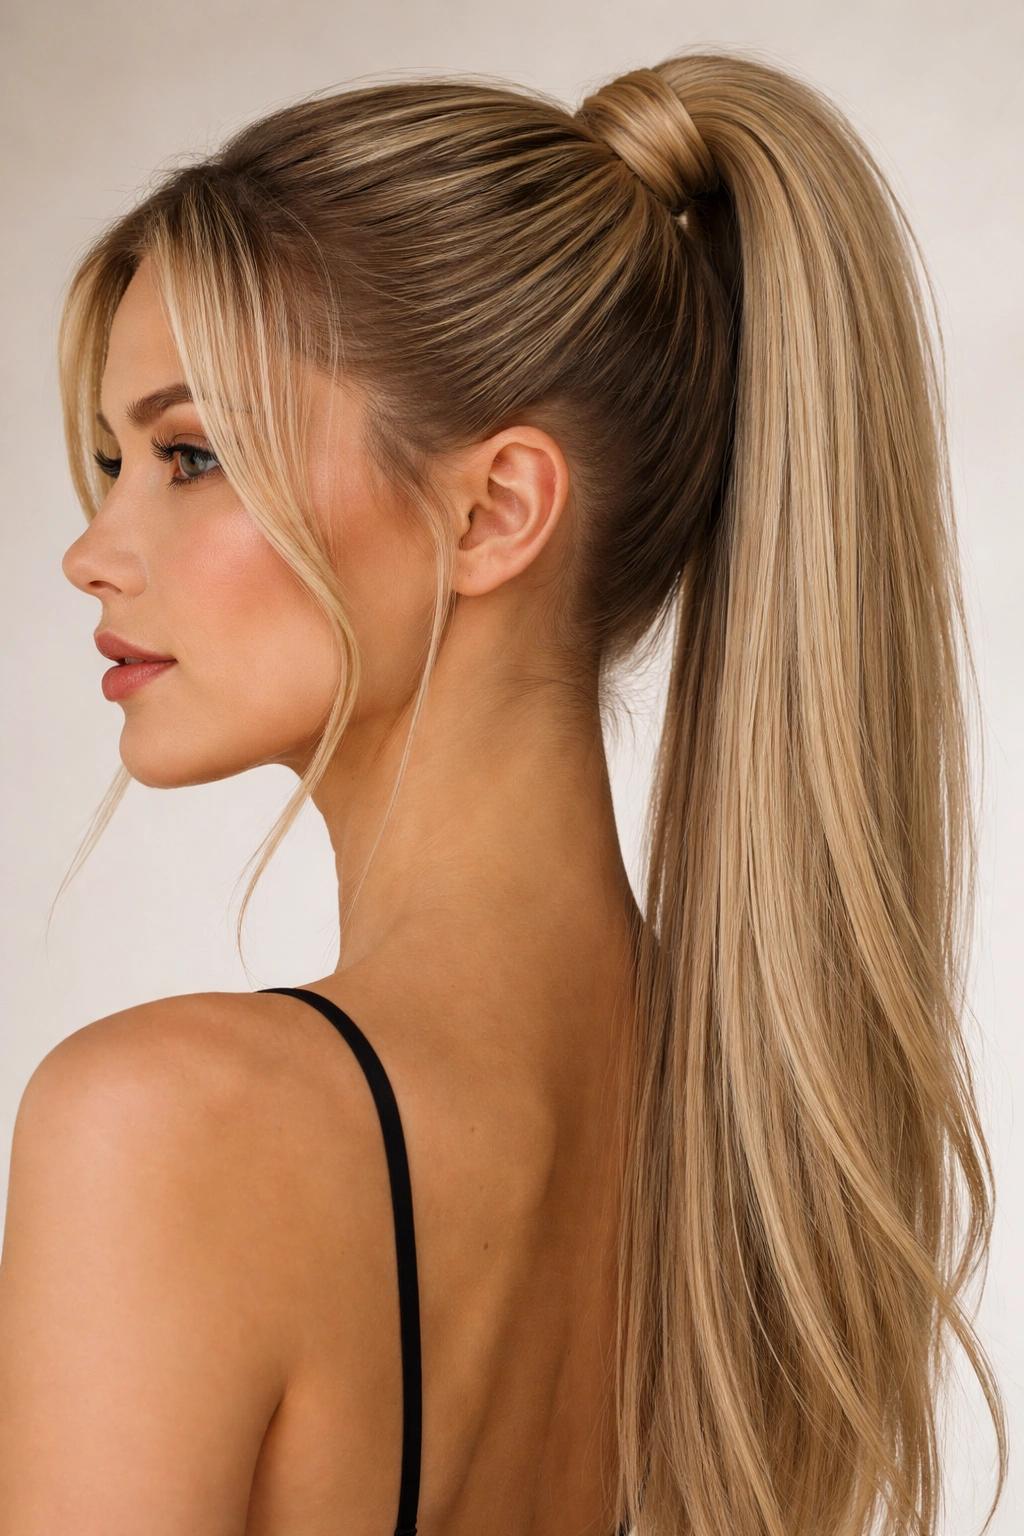
A high or sleek ponytail doesn’t have to look sparse when you strategically leave face-framing pieces out and add texture to the ponytail itself. This look works because the pulled-back style concentrates your thin hair into one visual mass rather than spreading it across the entire head, and the textured elements within the ponytail add movement and dimension.
Why It Works for Thin Hair
Gathering thin hair into a ponytail automatically makes it appear denser because the hair is compressed into a smaller space. The face-framing layers additionally balance the look — they keep the face from looking overwhelmed by the slicked-back severity, and they add a separate visual element that draws attention to your face rather than to the ponytail’s thickness. Texturing the ponytail with a wave or slight crimp adds surface area, which makes thin hair read as thicker.
Styling Technique for Maximum Fullness
Create a high ponytail using a soft elastic rather than a tight rubber band — metal-free elastics prevent breakage and keep your edge hair intact. Before securing, blow-dry your roots with upward lift, then pull the ponytail up while the hair is still slightly warm so it holds that lift. Leave 2-3 face-framing pieces unclipped, about an inch thick on each side, and wave them slightly with a 1-inch curling iron. Apply the wave starting from the root and moving down to mid-length.
Texturing the Tail for Visible Fullness
Once the ponytail is secured, use a medium-barrel curling iron or a crimping tool to add subtle texture throughout the length — not tight crimps, but gentle waves that break up the straight line and add perceived volume. The key is that this texture catches light differently than flat straight hair, which makes thin hair look less transparent. Finish with a light hairspray that holds texture without making the ponytail feel stiff or crunchy.
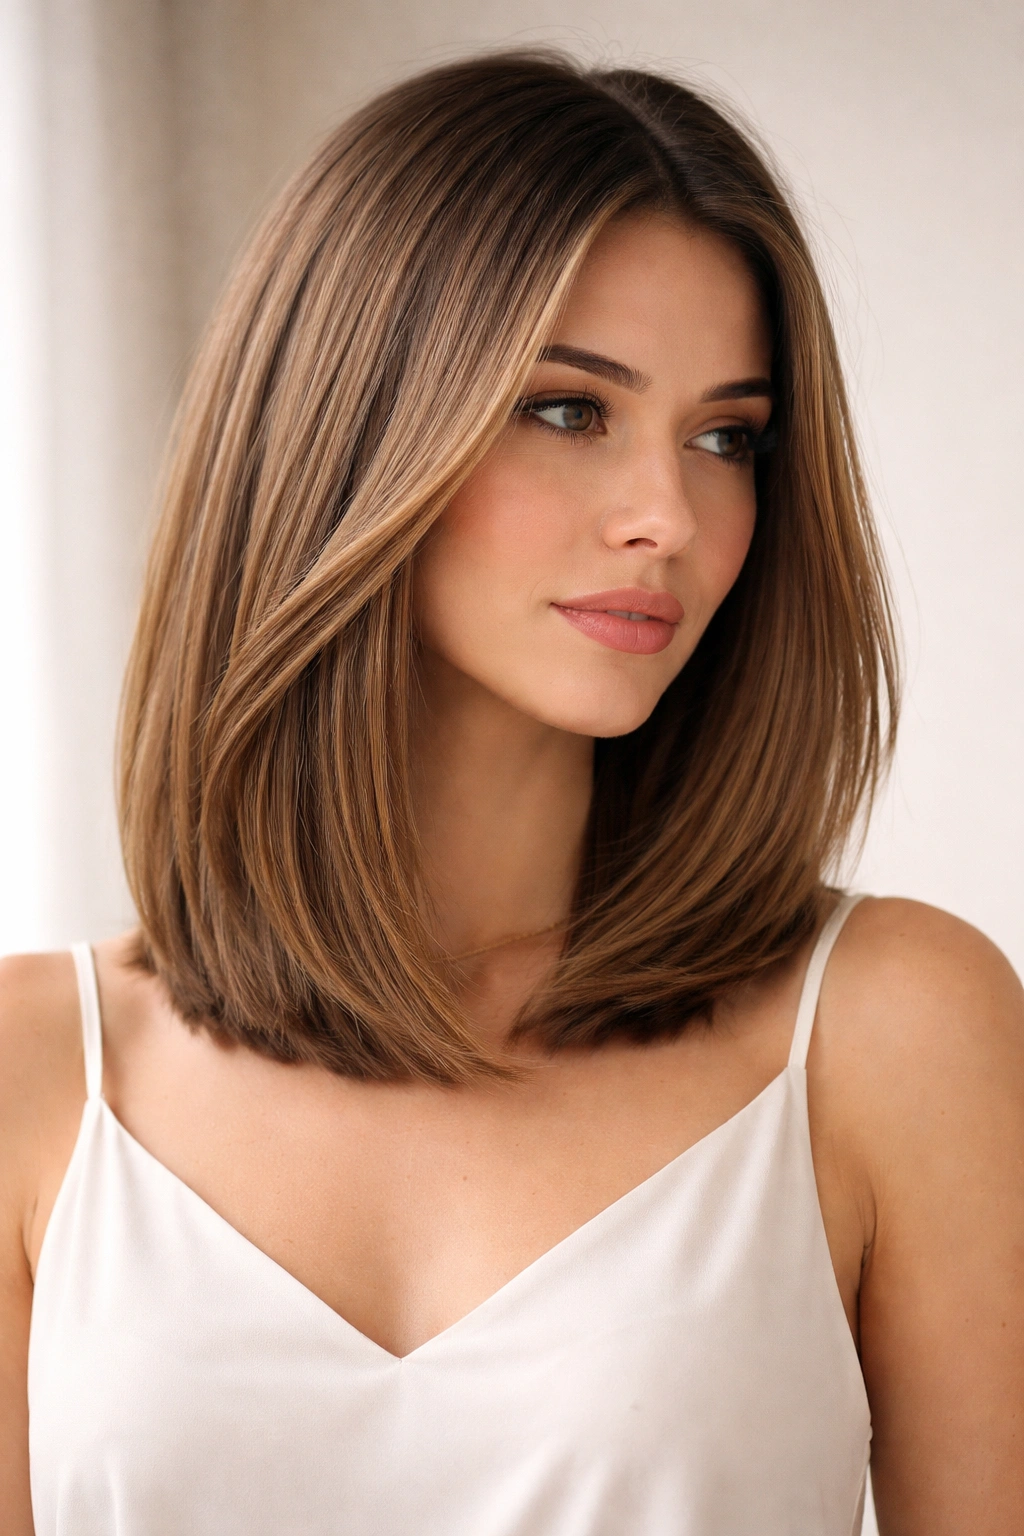
3. Center-Parted Shoulder-Length with Curtain Layers
A center part is often feared by people with thin hair because the exposed scalp line can look like a stripe of baldness. The solution is shoulder-length hair with intentional curtain layers that frame the face and obscure that center part with movement and texture. This length is ideal for thin hair because it’s long enough to have presence but short enough to avoid the droopy, stringy appearance that longer thin hair often develops.
Why It Works for Thin Hair
Curtain layers create movement and separation without removing as much bulk as choppy, all-over layers do. When layers are positioned to frame the face and fall slightly forward, they obscure the scalp line at the part and create the illusion of more density around the face and shoulders. Shoulder-length hair sits in a sweet spot for fine texture — long enough that gravity doesn’t pull it flat, but short enough that it has natural movement and doesn’t look thin and wispy.
Cutting the Curtain Layers
Ask your stylist to create longer face-framing layers that start around cheekbone length and extend to shoulder length. The interior layers should be minimal and subtle — layers should blend, not create obvious choppy lines. The key is that these layers curve forward and inward naturally, which means they naturally frame and soften the face without requiring constant re-styling.
Styling and Parting Tricks
Create a deep side part or center part using a teasing brush or fine-tooth comb to lift the roots at the part line — don’t just draw the part with a comb, actually backbrush the section to create lift. This lift makes the scalp line less visible and adds height at the crown. Blow-dry the layers forward and inward by directing the brush in the direction you want them to fall. Use a light texture spray to add grip and prevent the hair from looking plastered or overly sleek.
4. Blowout with Strategic Backcombing at the Roots
The modern straight-hair blowout isn’t actually poker-straight anymore — it’s a sleek, polished look with subtle smoothness that’s achieved through technique rather than a flat iron. For thin hair, the magic happens with strategic backcombing that creates lasting root lift and a blow-dried finish that reads as fuller and bouncier than what a flat iron creates.
Why It Works for Thin Hair
Backcombing creates a textured base at the roots that holds lift for days, which means your thin hair stands away from the scalp instead of collapsing. Unlike backcombing for actual volume (which creates a teased, ratted texture), strategic root backcombing is done lightly and combed out to smooth the surface while retaining the internal structure. This structure holds your thin hair up without creating frizz or the crunchy appearance of heavy teasing.
The Backcombing and Blow-Drying Process
Divide your hair into 6-8 sections using clips. In each section, take a 1-inch subsection at the root and gently backcomb with a fine-tooth comb, making 4-5 strokes. Don’t go wild — the goal is a subtle base, not a rat’s nest. Then smooth the top layer of that section with the comb to seal in the backcombing. Blow-dry that section with a paddle brush, directing heat downward and slightly outward. The backcombing holds the roots lifted while the blow-dry seals the surface smooth.
Finishing for That Polished Look
Once the entire head is blow-dried with backcombed roots, do a final pass with a large paddle brush and heat on low to smooth any frizz and polish the surface. Use a light finishing spray — not heavy hairspray that weighs the roots down, but a light texture spray that provides hold without stiffness. The result is a sleek, polished look with genuine lift and fullness that lasts for days.
5. Shoulder-Grazing Lob with Hidden Layers
A lob (long bob) is a longer silhouette that works beautifully for thin hair when the layers are internal rather than choppy and visible. Hidden layers are cut underneath the surface so the outer line remains blunt and defined, while interior layers remove weight from underneath and create movement. This approach gives you the length you want without the see-through, wispy appearance of over-layered thin hair.
Why It Works for Thin Hair
Hidden layers remove bulk from underneath where you can’t see it, which prevents the heavy, flat look that long thin hair often develops. But because the outer perimeter remains relatively blunt, the overall silhouette looks dense and intentional. The length also adds enough weight to give the hair presence without being so long that it looks thin and stringy.
Cutting Hidden Layers Correctly
The perimeter should be blunt and hit around shoulder-length. Inside that perimeter, ask your stylist to cut subtle layers — maybe 4-6 total, not more — that are stacked underneath. These interior layers shouldn’t be visible from the front; they’re just removing weight and creating internal texture. The face-framing area can have slightly more obvious layers, but again, the goal is subtle and blended, not choppy.
Styling to Maximize the Cut
Blow-dry with a round brush to create inward movement at the ends. Direct the brush and heat downward and slightly inward so the ends curve under rather than flipping out. The inward curve creates the illusion of fuller, thicker ends. Use a light volumizing mousse on damp roots before blow-drying to add texture and lift. On second-day hair, a light dry shampoo at the crown prevents flatness without requiring a full wash and re-style.
6. Sleek High Ponytail with Face-Framing Strand Details
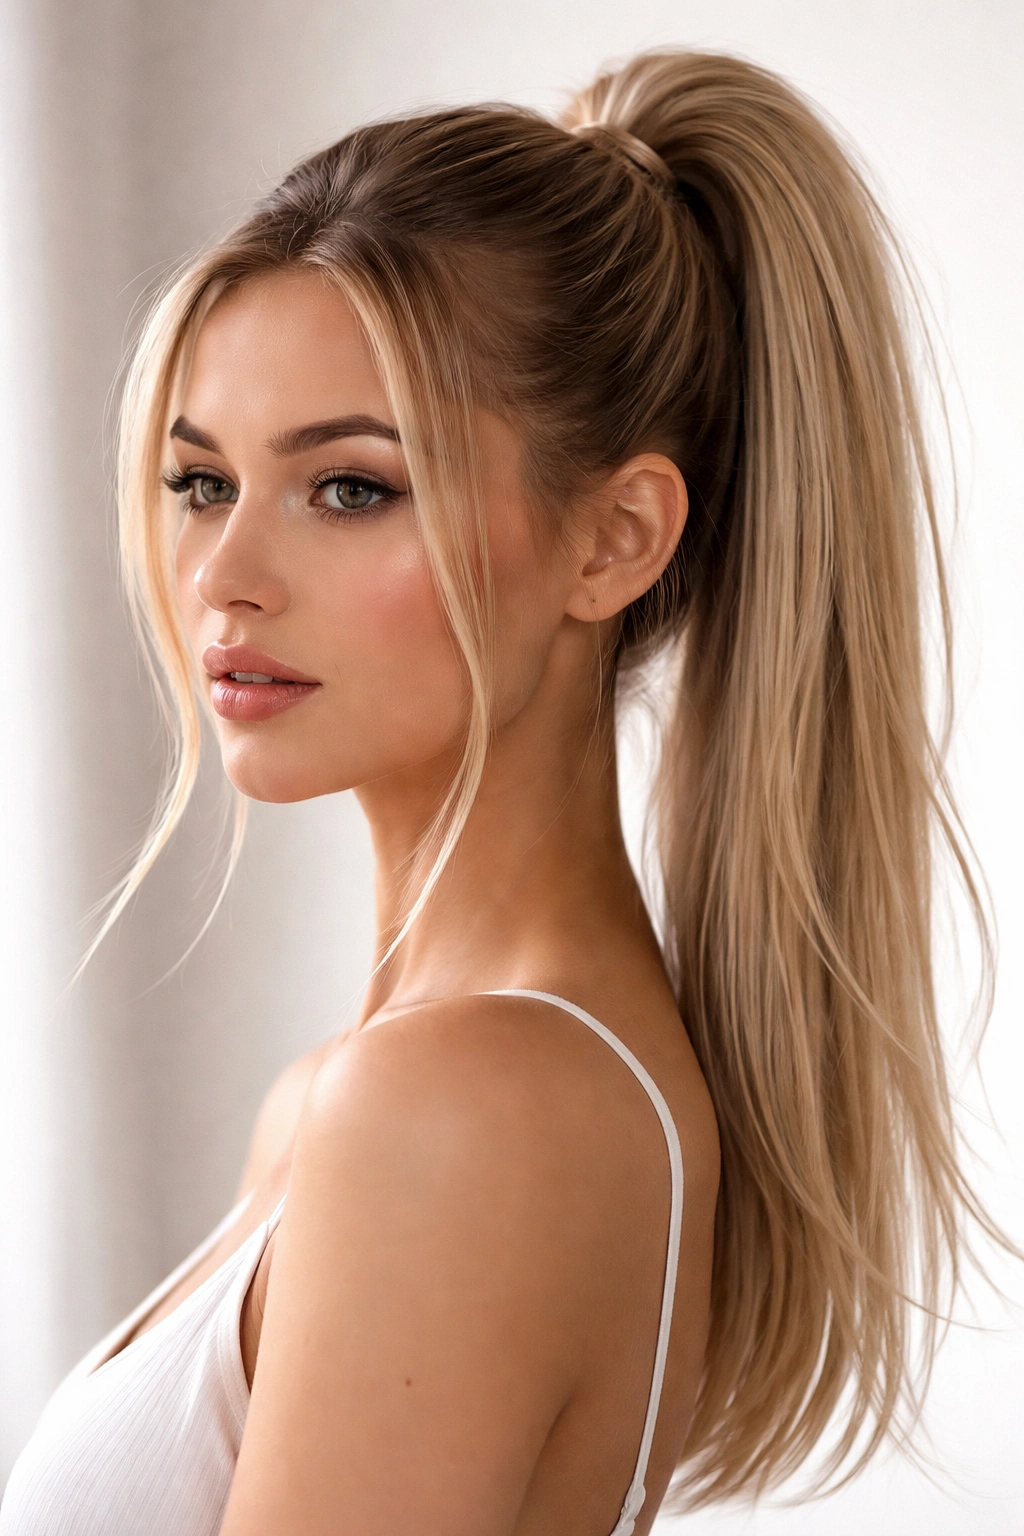
A high ponytail is a classic that works for thin hair when you focus on creating texture and dimension within the ponytail itself, rather than trying to make it look thick with more hair. The art here is strategic strand placement and styling that makes what you have look intentional and polished rather than sparse.
Why It Works for Thin Hair
A high ponytail concentrates thin hair into one focal point, which automatically makes it appear denser. The upward pull also creates lift at the crown, which adds perceived fullness to the top of the head. Face-framing strands balance the look and prevent the severe, scalp-exposing appearance that can make thin hair look thinner.
Creating Visual Density in the Ponytail
Blow-dry your roots with maximum lift before creating the ponytail. Use a volumizing mousse or powder applied directly to the roots of damp hair for added texture and grip. Secure the ponytail with a soft elastic positioned as high as you want — high ponytails are more flattering for thin hair because they don’t require as much length to look polished. Leave 2-3 pieces around the face about 1 inch thick, and slightly curl them with a 1-inch barrel curling iron.
Texture and Styling Details
Once the ponytail is secured, wrap a small piece of hair around the elastic to hide it and create a finished look. For the ponytail itself, use a straightening iron to create subtle waves throughout — not tight waves, but gentle S-curves that add surface texture. This texture-work makes thin hair read as thicker because the light is dispersed rather than sliding smoothly across flat hair. Finish with a light hairspray that holds without stiffness.
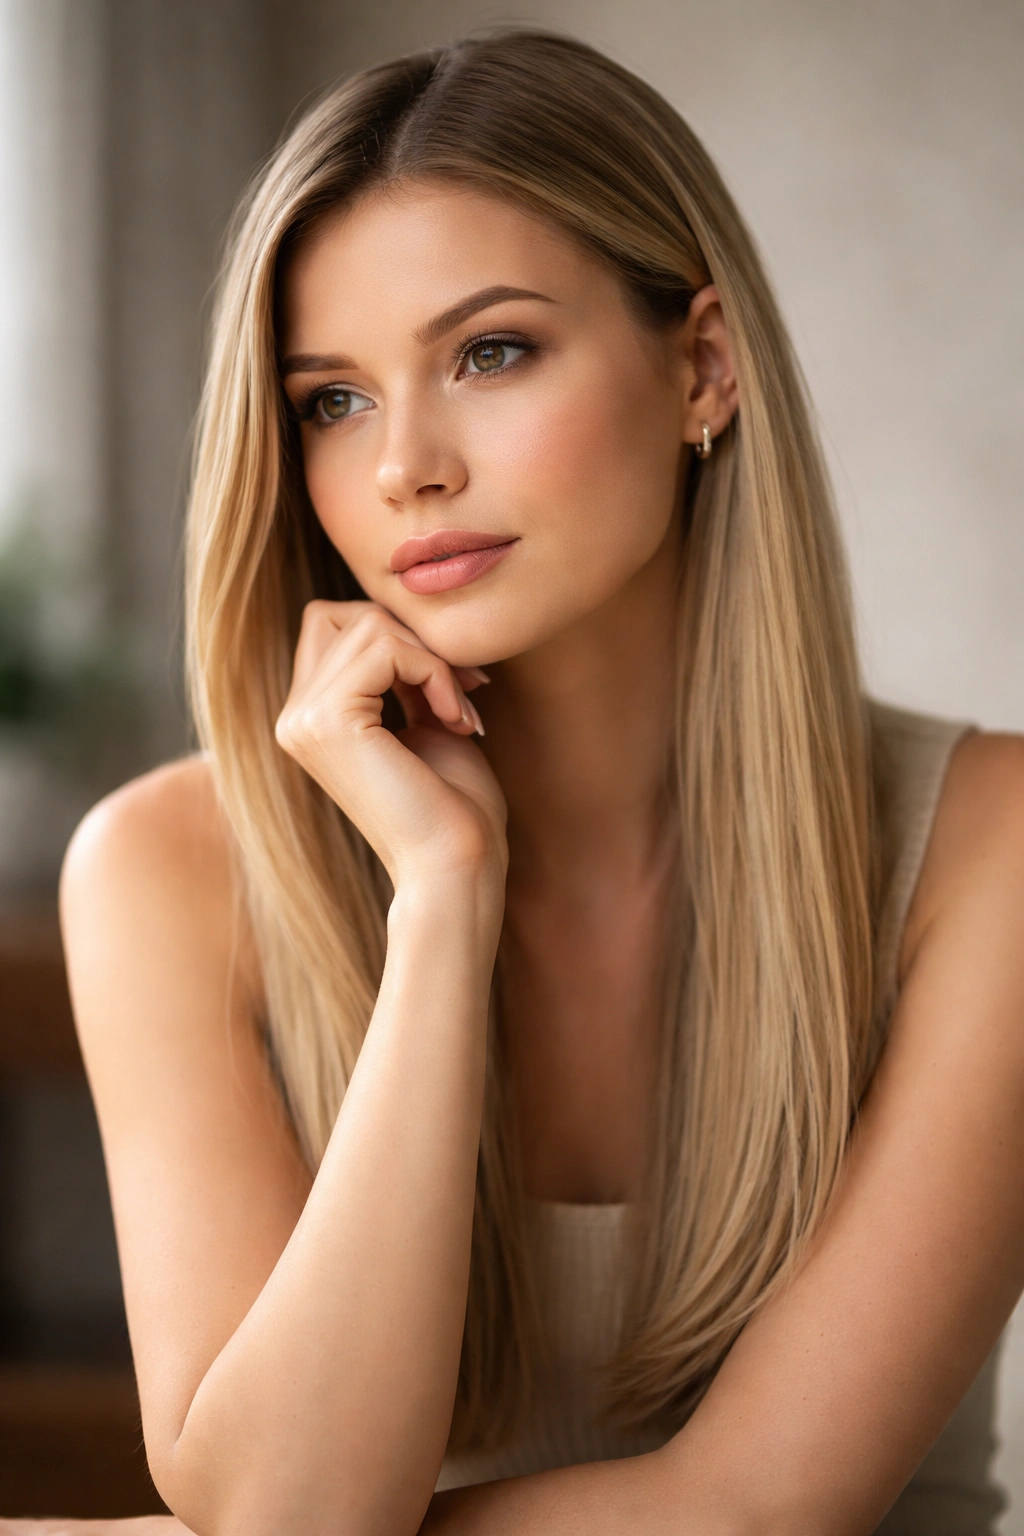
7. Straight Hair with Root-Lifting Spray and Volumizing Texture
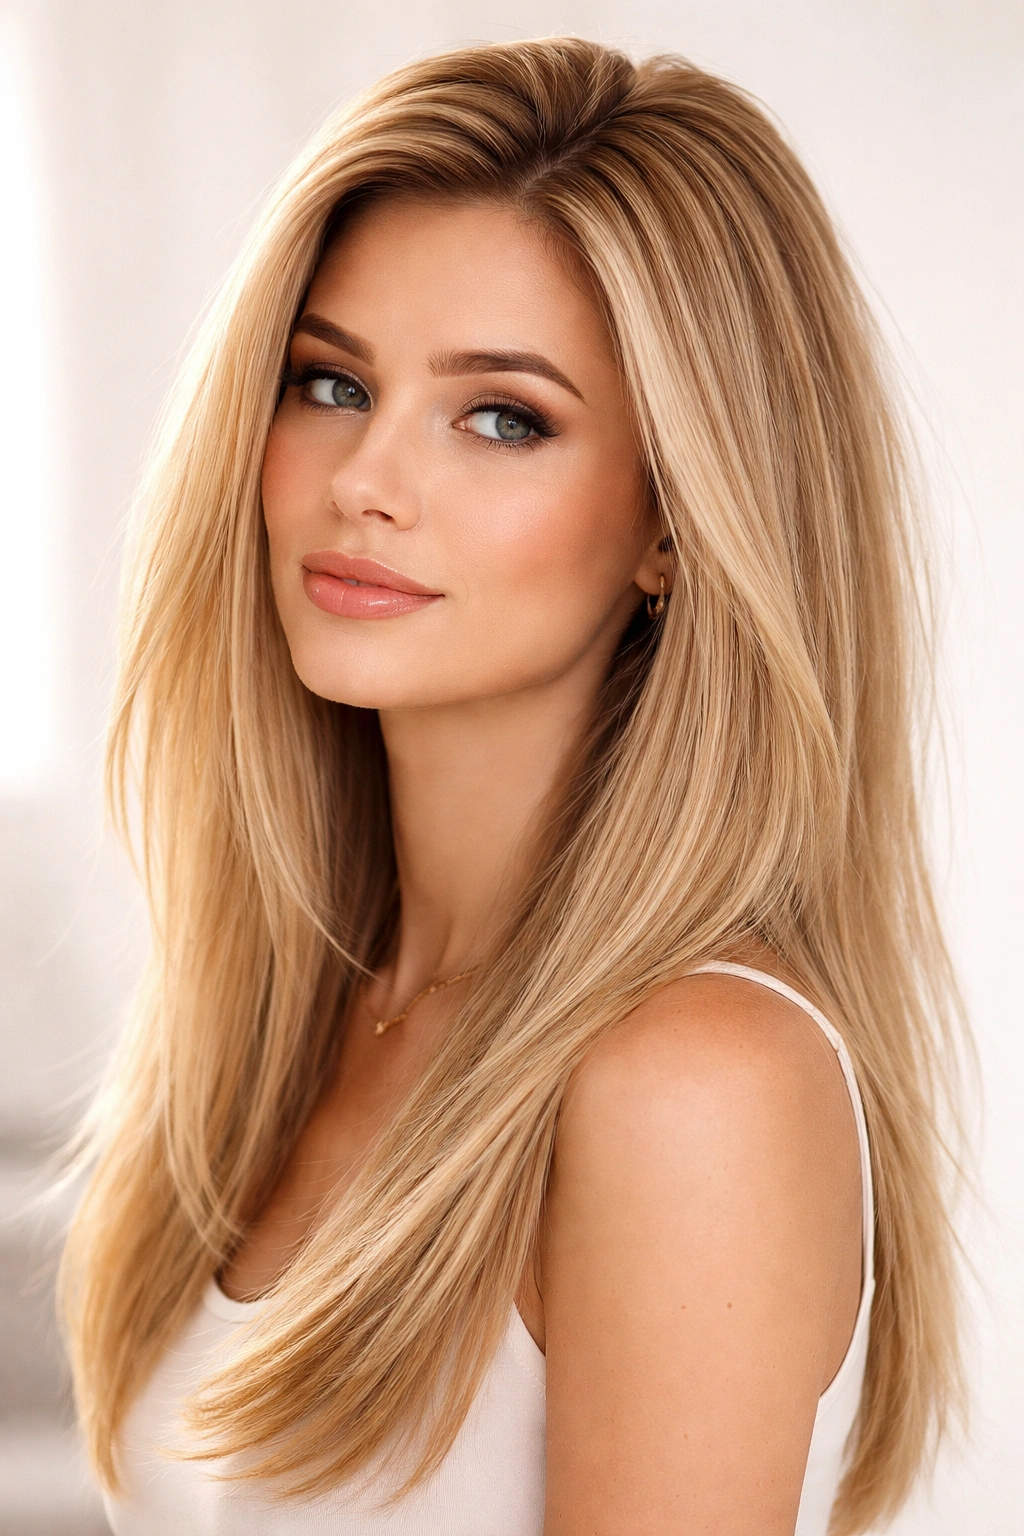
Sometimes the best straight-hair look for thin hair isn’t about cutting a specific style — it’s about using the right products and techniques to add texture and lift to your existing hair. A straight style with strategic volumizing treatments and styling sprays can look fuller and more polished than a cut that requires constant blow-drying to maintain.
Why It Works for Thin Hair
Root-lifting sprays and volumizing texture products coat each strand with polymers that make hair appear thicker without adding weight. Unlike heavy mousses or serums, modern volumizing products are designed to add perceived thickness while remaining lightweight. When applied strategically to damp roots before blow-drying, they create a foundation that holds lift throughout the day.
Product Application for Maximum Effect
Apply a volumizing mousse or thickening spray to damp hair at the roots, concentrating on the crown and areas where your hair tends to flatten. Use a dime-sized amount per section — more product doesn’t mean more volume; it just adds weight. Blow-dry using a paddle brush and a concentrator nozzle on your blow-dryer, which focuses heat and directs air without dispersing it. Direct the brush upward at the roots to create lift that the mousse will hold as it dries.
Styling Straight Hair With Texture
Once your hair is dry, use a lightweight straightening iron if you want a polished finish, but don’t press it flat — glide it smoothly through the hair with slight tension, which removes frizz without flattening. For everyday wear, skip the flat iron and instead use a light texture spray that adds grip and micro-texture to the hair surface. This texture prevents the hair from looking slicked-down or one-dimensional. A dry shampoo or volumizing powder applied at the roots mid-week extends the look and refreshes the lift.
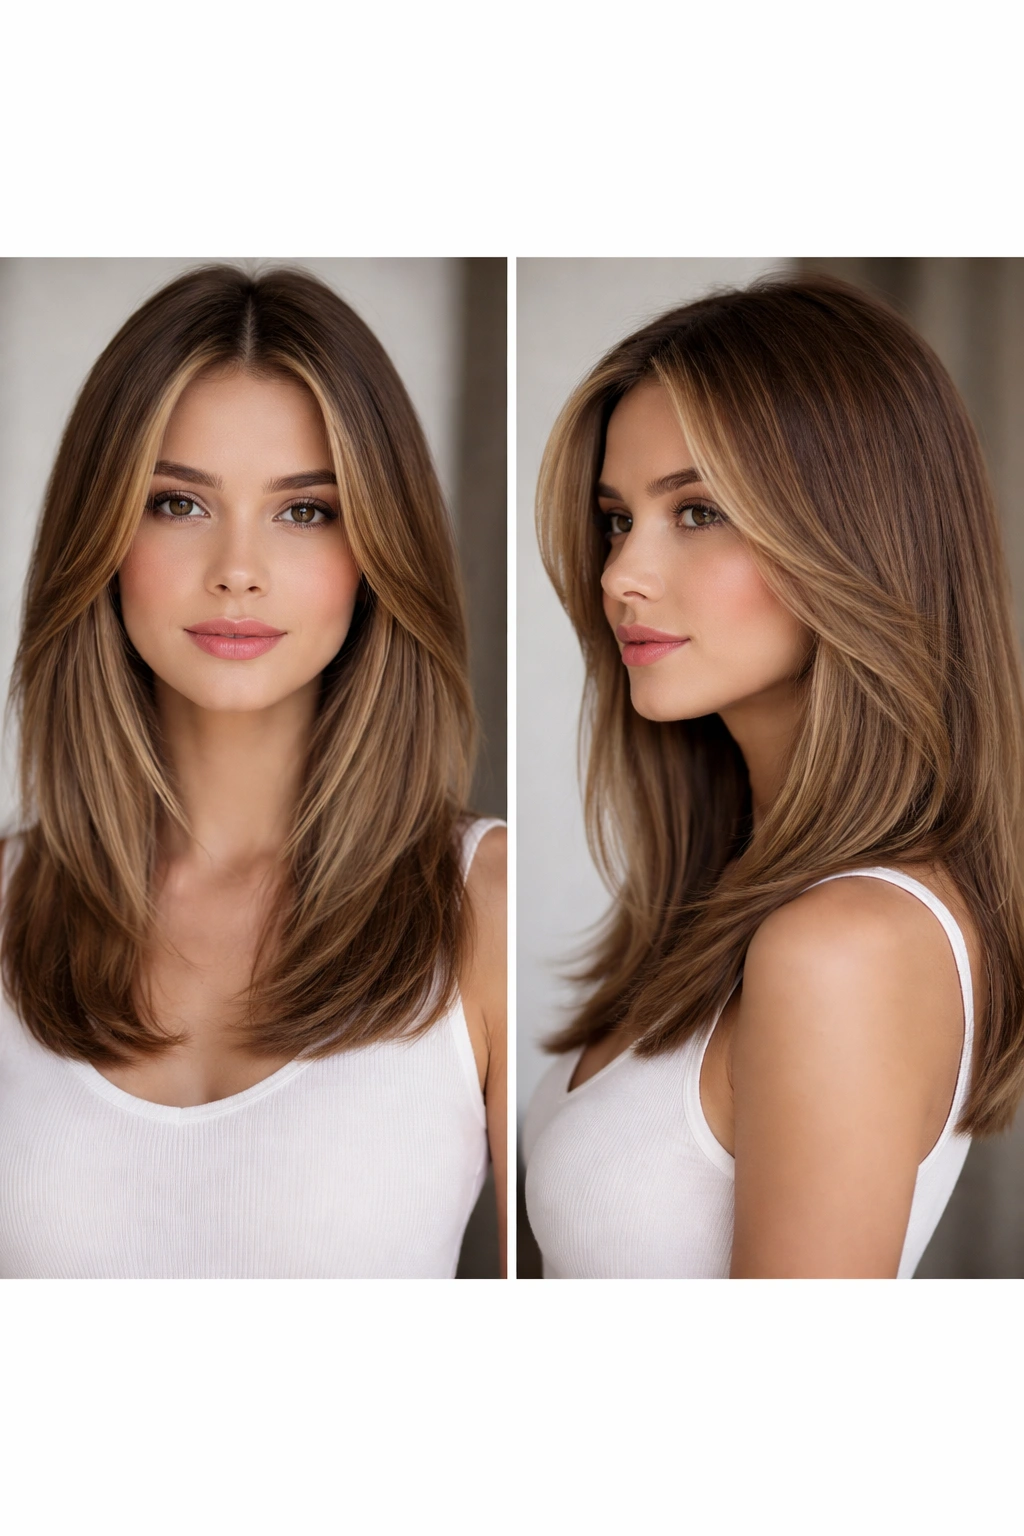
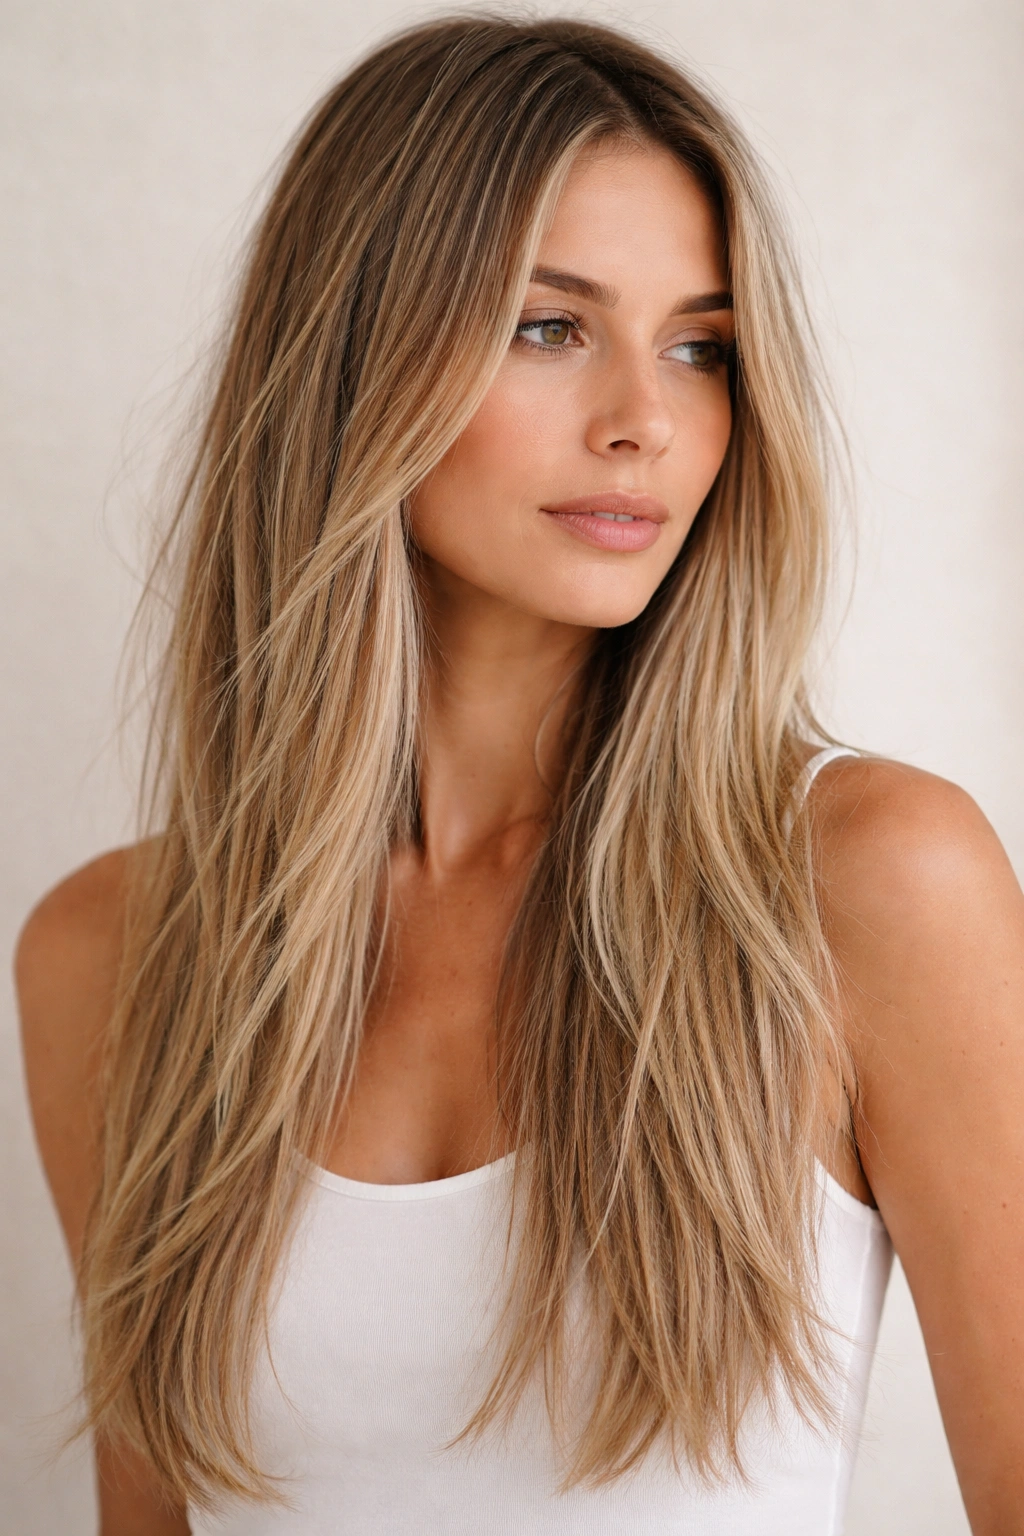
8. Long Straight Layers with Subtle Movement and Dimension
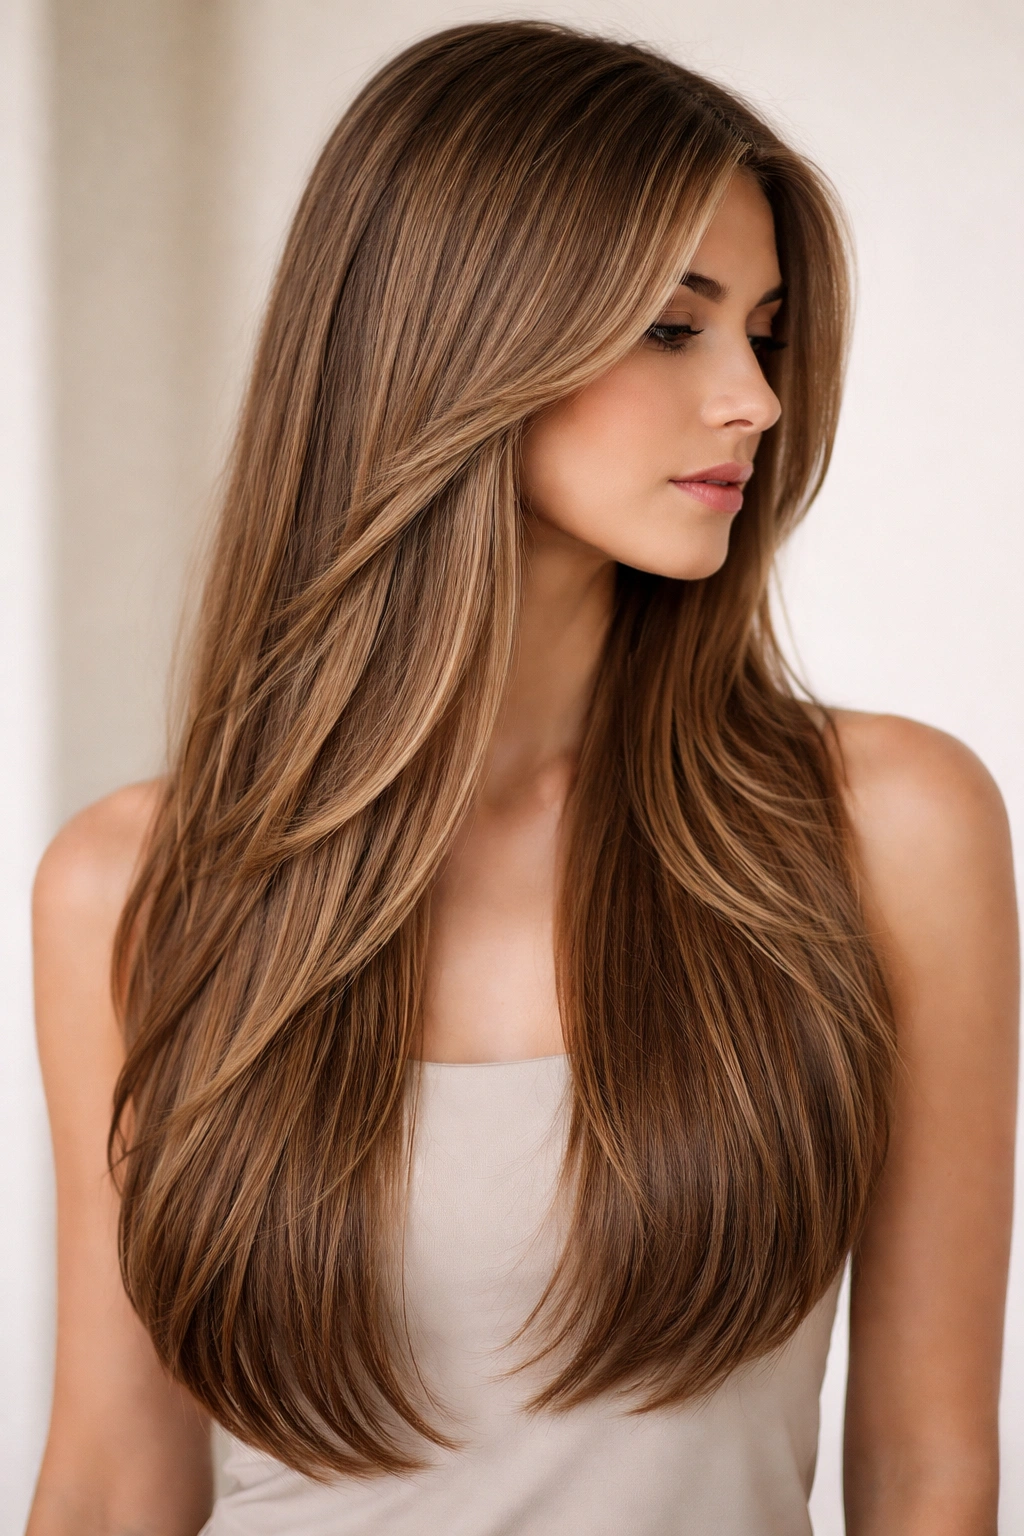
Long straight hair doesn’t have to look thin when you use strategic layering that removes weight from underneath while maintaining length on top. The layers create movement and texture that makes thin hair appear fuller, and the length allows you to have that flowing aesthetic without sacrificing the appearance of density.
Why It Works for Thin Hair
Visible layers in long hair traditionally make fine hair look thinner because they create gaps and transparency throughout. But when layers are done subtly — with blended, not choppy transitions — they add movement and dimension without those transparency gaps. The key is that the longest layers extend nearly to the bottom, so there’s still a solid perimeter, while shorter internal layers add texture and remove unnecessary weight.
Cutting Subtle Layers for Thin Hair
Ask for long, feathered layers rather than choppy, obvious ones. The longest layers should extend below your shoulders, and the interior layers should blend gradually into them — think of a gradual staircase rather than distinct steps. This creates visual density at the perimeter while removing weight that would otherwise drag the hair flat. Face-framing layers can be slightly more obvious, maybe hitting around cheekbone length, but again, the overall effect should be polished and intentional, not choppy or wispy.
Styling for Movement Without Frizz
Blow-dry your hair with a round brush or paddle brush, directing the brush downward and slightly outward to create subtle movement at the ends. Don’t curl the ends aggressively — just a gentle curve inward or outward adds dimension without creating the impression of too much effort. Use a light straightening iron to polish the hair if you want a sleeker finish, running it through the lengths without pausing so it glides rather than presses flat. Finish with a light texture spray that adds grip and prevents the hair from looking dead-straight or one-dimensional.
9. Blunt Bangs with Chin-Length Straight Hair
Blunt bangs can transform thin hair by adding a visual element at the forehead that draws the eye and creates the impression of fuller hair overall. Paired with chin-length straight hair, this look is striking and modern while working beautifully with fine texture.
Why It Works for Thin Hair
Blunt bangs create a horizontal line across the forehead that visually widens the face and draws attention upward, away from the overall volume of the hair. Chin-length hair is an ideal length for thin hair — it’s short enough to avoid the droopy, stringy appearance of longer fine hair, but long enough to have presence and movement. The combination of these elements creates a bold, polished look that reads as intentional and stylish rather than thin.
Cutting Bangs That Suit Thin Hair
Blunt bangs for thin hair should hit around mid-eyebrow, not directly on the brow (which can look heavy on fine hair). The width should extend roughly from the outer corner of one eye to the outer corner of the other — not so narrow that they look spiky, but not so wide that they create a heavy line across your forehead. The rest of the hair should be chin-length with minimal layers, maybe just subtle face-framing pieces around the cheekbones.
Styling Bangs and Hair Together
Blow-dry your bangs downward with a small round brush and a concentrator nozzle, which gives you control and prevents them from flipping or bending. Direct heat downward and slightly outward so the bangs fall smoothly across your forehead. Blow-dry the rest of your chin-length hair with inward movement at the ends — direct the brush and heat downward and slightly inward so the ends curve under. This inward curve at the ends balances the width of the bangs. Use a light texture spray to add grip and prevent the bangs from slipping or separating visibly.
10. Straight Beach-Textured Look with Matte Finish
A beach-textured straight look might sound contradictory, but it’s actually ideal for thin hair — the texture adds perceived volume and dimension, while the matte finish prevents the shine that makes thin hair look thin and plastered-down. This look is achieved through product and technique rather than a specific cut, making it accessible regardless of your current style.
Why It Works for Thin Hair
Beach texture creates surface variation that makes hair appear fuller because light is dispersed across the texture rather than reflecting smoothly off flat hair. A matte finish adds grit and grip that prevents thin hair from looking wet or shiny (which emphasizes how fine each individual strand is). The combination is effortlessly stylish and practical for thin hair — it looks intentional rather than like you’re dealing with a limitation.
Creating Beach Texture on Straight Hair
Start with damp hair and apply a texture spray or sea salt spray throughout, concentrating on the mid-lengths and ends. Use a large-barrel curling iron (1.5 to 2 inches) to create loose waves throughout your hair — not tight curls, but gentle, undulating waves. Curl sections away from the face for a softer look, and leave the ends uncurled or slightly loose for that undone feel. While the waves are still warm from the iron, run your fingers through them gently to break up the curl pattern and create texture.
Matte Finish Products and Styling
Once the waves are cool, apply a matte texture spray or dry shampoo throughout your hair — this adds grip and prevents shine. Matte-finish styling products are key because they create visual texture and prevent the hair from looking slicked or overly styled. Shake out your hair gently and tousle it with your fingers to create that effortless, lived-in texture. The result should look like you’ve been on the beach all day — textured, undone, and naturally full-looking — rather than meticulously styled.
Final Thoughts
Straight hair with thin texture isn’t a limitation — it’s simply a category that requires smarter choices about cuts, styling techniques, and products. Every one of these looks works because it addresses the specific challenge of thin hair: creating the visual appearance of density and fullness through strategy rather than bulk. Whether you choose a blunt bob, a textured ponytail, layered shoulder-length hair, or beach-textured waves, the principle is the same: use cut, technique, and product strategically to add dimension, lift, and texture.
The most important realization is that your thin hair doesn’t need to look thick — it needs to look intentional and polished. A well-executed straight style with smart layering, thoughtful parting choices, and texture added through styling creates the impression of fullness while actually working with your hair’s natural characteristics rather than against them. Start with a consultation with a stylist who understands fine hair, commit to the blow-drying and styling techniques that actually create the lift, and invest in volumizing and texturing products that add visible thickness without weight. With these elements in place, thin hair can absolutely rock any of these straight-hair looks with confidence and style.