Half up half down hairstyles have become a go-to for anyone seeking that sweet spot between polished and effortlessly undone. There’s something inherently appealing about this look — it keeps hair off your face while leaving the length and dimension you’ve worked hard to grow out visible. But when you add the “messy” element, something magical happens. Suddenly you’re no longer aiming for perfection; you’re aiming for texture, movement, and personality.
The beauty of messy half up half down styles lies in their versatility. They work equally well on lazy Sunday mornings when you’ve got twenty minutes to get ready and at evening events where you want to feel polished without looking overdone. Whether your hair is naturally wavy, pin-straight, or something in between, these styles adapt to your hair type and lifestyle. The real trick is understanding which version suits your face shape, hair texture, and the occasion — and knowing exactly how to achieve that “intentionally undone” look that actually takes more skill than it appears.
What makes these styles so forgiving is that the imperfections are the whole point. Flyaways, loose strands, slightly crooked sections — these aren’t mistakes to hide. They’re features that add charm and authenticity to your look. In this guide, we’re breaking down eighteen specific messy half up half down styles with enough detail that you can recreate each one, adapt it to your own hair, and make it genuinely yours.
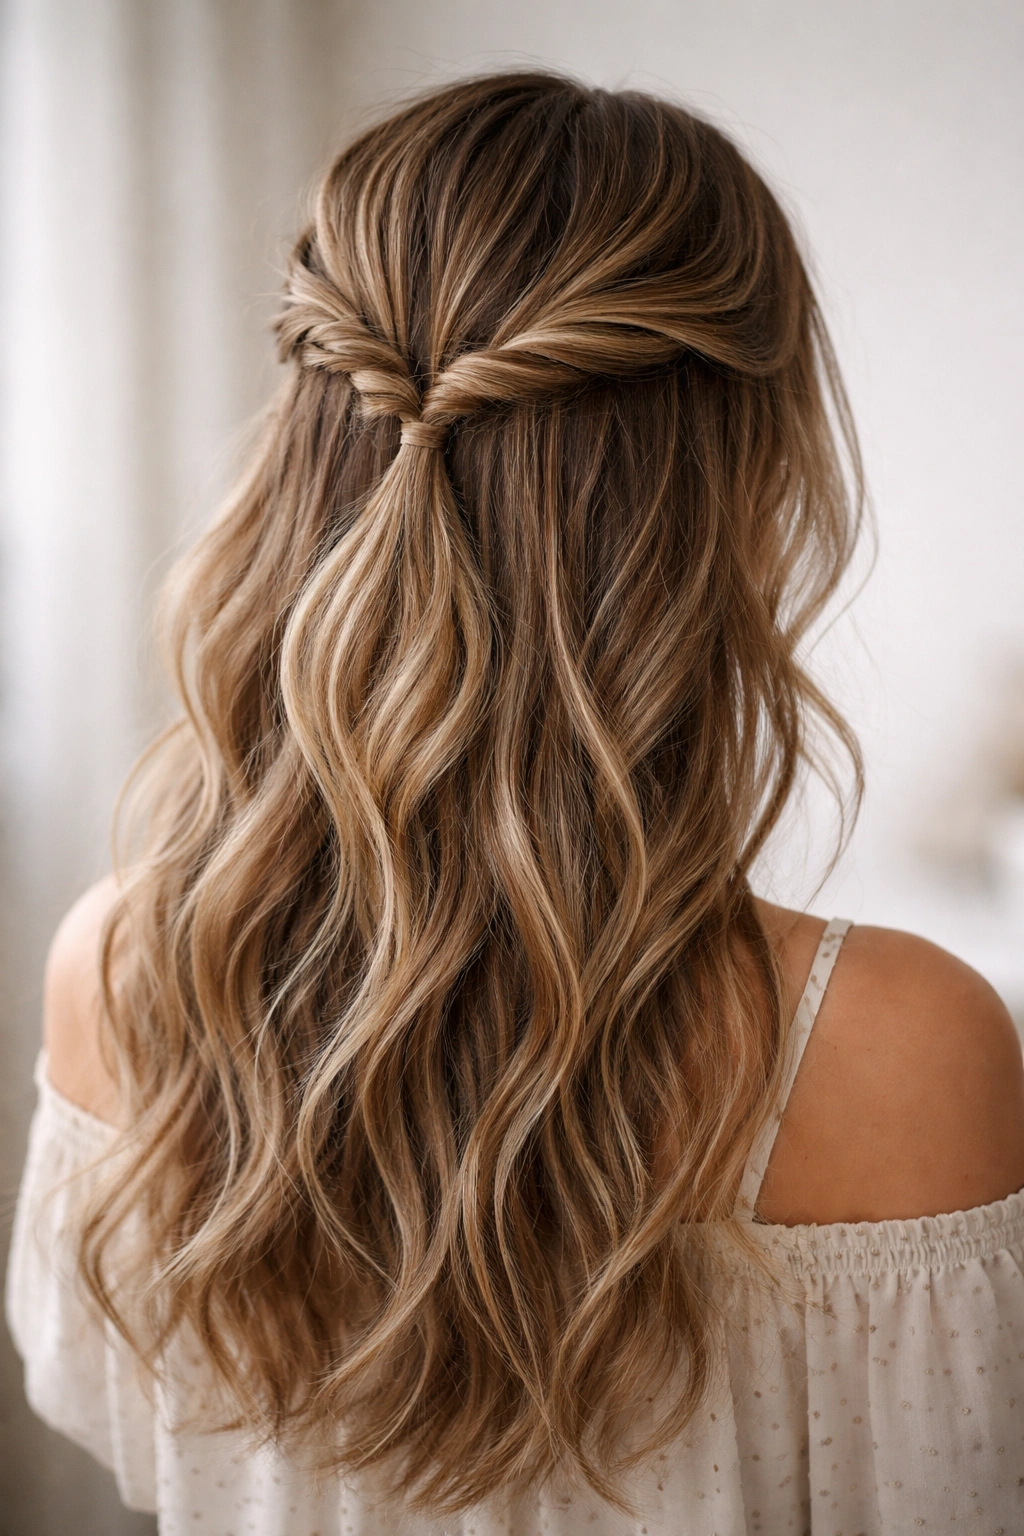
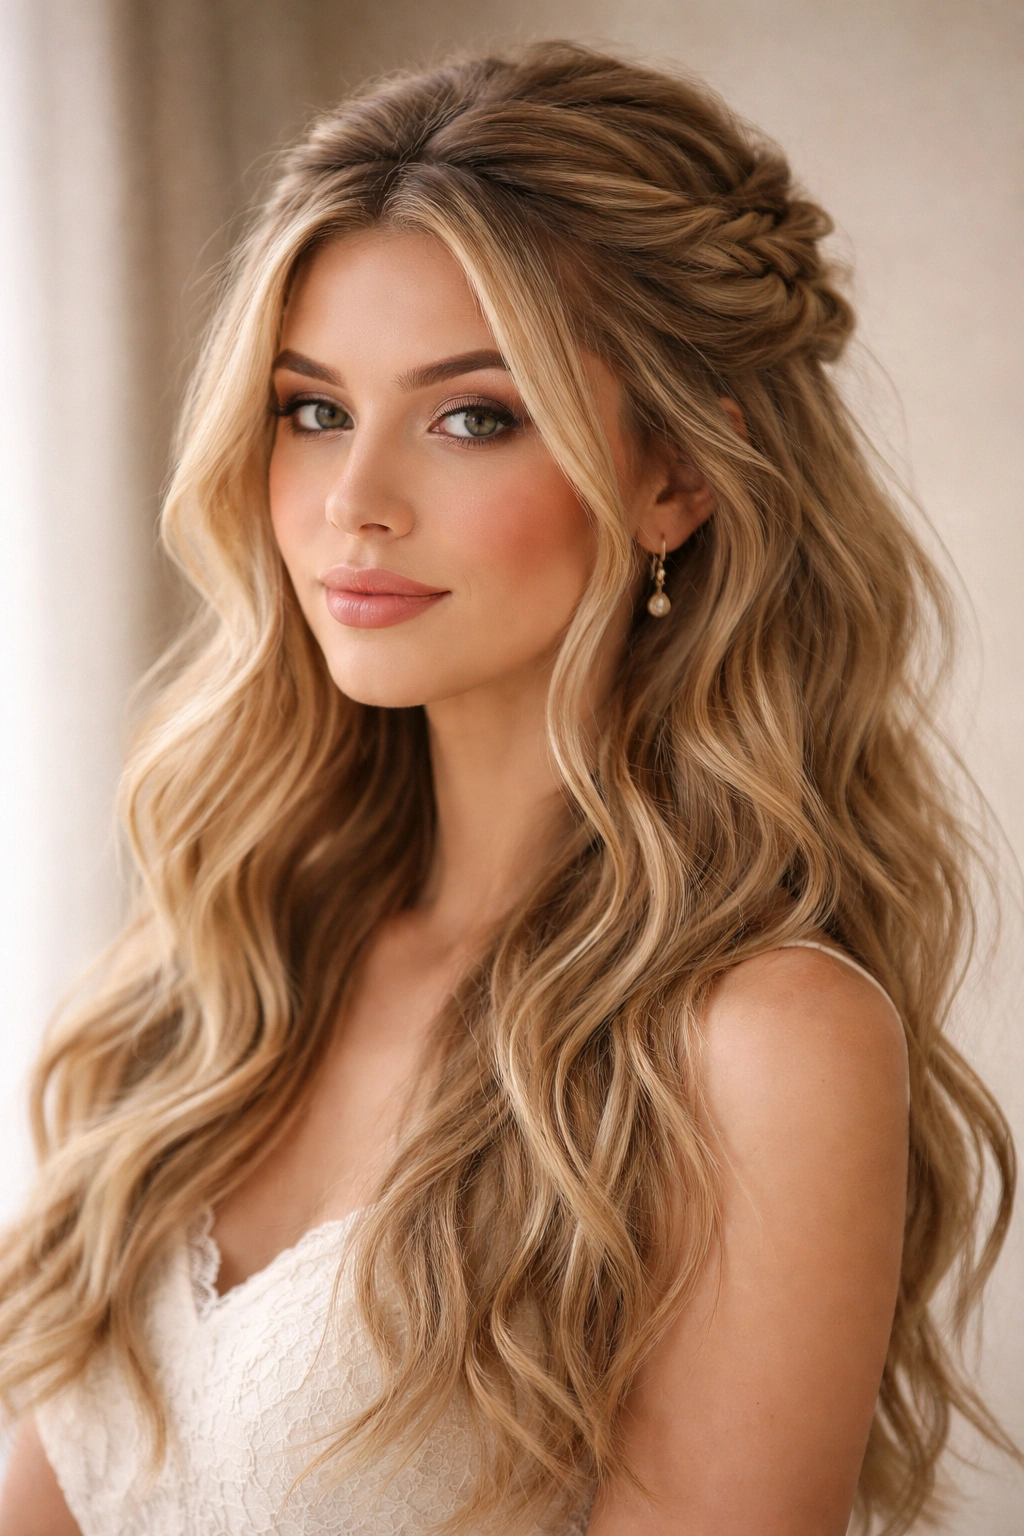
1. The Classic Twisted Half Up
This style takes the simplicity of a basic half up and transforms it through the power of texture. Instead of pulling your top half straight back into a ponytail, you’re twisting sections of hair as you work toward the back, creating depth and visual interest even with minimal products.
Why It’s Endlessly Flattering
The twisted half up works on virtually every hair type because the twists automatically create the “messy” effect you’re chasing. Even if your hair is slick and fine, the act of twisting gives you texture and holds everything in place naturally. The style frames your face beautifully without requiring any backcomb, teasing, or complicated techniques. It reads as intentional but effortless — which is exactly the vibe these styles nail.
How to Create the Look
- Start with hair that has some texture or wave — air-dried hair works beautifully, or use a texture spray on straight hair
- Take a 2-inch section from just above your right ear and twist it loosely toward the back of your head
- Repeat on the left side with another section, twisting in the same direction
- Gather both twisted sections at the crown with a few loose pieces of hair left to frame your face
- Secure with a bobby pin that matches your hair color, tucking it underneath the twists
- Gently pull and tease the twists slightly to create that undone texture
Pro tip: The looser your twists, the messier and more romantic the final look. Don’t aim for tight, polished twists — think relaxed, slightly imperfect spirals.
2. The Tousled Bubble Bun Half Up
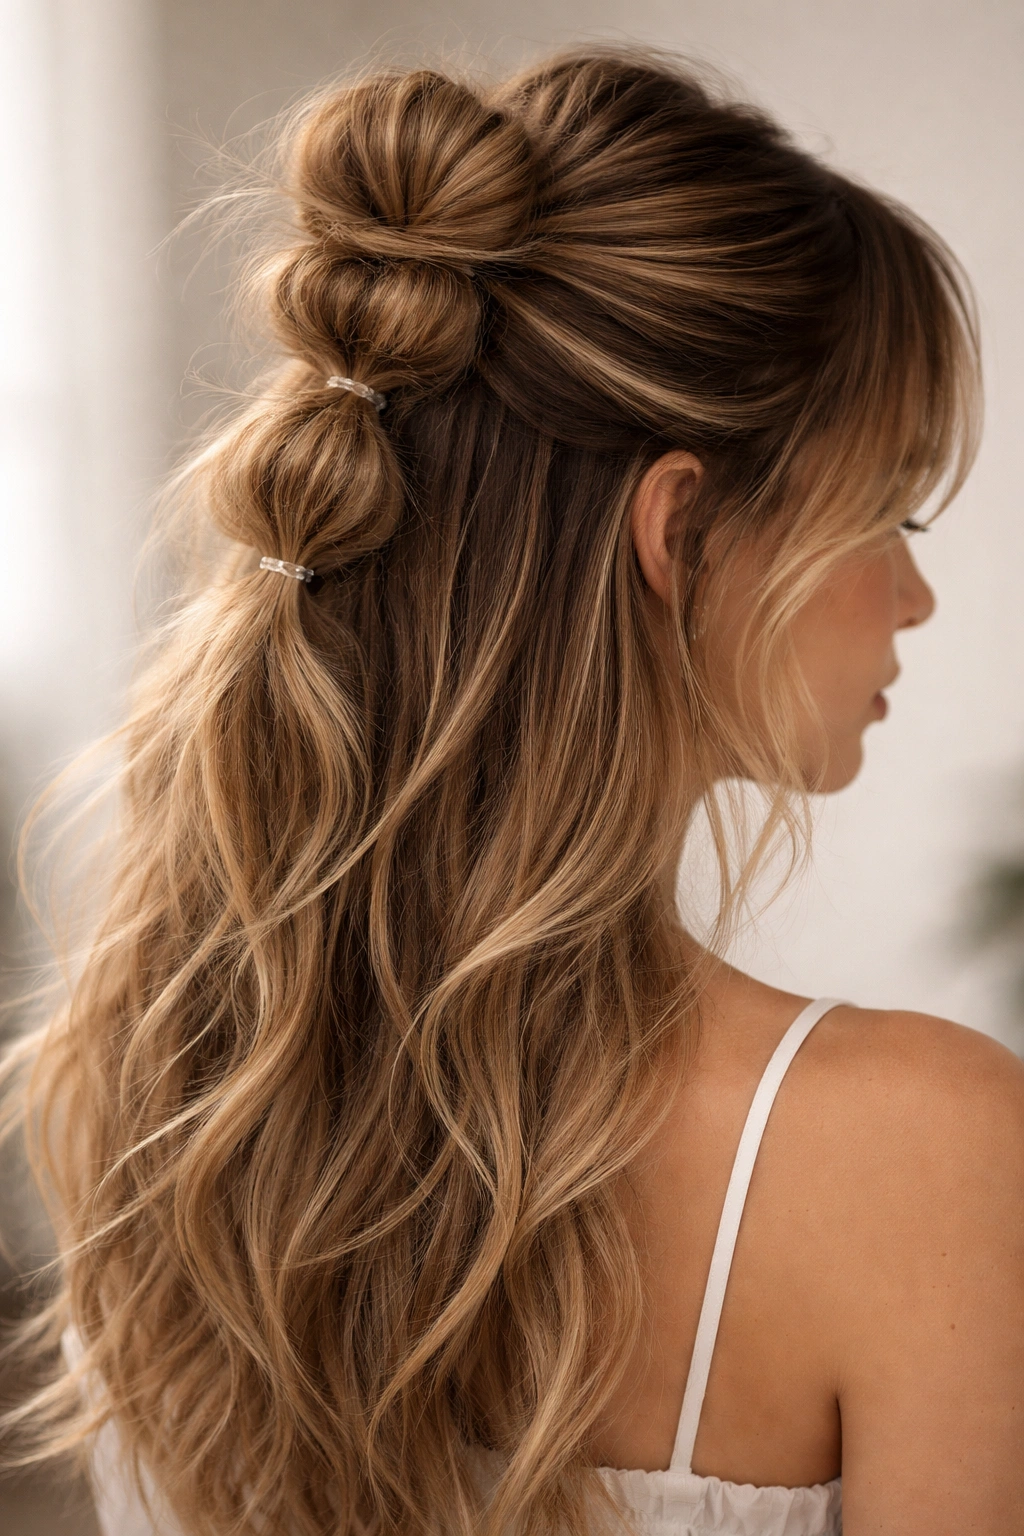
This version adds playful volume and dimension by creating multiple small sections in your half-up that you gather and fluff individually. It’s the perfect style for second-day hair when you want maximum texture and minimal effort.
What Makes This Version Special
The bubble effect — created by sectioning your half-up into 3-4 separate clusters — gives you visual height and a modern, editorial feel. Each bubble catches light differently, creating dimension that’s far more interesting than a single sleek ponytail. This style photographs beautifully because the texture reads on camera, and it’s forgiving enough that you don’t have to worry about every strand being perfectly in place.
Step-by-Step Build
- Section your top half into three zones: left side, center, and right side
- Twist or braid each section loosely, leaving wisps of hair loose
- Secure the center section with a small elastic
- Now create a second elastic about two inches below the first, gathering all three sections together
- Gently push the hair up between the two elastics to create the bubble effect
- Repeat with a third elastic lower down the back if your hair is thick or long
- Pull baby hairs and wisps around your face to soften the overall look
Worth knowing: Using clear elastics makes this style look more polished, while colored elastics can become a design element themselves depending on your hair color and vibe.
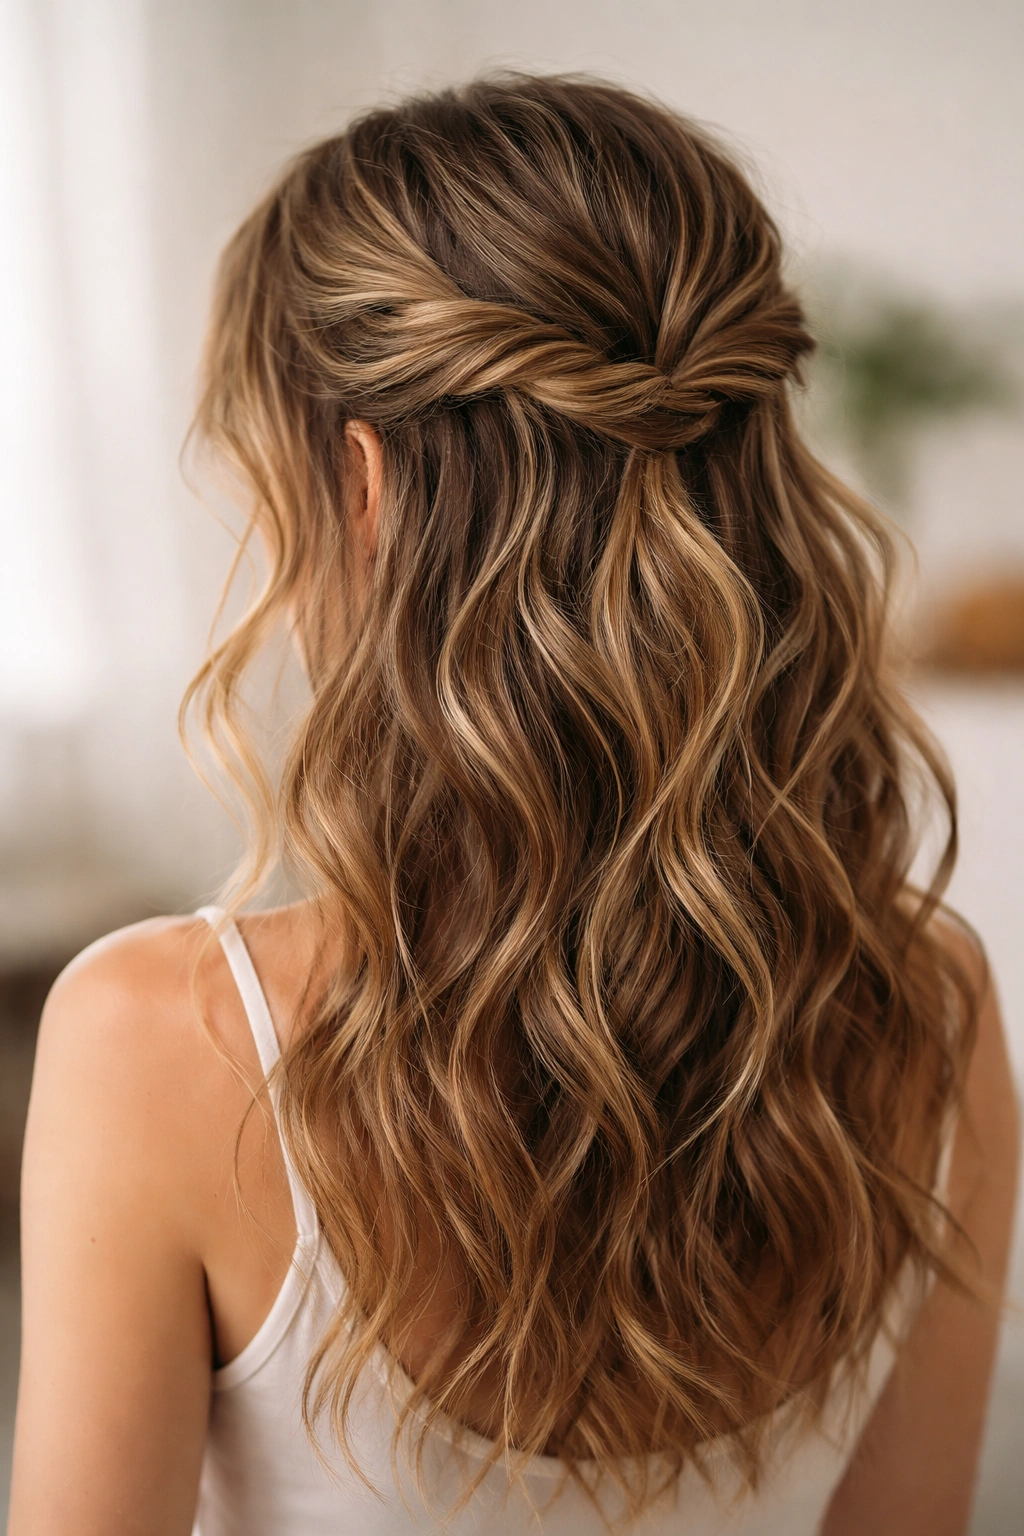
3. The Textured Braided Half Up
Braids are the secret weapon for creating instant texture and mess in a half-up style. Even a single braid woven into your half-up adds serious visual interest and holds everything in place without looking overly done.
The Brain Behind the Braided Half Up
Braids naturally create the illusion of more hair and more texture than you actually have, which is why they’re so effective in half-up styles. A braided half-up also tends to hold longer throughout the day — the braid anchors your look and keeps it from loosening. If you’re moving between activities or aren’t able to fix your hair midday, a braided version is your most reliable option.
Creating the Texture
- Pull your top half back as you normally would, but instead of securing it straight, create a three-strand braid with those sections
- Keep the braid intentionally loose and slightly lopsided — perfection is the enemy here
- Secure the braid with an elastic at the base, leaving some length loose below
- Gently pull the sides of the braid to create more volume and texture
- Tease around your face and hairline with a fine-tooth comb to soften any smoothness
- Finish with a lightweight texture spray to enhance the undone appearance
Insider note: Braiding slightly damp hair helps the braid hold shape better, but braiding completely dry hair actually creates more texture and movement in the finished style.
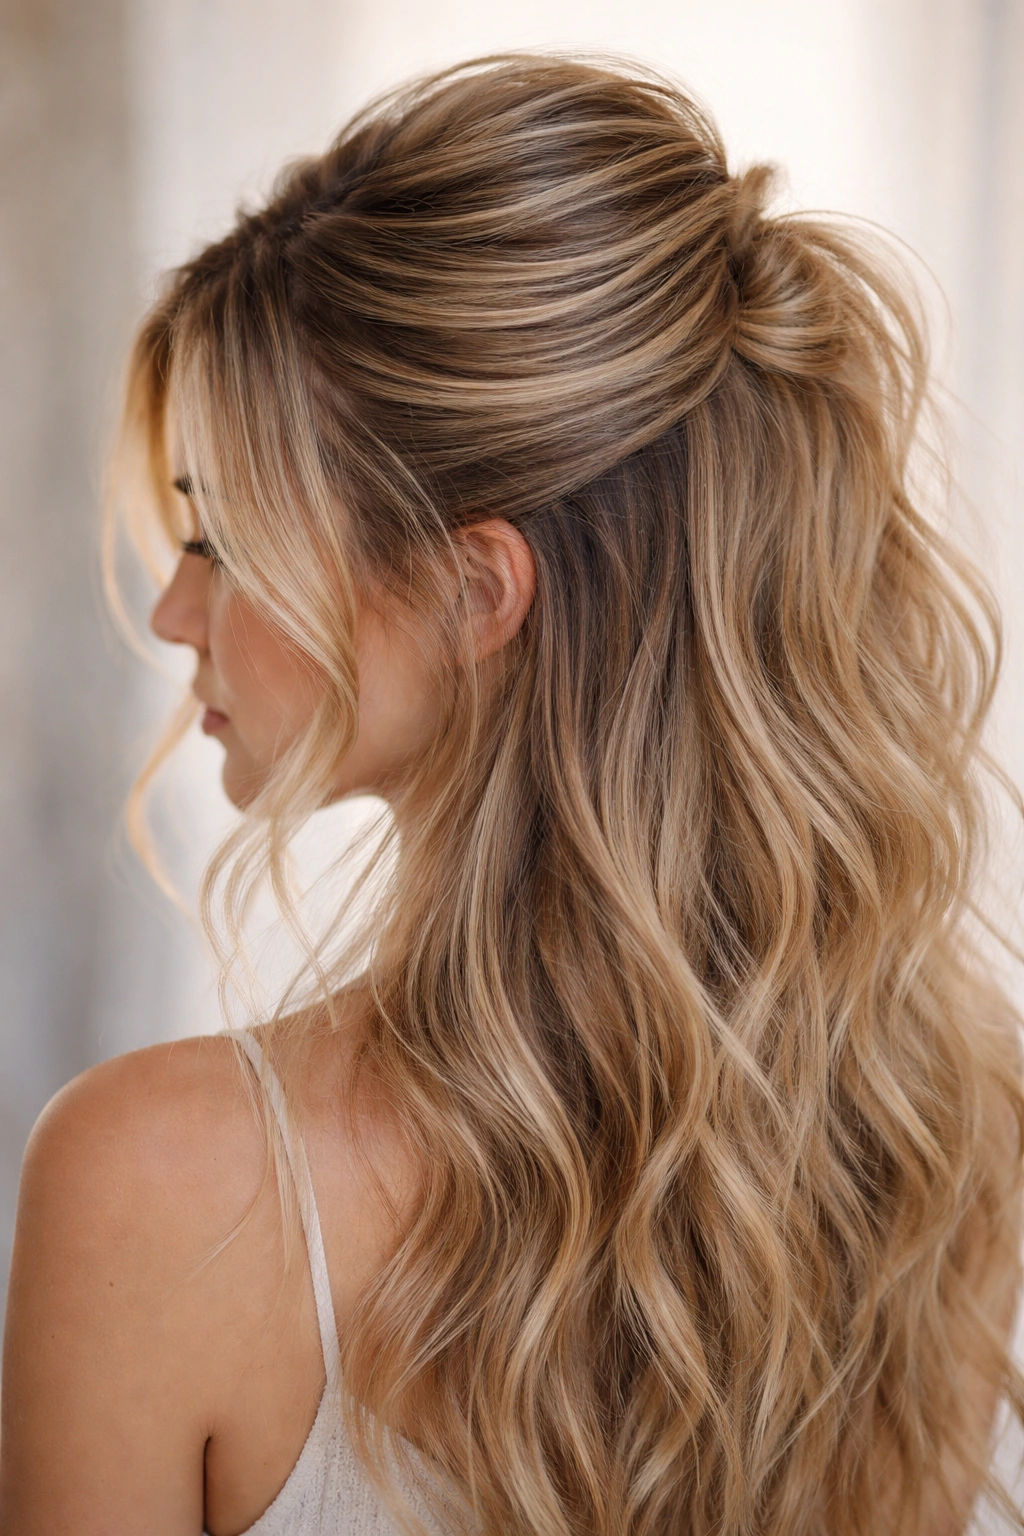
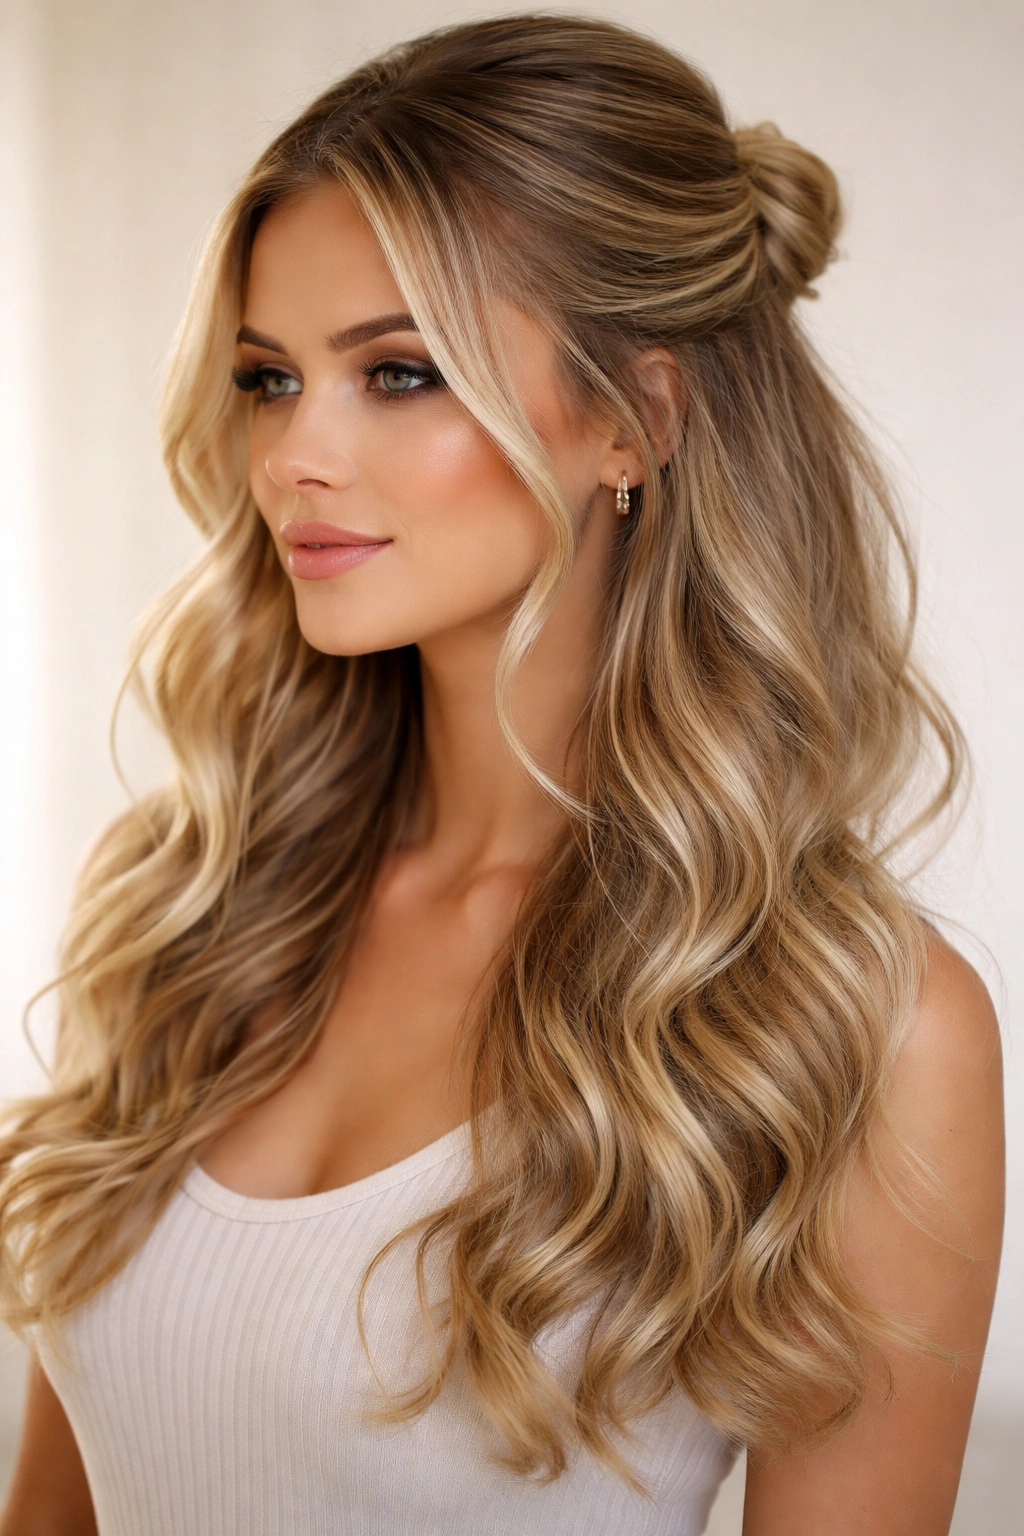
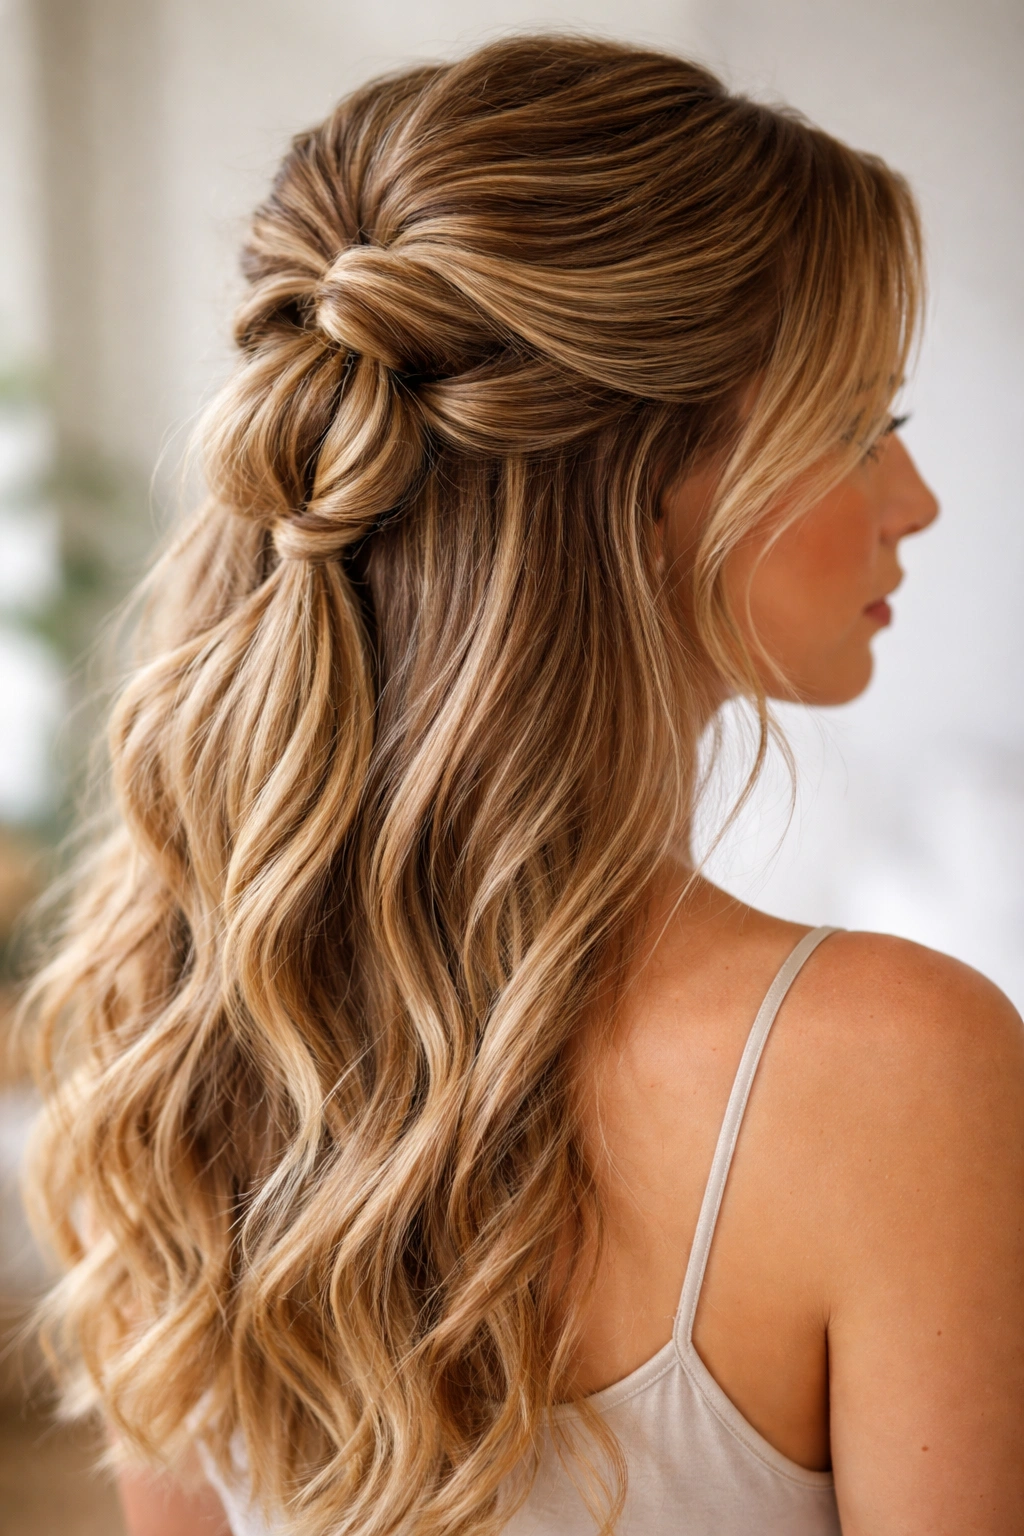
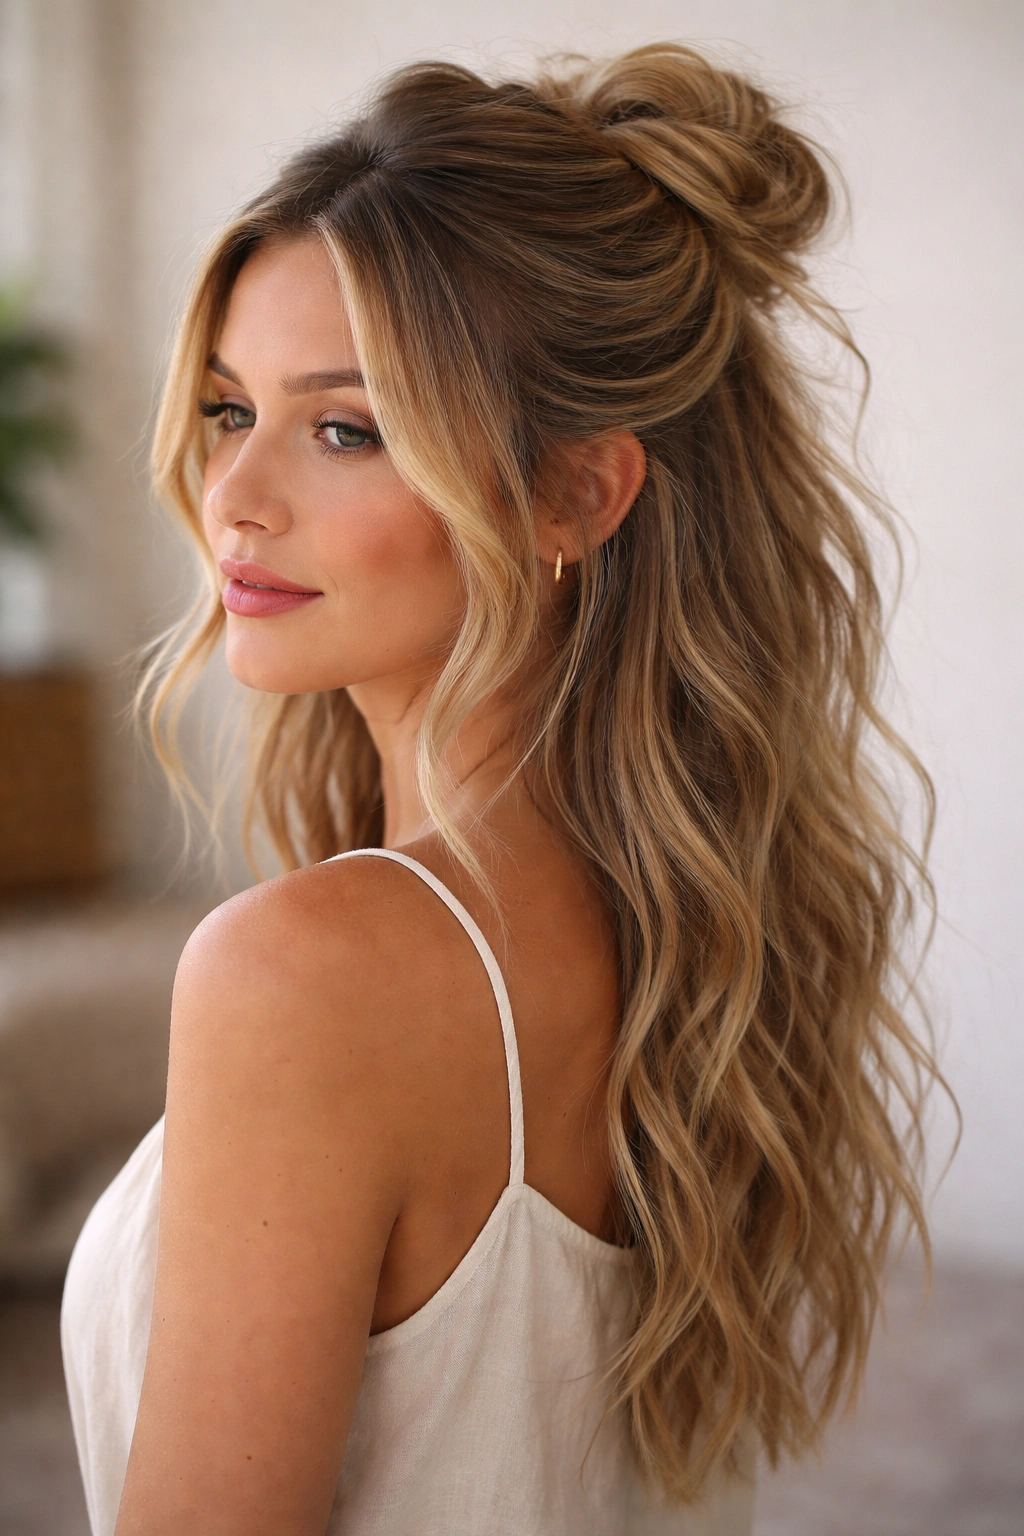
4. The Romantic Messy Half Bun
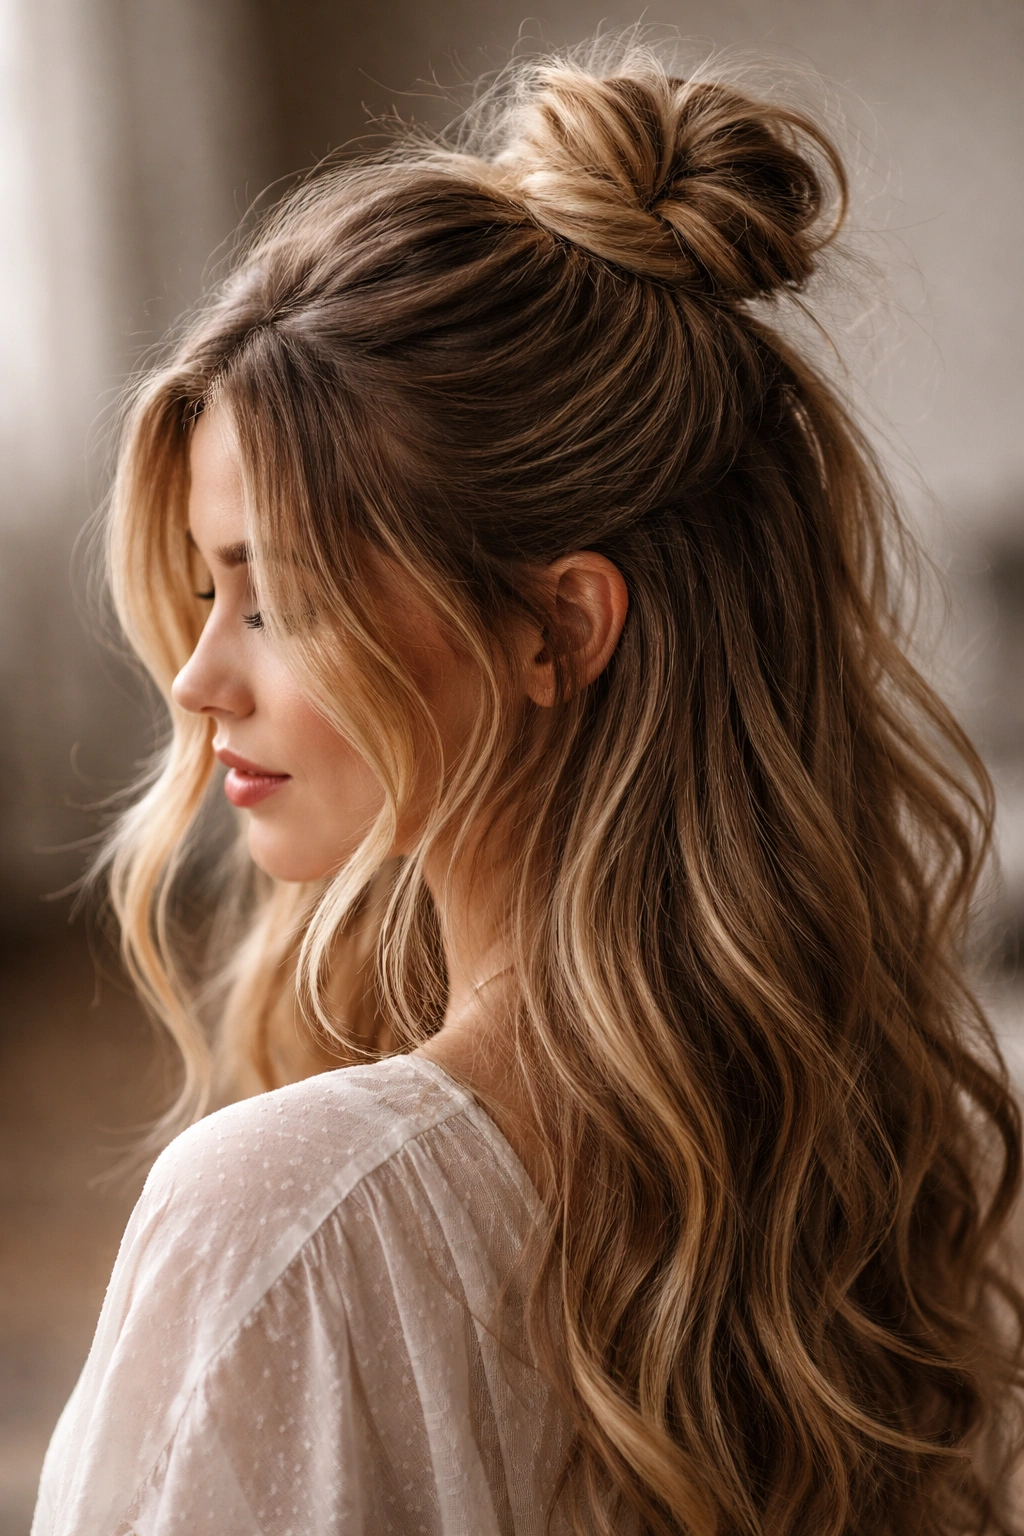
A half bun — sitting at the crown rather than at the nape — creates a softer, more romantic silhouette than a traditional half-up ponytail. The key to making this genuinely messy is in how you form and position the bun itself.
Why Half Buns Feel So Effortless
The half bun works because it combines the practical benefit of keeping hair off your neck with the romantic visual of loose waves below. It’s particularly flattering on longer faces because the gathered-at-crown placement actually balances proportions beautifully. The messiness here isn’t about sloppiness — it’s about texture, slight asymmetry, and strategically placed loose pieces.
Achieving the Perfect Messy Bun
- Gather your top half loosely at the crown, about two inches above the center of your head
- Twist the section and wrap it around itself to form a bun shape
- Secure with bobby pins, tucking them so they’re invisible
- Don’t worry about smoothness — intentional bumps and texture look better
- Pull the front sections down to frame your face, creating an asymmetrical look
- Take a few strands from the bottom section and lightly tease them to blend with the bun
- Finish with a texturizing spray and one more gentle pull of the bun to loosen it further
Pro tip: A half bun looks messier and more interesting when it’s positioned slightly off-center — tilt it left or right rather than placing it dead center.
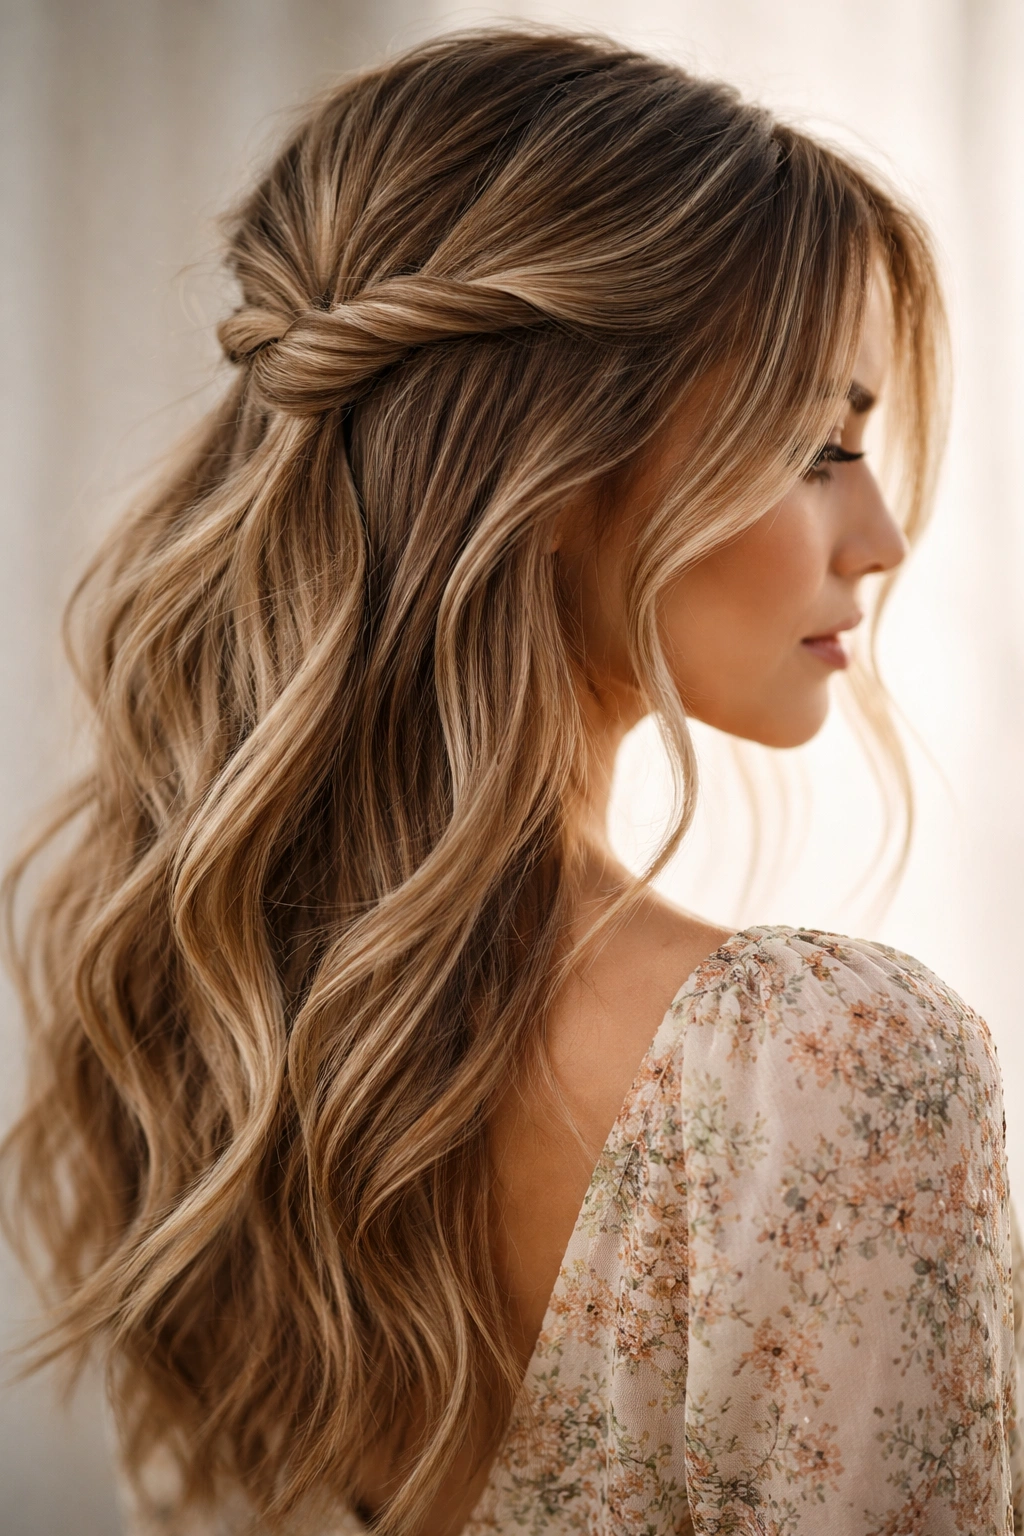
5. The Undone Twisted Crown
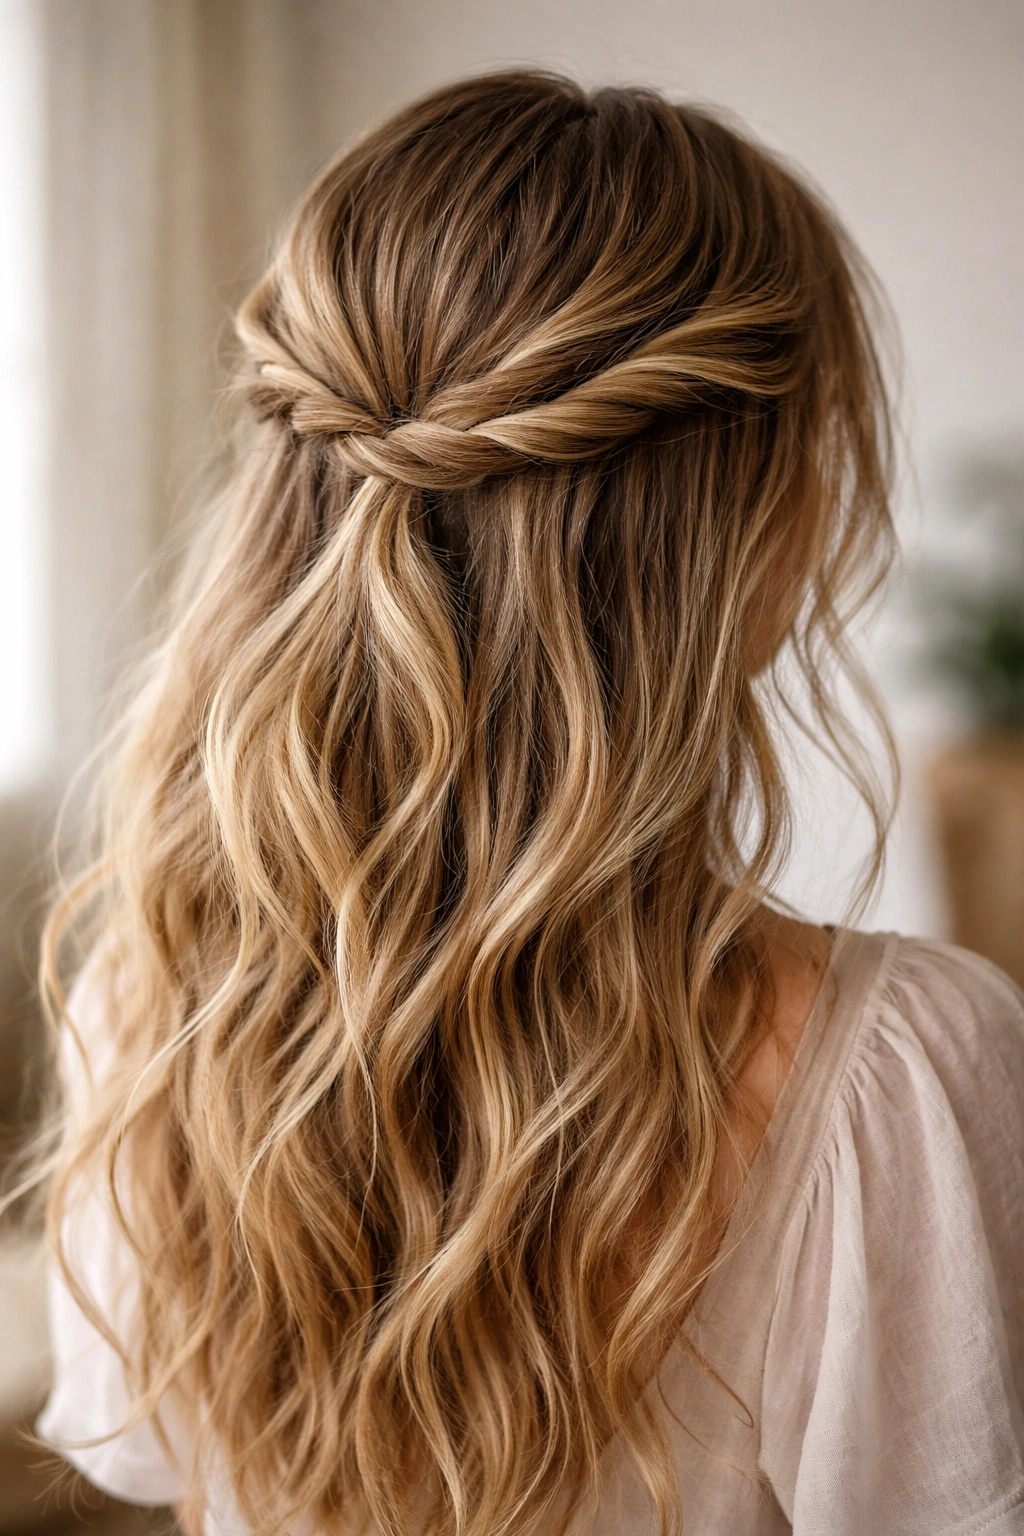
This style creates a crown-like effect by twisting two sections of hair around the back of your head and anchoring them with your half-up. It’s intricate enough to turn heads but casual enough that you can do it in under five minutes once you get the hang of it.
The Geometry of the Twisted Crown
What makes this style work is the interplay between the two twists and the gathered section — they create visual depth and movement that reads as way more complicated than it actually is. The twists frame the back of your head in a way that’s genuinely flattering, and they keep your hair contained while still feeling loose and romantic. This is the style to reach for when you want people to think you spent an hour on your hair but you actually spent fifteen minutes.
Building the Twisted Crown
- Take a 2-inch section from the left side of your head, roughly at temple level
- Twist it gently and bring it toward the back of your head, securing it loosely with a bobby pin
- Repeat on the right side, twisting in the same direction and overlapping slightly with the first twist
- Gather your top half just below where the twists meet and secure with an elastic
- Gently pull the twists to create more volume and texture
- Extract a few small pieces of hair around your face to soften the overall look
- Use bobby pins to tuck any loose sections under the gathered hair
Worth knowing: This style holds beautifully even if your hair is fine or thin — the twists provide enough anchoring that you don’t need maximum volume.
6. The Voluminous Teased Half Up
When you want serious hair volume without looking stiff or overdone, this is your go-to style. The secret is strategic backcomb placement — you’re not teasing your entire head, just the specific sections that matter most.
Understanding Teasing for Texture
Teasing, when done right, creates both volume and that perfectly messy texture. The goal isn’t to create a ratted mess but to deliberately disrupt the hair’s surface to catch light and create dimension. In a half-up style, you’re teasing selectively: the crown where you’ll gather, maybe the face-framing pieces, and the bun or ponytail base to give it substance.
Creating the Voluminous Look
- Spray your roots lightly with texturizing spray
- Use a fine-tooth teasing brush to gently backcomb at the crown, working in small sections
- Don’t tease aggressively — you want subtle volume, not obvious tangles
- Smooth the top surface of each teased section with the brush (this keeps it looking intentional)
- Gather your top half, incorporating the teased sections
- Secure with an elastic and gently pull the half-up to create more volume and movement
- Tease lightly around your hairline and face to soften any smoothness
- Finish with a texture spray and light hairspray to hold without stiffness
Pro tip: Teasing works best on second-day hair when your scalp has produced enough natural oil to give grip and hold.
7. The Sleek-to-Messy Contrast Half Up
This style deliberately plays with contrast — a sleek, polished half-up at the top with intentionally undone waves and texture below. It’s modern, sophisticated, and surprisingly easy to achieve.
Why Contrast Creates Visual Interest
The juxtaposition of sleek and messy is what makes this style visually compelling. Your eye travels from the controlled gathering to the free-flowing texture below, and that movement keeps the look from feeling one-dimensional. This is the style that works equally well at brunch and at dinner, business casual and date night.
Building the Contrast
- Use a smoothing spray or serum on your top half to create sleekness
- Blow-dry or straighten your half-up sections for that polished effect
- Gather your top half with precision, creating clean lines
- Secure with a sleek hair tie (no texture, no fabric elastic)
- Now grab your lower half and apply a sea salt spray or texture product
- Crunch the lower half with your hands to create waves and texture
- Pull a few pieces loose around your face
- The contrast between the two textures is the whole point
Insider note: This style photographs beautifully because the contrast reads in photos and looks intentional rather than like you just didn’t finish styling.
8. The Romantic Ribbon-Tied Half Up
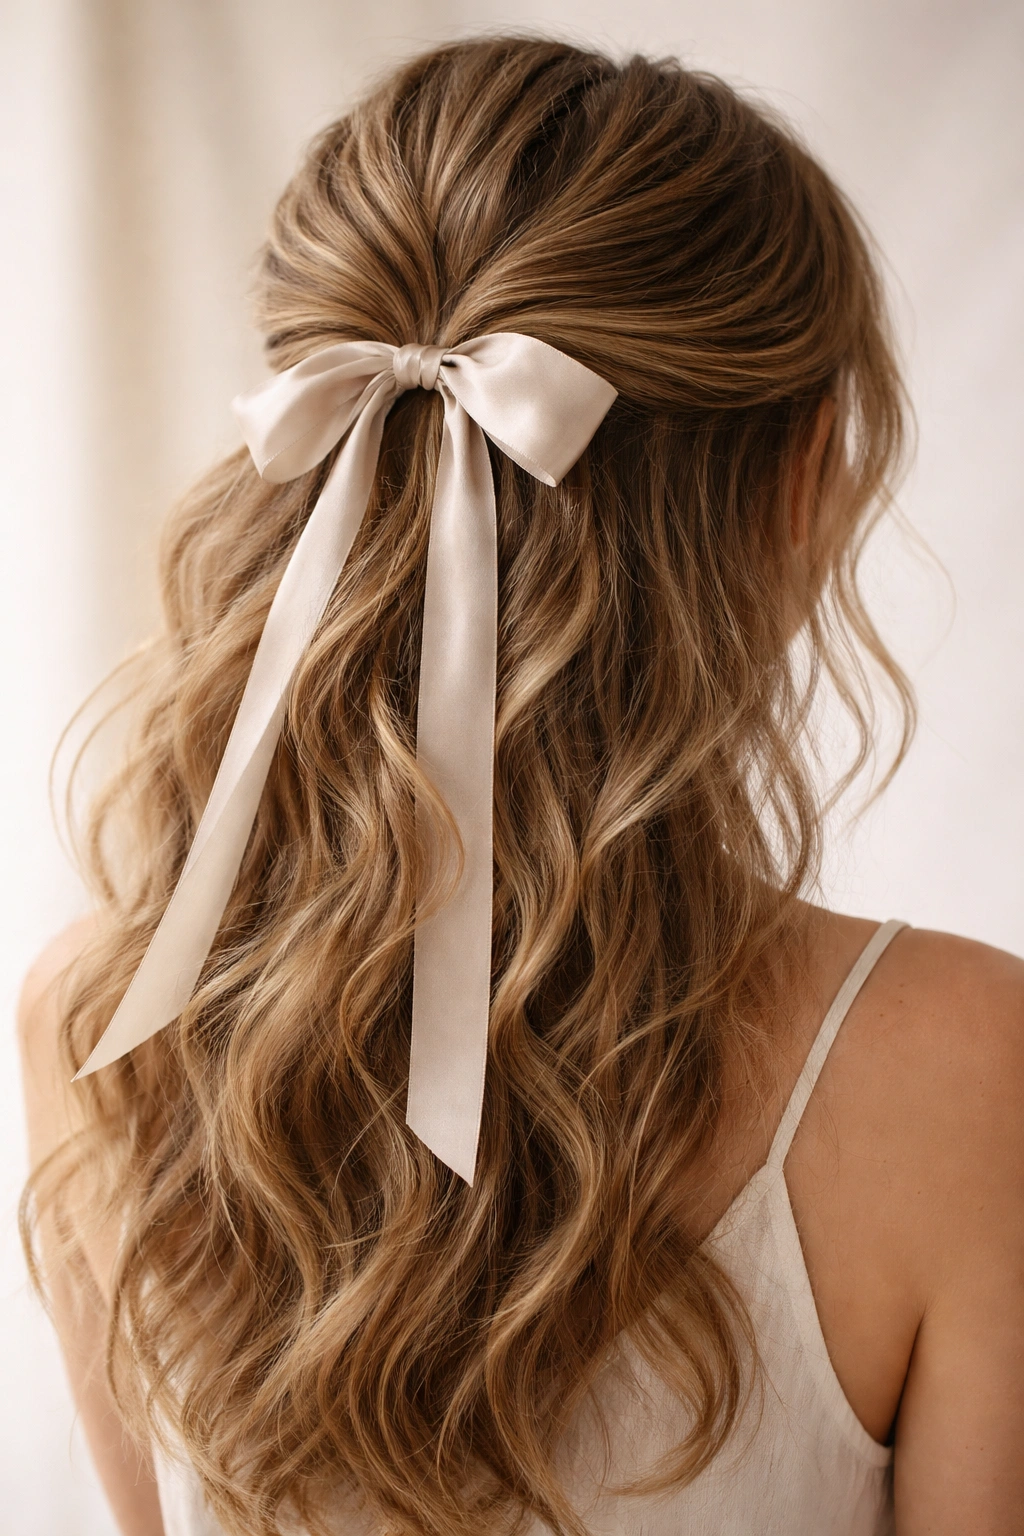
Adding a ribbon or velvet tie transforms a simple half-up into something that feels special and intentional. The ribbon becomes a design element that catches light and adds visual interest.
How Ribbons Elevate the Messy Look
A ribbon-tied half-up walks the line between polished and relaxed better than almost any other half-up style. The ribbon adds elegance and intentionality, while the messy gathering and loose pieces below keep it from feeling overdone. This style is particularly gorgeous when you choose a ribbon in a contrasting color or a luxe texture like velvet or satin.
Creating the Ribbon-Tied Look
- Gather your top half loosely, creating deliberate texture and leaving wisps around your face
- Instead of securing with an elastic, thread a 12-18 inch ribbon through the base where you’re gathering
- Tie the ribbon into a bow or simple knot, letting the tails hang down with your loose waves
- Adjust the gathering so the ribbon sits prominently and the bows or tails frame nicely
- Pull and tease your half-up slightly to create more texture around where the ribbon sits
- Leave your bottom half wavy and undone, letting the loose texture contrast with the gathered top
Pro tip: Velvet ribbons photograph beautifully and feel luxe, but silk ribbons won’t slip out of finer hair as easily and hold throughout the day better.
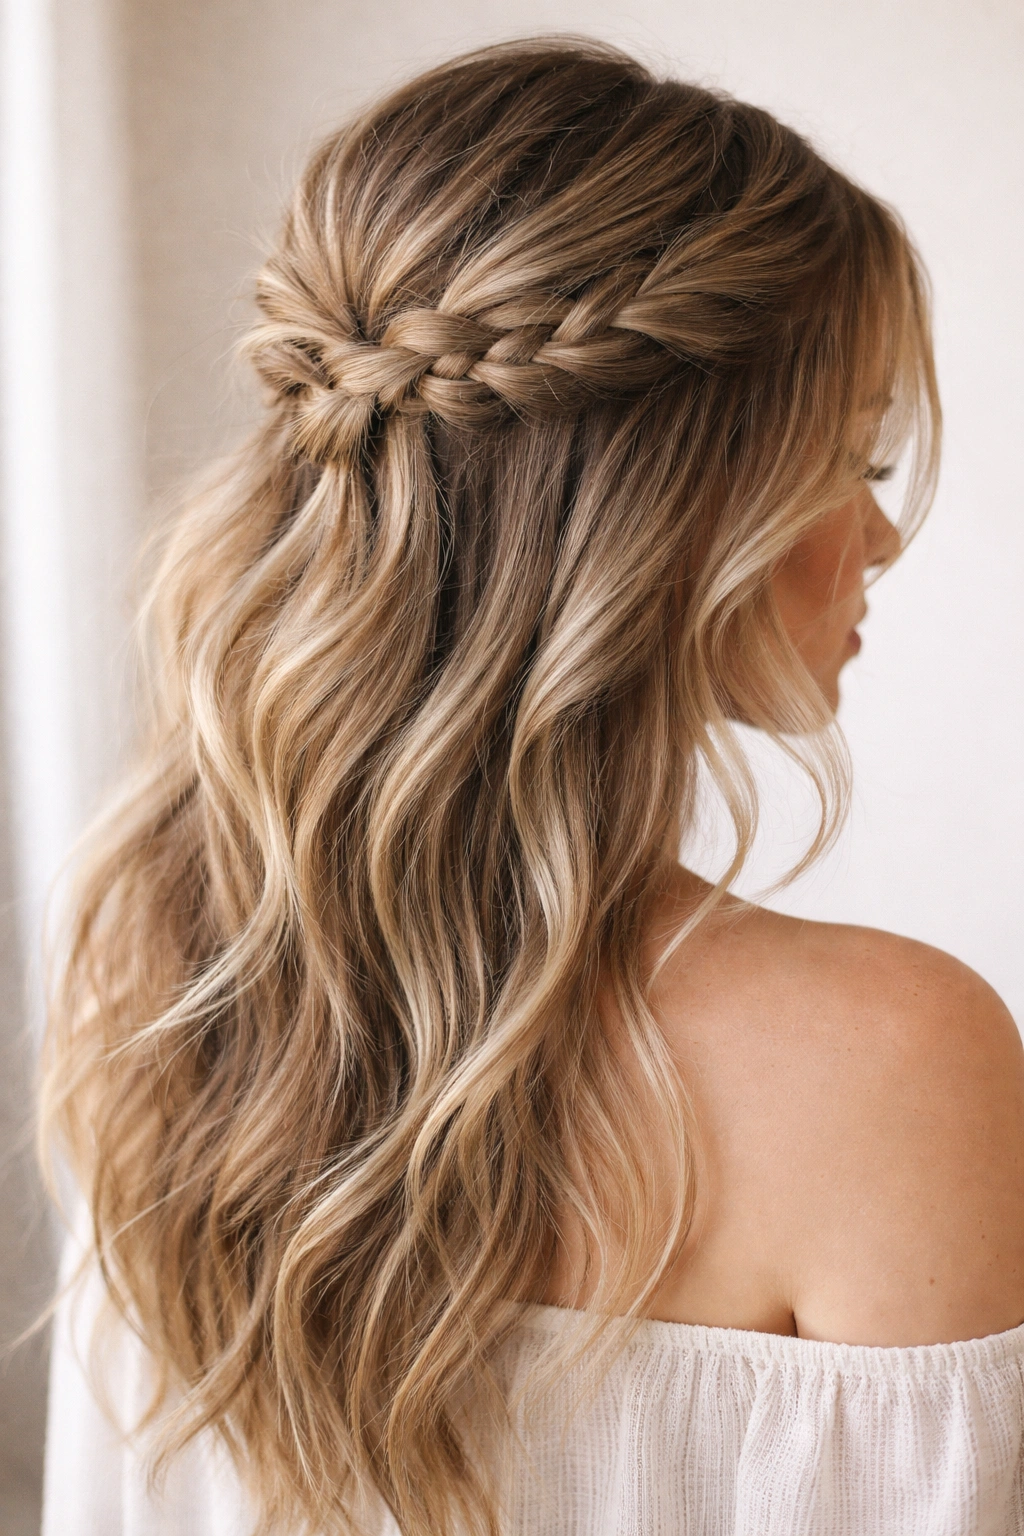
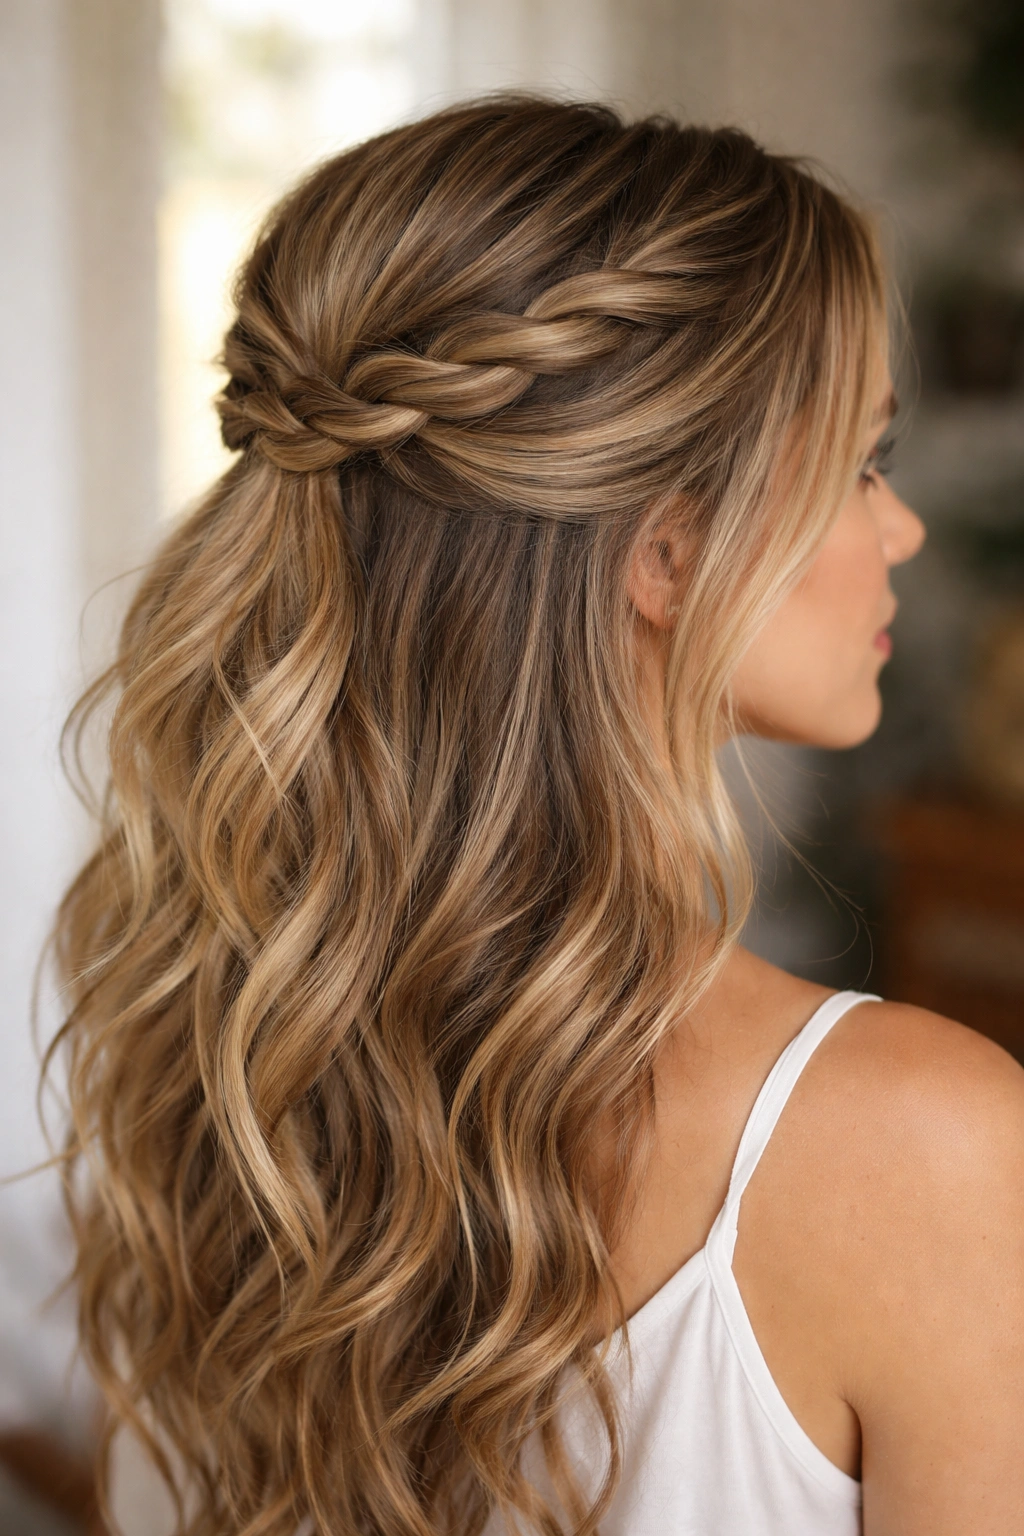
9. The Braided Face-Frame Half Up
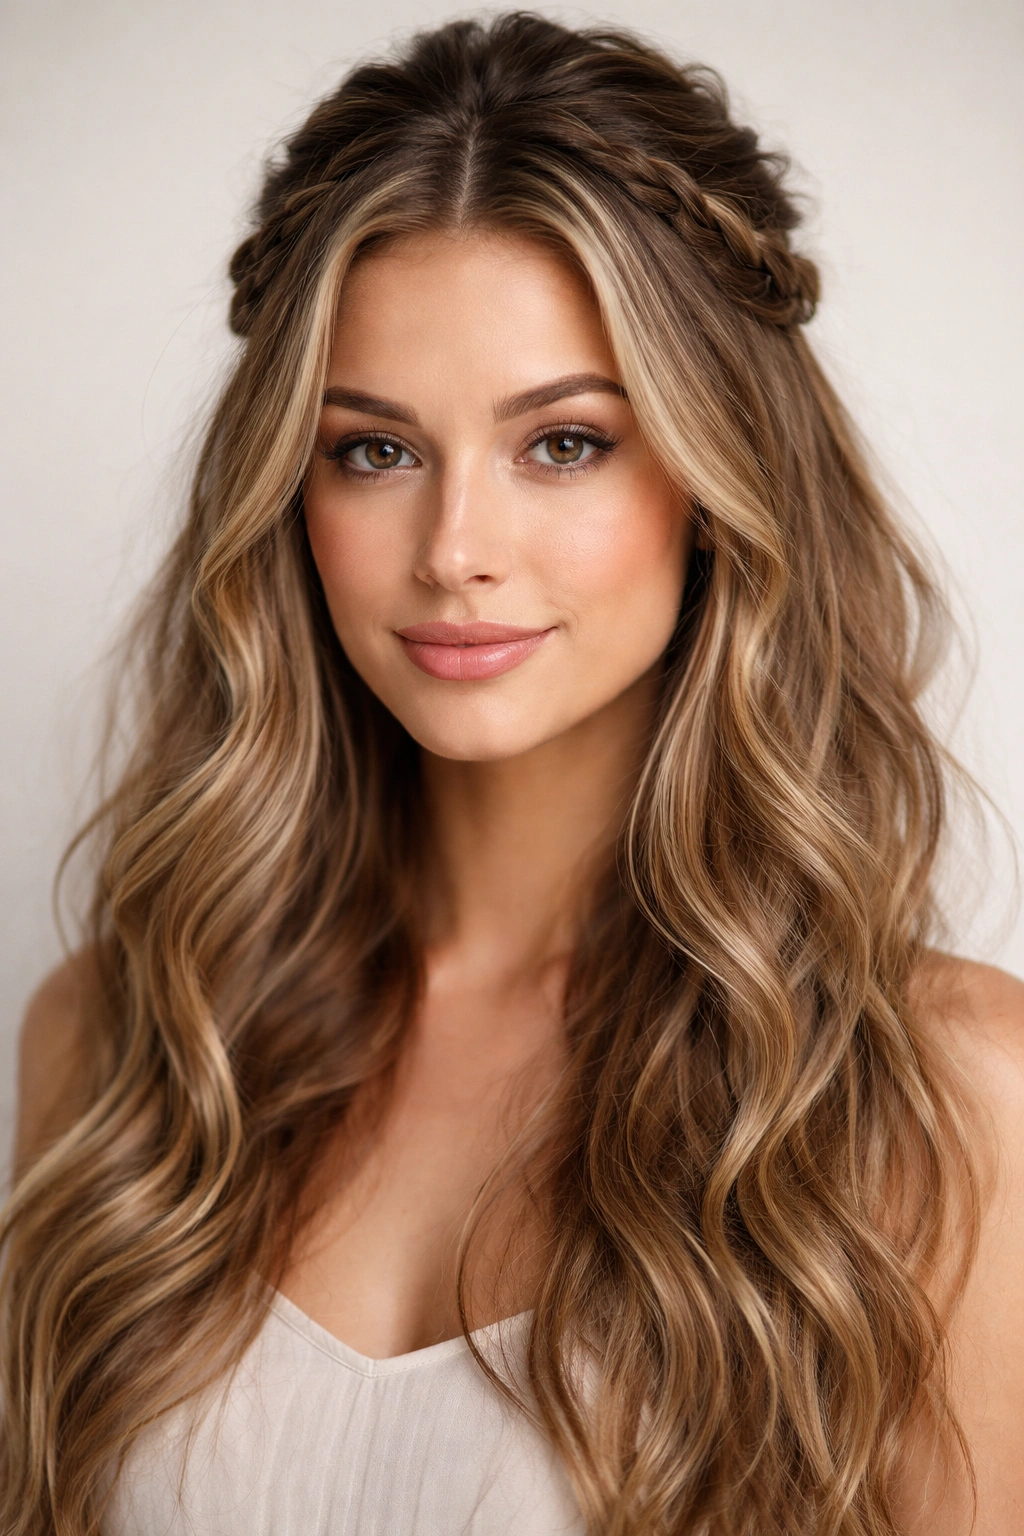
This style keeps your face completely open while braids frame both sides, running from your temples back to the crown where they anchor your half-up. It’s flattering, practical, and undeniably romantic.
Why Face-Framing Braids Matter
Braids that frame your face create definition and draw attention upward — they’re inherently flattering. In a half-up style, these braids serve double duty: they look beautiful and they help anchor your gather. This style works on all face shapes, though it’s particularly lovely if you want to soften your jawline or emphasize your eyes.
Building the Braided Frame
- Take a 2-inch section from your right temple, just above and slightly forward of your ear
- Create a loose three-strand braid, angling it toward the back of your head
- Repeat on the left side, braiding in the same direction
- Gather both braids at the crown, adding your top half as you go
- Secure with an elastic, tucking it underneath the braids
- Gently pull the braids to create more volume and that undone texture
- Make sure your face is completely open and unframed by any hair
- Pull a few tiny pieces loose at your temples for ultimate softness
Worth knowing: This style holds beautifully all day because the braids provide structure, making it ideal if you need your hair to last through an entire day of activity.
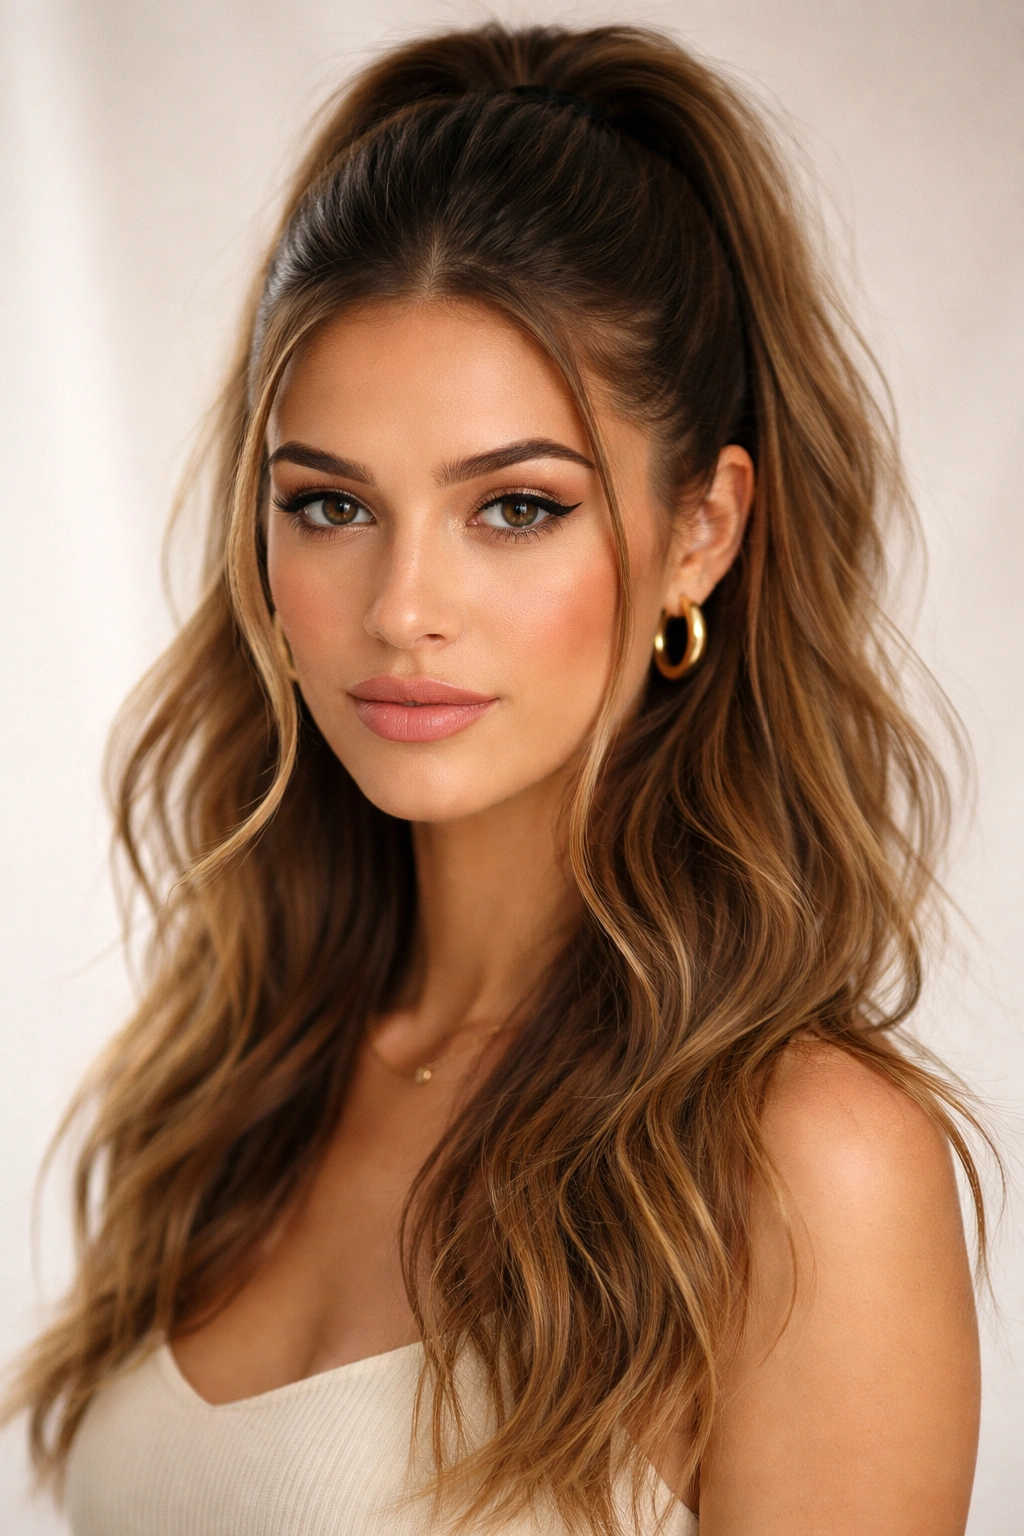
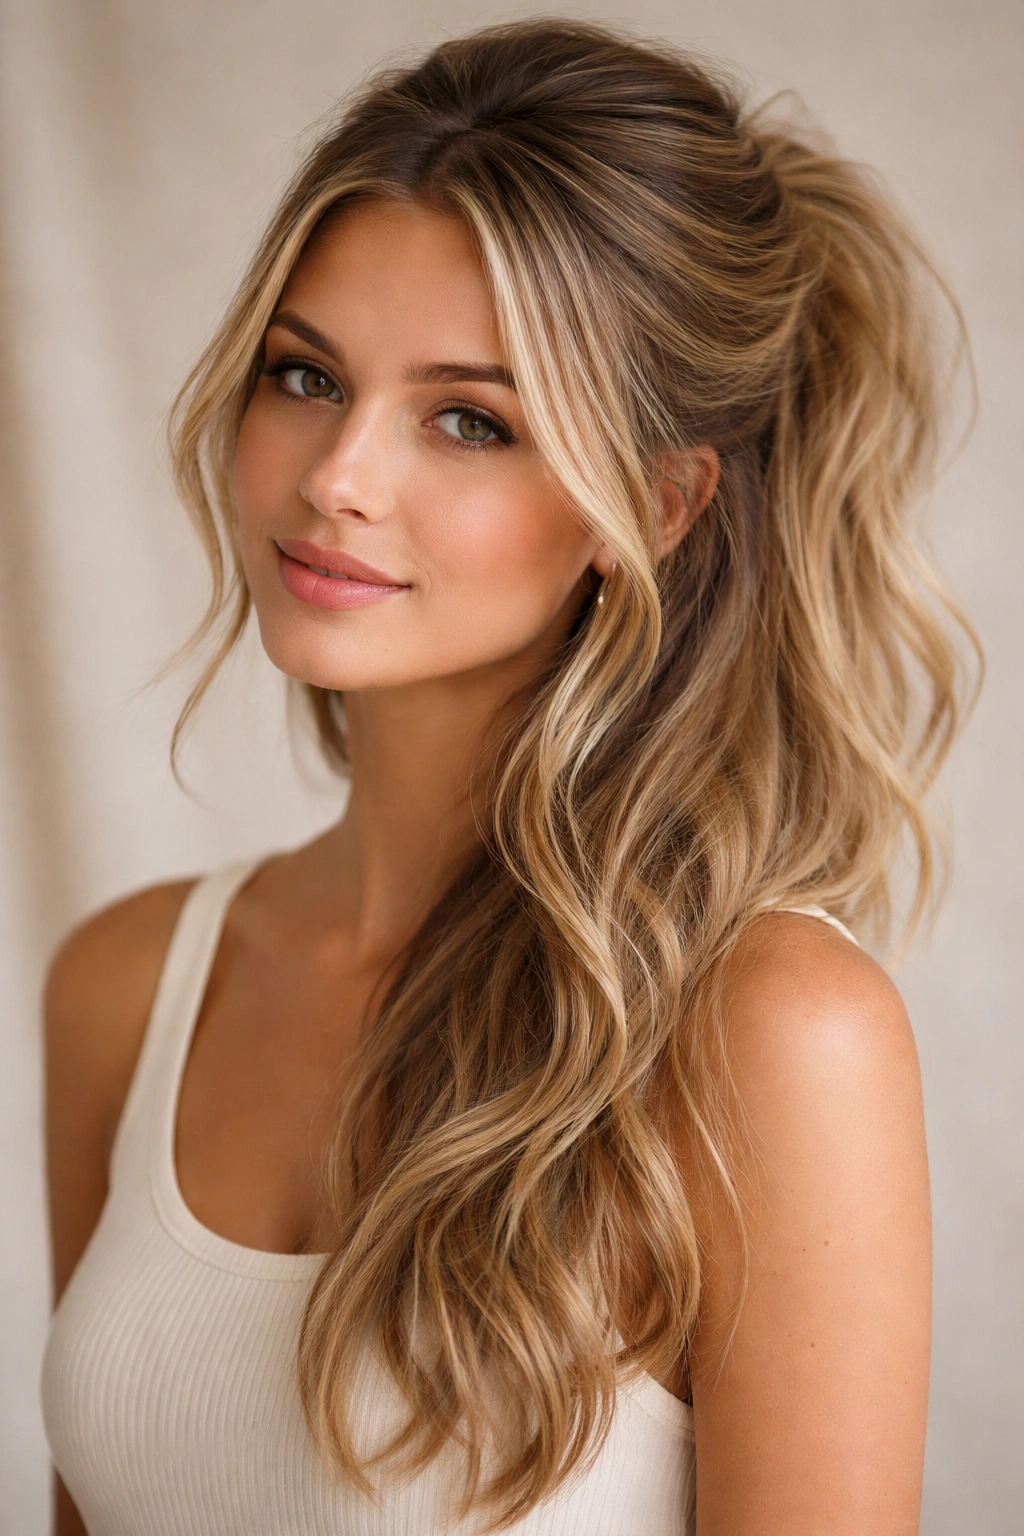
10. The Textured High Half Pony
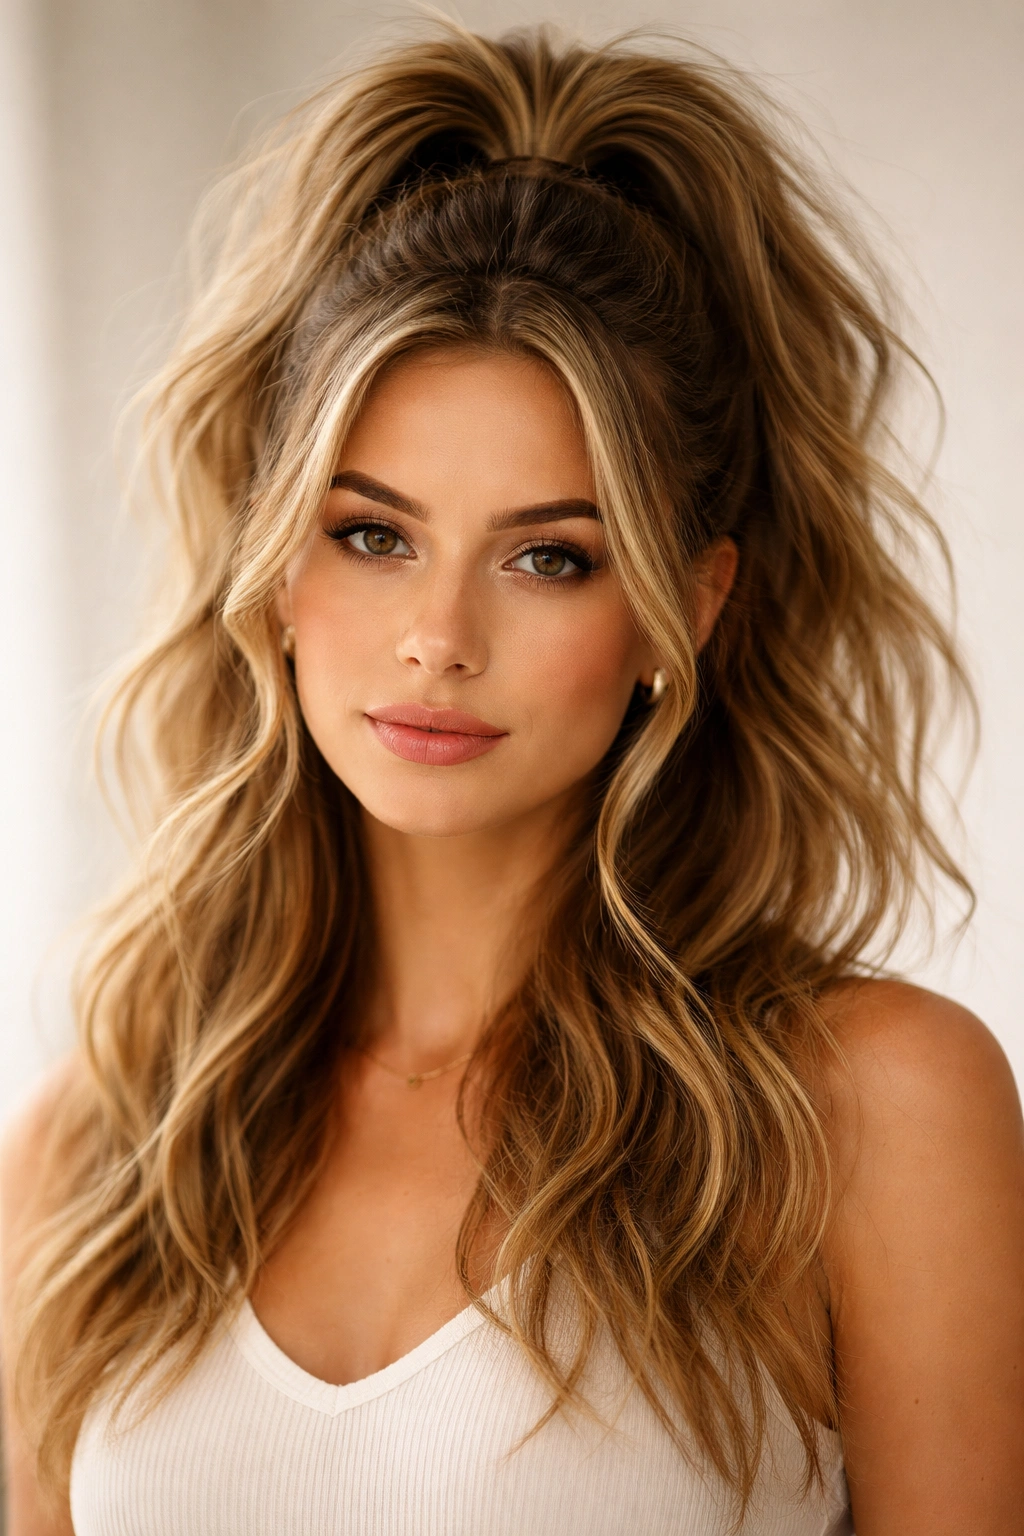
Positioned higher than a typical half-up, this style creates an appearance of more hair and more height at the crown. The mess comes from the texture and the purposefully loose gathering, not from actual dishevelment.
The Height Advantage of High Placement
Placing your half-up higher on your head creates an instant face lift effect and makes hair appear fuller and thicker. The higher positioning also changes how the style interacts with your face shape — it can elongate, balance, or open up your features depending on your specific proportions. High half-ups are particularly flattering for wider faces or anyone seeking to add vertical dimension.
Creating Height and Texture
- Apply a texturizing spray to your roots and throughout your top half
- Blow-dry your top half while flipping your head upside down to create maximum volume
- Position your half-up gathering about two inches higher than your natural crown
- Gently pull sections before securing to create volume and dimension
- Use a textured elastic or wrap your elastic with hair for added visual interest
- Backcomb lightly around the base of your ponytail for substance
- Leave longer pieces in front of your ears and at your temples
- Gently tease throughout the gathered section for texture that’s visible and interesting
Pro tip: Photographing a high half-up from a slightly lower angle emphasizes the height and makes the style read even more effectively on camera.
11. The Twisted Asymmetrical Half Up
Asymmetry creates visual interest and prevents a half-up from feeling too “matchy” or static. This version uses twists positioned slightly off-center to create movement and personality.
The Power of Asymmetrical Styling
Asymmetrical styles are inherently more forgiving than perfectly centered versions — slight imperfections add to the charm rather than detracting from it. An asymmetrical half-up is also more interesting to look at because your eye doesn’t immediately know where to focus. It reads as intentional and modern while maintaining the undone sensibility of messy styling.
Building the Asymmetrical Gather
- Take a section from the left side of your head and create a loose twist
- Take a slightly larger section from the right side and create a second twist
- These twists should meet at a point that’s slightly left of center on the back of your head
- Gather both twists plus some additional loose hair from your top half
- Secure with an elastic, leaving the placement noticeably off-center
- Pull your right side looser than your left to emphasize the asymmetry
- Extract pieces around your face, making one side slightly fuller than the other
- Your overall silhouette should feel dynamic and unbalanced in an intentional way
Insider note: Asymmetrical styling works particularly well if one side of your face feels wider or if you want to draw attention to one side.
12. The Soft Curled Half Up
If you have naturally straight or wavy hair, adding soft curls to your lower half while keeping your upper half smooth and gathered creates beautiful contrast and visual interest. The curls catch light and add volume to what might otherwise look thin.
Why Curls Enhance the Messy Aesthetic
Curls automatically create texture and movement — they’re the opposite of sleek. In a half-up style, curls in your lower section add depth and dimension while your gathered upper half keeps everything anchored. This combination is particularly flattering on longer hair where you want to showcase length while keeping some structure.
Creating the Curled Effect
- Gather and secure your top half smoothly, leaving your lower half completely loose
- Section your lower half into 2-inch pieces
- Curl each section away from your face using a 1.25-inch curling iron
- Hold each curl for 8-10 seconds, then release and let it cool
- Once all curls are complete, gently finger-comb them to soften and separate
- The result should be loose, undone waves — not tight curls
- Spray lightly with a flexible hold hairspray to preserve movement
- Pull a few pieces from your lower section loose to enhance the undone feeling
Pro tip: Curling while your hair is still slightly damp helps curls hold longer and look more natural and less processed.
13. The Double-Twisted Half Up
This variation uses two parallel twists instead of gathering hair traditionally, creating a more textured, intricate look that still reads as effortless. It’s stunning from every angle because the twists create dimension in 360 degrees.
The Beauty of Parallel Structure
Two matching twists create visual symmetry while the individual texture within each twist adds the messy element. This style is particularly effective when you view it from behind — the two twisted lines create interest and depth that a single gather doesn’t provide. It’s an excellent style for anyone who loves the idea of braids but finds them less forgiving for face-framing.
Creating the Double Twist
- Section your top half into two distinct zones: left and right
- Twist the left section loosely toward the back of your head
- Twist the right section in the same direction, twisting toward the same endpoint
- Both twists should meet at the same point at your crown
- Secure both twists together with an elastic placed underneath so it’s hidden
- Gently pull the twists to create more volume and pronounced texture
- Leave face-framing pieces loose and slightly tousled
- The twists should spiral slightly and look relaxed, not tight
Worth knowing: This style is easier to do on second-day hair when your hair has more grip, but it absolutely works on freshly washed hair if you apply a texturizing spray first.
14. The Messy Halo Half Up
A halo style circles your entire head, but a half-up version keeps your lower length free while creating a crowned effect with your gathered top section. It’s romantic, photogenic, and surprisingly flattering on most face shapes.
Understanding the Halo Effect
A halo placement around your head creates a frame that draws attention to your face and creates an ethereal, romantic quality. When you translate this to a half-up style, you get the best of both worlds — the practical benefit of keeping your lower hair free with the soft, romantic framing of a halo. This style is particularly gorgeous for photos and special occasions.
Creating the Halo Effect
- Take small sections from both sides of your head and create loose twists or braids that circle backward
- These twists should frame your face and run along your hairline
- Gather these face-framing twists at the back of your head along with your top half
- Instead of creating one centered gather point, create a fuller, more distributed anchor
- Let your bottom half hang completely loose and wavy below the halo
- Gently pull the halo sections to create texture and softness
- Make sure your hairline and face are completely visible and unframed
- Pull pieces around your temples loose for ultimate romance
Pro tip: This style requires fairly long hair (at least past your shoulders) to work effectively, but the result is worth the length.
15. The Textured Pulled-Through Half Up
This style creates a three-dimensional, braided-looking effect without actually braiding. You’re creating looped sections that stack and pull through each other, giving the appearance of complex styling with simple techniques.
Why Pulled-Through Styling Creates Visual Impact
Pulled-through styles are visually interesting because they create the illusion of braiding or weaving without requiring those skills. The stacked loops catch light differently, creating dimension and movement. This style reads as high-effort even when it’s actually quite manageable once you understand the technique.
Building the Pulled-Through Effect
- Gather your top half and secure with an elastic at the crown
- Don’t pull your ponytail completely tight — leave it slightly loose
- Take the elastic and pull your ponytail through the top of the gathered section, creating a loop
- This loop should be visible and prominent — about 3 inches of loop showing
- Take a second section of hair from your sides and thread it through the loop
- Secure this with a second elastic just below the first
- Create a second loop and repeat if your hair is long enough
- Gently pull each loop and side section to create more volume and messiness
- The overall effect should be stacked and textured, with loops visible
Insider note: This works beautifully with colored hair clips or velvet hair ties that become design elements in the stacked loops.
16. The Casual Side-Swept Half Up
Off-center gathering creates movement and prevents your half-up from feeling too formal or static. This version sweeps everything to one side, creating an asymmetrical, modern aesthetic.
Why Side-Sweeping Adds Movement
A side-swept half-up feels more relaxed and romantic than a centered version. The sweep creates directional movement that your eye follows, making the style feel dynamic. This placement is also particularly flattering because it elongates your face and creates facial asymmetry that’s usually more visually interesting than perfect symmetry.
Creating the Side Sweep
- Gather your top half as usual, but position your gather point about three inches to the right of center
- Secure loosely with a textured elastic
- Pull your left side looser than your right to emphasize the sweep
- Tease lightly around the gather point to create volume
- Extract pieces from around your face, pulling the left side more dramatically
- Let your lower half sit naturally, flowing toward the side of your sweep
- The overall silhouette should feel directional and intentionally off-center
Pro tip: Side-swept styles photograph beautifully from the side-angle where you can really see the directional movement and the full profile of your face.
17. The Braided and Twisted Hybrid Half Up
Combining two different techniques in one style creates maximum texture and visual interest. A braid plus twists, layered and secured together, creates a look that’s complex but actually quite approachable.
Why Mixing Techniques Elevates the Style
Combining braids and twists creates texture variation that keeps your eye engaged. A single braid can feel monotonous, but a braid plus a twist creates visual interest and dimension. The two techniques complement each other, with the structured braid providing anchor and the looser twist adding softness.
Building the Hybrid
- Create a three-strand braid on one side of your head, running from your temple toward the back
- Create a loose twist on the opposite side, mirroring the braid’s direction
- Gather both the braid and twist at your crown, adding your general top half
- Secure everything with an elastic, tucking it underneath
- Pull the braid gently to loosen and texture it
- Loosen the twist even more for contrast
- Make sure face-framing pieces are loose and soft on both sides
- The contrast between the structured braid and the relaxed twist is the visual point
Worth knowing: This is a great style if you’re still learning braiding techniques because the twist provides insurance — if your braid isn’t perfect, the twist balances it out.
18. The Effortless Undone Gather
Sometimes the simplest styling is the most effective. This version strips away all technique and focuses purely on creating the appearance of effortless texture and undone charm. It’s literally a loose gather with strategically placed loose pieces — and it’s absolutely gorgeous in its simplicity.
The Power of True Simplicity
The most messy-looking half-up styles often require the least technique. By intentionally gathering loosely, extracting pieces before securing, and focusing on texture rather than polish, you create a look that reads as genuinely undone. There’s no braid to execute, no twist to manage — just your natural texture and intentional looseness.
Creating Effortless Undone Beauty
- Apply a texturizing spray throughout your entire head
- Gently flip your head upside down and flip back up to create natural volume and movement
- Gather your top half very loosely, not pulling tight
- Before securing with an elastic, pull out small sections from around your temples and ears
- Pull out pieces from along your part line
- Secure your gather with a texture elastic or wrap it with a strand of your own hair
- Gently tease around the secured section for subtle volume
- Step back and assess — your face should feel open, your gather should look relaxed, and loose pieces should frame everything
- A spritz of flexible hold spray preserves the look without stiffening it
Pro tip: The messier this style looks, the better it works. Embrace imperfection — asymmetry, loose pieces that fall out, and a gather that’s not perfectly centered are all features, not bugs.
Final Thoughts
Messy half-up half-down styles succeed because they balance structure with texture, practical styling with romantic undone-ness. The best version for you depends on your hair type, the occasion, and how much time you want to spend styling. If your hair is fine, stick with styles that rely on twists and loose gathers rather than heavy backcombing. If your hair is thick and textured, nearly every style here will work beautifully with minimal effort.
The common thread across all eighteen styles is this: the goal is intentional texture, not sloppiness. Everything should feel like you spent time and thought on your hair, but not so much that it looks rigid or overdone. Start with whichever style speaks to you, practice it a few times until you understand the basic mechanics, and then feel free to adapt it to match your hair, your face shape, and your personal style. The best hairstyles are the ones you actually wear, the ones that make you feel confident and like yourself — just a slightly more polished version.