Claw clips are having a legitimate moment, and honestly, they deserve the hype. If you’ve got medium-length hair, you’re in the sweet spot where half-up half-down styles look effortlessly polished without requiring thick, long locks or the styling limitations of shorter hair. The magic of a claw clip in this context? It gives you that I woke up like this vibe while actually providing real hold, and it works with nearly every hair type, texture, and level of styling commitment.
The half-up half-down aesthetic itself has staying power because it solves a real problem. You want your hair down and flowing, but you also need it partially secured so it’s not falling into your face, tangling while you work, or looking completely flat against your head. A claw clip handles that brilliantly—it’s functional, it’s flattering, and when you choose the right style and the right clip, it somehow makes even a lazy hair day look intentional.
Medium hair is the ideal canvas for these looks. Long enough that you can create volume and dimension, short enough that the styles don’t feel weighed down or messy. What follows isn’t just a list of ideas—it’s 18 distinct, tested approaches to claw clip styling that you can recreate whether you’ve got stick-straight hair, natural waves, tight curls, or anything in between.
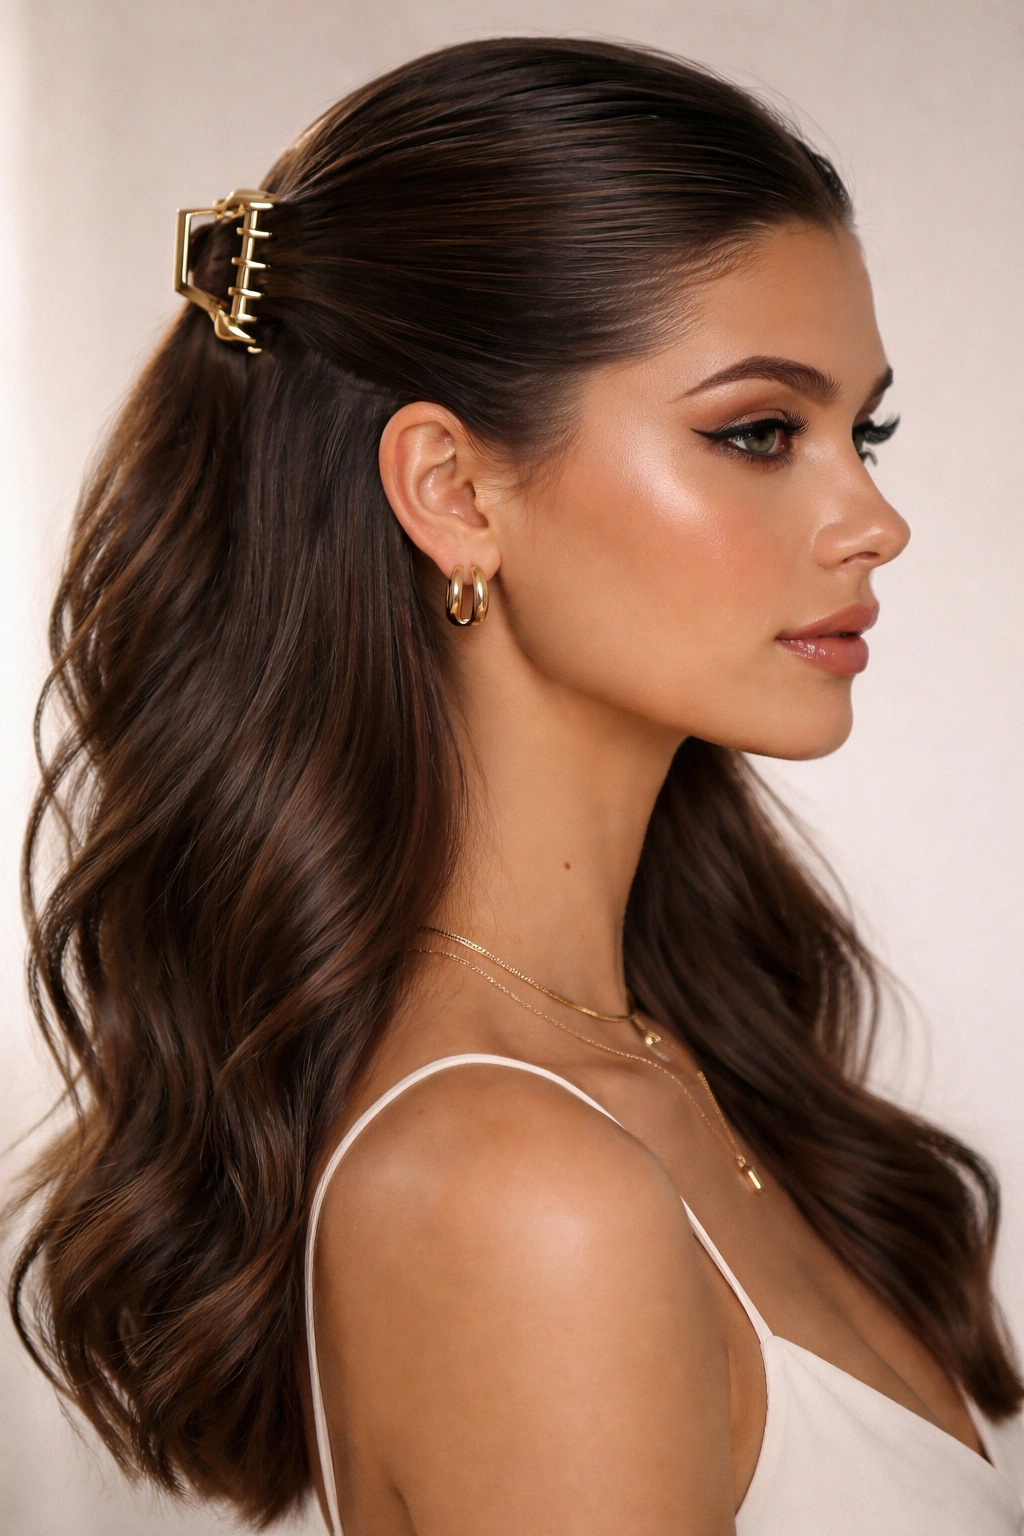
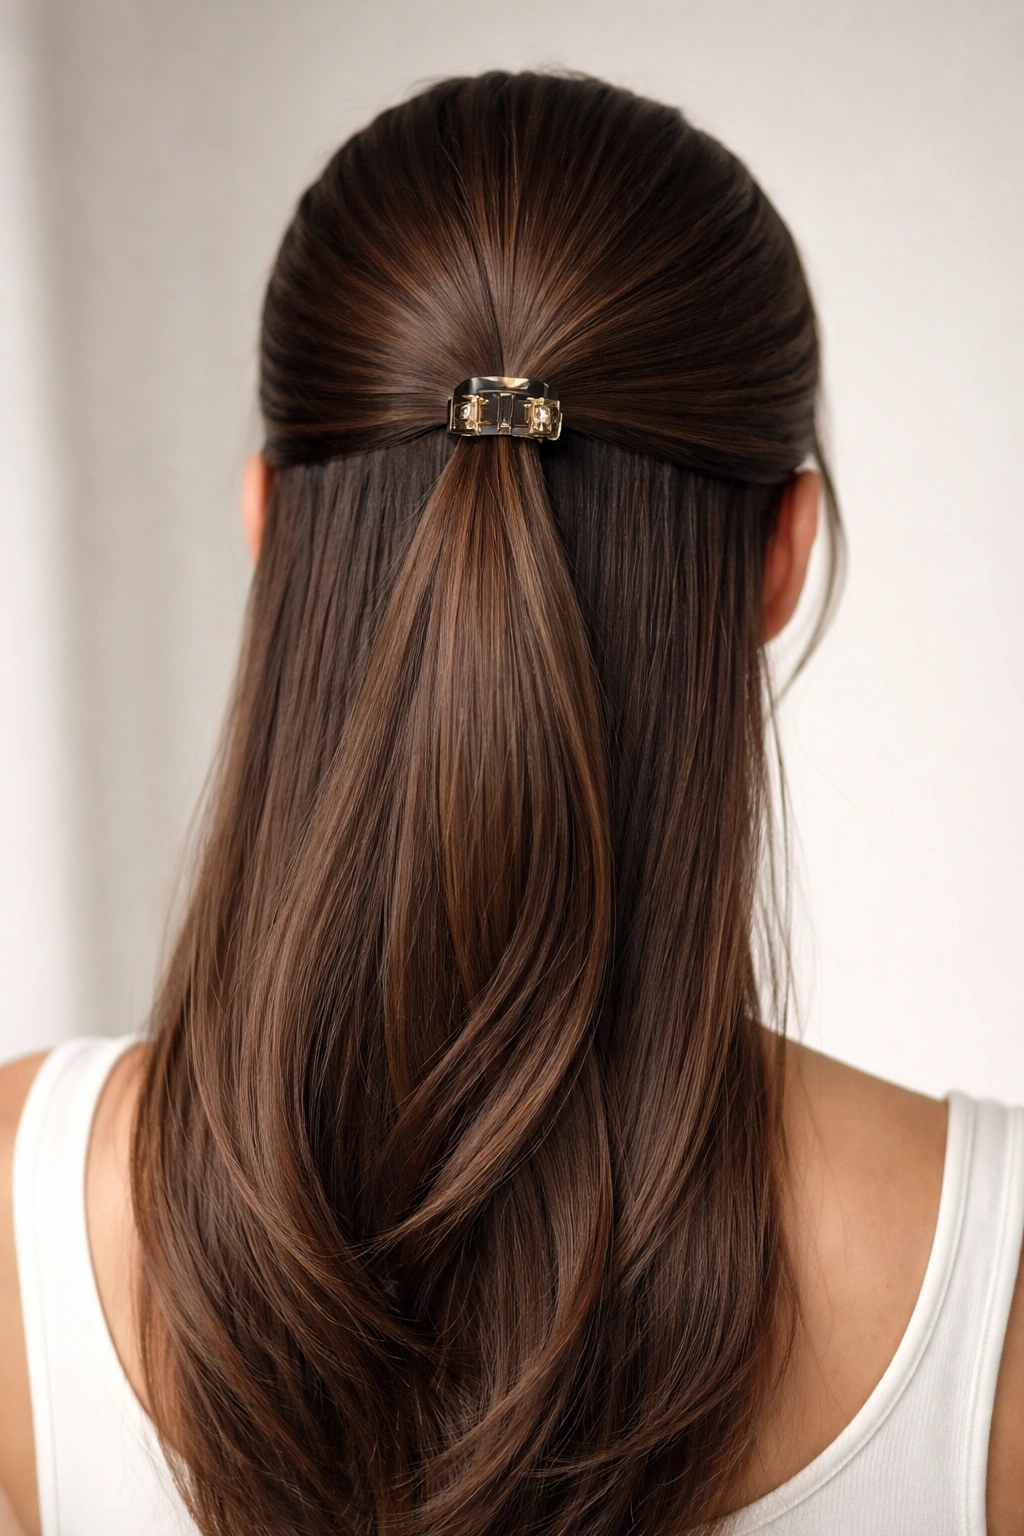
1. The Classic Sleek Ponytail
This is where it all starts, and it remains a go-to for good reason. Brush your hair smoothly and pull the top section straight back from your crown, securing it about an inch or two down from where you started. Use a smaller claw clip (around 2 to 3 inches) for a polished, refined look that works whether you’re heading to work or meeting friends for dinner.
Why This Works for Medium Hair
Your hair has enough density that the back section stays full and doesn’t look thin or wimpy. The contrast between the sleek-pulled-back top and the loose waves or texture below creates instant dimension without requiring any special products or tools.
How to Perfect It
Start with slightly damp hair and a smoothing serum for maximum polish. Brush the top section until completely smooth—any flyaways will read as intentional texture rather than frizz. The key is positioning: too high and it reads pageant-y, too low and it loses the half-up impact. Aim for the crown where you naturally feel a slight curve in your head shape.
Pro tip: Spray the ponytail section lightly with hairspray before clipping to keep every strand locked in place throughout the day.
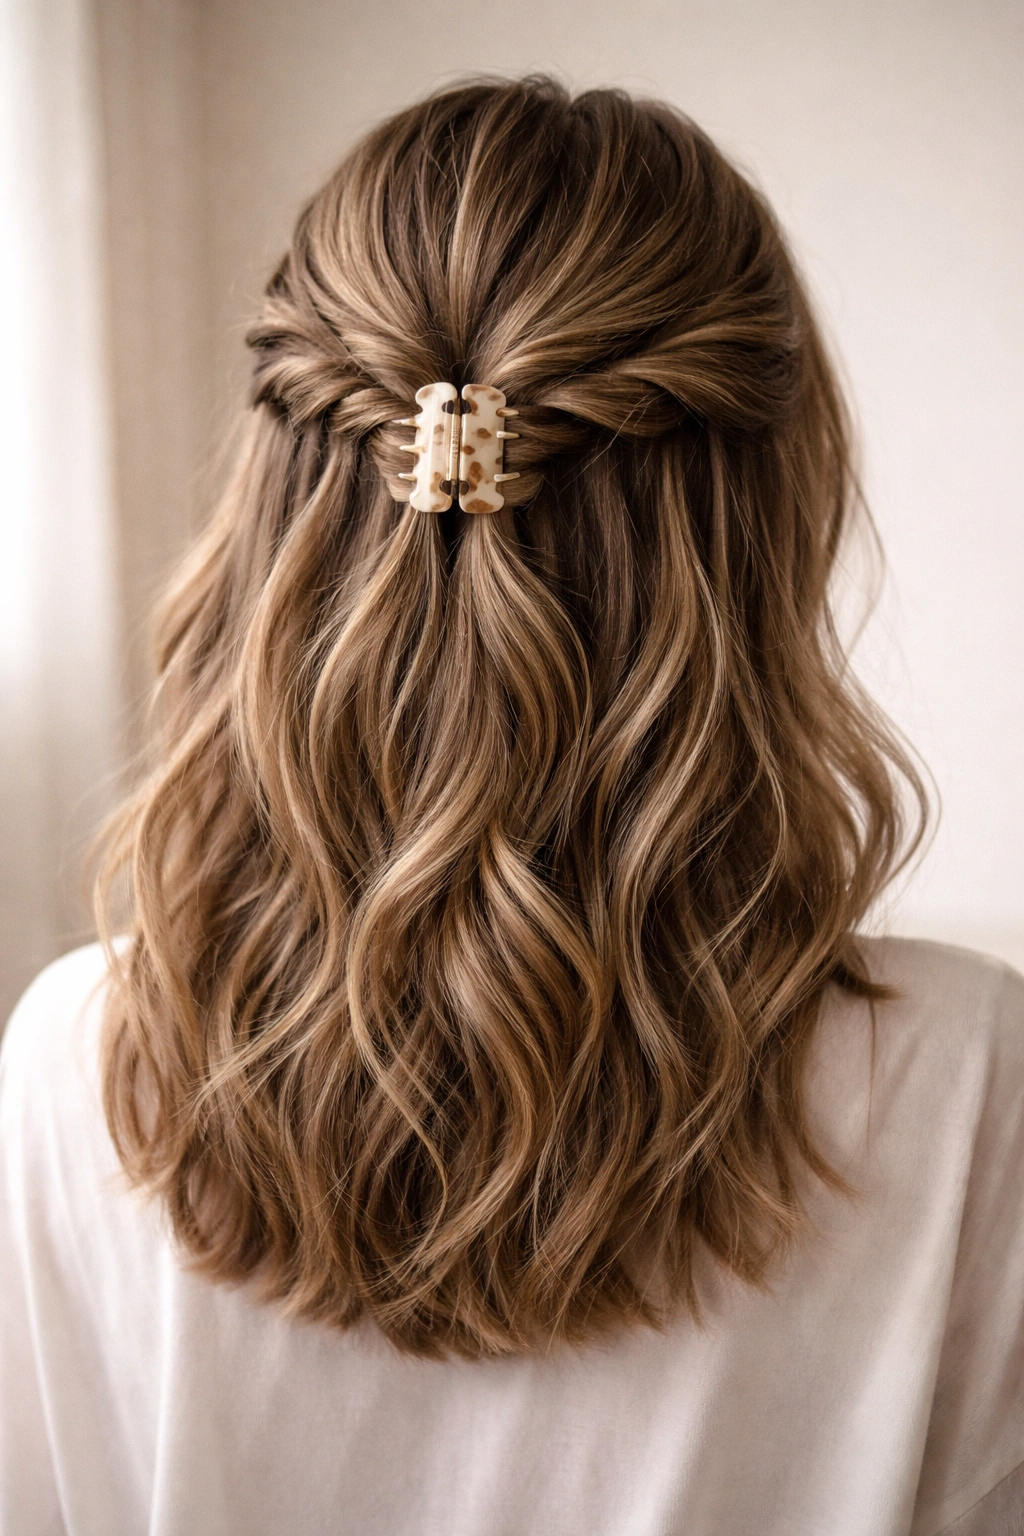
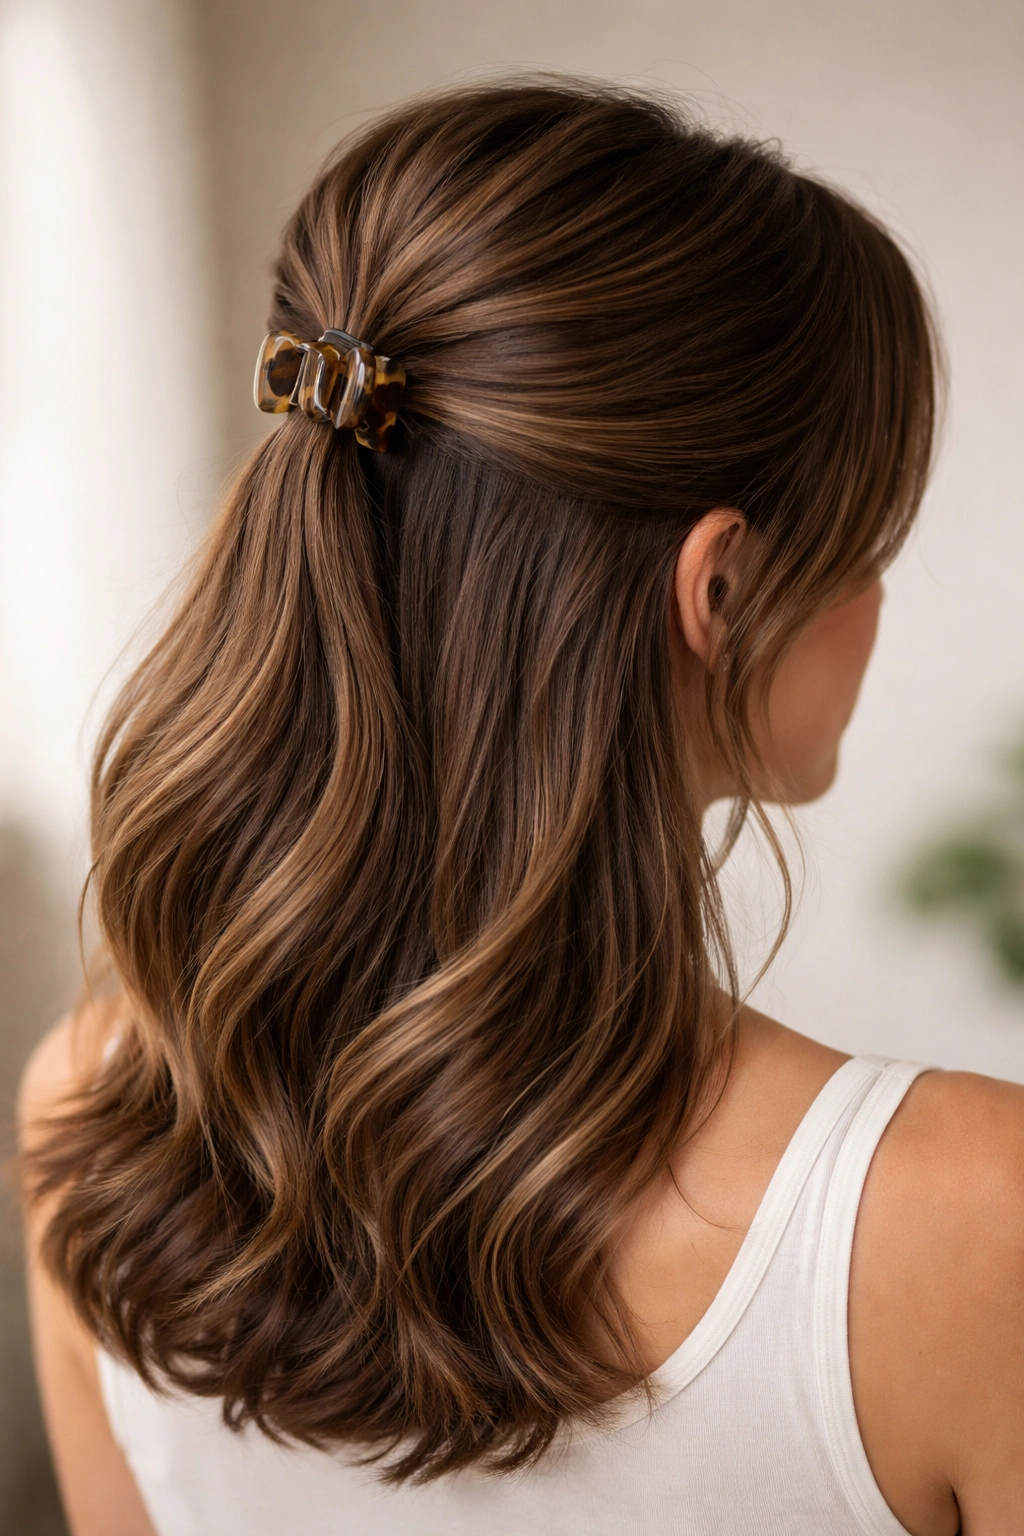
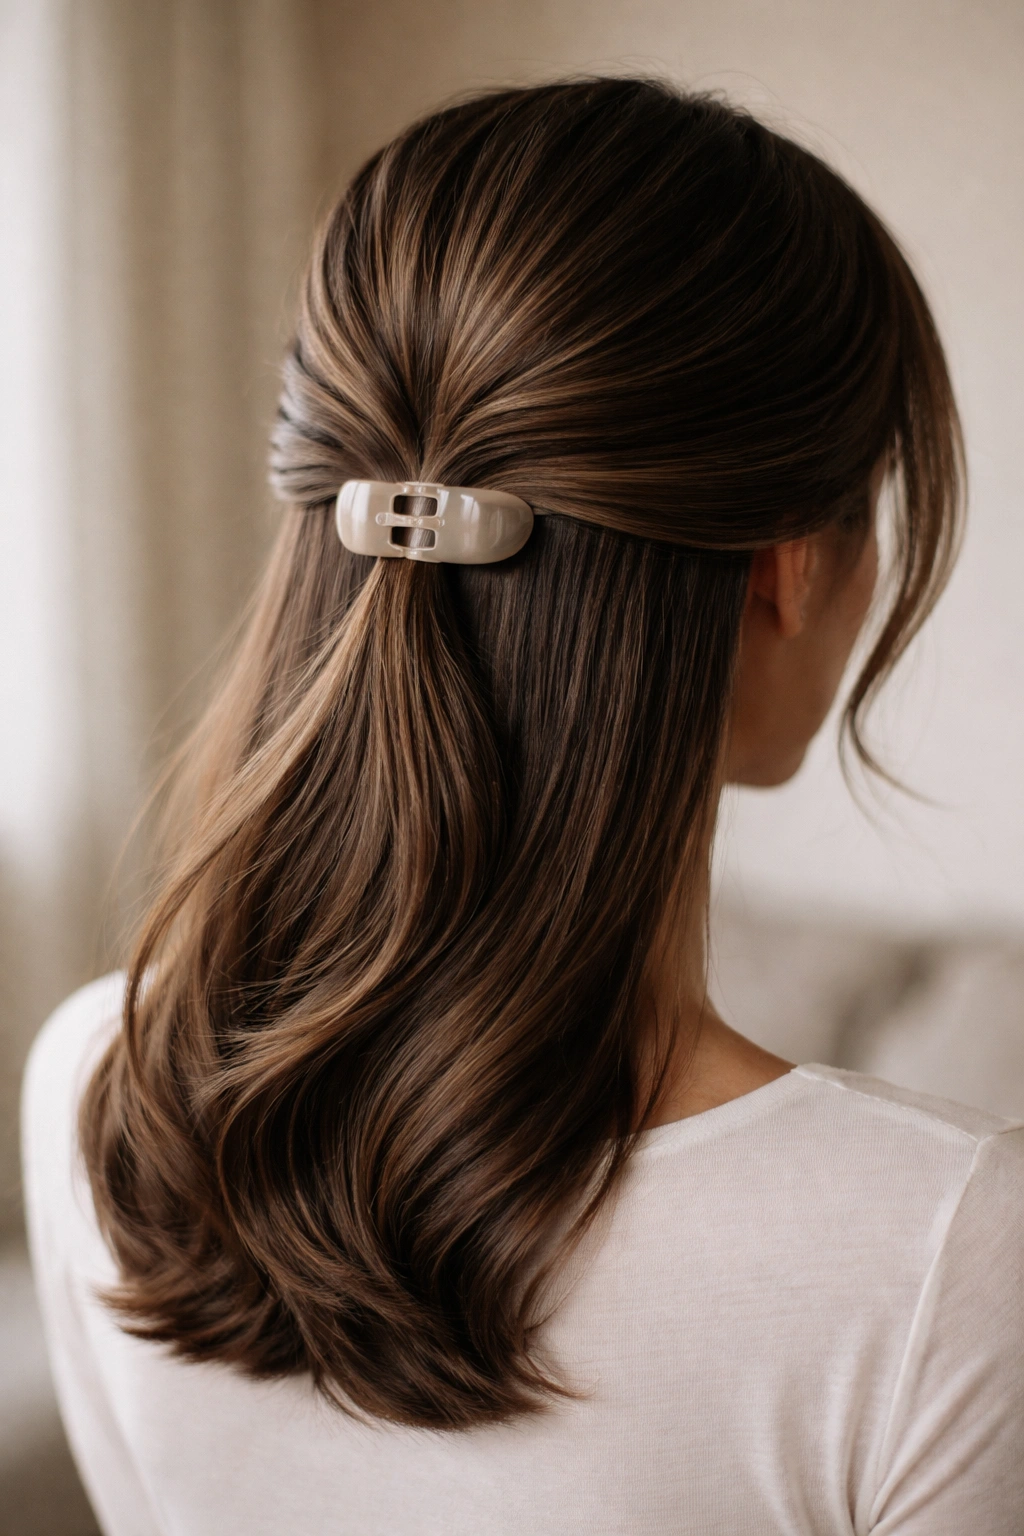
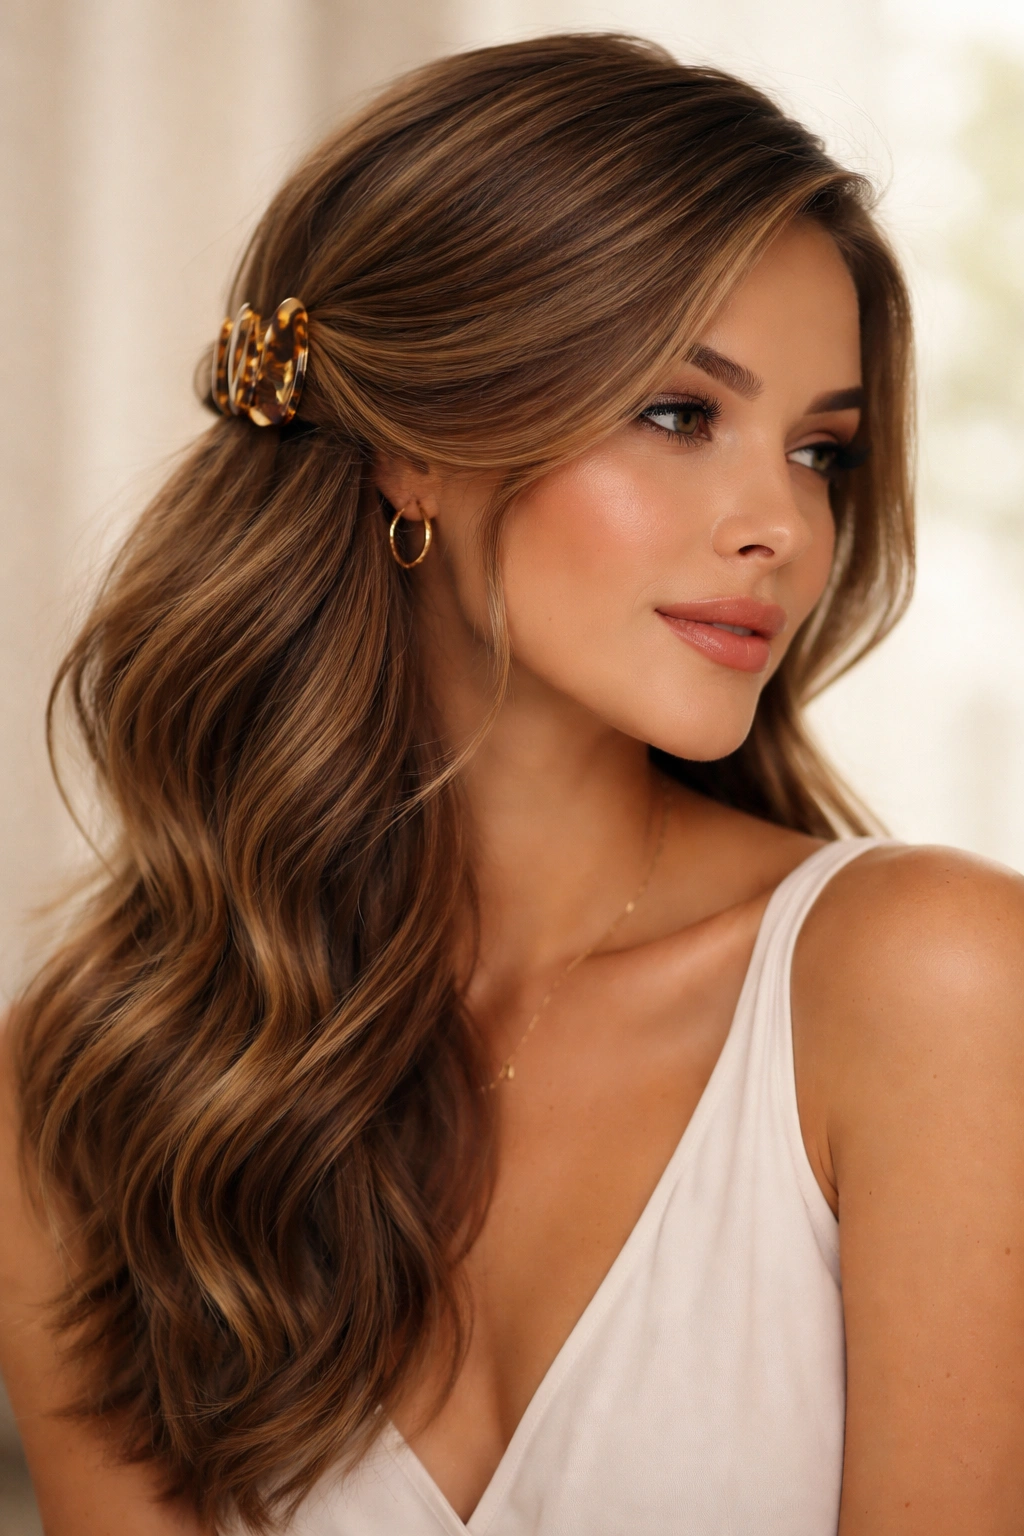
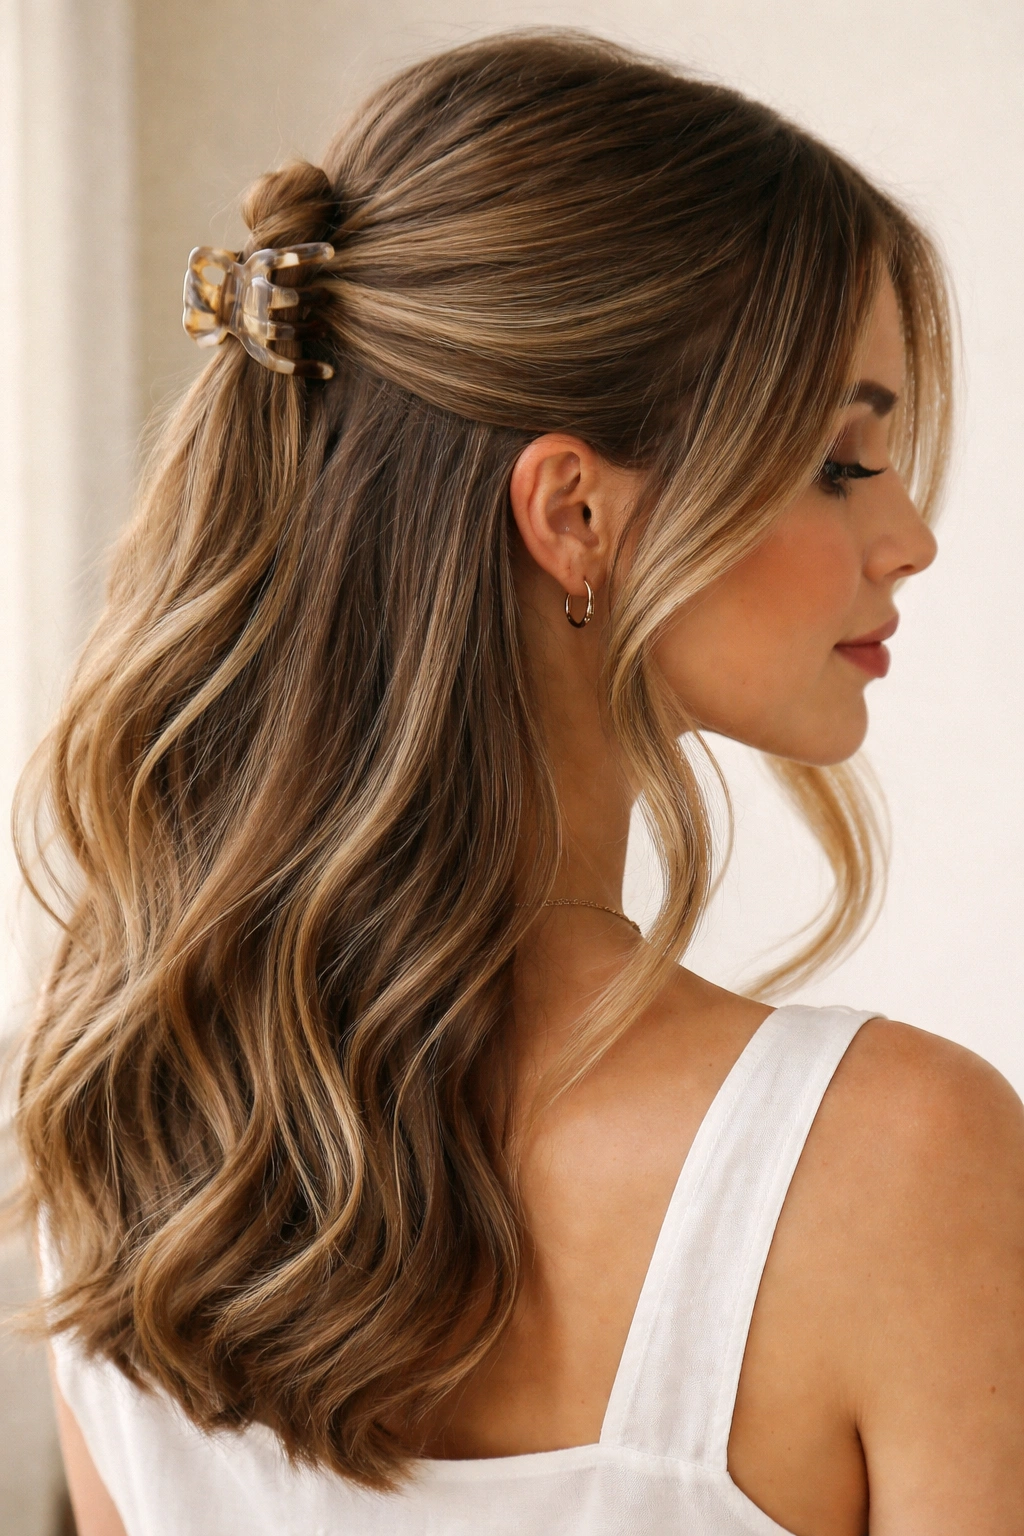
2. The Soft Romantic Twist
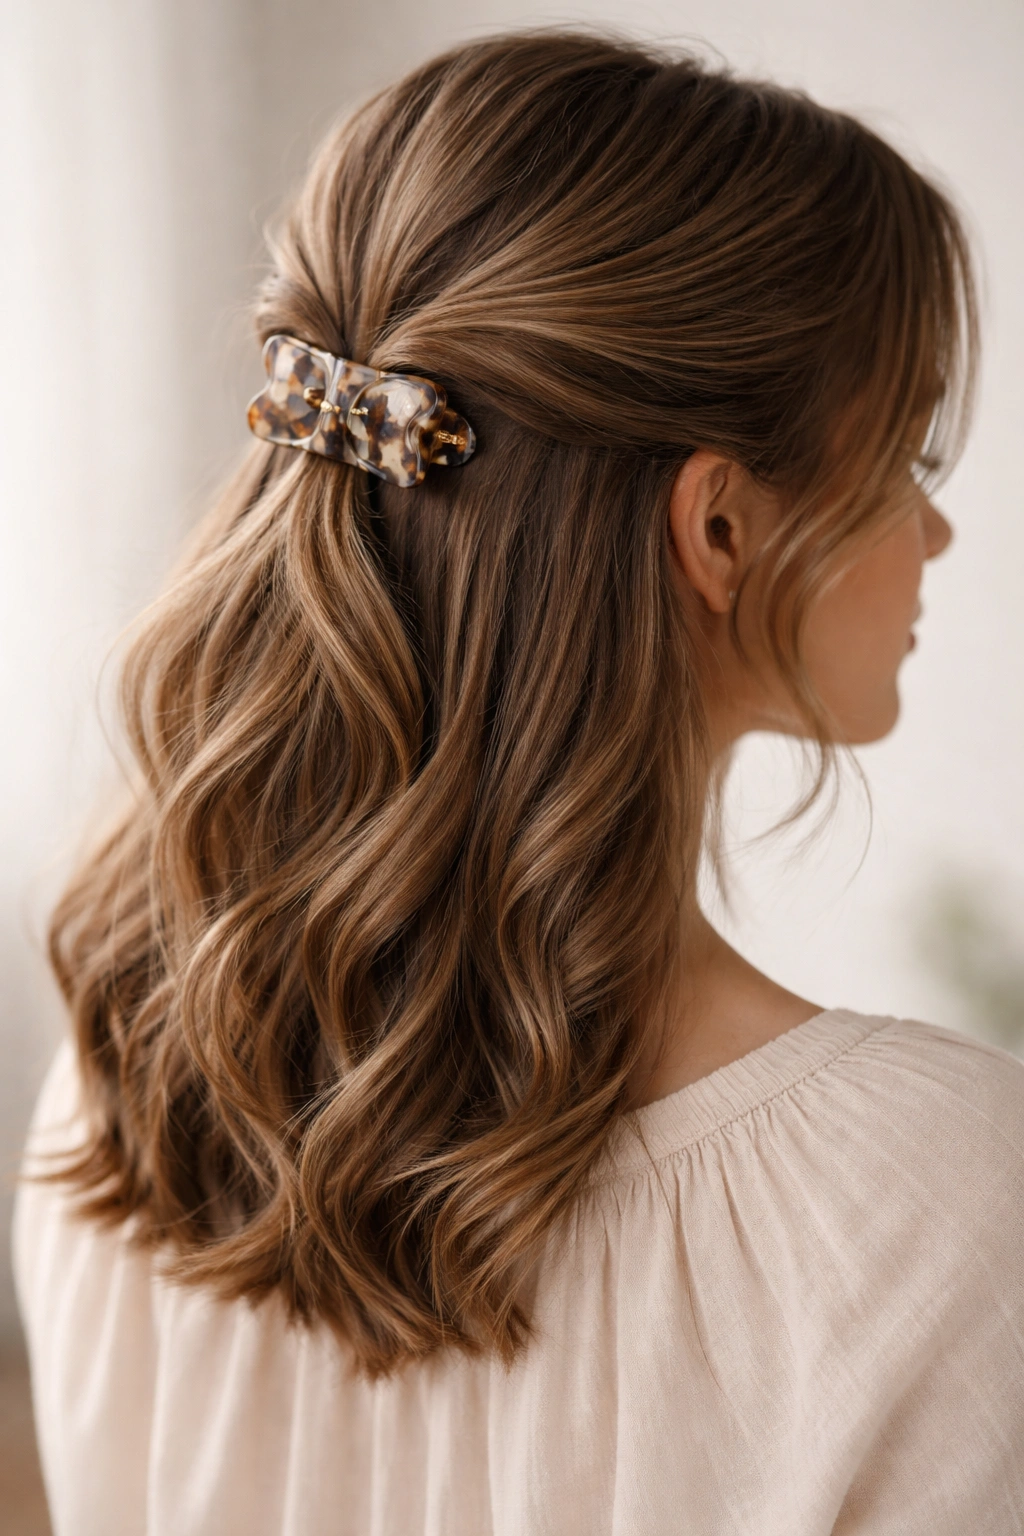
Gather the top section, but instead of pulling it straight back, gently twist it as you bring it toward the center. This creates a dreamy, feminine vibe without looking overly fussy. Secure with a tortoiseshell or pearl claw clip that coordinates with your outfit—yes, this is a deliberate style detail that actually matters.
Why This Works for Medium Hair
The twist adds visual interest and texture without requiring your hair to be super long. Even with medium length, that gentle spiral catches light beautifully, and the looseness of the twist makes it feel accessible rather than overdone.
How to Perfect It
Your hair should have a slight wave or texture already—this style absolutely shines with beachy waves or even just second-day texture. If your hair is perfectly straight, run a curling iron through the bottom section first. Twist slowly and loosely; the goal is a relaxed spiral, not a tight, defined twist that looks architectural.
Add a small face-framing piece on one or both sides by leaving a strand out before you twist. This softens the overall look and adds movement around the face.
3. The Braided Crown Half-Up
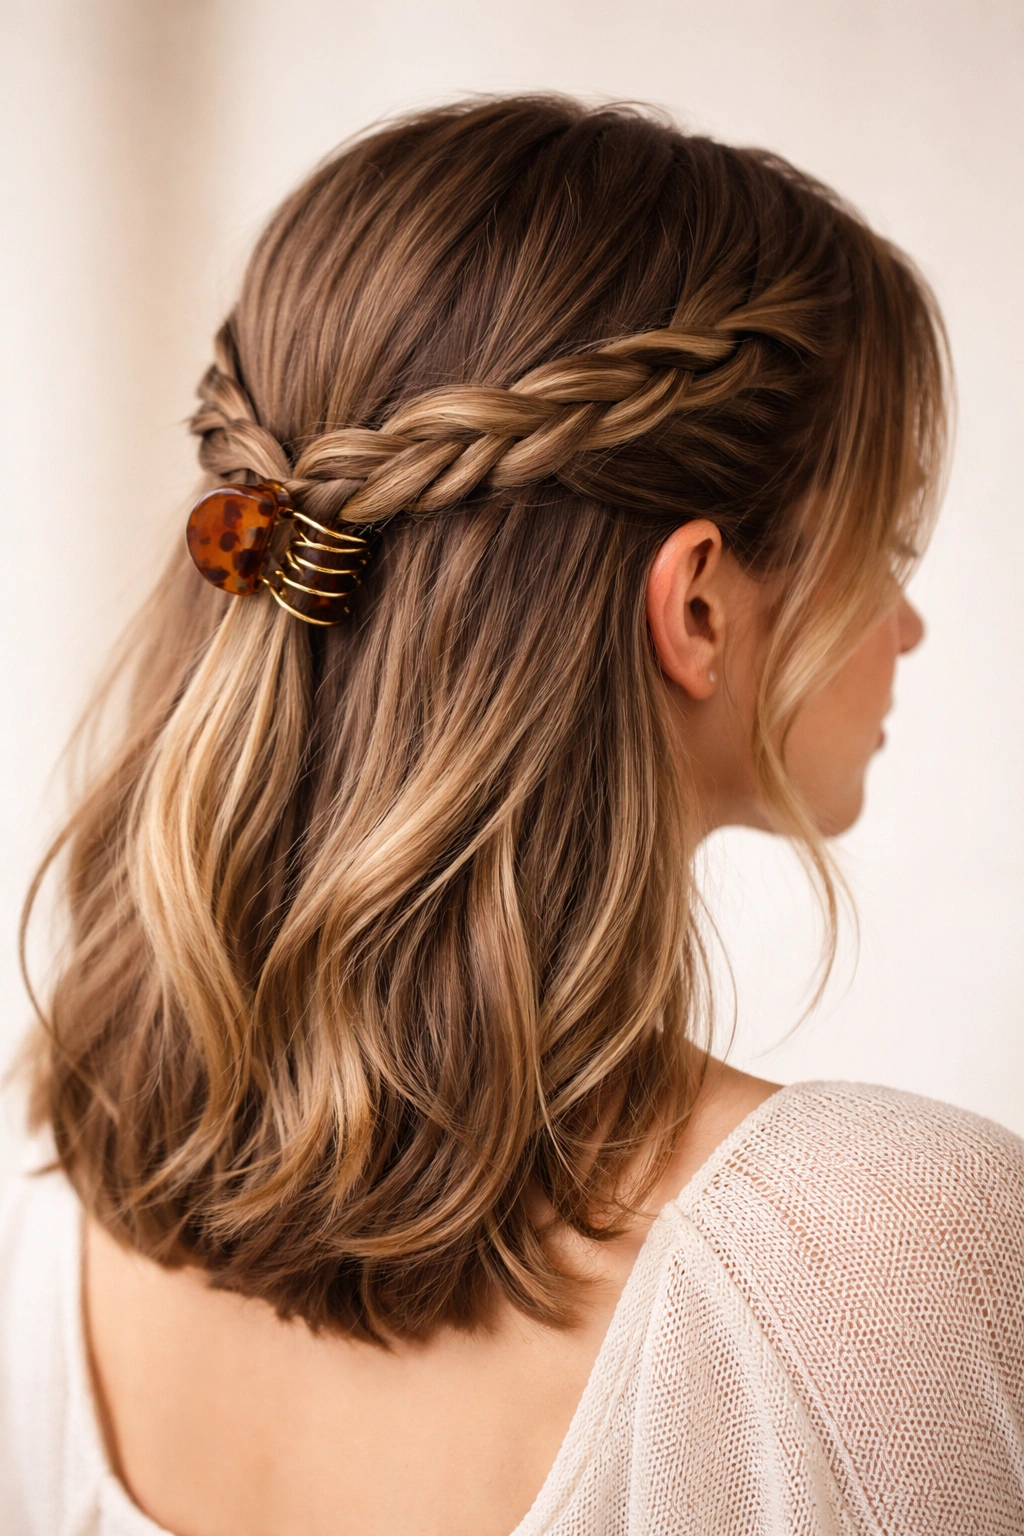
This is the version that makes you look like you spent an hour on your hair when you actually spent ten minutes. Take a section from one side of your head at ear level, braid it loosely, and bring it across the back to the opposite ear, securing it with a claw clip at the opposite ear.
Why This Works for Medium Hair
A medium length is perfect for this because the braid doesn’t have so much hair that it becomes a thick, weighted anchor, but you have enough length that the braid is substantial and visible. The style is naturally balanced on a medium frame.
How to Perfect It
Braid loosely and deliberately—tighter braids look more formal and structured, which isn’t the vibe. As you braid, gently pull each section slightly outward with your fingers after completing the braid. This creates a thicker, more textured, lived-in appearance that feels current and effortless.
Secure the braid at the back with a clip that’s slightly wider (3 to 4 inches) so it can grip the bulk of the braid without slipping.
4. The Double Clip Balance
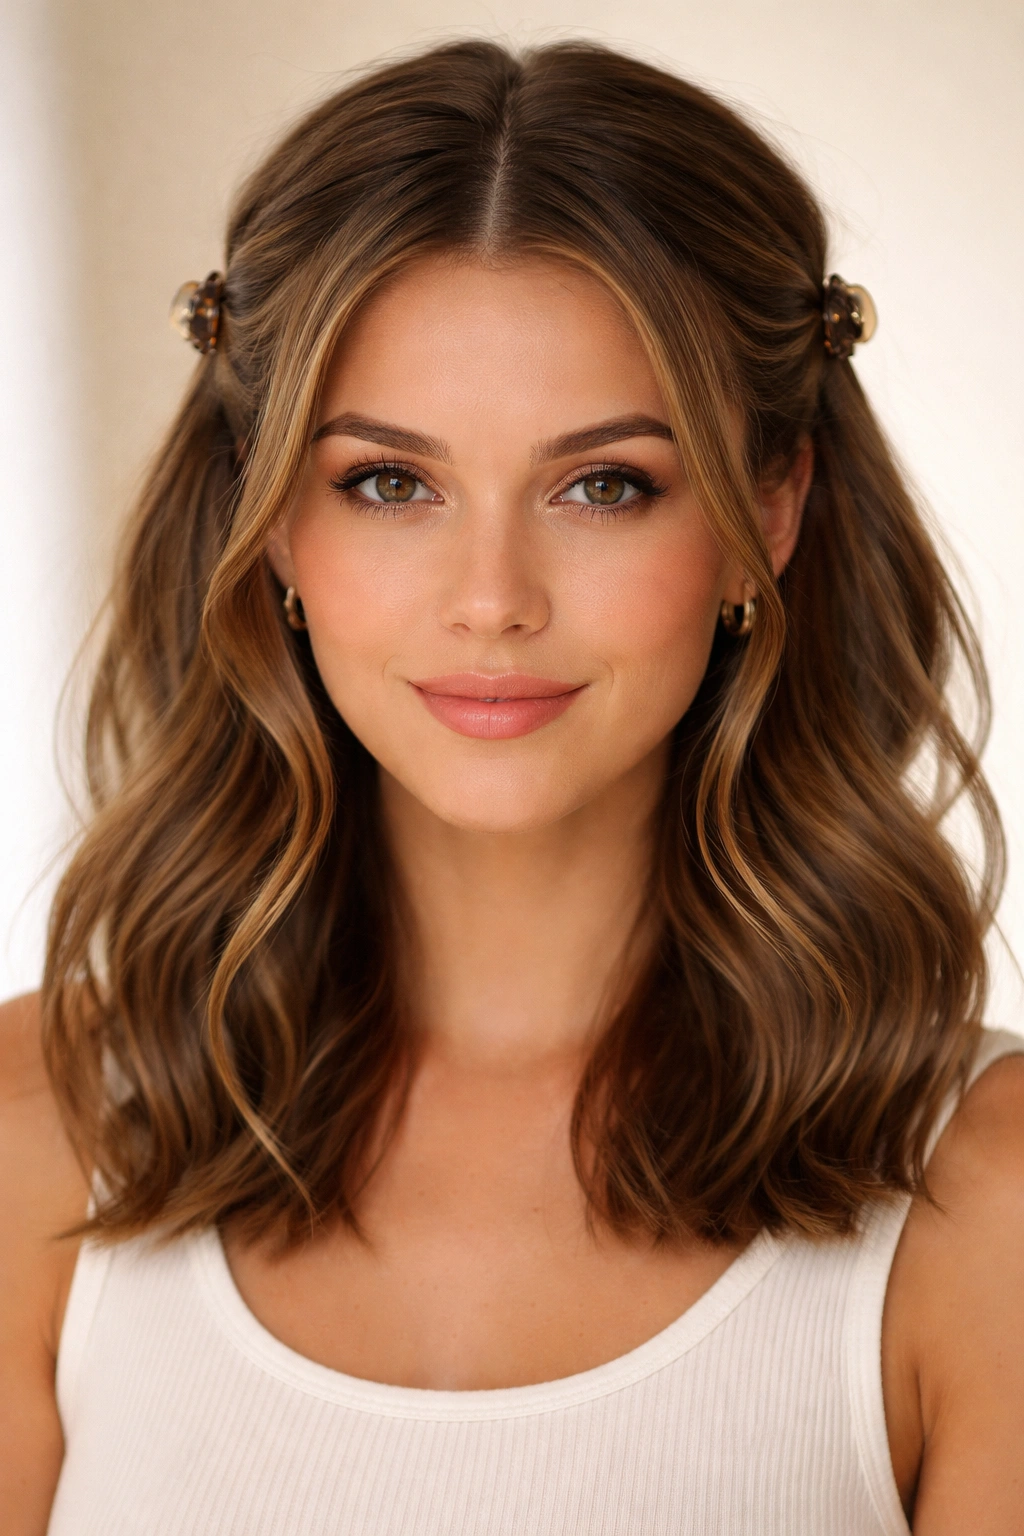
Create two small sections on either side of your head (near the temples), twist each one gently, and secure each with its own small claw clip at the back center of your head. This creates a balanced, symmetrical look that feels playful without being costume-y.
Why This Works for Medium Hair
Two clips instead of one gives the style a unique dimension and prevents any “top-heavy” feeling that can happen with thicker medium-length hair. The visual balance is inherently flattering because symmetry reads as intentional and polished.
How to Perfect It
Make sure both sections are similar in size and thickness—mismatched sections will read as an accident rather than a design choice. Secure both clips close together, almost overlapping slightly, or space them deliberately two inches apart depending on your vibe. Consistent spacing looks more intentional.
Worth knowing: Using clips in slightly different finishes (like one tortoiseshell and one gold) adds a subtle fashion detail that feels elevated.
5. The Messy Topknot
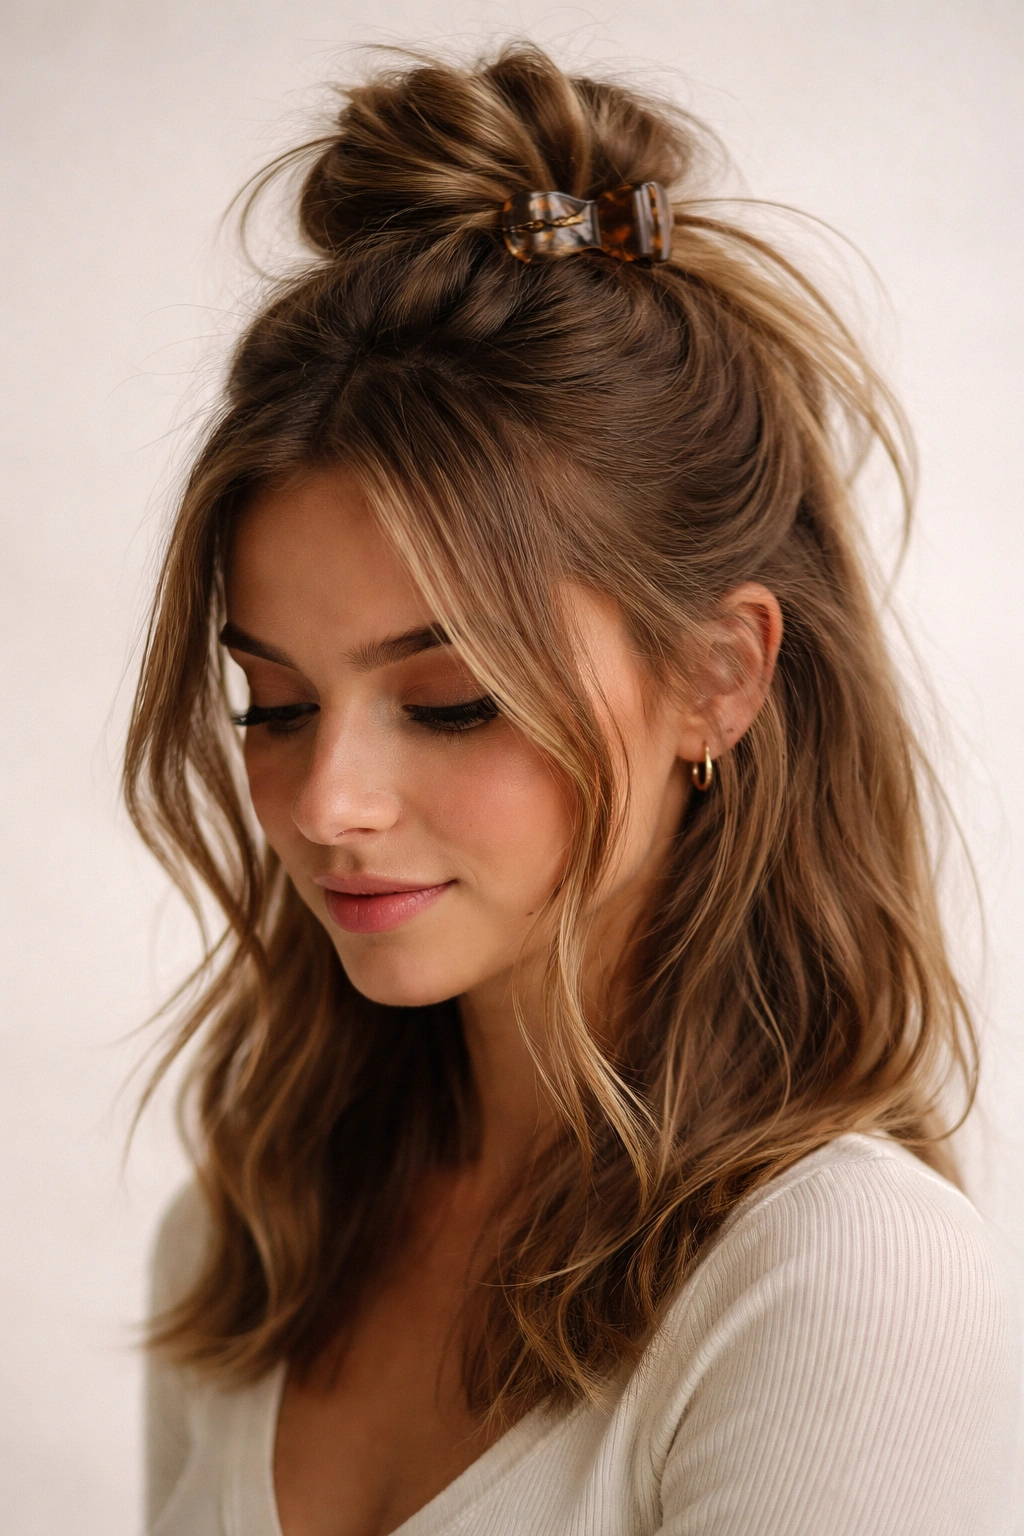
This sounds casual, and it is—but it’s intentional casual. Gather the top two-thirds of your hair and create a loose, imperfect knot (not a tight bun, but more of a soft, looped gather). Secure it with a medium claw clip, leaving some pieces escaping and shorter layers framing the face.
Why This Works for Medium Hair
Medium hair is actually ideal for this because you get volume without it looking like you have a massive bird’s nest on top. The proportions read as polished rather than sloppy, which is the entire point of intentional messiness.
How to Perfect It
Don’t worry about making it actually neat—in fact, that defeats the purpose. The charm is in the controlled chaos. Leave two or three longer pieces out around your face, and make sure those escaping pieces aren’t tiny baby hairs, but actual substantial strands. Texture is your friend here.
If your hair is very straight, spritz everything with texture spray before creating the knot. This prevents it from looking like a greasy bun and gives it that lived-in, textured quality.
6. The Slicked-Back Modern Chic
Use a smoothing gel or slick serum and brush the entire top half of your hair straight back toward the crown, creating a dramatic, almost severe line. Secure with a sleek metal or minimalist claw clip. This is the look that reads runway and editorial.
Why This Works for Medium Hair
The contrast between the taut, defined top half and the soft, loose bottom half is where the magic happens. This exact contrast is what makes the style feel modern rather than trying-too-hard. Longer hair might weigh down the slicked section; shorter hair might not have enough volume below.
How to Perfect It
Use a smoothing serum or gel that has genuine hold—this isn’t the time for a product that promises shine without structure. Brush the top section back with a fine-tooth comb until it’s completely smooth, and don’t be shy about using product. Slicked back should look intentionally polished, not desperate.
The claw clip should be minimal and modern—think narrow, matte metal rather than decorative tortoiseshell for this particular look.
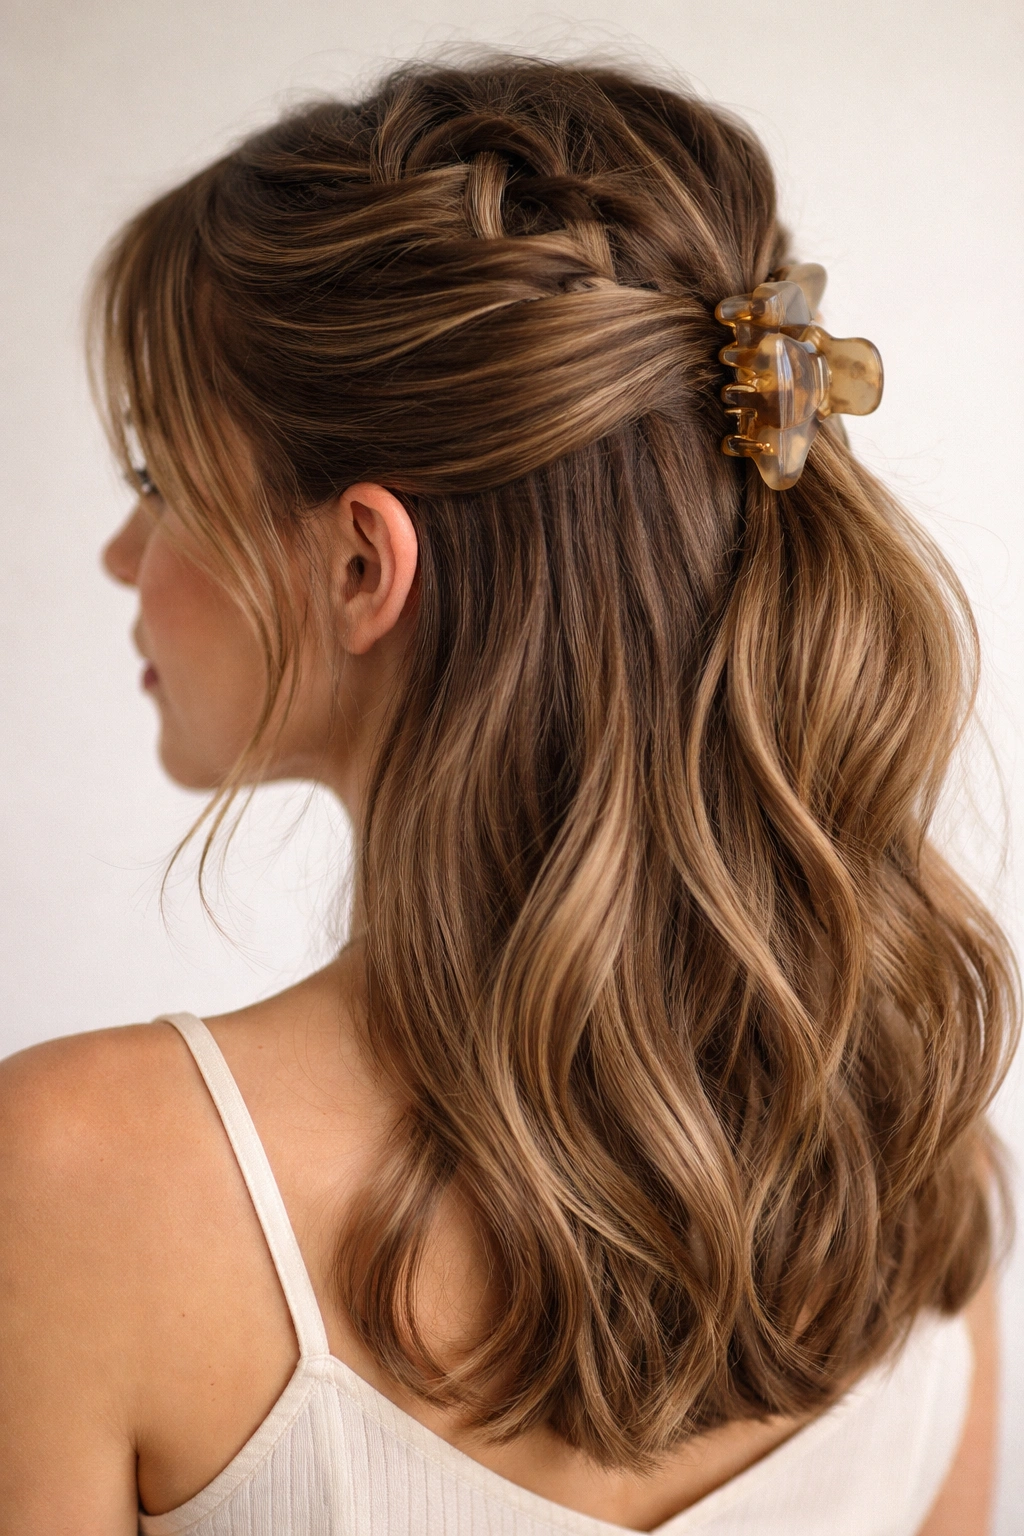
7. The Half-Twisted Waterfall
Start at one side of your head near the temple. Create a small section and twist it gently, then as you move toward the center back of your head, allow small sections of hair to fall through the twist as you add new hair to it—creating a waterfall effect. Secure at the center back with a claw clip.
Why This Works for Medium Hair
This style creates the illusion of longer, fuller hair because of how the waterfall sections create visual depth and movement. Medium hair captures this effect perfectly—long enough to have substantial pieces falling through, short enough that it doesn’t overwhelm the face.
How to Perfect It
This requires a bit of practice to understand the motion, but it’s genuinely easier than it looks. Start the twist, then mentally picture water flowing through your fingers—you’re adding new sections from the side while allowing strands to cascade down. Each strand you release becomes a waterfall piece.
Practice this a few times dry before attempting it for real. Once you understand the motion, it’s actually faster than a traditional braid and creates a more sophisticated effect.
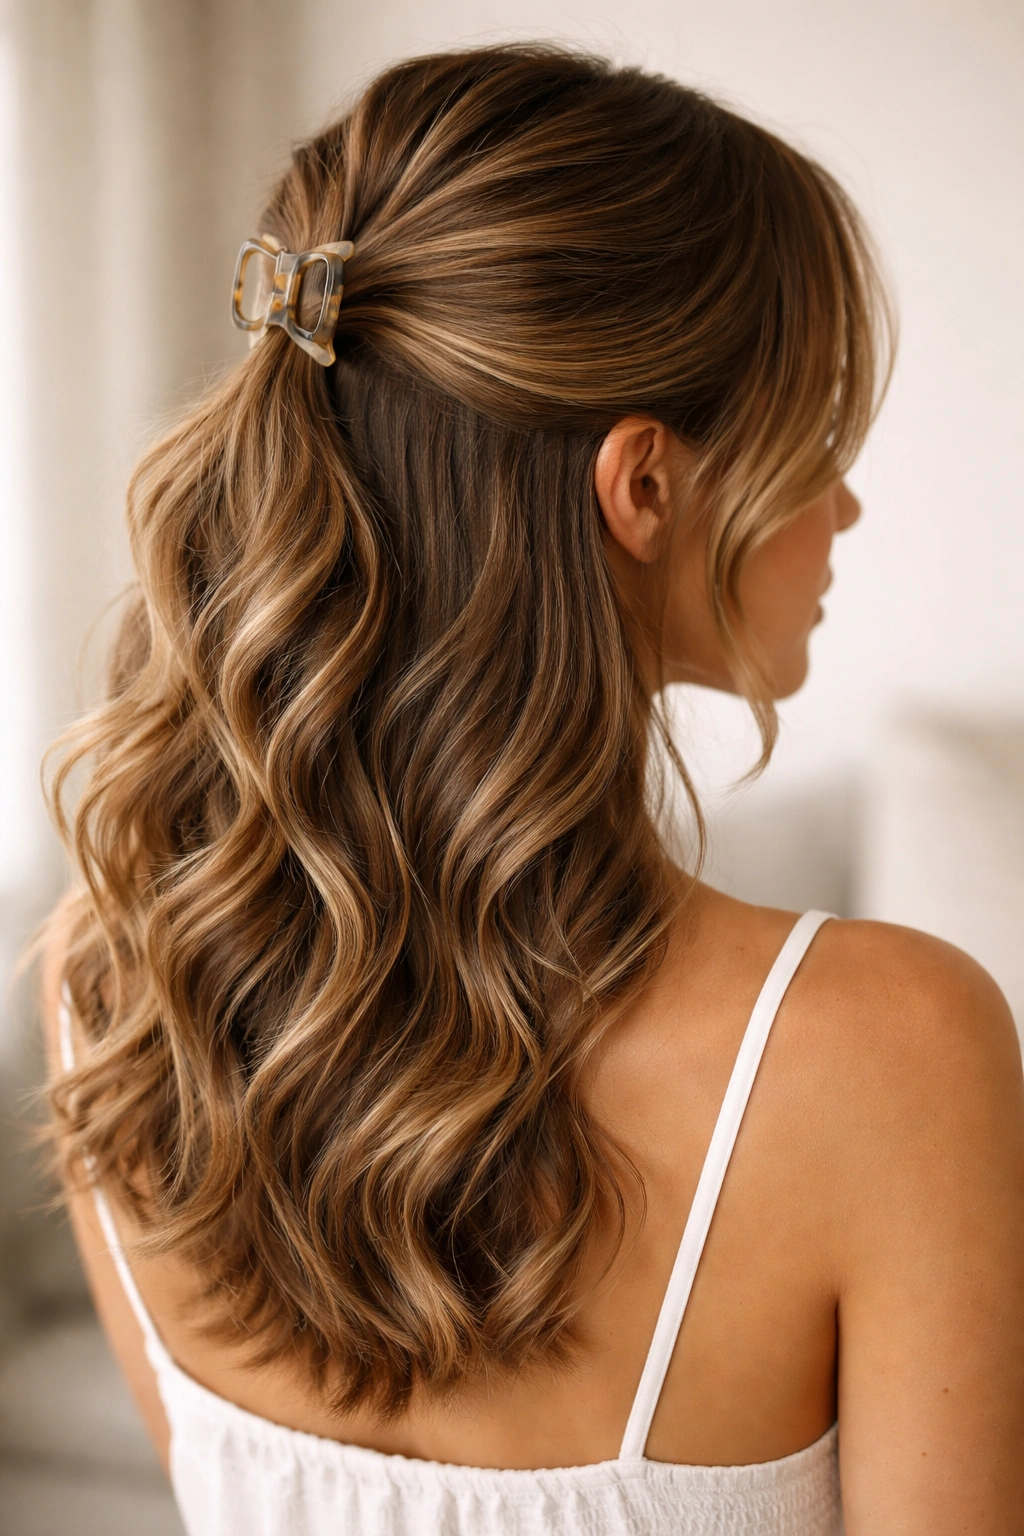
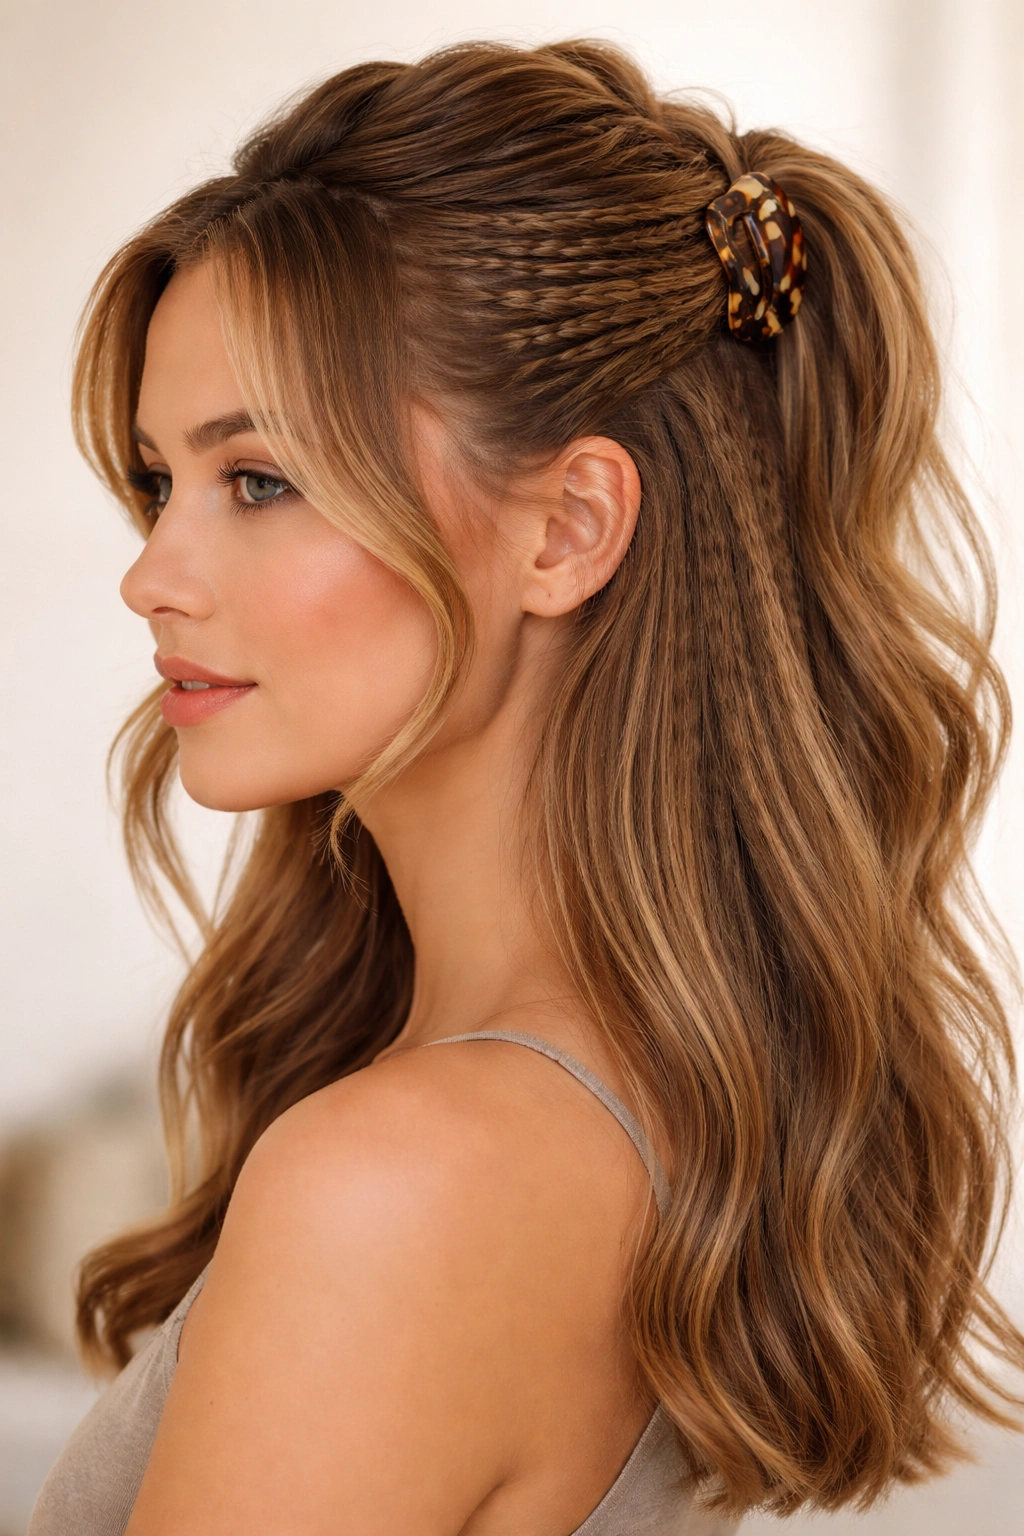
8. The Teased Volume Boost
Create volume at the crown by teasing the roots of the top section (use a fine-tooth teasing brush and short, sharp back-and-forth motions), then smooth the surface layer gently. Bring this voluminous section back and secure with a claw clip, leaving the teased texture intact underneath.
Why This Works for Medium Hair
Medium hair benefits dramatically from intentional volume because it prevents the style from looking flat or limp. The teasing stays hidden underneath, creating structure that makes the overall look feel bigger and more dynamic without looking actually teased or frayed.
How to Perfect It
Don’t tease the entire top section—just the roots at the crown area, roughly 3 inches from your hairline. Tease only as much as you need for lift, not the exaggerated teasing of the 1980s. Smooth the surface layer completely so no one can see the teasing underneath—it should just create invisible structure.
Finish with a light hairspray to hold the volume without making everything feel crunchy or sticky.
9. The Zigzag Part Half-Up
Instead of a straight center or side part, create a loose zigzag part through the top section of your hair before pulling it back into a half-up. Secure with a claw clip. This simple detail adds playfulness and visual interest without requiring any complex technique.
Why This Works for Medium Hair
The zigzag breaks up the monotony of a standard part line, which is especially helpful for medium hair because a regular straight part can sometimes look a bit flat or boring. The zigzag reads as fashion-forward and intentional in a way that feels current.
How to Perfect It
Use a rattail comb or even your fingernail to create the zigzag—you’re not aiming for perfect geometric precision. A slightly organic, hand-drawn zigzag actually looks better than a mathematically perfect one. Make the zigzag waves about 1 to 1.5 inches wide.
This works especially well if you already have natural texture or waves in your hair. The zigzag part enhances rather than fights against existing dimension.
10. The Glossy Low Clip
Skip the high crown and instead pull the top section down lower—roughly the lower third of the back of your head. Keep everything sleek and polished with a shine serum or light oil, and secure with a clean claw clip in a neutral tone. This is the version for when you want understated, refined, and modern.
Why This Works for Medium Hair
The lower positioning creates balance on a medium frame without looking like the clip placement is an afterthought. This is actually where a lot of people accidentally position their claw clips, but doing it intentionally changes the entire vibe from “oops, my hair fell” to “I styled this deliberately.”
How to Perfect It
Keep the shine game strong here—a luminous finish on glossy hair is what transforms this from basic to elevated. Apply shine serum to damp hair before blow-drying for best results, or use a lightweight oil or spritz on dry hair.
The claw clip itself should be minimal and possibly tonal (a tortoiseshell clip on darker hair, a pearl clip on lighter hair) so it feels integrated rather than like a visible accessory.
11. The Curled Wave Half-Up
This one requires a curling iron if your hair is naturally straight. Curl the bottom section loosely before pulling the top back into a half-up, creating a contrast between the smooth pulled-back top and the bouncy curled bottom. The curls should have space and movement, not be tight ringlets.
Why This Works for Medium Hair
Medium-length curls have a natural sweet spot where they hold their shape beautifully without becoming weighed down. The length is long enough that loose waves read as intentional and gorgeous, not limp or struggled-with.
How to Perfect It
Curl away from the face on both sides for a flattering frame, and keep curls loose and textured rather than tight spirals. After curling, run your fingers through gently to separate the curls and create that effortless wave pattern.
Use a curl-setting spray if you need hold, but avoid making it feel crunchy. The goal is waves that move and feel soft, not curls that feel stiff or processed.
12. The Bubble Ponytail Clip Version
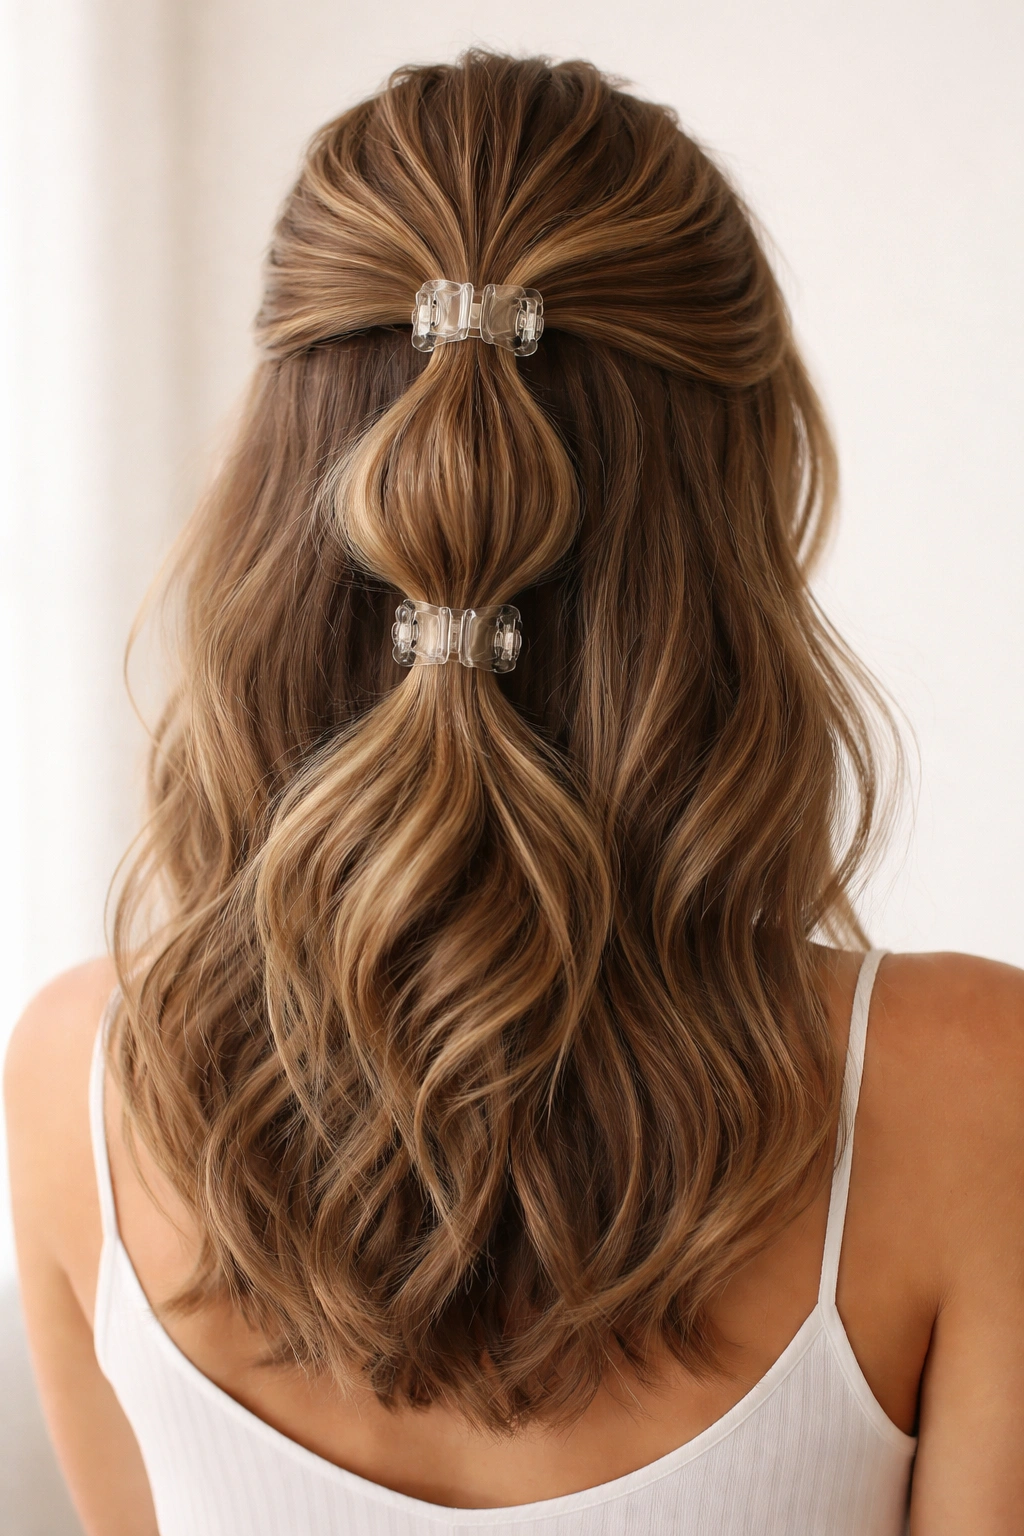
Create two sections with your claw clip—place one clip roughly 2 inches from the crown to secure the first section, then create a second gathered section below it and secure with a second claw clip. This creates the bubble effect where each section puffs slightly outward.
Why This Works for Medium Hair
Bubble ponytails on longer hair can sometimes read as overly trendy or cutesy, but on medium hair, they feel playful and fashion-forward without tipping into costume territory. You get the fun of the trend without it overwhelming your proportions.
How to Perfect It
Tease slightly between each clip to encourage the bubble shape and prevent everything from looking flat. Keep some face-framing pieces loose and wavy for softness. The clips should be visible and intentional—this isn’t a style meant to disappear into your hair.
Make sure each section is roughly the same size so the bubbles read as balanced and intentional rather than accidentally uneven.
13. The Side-Swept Goddess
Pull the top section to the side (toward one shoulder) rather than straight back, creating an asymmetrical half-up. Secure the clip on the side opposite the swept direction, near your ear. Add waves or curls to the entire length for maximum movement and drama.
Why This Works for Medium Hair
The asymmetry is inherently flattering, and medium hair has enough length that a true side-swept style doesn’t read as overcomplicated. The side positioning of the clip adds a fashionable detail that feels special compared to a centered clip.
How to Perfect It
This pairs beautifully with beachy waves or romantic curls. The texture makes the swept-back section feel intentional and dreamy rather than just off to the side. If your hair is straight, wave or curl it before attempting the side sweep.
The claw clip should be chosen to coordinate with your outfit or personal style—this is a version where the clip becomes a visible accessory, not something hidden in your hair.
14. The Frontal Sections Half-Up
Leave out thicker face-framing sections on both sides of your face, pulling only the crown and back section into the claw clip. This creates softness around the face while still giving you that half-up structure. The face-framing sections should be long enough to fall past your jawline.
Why This Works for Medium Hair
This is genuinely the most flattering version for most face shapes because the loose sections frame and soften your features while the back section is polished. Medium hair gives you enough length for substantial face-framing sections without the overall look feeling unbalanced.
How to Perfect It
Leave sections that are at least 2 to 3 inches wide on each side—they need to be substantial enough to actually frame your face. Curl or wave these sections while leaving the pulled-back section smooth for contrast, or keep everything wavy for a cohesive texture.
This works with any face shape, but it’s especially flattering if you have a longer or angular face because the loose sections add width and softness.
15. The Textured Knot Half-Up
Rather than twisting or braiding, create a loose knot with the top section—literally tie your hair in a knot like you would tie a rope. Secure the knot (and the strand ends hanging below it) with a claw clip. This is more sculptural and unique than a standard twist.
Why This Works for Medium Hair
A knot uses more hair than a twist, making it ideal for medium density hair. The knot creates an interesting shape and texture that reads as effortlessly creative rather than trying-too-hard. It’s the kind of detail that makes people ask how you did your hair.
How to Perfect It
Create the knot loosely—tight knots can actually pull on your scalp uncomfortably, and they also read as overly controlled rather than the relaxed vibe you’re going for. After tying the knot, gently tug pieces outward to create a softer, more textured appearance.
This works best with hair that already has some texture or waves. If your hair is very straight, add texture spray or waves before creating the knot.
16. The Sleek Claw with Accessories
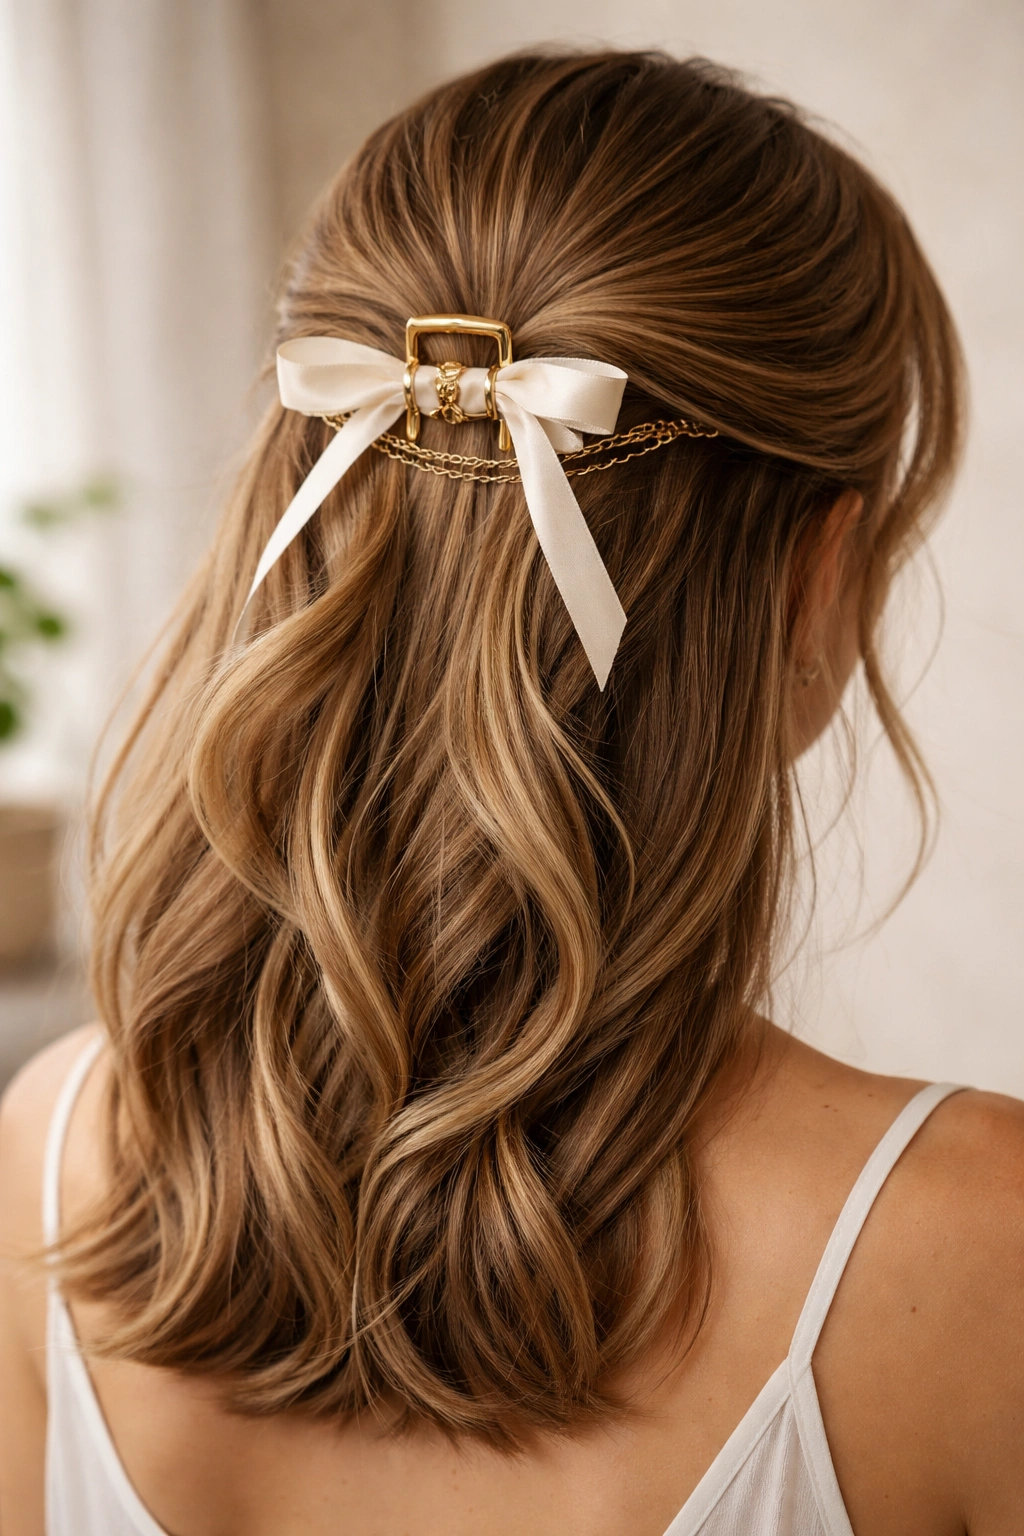
Secure the half-up with a claw clip, but also add a small decorative element—think a thin silk ribbon threaded through, a delicate chain wrapped around the base of the clip area, or tiny hair clips dotted throughout the pulled-back section. These secondary accessories elevate the look from simple to considered.
Why This Works for Medium Hair
Medium hair gives you just enough surface area to add secondary accessories without them getting lost, but not so much hair that they’re completely hidden. The accessories should enhance, not compete with, the overall look.
How to Perfect It
Keep secondary accessories minimal and delicate—one or two small clips, a thin ribbon, or a piece of jewelry, not everything all at once. The idea is intentional elegance, not excessive decoration. Metallic chains or ribbons coordinate beautifully with tortoiseshell clips.
This is the version for when you have a special occasion or want to add a subtle fashion detail that makes the style feel elevated beyond everyday.
17. The Crimped Texture Half-Up
Use a crimping iron on the top section before pulling it back into a half-up clip. The crimp creates visual texture and volume without looking outdated when done intentionally and paired with smooth or loosely wavy hair below. This is a nostalgic detail done with a modern sensibility.
Why This Works for Medium Hair
Crimping on medium hair creates interesting dimension without overwhelming your proportions. The texture reads as intentional styling rather than a throwback when you keep the bottom section smooth or gently wavy.
How to Perfect It
Don’t crimp the entire top section—focus on the roots and mid-lengths for volume and texture, leaving the bottom inch or so smooth. This creates a blend between texture and polish. After crimping, run your fingers through gently to separate the crimp pattern slightly so it looks controlled rather than frizzy.
Pair this with glossy product or shine spray to make the texture feel intentional and fashionable rather than accidental or dated.
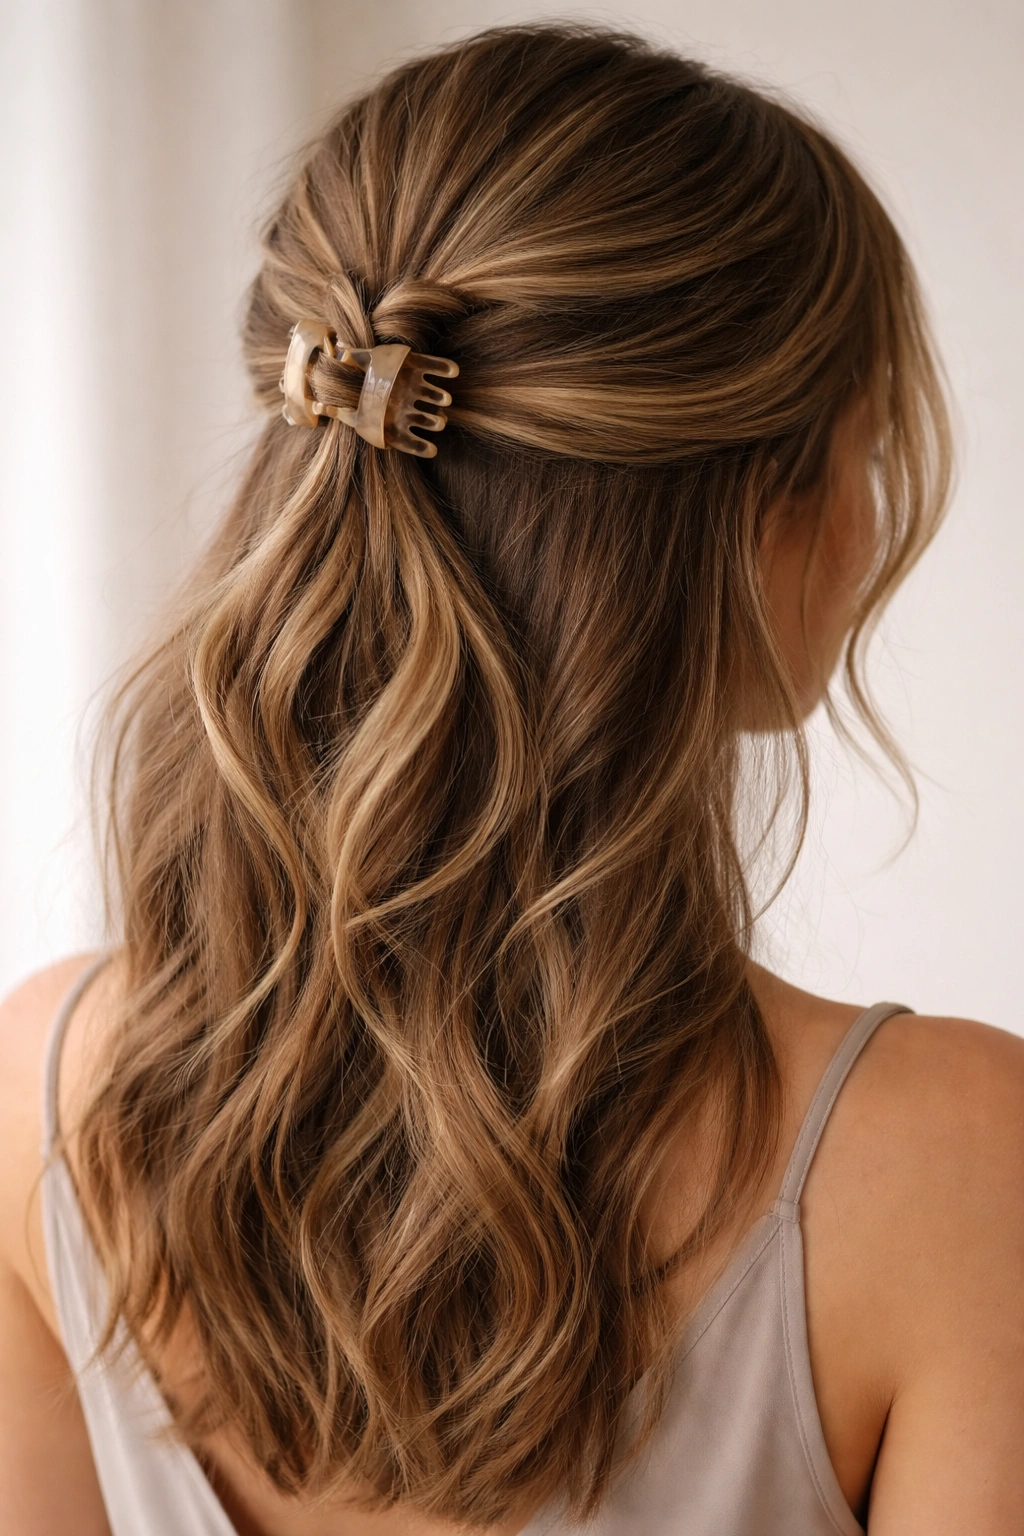
18. The Flowing Cascade Half-Up

Create the half-up, but instead of securing it completely closed at the base, leave the gathered section slightly loose so hair flows softly through the clip rather than being held tightly. This creates a gentle cascade effect where the pulled-back section isn’t actually fully secured—it’s more of a soft guide than a tight hold.
Why This Works for Medium Hair
This is the ultimate effortless version because it actually is effortless—your hair is loosely gathered rather than tightly pulled, which feels romantic and undone. Medium hair has enough weight that loose clustering looks intentional rather than like your hair is just falling down.
How to Perfect It
Don’t pull tightly—gather the section loosely and position the clip so it gently holds the gathered cluster without actually clamping down. The hair should feel soft and moveable through and below the clip. This takes practice to achieve the right balance, but once you get it, it becomes your go-to.
This version looks especially beautiful with wave or texture already in your hair. The looseness combined with movement creates a genuinely romantic, modern feel that makes you look effortlessly put-together.
Final Thoughts
Claw clips for half-up half-down styles are actually more versatile than they initially seem, especially when you have medium-length hair that can handle everything from sleek polish to textured romance. The real secret isn’t the clip itself—it’s understanding which section of your hair to gather, how much tension to create, and which finishing touches (texture, accessories, product) transform a basic half-up into something that actually feels intentional and personal.
Start with the styles that match your natural hair texture and your day-to-day vibe. If you’re a waves person, lean into the versions with curled bottoms and side-swept positioning. If you prefer sleekness, master the smooth ponytails and glossy low clips. None of these styles require special skills—they require familiarity, which builds through repetition. Pick three or four that resonate with you, practice them until they’re automatic, then gradually experiment with the others.
The beauty of medium-length hair is that you’re in the exact sweet spot where these styles look polished without looking like you spent an hour styling, and effortless without looking like you tried nothing. Your claw clip collection can stay simple (two or three neutral clips in different sizes) or become a tiny accessory wardrobe of its own. Either way, you now have eighteen distinct approaches to reaching for that clip and creating something that actually feels like your version of this timeless style.