Curly hair loves a twist. Not because it needs to be tamed, but because the natural bend in the strand gives the style something to hold onto, and that grip matters more than people think.
A good set of twist hairstyles for curly hair can stretch shrinkage, keep the hair off your face, and still show off the pattern you actually like. The wrong version, though, looks fuzzy at the roots by lunchtime, pulls at the edges, or turns into a puffball before you even leave the house. That usually happens when the sections are too big, the hair is too dry, or the parting was done in a hurry.
Tighter coils often hold a twist with less effort. Looser curls can still get there, but they usually need a little more control at the roots and ends — a cream, a soft gel, or both, depending on how much frizz you can live with. The size of the twist changes everything, too. Small sections last longer. Chunky sections give you a softer, fuller shape. Neither is wrong.
The styles below move from the easy everyday classics to the more styled-up looks, because that’s how most people actually wear them. Start with the one that fits your morning routine, not the one that looks hardest to copy on a mannequin head. The first one is the most useful place to begin.
1. Classic Two-Strand Twists
Two-strand twists are the backbone of twist hairstyles for curly hair. They’re simple, flexible, and honest about texture, which is part of why they work so well. You’re not trying to force the hair into a different pattern; you’re just giving the curl a cleaner shape to follow.
Why It Works on Curly Hair
Curly strands already like to wrap around one another, so this style feels natural from the first twist. On damp, detangled hair, the sections stay together better, and a small amount of leave-in plus cream gives the strand enough slip to twist smoothly without sliding apart.
A good two-strand set can be worn down, pinned back, or unraveled later for a twist-out. That last part matters. You’re getting one style and a second style hiding inside it.
- Best section size: about 1 to 1½ inches for a balanced look.
- Best finish: a soft cream with a light gel on the ends.
- Best hair state: damp, not dripping.
- Best for: 3B to 4C curls, though looser curls can wear it too.
Pro tip: twist each section in the same direction on both sides of the head. The set falls more evenly later, and the unraveling looks cleaner instead of lopsided.
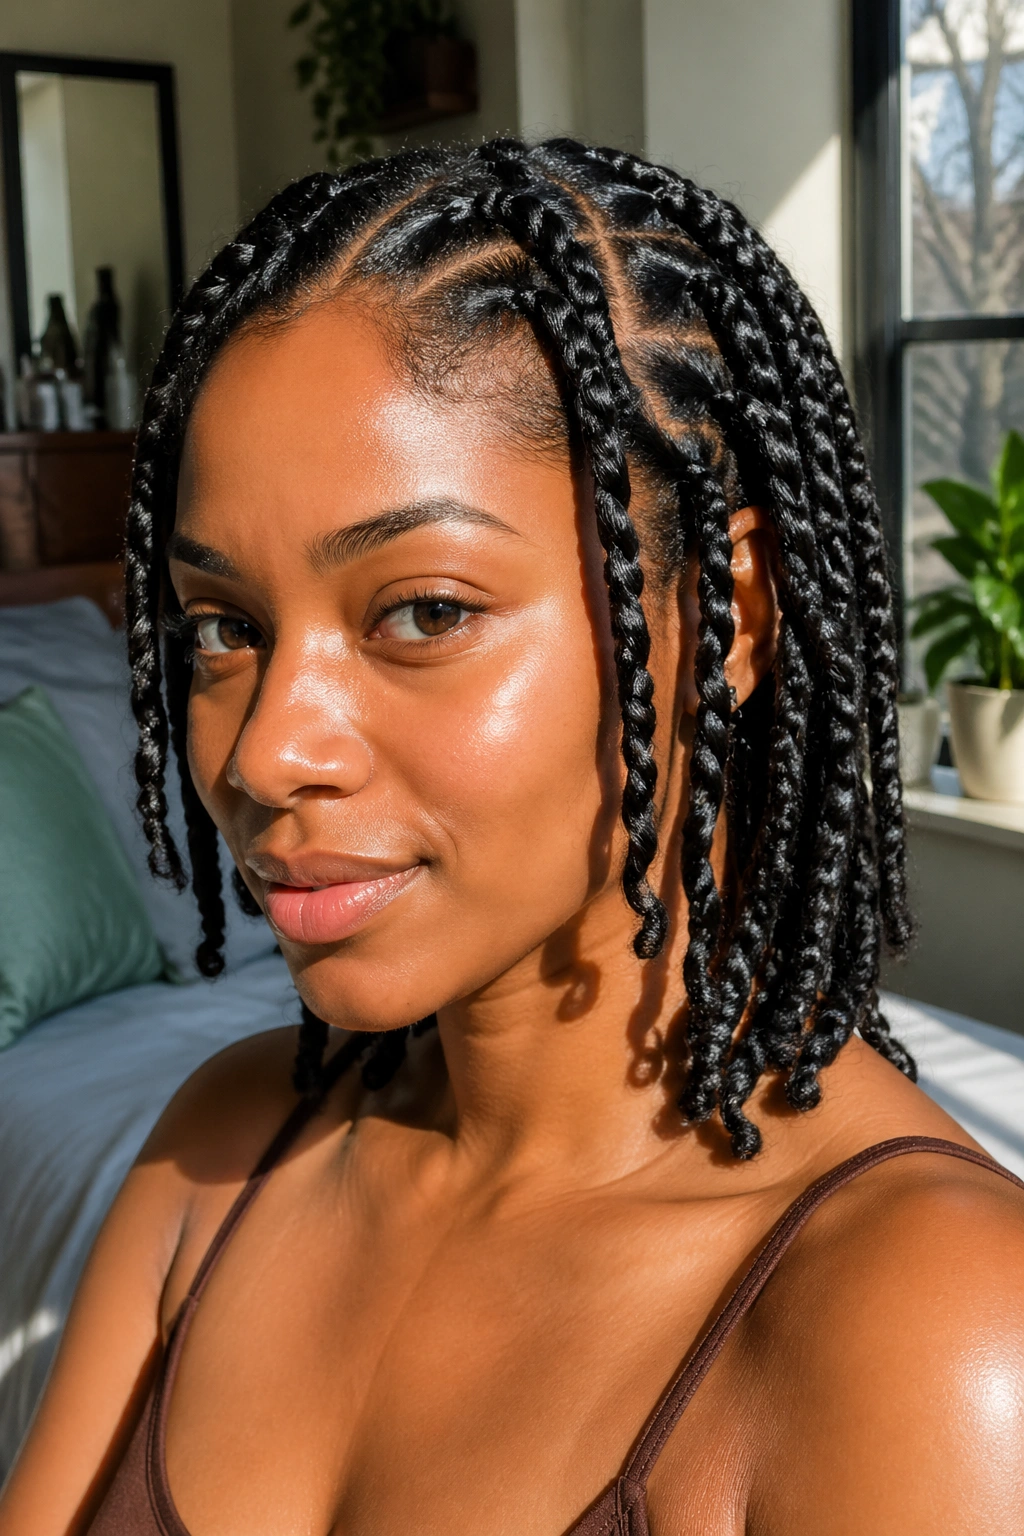
2. Mini Twists
Mini twists look tiny for a reason. They’re built from small sections, and that smaller size gives them a neat, dense look that holds shape longer than chunky twists.
They take time, but they pay you back. If your hair is thick, tightly coiled, or prone to puffing up after one night, mini twists can buy you several days of calm. The style also stretches shrinkage more than people expect, especially when the roots are neatly parted and the ends are sealed.
The main thing to watch is tension. Tiny twists can become a headache if the parts are too tight or if you keep pulling the hair taut while twisting. That’s especially true around the hairline, where the scalp is more sensitive and the edges are easier to stress. If the scalp feels sore before you’re halfway done, the parts are too aggressive.
Mini twists are one of those styles that look better on day two than day one. The sections settle. The shine softens. The hair stops looking freshly packed and starts looking lived in, which is usually the sweet spot.
3. Flat Twists
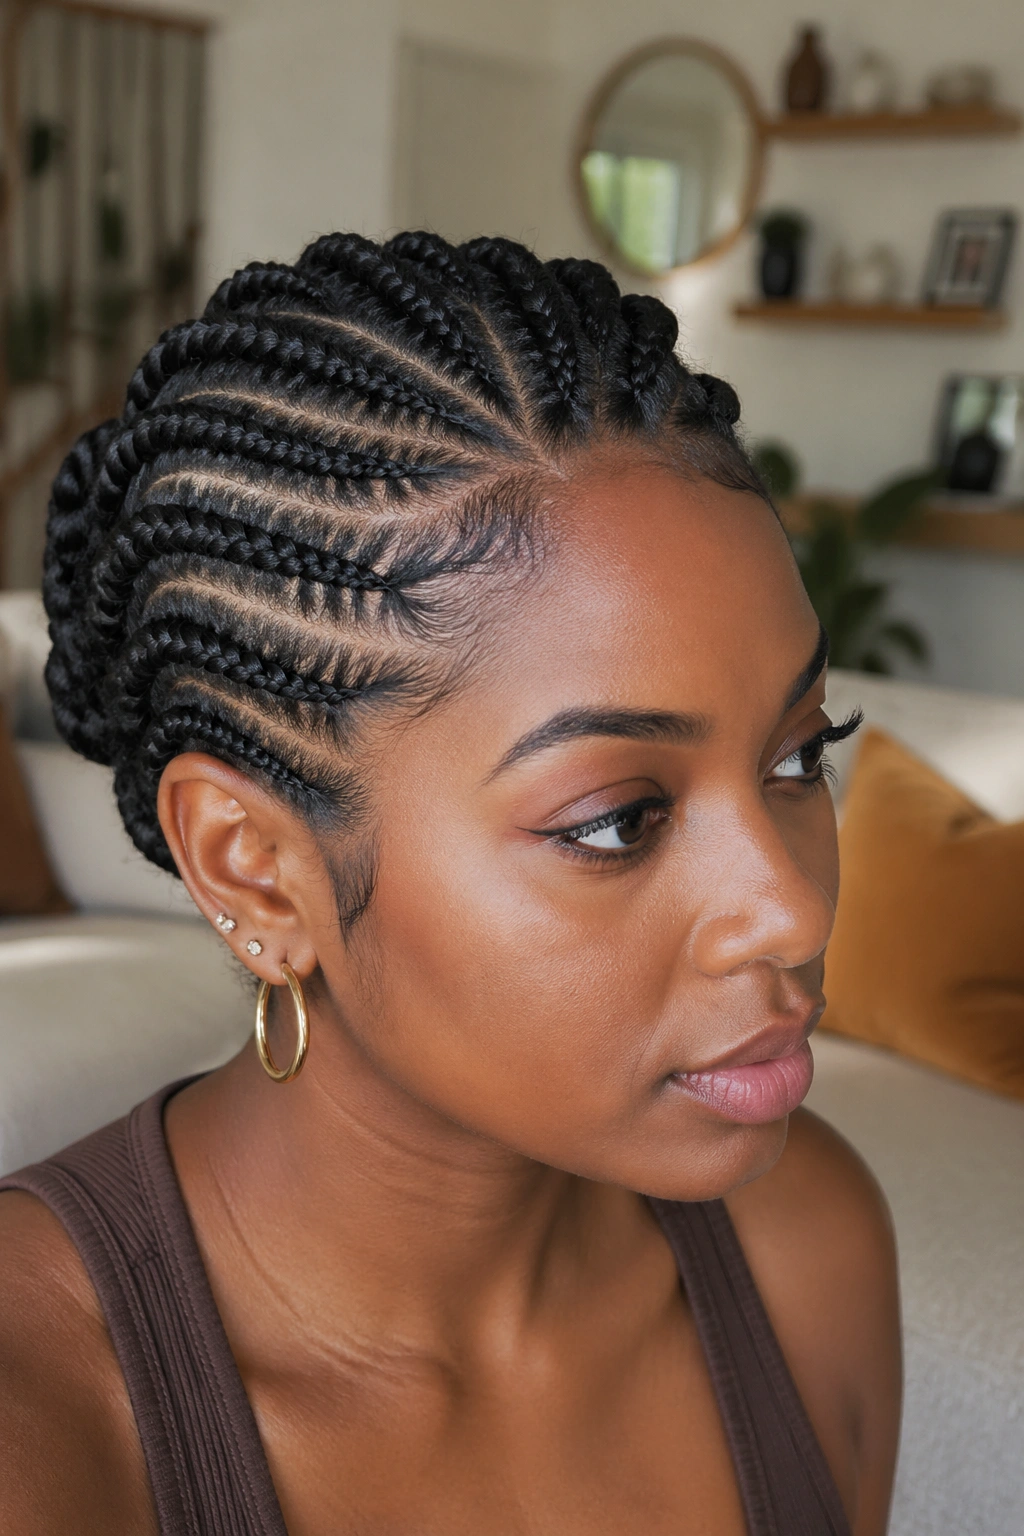
Flat twists sit close to the scalp, which gives them a cleaner, more sculpted line than a loose two-strand twist. They’re a smart pick when you want the front neat and the rest of the hair manageable.
What I like about flat twists is how much they can change the shape of a style with almost no extra hair. Two rows along the hairline. A diagonal twist across the crown. A handful of flat twists feeding into a bun. The options are simple, but the effect is sharp.
How to Wear It Without It Looking Flat
Keep the base a little loose. If you press the twist too hard against the scalp, the style can look tight and stiff instead of smooth and intentional. A fine-tooth comb helps with parting, but your fingers can soften the line if you want the result to feel less rigid.
Use flat twists on the sides when your edges need a break, or run them straight back if you want the face open. Three or four clean rows can do more than a whole head of busy styling.
4. Twist-Out
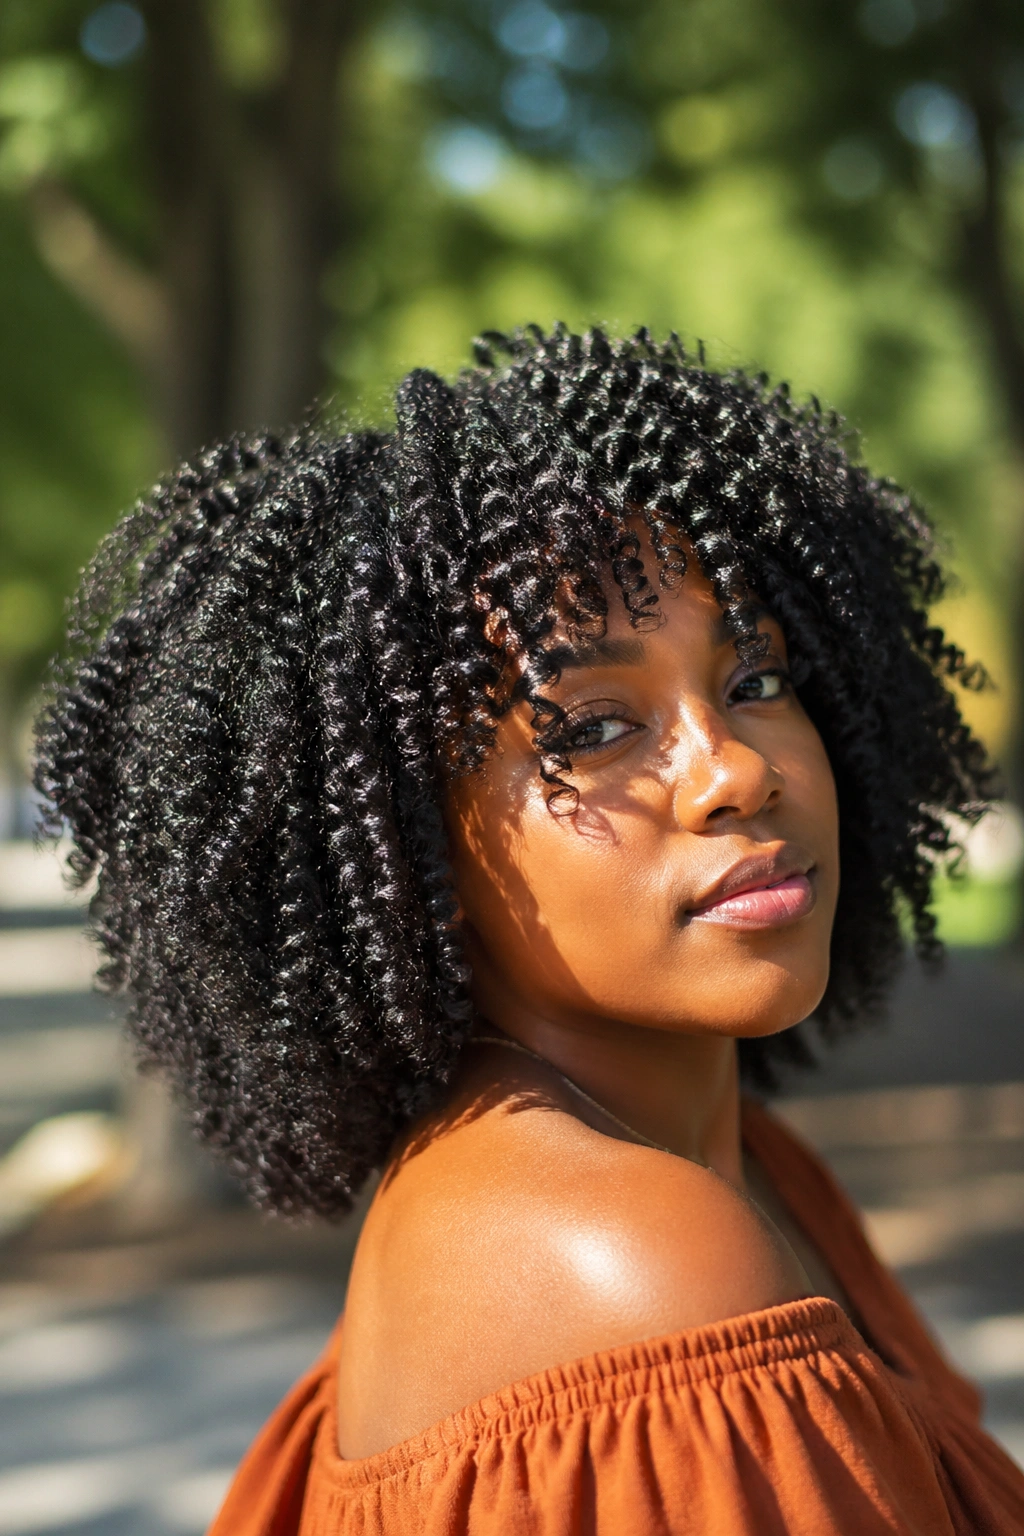
A twist-out is the payoff style. You set the hair in twists, let it dry all the way through, then unravel it for defined curls with more stretch and volume than the original set.
Dryness matters here more than almost anything else. If the twists come apart while the center is still damp, the roots frizz fast and the ends lose their shape. Air-drying works if the sections are small enough and the room isn’t humid. A hood dryer or diffuser speeds things up and usually gives a smoother result at the base.
Once the hair is dry, separate each twist with oiled fingers. Not a lot of oil. Just enough to reduce snagging. Pull too hard and the curl clumps break apart into frizz. Pull too little and the style looks heavy.
A twist-out is less about one final look and more about how you separate it. That part sounds fussy, and honestly, it is a little fussy. Still, the shape is worth it when you want softness around the face and a fuller silhouette without losing too much definition.
5. Crown Twist
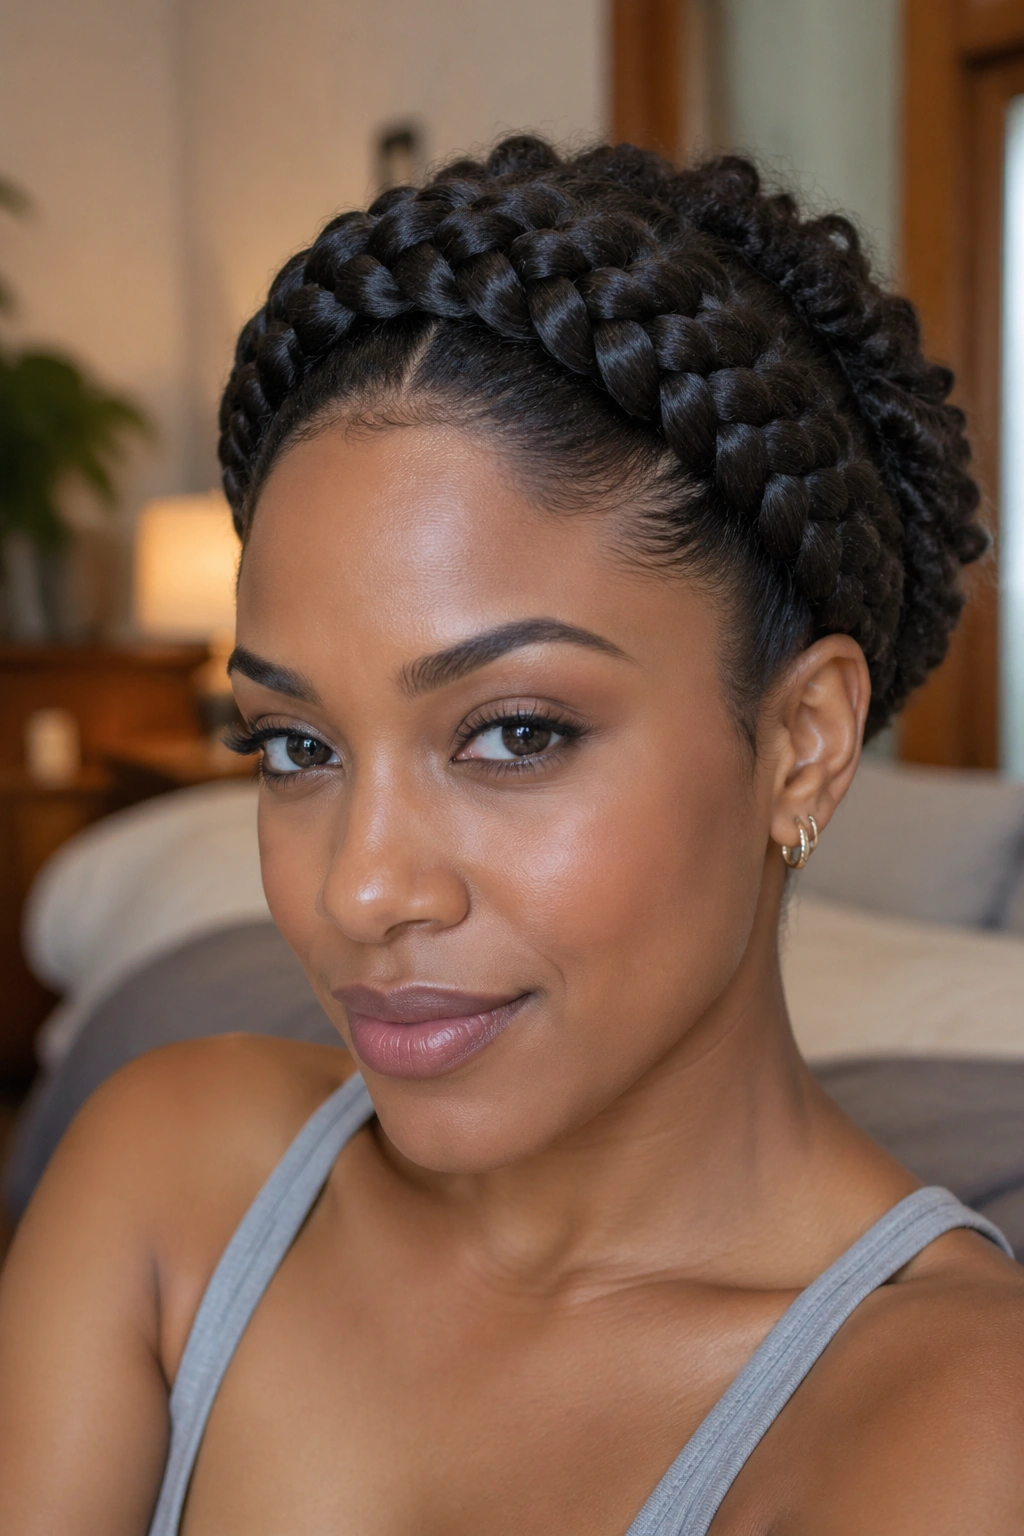
A crown twist wraps around the head like a built-in headband, which is exactly why it works so well on curly hair. It clears the face, keeps the shape elegant, and still leaves the texture visible.
The nicest version starts with a side part or a curved part around the front. From there, the twist follows the hairline and gets pinned in place as it travels across the crown. A few bobby pins hidden under the twist are usually enough; if the hair is very dense, use three or four U-pins and anchor them into the base, not just the surface.
This style has a quiet advantage. It makes second-day hair look deliberate. You don’t need a fresh wash or a full blowout, just enough control to smooth the roots and guide the twist around the head. A light mousse at the front helps if the hair tends to puff up at the temples.
It’s one of my favorite styles for days when curls feel too loose to wear down but too good to flatten into a tight ponytail. The crown twist keeps the shape, and that matters.
6. Side-Swept Twists
A side-swept twist gives curly hair a little drama without making a big production of it. The weight moves to one side, which softens the face and makes the whole style feel less formal than a centered look.
Unlike a crown twist, this one doesn’t try to balance the head evenly. That’s the point. You can twist the front section back from one temple, let the rest fall over one shoulder, and pin the back in a hidden line so the style stays secure. It works especially well when your curls already have volume and you don’t want to fight it.
The side-swept shape also plays nicely with earrings, collar details, and any outfit where the neckline matters. One clean side part can change the entire mood of the hair. Small detail. Big difference.
If your hair tends to puff at the crown, keep the twist a little looser near the root and tighter toward the ends. That keeps the front smooth while letting the length move. A side-swept twist feels best when it looks like it settled there naturally, even though it was pinned on purpose.
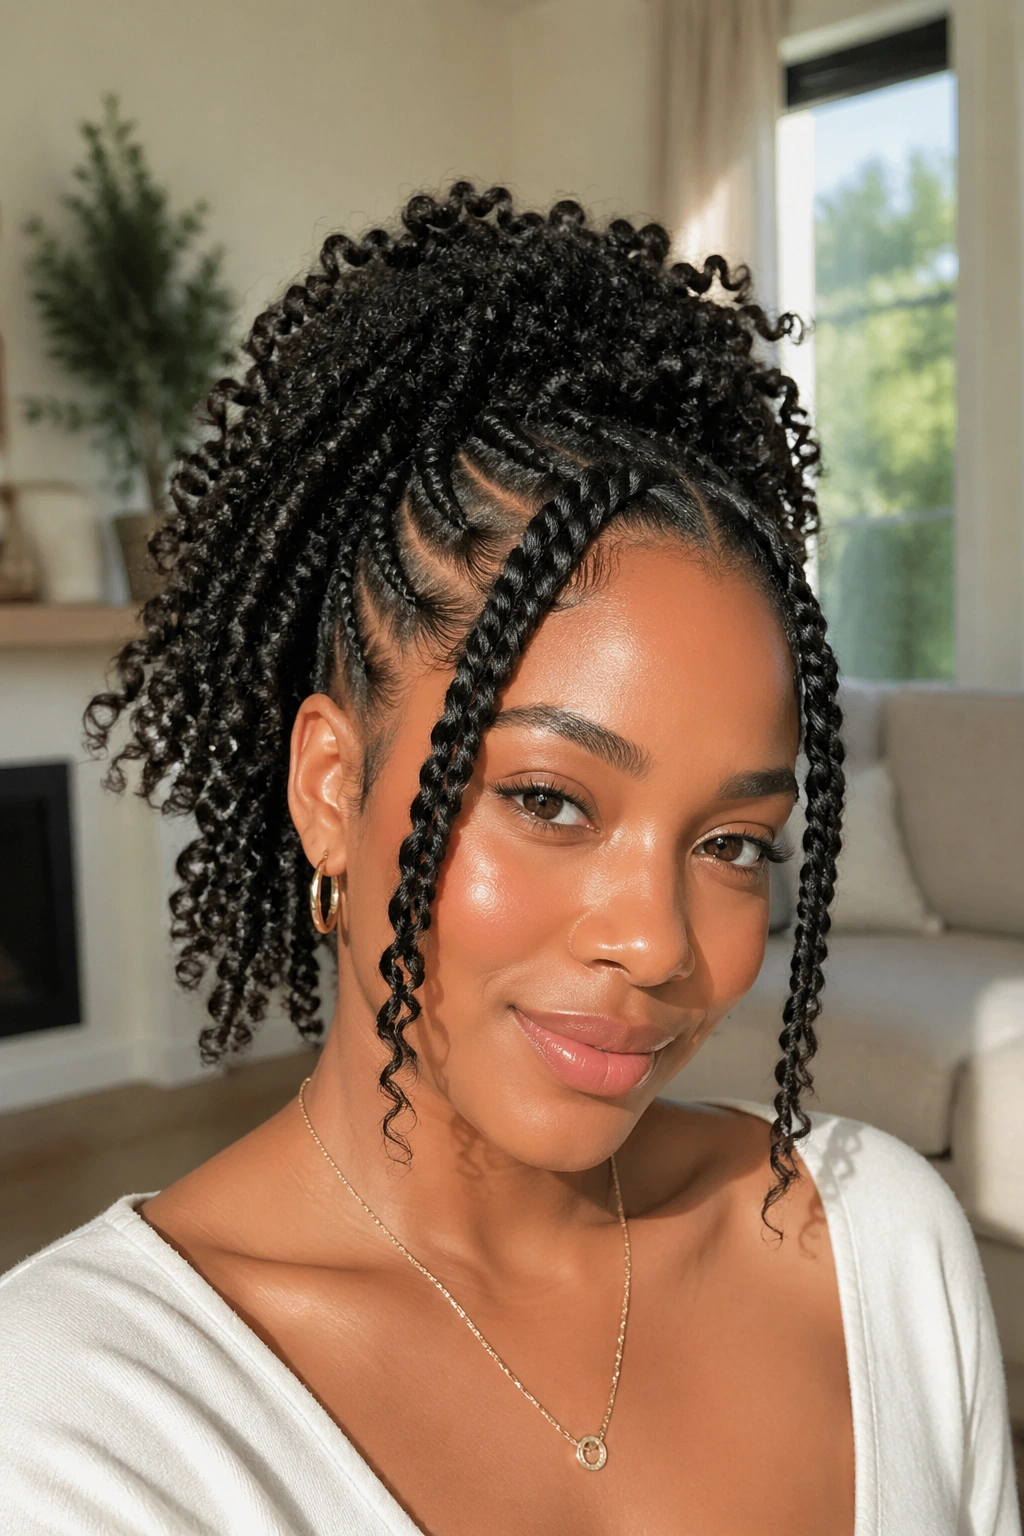
7. Half-Up Half-Down Twists
Want your curls visible and your face clear at the same time? The half-up half-down twist does that job without a lot of drama.
The top section gets twisted back, often in two, three, or four small rows, then pinned or tied at the back. The lower section stays loose, so you still get the shape and bounce of your natural curl pattern. It’s one of the easiest ways to make a style look finished without hiding the hair completely.
Best Placement Ideas
- Twist the top sections from the temples back to the crown for the cleanest lift.
- Leave the lower curls untouched if you want volume.
- Tuck the twist ends under a small puff or bun if you want the top to look neater.
- Use a satin scrunchie or a snag-free elastic so the base doesn’t dent the curls.
This is the style I’d hand to someone who says they want to “do something” with their hair but still keep it soft. That sentence comes up a lot. Fair enough.
8. Twisted Low Bun
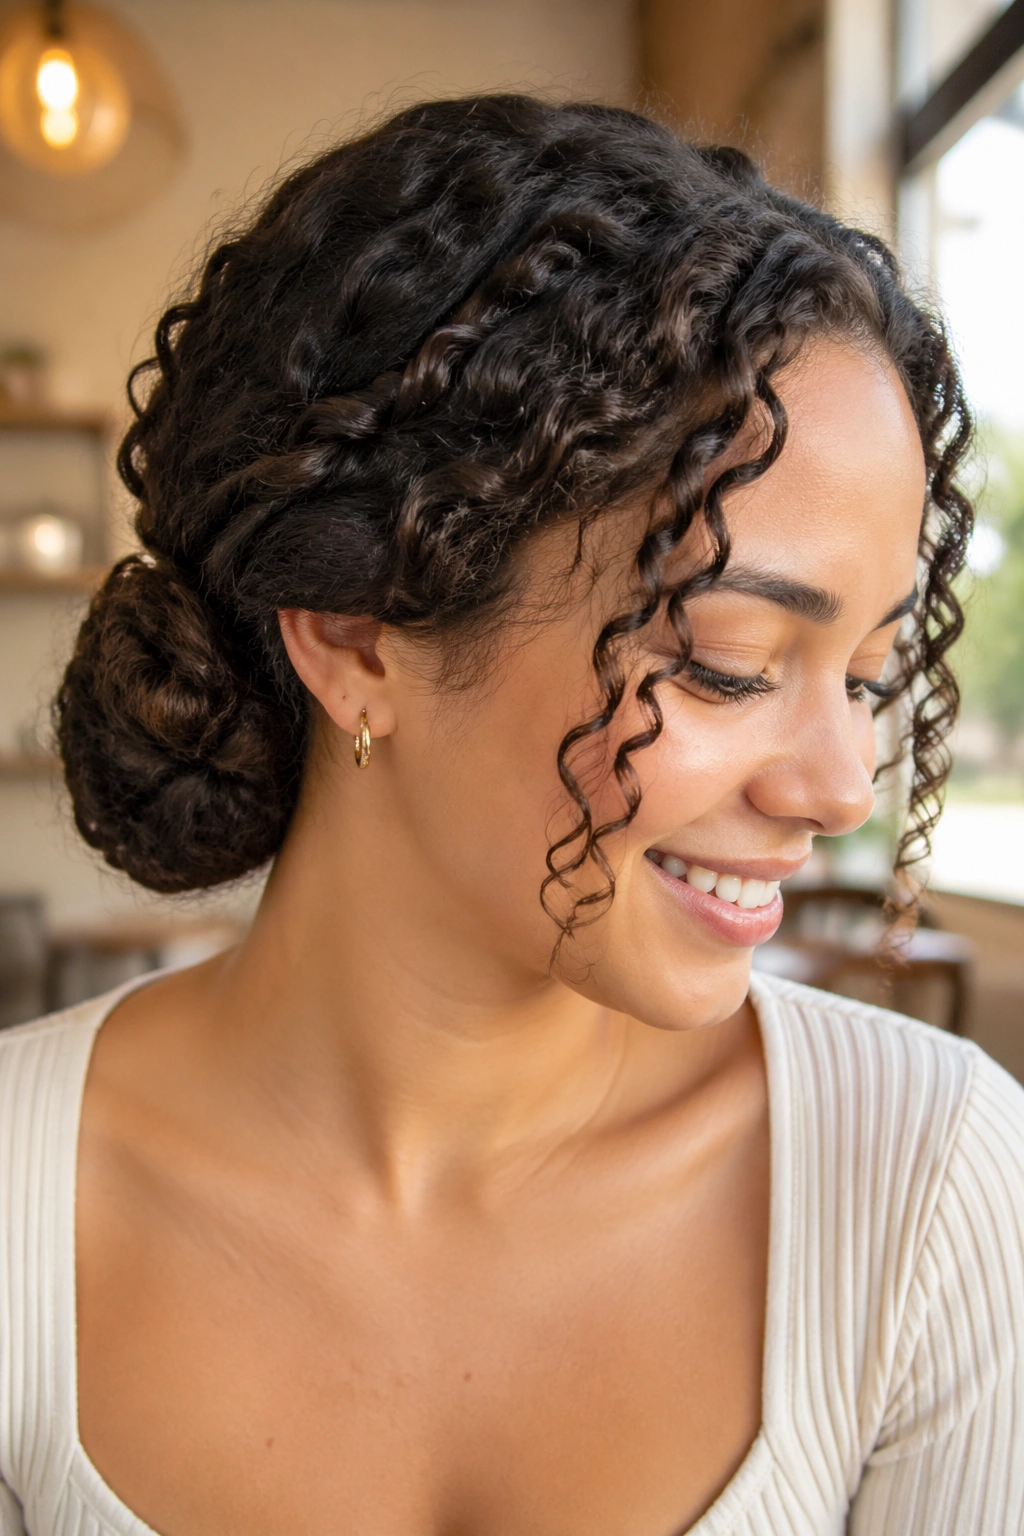
A twisted low bun sits at the nape and uses the hair’s texture instead of fighting it. The result feels polished, but not stiff.
The cleanest version usually starts with two side twists or a single twist from each temple. Once those are secured, the remaining hair gets gathered low, wrapped around itself, and pinned into a bun with U-pins or flat clips. A satin-covered elastic at the base helps keep the bun from sliding, especially if the hair is thick and heavy.
A regular low bun can look too plain on curly hair. The twist lines fix that. They give the front and sides some shape, which makes the bun feel styled rather than just pulled back. If you like a smoother finish, tuck the ends underneath the bun and pin them flat. If you want a softer look, let a few curls sit loose near the ears.
This style also holds up well for long days because the weight sits low. Less tugging. Less stress at the crown. That’s a good trade.
9. Twisted Faux Hawk
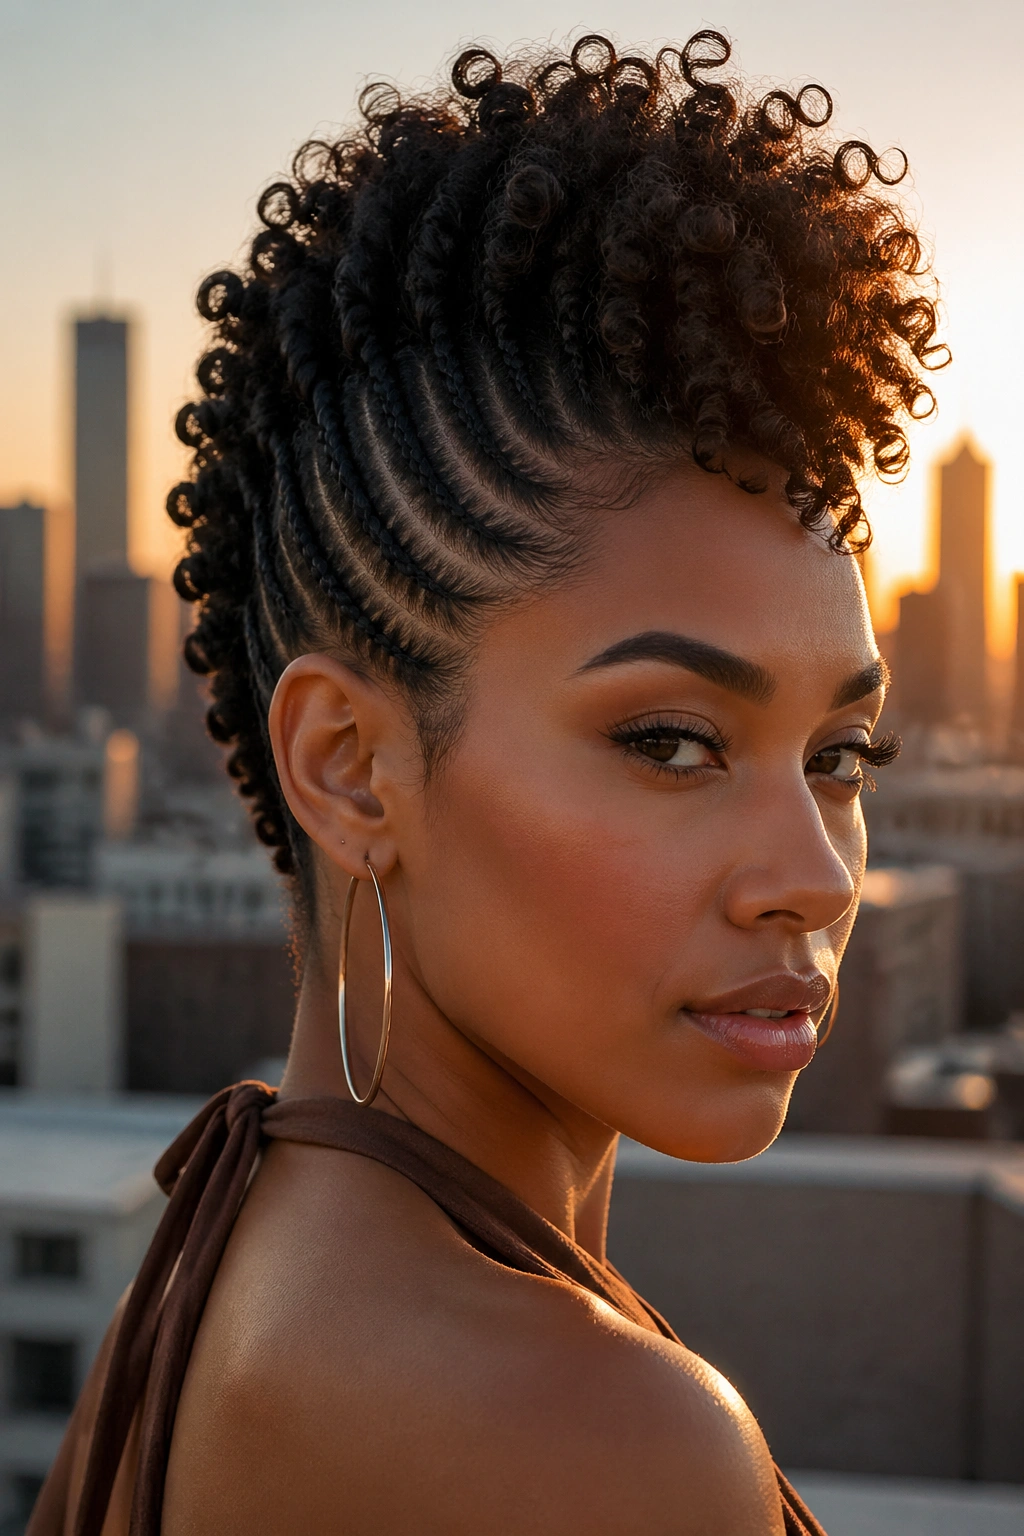
If you want height, this is the one that announces it fast. A twisted faux hawk pulls the sides tight and leaves the center section full, so the shape stands up in a way that feels bold without needing a haircut.
The style usually starts with flat twists or tight side twists running upward from the temples and back of the head. The middle section stays free, puffed, or lightly twisted, depending on how much volume you want. Pin the sides every few inches so they hug the head cleanly. If the middle is left loose, the contrast looks sharper. If it’s twisted too, the style reads neater and a little more structured.
Best on hair with some length at the crown. Very short hair can work, but the profile is smaller and the faux hawk shape won’t stand as high. Medium-length curls tend to give the best balance between lift and control.
I like this style when second-day hair has gone a little flat at the roots. Instead of fighting that, you turn the shape upward. That’s a better use of the hair’s natural movement.
10. Twisted Puff Ponytail
A puff ponytail already gives curly hair a good shape. Add twists at the front, and it starts looking intentional instead of thrown together.
The usual setup is simple: twist the front or side sections back, then gather the remaining curls into a puff at the crown, middle, or nape. A puff higher on the head looks more playful. A lower puff feels softer and less dramatic. The twist sections help frame the face and keep the front from collapsing into the elastic.
A small trick helps here. Wrap one thin twisted strand around the base of the ponytail to hide the band. That tiny detail makes the style look cleaner right away. It also keeps the finish from looking like a rushed gym ponytail, which is not the same thing at all.
- Use a snag-free elastic so the curls don’t catch.
- Choose a puff height based on where your head feels balanced.
- Leave a few curls out near the temples if you want a softer edge.
- Smooth the base lightly instead of flattening it hard.
The puff should still look like curly hair. That’s the point.
11. Space Bun Twists
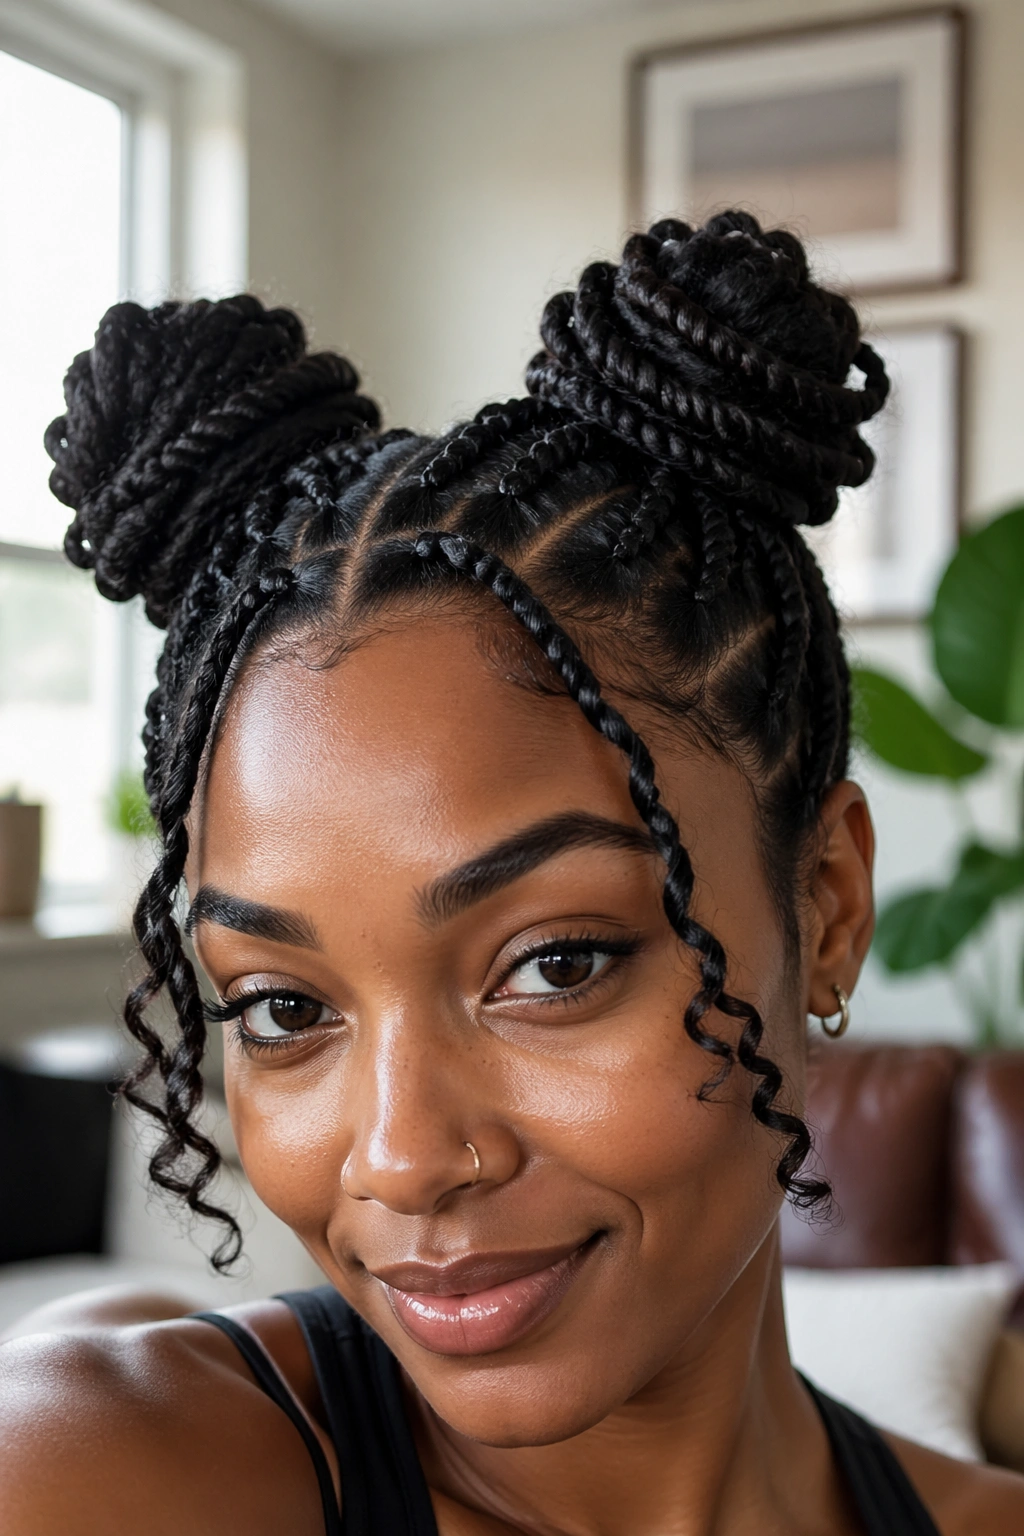
Two buns can look playful, neat, or somewhere in between, depending on how you build them. On curly hair, the twist base keeps the buns from looking too loose before they’re even secured.
Start with a center part. Clean part. No zigzags unless you want the style to feel more casual. Twist each side back toward the crown, then coil the twists into buns and pin them down. You can leave the ends tucked for a tidy finish or let a few coils spring out for a softer look.
The Parting Pattern Matters
A narrow center part makes the buns read more compact. A wider part gives the face more room and makes the style feel bigger overall. That small change affects the whole shape, especially if your curls are dense and the buns need a little extra room to sit comfortably.
Space bun twists work well when you want something that feels lively but still holds together through a long day. They’re not a lazy style. They’re just a cheerful one.
12. Twisted Bantu Knot Set
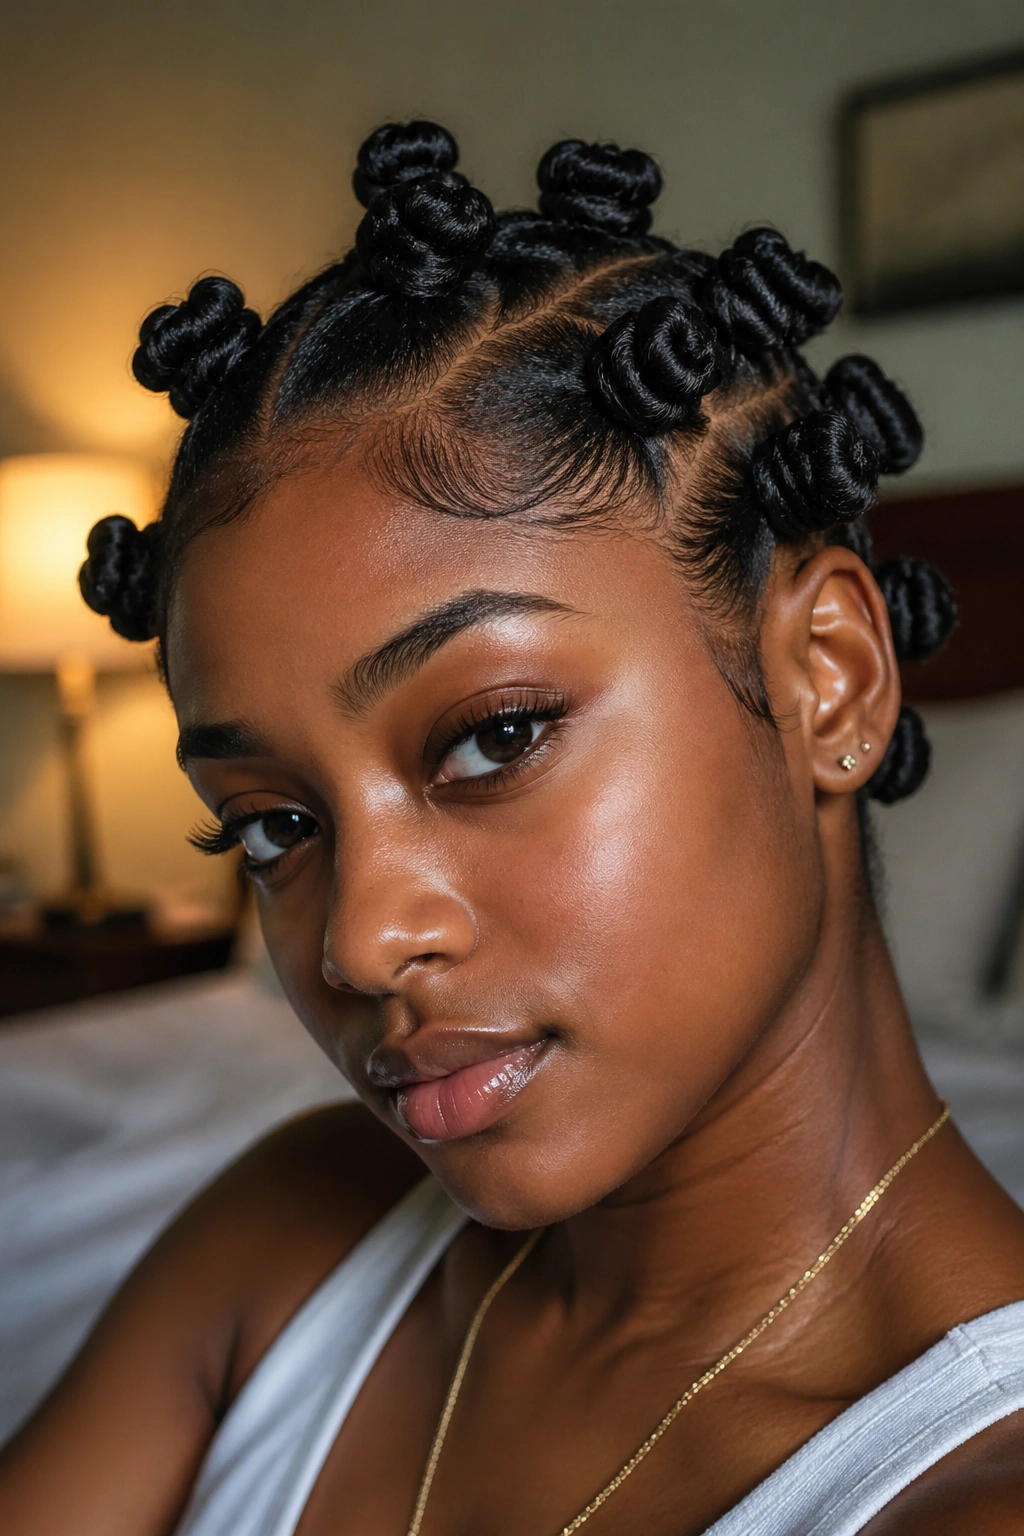
Not every twist has to stay a twist. Sometimes you twist the hair first, then coil it into knots, and the shape gets even more interesting.
A twisted Bantu knot set starts with small or medium sections. Each section gets twisted from root to end, then wrapped around itself into a tiny knot and pinned or tucked flat. The result is compact, tidy, and full of texture once you take it down later. On some textures, it gives a soft stretch. On others, it creates a strong little knot pattern that turns into a defined set when unraveled.
This style works best when the ends are tucked all the way under the knot. Loose ends stick out and make the whole head look unfinished. If the hair is slippery, a light styling cream on the section before twisting helps the knot stay put.
It’s a good option for shorter curls, too. You don’t need a lot of length to make a small knot sit correctly. That’s one reason people keep returning to it.
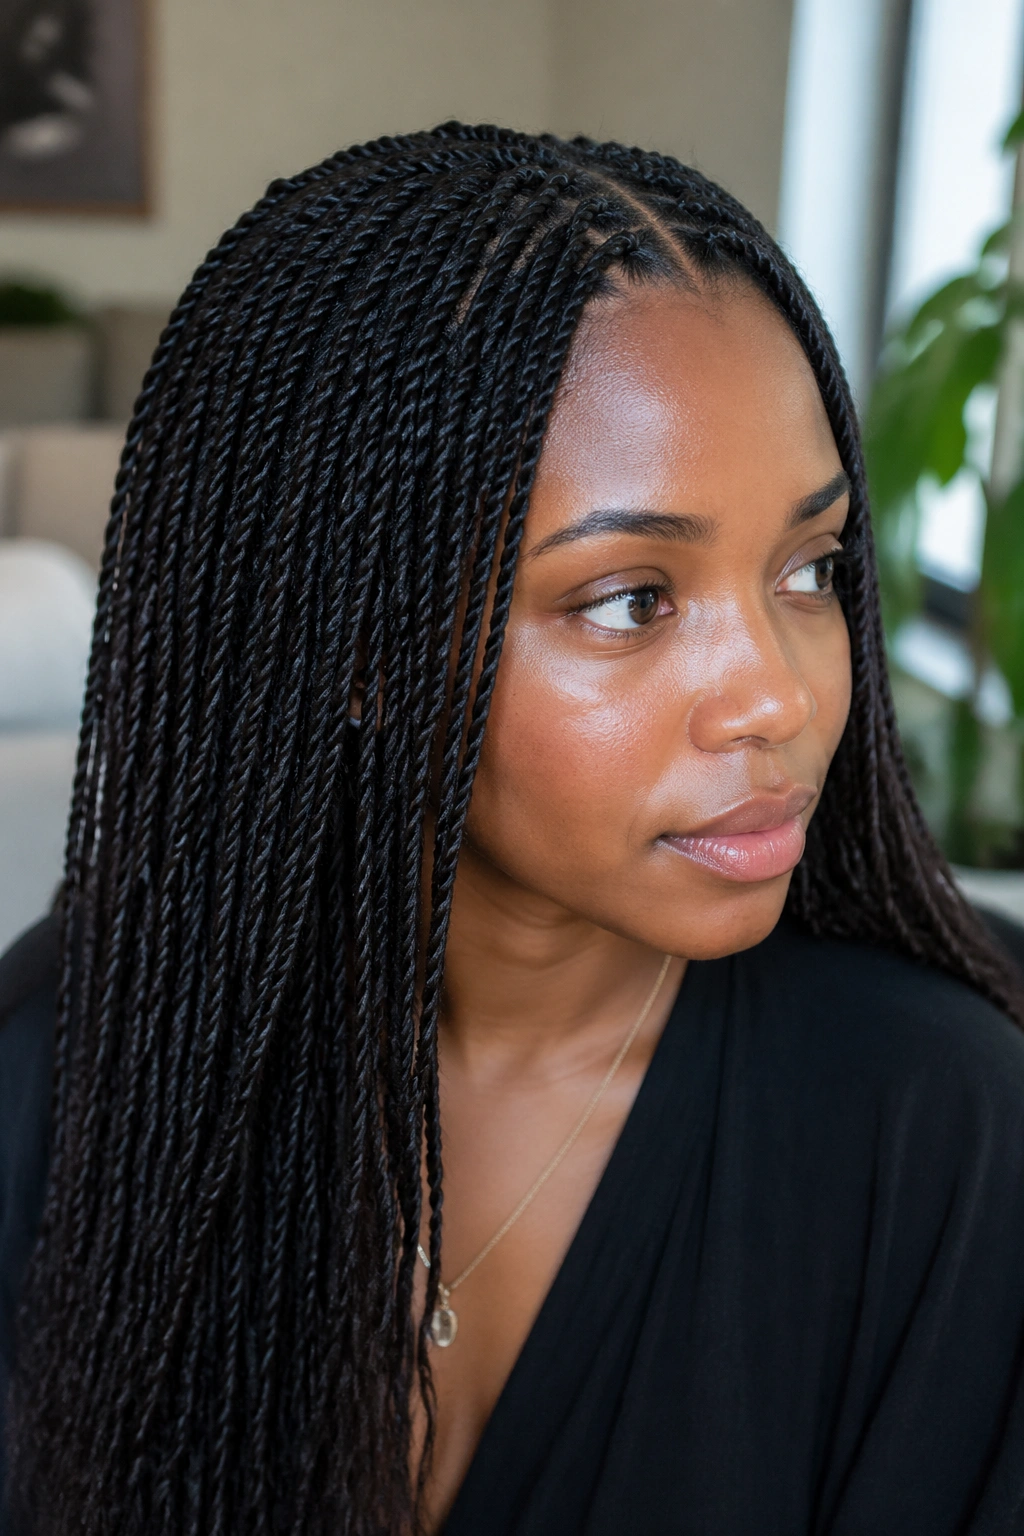
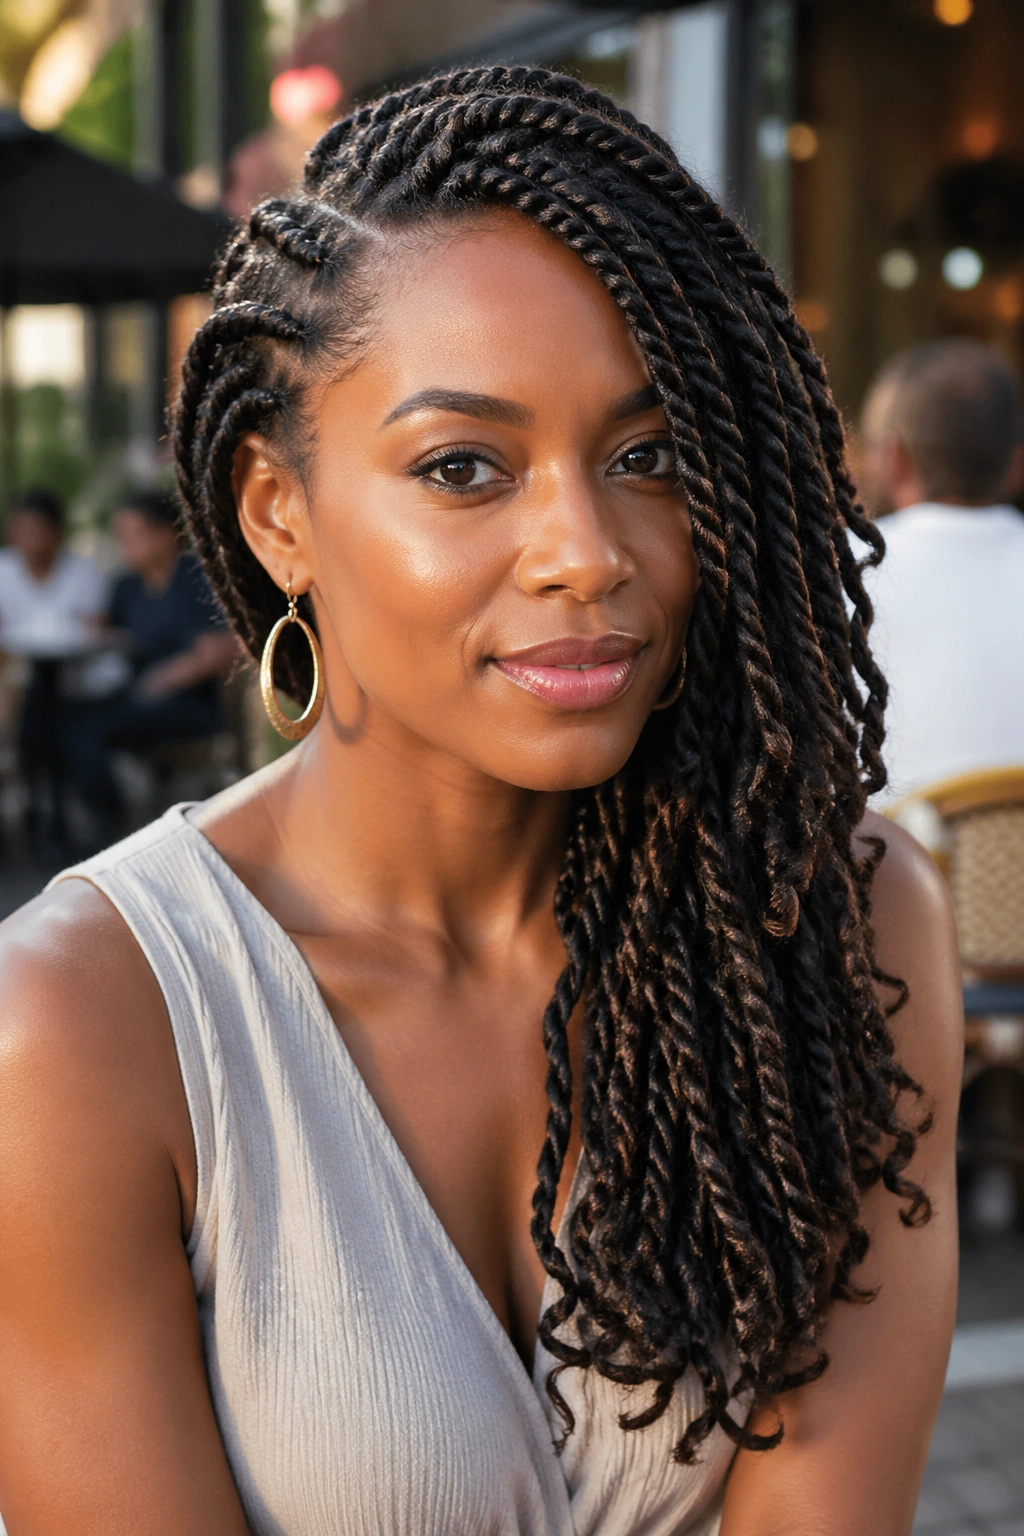
13. Senegalese Twists
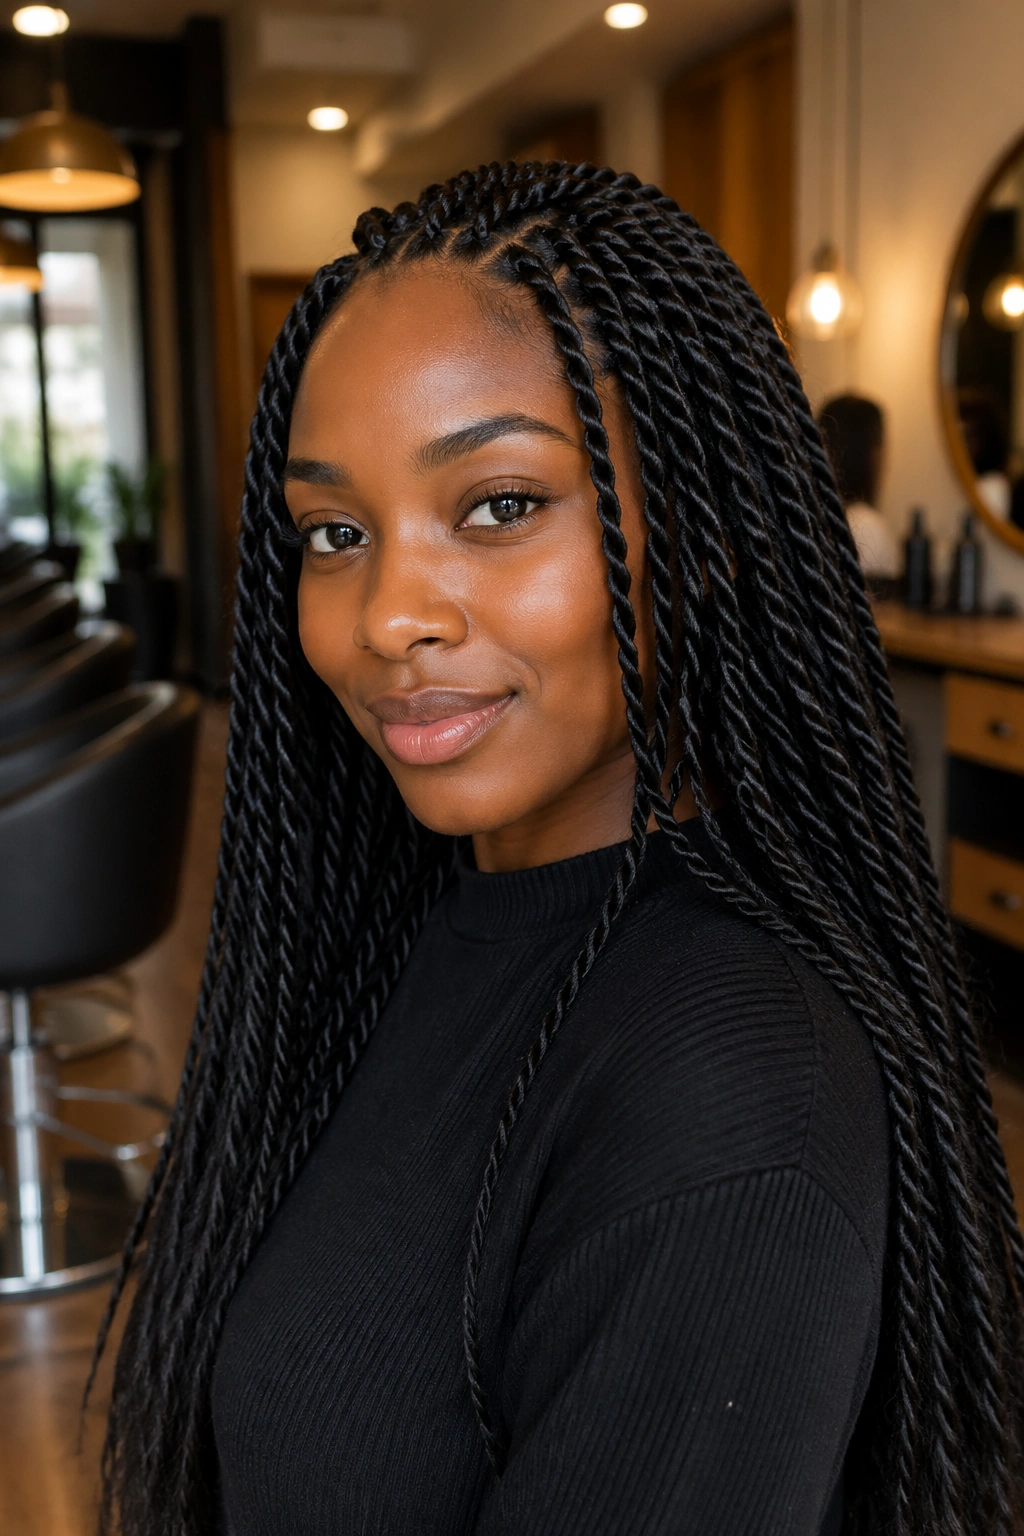
Senegalese twists are the sleek cousin in the twist family. They usually use added hair, which gives the style a smoother, rope-like finish and more length than the natural hair has on its own.
Compared with loose two-strand twists on natural curls, Senegalese twists look more uniform and polished from root to tip. They move differently, too. The added hair gives them a cleaner line, and the weight sits a little more evenly when the install is done well. They’re a good pick if you want a long-wear protective style that still reads soft instead of stiff.
The catch is the installation. Clean parting matters here. So does tension. Too much pulling at the root can make the scalp sore fast, and that’s not something to shrug off. If you feel a hot, tight spot the first day, the install is too tight.
Best for people who want length, neatness, and fewer daily styling decisions. Less ideal if you want a quick morning style. These take time, and they should.
14. Marley Twists
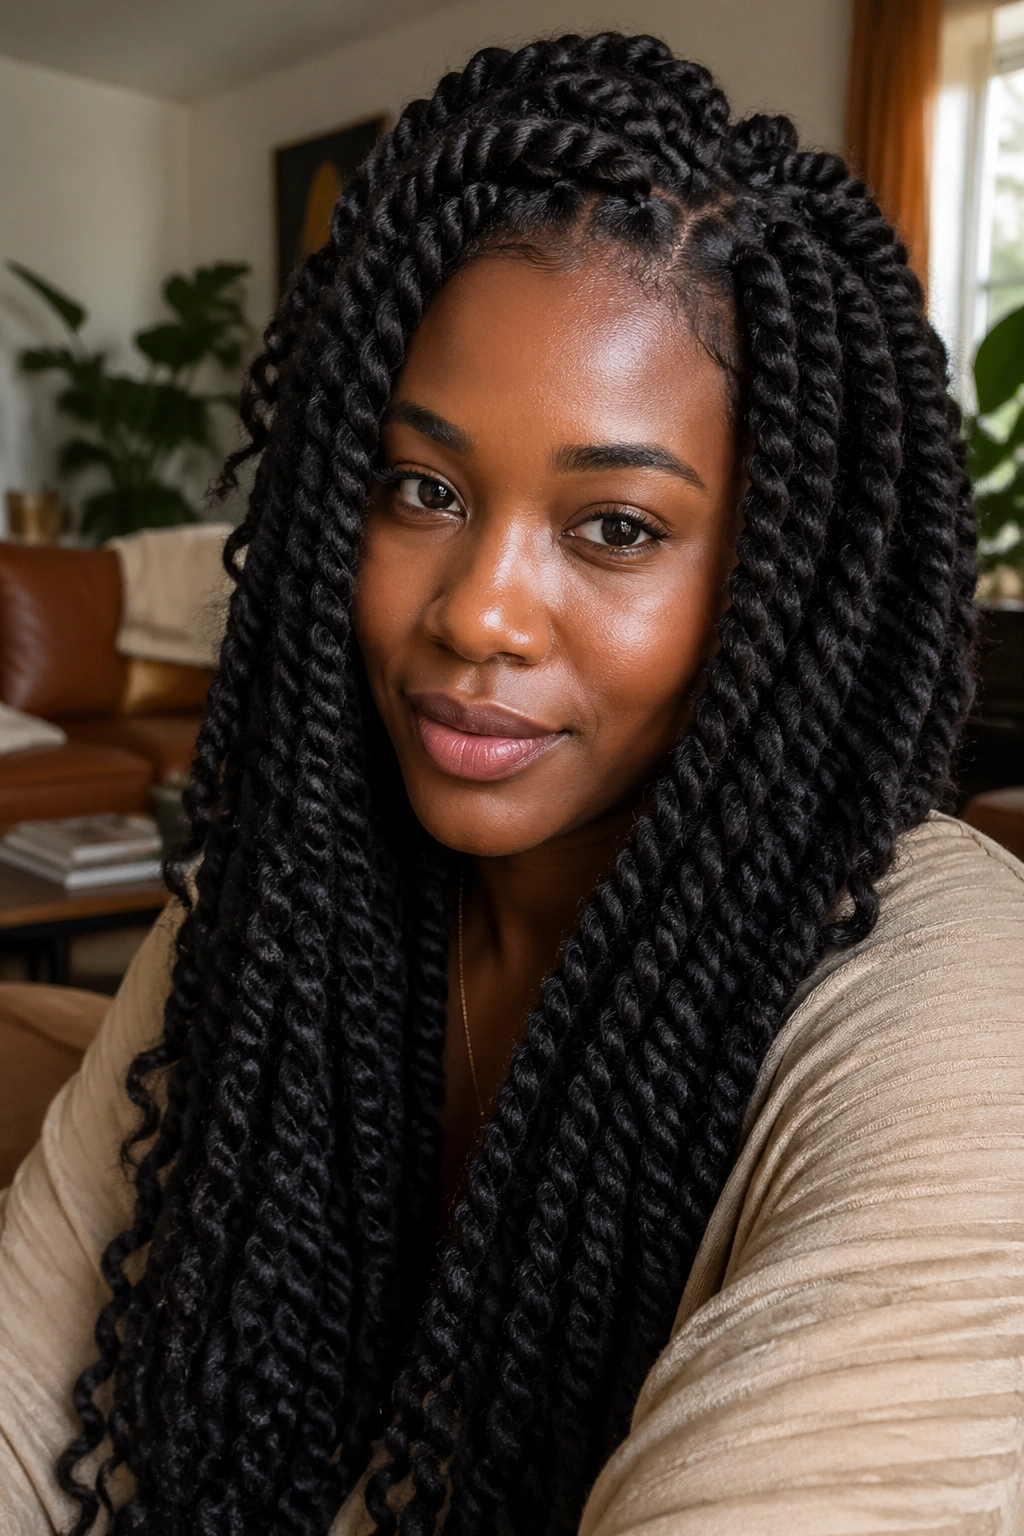
Marley twists feel fuller and more textured than Senegalese twists, and that matte, slightly fuzzy finish is exactly why some people prefer them. They match natural coils more closely, so the blend can look softer around the face and roots.
Unlike the smoother Senegalese version, Marley twists have a bit more grip and visual bulk. That makes them a strong match for dense natural hair, especially when you want the style to look rich rather than sleek. The trade-off is weight. Chunkier sections can feel heavy if the install gets too ambitious, so a sensible section size matters. Medium twists usually sit better than oversized ones.
I like Marley twists when the goal is a protective style that doesn’t look overly polished. They have a lived-in texture from day one. If you want something that looks too shiny or too neat, they may not be your first pick. If you want a softer, fuller shape that sits comfortably with coily hair, they make a lot of sense.
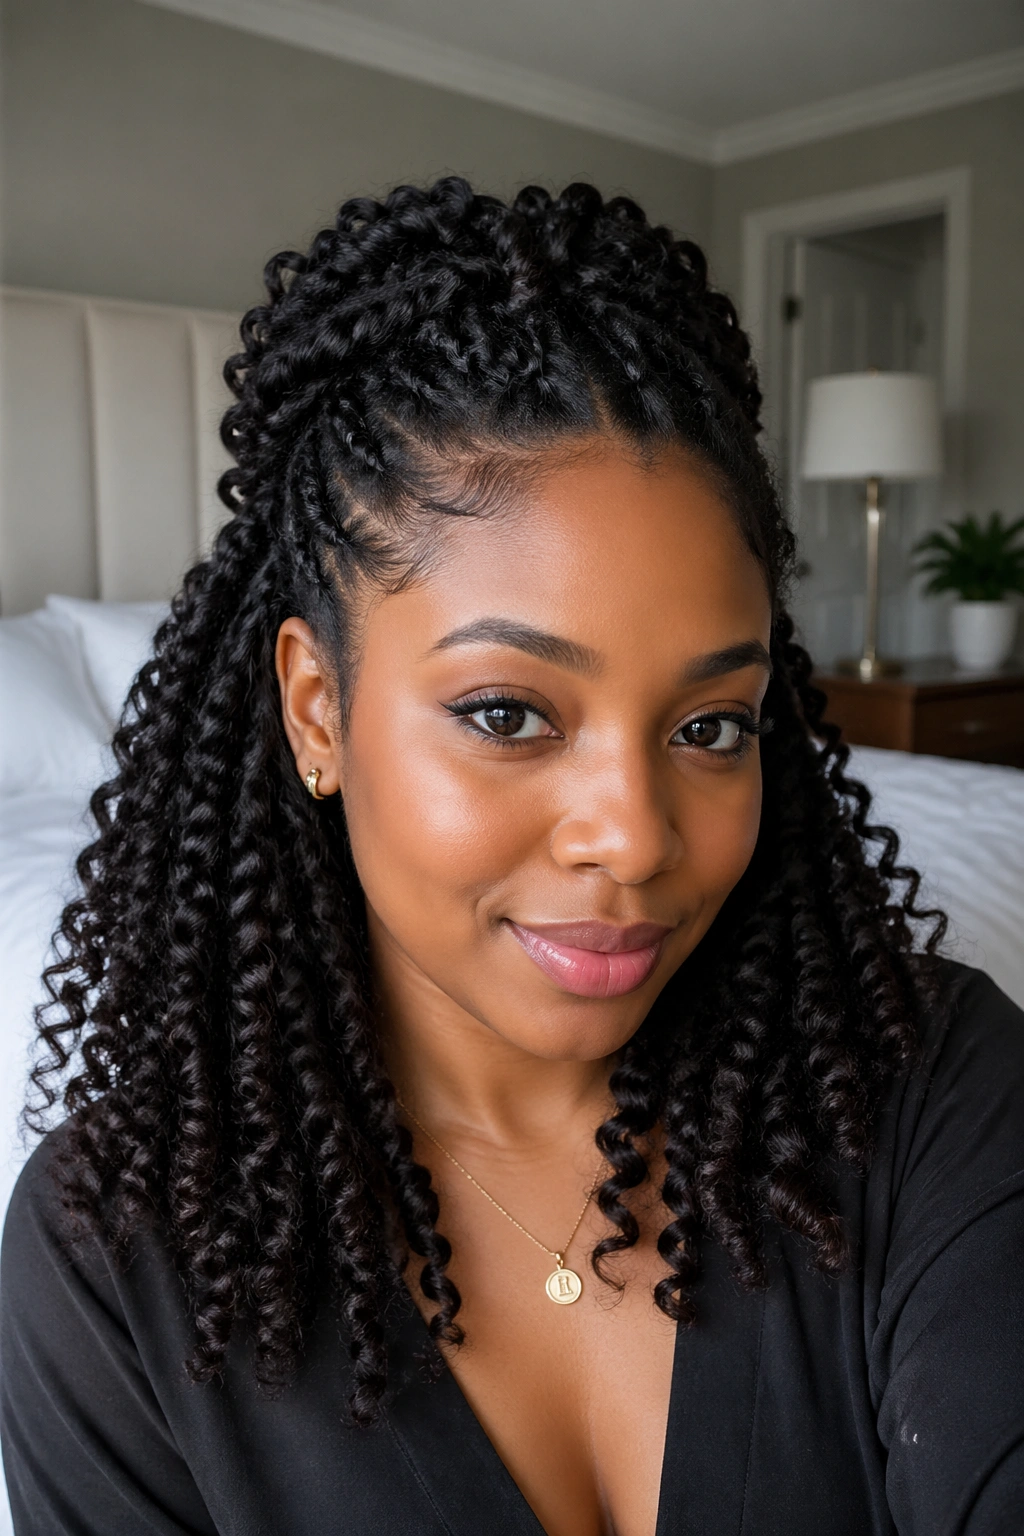
15. Passion Twists
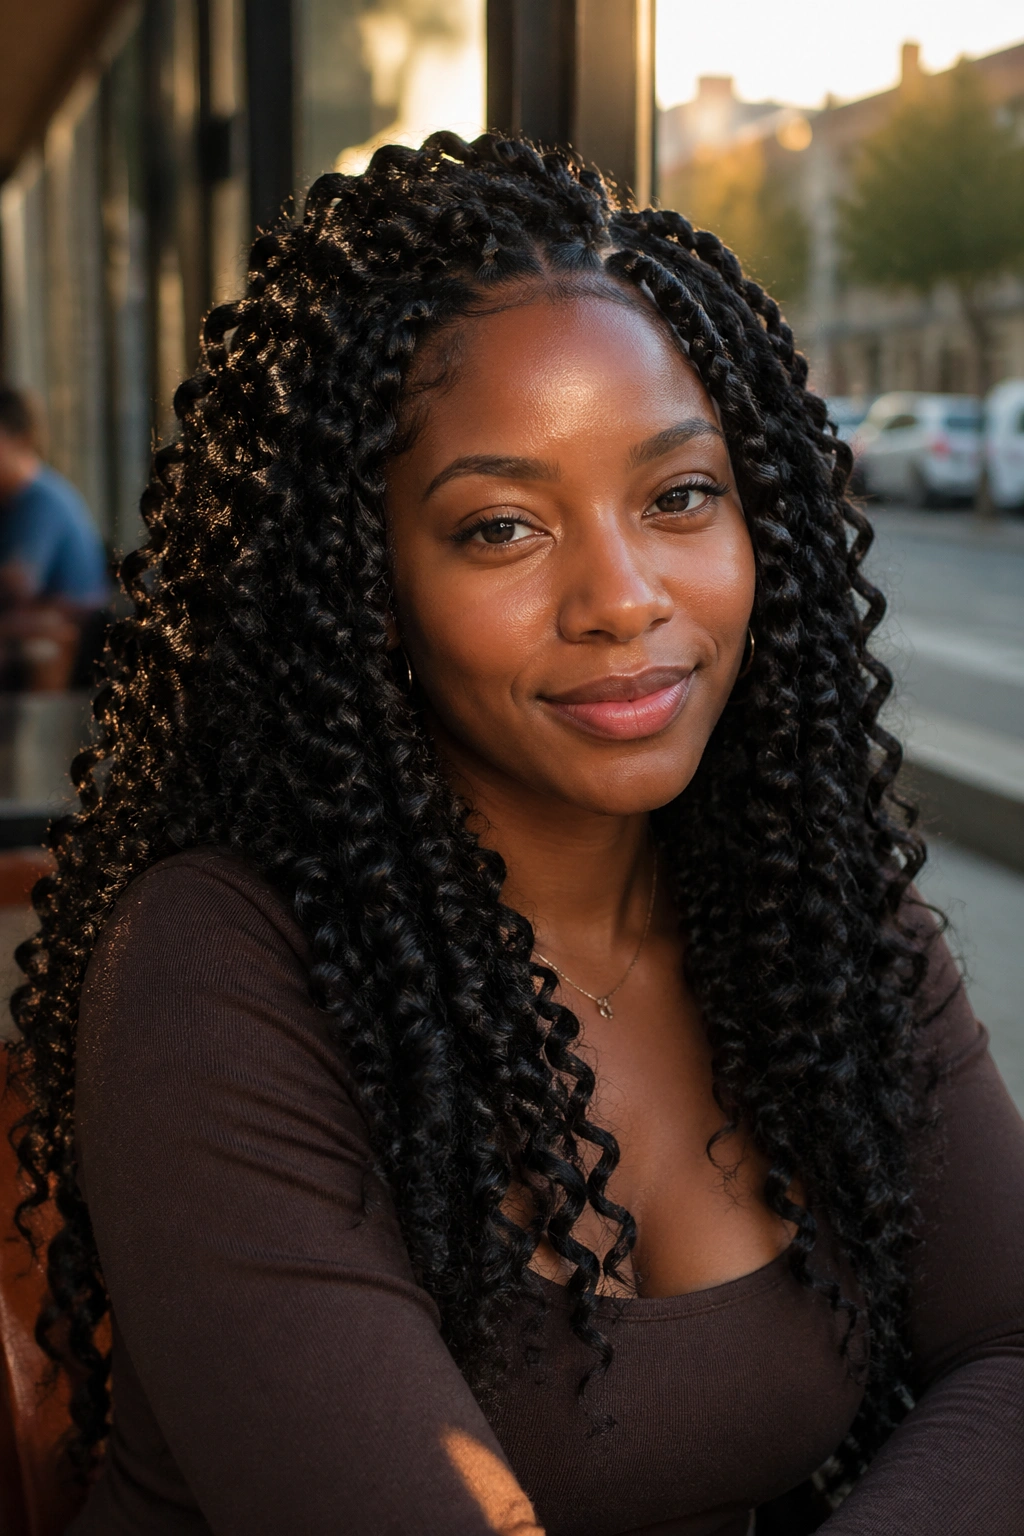
Passion twists have a looser, springier finish than the other extension styles, and that relaxed movement is the whole appeal. They feel lighter, look a little boho, and sit somewhere between a twist and a curl in the best possible way.
The styling hair usually has a soft, wavy texture, so the twist doesn’t stay rigid the way a Senegalese twist does. That gives the ends more bounce and keeps the whole style from looking too uniform. If you like a little frizz and movement, you’ll probably like that. If you want every strand to lie flat and stay still, this probably isn’t your style.
Why It Feels Different
The texture is softer. The shape is looser. The finish looks less structured, which means the style can age in a prettier way as long as the roots are still neat. That’s a nice thing to have when you want long wear without the hard-edged look.
Passion twists suit curly hair well because they borrow from the curl’s own movement. They don’t fight the texture. They lean into it.
Final Thoughts
The best twist style is the one that matches your real routine, not the one that looks hardest to copy on a good-hair-day photo. If you want low effort, two-strand twists, flat twists, and mini twists do the heavy lifting. If you want shape, crown twists, side-swept twists, and the faux hawk give you more structure. If you want length and a more finished protective style, the extension-based options make more sense.
A lot of people try to make curly hair behave like straight hair when they twist it. That’s the mistake. The texture is the point. Work with the bend, keep the sections clean, and don’t overpack the roots with product. Heavy hands make twist styles collapse faster than people expect.
If the front is the part that always goes messy first, twist that section before you touch the back. It sounds small. It saves a lot of frustration.