Clip-in styles for Black women with curls work best when the added hair behaves like part of the family, not a shiny guest.
That sounds obvious, but a lot of installs miss the point. The curls may be the right color and still sit wrong because the base is too flat, the wefts are too high, or the texture is fighting the natural shrinkage at the roots.
A good curly clip-in look is mostly about shape. You want the root to stay calm, the clips to sit low and secure, and the ends to move with enough swing that nobody is staring at where your hair stops and the extensions start.
And no, you do not need the same style every time. Some looks are soft and face-framing, some are bold and stacked high, and some are just practical when you want length without a long install. The styles below lean into those different moods.
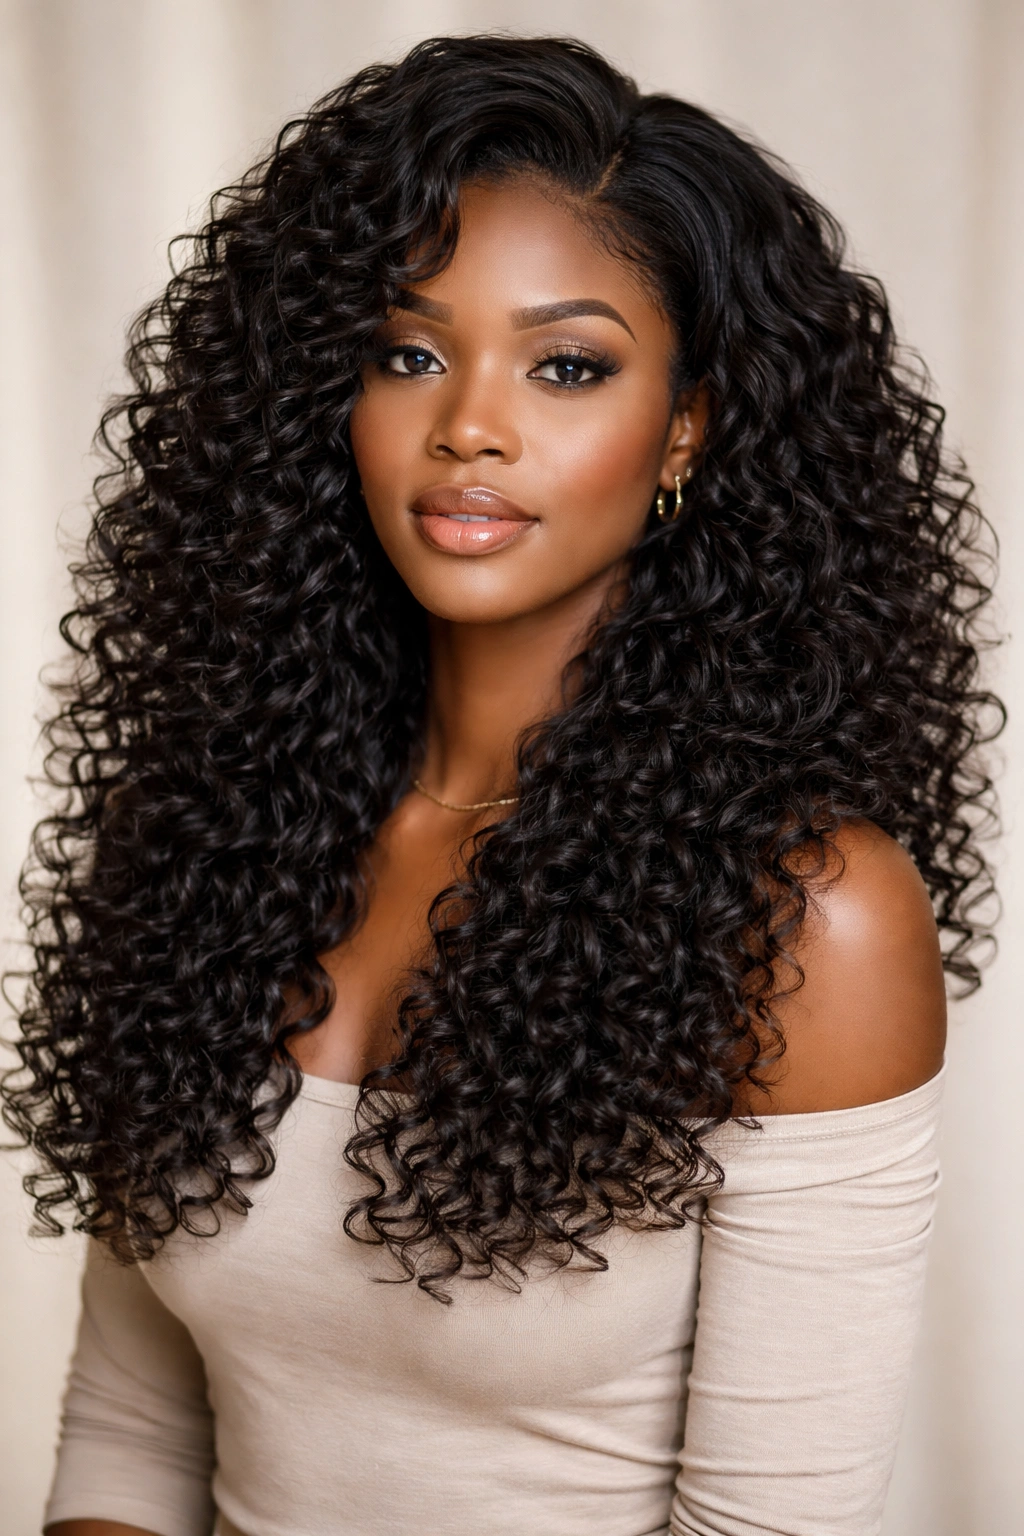
1. Soft Clip-In Curls With a Center Part
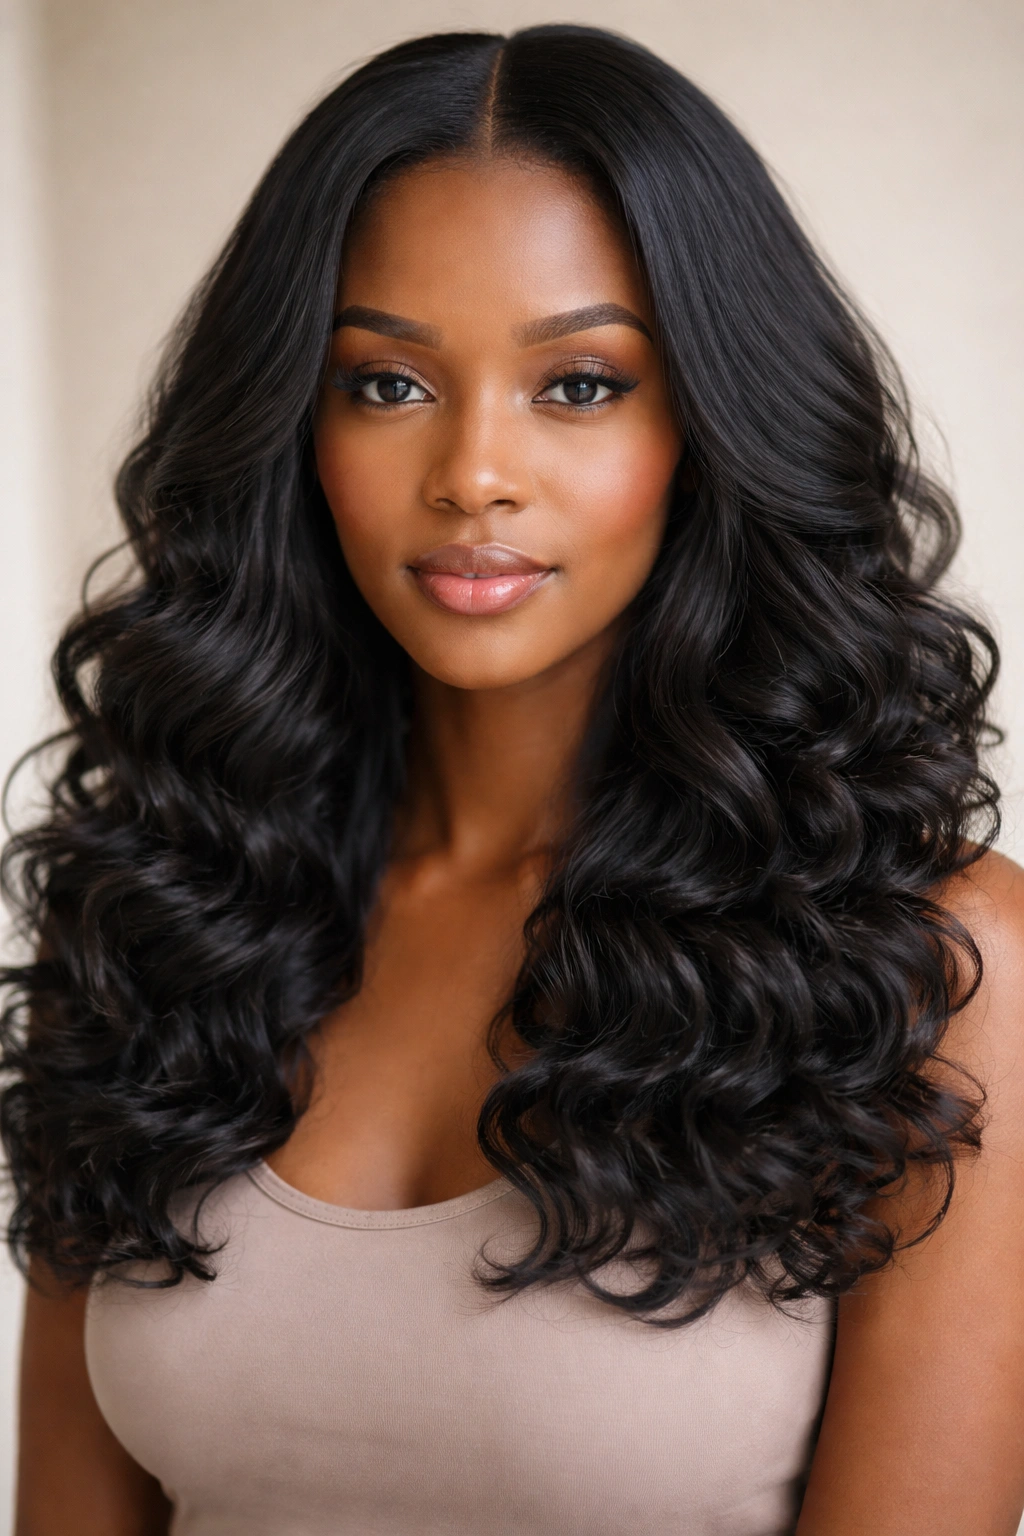
This is the style I reach for when I want the hair to look expensive without looking fussy. A center part gives curly clip-ins symmetry, and symmetry is forgiving. It keeps the shape open around the face, which matters if your curls are dense and tend to widen more than you expect once they dry.
Why It Sits So Well
The middle part lets the curl pattern do the talking. Instead of piling all the weight to one side, you spread it evenly and avoid that lopsided, top-heavy feeling that can happen when extensions are clipped too high.
Keep the first weft low at the nape, then stack upward in small rows. That gives the hair a smooth fall and keeps the clips hidden under the top layer. If your own hair has a lot of shrinkage, stretch the roots a little first with banding, braids, or a cool blow-dry. Skip the soaking-wet approach. It slides. It always slides.
Quick placement notes
- Use 2 to 3 wefts for a soft look, not a wall of hair.
- Leave about 1 to 2 inches of your own hair out at the front so the part looks believable.
- Match the curl direction near your face first. That’s where mismatches show.
- Finger-coil the ends if the curl pattern starts to frizz apart.
Best move: place the widest weft at the lowest point you can hide. That one choice does more for the finish than any styling cream ever will.
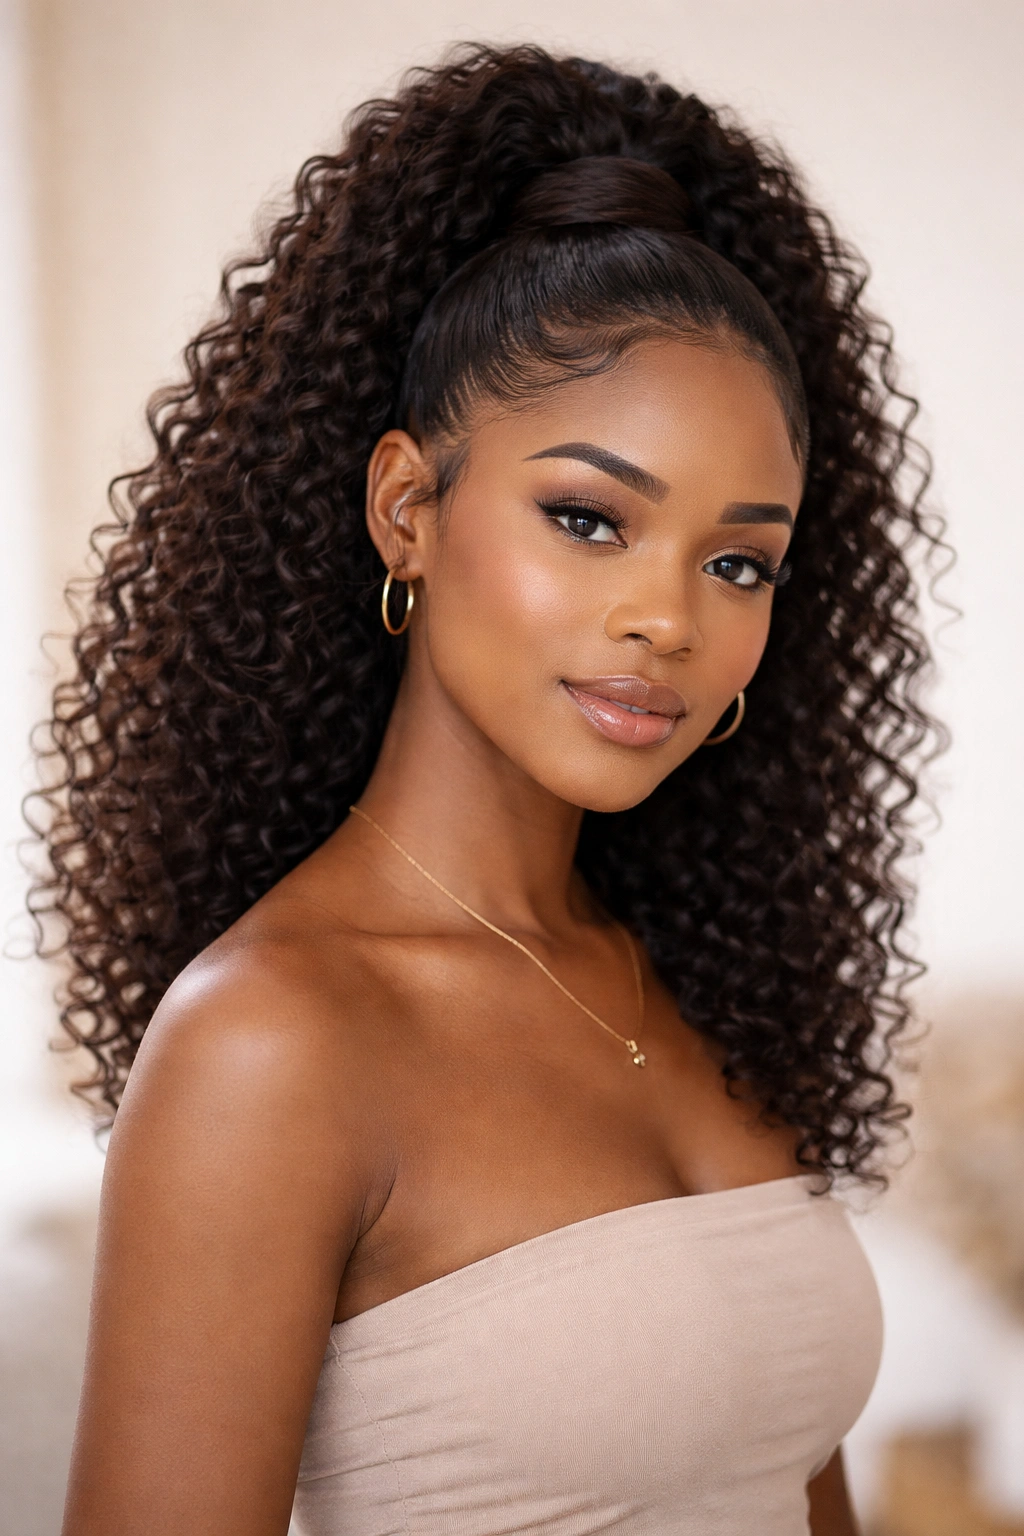
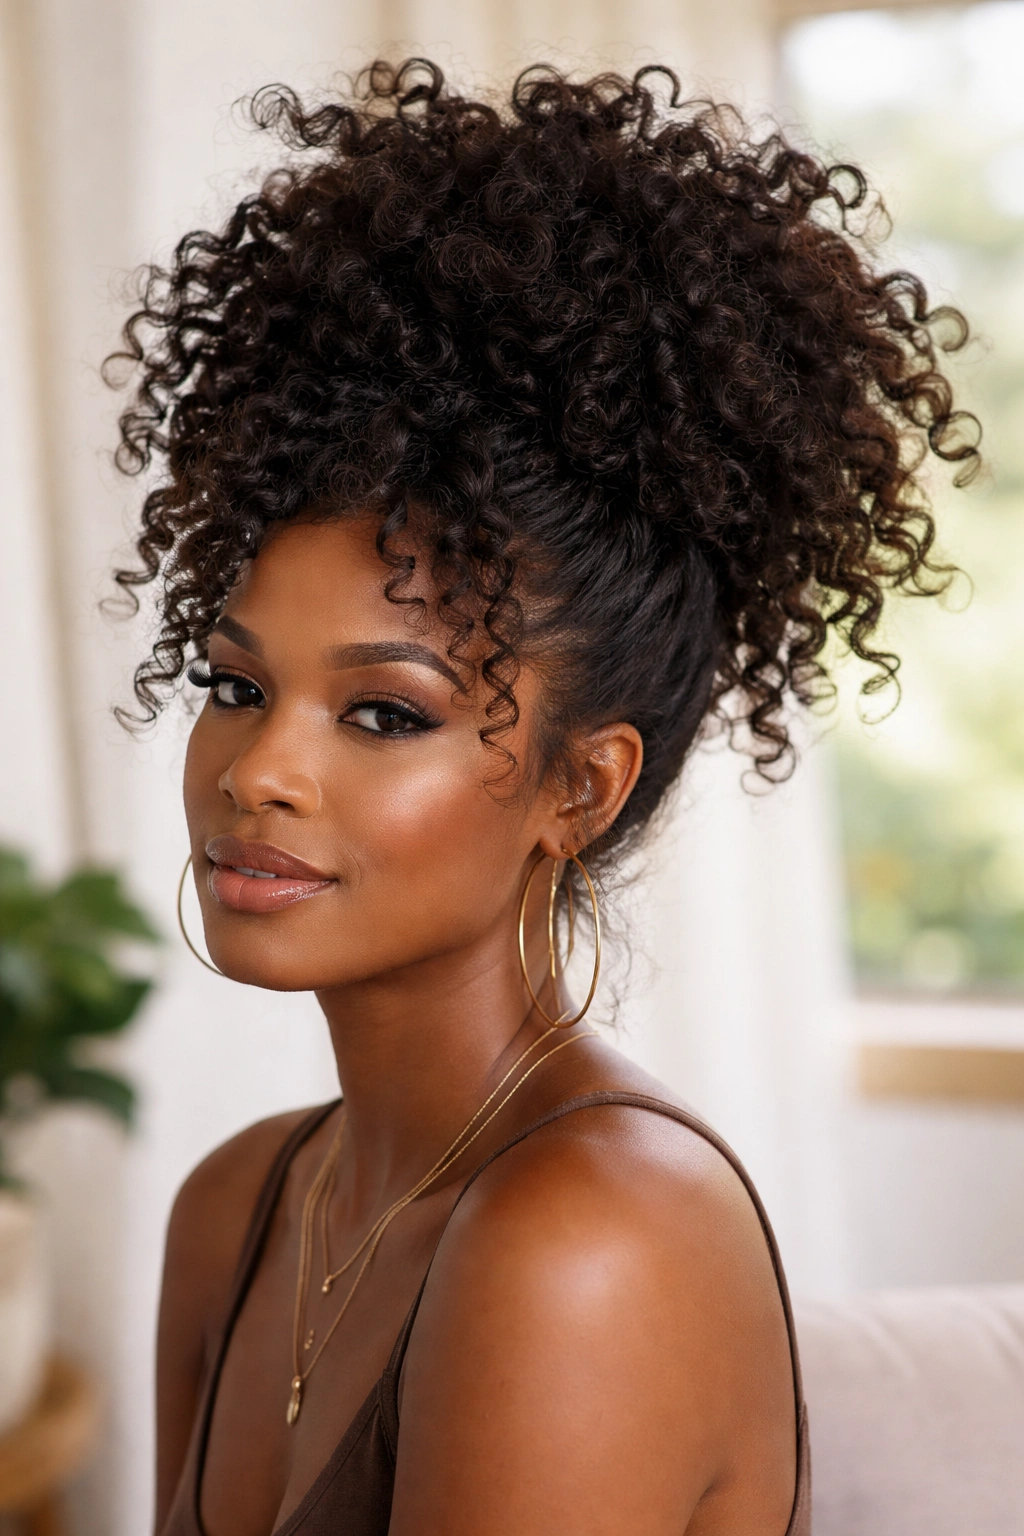
2. High Puff With Hidden Clip-Ins
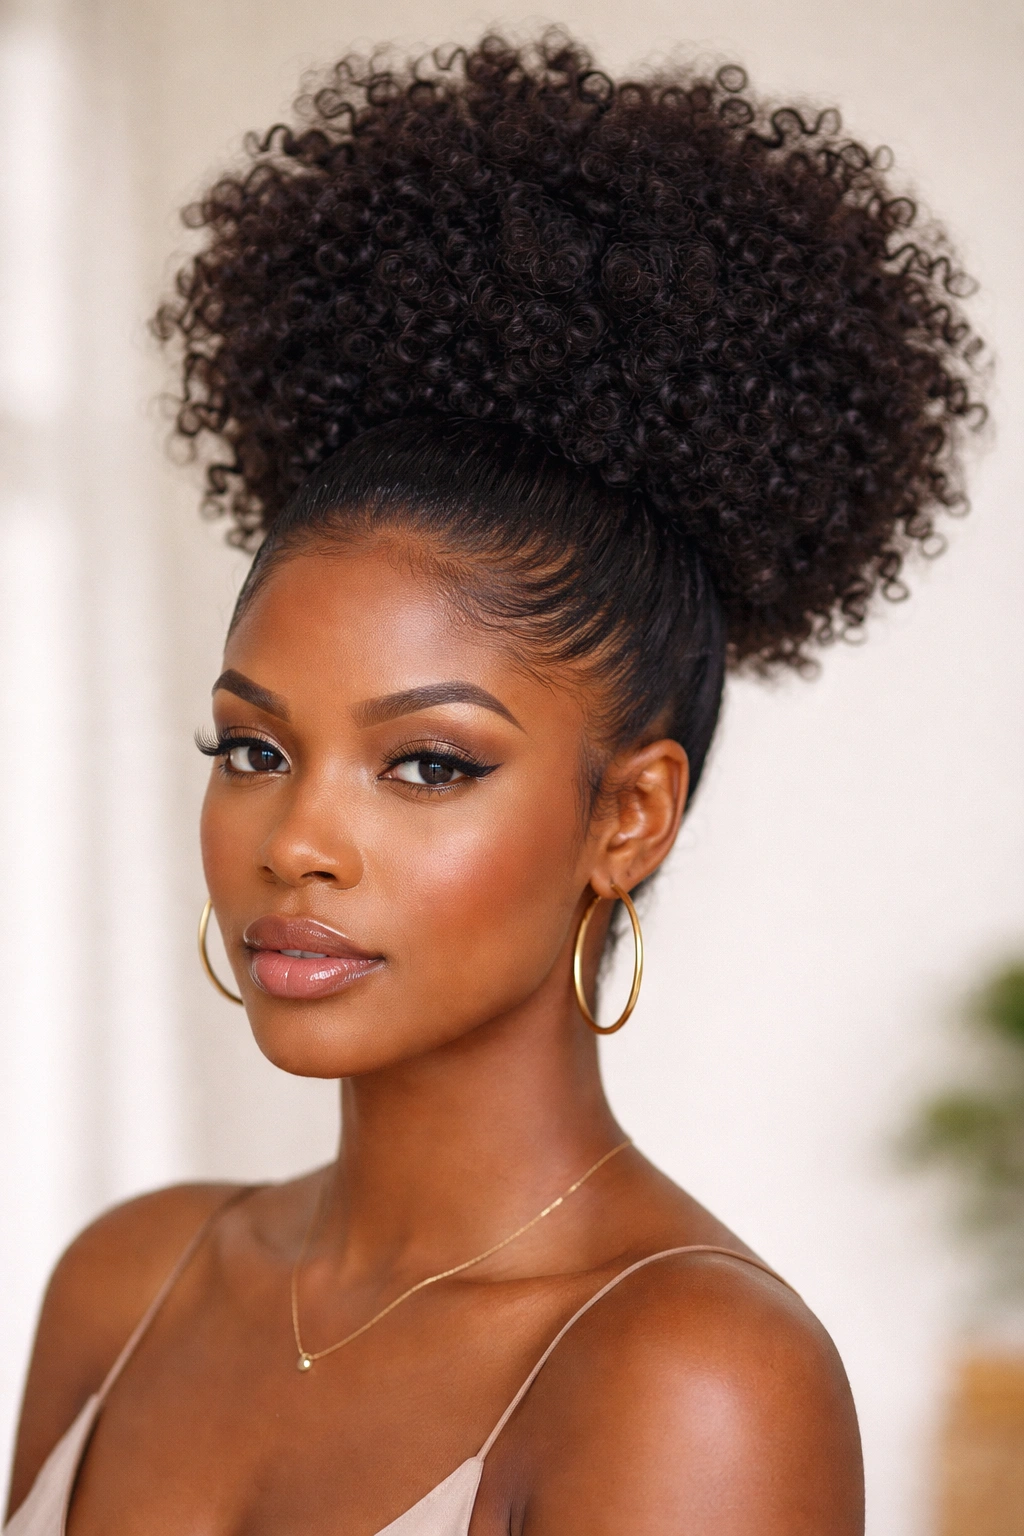
A high puff with clip-ins is the fastest way to make curls look intentional instead of crowded. The shape gives you height at the crown, which is useful when your curls shrink up and sit close to the head. It also keeps the face open, and that matters when you want a clean look with some drama.
The trick is not to clip everything at the very top. That’s how you end up with a puff that looks stuffed. Put the support wefts just below the puff line, around the crown and upper back of the head, then gather your own hair into the puff with a satin scrunchie or a soft band that does not dig in. The extensions should build the silhouette, not fight the ponytail.
Tight is not the goal. A puff that feels too pulled usually looks smaller by the end of the day, because the crown starts to puff out in the wrong places. Smooth the perimeter with a little gel or edge control, but keep product away from the clip teeth.
If you like a round, soft halo shape, this style is a quiet winner. It works on thick curls, stretched coils, and mixed textures, and it does not need perfect parts or perfect sectioning. That alone makes it worth knowing.
3. Half-Up, Half-Down With Face-Framing Spirals
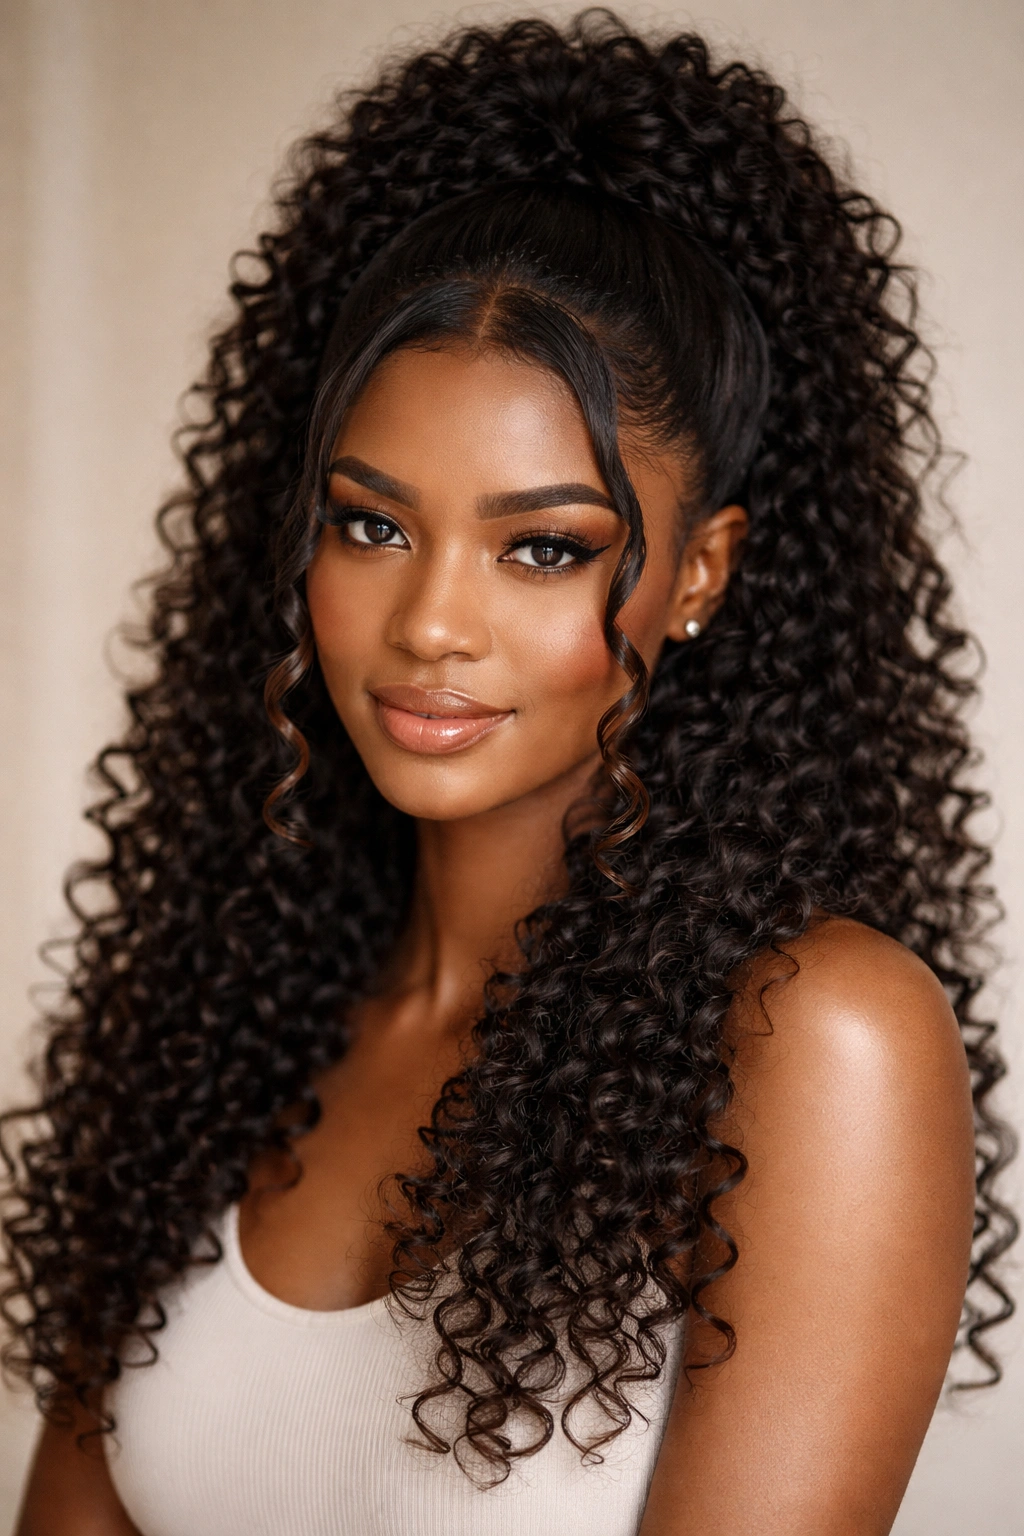
Why does half-up, half-down work so well with curly clip-ins? Because it gives you two different jobs at once. The top section creates lift and polish, while the loose bottom section gives you the length and movement people came for in the first place.
The style also solves a common problem: some curly installs look too heavy when all the hair hangs straight down. Pulling the top half back opens the face and lifts the eye line. Suddenly the curls feel lighter, even if you used the same number of wefts.
How to build the split
Take the top section from temple to temple, not from ear to ear. That small difference matters. Temple-to-temple keeps more hair in the bottom layer, which helps the clip-ins sit naturally. Clip the lower layers first, then gather the top into a puff, knot, twist, or soft mini-bun depending on how much volume you want.
Leave two front spirals out. Just two. Too many tendrils start to look busy. Curl them with a small wand if needed, or twist them around your finger while damp and let them set. The face-framing pieces should bend inward toward the cheekbones, not swing straight down like curtain ropes.
A half-up style is a good choice when you want to wear clip-ins to work, dinner, or anywhere you need the hair to stay neat for more than an hour. It looks styled without looking stiff.
4. Deep Side-Swept Glam Curls
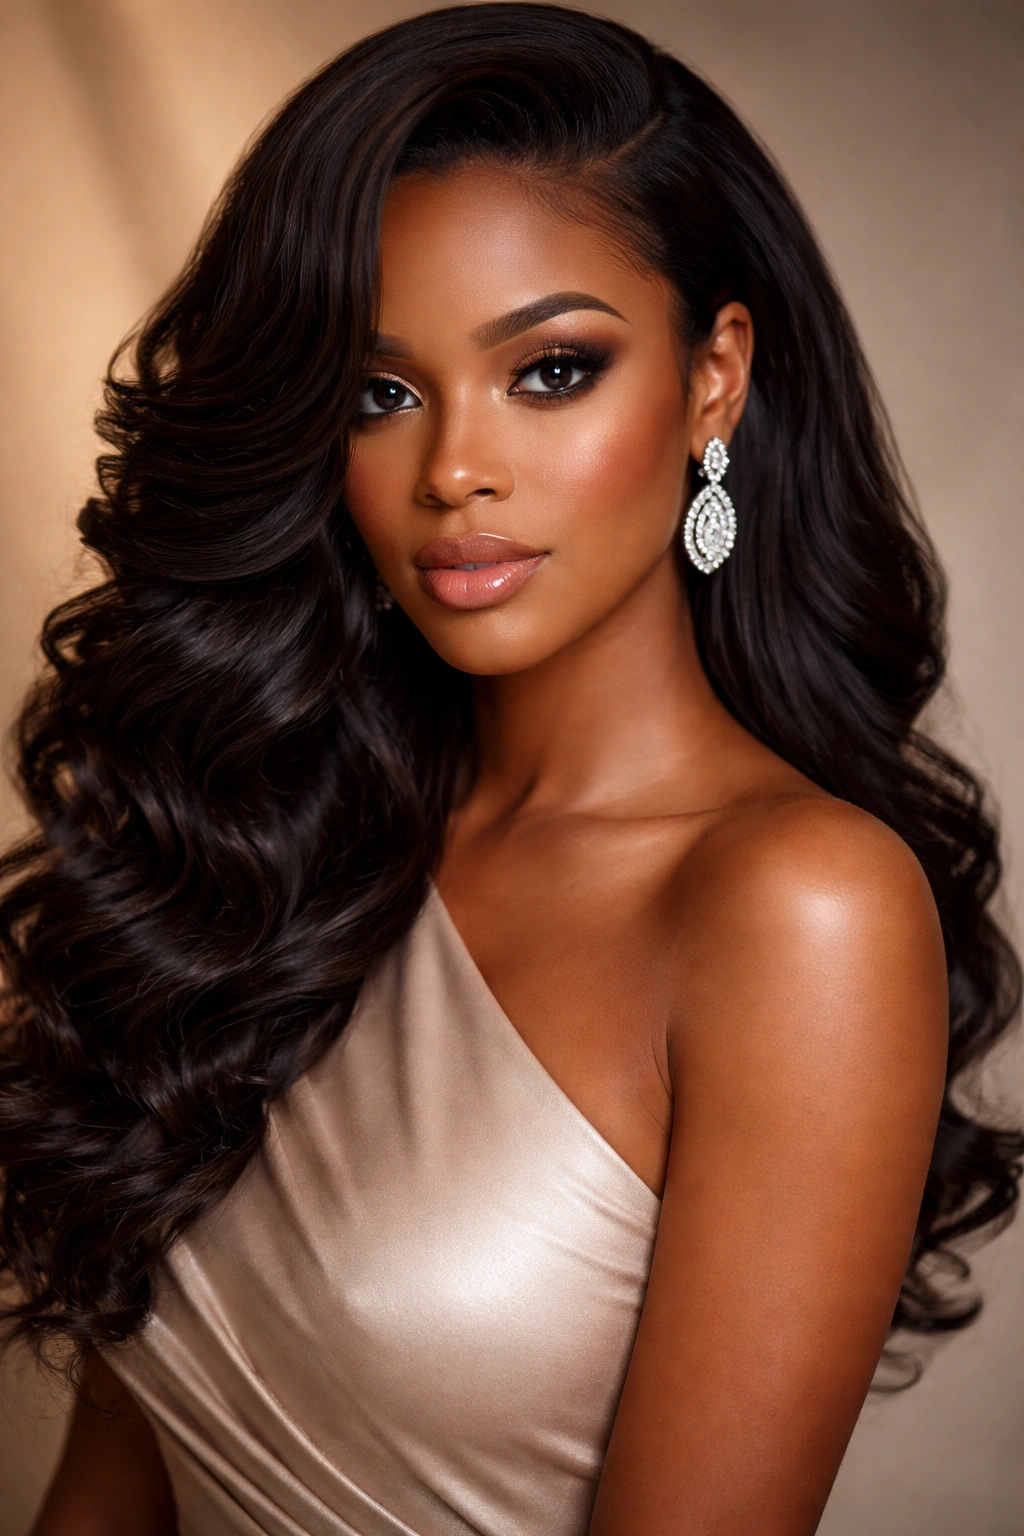
A deep side part changes everything. It gives curly clip-ins a richer shape, almost like the hair has a built-in attitude. One side gets more volume, the other side gets a clean tuck, and the whole style starts to feel more polished without needing extra length.
This is the one I like for nights out, photos, or any event where a little asymmetry looks better than full balance. The diagonal line created by the part makes the curls fall in a more dramatic way, especially if the front section has a looser curl than the rest.
Key details that matter
- Part the hair about 2 to 3 inches off center.
- Clip the heaviest wefts on the fuller side first.
- Tuck the smaller side behind the ear and pin it low if needed.
- Sweep the front curl cluster across the forehead, then let it fall over one shoulder.
A light shine spray helps, but don’t drench the hair. Curly clip-ins should move, not look wet. The goal is a soft bend and a clean finish at the roots.
What makes this style work is the angle. The whole head looks longer because the hair is traveling across the face instead of sitting straight down. That’s a small design trick, but it changes the whole mood.
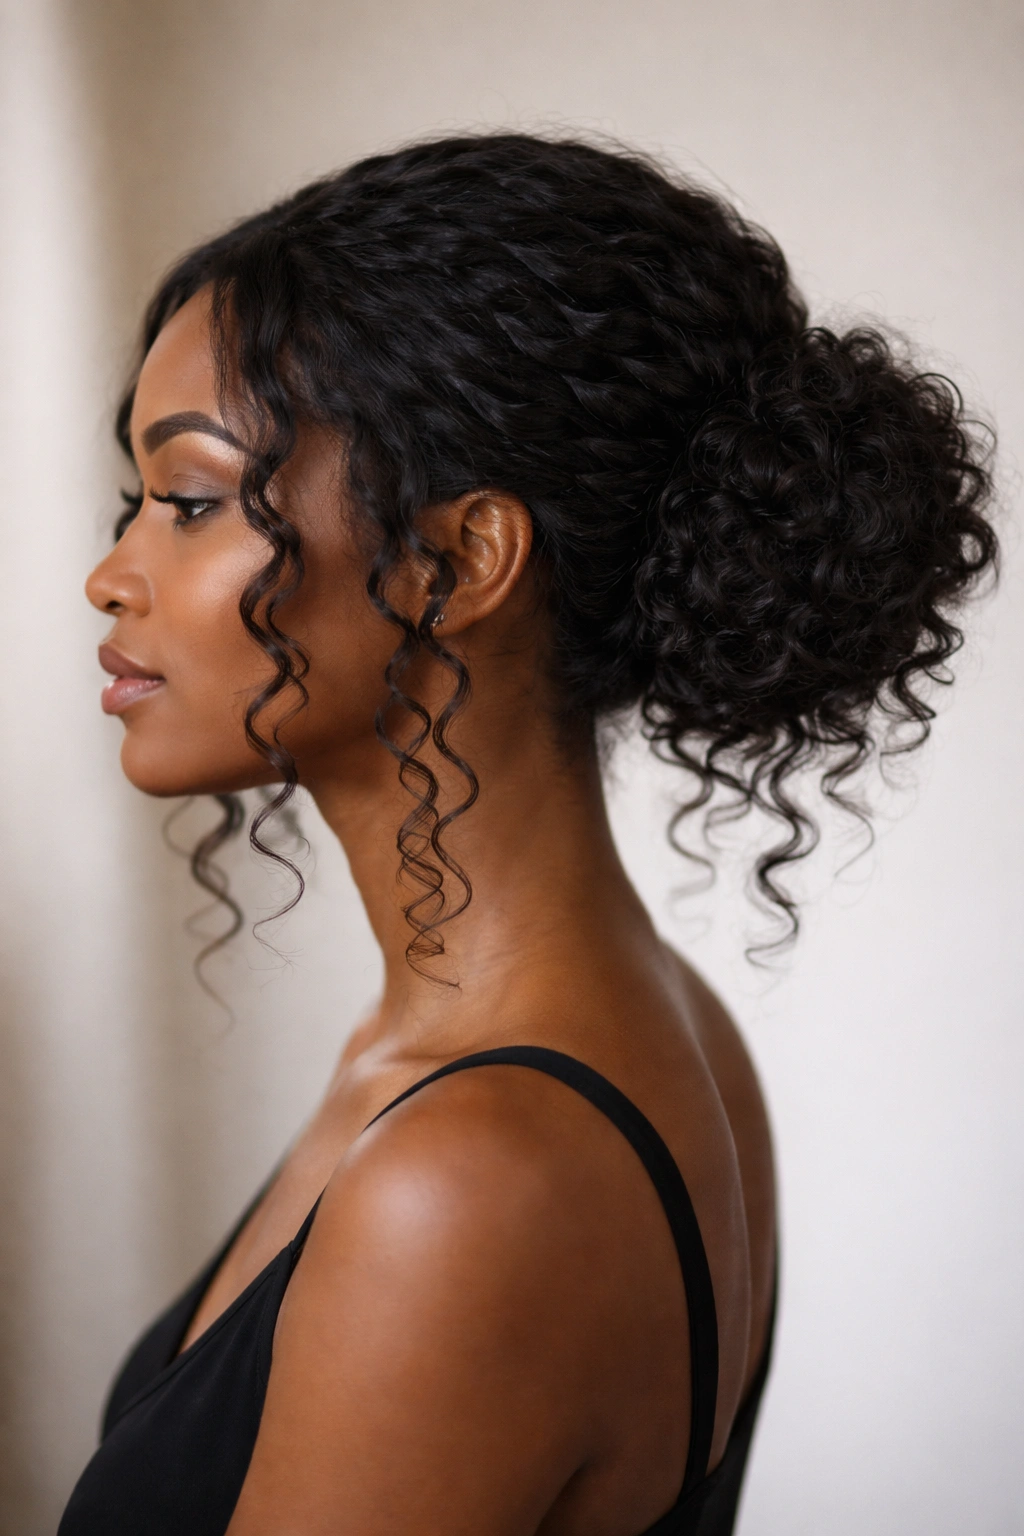
5. Curly Ponytail With a Wrapped Base
The curly ponytail is the style I trust when I need speed. It can look casual or dressed up depending on where you set the ponytail and how much curl you leave around the face. Low pony, mid pony, high pony — all three work, but the base has to be clean.
Use the clip-ins to add fullness around the crown and through the length of the ponytail, not just at the tail end. If the ponytail is thin at the top and huge at the bottom, the eye catches it right away. I prefer placing one or two wefts in a slight curve around the pony base, then gathering the hair and wrapping a small piece or narrow section around the elastic to hide it.
The texture should be soft enough to blend with your own curls, but dense enough to hold its shape after a few hours. A ponytail that collapses at the nape usually means the clips were too high or the base wasn’t secured tightly enough.
This style works especially well when your natural curls are already stretched a bit. You do not need bone-straight hair. You do need a smooth root and a ponytail that sits where the head naturally wants to lift.
A little dry oil on the ends helps. Too much on the scalp is a mess.
6. Faux Bob With Tucked Ends
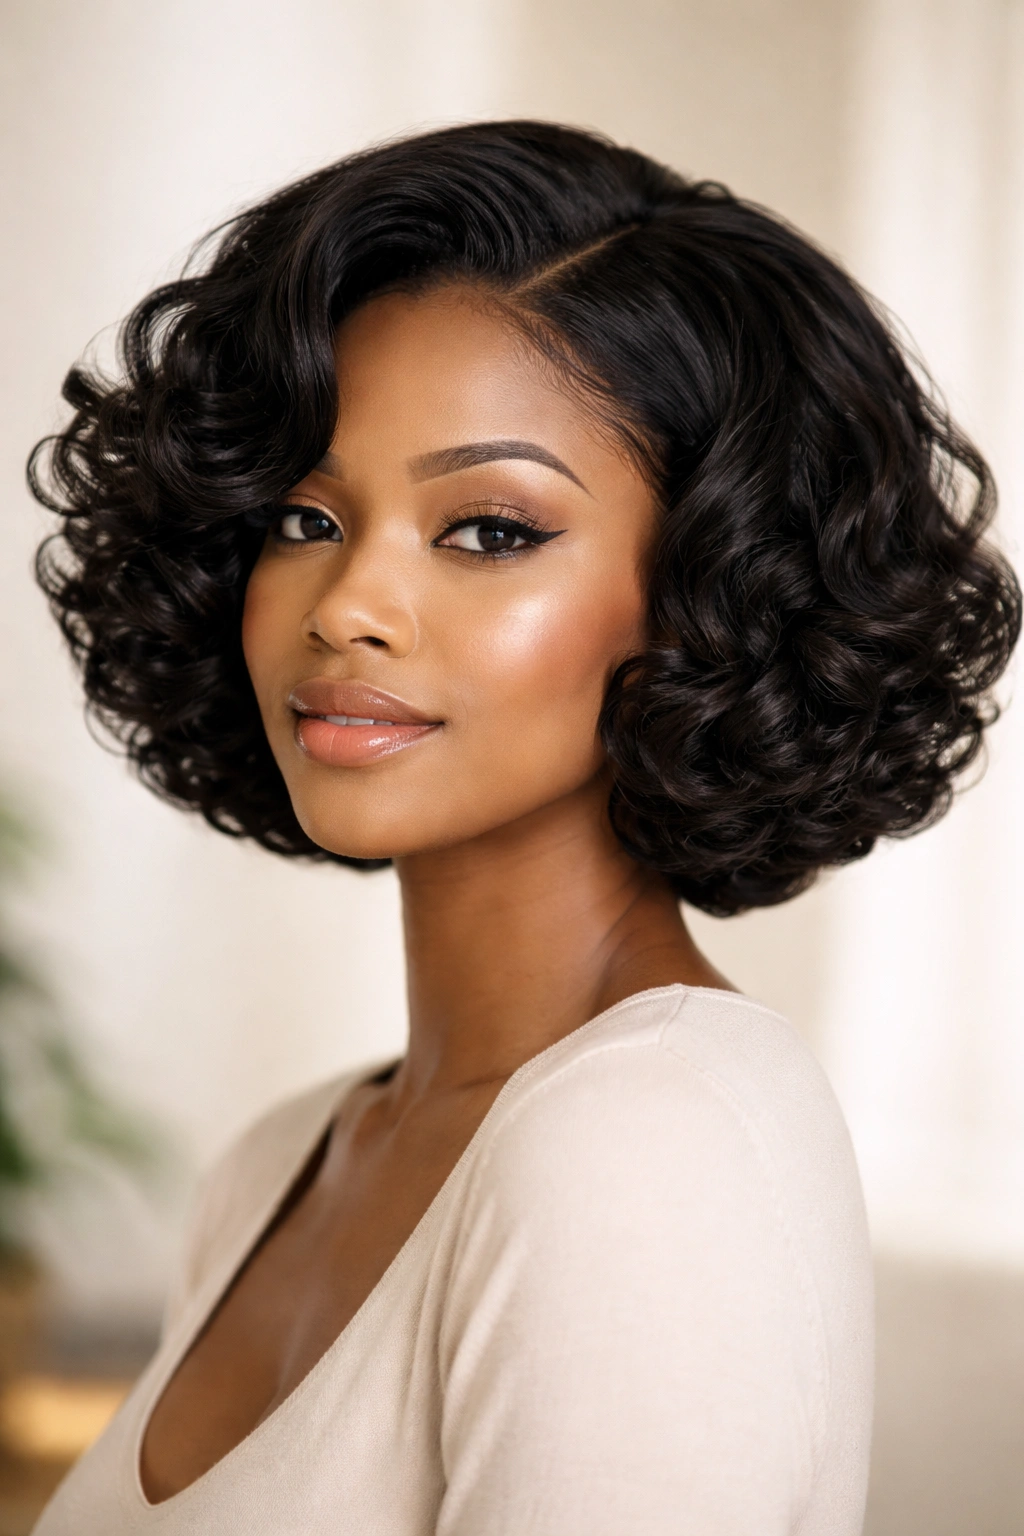
A faux bob gives you the clean shape of a cut without the panic of actually cutting anything. That is the appeal. It feels sharp, a little retro, and much more deliberate than simply pinning long curls up and hoping for the best.
The best faux bob starts with clip-ins that have enough density to hold a curved line. You tuck the ends under, usually at the nape and under the lower back section, then pin them flat so the length disappears. A few shorter wefts around the middle help create the illusion of a real bob rather than a bunch of hidden hair stuffed underneath.
This style is especially good if your curls are long but uneven, or if you want to test how a shorter shape looks before committing to scissors. It also works when the weather is humid and your ends are starting to swell. Shorter-looking hair can be easier to keep smooth.
The danger is making the bob too tight or too flat. A good faux bob should still have a little bend at the jawline. If it feels helmet-like, loosen the crown and pull a few soft pieces forward around the cheek. That tiny adjustment changes everything.
7. Curly Bangs and a Chin-Grazing Shape
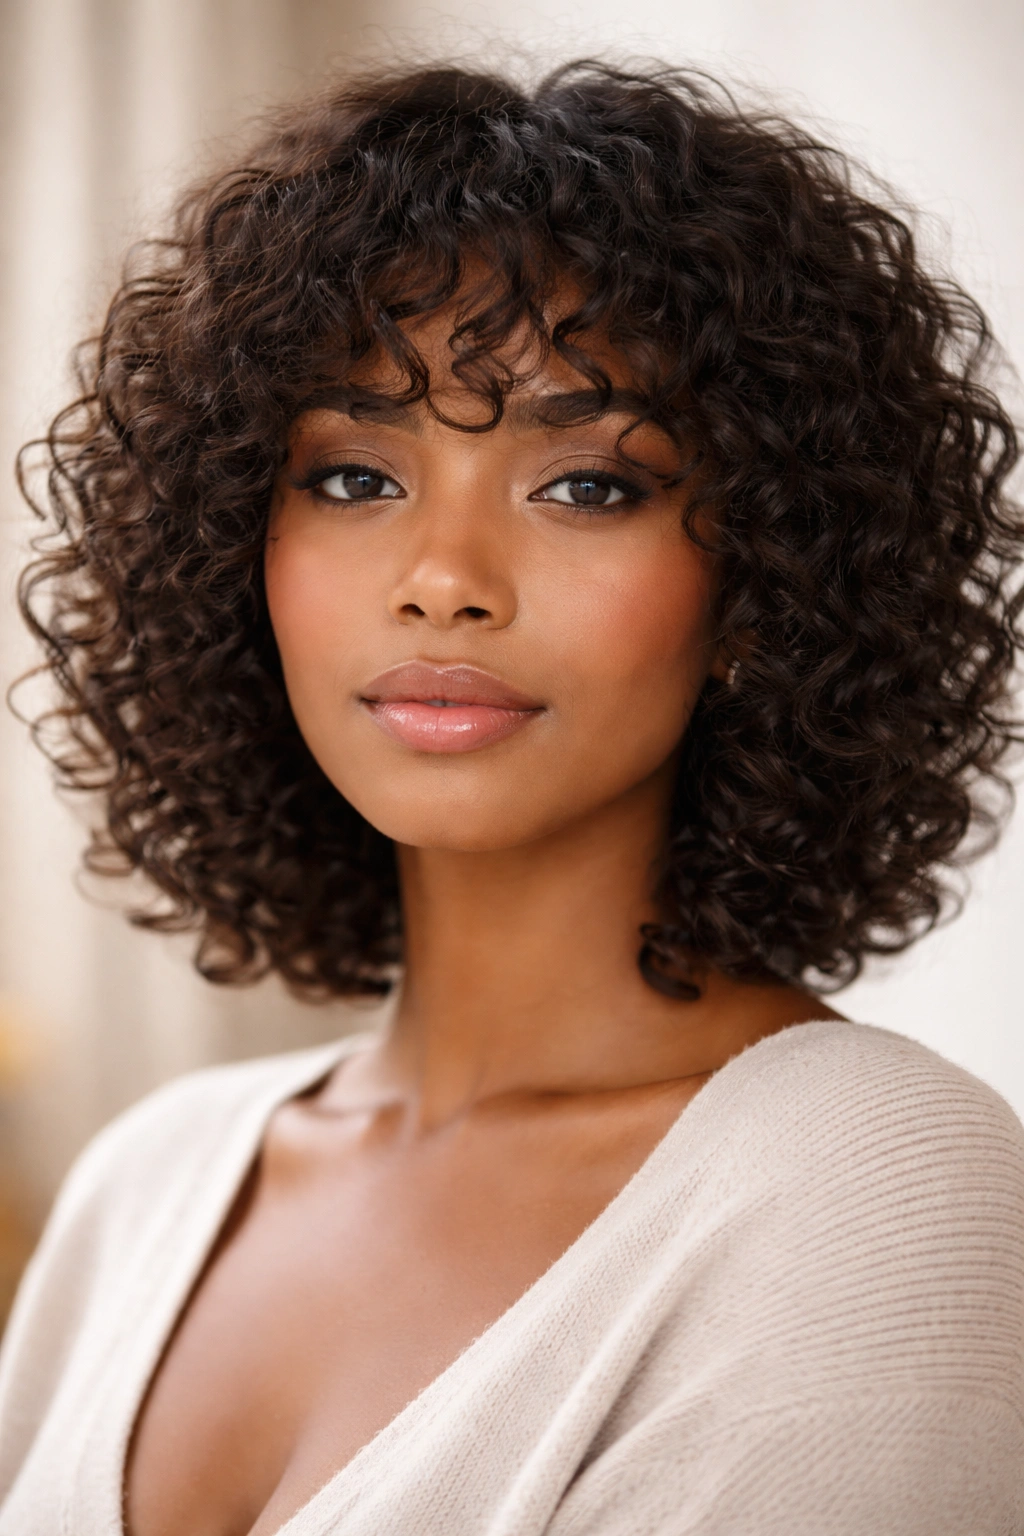
Curly bangs are a bold move, and I mean that in the best way. They can make clip-ins feel personal instead of generic, especially on textured hair where a fringe can add softness to a strong face shape. The trick is to keep the bangs light enough to move.
What makes the fringe believable
The bang section should be smaller than people expect. If you pile on too much hair, the front looks heavy and starts to sit in a blunt block. A better approach is to keep the fringe airy, then add volume through the sides and lower layers so the cut feels balanced.
- Start with a narrow front section so the bangs don’t swallow the forehead.
- Place clip-ins a little farther back than you think you need.
- Let the front curls sit 1 to 2 inches above the brow when dry, since curly hair springs upward.
- Blend the side pieces into the bangs with finger-coiling, not brute-force brushing.
A chin-grazing shape gives the bangs a frame to land in. Without that lower shape, the fringe can look disconnected from the rest of the hair. I like this style with soft makeup and a clean neckline because it draws attention upward.
It’s one of those looks that can feel playful or grown-up depending on how tightly you define the curls. That range is part of its charm.
8. Side-Scattered Volume Over One Shoulder
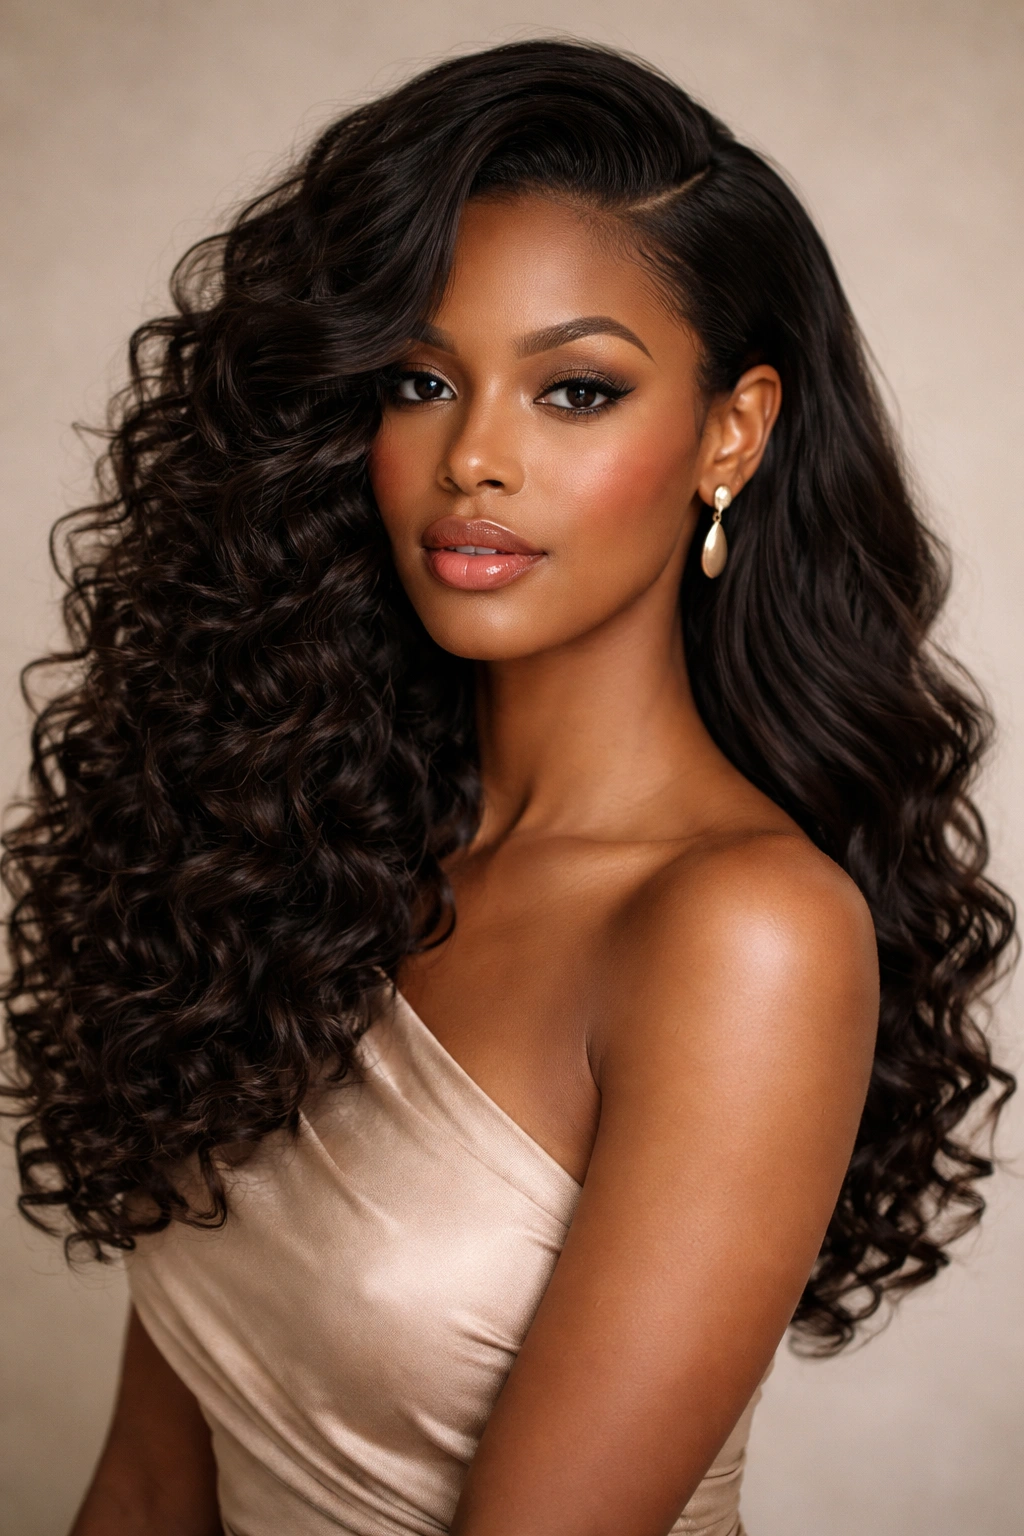
Side-scattered volume is what you wear when you want the hair to look lush without looking symmetrical. One shoulder gets the full story. The other side stays calmer, flatter, and closer to the head, which lets the curls pile up in a way that feels luxe rather than bulky.
The style starts with a side part, but not a deep one. More of a steering wheel turn than a full pivot. Place the heavier clip-ins along the side where the hair will land, then keep the opposite side smoother so the silhouette has contrast. The body of the curls should rest over the collarbone, not climb up toward the neck.
This works well on women who feel overwhelmed by all-over volume. A lot of curl lovers actually want more shape, not more width, and that’s where this style shines. It narrows the profile on one side and gives the other side room to bloom.
Pull a few curls forward near the jawline and leave the rest to fall in layers. If the side that’s tucked starts to flare out, pin it low behind the ear and smooth the roots with a pea-sized amount of gel. Small amounts. More than that just makes the hair feel sticky.
9. Pineapple Crown With Loose Ends
Why does the pineapple crown style stay useful? Because it keeps the top lifted, protects the curl pattern, and still gives you enough length to show off the clip-ins. It has that relaxed, slightly undone look that works for daytime and still reads styled.
The base of the style sits high, but not tight. Think crown-height, not superhero-height. Gather the hair into a loose puff or pony at the top, then let the ends spill softly around it. The clip-ins should sit around the crown and upper sides, where they can add fullness without making the front heavy.
Where the clips go
Put the lower wefts where the ponytail can cover them. Then stack shorter pieces toward the front and sides so the crown doesn’t look empty from the profile view. If you skip this, the style can look like one puff perched on top of a thin head of hair. That is not the look.
This style is kind to curls. It lets them keep shape at the ends, and it works especially well if you sleep on satin and want a quick refresh in the morning. A little water mist and a tiny bit of leave-in are usually enough.
It feels casual, but the shape still has structure. That’s why I keep coming back to it.
10. Clip-In Mohawk With Sleek Sides
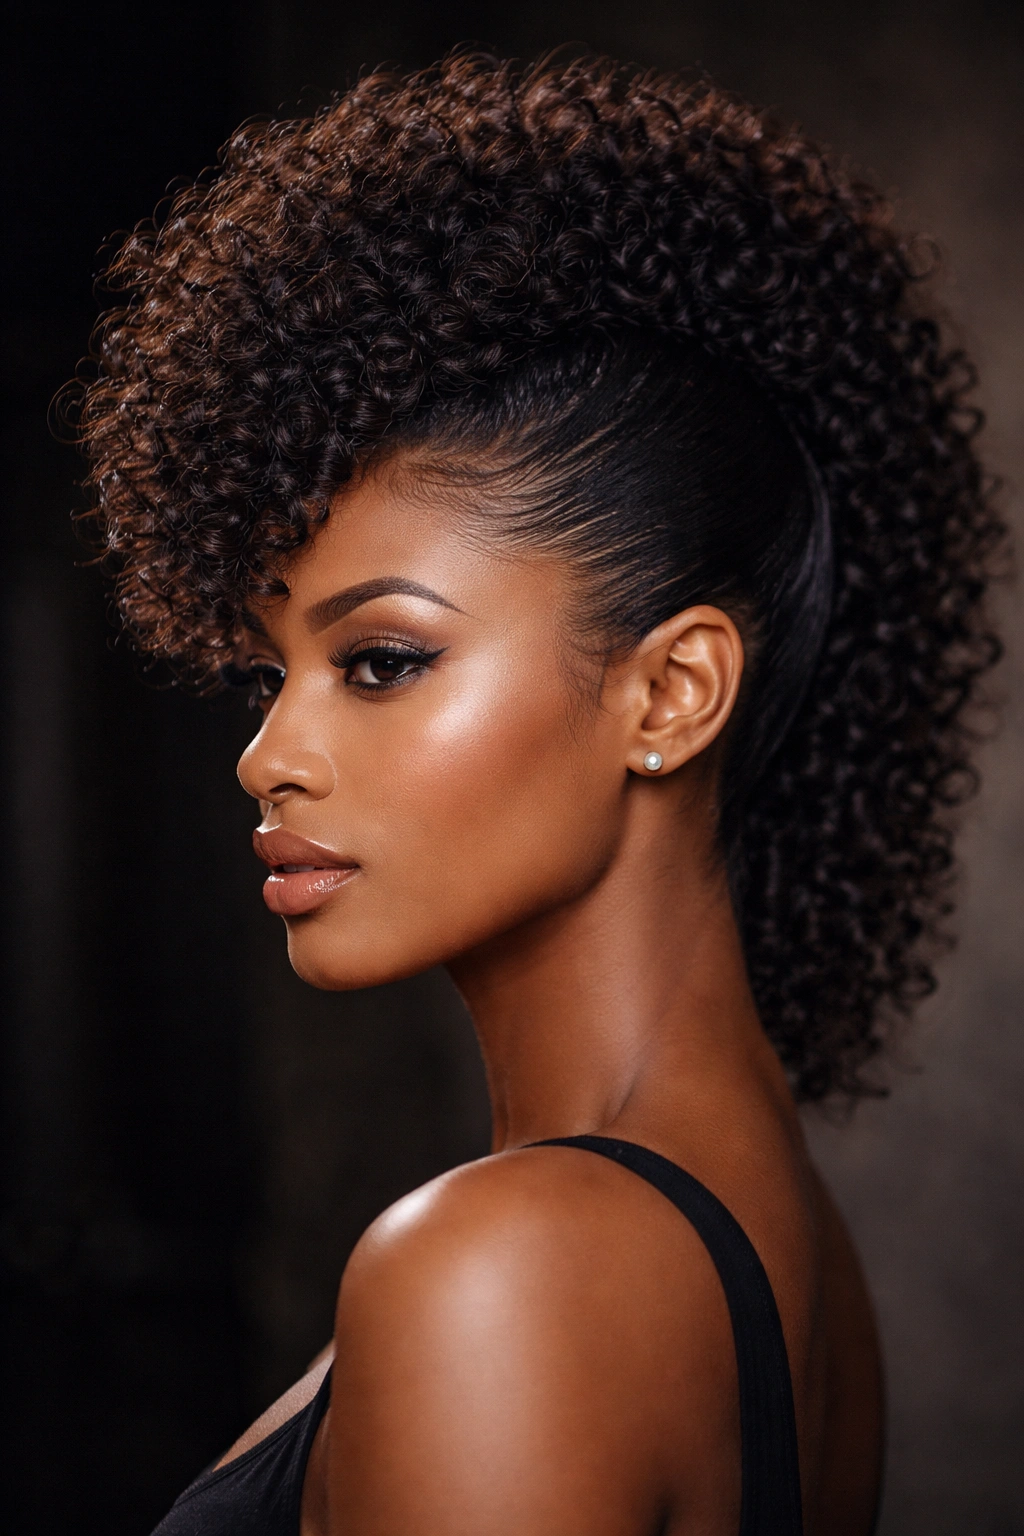
A clip-in mohawk is the loudest style in this whole group, and I mean that as a compliment. It gives you height through the center of the head and leaves the sides clean, which makes the curls look sharper and more intentional than they would in a full all-over shape.
Picture it at a concert, a birthday dinner, or any place where you want the hair to walk into the room before you do. The center ridge carries the drama. The sides do the quiet work.
How to keep the ridge soft, not stiff
- Clip the tallest wefts along the center strip from forehead to crown.
- Use smaller wefts near the front so the shape doesn’t jut out.
- Smooth the sides with gel or a light styling mousse.
- Keep the mohawk section curved, not straight up, unless you want a sharper profile.
The reason this style works is simple: it gives the eye a line to follow. Instead of a round cloud of curls, you get a shape with a spine. That makes the face look more lifted and the neck look longer, which is a nice bonus.
Do not overload the sides with product. Sleek does not mean crunchy. The curl bulk belongs in the middle, where the silhouette can support it.
11. Braided Crown Into Curly Length
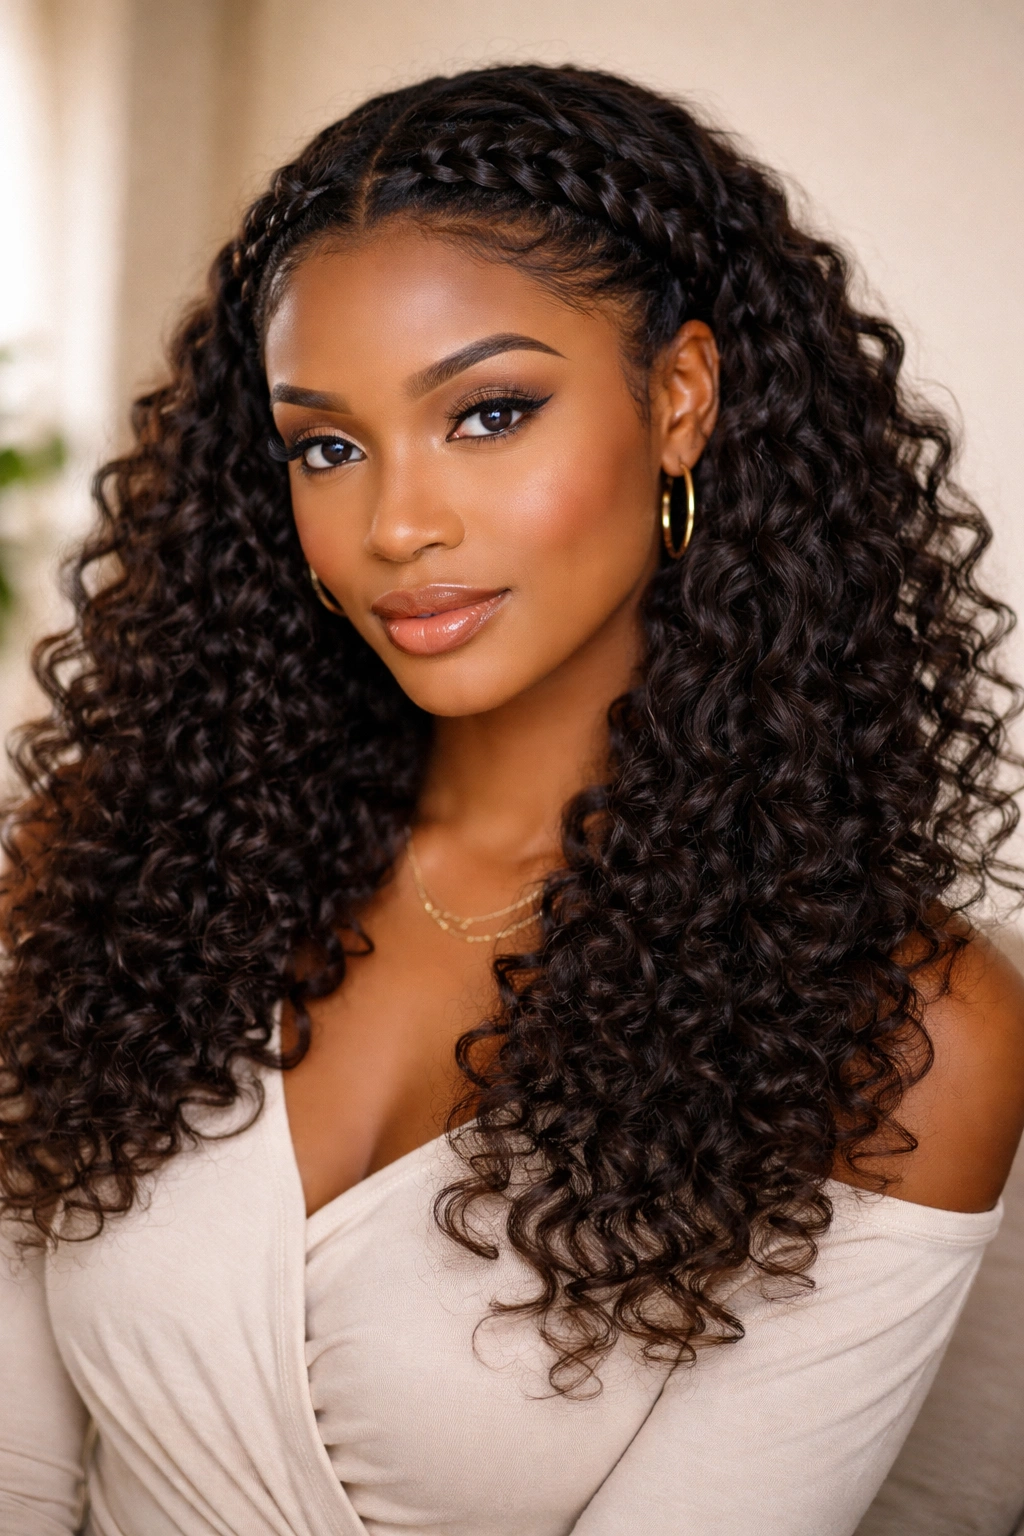
A braided crown into curly length is one of those styles that looks more complicated than it is. The front braid frames the face and hides the clip-in anchors, while the curls in back keep the style soft. That mix is what makes it useful.
I like this one when the goal is polish without losing movement. A full braid can feel too firm. A full curly install can feel too loose. This style sits in the middle. You braid along the hairline or around one side of the crown, then let the rest of the hair fall into curls that have plenty of room to move.
The braid should be snug, not tight. Tight braids near the temples are a headache waiting to happen, and they can make the front line look too severe. A looser braid with a few tiny flyaways looks better anyway. It feels lived-in, not overworked.
Clip the extensions under the braid line so the crown looks seamless. If the braid is too thin, the clips will show through near the roots. If it’s too thick, the style can take on a costume feel. Find the middle and stay there. That’s the part that looks expensive.
12. Twist-Out Blend With Added Ends
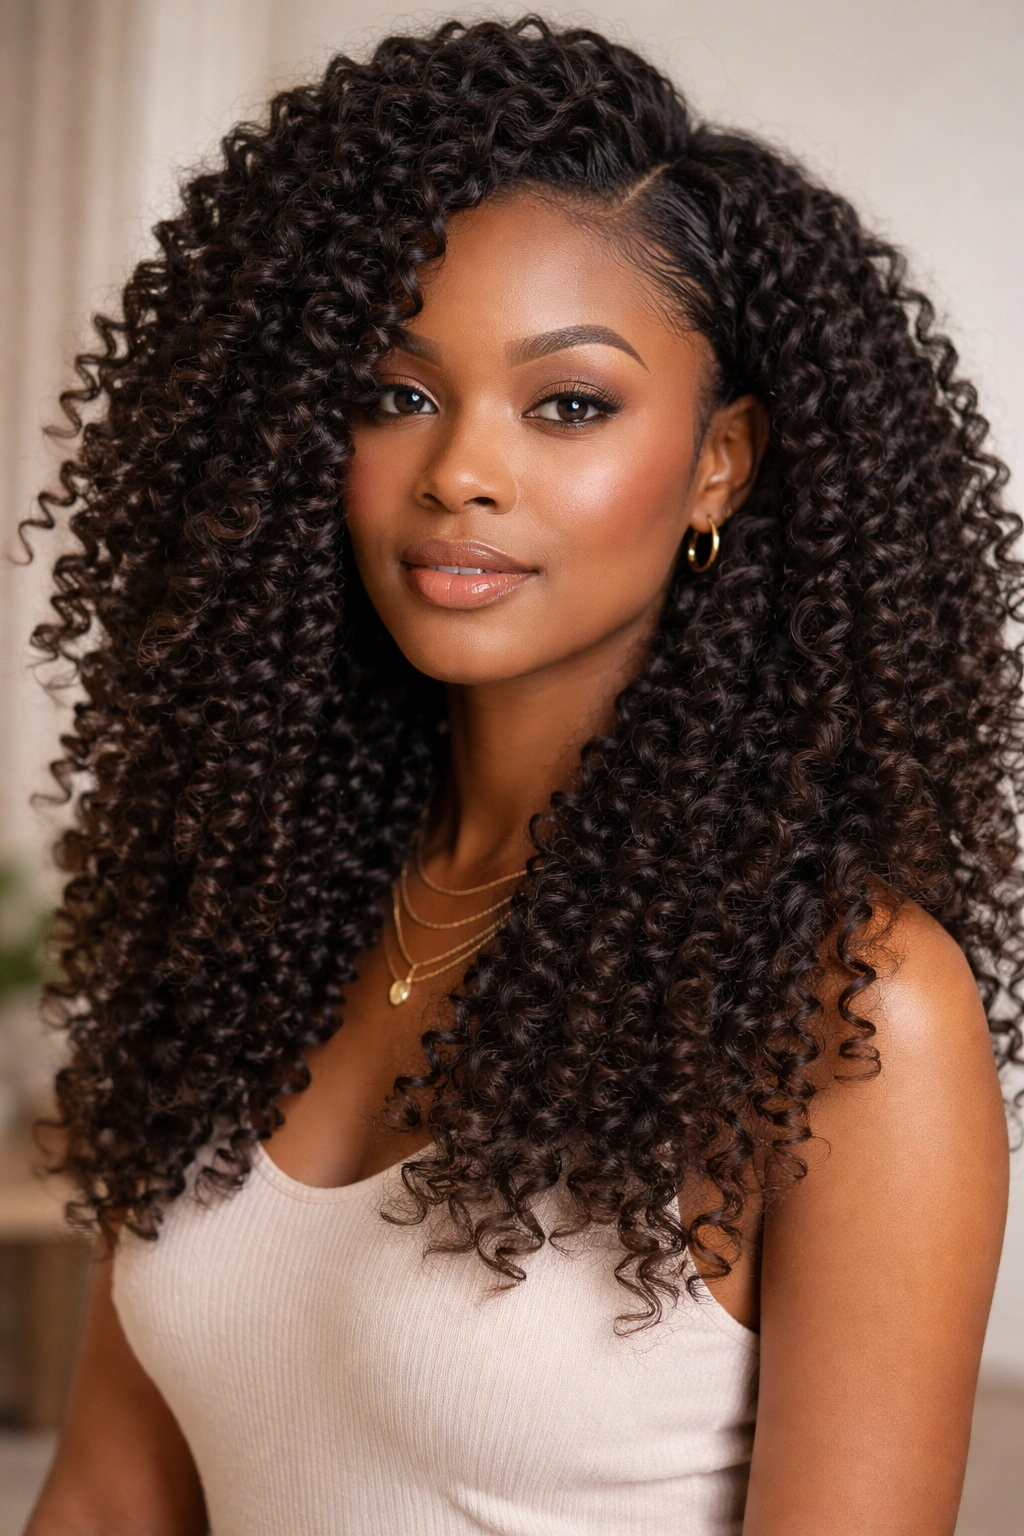
Unlike a blown-out install, a twist-out blend keeps your own texture in the conversation. That’s the whole point. You’re not trying to erase your curl pattern; you’re trying to extend it so the final shape looks fuller, longer, and more deliberate.
This style works best when your natural hair already has some twist-out definition or a soft stretched pattern. Clip-ins with a similar curl family slide into the look more easily, and the ends don’t fight each other. If the extension curls are too tight or too loose, the mismatch shows in the first hour.
A twist-out blend is forgiving because it already expects some separation and fluff. It does not need every curl to line up. That means you can style it with less fuss than a super-sleek look, which is useful if your hair likes volume and movement more than smooth shine.
The best recommendation here is simple: twist your own hair the night before, separate it only after it’s fully dry, then clip the extensions in low and layer them upward. The style gets better when the shape is built from the bottom, not when the top is forced down.
It is one of the few styles that looks better with a little imperfection. That’s rare, and I trust it.
13. Layered U-Shape With Extra Volume
A layered U-shape is one of the cleanest ways to make clip-ins look natural on curly hair. The shorter sides keep the face open, the longer middle gives swing, and the rounded back creates a soft shape that doesn’t feel blocky.
Why the layering matters
If every weft sits at the same level, the hair can read as a solid curtain. The U-shape breaks that line up. It makes the ends fall in a curved way, which feels closer to how curly hair behaves when it has enough length and weight.
- Put the longest pieces low at the back.
- Use medium-length wefts through the middle layers.
- Keep the side pieces a little shorter so they frame the cheek and jaw.
- Curl everything away from the face for a smoother line.
This style is good for women who want length without losing body. A straight-cut bottom can look heavy on curls, especially if the texture is dense. The U-shape gives the ends space to breathe. It also makes the back look fuller from the side, which is where thin installs usually give themselves away.
A round brush is not required, and I would not reach for one unless you are trying to smooth the top. Fingertips, a wide-tooth comb, and a light mist of water often do more than extra heat.
14. Low Curly Bun With Hanging Pieces
A low curly bun with hanging pieces is the cleanest way to make clip-ins look grown-up without making the hair feel severe. It works because the bun gives structure and the loose curls keep the style from looking too fixed.
The bun can sit at the nape or just above it. Either place works, but the nape version feels softer. Clip the extensions into the lower back section first so the bun has enough bulk to look full from the side. Then leave a few front pieces or side pieces free to curl around the face and collarbone.
This is one of the better styles for formal events, interviews, and days when you want the hair controlled but not boring. A bun by itself can look too plain. Add hanging curls, and suddenly it feels finished. Not flashy. Finished.
The loose pieces should be intentional. Two tendrils are enough for a clean look; four can work if the hair is very full and the pieces are spaced well. Keep the bun shape soft and slightly rounded rather than tight and tiny. A tiny bun with huge curly sides always looks mismatched.
If you have an edge brush, use it lightly. The style should look smooth near the hairline, not painted on.
15. Full Rounded Afro-Glam With Clip-Ins
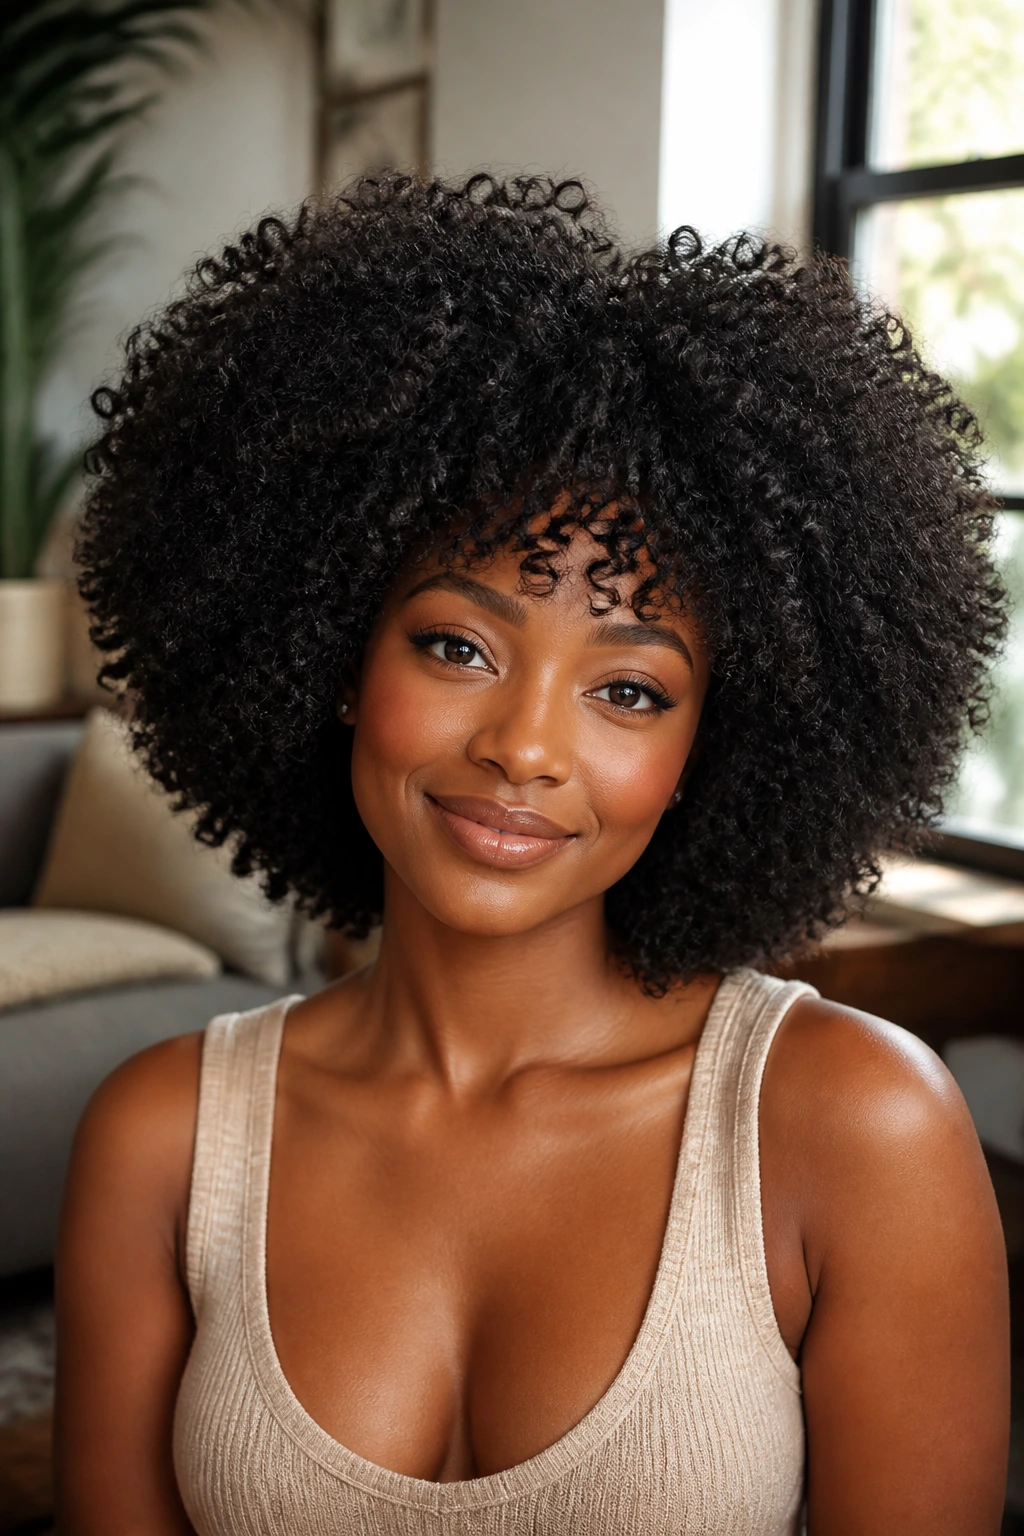
Why do some of the best curly clip-in styles look almost simple? Because the shape does the heavy lifting. A full rounded afro-glam look builds volume all around the head, so the hair reads as rich, soft, and complete instead of sectioned off into obvious layers.
This is the style for anyone who loves width as much as length. You do not have to chase a long, narrow silhouette if that is not your taste. A rounded shape can be far more flattering on curls because it works with the natural spring of the hair. The trick is placing the clip-ins in a loose halo around the head and then shaping the top so it curves gently outward.
How to keep it rounded, not bulky
Use shorter to medium wefts near the crown and slightly longer ones around the back and sides. That keeps the head shape even. If you load too much length at the top, the style starts to look top-heavy. If you keep everything too long, the round shape disappears and the curls just hang.
A wide-tooth comb can help fluff the outer layer, but use it sparingly. The goal is softness, not frizz. Separate the curls with your fingers, shake them out at the roots, and stop before the shape gets puffy in the wrong places.
This is the style I’d choose when I want the hair to feel full, warm, and easy to wear. It has presence. It also gives you room to play with makeup, earrings, or a bold lip without the hair competing for attention.
If you want one general rule to carry into every clip-in style, it’s this: build the shape from the root, not from the ends. The curls will take care of the rest.