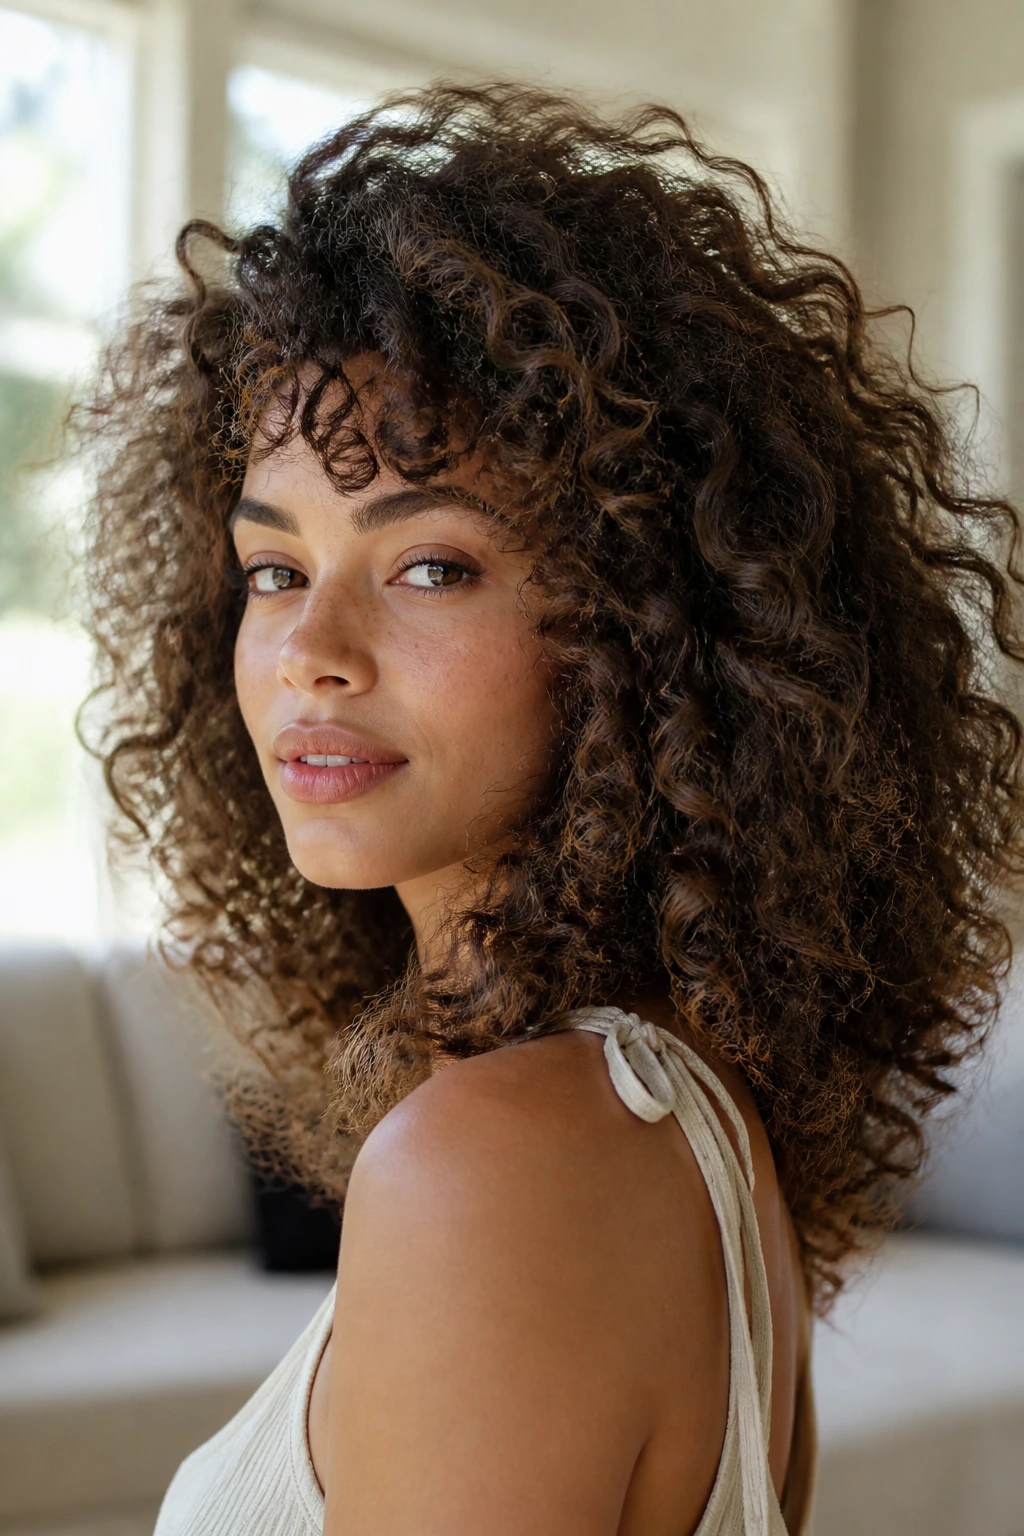
Loose curls look best when they are allowed to move.
Loose curly hairstyles worn down can look soft and easy, but they only read that way when the shape is doing some work. A good down style has to keep the crown from collapsing, give the front pieces a purpose, and stop the ends from turning fuzzy the minute the air gets damp. If you’ve ever defined your curls, walked out the door, and watched them flatten before lunch, you already know the problem.
Humidity notices everything.
So do heavy creams, the wrong part line, and a style that fights the curl pattern instead of working with it. The prettiest worn-down looks usually aren’t the fussiest ones; they’re the ones that let the curl do its own thing, then make one smart choice around the face, the part, or the top layer.
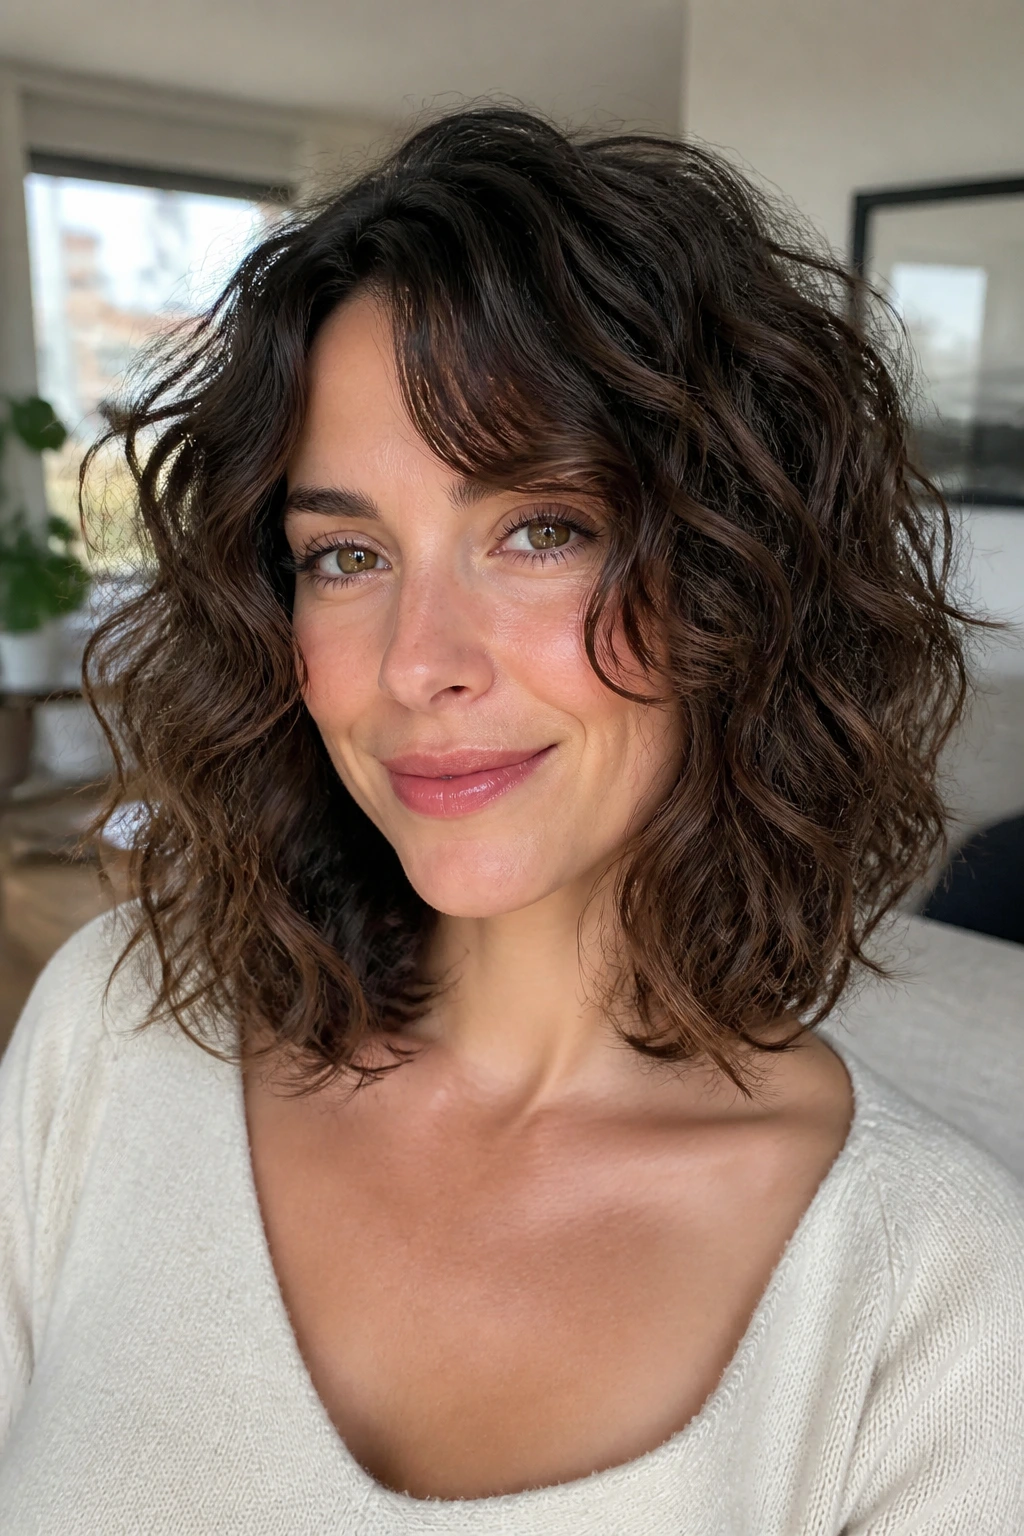
1. Loose Curly Hairstyles with a Center Part
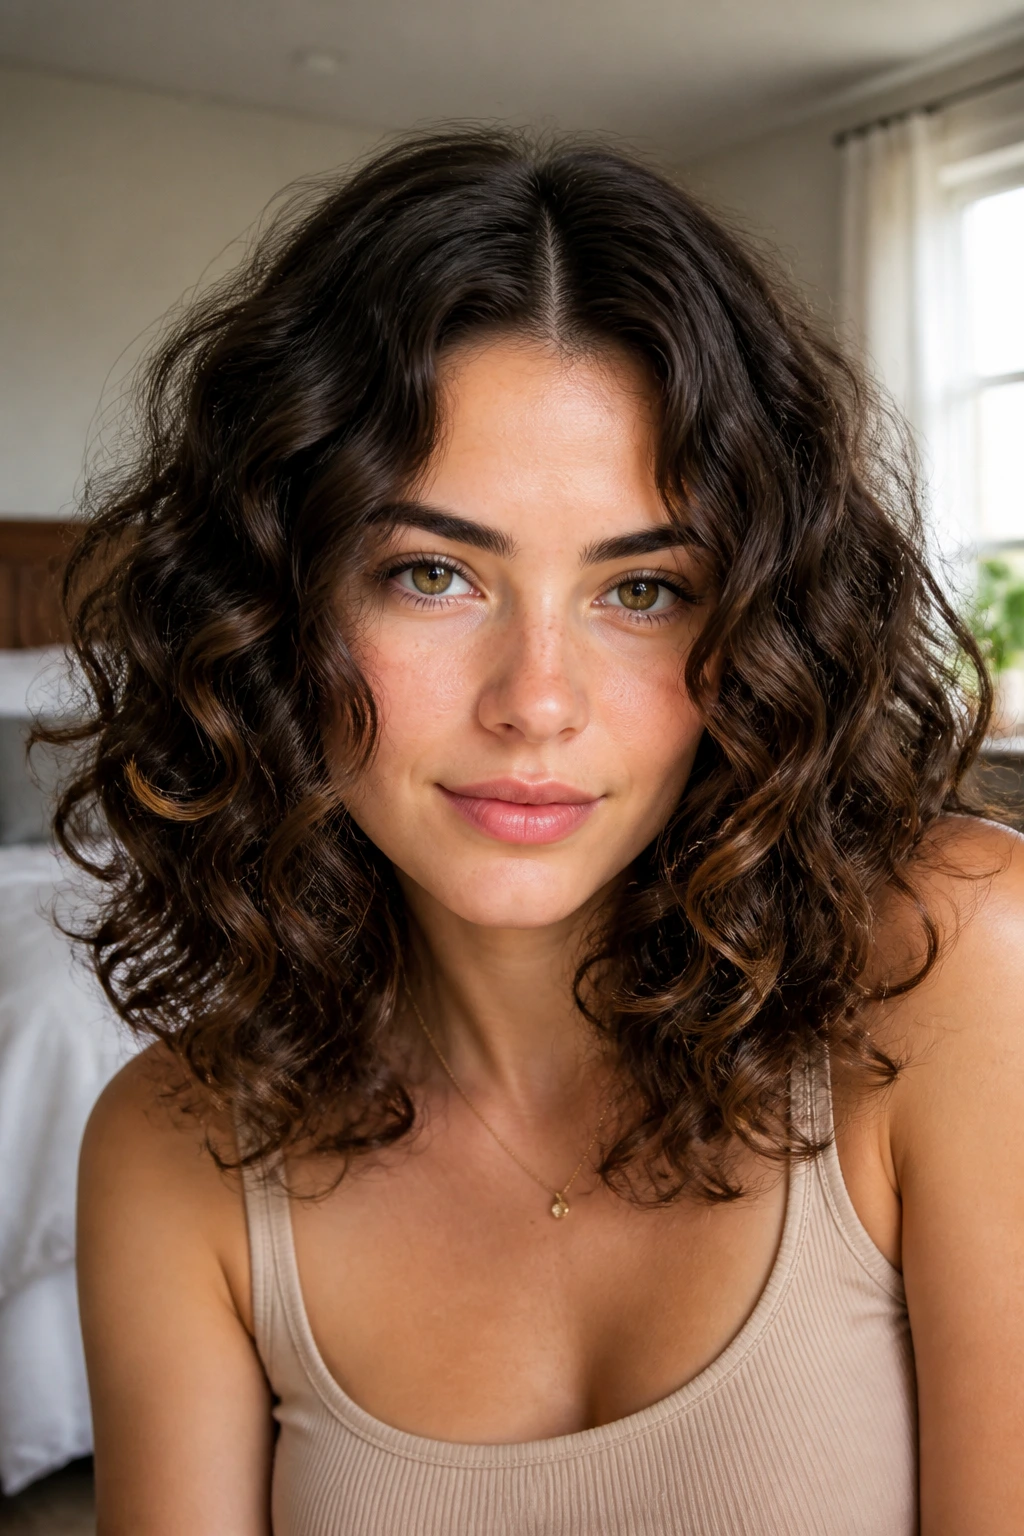
A center part is the cleanest way to let curls fall on their own terms. It gives both sides the same starting point, which makes the whole shape look calmer and more intentional, especially when your curls already have good volume from the mid-lengths down. I like this look most when the cut has a little layering, because the part can otherwise make the top feel too flat and the ends too heavy.
Why the Middle Part Works So Well
The trick is balance. A center part lets loose curls frame the face evenly, so you get shape without that lopsided feeling some side parts create on rounder or fuller faces. It also works nicely with hair that has a little bend instead of tight spirals, because the curls can drop in soft columns instead of fighting for space.
- Best for oval, heart, and long faces that can handle symmetry.
- Works well with shoulder-length cuts, long layers, and soft curtain bangs.
- Style it on damp hair so the part sets before the roots dry in the wrong direction.
- Use a light hand with cream; too much product will drag the roots down.
A middle part can look plain if the crown is flat, so I usually clip the roots up for 10 to 15 minutes while the hair dries. That tiny lift changes everything. And if the roots still lean one way, flip the part by half an inch before the hair is fully dry. Small shift. Big difference.
2. A Deep Side Sweep for Bigger Shape on One Side
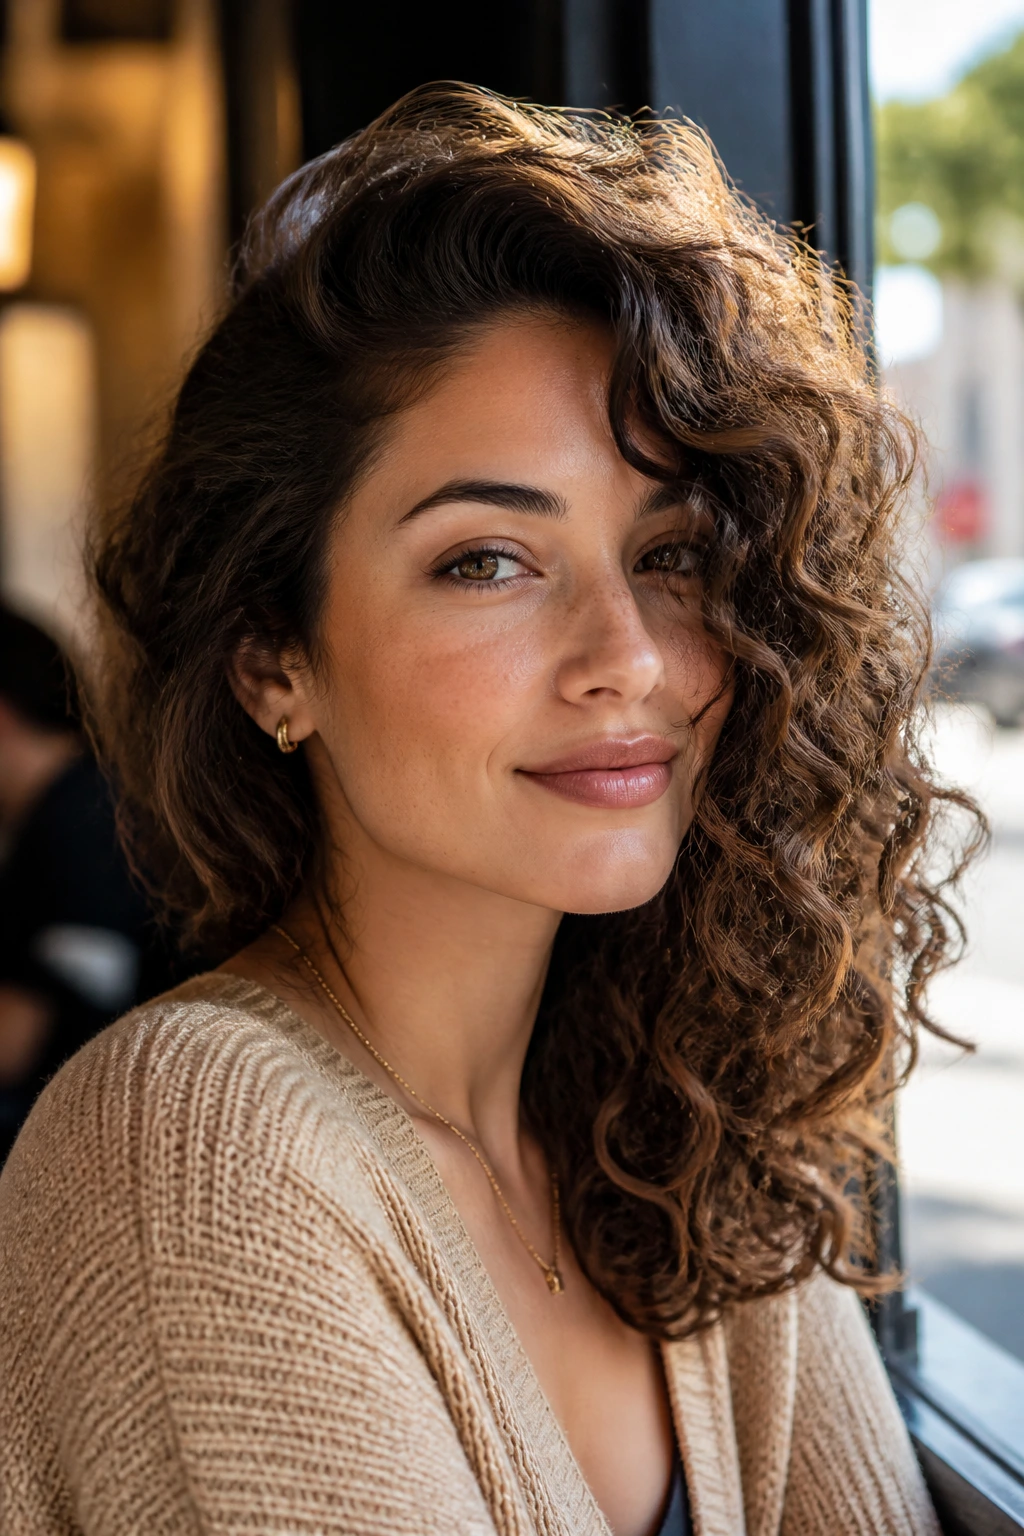
A deep side part gives curls a little drama without asking them to do anything complicated. One side gets more volume, the other side gets more control, and the face ends up with a stronger line through the cheekbone area. That makes this one especially useful when your curls have decent width but need a clearer silhouette.
The part should land farther over than people think. I usually start about 2 to 3 inches off center, then comb the top section flat just long enough to set the line. After that, the curls can fall wherever they want underneath. The goal is not a shellacked part. The goal is a clear starting point and a soft drop through the lengths.
This style is especially good on thick hair that tends to puff out evenly on both sides. A deep side sweep breaks that “triangle” feeling and makes the style look more deliberate. It also plays well with a strong brow, a bold earring, or a neckline that needs a little extra room.
One small warning: if you go too deep, the style can start to look like the hair is fighting to stay in place. Keep the heavier side above the outer corner of the eye, not buried under the temple, and the whole thing stays wearable.
3. Tucking the Front Pieces Behind the Ears
Why does tucking just the front pieces behind the ears change so much?
Because it opens the face without stealing the length. The rest of the curls still hang loose, but the sides stop crowding the cheeks and jawline. That makes this one a good move for glasses, statement earrings, or days when you want your curls down but not all over your face.
How to Keep the Tuck from Slipping
The easiest version uses nothing but your own curl pattern. Pull the front section back loosely, tuck it behind the ear, and pin the hidden side with two crossed bobby pins if your hair is slippery or heavy. The crossed pins hold better than one straight pin, and they hide under the curl better, too.
- Tuck only the front 1 to 2 inches of hair, not the whole side.
- Angle the pins upward so they catch a few strands of the layer underneath.
- Leave a little curve at the temple instead of flattening everything back.
- Use a light mist of hairspray on the tucked piece if your hair sheds pins by lunchtime.
This style looks especially nice on medium-length curls because the tucked section gives shape without reducing the overall fullness. It’s also one of the few down styles that can look polished even when the hair is a bit frizzy at the edges. A little softness here is part of the point.
4. A Curly Shag with Curtain Bangs
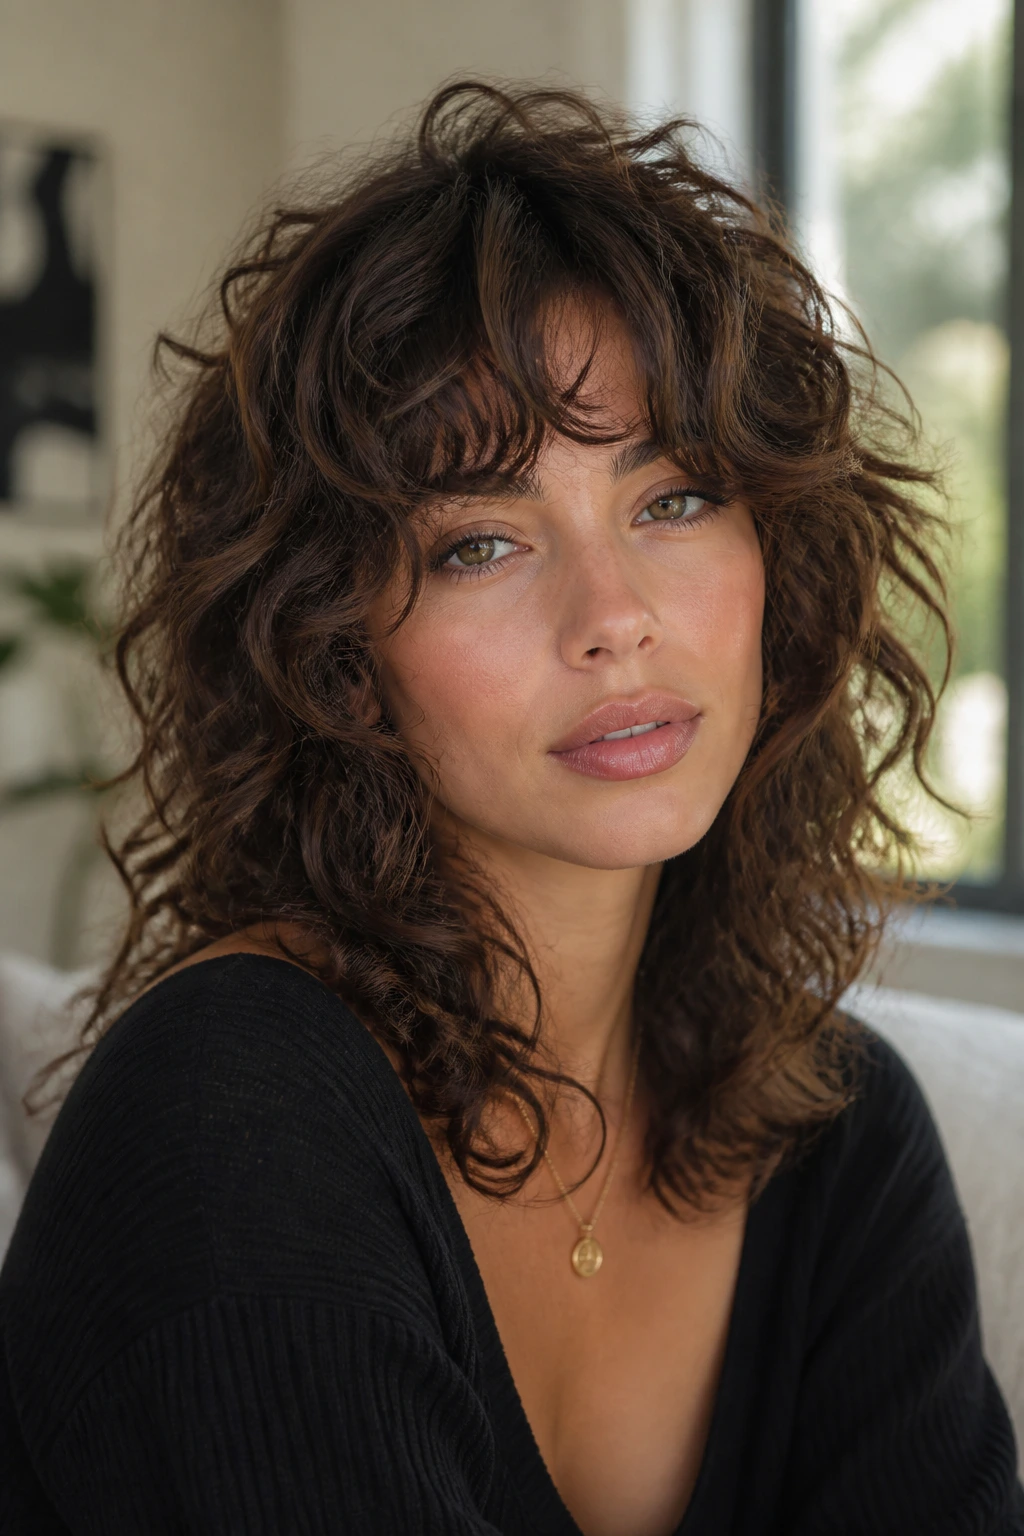
If your curls are building up too much width at the sides, the curly shag is the move that changes the whole outline. It removes weight from the interior, keeps the hair airy around the crown, and lets the bangs sit in that soft split right at the center. The result is loose and a little undone, but not messy in a lazy way.
A good shag works because the layers are doing actual labor. They stop the lower sections from dragging down the upper ones, and they give the curls more room to stack instead of puff. Curtain bangs help even more, since they open the face without forcing the whole front section to be pinned or tucked. If your hair has a springy texture and a tendency to widen at the jaw, this cut earns its keep fast.
What Makes It Work
The best shags keep the shortest layers around the cheekbone or lip line, not all the way up at the forehead. That keeps the front soft instead of choppy. It also means the bangs can blend into the face-framing pieces instead of sitting there like a separate haircut.
- Strong choice for 2C through 3C curls with enough body to hold shape.
- Needs regular reshaping because the layers lose their balance when they get too long.
- Looks better with a diffuser and a curl cream that gives slip, not stiffness.
- Avoid heavy butter-like products that make the layers sit in clumps.
This is one of those styles that looks casual from a distance but is actually very specific up close. The cut does the work, then the curls just follow along.
5. A Crown Twist with the Length Left Down
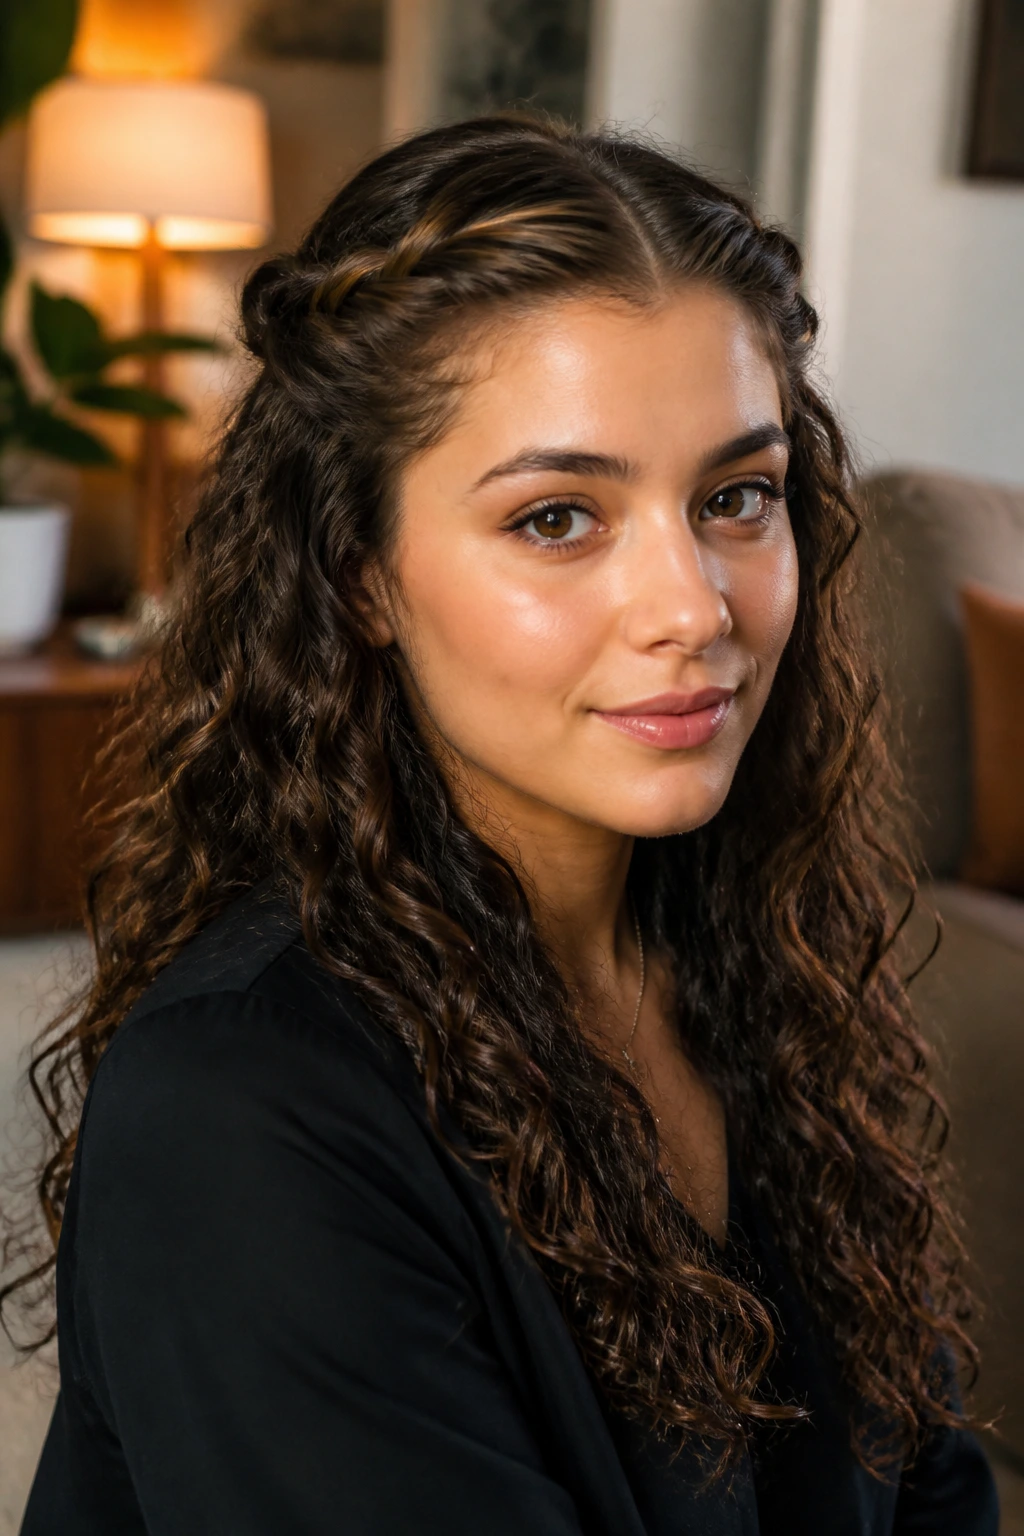
A small crown twist is one of my favorite fixes for curls that are behaving at the bottom and falling flat at the roots. You twist a narrow section from each temple back toward the crown, pin it, and let the rest of the hair stay down. That gives the front just enough shape to look finished without turning the style into a half-up look.
The best part is how forgiving it is. The twist can be loose and slightly messy, which helps the style blend with a curly texture instead of looking too neat. If the hair is day-two or day-three and the roots need a little rescue, the twist hides that problem almost immediately. It also works well when your face-framing pieces are too short to tuck cleanly behind the ear.
Tiny detail. Big payoff.
Use the twist on hair that has already been dried and separated into curl clumps. If you try to twist soaking-wet curls, the section can dry in a weird bend that never really relaxes. A pair of hidden bobby pins at the back of each twist keeps the shape in place; one pin usually slides out by the time you move around a little.
I like this most on medium to long curls because the contrast between the pulled-back top and the loose length gives the hair a better line. It feels balanced. Not stiff. Not overdone.
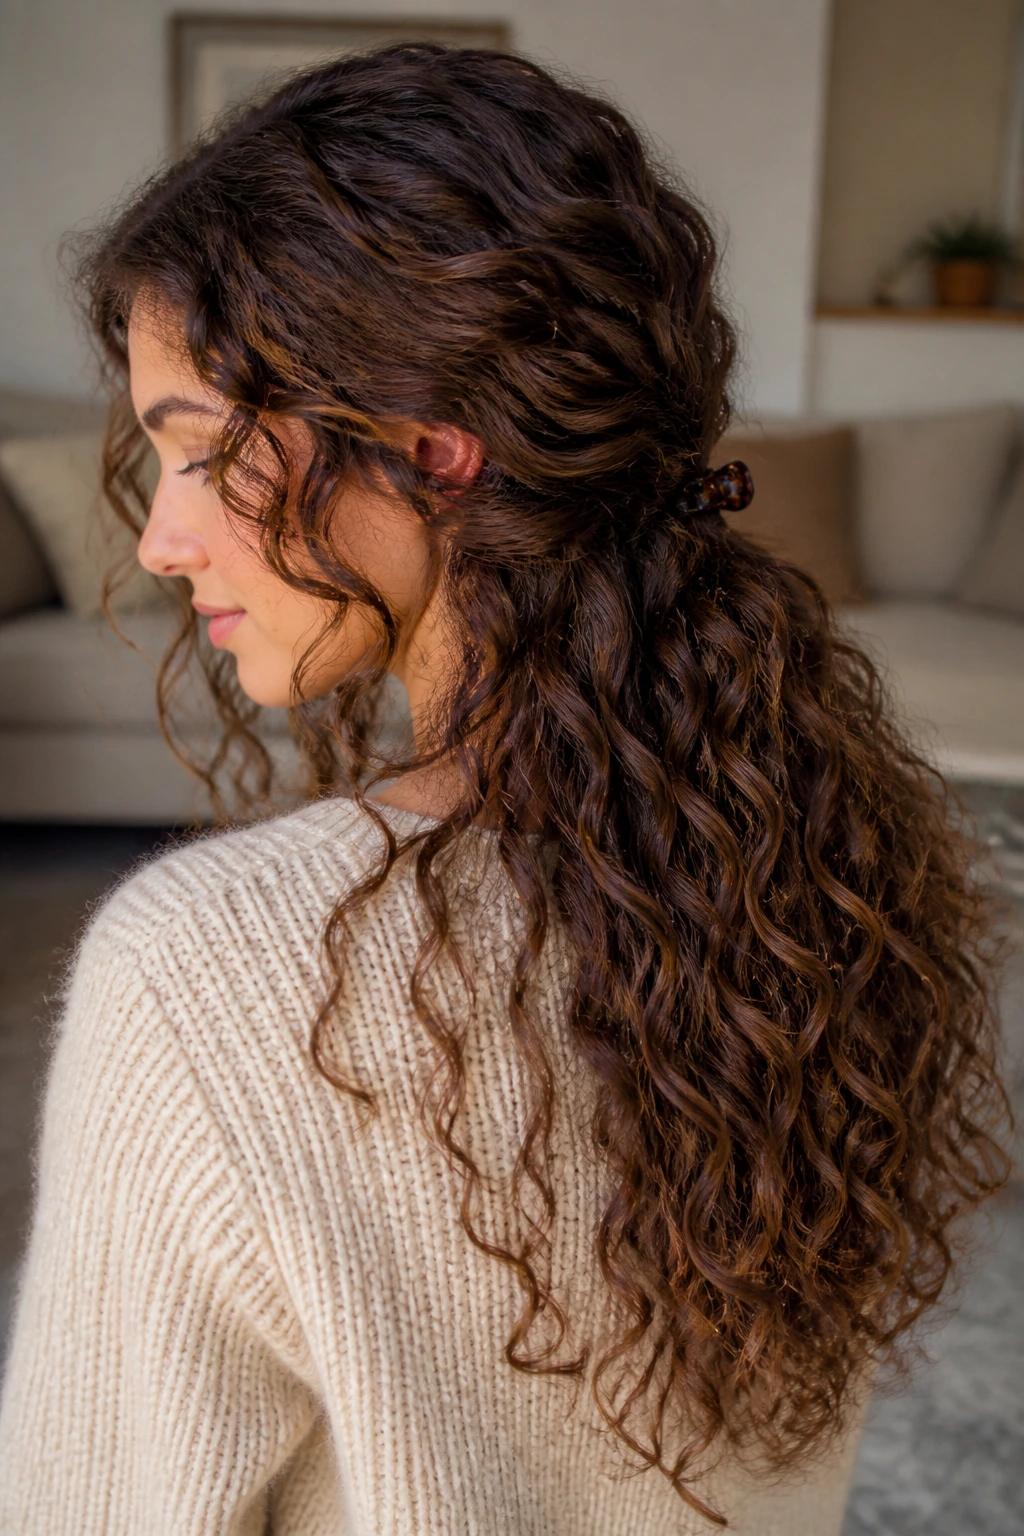
6. Pearl Pins at the Temples
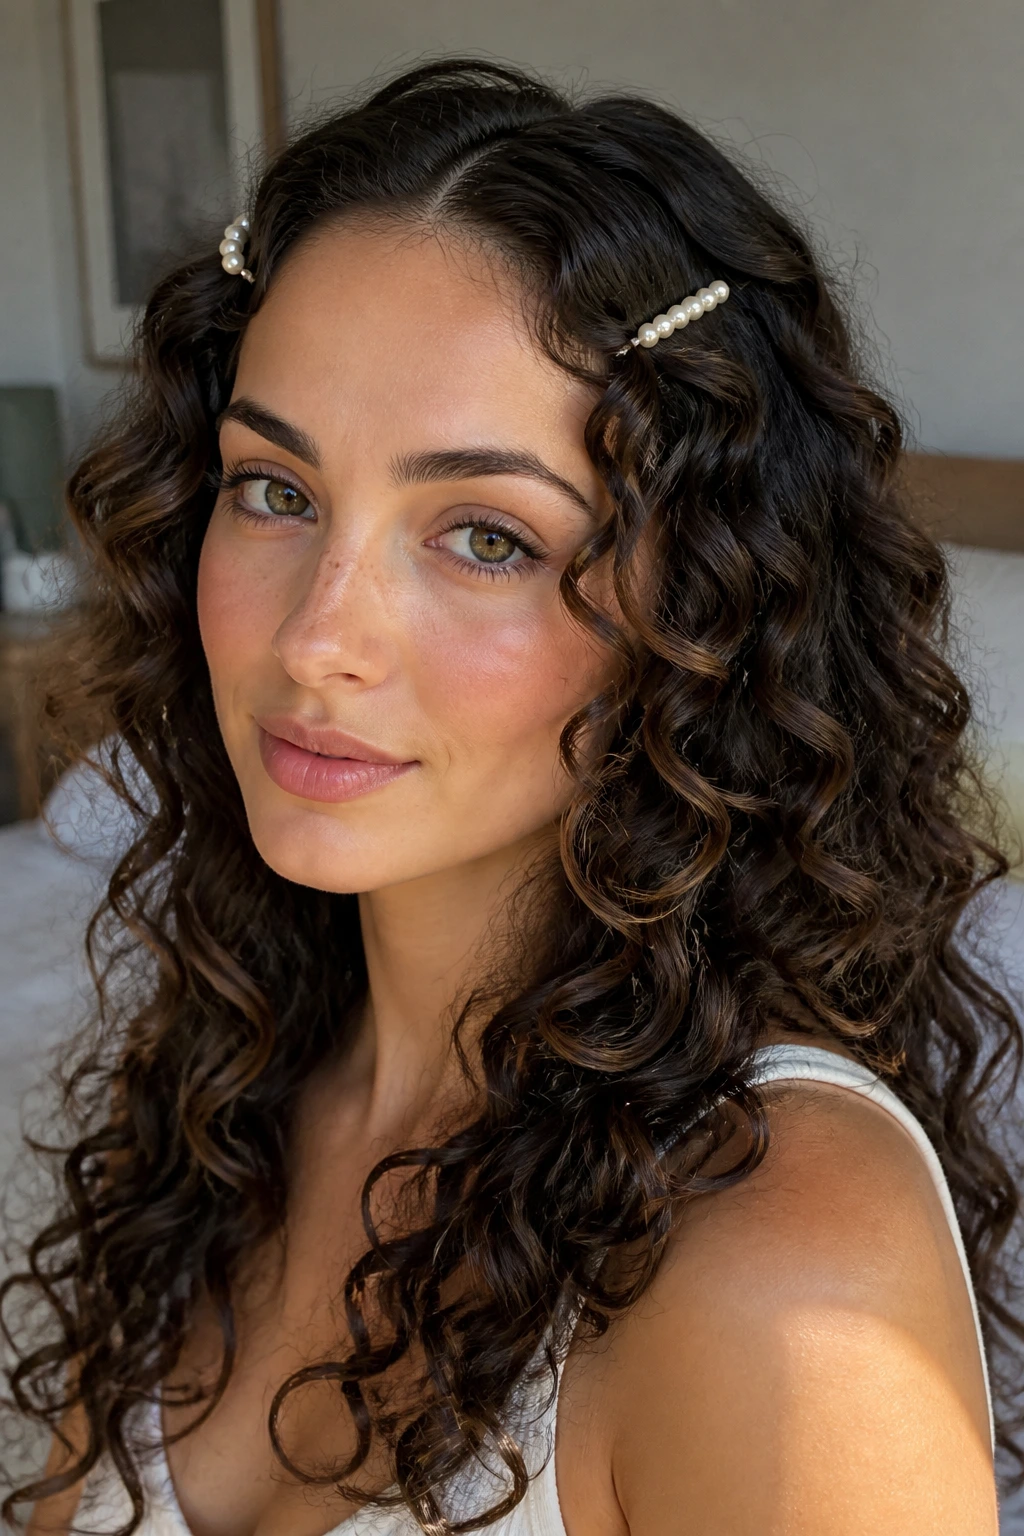
Pearl pins are a better choice than a big decorative clip when you want your curls to stay down and still look intentional. A single pin, or a small cluster of them, can catch just enough of the front section to open the face while the rest of the hair keeps moving. That makes this style useful for work, dinner, or any day when you want a little polish without changing the whole shape.
What makes pearl pins so smart on curls is scale. Large clips can crush the texture around them, especially on finer hair. A few small pins spread the hold out and sit flatter against the head, which means the curl pattern keeps its bounce. I’d place them slightly above the temples, not right on the hairline, so the front pieces still fall naturally.
This style also reads differently depending on how many pins you use. One pin on each side feels quiet and neat. Three in a slight arc feels more dressed up. Either way, the hair stays mostly down, which is the whole point.
If your curls are thick, slide the pin through a small braid or a twisted front section instead of trying to pierce a dense curl clump. That gives the pin something to grip. Otherwise it will wobble free by the time you get in the car.
7. One-Shoulder Curls That Spill to One Side
A one-shoulder sweep is the easiest way to turn loose curls into a shape with real presence. Everything moves to one side, the neck stays more open, and the curls get a long, draped line that looks deliberate even if the styling took five minutes. I reach for this one when a neckline needs space or when the hair has enough length to fall in a clean arc.
Why the Shoulder Matters
The shoulder becomes part of the styling plan. Once the curls rest there, they stop moving as much, so the shape holds better than people expect. A soft pin at the back can keep the heavier side from sliding across the neck, but the front should stay loose and touchable.
- Best for long curls and medium curls with a lot of body.
- Works especially well with one-shoulder tops, off-the-shoulder necklines, and statement earrings.
- Set the part first, then sweep the hair over after the curls have formed.
- Avoid overbrushing; you want curves, not a smooth wave.
The one thing to watch is volume at the back. If you pull all the hair over too tightly, the style loses the softness that makes it work. Leave some lift at the crown, then let the rest spill naturally. That contrast is what makes the silhouette look good.
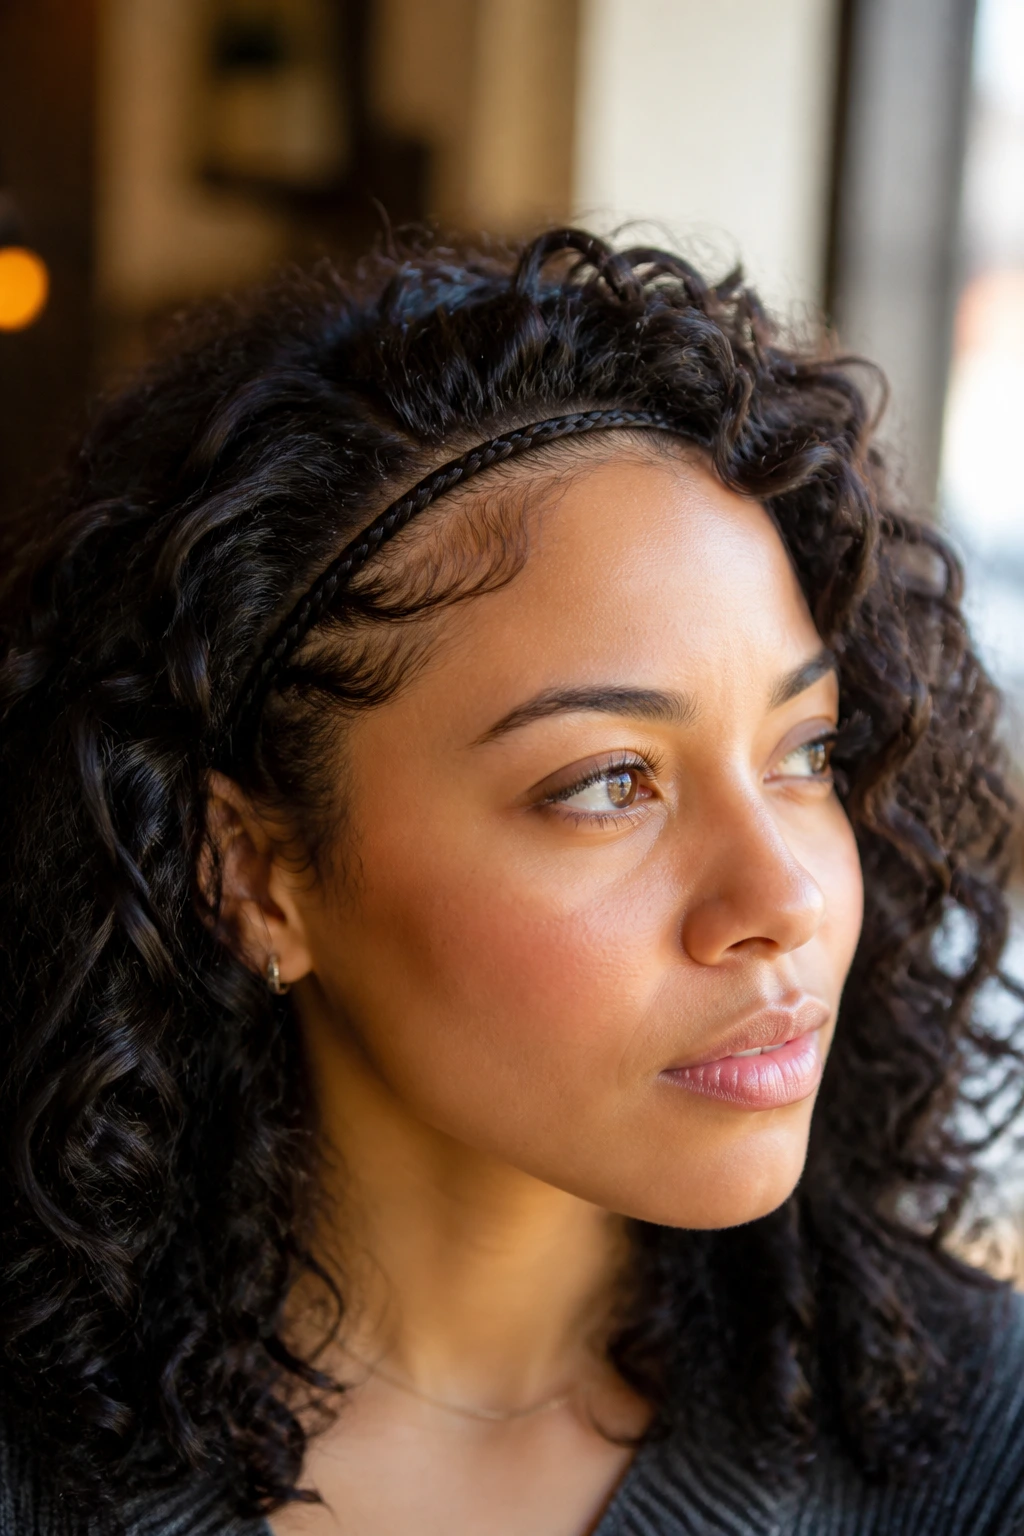
8. A Wide Headband That Leaves the Length Down
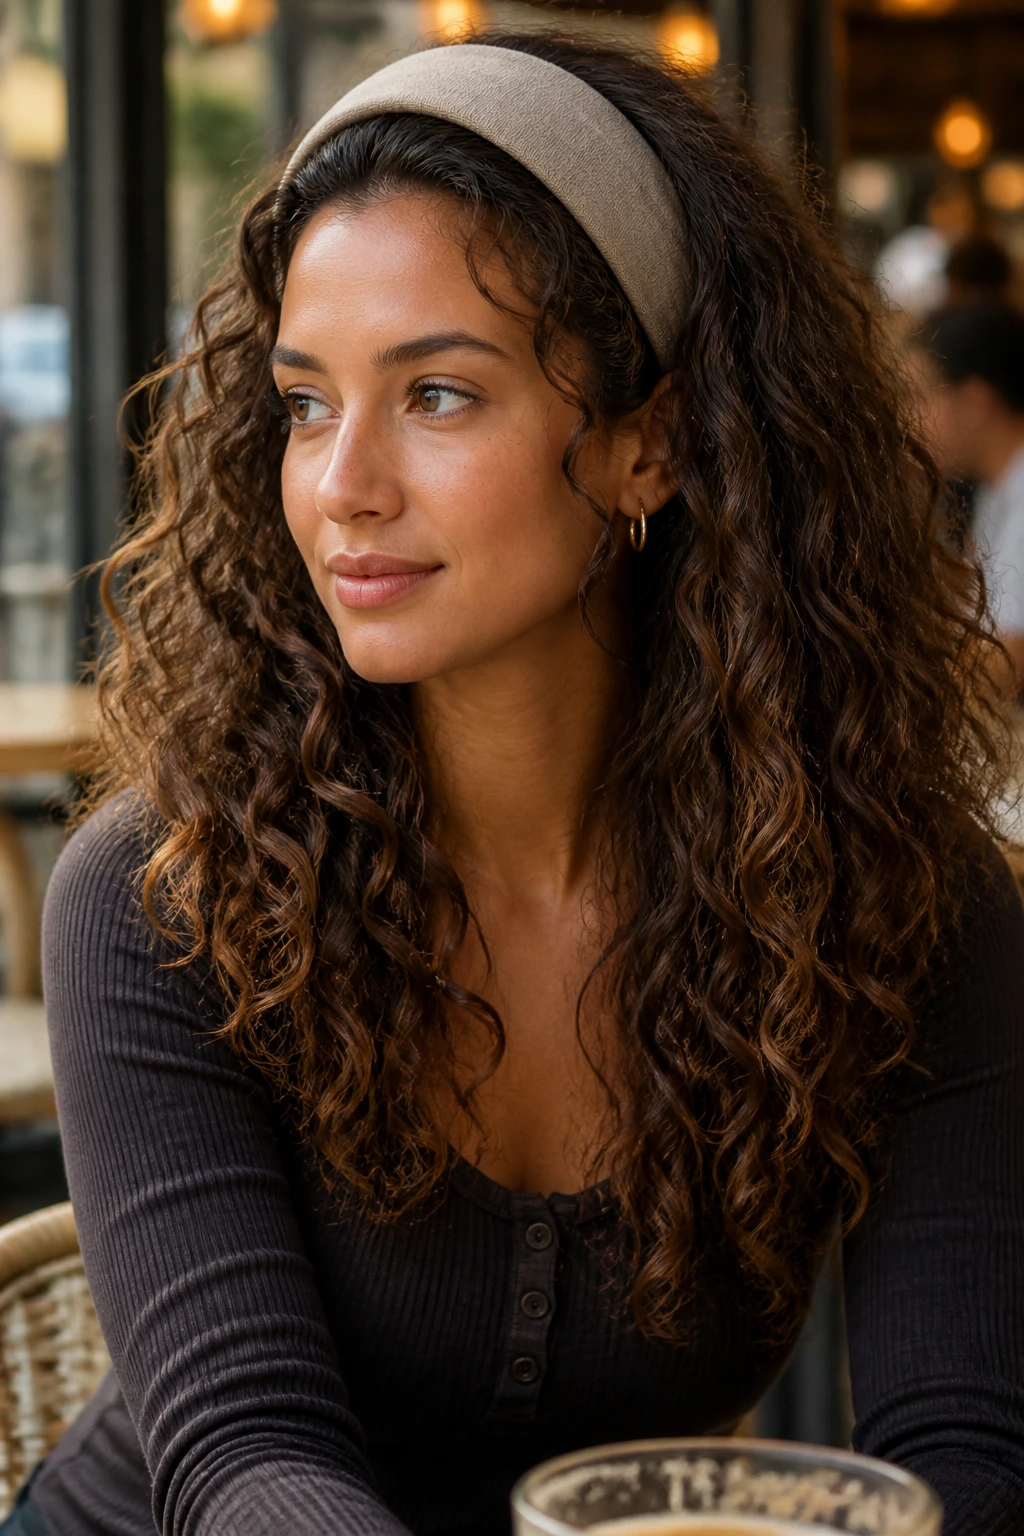
Can a headband look grown-up on curls? Absolutely, if it sits in the right place.
The mistake people make is pressing the band too far forward, which flattens the crown and makes the style look squeezed. A wider band works better when it sits a finger-width behind the hairline, with a little lift left at the roots. That lets the curls stay visible while the band handles the front sections.
How to Stop the Headband from Crushing the Crown
The material matters more than the pattern. Soft knit, padded fabric, or a satin-lined band is gentler on curls than a stiff plastic band with sharp seams. If your hair is thick, look for a band with a bit of stretch at the back so it doesn’t carve a hard line into the head.
- Choose a width of about 1.5 to 2 inches for a fuller curly style.
- Place it after the curls are dry if you want the crown to keep its shape.
- Push a few curls forward over the band so the hairline doesn’t look rigid.
- Use the band to tame the front, not the whole head.
This one is quietly practical. It keeps hair out of the eyes, gives the face a frame, and still leaves the length down where the curls can do what they do best. Good for school, work, or any day when you need the style to behave.
9. A Silk Scarf Tied at the Hairline

A silk scarf is the fastest way to make second-day curls look like you meant to wear them that way. It softens the top, adds a little color near the face, and keeps the front from frizzing apart as the day goes on. I like this option because it fixes a lot of small problems at once without hiding the curl pattern underneath.
The best way to wear it is as a band, not a full wrap. Tie it across the hairline or just behind it, then let the curls spill around the shoulders. If you knot it low at the back, keep the tail short enough that it doesn’t compete with the curls. The scarf should support the style, not steal the show.
Silk and satin both reduce friction, which helps when the curl cuticle is already a little rough from sleeping or brushing. A square scarf around 20 by 20 inches works for smaller heads or finer hair. Bigger, thicker curls usually need something larger so the knot doesn’t dig in.
One thing I’ve learned the hard way: don’t choose a scarf so slick that it slides all over the place. If it won’t stay put, the whole style spends the day in motion. Not the fun kind.
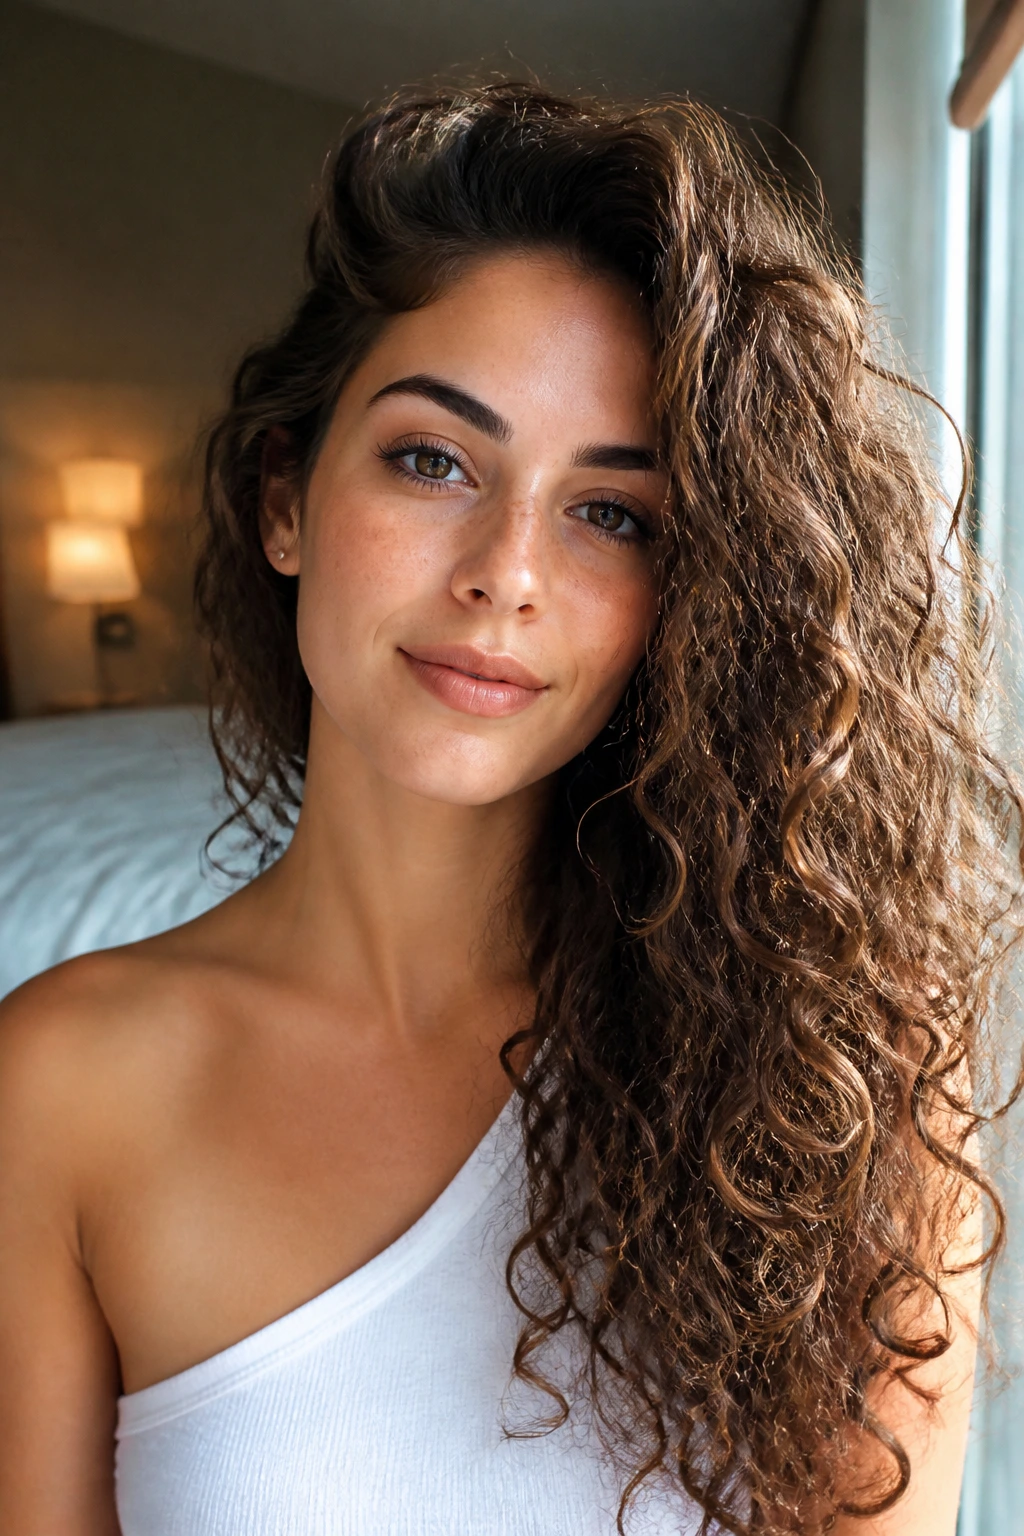
10. Brushed-Out Soft Curls for a Looser Finish
Not every curly style has to stay in tight, separate clumps. Brushing out fully dry curls gives you a softer, more cloud-like shape that feels a little old-Hollywood, a little relaxed, and much less rigid than a fresh wash-and-go. It’s a good option when you want loose curly hairstyles worn down but don’t want every curl to sit in the same exact ring.
Do not brush wet curls unless you enjoy frizz. That part deserves its own line.
The best time to brush is after the hair has fully dried and the curl cast, if there is one, has been broken with clean hands. A boar-bristle brush or a mixed-bristle brush works better than a plastic detangler here because it smooths without tearing up the curl pattern too much. I start at the ends, then move upward in short passes so the volume grows without turning into a puffball.
This look is at its best on medium curls that already hold some shape. Very tight curls can take on too much width, and very fine curls can lose too much definition. If the hair is dry, a pea-sized amount of serum on the palms before brushing can keep the outer layer from snagging. A little goes a long way. Too much and the roots go flat.
The payoff is a softer silhouette that still moves when you turn your head. That’s the appeal here. It feels looser, but not careless.
11. A Waterfall Braid Across the Front

A waterfall braid gives you detail right where people look first, while leaving most of the curls down. That’s why I prefer it over a full braid when the goal is to keep length visible and texture front and center. The braid frames the hairline, then the loose strands drop through it like a little curtain.
The style works best when the braid starts just behind the temple and stays narrow. If it gets too wide, it starts competing with the curls instead of sitting above them. Three or four passes are usually enough. You want the braid to look like a border, not the main event.
Where to Start the Braid
Start with a small section that includes the front layer and a bit of the hair underneath. Take one new piece from the top, drop the lower piece through, then keep moving backward in a shallow line. Secure the end with a clear elastic and hide it under a curl clump if you can.
- Best on long curls that have enough length to show the braid and the fall.
- Works with loose texture that has a bit of grip, not super silky hair.
- Keep the braid low so it doesn’t sit too close to the part.
- Pin the tail under a curl to keep the finish neat.
This one takes a bit more patience than the others, but it pays off in photos and in real life. The curls stay the star. The braid just gives them a frame.
12. A Low Nape Clip with the Rest of the Hair Down
A small claw clip at the nape can solve the “I want control, but I still want my hair down” problem better than almost anything else. The hair stays loose through the lengths, but the top section gets a little anchor so it doesn’t puff up or collapse strangely. It’s one of the few half-up-adjacent looks that still reads as mostly down.
The clip should sit low, almost at the point where the head meets the neck. That placement keeps the top from looking lifted too much. If it sits high, the style turns into a half-up look in a hurry. A small or medium clip is usually enough; giant claws can crush the curl pattern and leave a dent you’ll notice the whole day.
What to Look for in the Clip
A clip with rounded teeth is kinder to curls than a sharp one. The teeth should hold without slicing through the hair, and the hinge should open wide enough to catch the top section without forcing it. If your hair is dense, choose a clip with a little spring resistance so it doesn’t pop open as soon as you move.
This style works especially well when the hair has a bit of day-two texture. Freshly washed curls can be too slippery, which makes the clip slide. A tiny bit of dry shampoo at the roots can give the clip something to grab, but use it sparingly or the crown can get chalky.
13. Loose Curly Hairstyles with a Gel-Cast Wash-and-Go
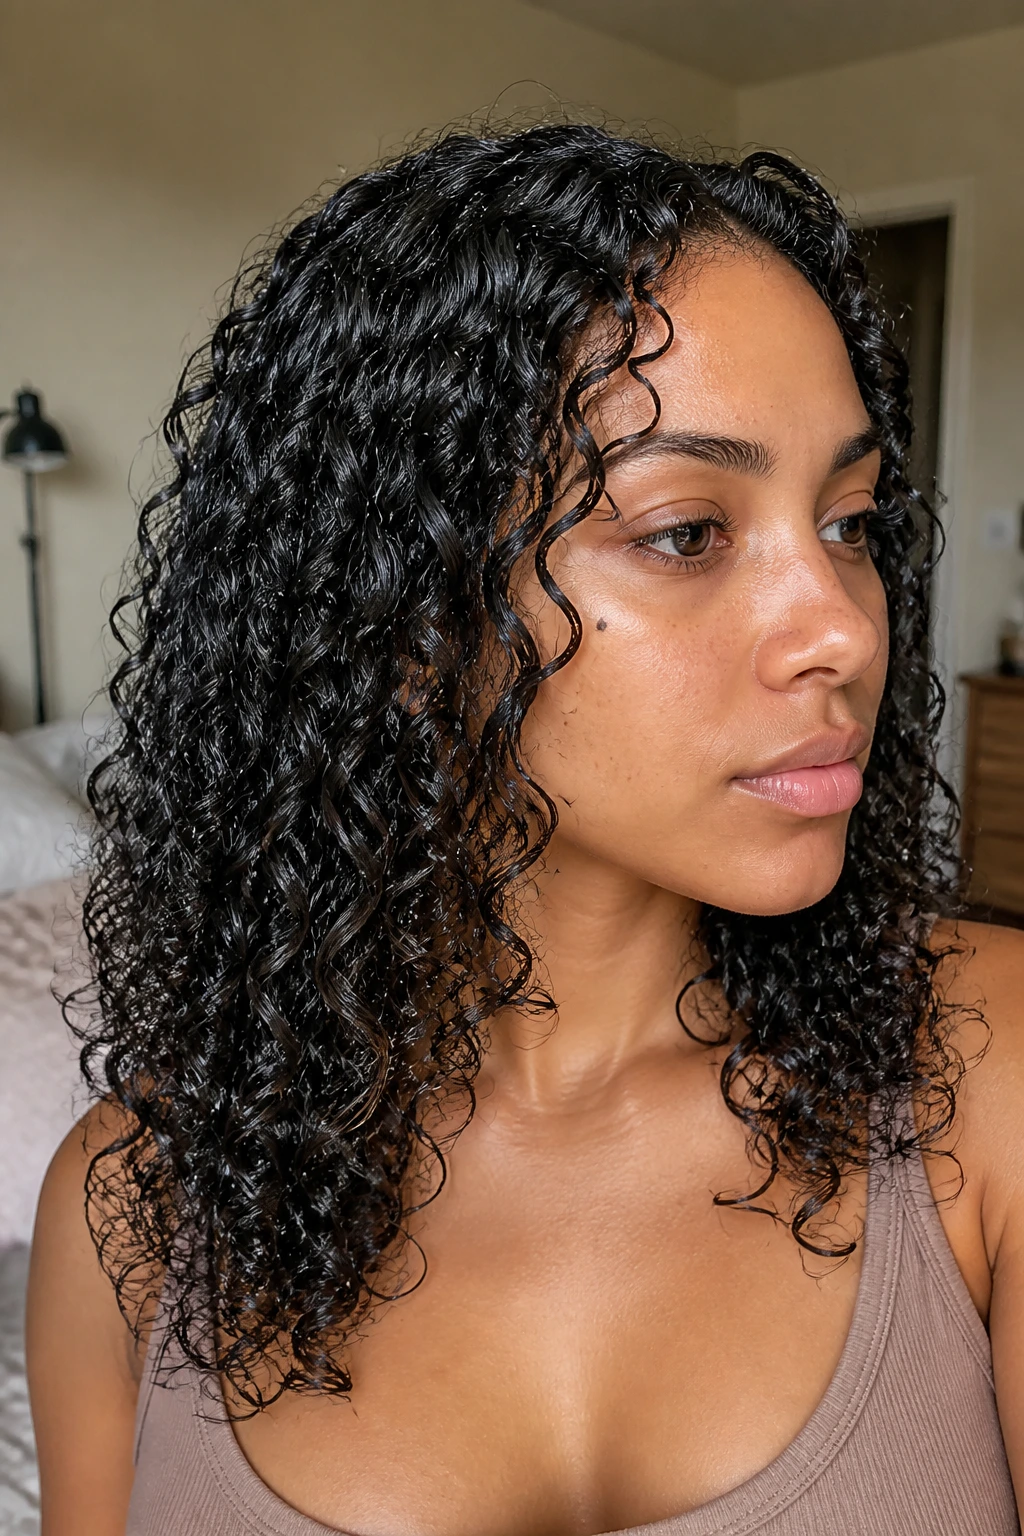
A gel-cast wash-and-go is still one of the cleanest ways to wear curls down when you want shape, shine, and long hold. The cast sounds a little odd if you have not worn one before, but it’s just the firm shell that forms as gel dries on the curl. That shell keeps the clumps in place until you scrunch it out later, and the result is a style that holds its outline better than soft cream alone.
The process matters. Hair should be soaking wet or close to it when the leave-in and gel go on, because damp-but-not-wet hair tends to get patchy. I like to apply product in sections, then scrunch with a microfiber towel or a cotton T-shirt so the curls clump without getting roughened up. After that, hands off. Touching the hair too much while it dries usually leads to frizz at the surface and flattened curls underneath.
A diffuser can help, but low heat and low airflow are the whole game. Blast-drying curls tends to blow the pattern apart before it sets. Once the hair is dry, scrunch the cast out with clean hands or a drop of lightweight serum. The style changes from firm to soft almost instantly.
This is the down style I recommend when you want the curls to last through a long day. It does take a little discipline. The payoff is worth it.
14. Tiny Micro-Braids Along the Hairline
A tiny braid at the hairline is a small move with a big visual payoff. It lets you keep the bulk of the curls down while adding just enough structure near the face to make the style feel finished. I like this especially when the front layers are too short to tuck, but too long to ignore.
What Makes It Wearable
The braid should stay narrow. Half an inch of hair is usually plenty. If you start with too much, the braid starts to look like it’s taking over the hairline instead of supporting it. A narrow braid also sits flatter, which helps the curls around it keep their natural shape.
- Start near the temple and travel only an inch or two back if you want a subtle look.
- Use the braid on one side only for an asymmetrical finish.
- Pair it with loose waves or curls that still have a little movement.
- Secure the end under a curl so the elastic disappears.
This style is a good choice when the front section needs something to do. The braid catches the eye, but the rest of the curls stay free. It’s a nice middle ground between wearing everything down and pinning the front away completely.
15. A Face-Layered Curly Lob That Air-Dries Cleanly
Shorter curls can be just as soft and romantic as long ones. A curly lob — usually somewhere around the collarbone — keeps the hair light enough to fall cleanly, and the face layers give the shape a little motion where it matters most. This is one of the most practical loose curly hairstyles worn down because it does not ask the hair to carry its own weight for very long.
The cut matters more here than any accessory. Layers that start near the cheekbone or chin help the curls turn inward or outward in a way that flatters the face without looking stiff. When the ends are all one length, a lob can puff out into a blunt shape. Add face layers, and the whole style relaxes.
I also like this length because it behaves well when air-dried. There’s less weight pulling at the roots, which means the top often keeps more lift on its own. That makes the style easier on busy days when you don’t want to spend twenty minutes with a diffuser and a mirror.
If you are choosing between styles and you keep coming back to the same thought — I want my curls down, but I want them controlled — this is usually the one to try first. It looks polished with a middle part, soft with a side part, and casual with a few pins or a scarf. The shape does the work, and that’s the part people notice before they notice anything else.