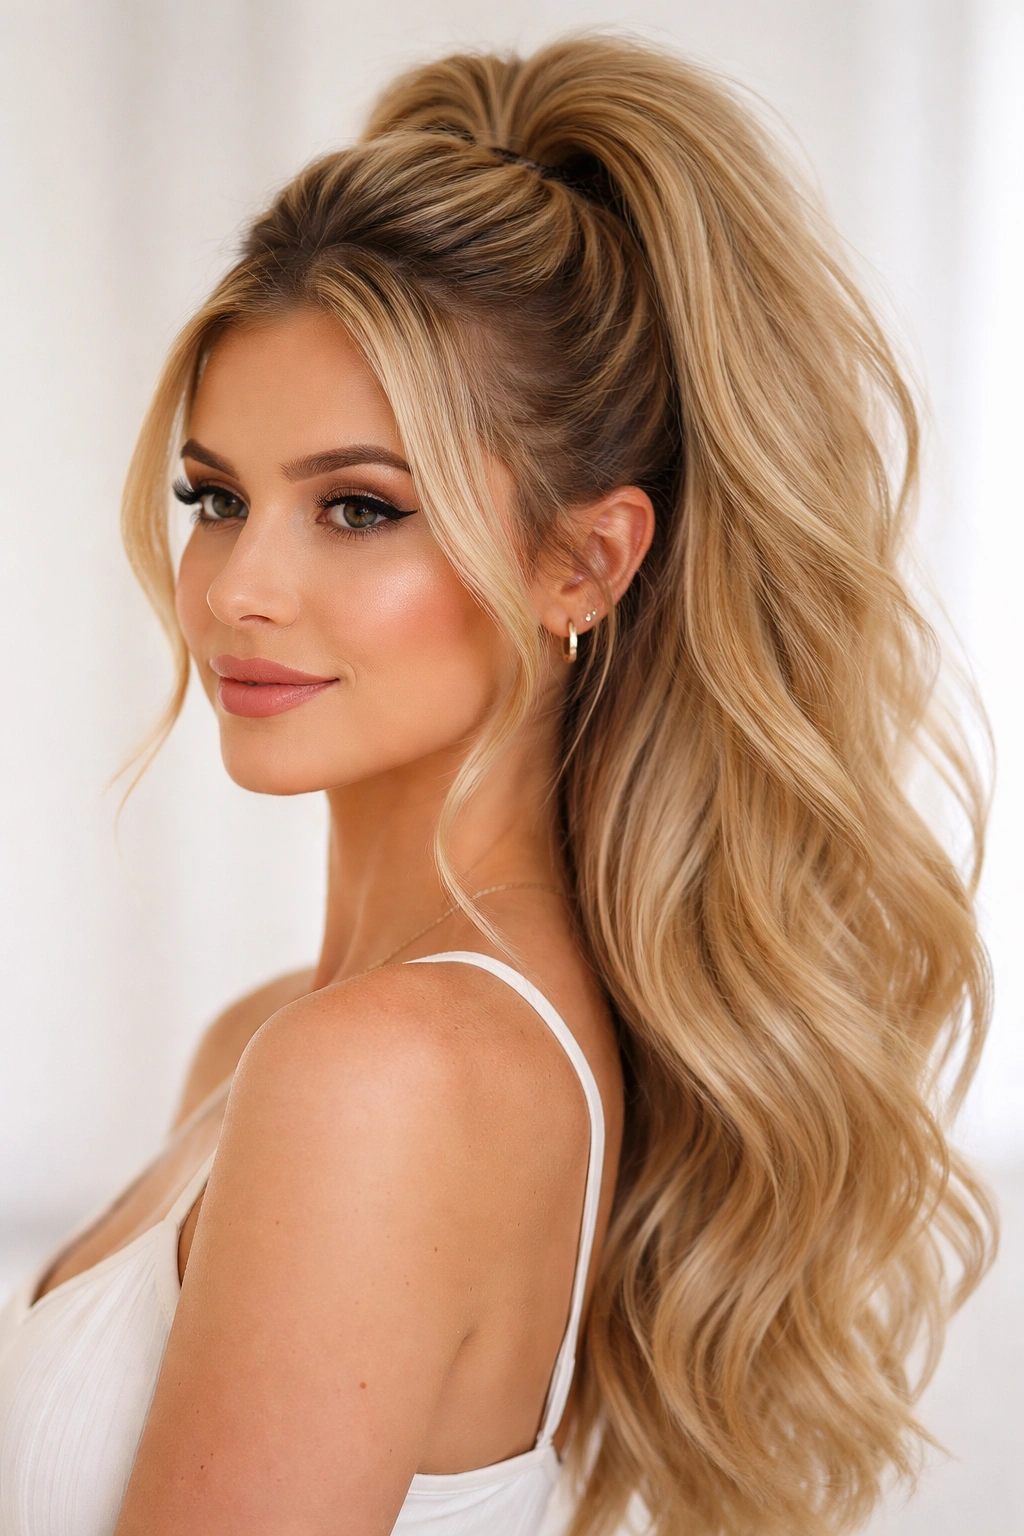
High ponytails have a timeless appeal, but they can sometimes look flat or thin depending on your hair texture and the techniques you use. The good news? A voluminous high ponytail isn’t about having naturally thick hair — it’s about understanding the right styling methods, products, and tricks that transform any hair type into something full, bouncy, and undeniably striking.
The secret to achieving genuine fullness at the crown lies in strategic teasing, thoughtful sectioning, and the right combination of styling tools and products. When done correctly, volume at the base of your high ponytail draws the eye upward, elongates your neck, and creates a polished, almost effortlessly glamorous effect. Whether you have fine hair that needs serious boost or thick hair that simply wants more dimension, these twelve styles offer proven approaches to getting that coveted full, lush ponytail.
What makes these techniques different from standard ponytails is the deliberate focus on creating height and texture at the crown before you even secure the tail. This isn’t about piling hair up carelessly — it’s about understanding how to use your hair’s natural texture, teasing products, and strategic styling to craft volume that photographs beautifully and holds all day.
1. Teased Crown High Ponytail
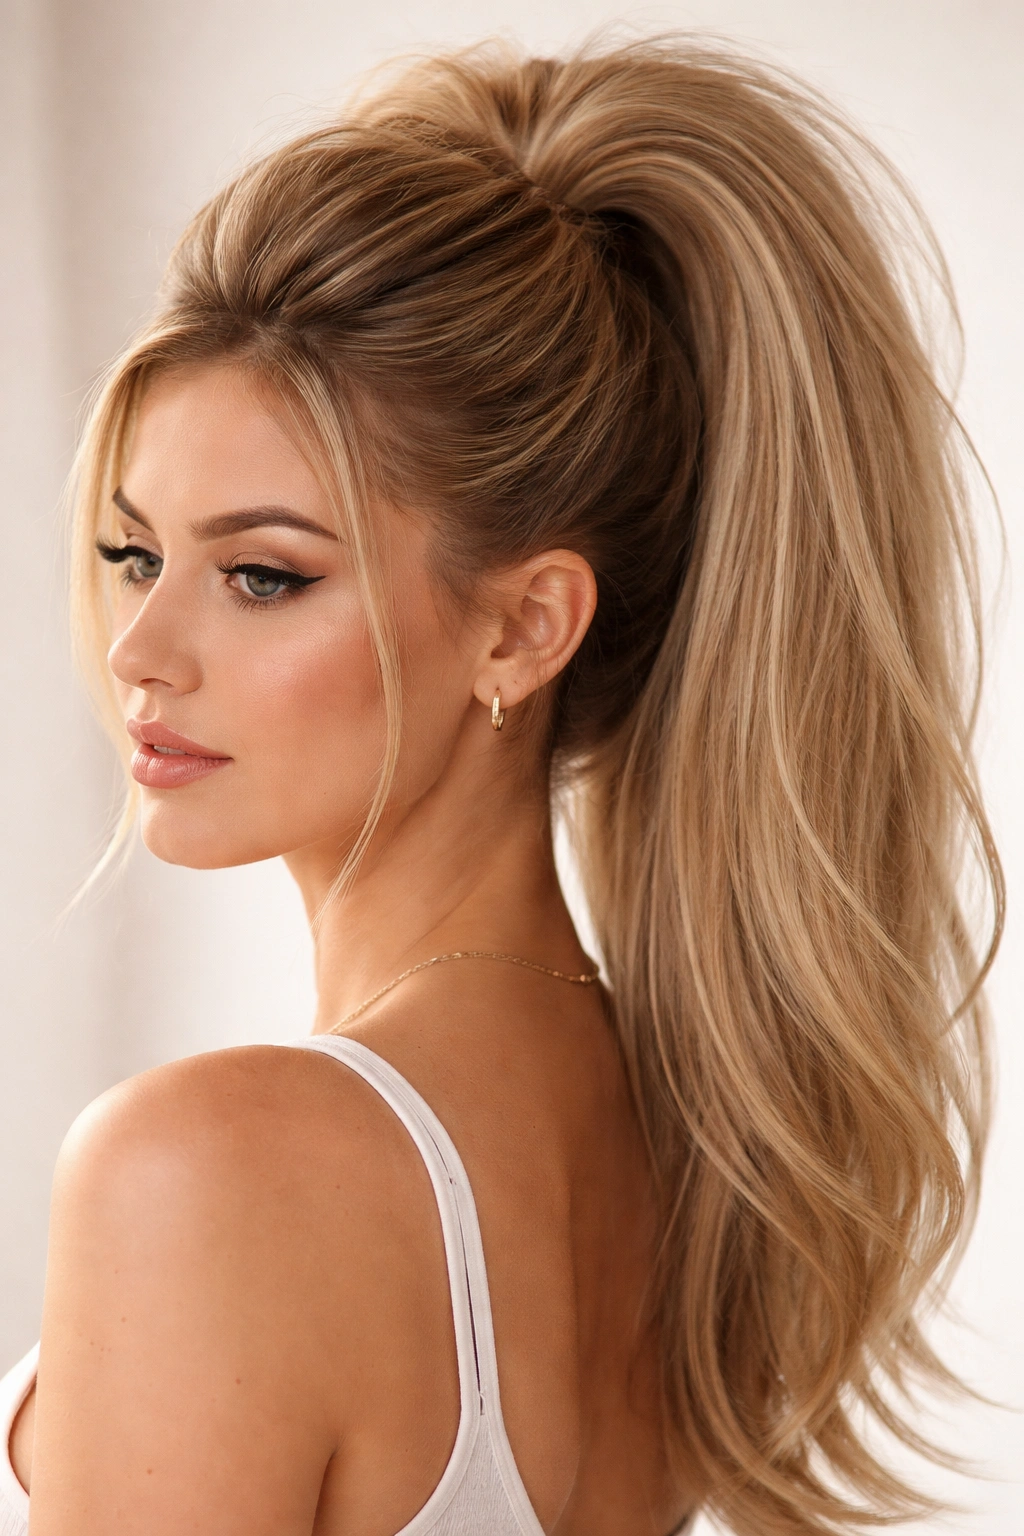
This foundational technique is the workhorse of voluminous ponytails, and for good reason. A properly teased crown creates an instant boost of height and fullness that makes even moderately thick hair look genuinely abundant. The tease provides texture that grips bobby pins securely, which means your volume stays put instead of deflating within an hour.
Why This Creates Real Volume
Teasing your hair at the roots forces the hair cuticles to stand away from the scalp, creating air pockets between strands. These air pockets catch light differently and create the visual illusion of thicker, fuller hair. The texture also prevents hair from slipping around once you’ve pinned it, which keeps your volume stable throughout the day rather than gradually settling flat. This is especially true for finer hair textures that need extra grip to maintain height.
How to Build Your Teased Base
Start with clean or slightly day-old hair — completely freshly washed hair is too slippery to tease effectively. Flip your head upside down and spray the crown area generously with a volumizing mousse or dry texturizing spray. Take a teasing brush (the short, dense bristles are crucial) and backcomb small sections of hair at the crown, working from the ends toward the roots with firm, quick strokes. Work in layers: tease the bottom layer, then flip the top layer over it and tease that layer too. This creates density without creating a tangled mess. Once you’ve teased a generous section about 3-4 inches in diameter, smooth the surface layer gently with a paddle brush or fine-tooth comb, but don’t completely smooth out the tease beneath — you want to preserve that texture.
Pro tip: The difference between a teased crown that looks glamorous and one that looks matted is that final smoothing step. Smooth only the outer layer, leaving the structure intact underneath.
2. Double Ponytail Stacking Technique

The double ponytail hack works by creating two separate anchor points that work together to lift and support each other, resulting in dramatically more volume than a single ponytail could achieve. This technique is a game-changer for anyone with fine or medium-thickness hair who wants genuine fullness without extensions.
The Mechanics of Stacking for Height
When you secure a ponytail high, then create a second ponytail just below it using the remaining loose hair, the weight of the lower ponytail actually pulls the upper ponytail upward, creating lift at the crown. The upper ponytail, which contains your teased base, becomes even more prominent. The two ponytails together create visual density that a single ponytail simply can’t match. This is pure physics working in your favor.
Step-by-Step Stacking Process
Tease your crown thoroughly, then secure your first ponytail at the very top of your head using a thin elastic. Keep this first ponytail relatively small — it should contain most of your crown volume but not all your hair. Take the remaining loose hair and gather it into a second ponytail positioned about 2-3 inches directly below the first one. Secure this second ponytail with another thin elastic. Now here’s the magic: gently tease the section of hair between the two elastics, then carefully pull that teased section upward and smooth it into the base of your upper ponytail. This blends the two ponytails so they look like one unified, intensely voluminous style rather than two separate tails. Wrap a small section of hair around the base to conceal the elastics.
Worth knowing: The exact placement of your second ponytail matters — too far down and it won’t create lift, too close and it won’t create enough volume distinction.
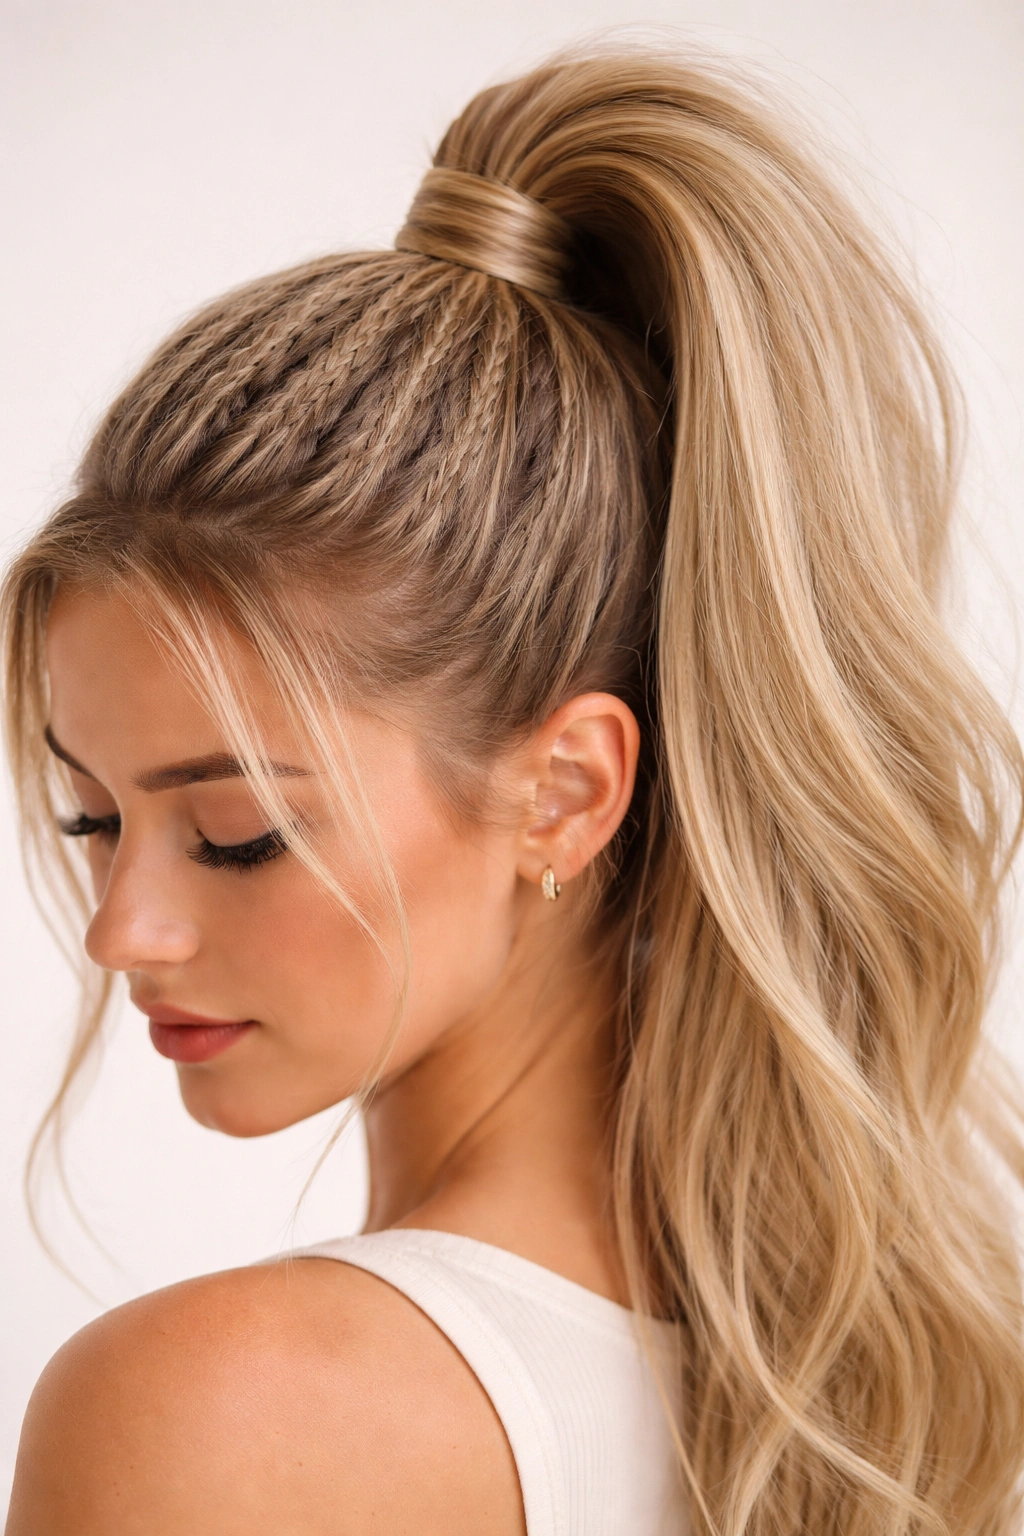
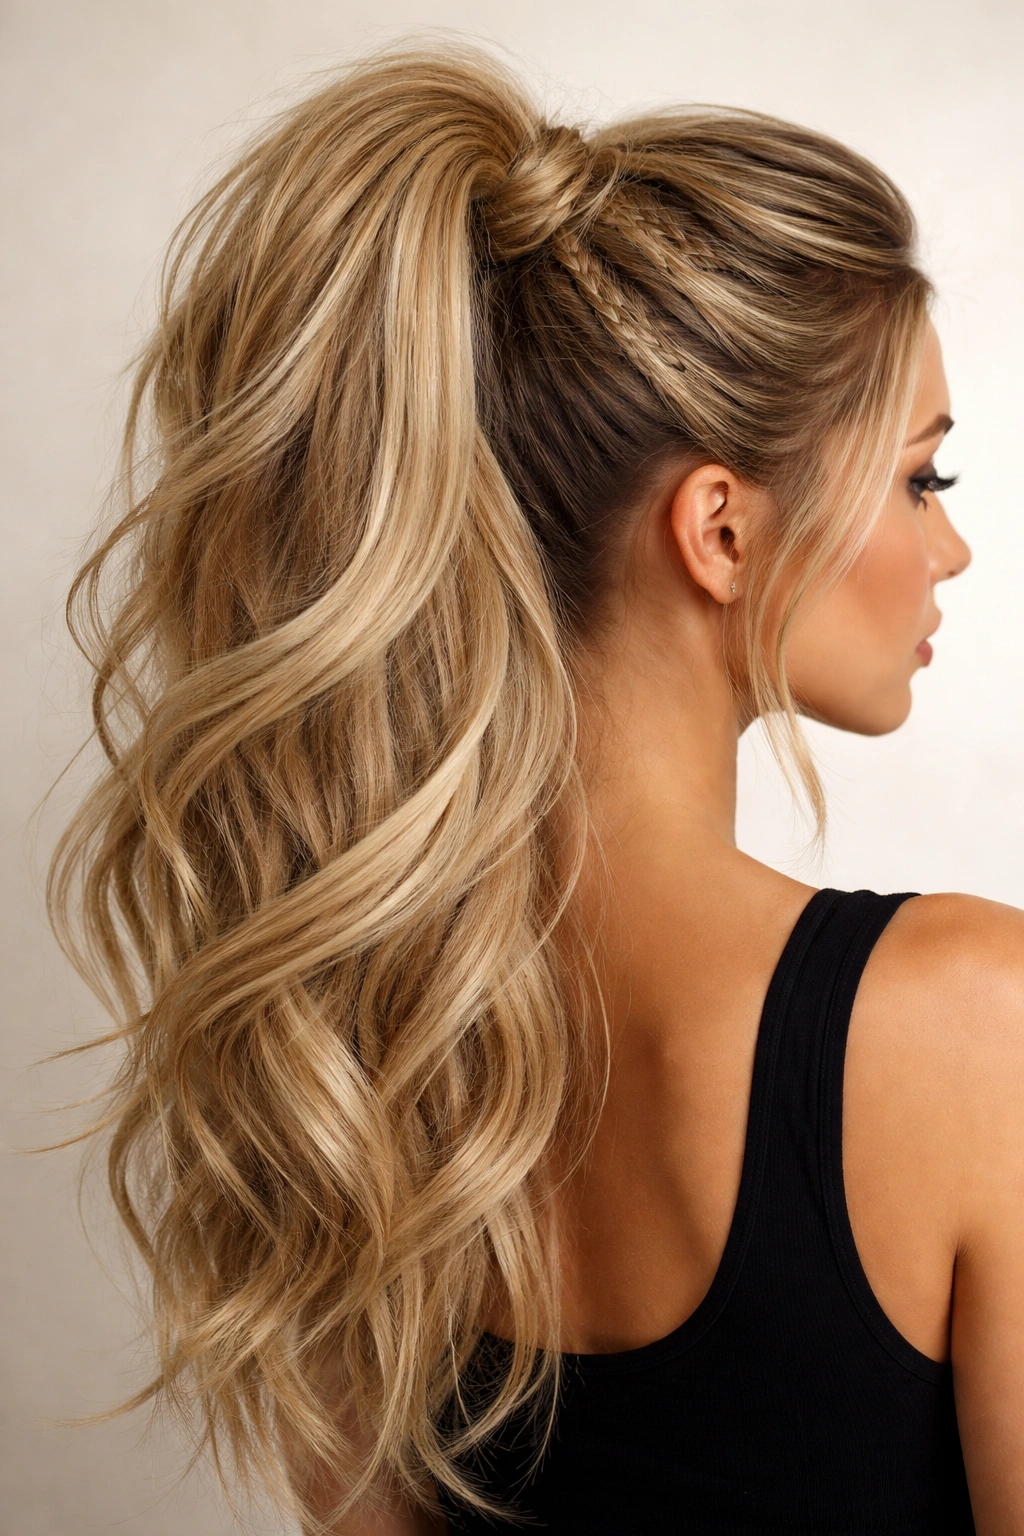
3. Braided Base High Ponytail with Crown Volume
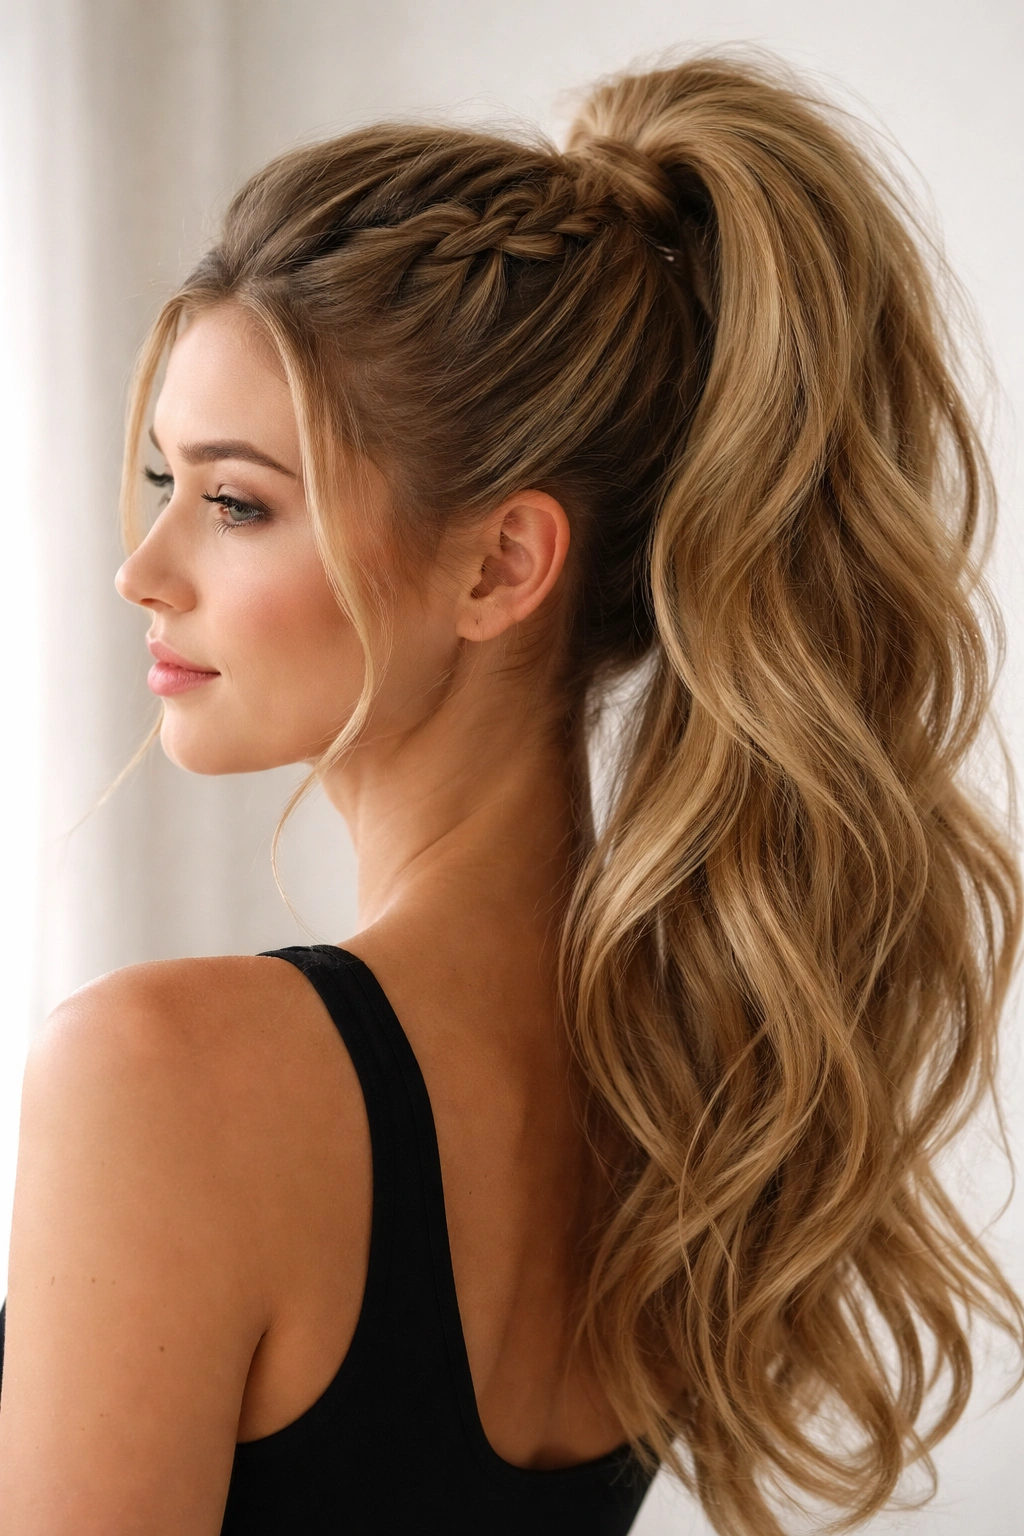
Adding a braid element to your base creates textural interest and actually generates extra volume because braiding slightly fluffs the strands. A Dutch braid or French braid worked backward from your neck upward creates a gorgeous textured foundation that your high ponytail sits on top of, making the whole look feel more substantial.
Why Braiding Adds Perceived Fullness
When you braid hair, you’re separating strands and slightly pulling them apart, which creates a wider visual footprint than smooth hair. A braid at the base of your ponytail occupies more physical space than straight hair would, which immediately makes the crown area look fuller. Additionally, you can loosely braid the sections to deliberately create extra bulk and texture, then pull the braid gently to fluff it even further.
Creating Your Braided Base
Start by separating a triangular or rectangular section at the base of your crown — this is the section you’ll braid. Work a Dutch braid (where you push strands under instead of over, creating a raised braid) backward from your nape toward the crown, using just this one section of hair. As you braid, don’t pull tight — a slightly loose braid creates more volume. Once the braid reaches your crown, secure it with a small, clear elastic. Now gather all your remaining hair plus the teased crown section, and secure everything into a high ponytail positioned right at the base of your braid. The braid becomes an invisible structure that makes your crown look dramatically fuller from every angle.
Insider note: If you gently pull each section of the braid apart slightly once it’s finished, you’ll add an extra dimension of fluff that really sells the voluminous effect.
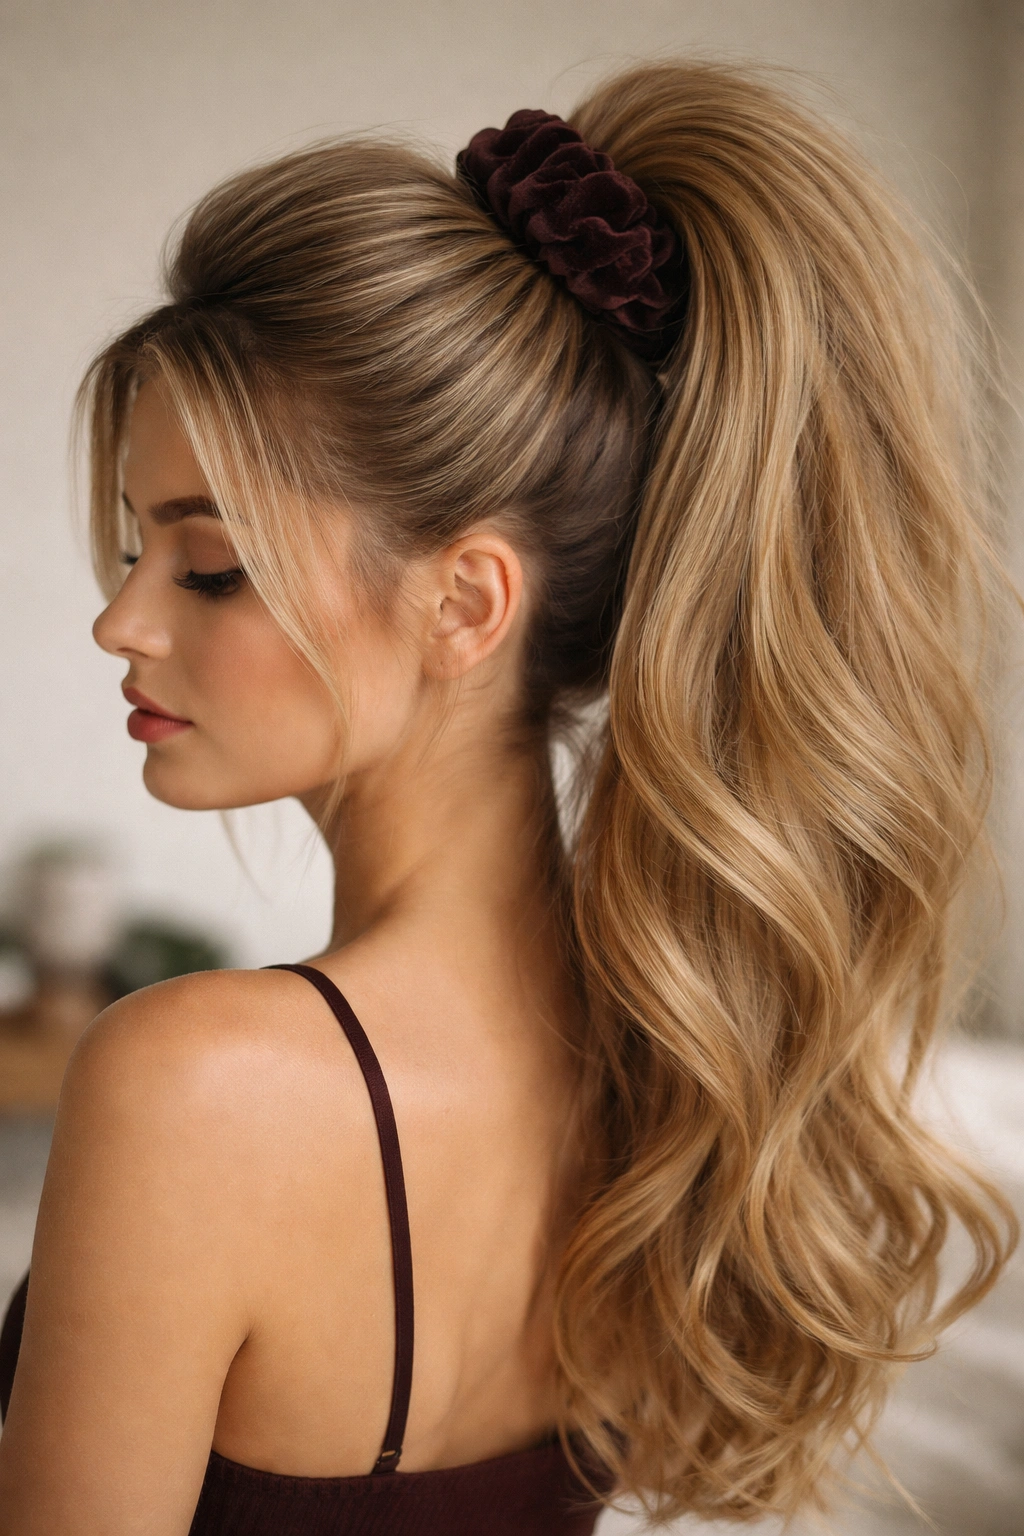
4. Velvet Scrunchie High Ponytail with Textured Lift
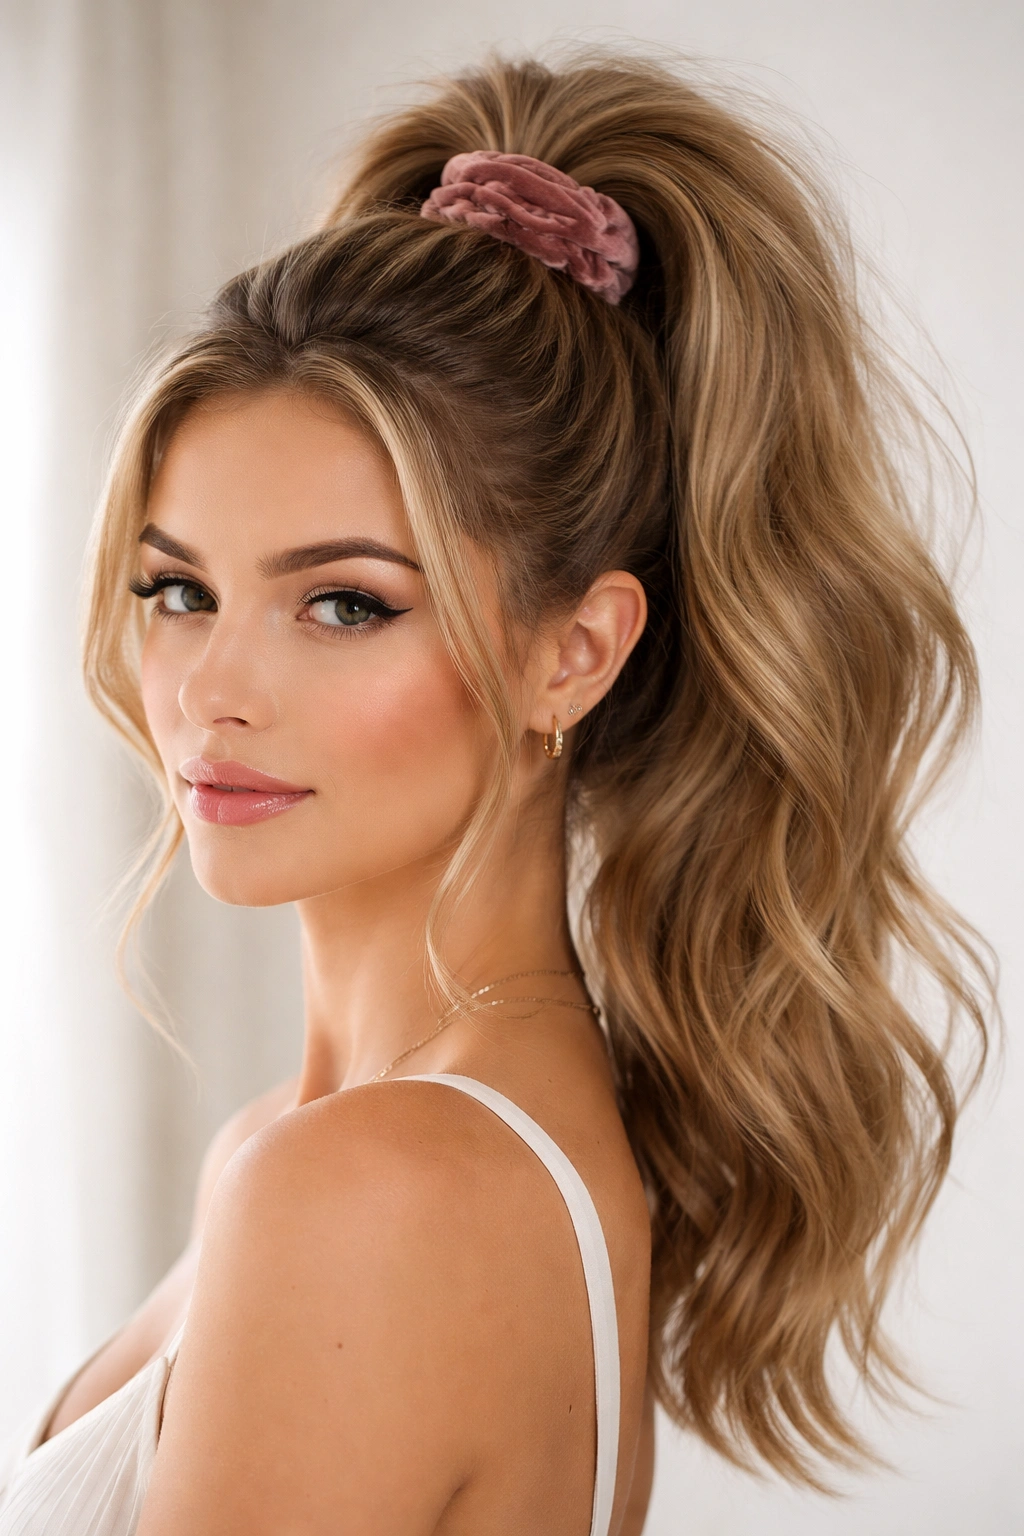
The choice of hair tie matters far more than most people realize. A velvet scrunchie or fabric-covered elastic creates a softer, more luxe look than a standard metal elastic, and it also provides superior grip without creating the tight crease that metal elastics leave behind. This means you can achieve volume without the hair-damaging tension.
How Fabric Elastics Preserve and Create Volume
Velvet and fabric scrunchies distribute pressure evenly across a larger surface area of hair compared to thin metal elastics. This even distribution means you can tighten the elastic enough to hold your ponytail securely without compressing all your volume flat against the scalp. Additionally, the texture of velvet grips hair better than slick materials, which means you can achieve a tighter hold at a gentler tension level. This preserves the air pockets in your teased crown instead of squishing them down.
Building Volume Around Your Fabric Tie
Tease your crown generously, then loosely gather your hair into a high ponytail position. Before securing it with the velvet scrunchie, take a small section of hair from the ponytail and lightly tease it against the scrunchie — this creates extra cushioning that lifts the scrunchie away from your scalp, preserving the volume you’ve built. Wrap a small piece of hair around the base of the scrunchie to conceal it, and you’ve created the illusion of even more fullness because the ponytail appears to sit higher and looser at the base.
Pro tip: Choose a velvet scrunchie in a color that matches your hair or a jewel tone that complements your skin — the color impacts how much visual weight the tie appears to have, which affects the overall perception of volume.
5. Textured Pompadour High Ponytail
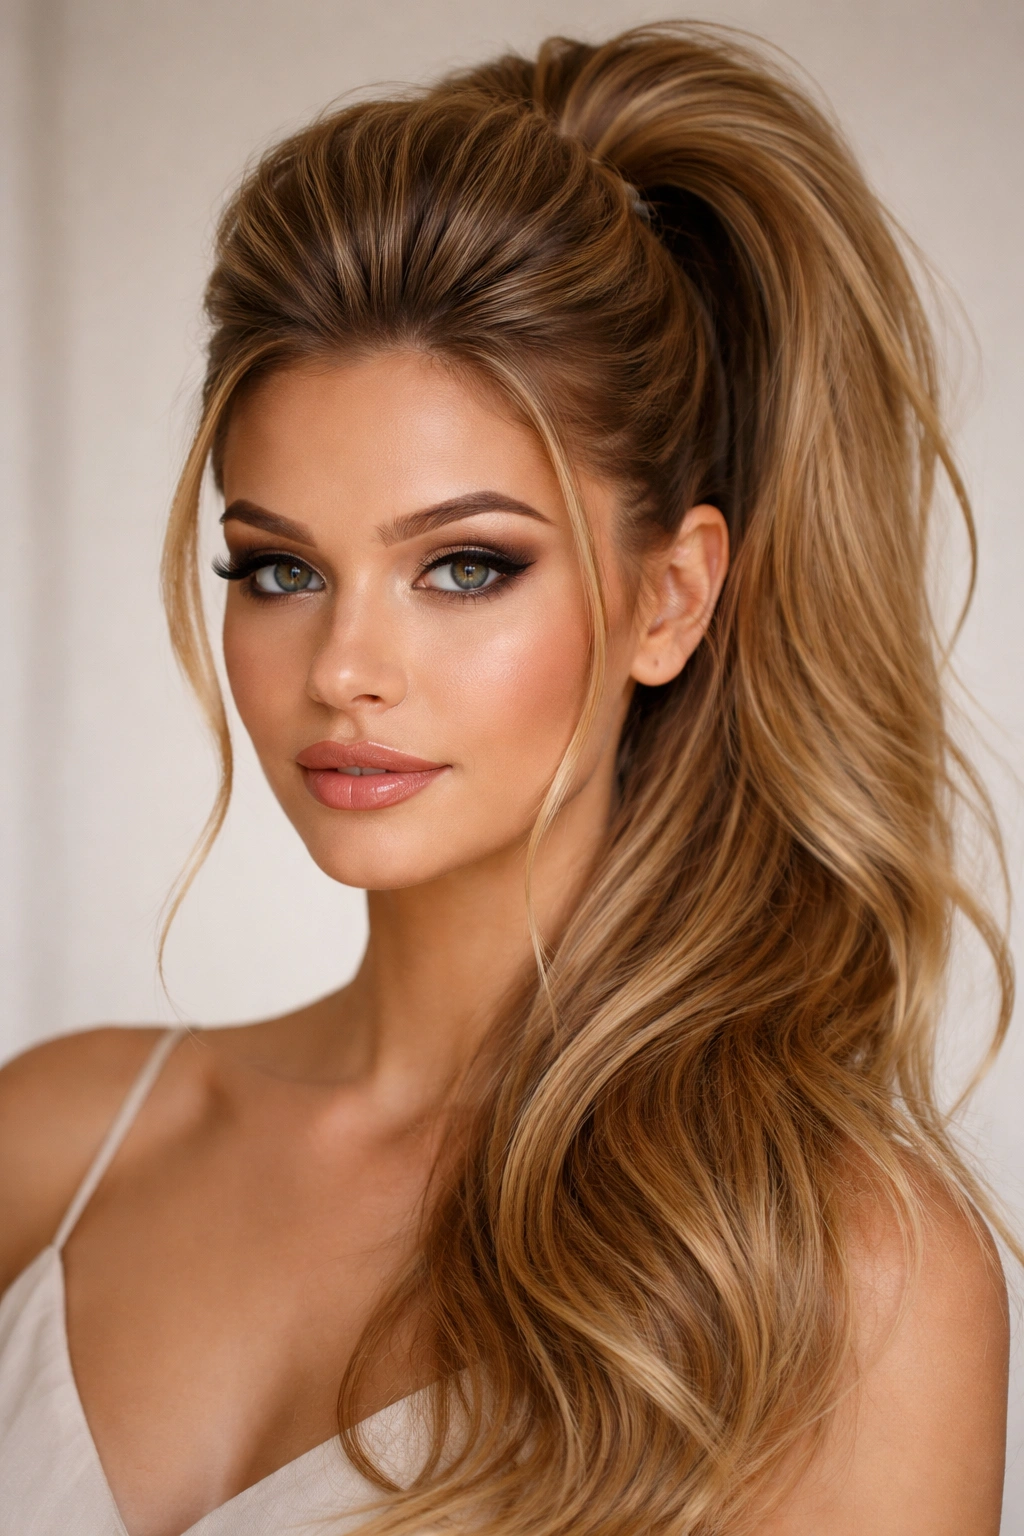
A pompadour-style front section creates dramatic height at the crown, and when you feed that pompadour into a high ponytail, you get a style that reads as exceptionally voluminous from the front while remaining practical and secure for all-day wear. This style works beautifully for everyone from fine-haired individuals to those with thick curls.
Building a Pompadour Into Ponytail Structure
A pompadour starts by isolating your front hairline section — roughly from temple to temple across the front-top of your head. Tease this section vertically at the roots, using an upward motion with your teasing brush. Once you’ve created substantial height, smooth the surface layer, then gently flip the entire section forward, creating a lifted wave or dome shape at the crown. Flip it back into place and secure it with bobby pins positioned low enough that they won’t show but high enough to support the height you’ve created. Now gather all your hair, including your pompadour base, and secure it into a high ponytail. The pompadour acts as an anchor and creates the impression that your entire crown is impossibly full.
Styling Details That Enhance the Effect
Once your ponytail is secured, you can gently pull a few small pieces of hair from the pompadour section and loosely curl them around your face — this softens the look and creates additional dimension. The pompadour base should feel smooth on top but maintain its height and shape, which happens when you’ve teased it properly and pinned it at the exact right angle.
Worth knowing: The front pieces around your face are crucial to the balance of this look — they should frame your face, not fall completely flat or create too much volume that overwhelms your features.
6. Half-Up High Ponytail with Volume at Crown
The half-up ponytail offers a softer, more romantic alternative to a full high ponytail, but it can absolutely be voluminous. By securing only the top half of your hair into a high position and leaving the bottom half loose, you create airiness while the secured portion displays maximum fullness at the crown.
Strategic Sectioning for Maximum Crown Impact
This style depends entirely on teasing only the upper section of hair — the section that will be secured into the half-up ponytail. Work your teasing exclusively from the crown down to approximately ear level. Flip your head upside down and tease the roots aggressively in this upper section, then flip back up. You want dramatic height in just this portion; don’t waste teasing effort on the lower sections that will remain loose. Gather your upper section into a ponytail at the crown and secure it, then smooth the lower section of loose hair so it flows smoothly from the base of your ponytail downward.
Creating the Illusion of Even More Volume
Once your half-up ponytail is secured, gently tease the base of your lower, loose section — just the area right where it meets your ponytail. This teasing isn’t meant to be visible, but it creates a cushion that lifts your ponytail slightly away from your head, making the crown volume appear even more pronounced. Wrap a small section of hair from your ponytail around the base elastic to conceal it, which also adds visual fullness right at the critical crown point.
Pro tip: This style photographs exceptionally well because the volume at the crown is genuinely visible from multiple angles, and the soft loose waves below prevent the look from feeling too severe or pulled.
7. Crimped Crown High Ponytail for Instant Texture
Crimping your hair at the crown with a crimping iron creates incredibly fine, delicate texture that builds volume in an entirely different way than teasing does. If you want a high ponytail that feels bouncy and almost feathered, crimping is your secret weapon.
The Science of Crimp Texture for Volume
When you crimp hair, you create tight, zigzag waves that radically increase the surface area of each strand. These tiny waves catch light and create the impression of far more hair than you actually have. Crimping also creates natural grip points, which means your teased hair holds shape longer without needing as many bobby pins. The texture is softer and finer than a traditional backcomb tease, giving you a completely different aesthetic.
Applying Crimp Texture Strategically
Heat your crimping iron to medium heat (too high and you’ll damage your hair; too low and the crimp won’t set). Section your crown area into 4-5 small subsections and crimp each one vertically from root to tip. Work the crimper in slow, controlled motions, crimping each section twice — once going up and once coming back down — for consistent texture throughout. Once you’ve crimped your entire crown, flip your head upside down and lightly tease the crimped sections together to meld them into one cohesive voluminous base. Flip back up, smooth the outer layer gently, then gather everything into your high ponytail.
Worth knowing: Crimped hair is more delicate than teased hair, so handle the crown section gently to avoid breaking the crimp texture apart.
8. Twisted Section High Ponytail Creating Dimension
Twisting sections of hair around your crown and pinning them creates a sophisticated, sculptural volume that reads as intentional and polished. This technique works beautifully for both sleek and textured hair types because the twists add visual fullness regardless of your hair’s natural texture.
How Twists Create Structural Volume
When you twist a section of hair, you’re essentially braiding it with just two strands instead of three, which creates a tighter, more compact structure. Multiple twists layered around the crown create height and visual density because each twist occupies space and the overlapping creates a fuller silhouette. Twists also have the advantage of looking deliberately styled rather than teased, which appeals to anyone who prefers a more intentional, less “backcombed” appearance.
Building Your Twisted Crown Structure
Tease your crown lightly for grip, then take a section of hair from one side of your crown and twist it, working toward the back. Secure this twist with bobby pins positioned at the base. Repeat this process with a second section from the opposite side, twisting it in the same direction and pinning it at the back. Now you have two twisted sections creating a frame of fullness around your crown. Gather any remaining loose hair plus these pinned twists, and secure everything into a high ponytail at the nape of your neck (or wherever your twists naturally direct the hair). The result is a style that has height and dimension without looking teased or overly separated.
Pro tip: Pull each completed twist slightly to fluff it just a bit — this adds extra visual volume without making the twists look messy.
9. Bubble High Ponytail for Playful Volume
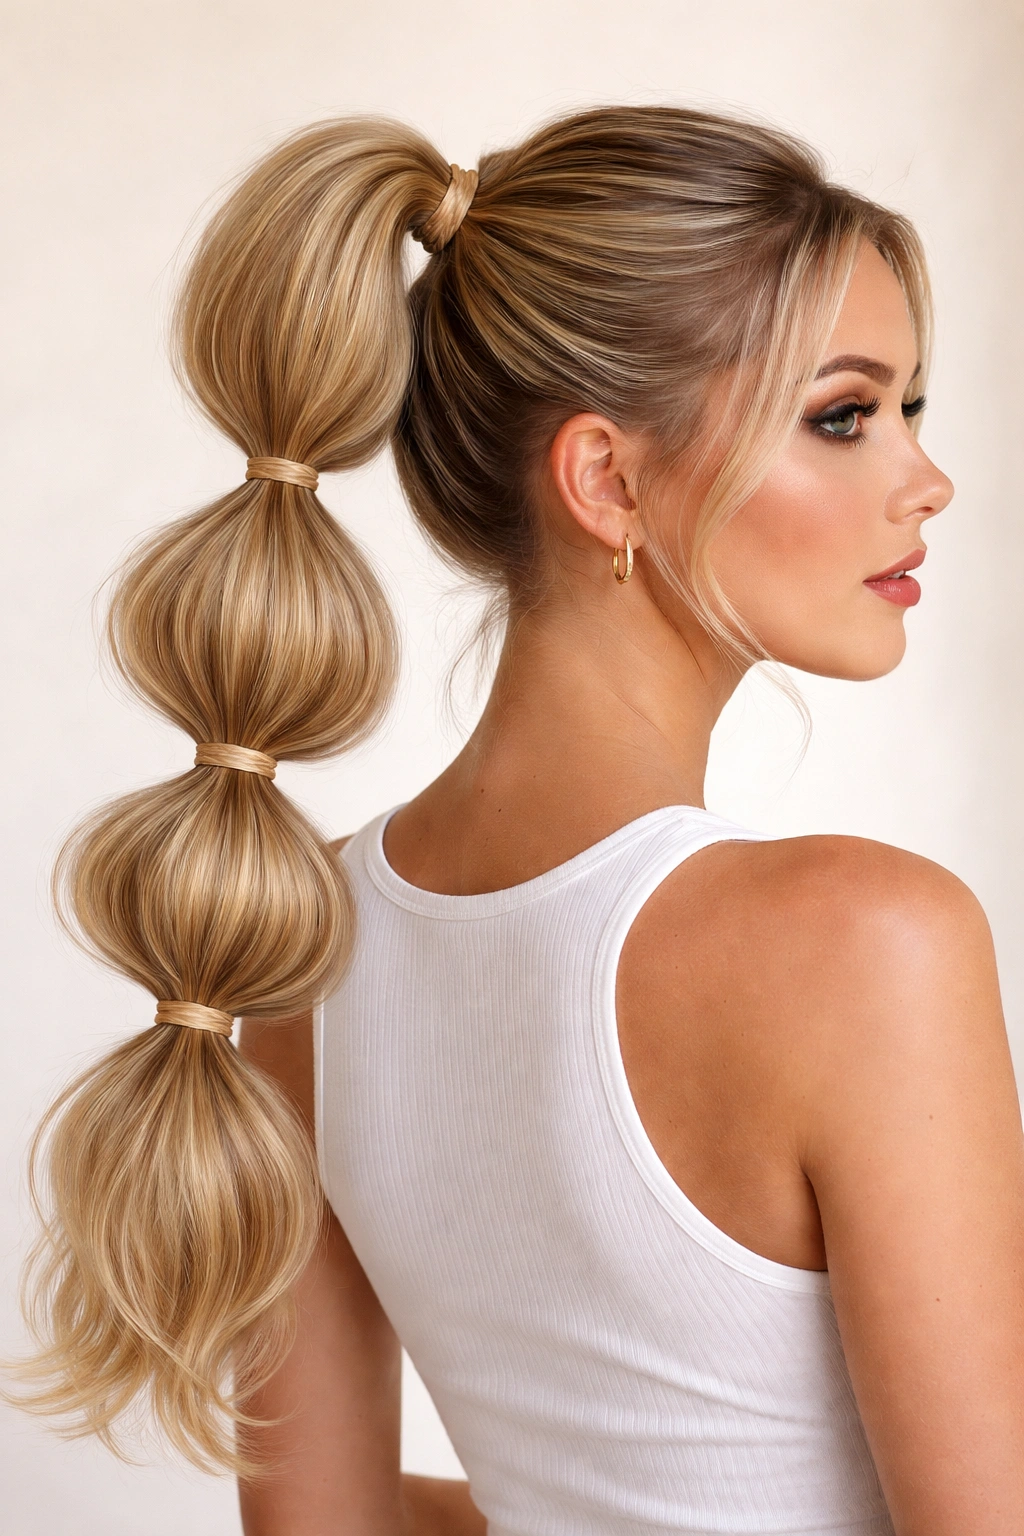
The bubble ponytail is an on-trend style that’s surprisingly versatile and genuinely voluminous. By creating multiple small sections secured with stacked elastics, you build height through repetition and create a style that’s both fun and undeniably full at every level.
Why Bubbles Create Perceived Fullness
Each “bubble” created by securing a new elastic expands slightly, which puffs your ponytail outward. When you stack multiple bubbles, each one creates its own moment of expansion, and these moments compound to create a dramatically fuller overall shape. From the side, a bubble ponytail has way more volume than a standard ponytail; from the back, it looks almost sculptural.
Creating Clean, Structured Bubbles
Secure your initial high ponytail as you normally would, using a thin elastic. Position this elastic fairly high and make sure your ponytail is smooth and sleek — the contrast between the smooth base and the textured bubbles above is what makes this style work visually. Now, about 2 inches below your first elastic, secure a second elastic. Gently pull upward on the hair between the two elastics to create your first bubble. Repeat this process down the length of your ponytail, spacing each new elastic about 2-3 inches apart and pulling up between each one. For maximum volume effect, pull each bubble quite firmly — you want them to pouf outward noticeably. Finish by curling the very end of your ponytail if desired, or leaving it sleek depending on the overall effect you want.
Worth knowing: The tightness of your elastics affects how much each bubble puffs — tighter elastics create more defined puffs, while slightly looser elastics create a softer, more romantic bubble effect.
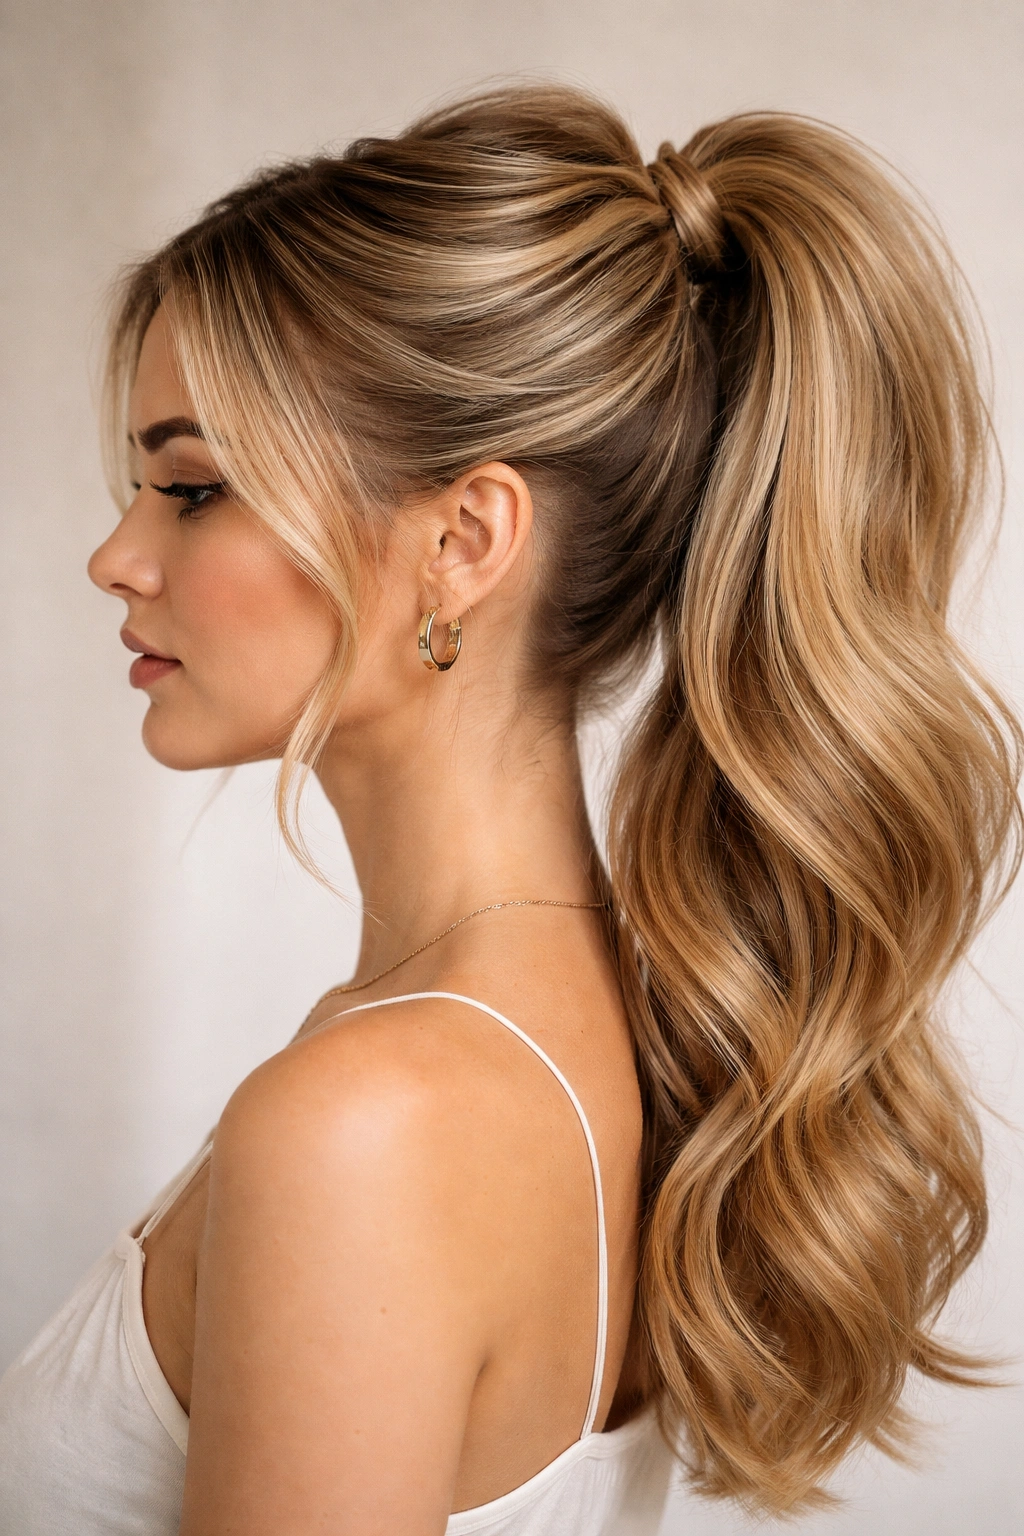
10. Bouffant High Ponytail with Strategic Smoothing

A true bouffant involves teasing your crown heavily, then smoothing only the very surface layer to create a beautiful dome of height. This is a glamorous, old-Hollywood-inspired technique that creates stunning volume when executed properly.
The Art of the Perfect Bouffant Tease
Unlike a standard tease where you’re creating grip for bobby pins, a bouffant tease is specifically about creating shape and height. You’re teasing with the intention of creating a domed silhouette, so your technique is slightly different. Work in horizontal sections from the front of your crown backward. Start with the back section and tease it aggressively, creating a wall of height. Work forward toward your face, teasing each section and layering them so that the height extends from the base of your crown upward and forward. The goal is a shape that’s higher at the back and gradually descends toward your face.
Smoothing Your Bouffant for Elegance
Once you’ve built your bouffant shape, use a fine-tooth comb or paddle brush to smooth only the very outer layer of hair — think of it as creating a silk covering over your teased foundation. You should see a smooth surface, but underneath that surface, all your teasing structure remains intact. The illusion is of perfectly thick, voluminous hair, not of textured, separated strands. Gently secure your bouffant into a high ponytail, taking care not to disrupt the domed shape you’ve created. A few carefully placed bobby pins will hold everything in place.
Pro tip: The bouffant works best with a sleek, smooth ponytail below the crown area — the contrast between the textured, voluminous bouffant and the sleek tail is what makes the style visually striking.
11. Layered Texture High Ponytail with Mixed Techniques
This style combines teasing, crimping, and loosely twisted sections to create a crown that has multiple types of texture working together. The different textures catch light differently and create the impression of far more volume than any single technique could achieve.
Why Layered Texture Amplifies Fullness
Different textures interact with light differently and also create different gripping points for styling. By combining a teased base with crimped sections and light twists, you’re creating a crown that has visual depth and complexity. From any angle, this layered texture reads as genuinely full because you’ve multiplied the visual interest and dimension in that area.
Building Your Layered Texture Crown
Start with a teased base at your very crown, working the tease from root to about mid-length. Once you’ve created your base volume, take a small section at the front (about an inch-wide) and crimp it vertically. Take another small section and twist it loosely, pinning it with bobby pins positioned low enough to be hidden. Continue alternating between crimped sections and lightly twisted sections around your crown, working backward. The combination of these different textures creates a crown that catches light beautifully and reads as exceptionally voluminous. Gather everything into your high ponytail, making sure your tease, crimps, and twists all blend together seamlessly at the base.
Worth knowing: The key to making this look polished rather than chaotic is to ensure all your textures are the same general height and they blend smoothly into your high ponytail base.
12. Decorative Clip Enhanced Volume Ponytail
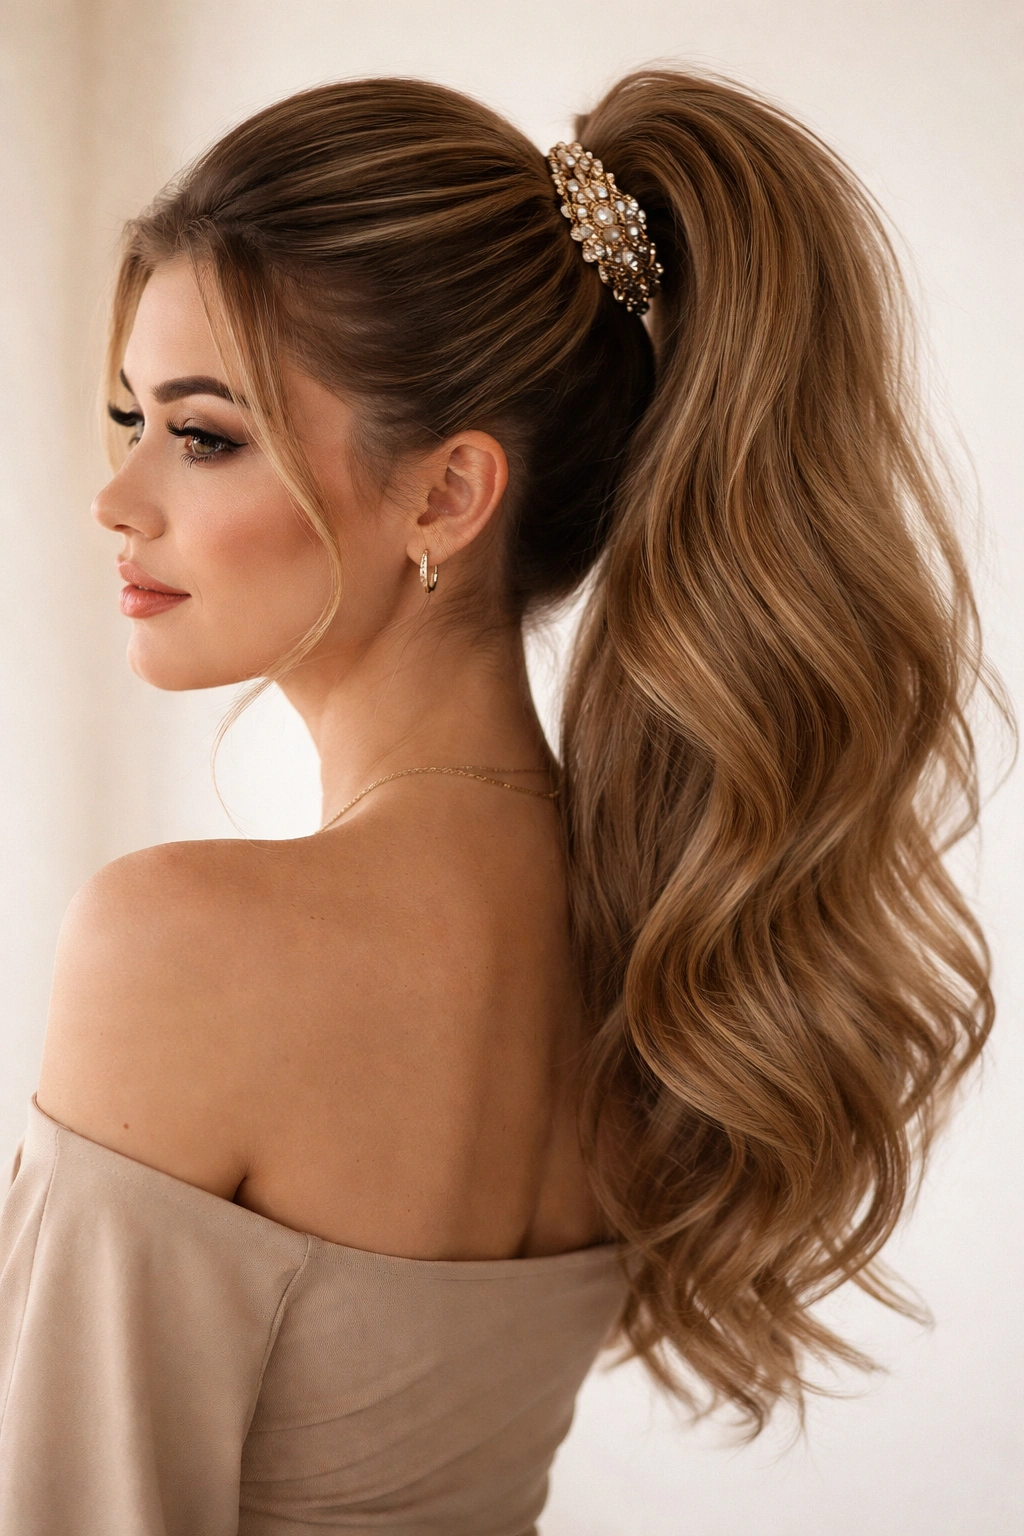
Adding a decorative clip, claw, or vintage-inspired hair piece at the base of your high ponytail increases visual volume by occupying space at the crucial crown point. The right clip acts like architecture for your ponytail, creating height and fullness through strategic placement rather than relying solely on teasing or styling techniques.
Strategic Clip Placement for Maximum Effect
A clip positioned at the base of your ponytail creates an instant lift effect — the hair appears to sit higher and fuller because the clip itself adds height and dimension. This works beautifully when combined with a light tease or crimp texture; the texture creates the actual fullness, and the clip amplifies the visual impact by creating a point of interest and height at the crown. A decorative clip also serves a practical purpose: it holds hair securely in place alongside your elastic, reducing the tension needed from the elastic itself and thus preserving your hair’s volume.
Choosing Your Clip for Maximum Volume
Look for clips that are substantial enough to create visual weight without being so heavy that they pull your ponytail down. A claw clip in a tortoiseshell finish or a vintage-inspired metal clip works beautifully. Position the clip so it sits directly at the base of your ponytail, slightly angled so that it frames the ponytail rather than disappearing behind it. A clip worn slightly offset from center — tilted to the right or left rather than perfectly straight back — creates an even more voluminous, intentional-looking effect.
Pro tip: Coordinate your clip with your outfit or jewelry for a polished look that suggests this level of volume is just your everyday style, not something you’ve labored over creating.
Final Thoughts
A genuinely voluminous high ponytail comes down to understanding the interplay between teasing or texturizing your crown, using strategic sectioning and anchoring points, and choosing products and accessories that support your volume rather than flatten it. None of these twelve techniques requires you to have naturally thick hair — each one is a method for creating the illusion of fullness through smart styling choices and the right tools.
The most effective approach is often to combine multiple techniques from this list. A teased base with a decorative clip and velvet scrunchie, for instance, creates exponentially more volume than any one of these methods alone. Start with one technique you feel confident executing, master that, then layer in additional methods until you’ve developed a routine that becomes second nature.
Your high ponytail should feel secure enough to hold throughout your day without slipping, but not so tight that it creates tension on your hairline or flattens the crown volume you’ve worked to create. The sweet spot is a ponytail that’s snug but not strangling, anchored with bobby pins if needed, and positioned high enough that your volume sits visibly on top of your head rather than floating in space. Once you’ve nailed that balance, you’ll have a signature high ponytail that photographs beautifully and makes you feel confident from morning through evening.