Frontal ponytails are having a major moment, and for curly-haired folks, they’re genuinely transformative. There’s something about pulling your curls back—whether you’re working with tight coils, loose waves, or everything in between—that instantly shifts your whole vibe. You get that perfect balance between polished and effortlessly put-together. The best part? A frontal ponytail works whether you’re heading to the gym, a casual brunch, or literally anywhere you need to look pulled together without spending an hour styling.
The thing that makes frontal ponytails special for curly hair is how they frame your face while showcasing your texture. Unlike straight-haired versions, curly ponytails have this natural volume and dimension that’s honestly hard to achieve any other way. You’re not trying to hide your curls—you’re celebrating them while keeping them contained. Whether you like sleek and refined or embraced-texture-and-somewhat-wild, there’s a frontal ponytail technique that’s made for your curls.
The variety in how you can style a frontal ponytail with curly hair is genuinely impressive. You can go minimalist with just a few pieces framing your face, or you can create something more intricate with layered sections and strategic texturing. What matters is understanding how your specific curl pattern responds to different styling techniques, tools, and products. Let’s walk through twelve different frontal ponytail styles that actually work beautifully with curly hair—not just borrowed-from-straight-hair styles that feel awkward on texture.
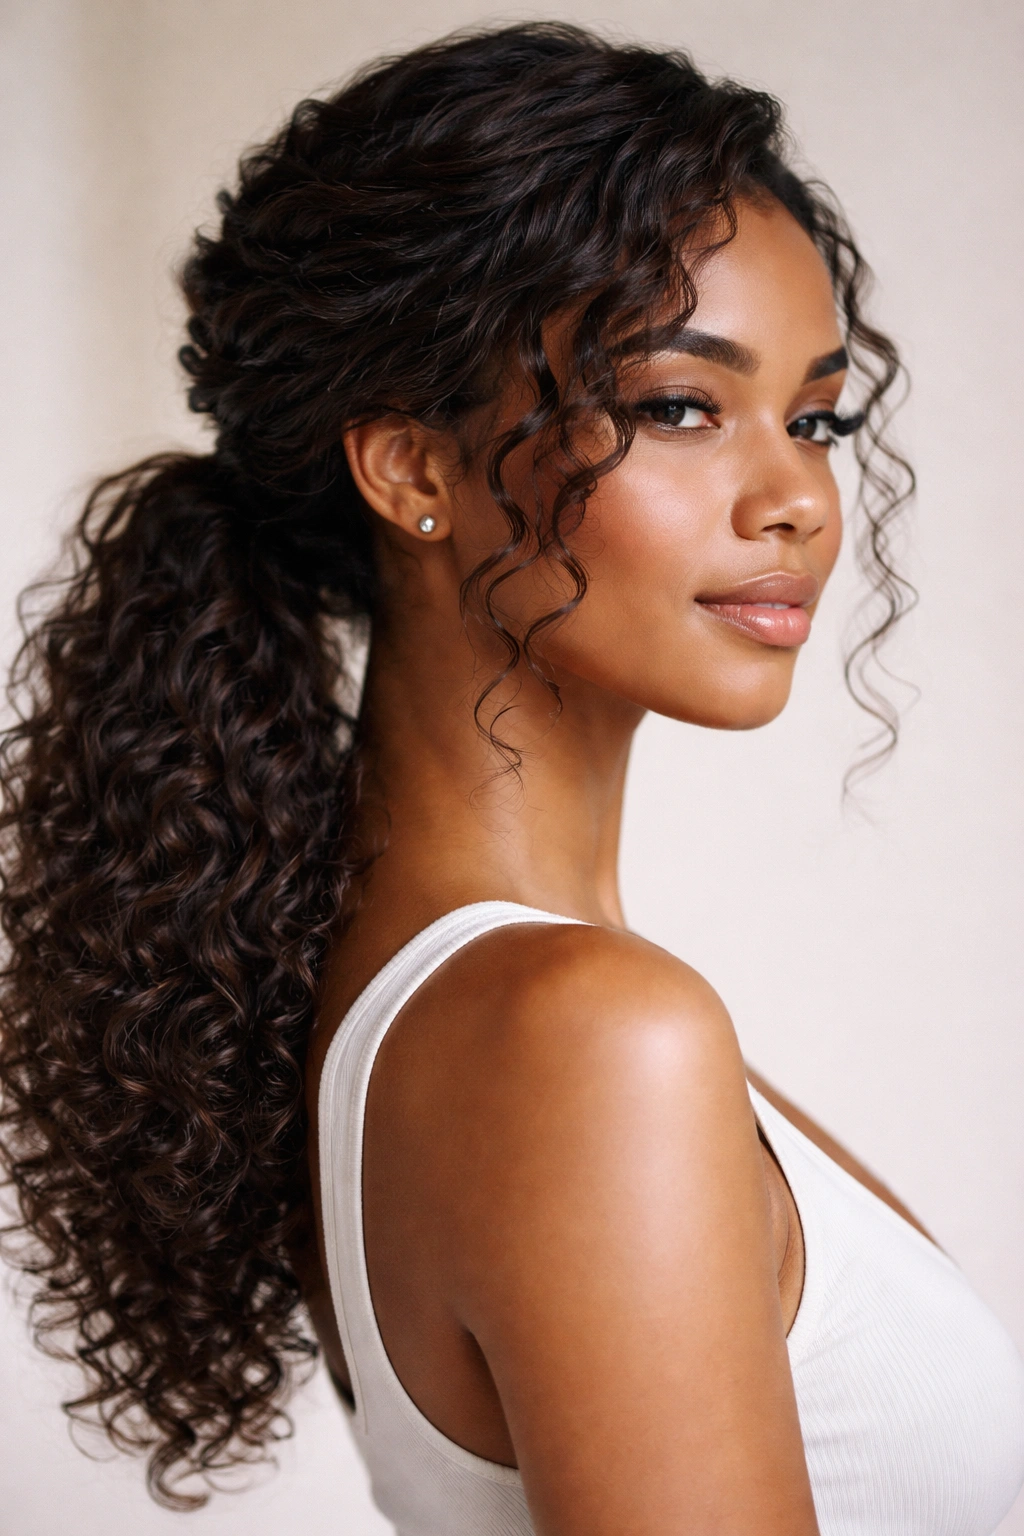
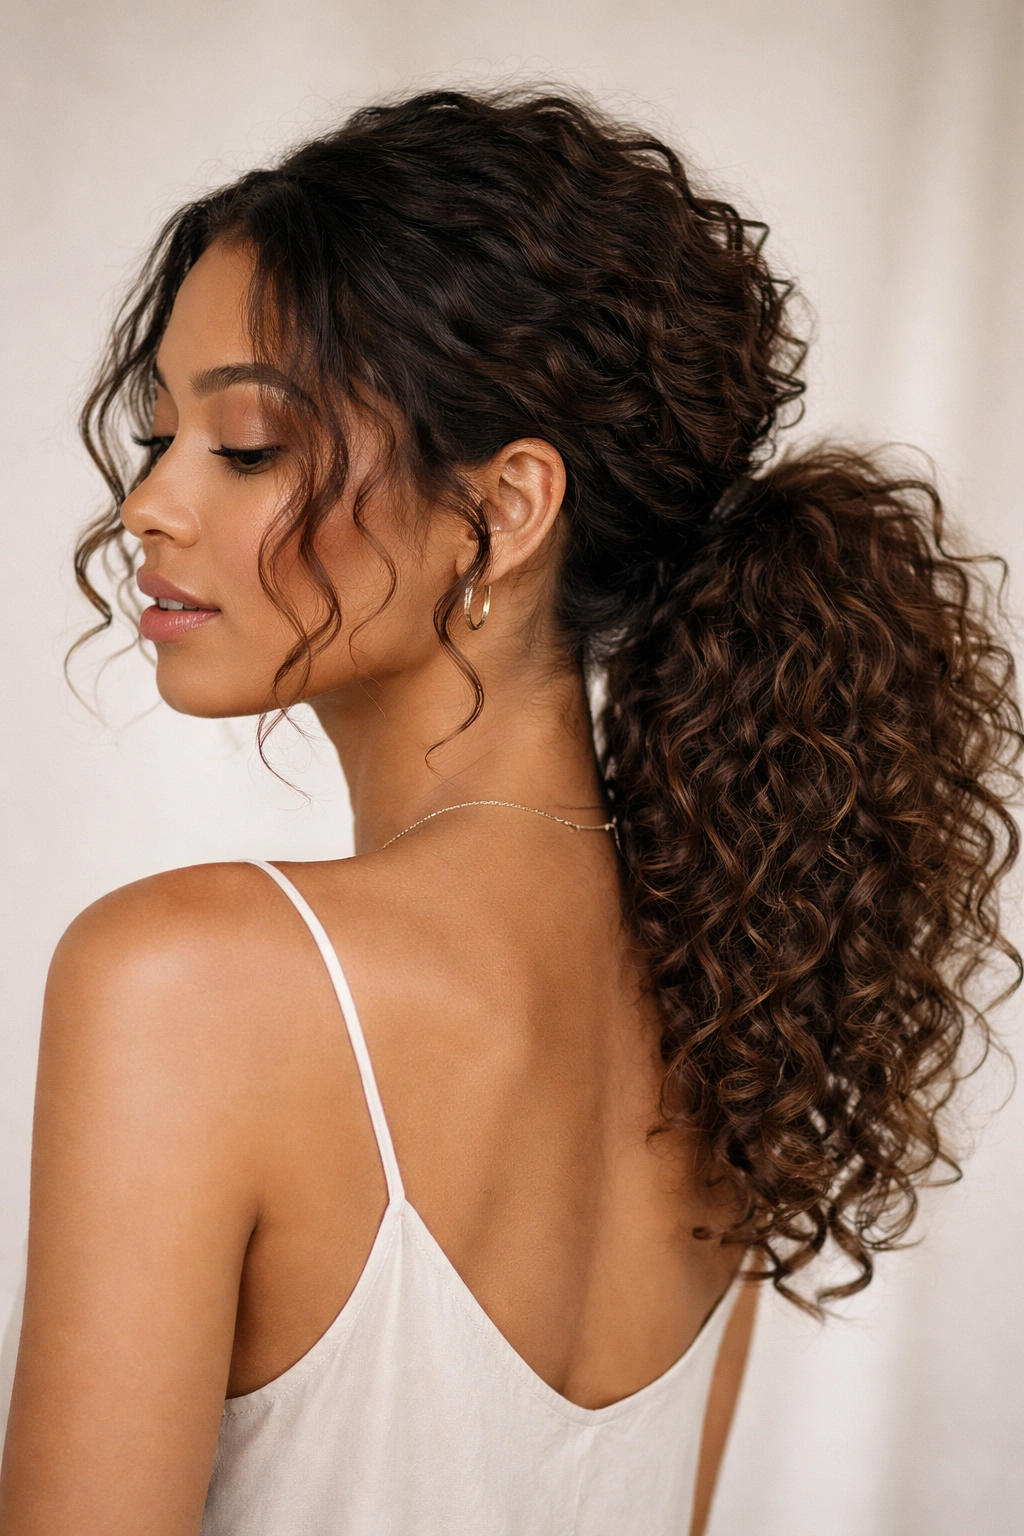
1. The Soft-Focus Layered Look
This is the frontal ponytail for people who want to look effortlessly polished without looking like they tried too hard. You’re pulling the majority of your hair back into a low ponytail, but leaving three to four substantial face-framing pieces that blend seamlessly with your curls. The magic is that these pieces aren’t rigid or perfectly placed—they’re curling naturally against your face, creating a soft, approachable frame that highlights your cheekbones.
Why This Works for Curly Hair
Your natural curl pattern actually enhances this style instead of fighting against it. The face-framing pieces catch light differently because they’re three-dimensional, and that dimension is exactly what you want. Curls around the face feel intentional and romantic, even when you’re literally just letting them fall where they naturally want to go.
How to Create the Soft-Focus Effect
- Start with curls that have some definition (use your regular curl cream or gel before styling)
- Section off roughly one curl-clump from each temple and one from the center part, letting these pieces hang loose
- Pull the rest of your hair back into a low ponytail at the base of your neck—not perfectly centered, slightly off to one side feels more natural
- Use a soft hair tie or silk scrunchie so you don’t flatten your curls at the base
- Let gravity do the work; the curls will naturally spiral down and frame your face without any forced placement
Pro tip: This style actually looks better if you refresh your curls the night before, let them sit overnight, and style the next morning when they have maximum bounce.
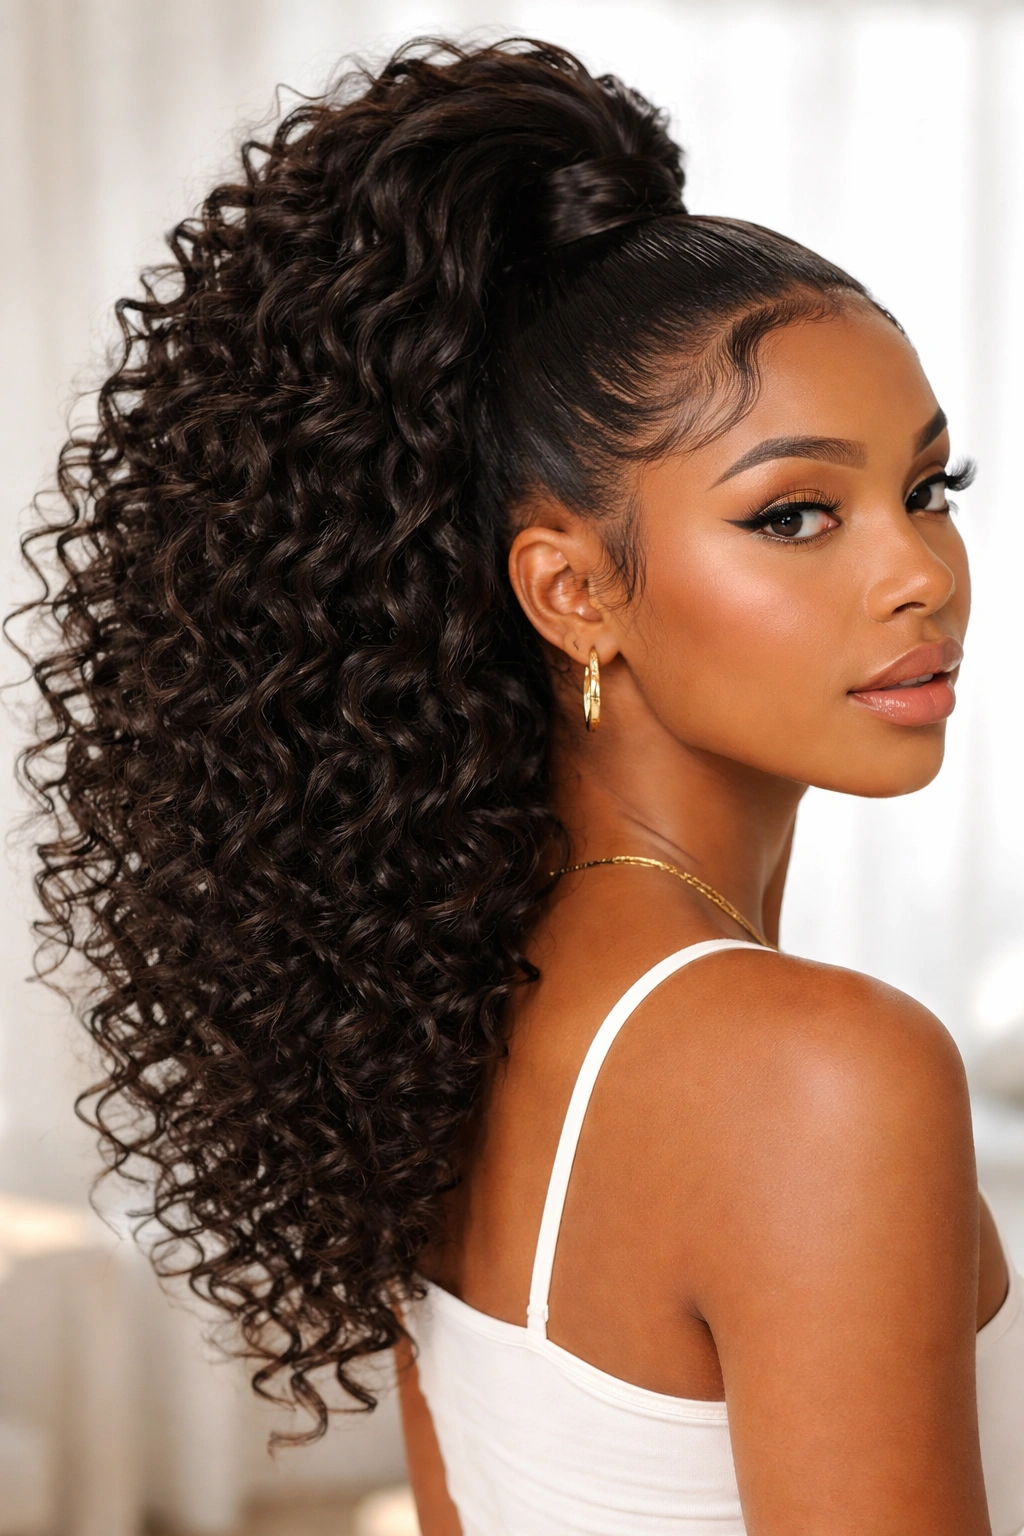
2. The Twisted-Wrap High Ponytail
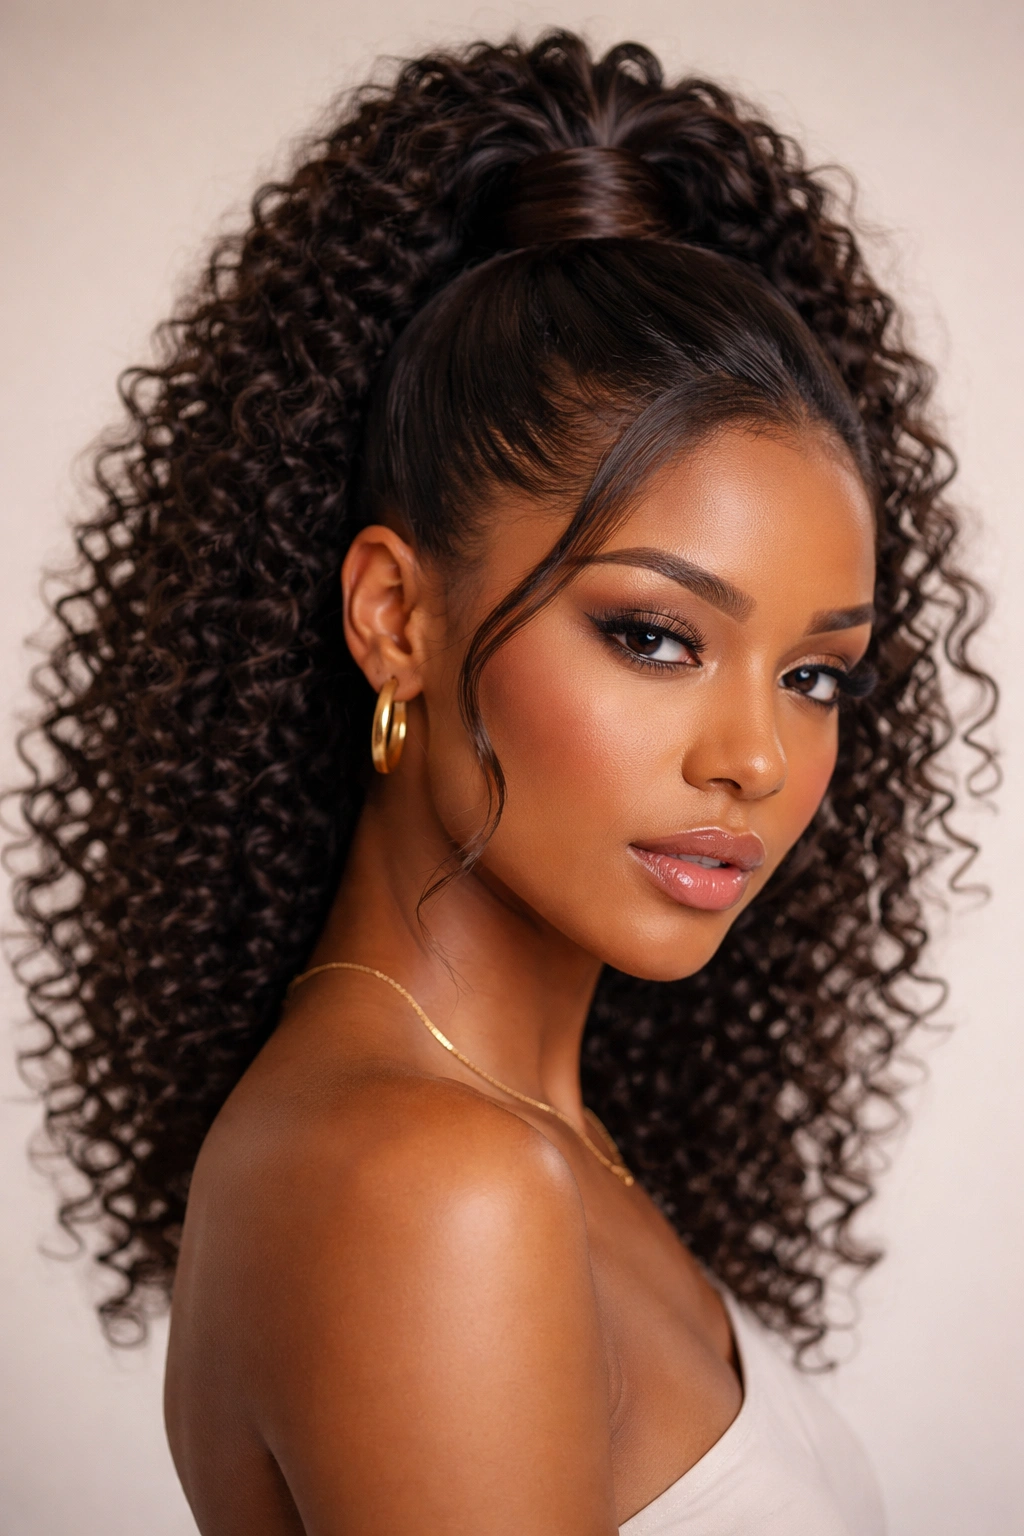
Picture a high, voluminous ponytail where a section of your own curls is twisted around the base, creating this beautiful geometric detail that’s both elegant and playful. This style works because it draws attention to your ponytail base and adds dimension that reads as intentional rather than accidental. It’s perfect for days when your curls are cooperating and you want to show them off.
The Structural Beauty of the Twist
The twisted wrap does two things simultaneously: it anchors your ponytail securely and creates visual interest that moves the eye upward. For curly hair, this is actually genius because the twist breaks up any flatness at the roots and actually makes the whole style look fuller. You’re using your hair’s natural texture to create definition instead of trying to tame it down.
Steps to Master the Twisted Wrap
- Gather your hair into a high ponytail (about level with your ears, pulled toward the crown)
- Before securing with an elastic, take a small section from the front of the ponytail
- Twist that section tightly around the base of the ponytail several times
- Pin the twisted section in place with bobby pins that match your hair color
- Secure the main ponytail with an elastic, making sure it covers the bobby pins
- Gently pull and stretch the twist slightly to make it look fuller and more textured
Worth knowing: This style actually holds better if you braid-twist rather than spiral-twist, because the technique creates more surface area for the pins to grip.
3. The Sleek-Back Low Pony with Texture Release
This is for when you want that polished, intentional-looking style but you’re not willing to sacrifice the dimension of your curls. You’re applying a smoothing cream or gel to create a sleek base and ponytail, but then you’re deliberately pulling apart the ponytail slightly and letting your curls spring out, creating this gorgeous contrast between the controlled base and the liberated, textured tail.
Balancing Control and Texture
Most curly-haired people have had the experience of forcing their curls into a flat ponytail and feeling like they’ve betrayed their own hair type. This style honors both the need for control and the beauty of your natural texture. The result is professional enough for work but personality-filled enough that you don’t look like you’re trying to be someone you’re not.
The Technique for Sleek + Textured
- Apply a smoothing cream or lightweight gel from roots to ends (something with hold but not crunch)
- Use a fine-tooth comb or brush to smooth your hair back and gather it into a low, centered ponytail
- Secure tightly with an elastic
- Now, carefully separate the ponytail into 4-5 sections, and gently lift and pull each section outward to release the curl pattern
- Use your fingers to encourage texture; you’re not trying to make it frizzy, just giving permission for your curls to exist within the ponytail
- A light mist of curl refresher spray helps re-activate the curl
Pro tip: The key is applying the smoothing product to slightly damp hair—completely soaking wet won’t give you the control you want, but bone-dry curls will resist the smoothing cream.
4. The Multi-Section Dutch Braid-Into-Ponytail
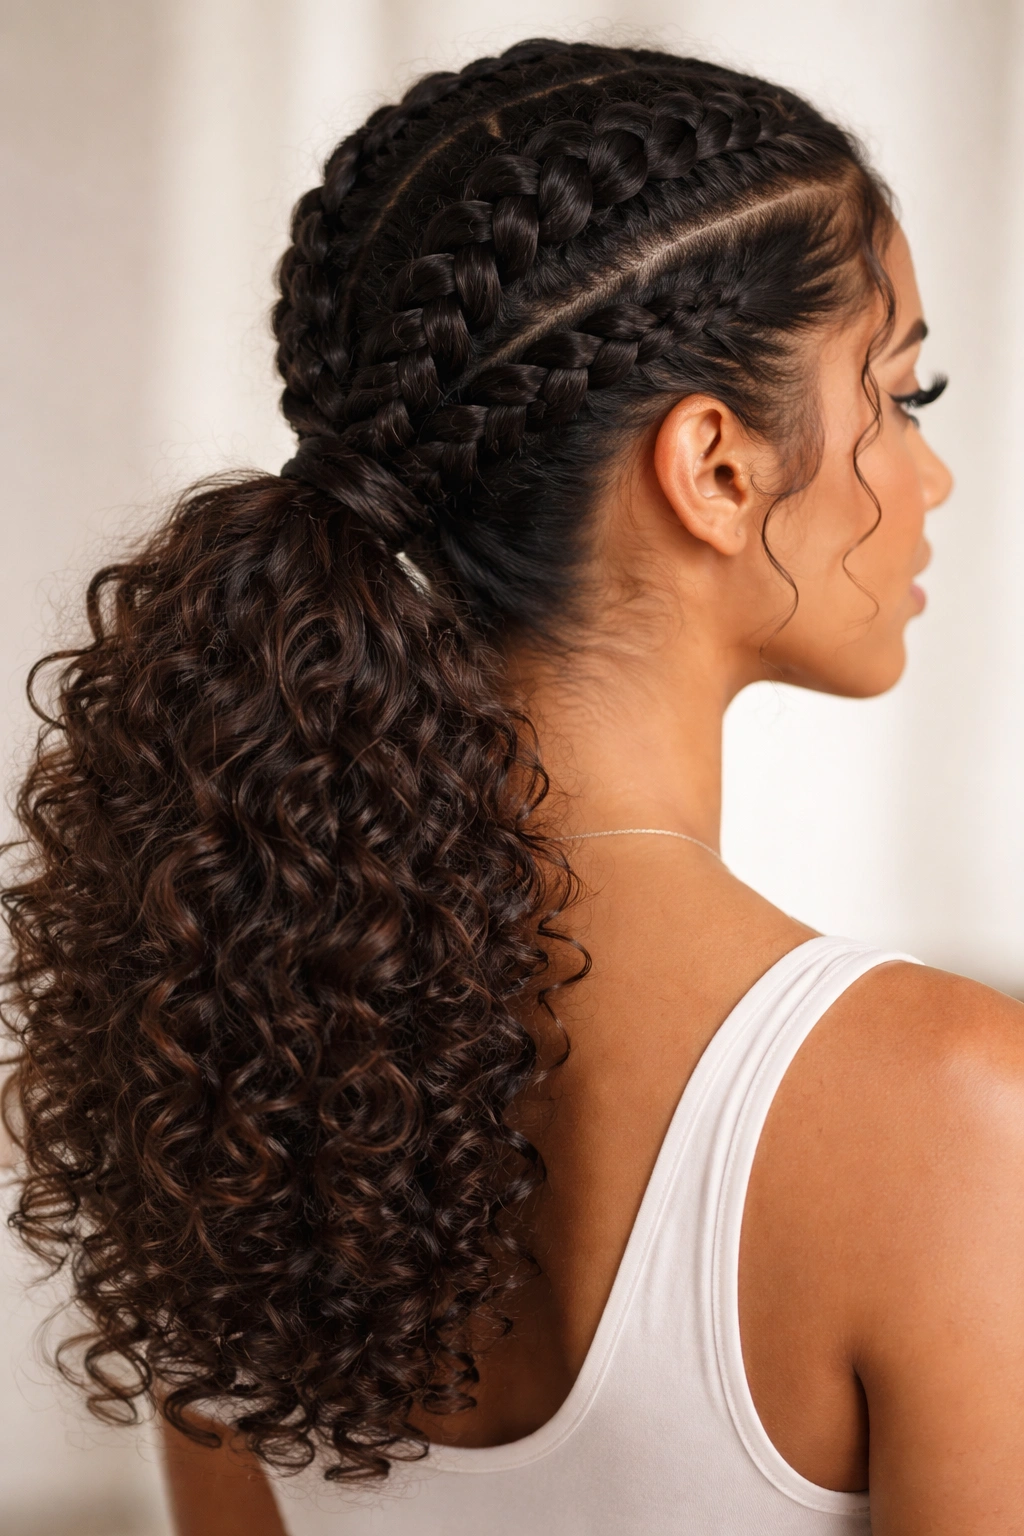
This is the showstopper style that looks like you spent an hour on your hair when you actually spent maybe 20 minutes. You’re creating two or three Dutch braids from different sections of your hair, and these braids converge into one low ponytail. The braids add structural interest and show off your curl texture in a way that feels intentional and polished.
Why Braids Showcase Curly Hair
Braids actually highlight your natural curl pattern because each section of the braid picks up light differently and creates dimension naturally. Unlike on straight hair where braids look smooth and uniform, braided curly hair looks dynamic and alive. You’re essentially turning your curl pattern into the design of the hairstyle.
Creating the Multi-Section Braid-Ponytail
- Divide your hair into three sections: one on each side and one down the center back
- Start a Dutch braid on one side, beginning at the temple and moving backward (Dutch braids sit on top of the hair, creating dimension)
- Braid all the way down, keeping the braid slightly loose so your curls can peek through
- Repeat on the other side
- Leave a center section unbraided for now
- Gather the two finished braids, the center section, and any face-framing pieces into one low ponytail
- Secure with an elastic
- Gently stretch the braids slightly to increase their volume
Insider note: Use the “pick method”—grab each braid where it ends and gently tease it outward with your fingers to make the braid fuller and puffier.
5. The Twisted Side-Sweep Ponytail
This style has you sweeping most of your hair to one side and twisting it as you gather it back into a low ponytail. It’s inherently asymmetrical, which feels modern and unexpected. One side of your face gets that dramatic frame while the other side stays relatively open—it’s flattering on most face shapes and works especially well if you’re trying to highlight one side.
The Appeal of Asymmetry
Asymmetrical styles read as intentional and fashion-forward, especially with textured hair. You’re not just pulling hair back; you’re creating a directional shape that guides the eye. For curly hair, this asymmetry actually makes it easier to manage because you’re only dealing with one heavily styled side instead of trying to balance two sides equally.
How to Create the Twisted Side-Sweep
- Part your hair to one side (whichever side you want to keep more open)
- Take the larger section and twist it loosely as you move it backward and downward
- Gather the twist along with all remaining hair at the nape of your neck
- Secure into a low ponytail with an elastic
- Pull out a few face-framing pieces on the open side
- You can leave the ponytail twisted or untwist it slightly once it’s secured, depending on the look you want
- Smooth any flyaways on the swept side with a light holding spray
Worth knowing: This style works better if you twist loosely rather than tightly—tight twists can look severe on curly hair, while loose twists look romantic and intentional.
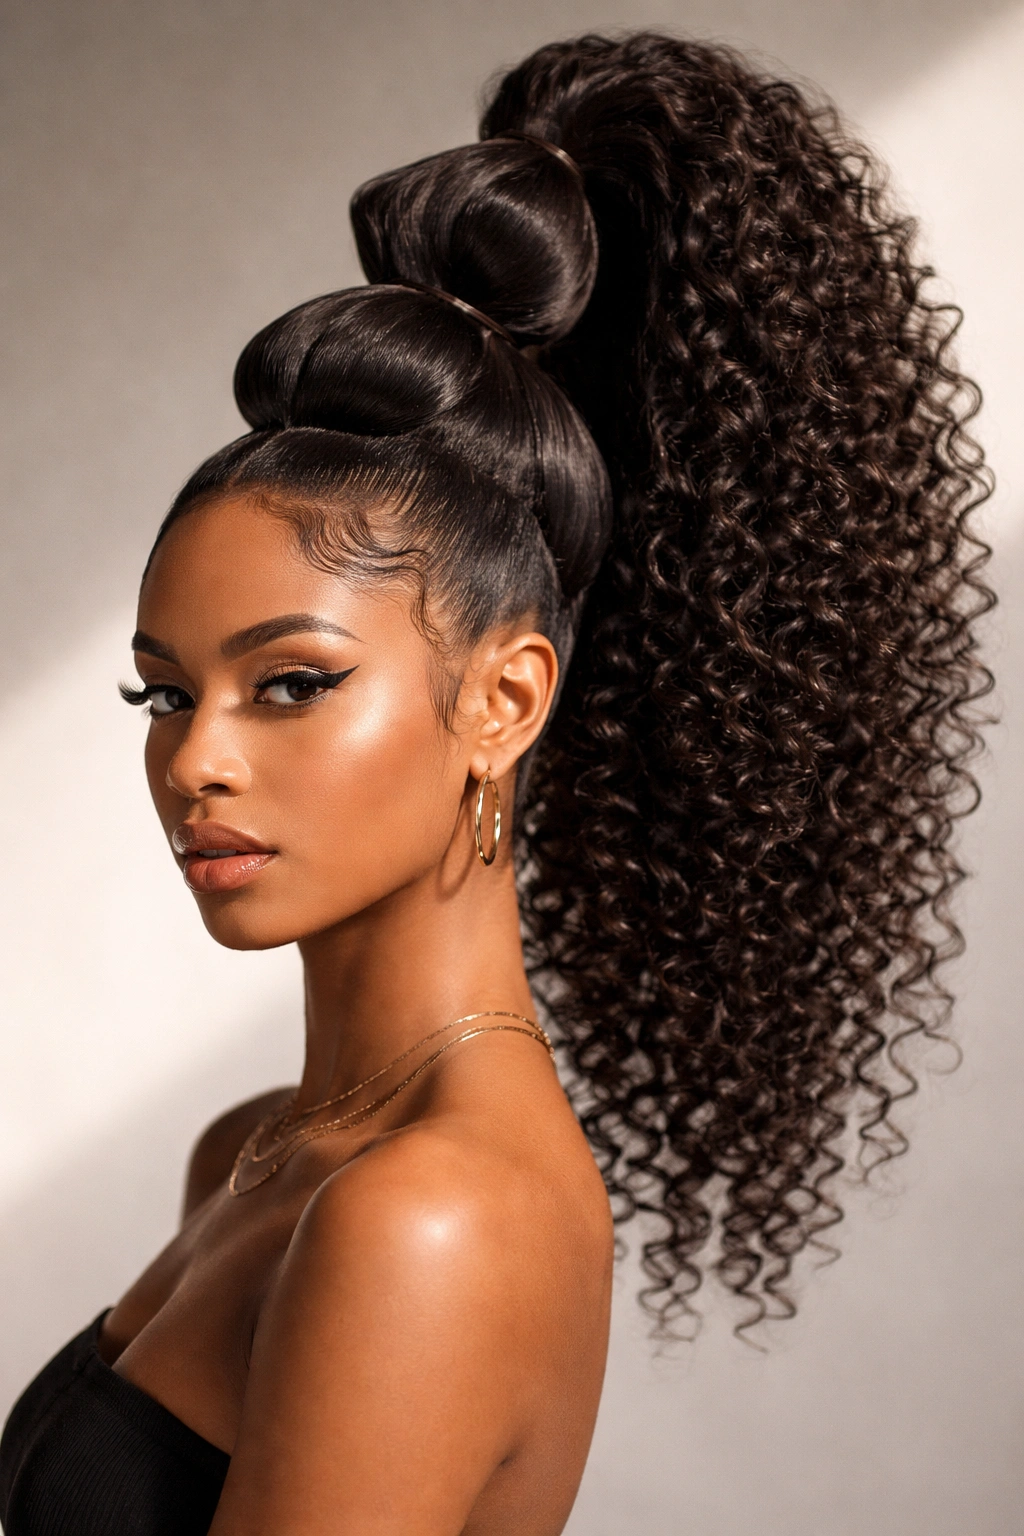
6. The Stacked-Volume High Ponytail
This is for when you’re going out and you want your curls to make an entrance. You’re gathering everything into a high ponytail positioned near the crown, and then you’re strategically pulling and manipulating the ponytail to create stacked, multi-dimensional volume. It’s big, it’s textured, and it absolutely celebrates curly hair.
Creating Intentional Volume with Texture
With straight hair, volume comes from teasing and heat styling. With curly hair, volume is your natural superpower—you just need to know how to shape it. By gathering the ponytail high and then manipulating how the curls stack and sit, you can create volume that’s both substantial and natural-looking. It reads as confident without looking over-done.
Building the Stacked-Volume Effect
- Gather your hair high—roughly level with your temples or slightly higher
- Secure with an elastic, but don’t pull too tightly; you want some give in the base
- Section the ponytail into 3-4 sections, working from the base upward
- Flip each section gently backward and outward, encouraging the curls to stack and sit on top of each other
- Work section by section, creating a sort of “petal” effect where each section is supported by the sections below
- Use bobby pins to anchor key sections underneath if your hair is particularly heavy
- Mist with a light hold spray to set the shape
Pro tip: The night before, sleep with your hair in a loose pineapple at the crown, and style this ponytail the morning of your event—you’ll have maximum curl volume and bounce to work with.
7. The Face-Framing Feed-In Braid Ponytail
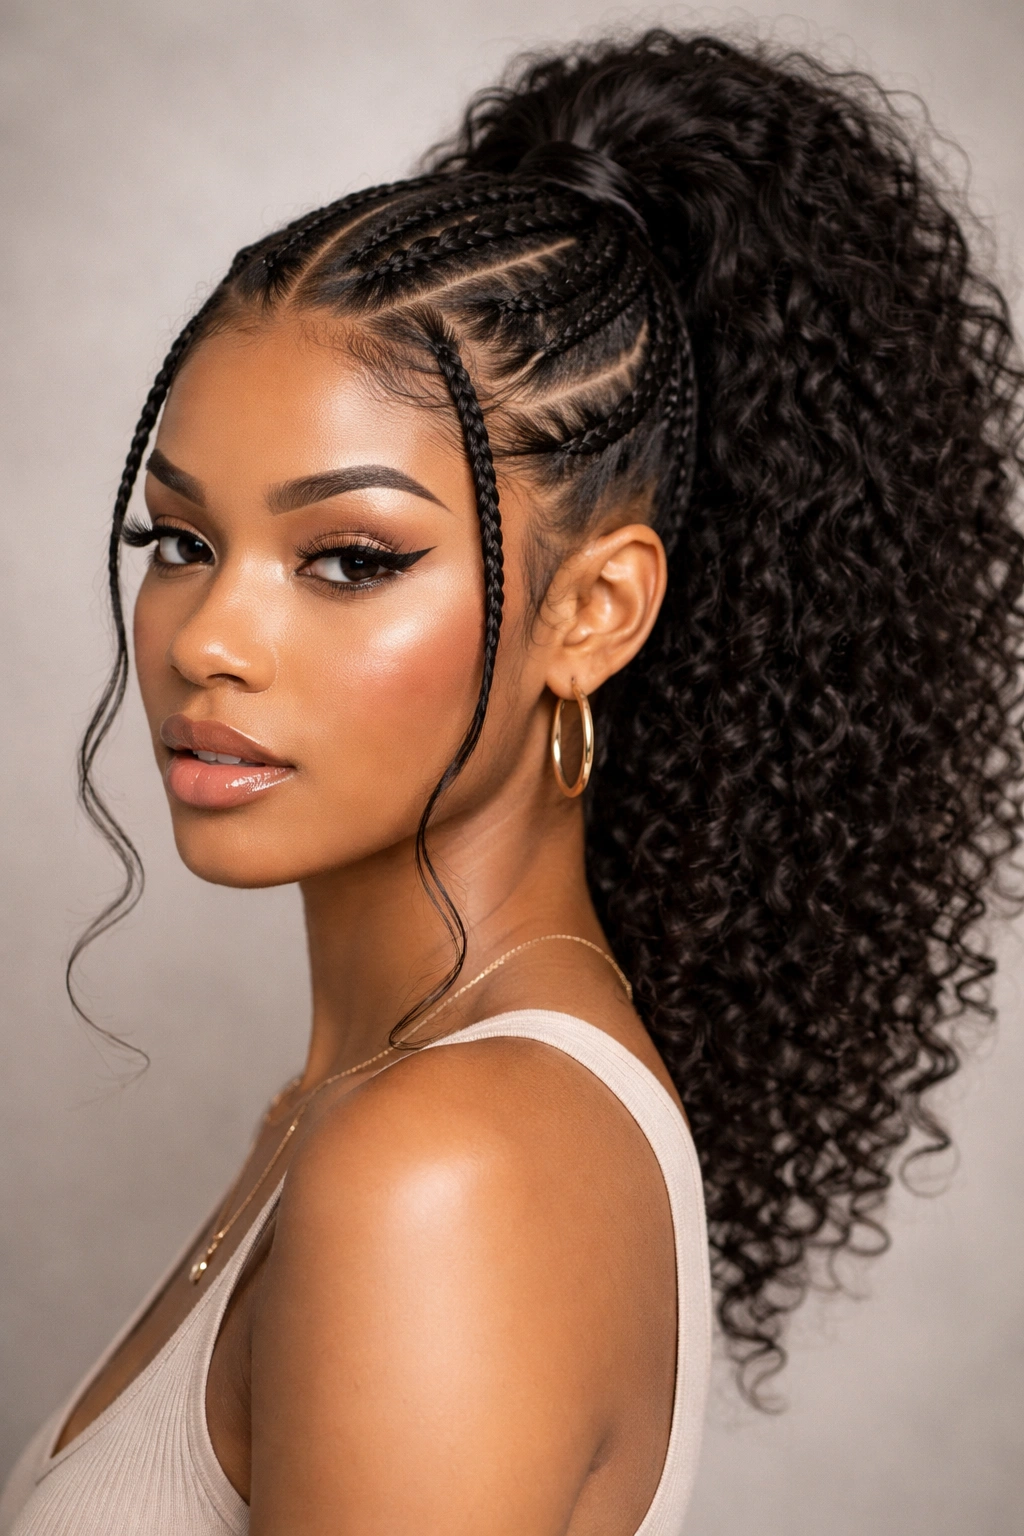
This is a technically sophisticated style that looks absolutely stunning when executed well. You’re braiding sections of hair from the front of your face backward, picking up hair as you go (feed-in or continuous braid technique), and the braids eventually converge into a ponytail. The effect is that your entire face is beautifully framed by dimension and texture.
Technical Skill Meets Natural Beauty
Feed-in braids have a completely different look than traditional braids because they sit flatter and feel more integrated with the overall style. For curly hair, this means the braids don’t look like they’re sitting on top of your hair—they feel like part of the organic texture. The result is sophisticated but still very much you.
Executing the Feed-In Braid Ponytail
- Create a side part that matches your preferred face-framing direction
- Start a feed-in braid at your part line, beginning with a small section
- As you braid, continuously pick up small pieces of hair from the side (the “feed” part), incorporating it into the braid
- Continue the braid as it moves backward, picking up hair progressively
- Once you’ve reached the nape of your neck, finish the braid (no more feeding in new hair)
- Repeat on the other side if you want symmetrical braids
- Gather both braids and any remaining hair into a low ponytail
- Gently pull and separate each braid to increase volume
Worth knowing: Feed-in braids work better on hair that hasn’t been freshly washed, because slightly textured, lived-in curls hold the braid structure more firmly.
8. The Textured Bubble Ponytail with Curls
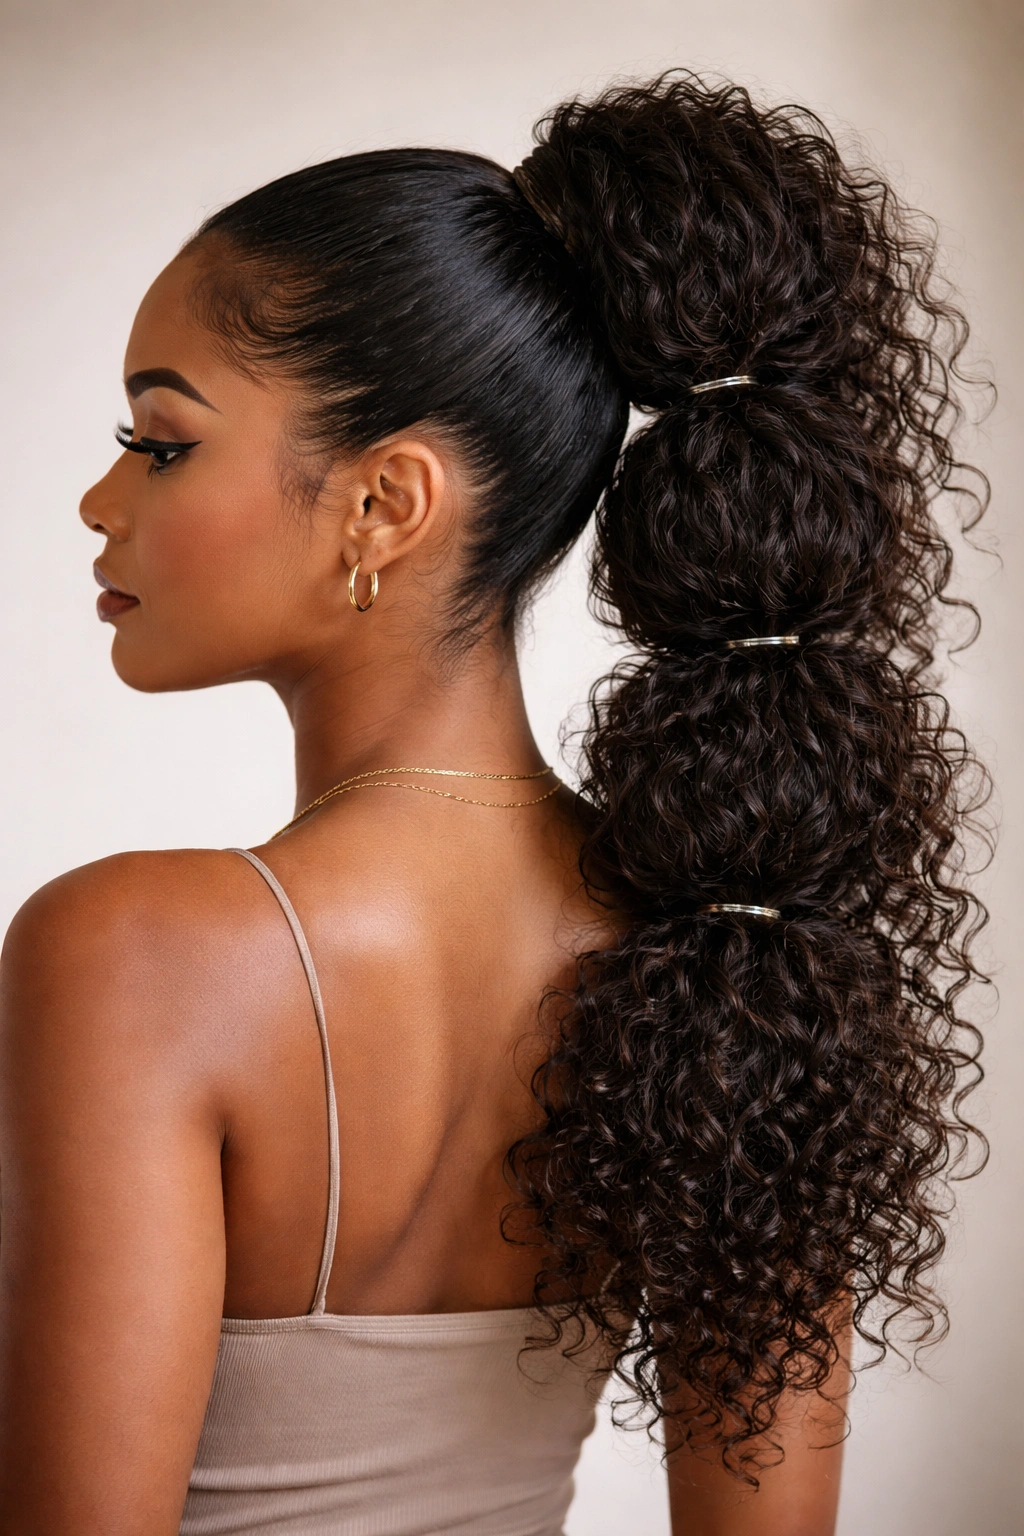
A bubble ponytail normally involves multiple elastics creating puffed-out sections, but the curly-hair version is all about letting your natural texture do the puffing. You’re using fewer, well-spaced elastics and then encouraging your curls to create their own natural “bubbles” between the elastics, resulting in a playful, youthful style that’s actually easier to maintain than it looks.
Leveraging Natural Texture for Structure
With curly hair, you don’t need to tease and manipulate to get the bubble effect—your curls naturally want to expand and create dimension. You’re essentially just giving that expansion a framework with your elastic placement. The beauty is that as your curls relax throughout the day, the bubbles actually look more natural, not less.
Creating the Textured Bubble Effect
- Gather your hair into a high ponytail
- Secure with a first elastic
- About 2-3 inches down from the first elastic, add a second elastic
- Between these two elastics, gently pull outward and encourage your curls to puff out
- Continue adding elastics every 2-3 inches down the ponytail
- After securing each new elastic, work that section to create a natural bubble—use your fingers, not a comb
- The bubbles should look organic, not perfectly spherical
- Finish with any curls at the ends of the ponytail
Pro tip: Use clear elastics or elastics that match your hair color so the focus stays on the texture and shape rather than the elastics themselves.
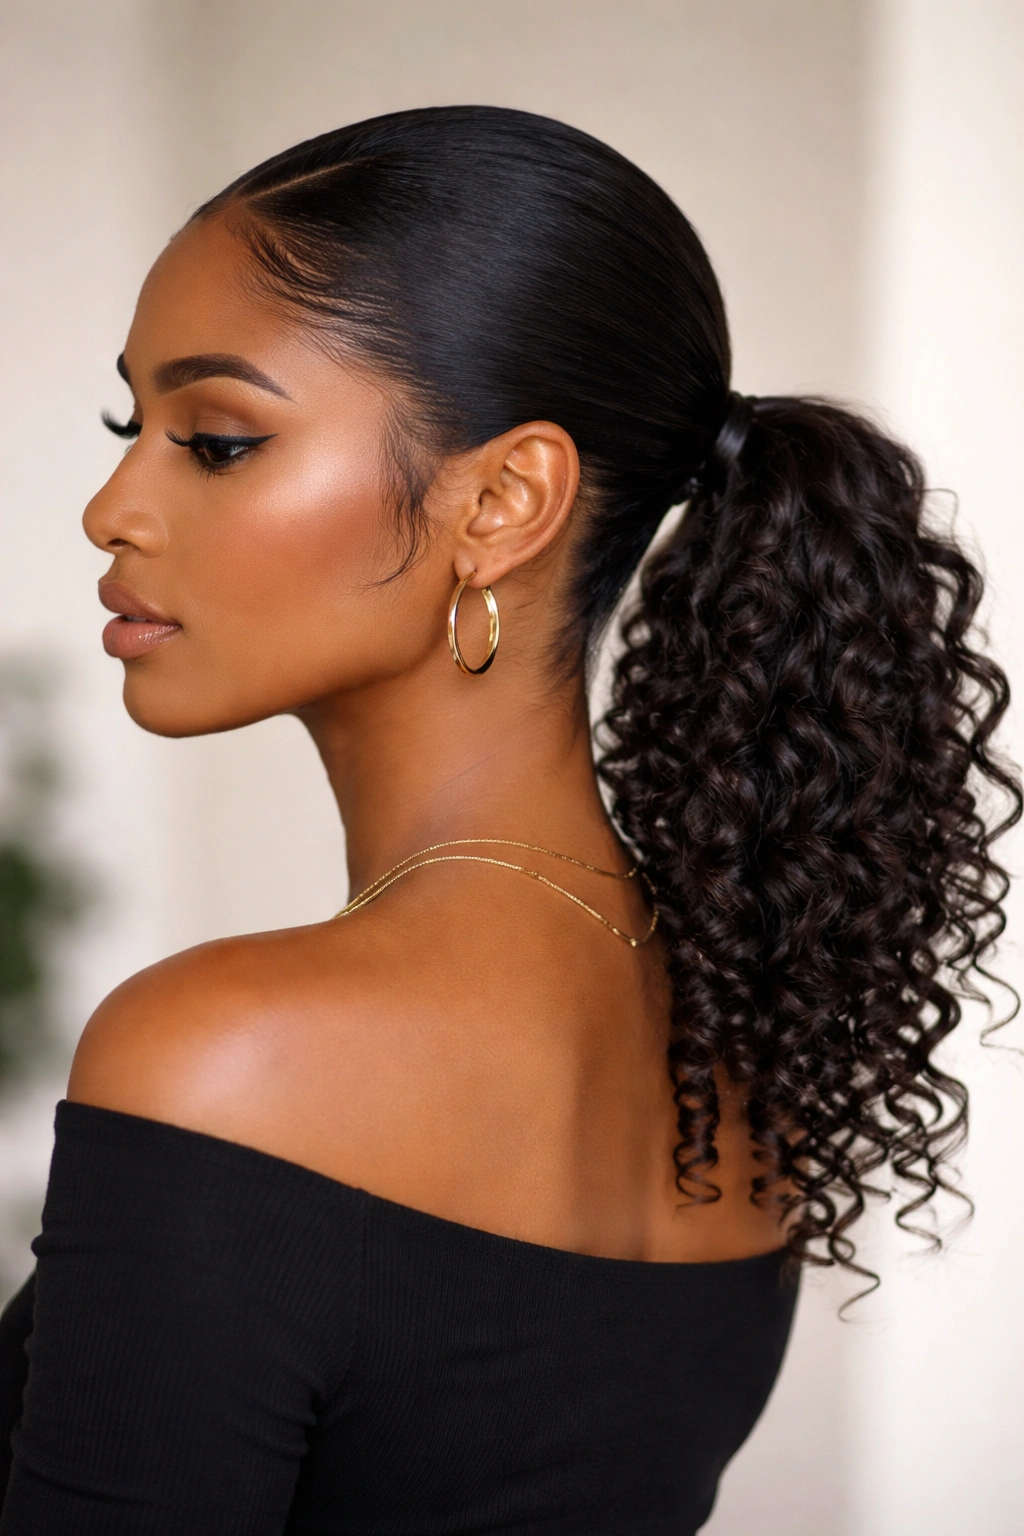
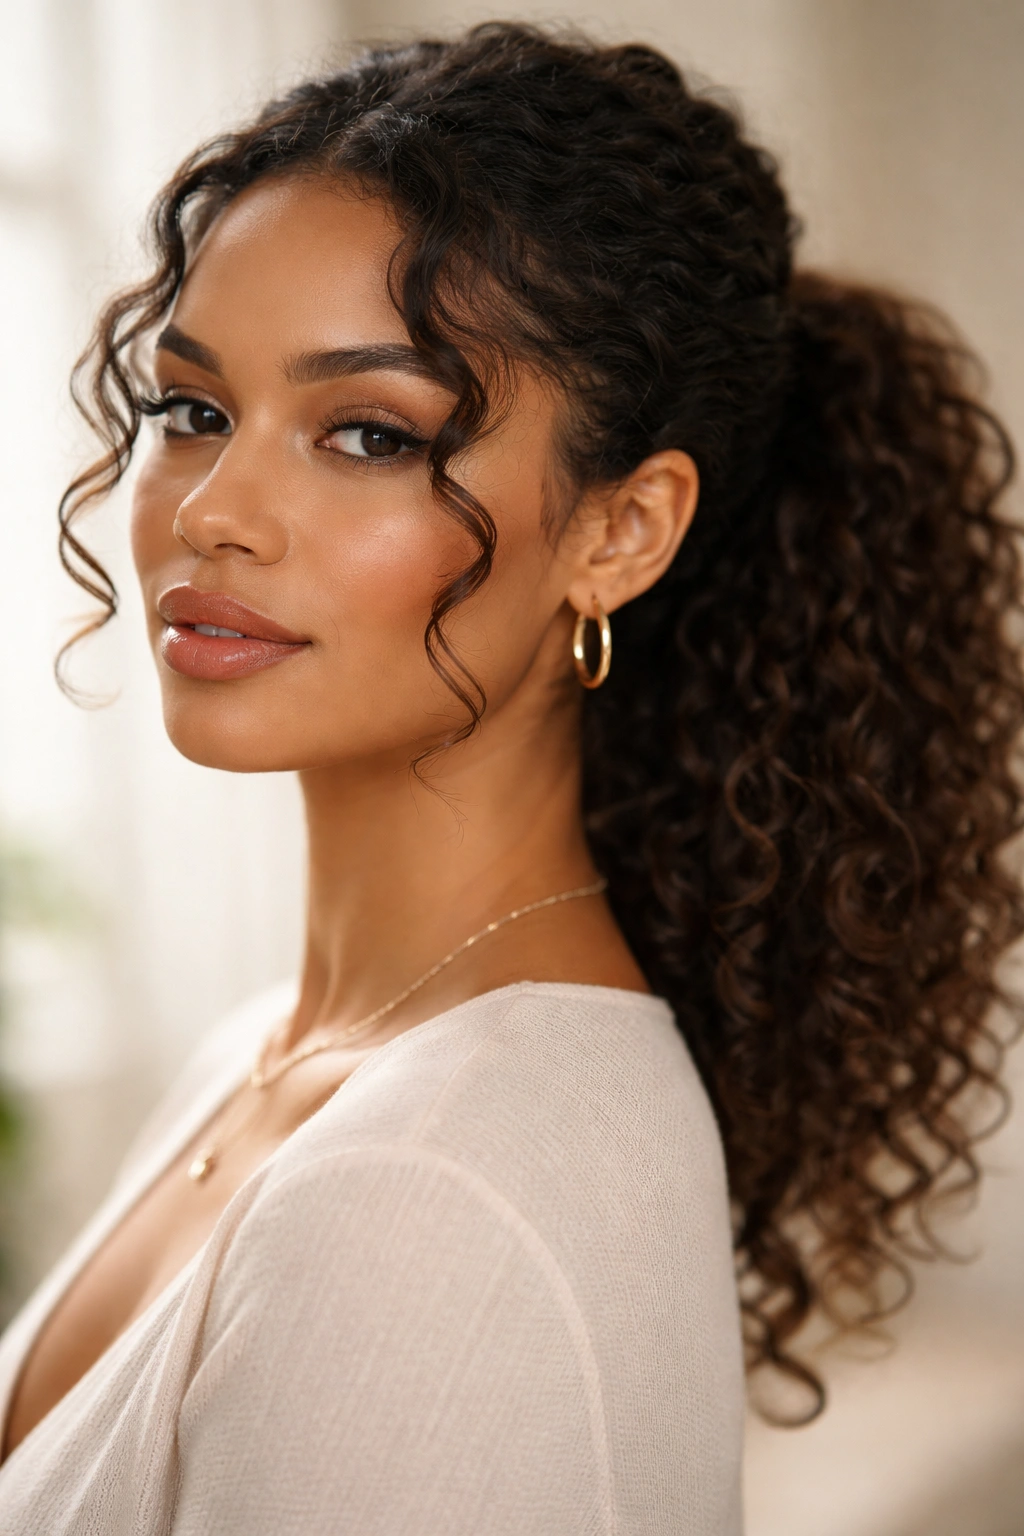
9. The Slicked-Base Bouncy-Ends Ponytail
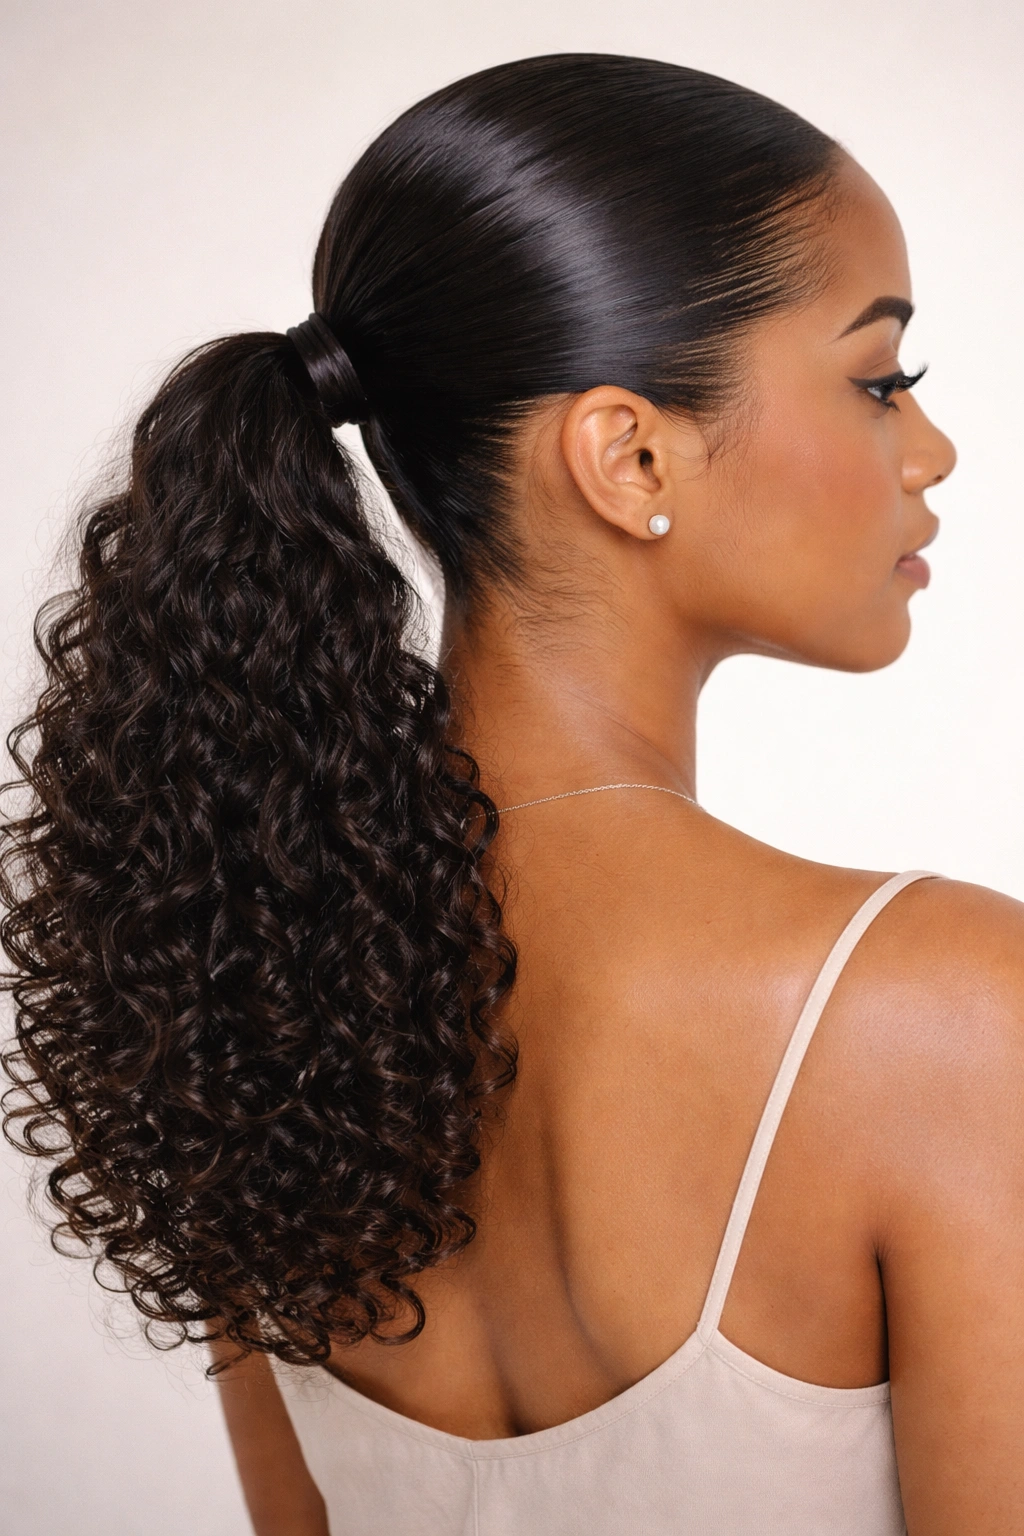
This style bridges the gap between polished and free. Your base is smooth and controlled with the help of a smoothing gel, creating that pulled-back aesthetic that reads as intentional. But your ponytail itself is left completely natural—no manipulation, no separating, just your curls in their full bouncy glory.
The Psychology of Contrast
There’s something about having a controlled base with free, textured ends that feels balanced and sophisticated. It suggests you’ve put thought into your appearance without looking like you’ve overthought it. For curly-haired people, this is perfect because it honors the reality of what your hair does best—creating beautiful, bouncy, three-dimensional curl.
Achieving the Slicked-Base Look
- Smooth your hair back from your face using a smoothing gel or cream
- Use a fine-tooth comb or brush to create a sleek base from your face to your ponytail gathering point
- Secure your ponytail low, at the nape of your neck, using an elastic
- Once the elastic is secured, release your hands and let the ponytail do what it naturally does
- You might apply additional curl cream or gel to the ponytail itself to encourage wave and bounce
- Use a pick or curl-specific brush to gently separate curl clumps in the ponytail if needed
- A light misting spray locks everything in place without creating crunch
Worth knowing: This style actually improves as the day goes on—as the smoothing product wears down, you get this beautiful transitional moment where the base and ponytail blend more seamlessly.
10. The Wrapped-Base Faux Hawk Ponytail

This is the style for when you want serious visual impact. You’re gathering your hair into a high, center-positioned ponytail, and then you’re wrapping a section of your own curls around the base to create this gorgeous detail that echoes a faux hawk. It’s edgy without being extreme, and it looks particularly striking on people with defined curl patterns.
Bold But Wearable
A faux hawk ponytail has attitude, but because your curls are doing the heavy lifting, it feels fashionable rather than dangerous. You’re making a statement without looking like you’re trying too hard. This is the style for days when you want to feel powerful and intentional.
Creating the Faux Hawk Effect
- Gather your hair into a high, center ponytail positioned toward the crown
- Use a small elastic to secure it
- Take a thin section from the front-left of the ponytail and another thin section from the front-right
- Cross these sections over the center of the ponytail base
- Wrap them around each other and secure with bobby pins, creating a small crown-like structure above the ponytail
- You can tease or pick the wrapped sections to increase their visibility
- Let the main ponytail fall full and bouncy below
- Mist with holding spray to keep the wrapped sections in place
Pro tip: Sleep with your hair in a high pineapple the night before for maximum volume in the ponytail itself.
11. The Loose Low-Ponytail with Texture-Popped Base
This is elegance without effort. You’re creating a very loose, casual-looking ponytail positioned low, and then you’re using your fingers to gently pull apart the hair at the base, letting your curl pattern fully express itself. The effect is romantic, textured, and somehow looks like you woke up with perfect curls.
The Beauty of Appearing Effortless
There’s genuine power in a style that looks like you didn’t try—especially when you actually did put thought into it. This ponytail works because it celebrates your natural texture while still containing it enough for a cohesive look. It’s perfect for days when you want to look put-together but not formal.
Executing the Loose-Yet-Refined Look
- Gather your hair at the nape of your neck into a very loose ponytail
- Secure with a soft elastic
- Take sections of hair at the base and gently pull them outward and slightly upward
- Your goal is to increase the volume at the base while maintaining the loose, relaxed feeling
- Use your fingers to encourage your curls to spring outward
- Leave face-framing pieces soft and natural
- A light curl cream or serum applied to the base helps keep everything cohesive
Worth knowing: This style is actually easier on day-two curls than freshly-done curls, because second-day curls have more grip and texture already built in.
12. The Sculptural Geometric-Section Ponytail
This advanced technique involves dividing your ponytail into distinct geometric sections (triangular pieces, rectangular blocks, etc.) and styling each section independently with pick-work to create dramatic, dimensional shapes. It’s artistic, it’s fashion-forward, and it absolutely maximizes what curly hair can do.
Turning Hair into Sculptural Art
This style treats your hair like the sculptural material it is. By working with sections and using pick techniques, you’re creating actual 3D shapes—not just a ponytail, but a composition of curves and angles. For people with ringlet curls or coily hair, this style is genuinely transformative.
Creating the Sculptural Effect
- Gather your hair into a high or mid-height ponytail
- Secure with an elastic
- Imagine the ponytail divided into triangular or rectangular sections
- Use a pick or curl-specific brush to tease and shape each section independently
- Work from the base outward, building the shape gradually
- Each section should have its own direction and personality
- Step back frequently and look at the overall shape you’re creating
- Bobby pins can anchor specific sections if you want more dramatic angles
- Use a strong-hold spray to lock everything in place
Pro tip: This style requires styling time and product, but the payoff is a genuinely showstopping look that reads as fashion editorial rather than everyday hair.
Final Thoughts
Frontal ponytails for curly hair aren’t about fighting your texture or forcing your curls into shapes they don’t want to take. They’re about amplifying what you already have—the natural volume, dimension, and movement of your curl pattern. Whether you’re going for barely-there softness or full sculptural drama, there’s a frontal ponytail style that works with your hair rather than against it.
The beauty of these twelve options is that they span the entire spectrum from effortless to involved, minimal to maximalist, sleek to textured. Your choice depends on what you’re feeling that day, what event you’re attending, and honestly, how much time you have to style. Start with whichever style speaks to you, give yourself permission to not execute it perfectly the first time, and remember that curly hair actually improves with a little experimentation and texture.
The real magic is realizing that your curls are your superpower in a ponytail style. Stop trying to make them lay flat and smooth. Instead, embrace them, work with them, and let them be the main character in your hairstyle. That’s when frontal ponytails stop looking like something you’re tolerating and start looking like something you’re confidently claiming as your signature look.