Travel hairstyles for natural curly hair have to do more than look good in a mirror. They need to survive a long ride, a nap against the window, a hoodie collar, a hotel pillowcase, and that strange moment when your curls meet dry air and decide to develop an opinion.
That is why the prettiest style is not always the smartest one. A style that looks flawless at the door can go limp after three hours in a car. Another one can look a little casual at first and then hold its shape through a whole travel day, a dinner reservation, and the awkward morning where you have one hand, one mirror, and not much patience.
Curly hair has its own logic on the road. It likes protection, gentle tension, and styles that can be refreshed without a full wash. It also hates being crushed flat for hours, which is why the wrong style can leave you with frizz at the crown, dents at the back, and ends that feel dry enough to snap.
The sweet spot is a hairstyle that keeps your curls safe, keeps your scalp comfortable, and still gives you something you do not mind seeing in photos. Some styles are polished. Some are practical. The useful ones are both.
1. High Puff for Natural Curly Hair
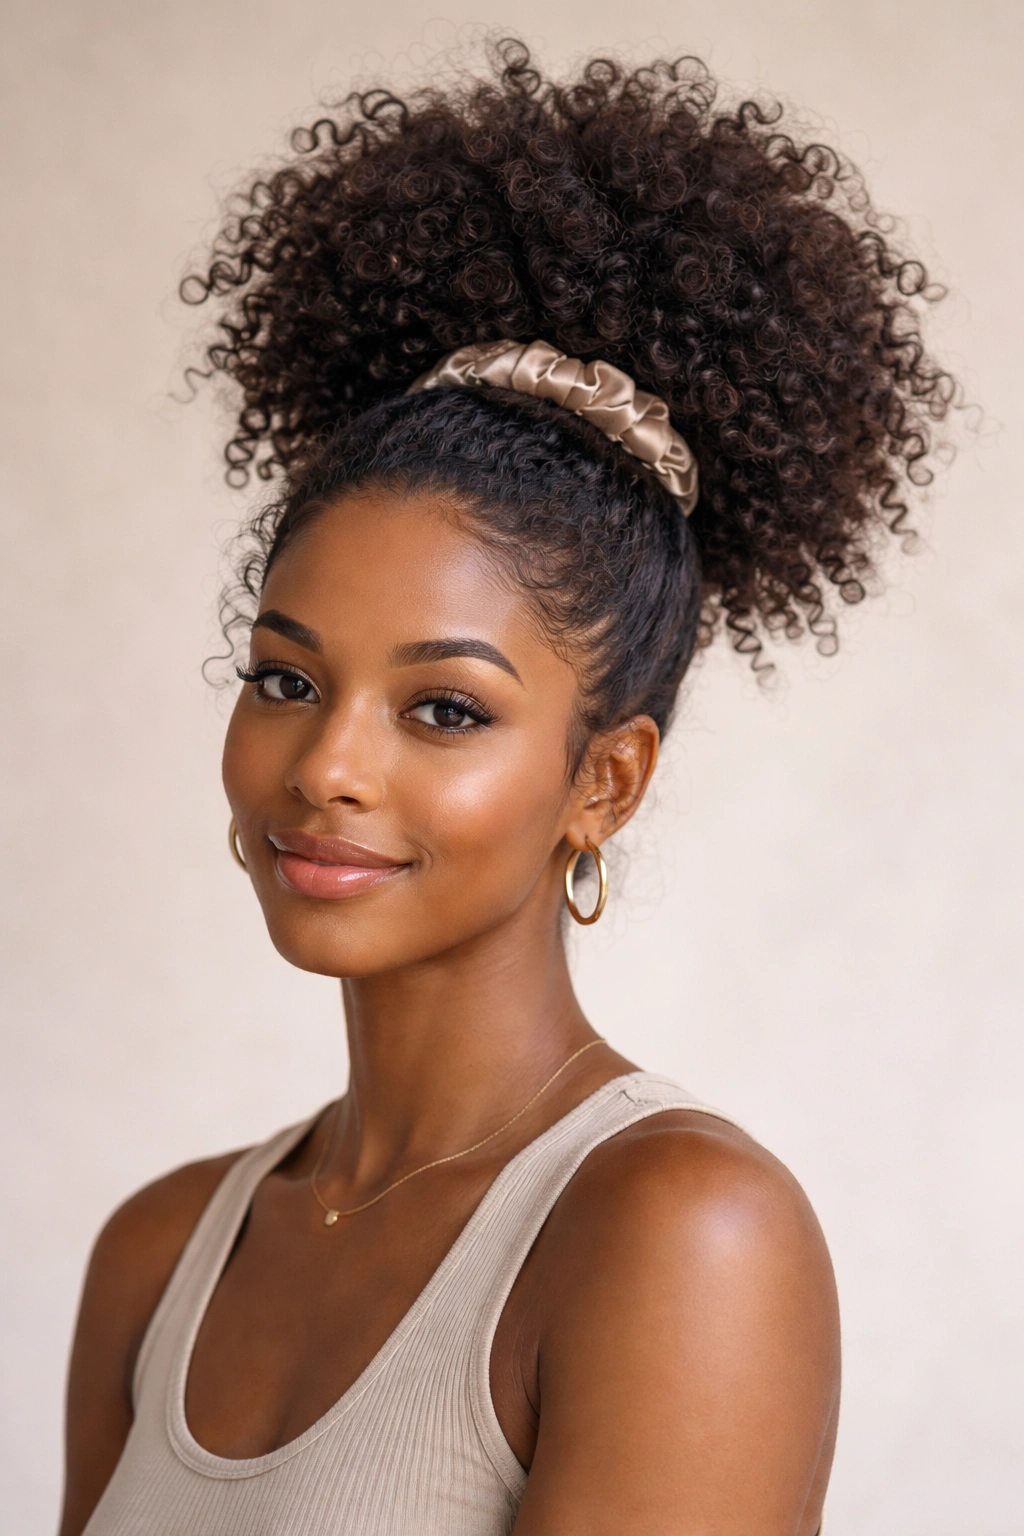
A high puff is the style I reach for when I want my curls up, out of the way, and still visible. It has that easy confidence that comes from not fighting your texture. The crown sits high, the curls fan upward, and the whole look works especially well when travel has flattened everything else.
What makes it so useful is the balance. Your ends are protected, your face is open, and your roots do not have to be slicked into submission. If you have medium to long curls, a high puff also buys you a little more time between full wash days, because the shape hides some of the root puffiness that travel tends to cause.
Why it works when you’re on the move
The base can be as simple as a satin scrunchie, a soft brush, and a little gel on the edges. That is enough. Pulling the puff too tight is the mistake that ruins it, because a travel day already puts enough pressure on your scalp without you adding more.
- Best for medium to long curly hair
- Great for day-two and day-three curls
- Works with a center part, side part, or no part at all
- Holds up well under a hoodie or coat if the base stays loose
- Looks polished even when the curls themselves get a little bigger during the day
My rule: if the puff feels like a tight ponytail, it’s too tight.
A high puff is also a nice choice when you know the day will be long and unpredictable. You can dress it up with a scarf, a clip, or a few laid edges, or you can leave it plain and let the volume do the work. Either way, it keeps the focus on shape rather than perfection.
2. Pineapple Updo for Curl Preservation
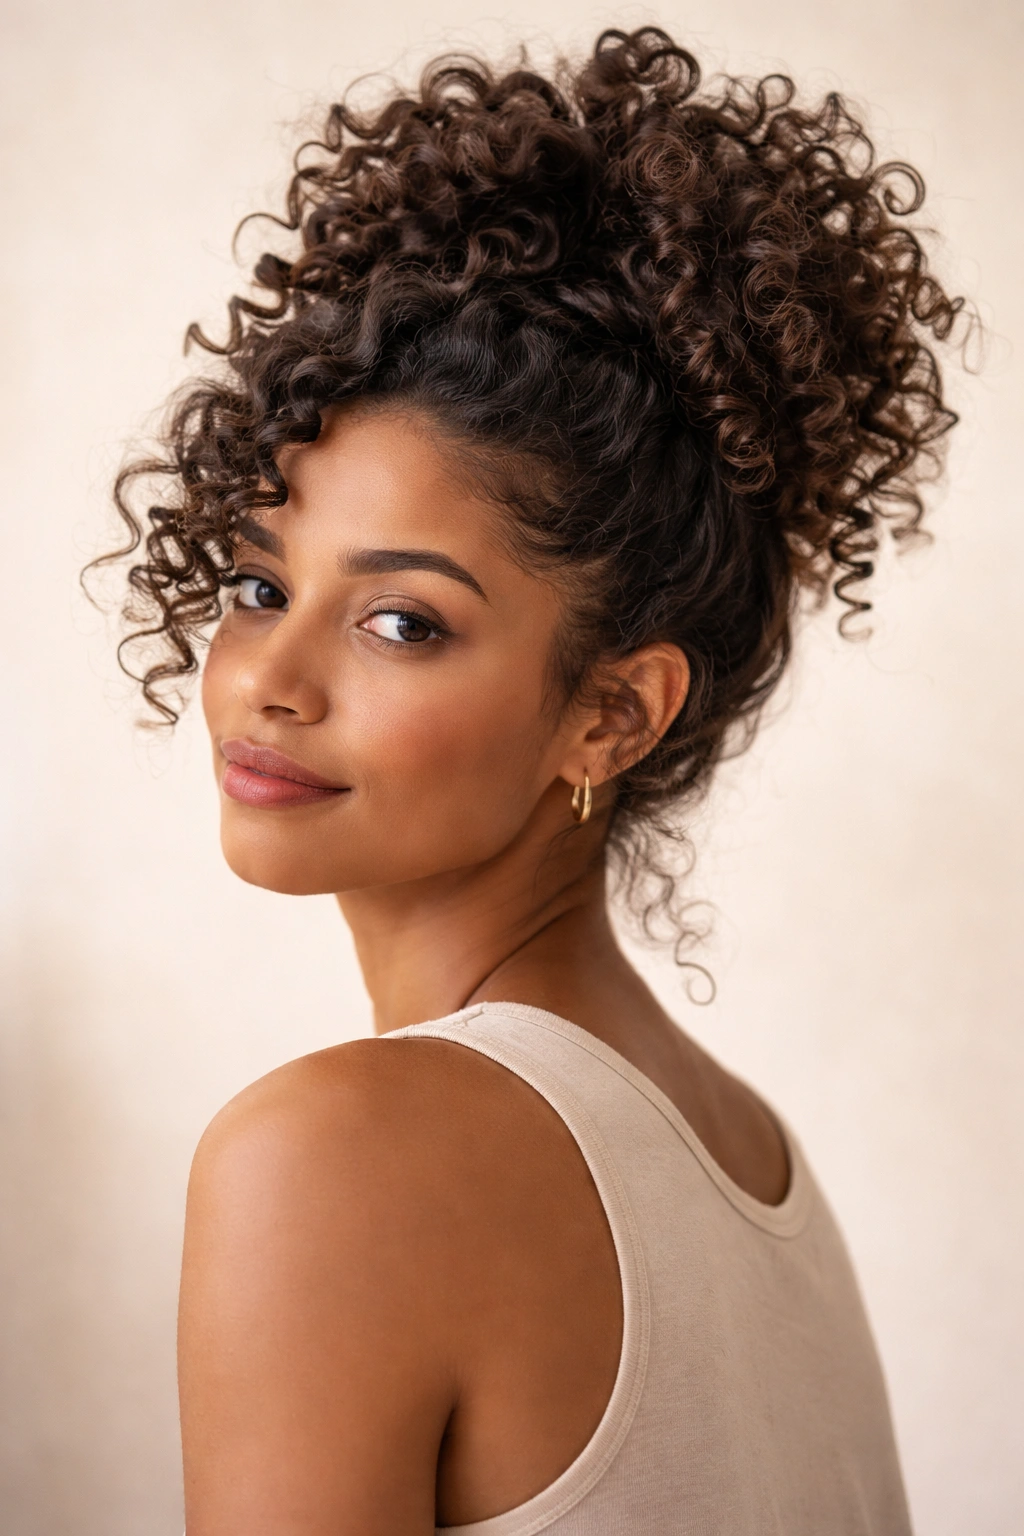
Why does the pineapple show up in almost every curly hair routine? Because it solves the problem curly travelers hate most: flattened curls after sleep. Gathered loosely at the top of the head, the pineapple keeps your length from rubbing against fabric, and that alone saves a lot of definition.
It is one of those styles that looks a little silly in the mirror and then turns out to be extremely useful. A loose satin scrunchie at the crown, a bit of lift at the front, and your curls stay in a soft pile instead of being pressed into the pillow. If you are sleeping on a plane or in a car, it helps there too, especially when you pair it with a satin scarf or bonnet.
How to wear it without wrecking your curl pattern
The trick is not to overthink it. Flip your hair forward, gather it very loosely at the highest point, and secure it once or twice with a scrunchie. The curls should fall forward and downward, not get dragged into a tight knot. If the scrunchie leaves a ridge, it is too small.
This is also one of the easiest styles for bob-length curls that are too short for a real bun. Even shorter coils can usually reach a loose crown hold. The end result is soft, not rigid, and that is exactly why it works.
Pineapples are not the sleekest option. No one should pretend they are. But for sleeping, resting, or moving through a travel day with your curls mostly intact, they are hard to beat.
3. Two-Strand Twists That Last Through a Long Weekend
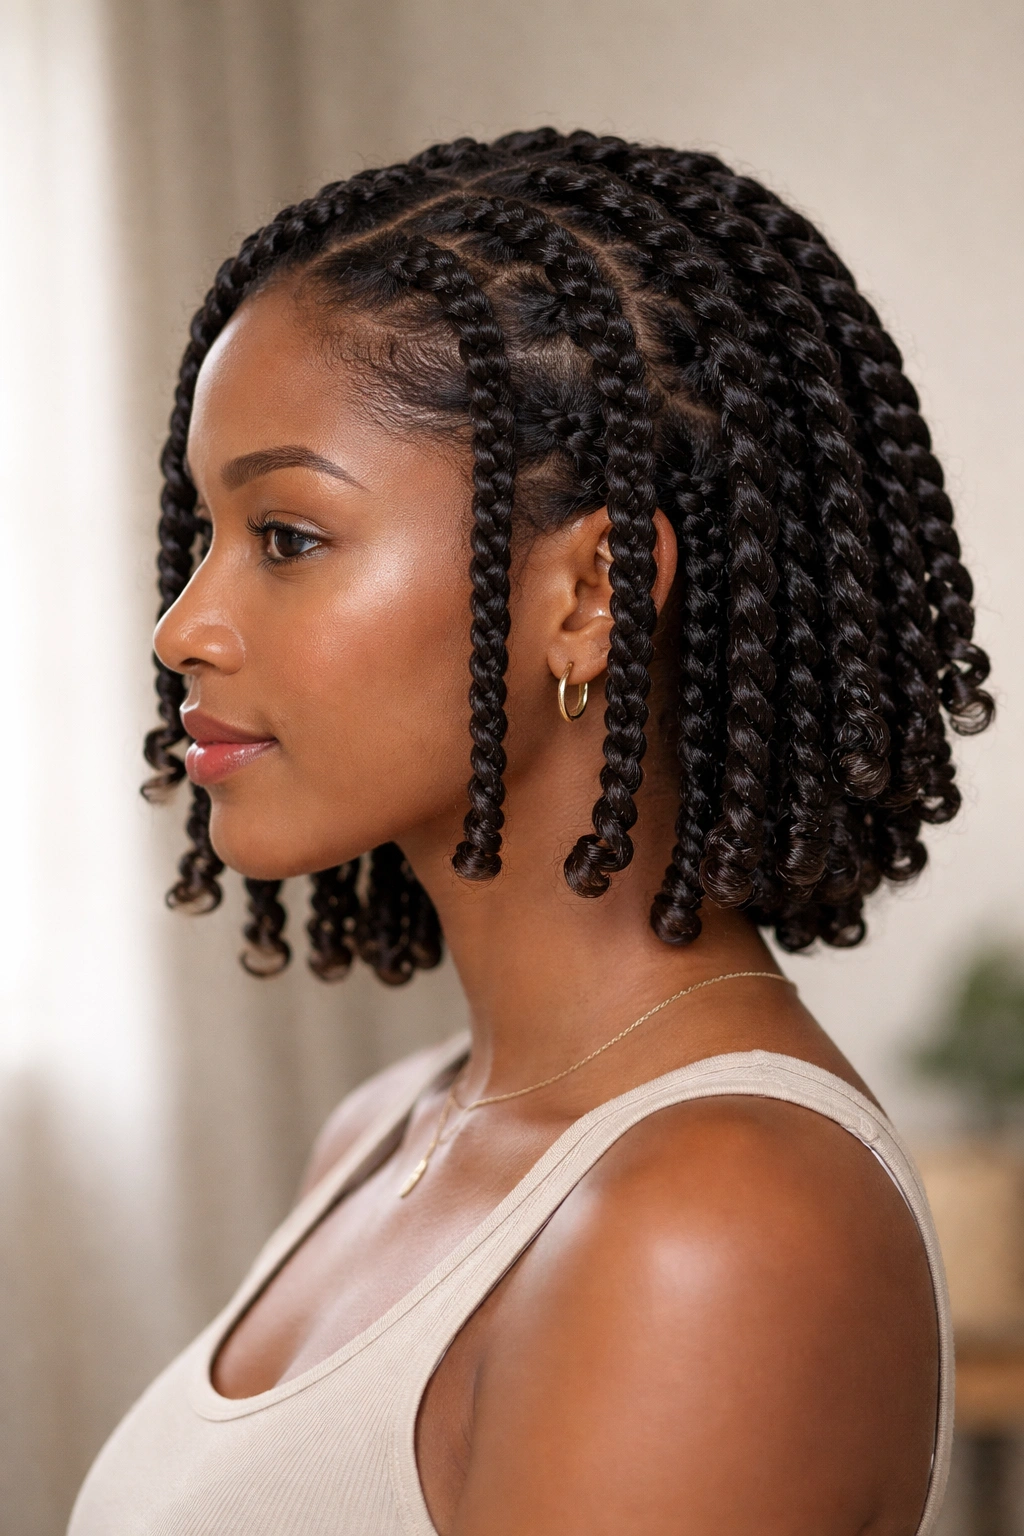
The first time I saw a set of well-done two-strand twists survive a packed suitcase, a long drive, and two hotel showers, I stopped underestimating them. They are not flashy. They are steady. And that matters more than style points when you are away from home and do not want to spend half your trip detangling.
Two-strand twists work because they keep the hair organized. Each section stays together, which means less friction, less knotting, and fewer ends wandering into trouble. On natural curly hair, that is a huge deal. You can wear them neat and compact, or let them soften a little over time and still look intentional.
What makes them travel-friendly
The best twists usually start on moisturized hair with a light leave-in, a cream, and a small amount of oil on the ends. Section size matters more than people think. Bigger twists are faster but fuzzier sooner. Smaller twists take longer but usually stay neater.
- Section hair in squares or triangles for cleaner parts
- Keep each twist the same tension from root to end
- Smooth the ends with a little cream before you finish
- Sleep in a satin bonnet or scarf so the twists do not snag
- Unravel slowly if you want a twist-out later
They are also forgiving if your trip gets messy. That sounds dramatic, but it is true. If one twist loosens, the whole style does not fall apart. You can re-twist a single piece in a hotel mirror and move on with your day. That kind of resilience is worth a lot.
4. Low Puff for Curly Hair and Humid Weather
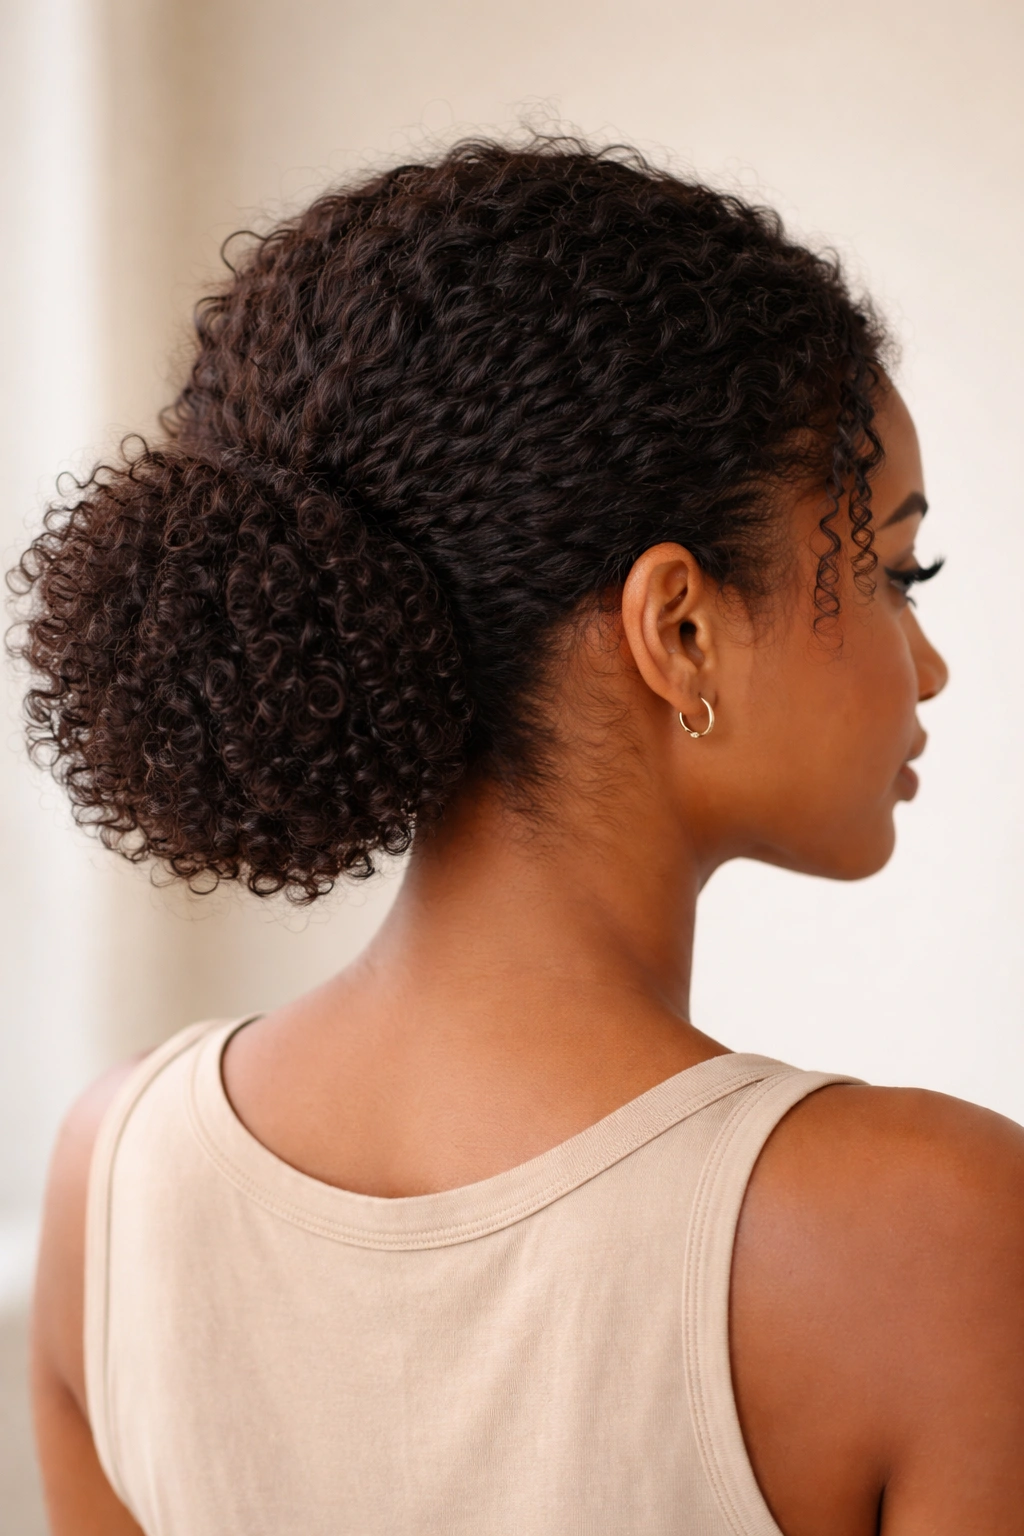
A low puff is the quieter cousin of the high puff, and I like it more than people seem to admit. When humidity is making your roots swell and your hairline wants to frizz first, keeping the puff low can feel calmer and more controlled. It sits closer to the nape, which also makes it more comfortable under car headrests and airplane seats.
The low placement softens the whole look. Instead of all the volume sitting at the crown, the shape settles lower and feels a little more relaxed. That can be helpful if your curls are dense or long enough that a high puff starts to feel top-heavy by lunchtime.
Where it shines
This style is especially useful when you want a tidy silhouette without flattening your texture into a bun. A middle part gives it a clean line. A side part makes it feel softer. Either way, the key is keeping the base secure while letting the curls breathe.
A little gel around the perimeter can help, but heavy product usually makes the puff feel stiff. I prefer a light hold at the edges and a soft brush over the surface, then stop. Overworking the hair is a waste of time. It also tends to make the roots puff up in odd places later.
Low puffs are practical, but they are not boring. Add gold cuffs, a scarf tied at the base, or a simple clip, and the style stops looking like an emergency fix and starts looking deliberate.
5. Flat Twists Into a Low Bun
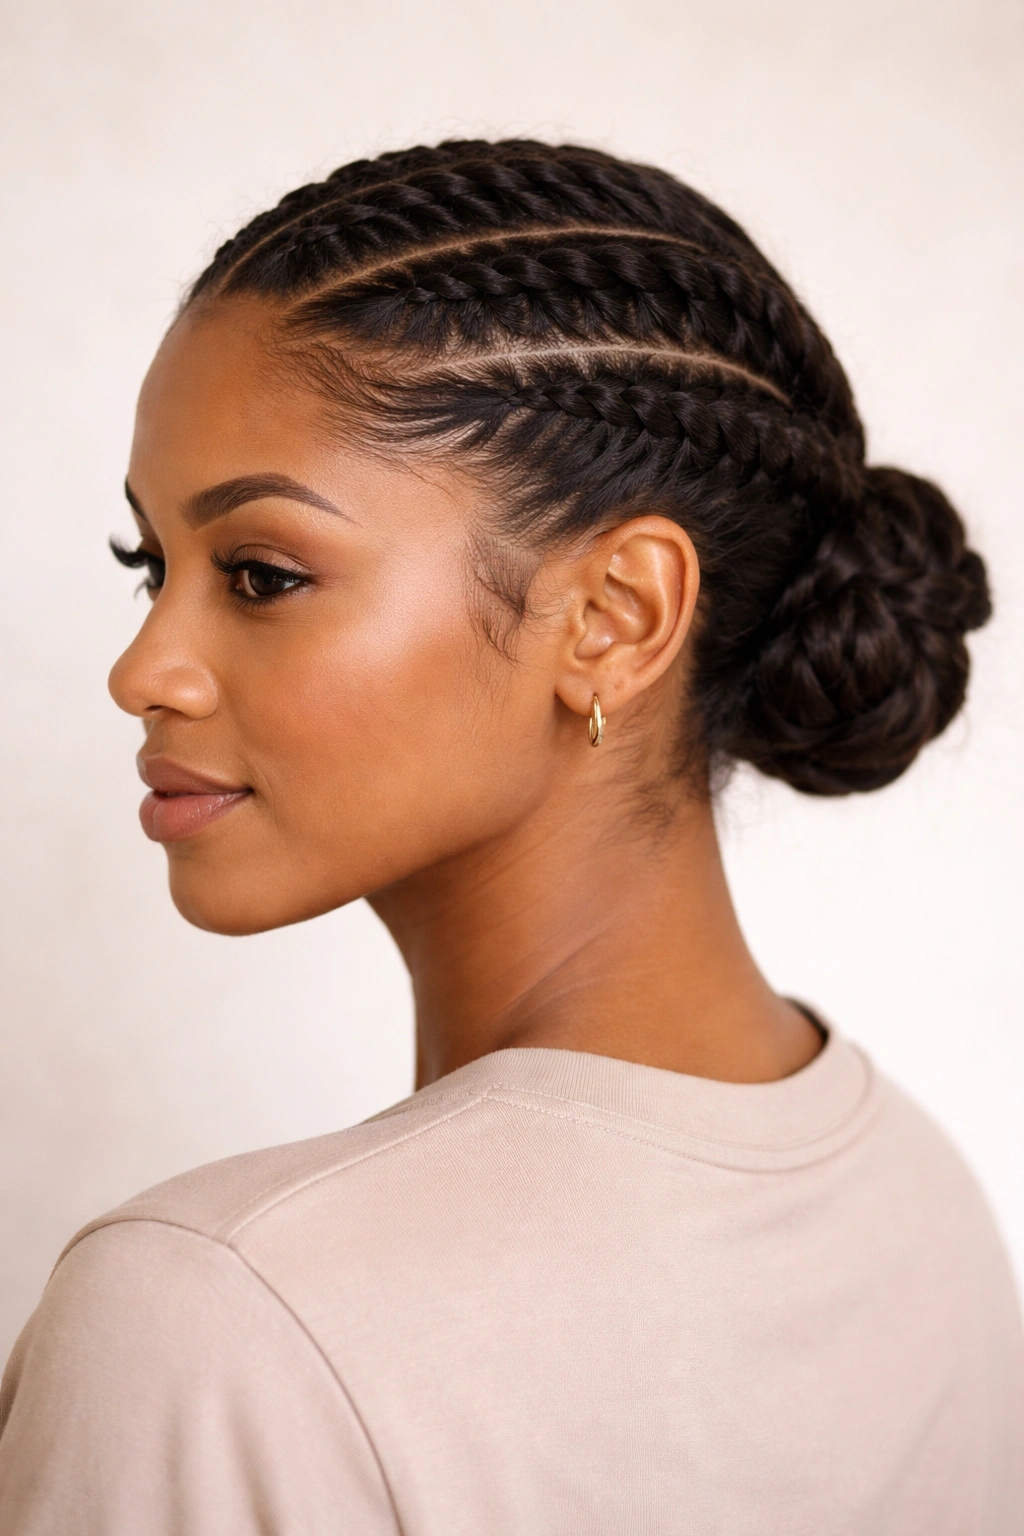
What makes flat twists into a low bun so useful is the way they protect the front and tuck the ends away in one move. If you are going from airport to dinner, or hotel lobby to museum to bus ride, this style keeps your hair in place without feeling severe.
Start the twists at the hairline or just behind it, then feed them back toward the nape. Once the twists are finished, gather the remaining length into a low bun. The bun can be compact and neat, or soft and slightly loose. I prefer the second version, because it feels less rigid and usually stays more comfortable for a full day.
How to keep the parts clean
Use a rat-tail comb, some water or leave-in for slip, and work with sections that are small enough to hold their shape. If the parts are crooked, you will see it right away, so take a minute here. That minute pays off later.
A few people make this style too tight at the scalp. Bad idea. Flat twists should lie flat, not tug like you are trying to prove something to your hairline. If you can feel tension behind your ears, loosen it before you leave the mirror.
This style is a smart choice for travel days when you want your curls fully protected but still want something more interesting than a plain bun. It feels neat. It stays put. And it plays nicely with hats, scarves, and the kind of weather that refuses to cooperate.
6. Bantu Knots for Natural Curls on the Road
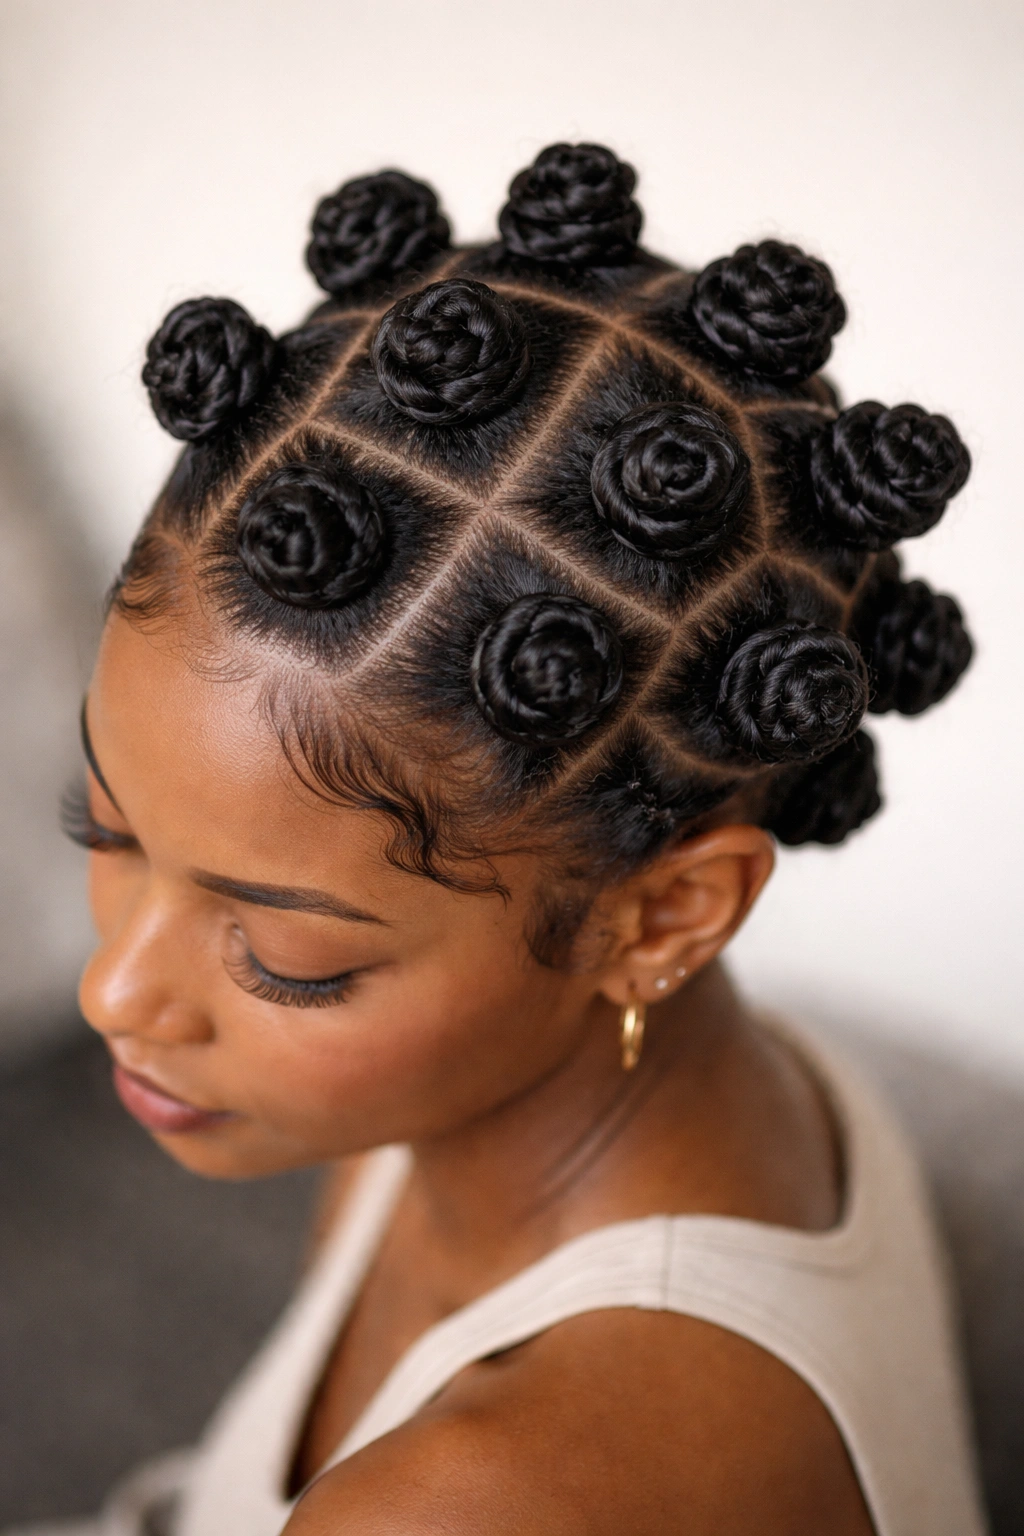
Bantu knots are not just a style people wear for flair. They are also one of the better ways to keep natural curls tucked, contained, and ready for a later takedown. That matters on a trip, because a style that works twice is worth far more than one that looks good for six hours and then gives up.
The knots themselves are compact little coils, and that compactness is the point. Hair is wrapped into sections, twisted into small knots, and secured close to the scalp. The result is protective, but not flat. If you unravel them later, you can get a knot-out with plenty of body and definition.
What to watch for
This style likes clean sectioning and enough moisture to keep the hair pliable. Too much product makes the knots slippery and hard to hold. Too little product leaves the ends rough and fuzzy. Somewhere in the middle is the sweet spot.
- Best on medium to long natural curls
- Smaller knots create more definition later
- Larger knots are faster but can look uneven
- Works best when hair is stretched a little first
- Needs a bonnet or scarf at night to keep the base smooth
The only real downside is patience. Bantu knots take a bit longer than a puff or bun, and if your hair is layered, some sections may behave differently. Still, they hold well, they travel well, and they give you a built-in second style if you want to switch things up mid-trip. That is a very solid deal.
7. Crown Braid That Hides Frizz Fast
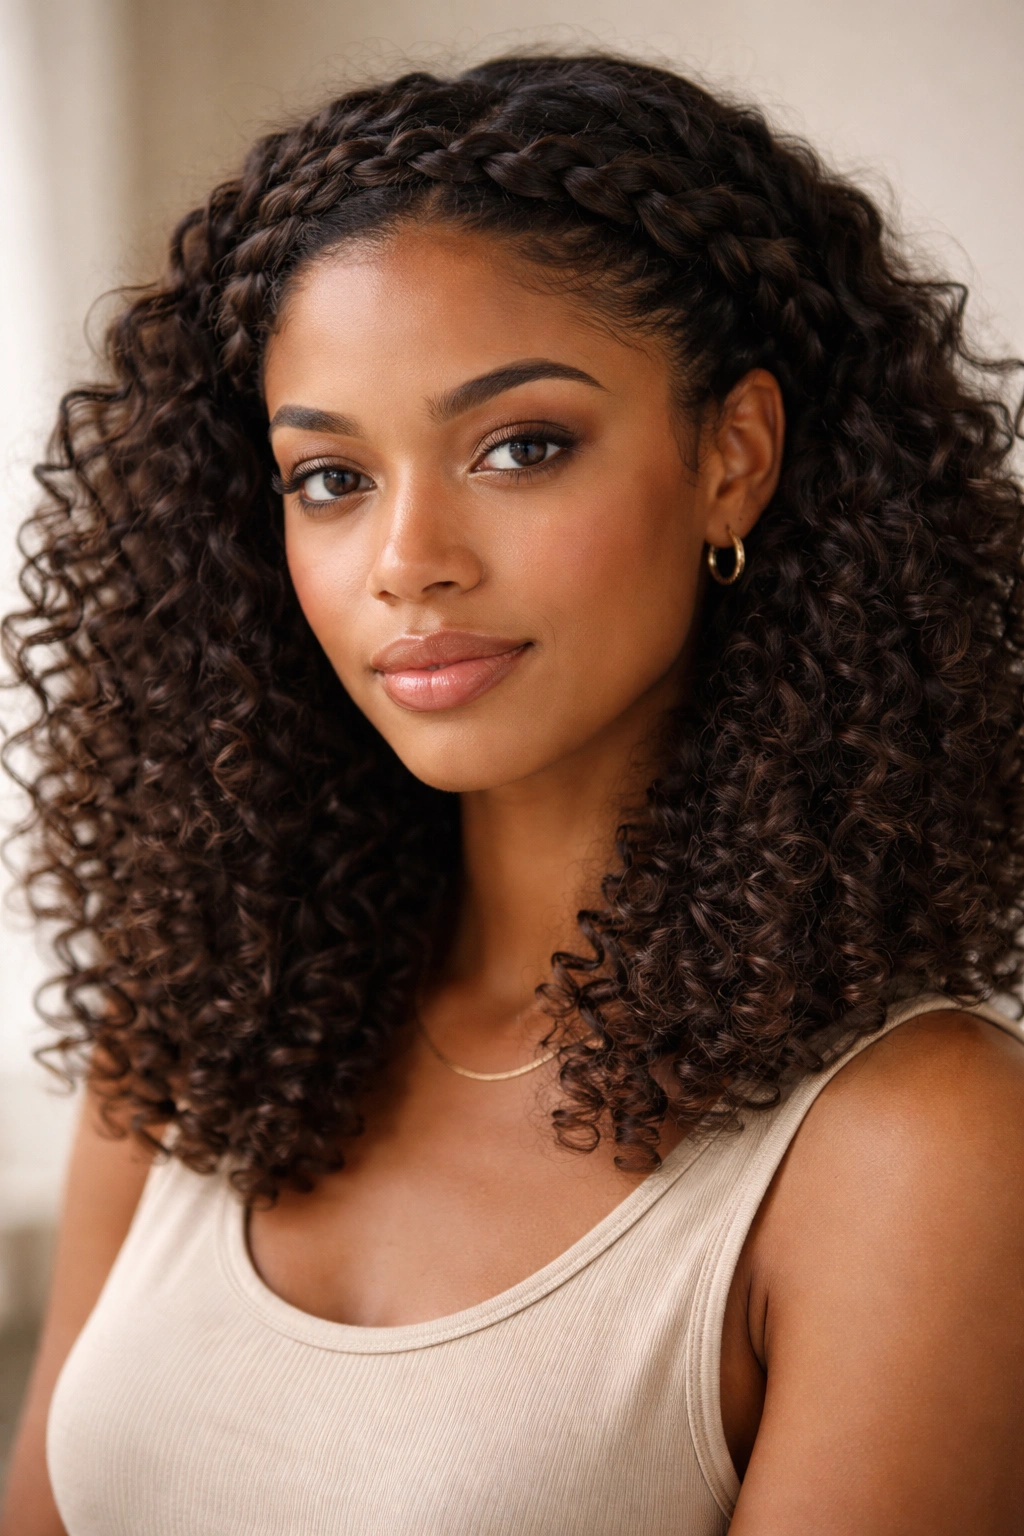
Third-day curls can be stubborn in the front and surprisingly cooperative everywhere else. A crown braid is the style I use when the crown area needs control but I do not want the rest of the hair pinned down like a helmet.
You can wear it as a full braid circling the head or as a braid that starts near one temple and wraps around toward the other side. Either version keeps the face open and pulls attention upward. It also hides a lot of the frizz that shows up first at the hairline, which is usually where travel starts to wear on curly hair.
Why it’s so practical
The braid gives structure to the front while leaving the rest of the hair free enough to keep some shape. That makes it a good fit for medium curls, bob cuts, and longer textures that need a little control without being fully gathered.
- Great when the front section is frizzy but the length still looks good
- Needs bobby pins that match your hair color if the braid is layered
- Works with a center part or a side part
- Holds up well under a scarf tied loosely at the back
- Looks neat with earrings, sunglasses, and a clean neckline
The one thing I would not do is braid so tightly that the scalp starts to feel sore by mid-afternoon. A travel hairstyle should make your day easier, not give you something else to notice every time you turn your head.
8. Half-Up, Half-Down Style for Stretching Curly Hair
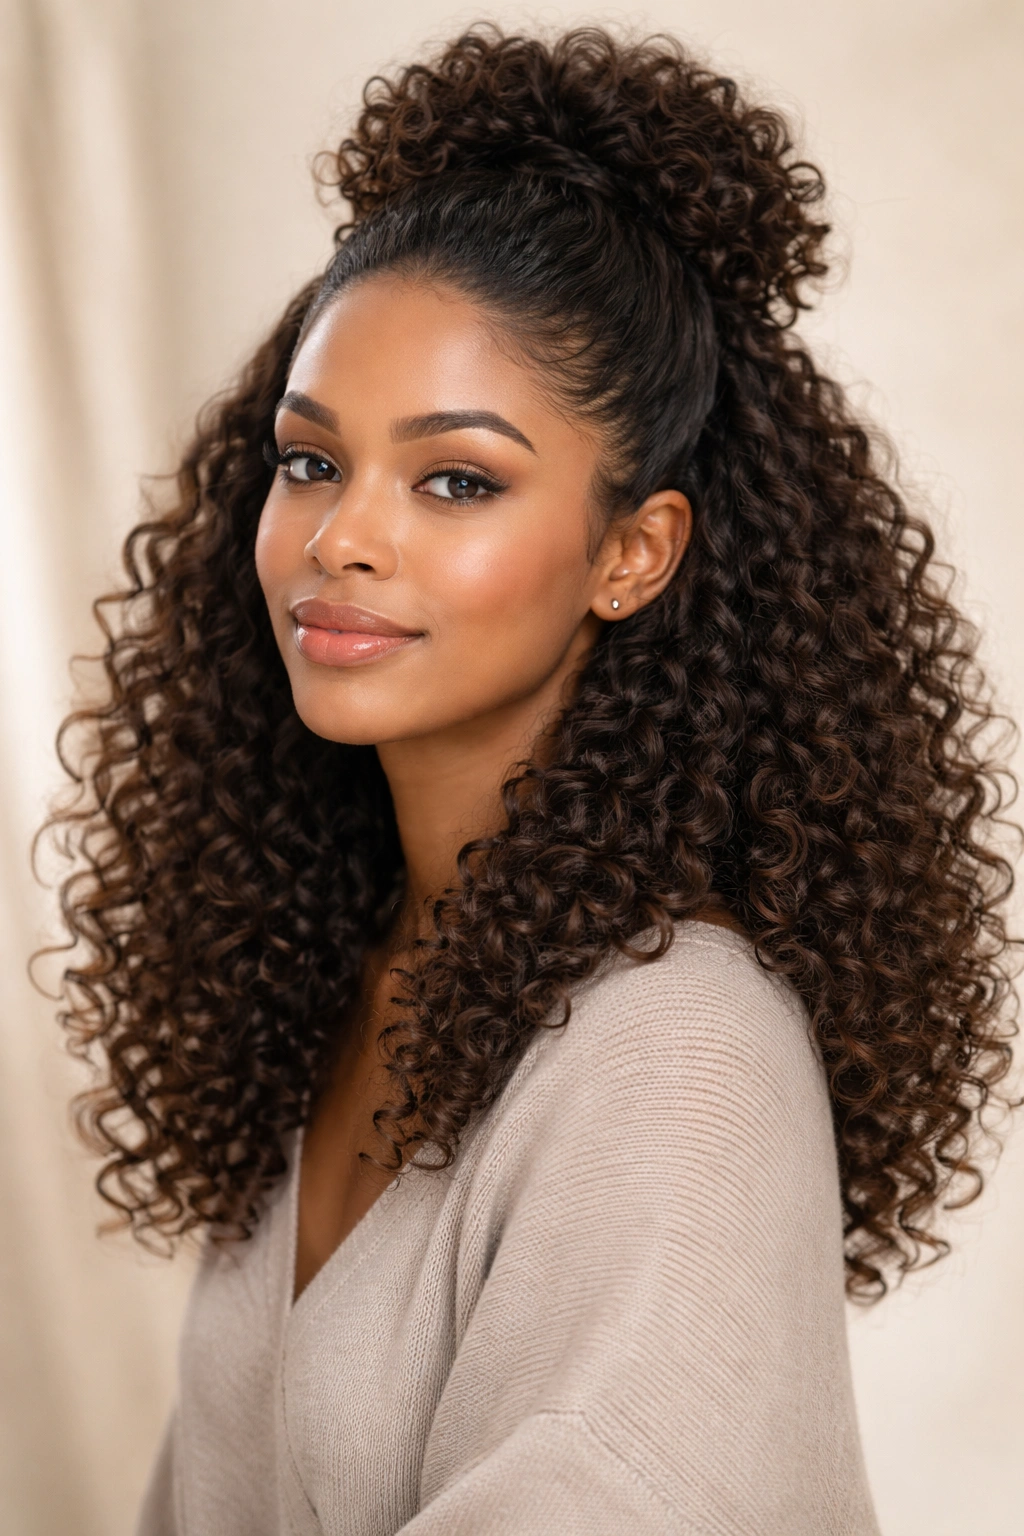
A half-up, half-down style is one of the most forgiving travel looks for natural curly hair. It gives you the freedom of loose curls without forcing every strand to stay away from your face. That middle ground is what makes it so useful.
The top section can be pulled into a puff, a twist, a small bun, or a clip, while the rest stays loose and visible. If you are traveling with a wash-and-go, a braid-out, or stretched curls, this style keeps the front under control while letting the length do its thing. It also works well when you want your hair to look styled without spending twenty minutes on it.
The best version leaves the bottom section soft and bouncy. The top section should feel secure but not tight. If your hair is thick, use a strong elastic or a large clip instead of trying to force everything through a tiny band. That never ends well.
I like this one because it can look polished or casual depending on what you pair it with. A pair of hoops and a clean center part make it feel intentional. A scarf and oversized sweatshirt make it feel easy. Same hairstyle. Different mood.
9. Space Buns for Short or Medium Curls
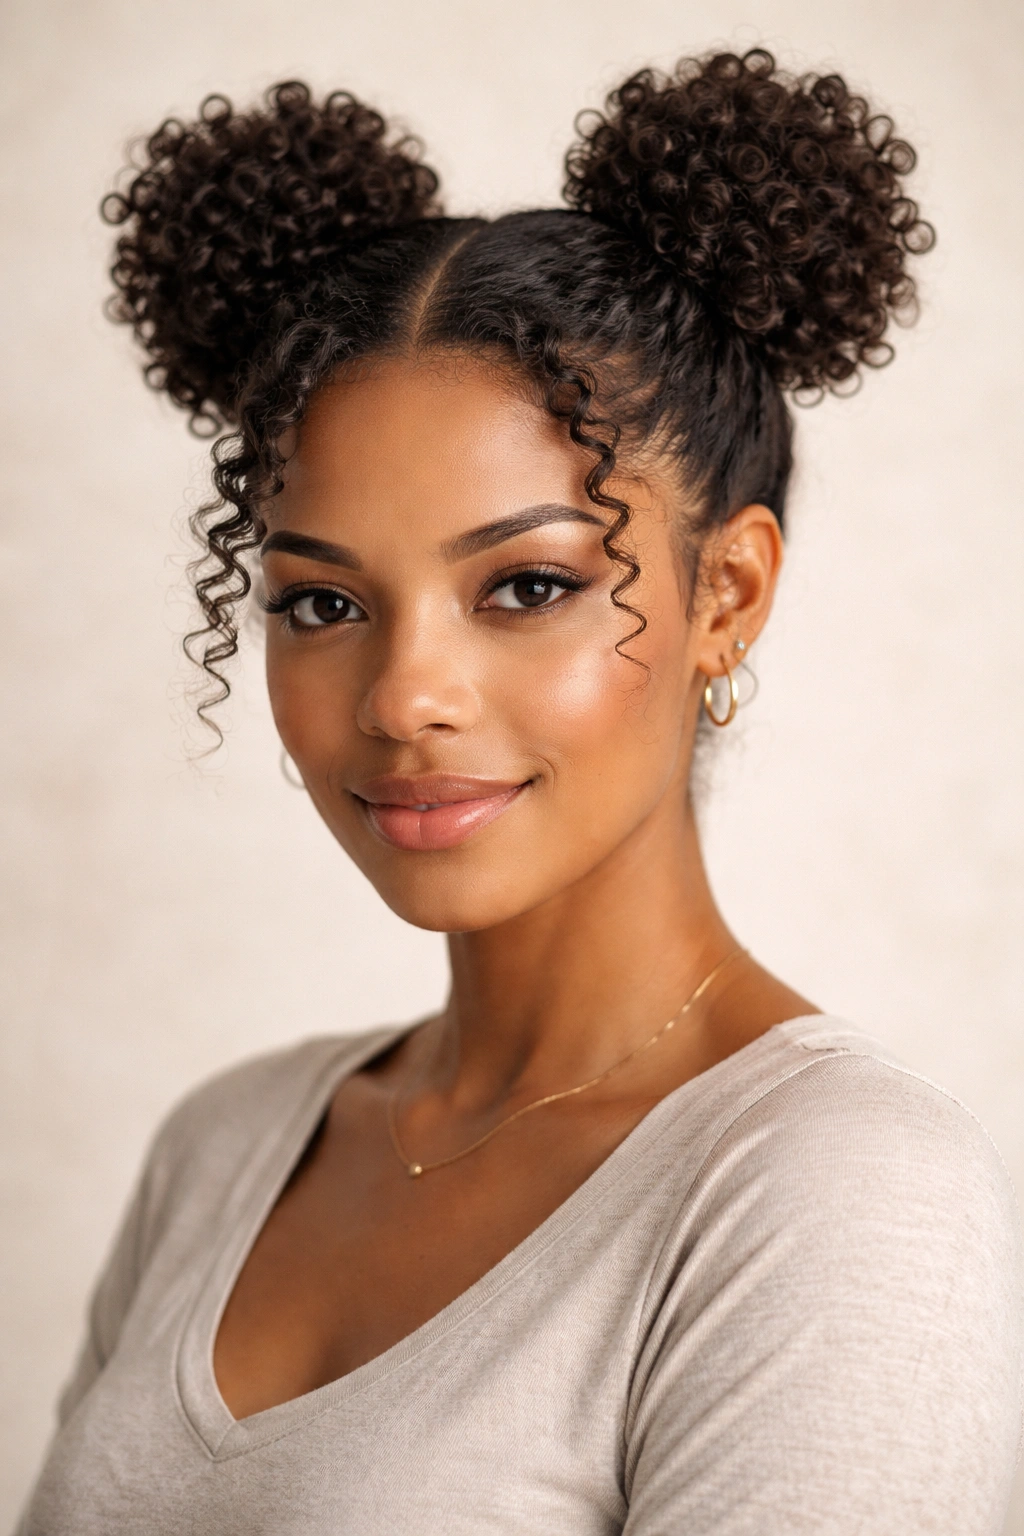
Why do space buns keep showing up in curly hair travel photos? Because they solve a length problem without asking for perfection. Short to medium curls that cannot reach a full bun can still be gathered into two smaller buns, and the result is playful without feeling childish.
The trick is to create balance. Split the hair evenly, smooth each side just enough to gather it, and twist or wrap the sections into two buns sitting high or mid-level on the head. If your curls are dense, pin the base with small U-pins so the buns do not sag by afternoon. If your hair is layered, leave a few face-framing pieces out. That softens the shape and keeps it from looking too hard.
How to make them sit evenly
Take a second to check placement in the mirror before you pin anything. One bun too high and the other too low will annoy you all day. Measure by eye from the ears upward, not by guessing and hoping.
Space buns are especially good for warmer travel days, long museum walks, or any situation where you want the neck completely clear. They also work well on bob-length curls that need a style with a little structure but not a lot of length. That makes them a lot more useful than people think.
10. Sleek Low Bun with Curly Ends
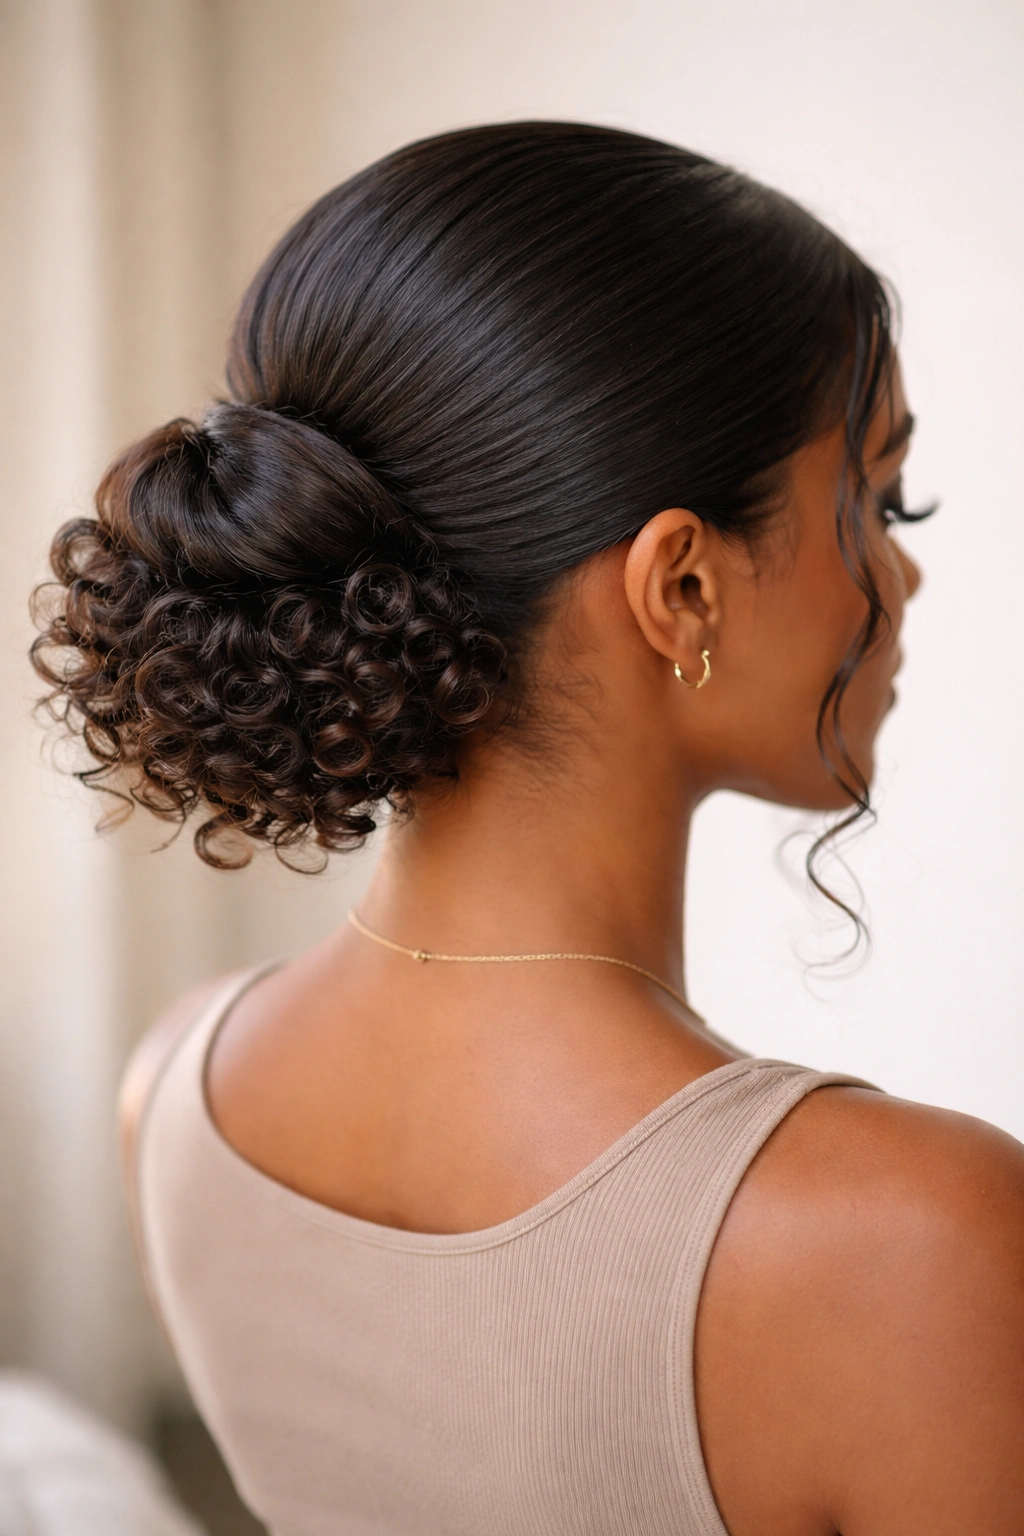
A sleek low bun with curly ends is the grown-up version of a travel style that still respects your texture. Unlike a fully slicked bun, this one allows the ends to stay coiled, tucked, or softly looped, so the hair does not lose all of its personality.
That difference matters. A tight, fully polished bun can flatten curls so much that they feel dry and stiff later. A sleeker top with curly ends gives you control at the crown and softness at the bottom. It is a better choice if you are heading somewhere dressy but still want your natural curl pattern to show up somewhere on your head.
This style is best when the hair is moisturized and stretched a bit. Use gel on the top and sides, smooth the surface with a brush, then gather low at the nape. Let the ends stay curled if they are long enough, or fold them into the bun without crushing them flat. A satin scarf for ten minutes can help the top settle while keeping the finish smooth.
It is not the fastest style on the list, but it has range. That is the real appeal. You can wear it to a long flight, then to a nice dinner, and it does not look out of place in either setting.
11. Claw-Clip French Twist for Curly Hair
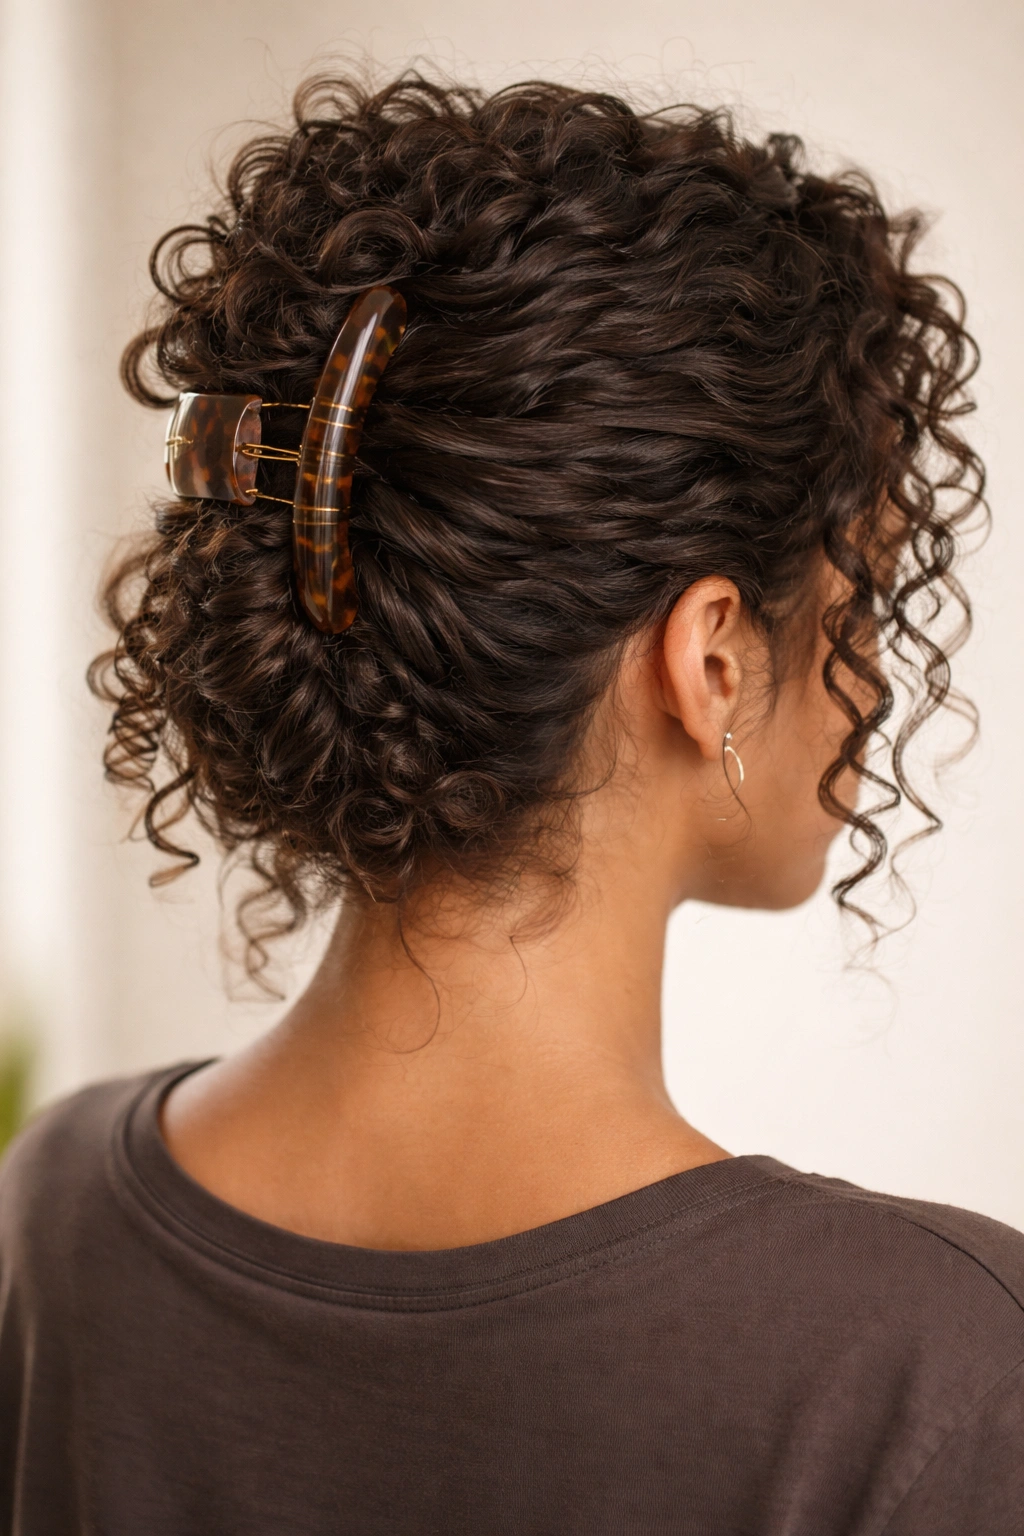
Sometimes the best travel hairstyle is the one that takes less than a minute. A claw-clip French twist is exactly that kind of fix. It keeps the hair off your neck, works with most curl patterns, and lets you change your look without a mirror that behaves badly in hotel lighting.
The mechanics are simple. Gather the hair at the back, twist it upward, fold the length in, and clamp it with a strong clip. The ends can tuck in fully or spill out a little, depending on how long your curls are. I like a large matte clip with a strong spring, because flimsy ones slide on textured hair and that is irritating fast.
What to look for in the clip
- A spring that actually grips thick hair
- Teeth long enough to catch more than the top layer
- Rounded edges so the clip does not scrape the scalp
- Enough width to hold your full volume without pinching
- A shape that sits flat enough for a headrest
This style is especially good for people whose curls do not love elastic bands. Some hair simply behaves better when it is folded and clipped rather than stretched through a tie. If your layers are shorter, leave a few pieces out around the face. That keeps the twist from feeling too severe and gives the style a little softness.
12. Side-Swept Roll and Tuck for Easy Travel Days

A side-swept roll and tuck has that calm, slightly old-school feel that works better than it first looks. One side is brushed or smoothed back, the curls are rolled or tucked toward the nape, and the whole shape leans to one side instead of sitting dead center on the head. For curly hair, that offset can be a blessing.
It is especially helpful for bob-length curls and shoulder-length coils that are too short for a big bun but too long to leave loose all day. The style keeps hair away from your face, plays nicely with scarves and headphones, and does not require the kind of precision that makes travel mornings annoying. If a few curls spring loose near the temple, fine. That usually makes it better.
The best part is the feel. It sits close to the head without flattening everything, and it does not drag on the neck the way a high puff can after a long day. That makes it a strong option for trains, flights, road trips, and any day when you want the least amount of hair in your way.
Keep a couple of pins in your bag. Keep a small satin scarf in there too. The style itself is easy, but that little bit of backup turns it from a nice idea into something you can actually wear through a real day without babysitting it.
Natural curly hair does best on the road when the style matches the length, the weather, and the amount of energy you have left. The smartest travel hairstyles are the ones that leave your ends protected, your scalp comfortable, and your curls looking like they belong to you, not to the nearest flat iron. Pick the shape that fits the day, and the day gets easier.