Cap day is not the day to fight your texture. Natural curls look best when the style is built around their shape, not forced into something that only works for straight hair.
That is the main thing people miss when they search for graduation hairstyles for natural curls. The goal is not to make your hair disappear under the cap. It’s to give it a clean shape, enough hold to survive hugs and photos, and enough softness that it still looks like you when the tassel moves to the other side.
A good graduation style has to do a few jobs at once. It needs to sit under or around a cap without flattening into a sad patch. It needs to stand up to a little sweat, a little wind, a long ceremony, and maybe a rush to the parking lot afterward. And it has to look good from the front, because graduation photos are cruel that way. They catch everything. Every frizz halo. Every loose pin. Every curl that got flattened in the wrong spot.
The styles below lean into what natural hair does well: shape, volume, movement, and texture. Some are sleek. Some are fluffy. Some are protective. All of them can be adjusted for tighter coils, looser curls, short cuts, and longer lengths. Pick the one that feels like a sane choice for your hair, your cap, and your nerves. Then pin it down and stop touching it.
1. Defined Wash-and-Go With a Sharp Side Part
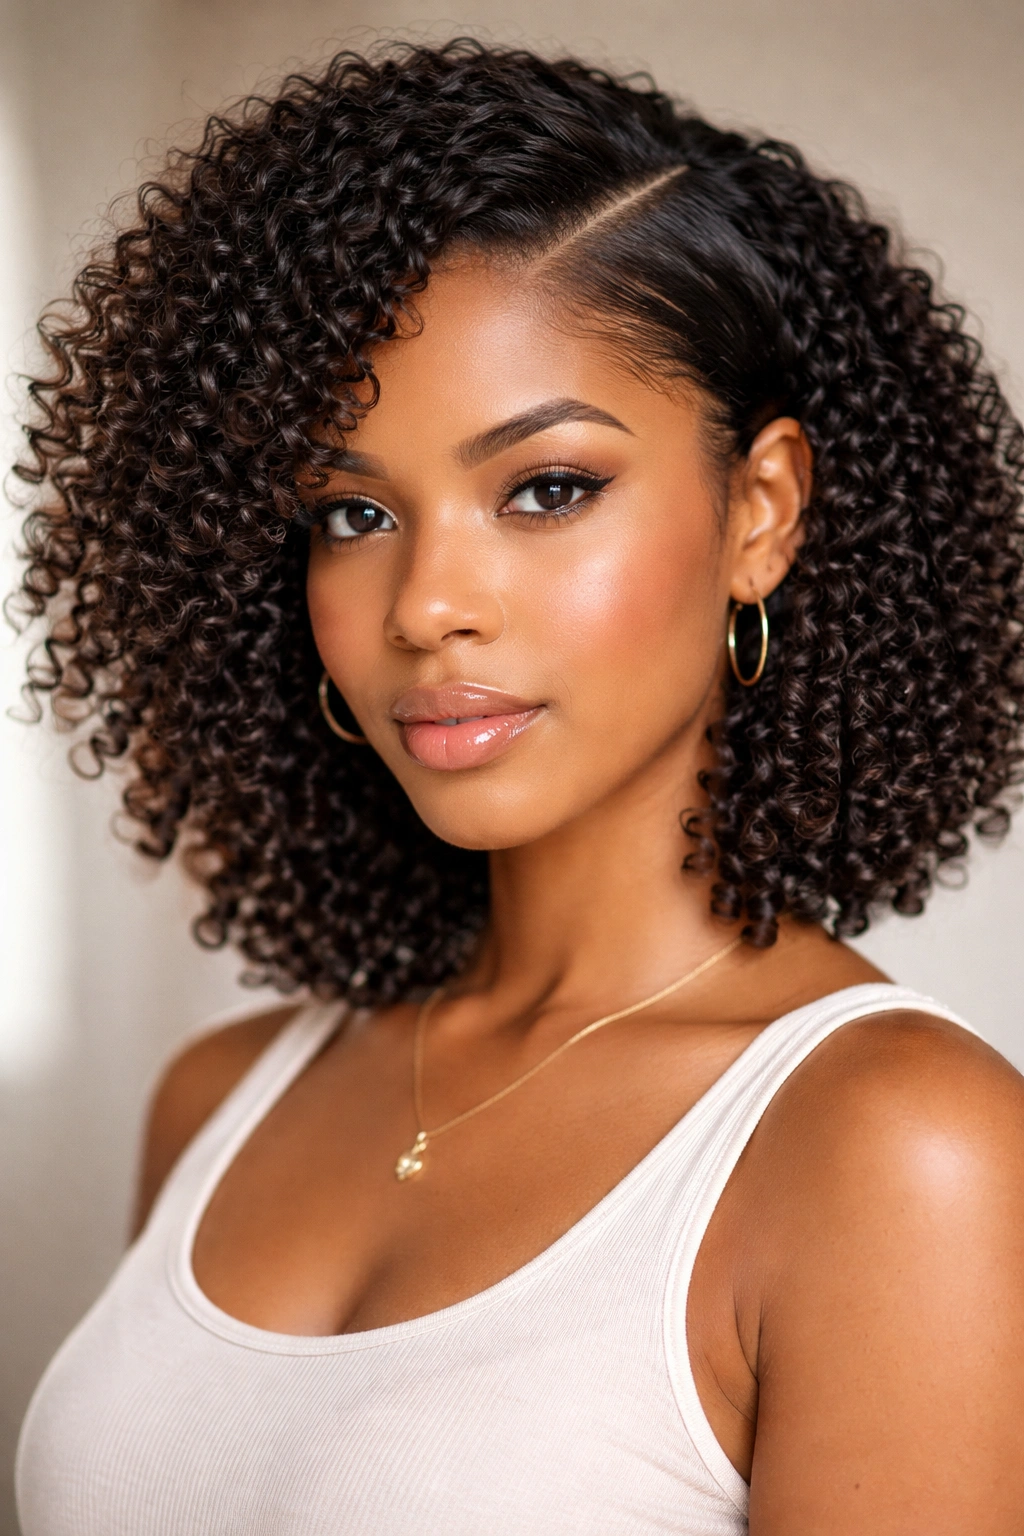
A good wash-and-go can carry a graduation look all by itself. It’s clean, modern, and it lets your curl pattern do the heavy lifting, which is exactly what you want if your hair already has a nice shape.
Why the side part helps
A sharp side part gives the style direction. That matters under a graduation cap, because a centered mound of curls can get squashed fast and look wider than you meant it to look. A side part shifts the volume slightly away from the forehead, so the front keeps some lift even after the cap has been on for a while.
Use a leave-in conditioner on soaking-wet hair, then layer a gel with enough hold to keep the curls from puffing into a fuzzball before the photos start. If your hair tends to shrink a lot, stretch the roots a little with a diffuser on low heat or with hover-drying for a few minutes. Don’t chase bone-dry stiffness. You want definition, not helmet hair.
- Apply product in small sections so every curl gets coated.
- Use a styling brush or your fingers to smooth the root area.
- Dry until the hair feels set at the surface, but still soft inside.
- Pin the heavier side back near the temple if the cap keeps sliding.
Best for: curl patterns that already form clear spirals or clumps.
Tiny but useful tip: after the cap comes off, flip your head forward once and shake at the roots. It wakes the style back up fast.
2. Twist-Out With Soft Crown Volume
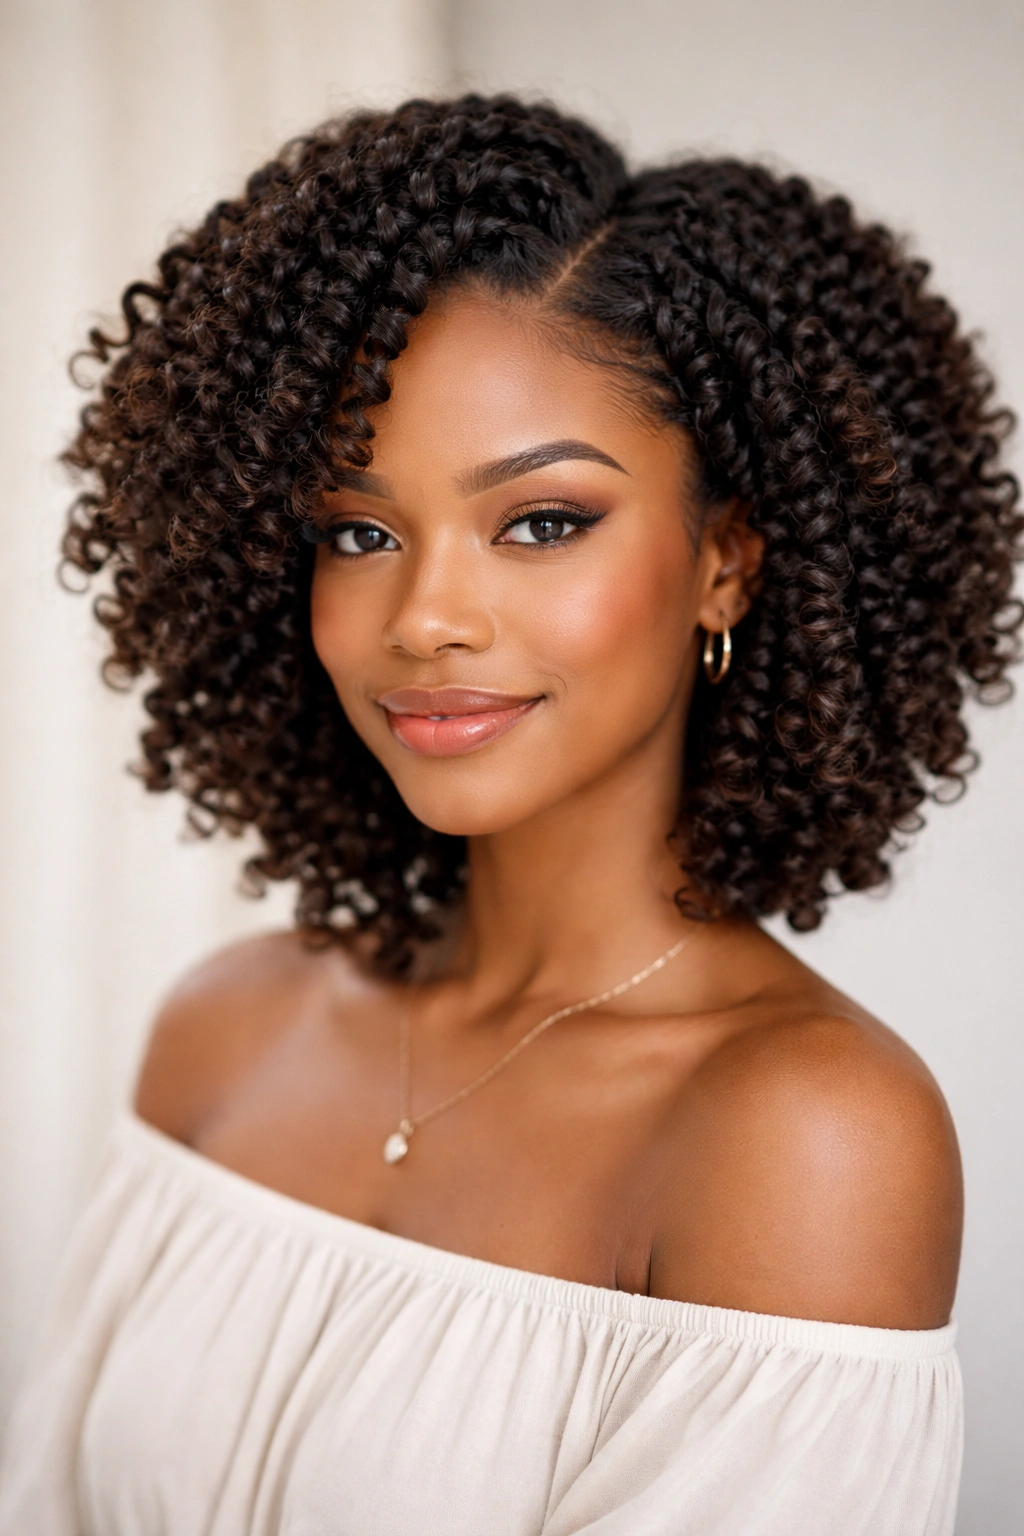
Want softness without losing shape? A twist-out is one of the safest bets. It gives you visible definition, enough body for photos, and a little more control than a full free-form curl style.
The reason twist-outs work so well for graduation is that the curl pattern is set in advance. You are not depending on the hair to dry perfectly while you’re getting dressed, walking, sitting, or waiting around in a robe. You set the pattern the night before or the day before, let the twists dry all the way through, then unravel with patience and a light hand.
How to keep it from getting fuzzy
Use a cream or foam that gives slip without leaving the hair greasy. Part the hair into medium sections, not tiny ones unless you enjoy sitting there forever. Two-strand twists tend to give the most predictable shape, and they hold better if the sections are the same size all over.
When you take the twists down, coat your fingertips with a drop of lightweight oil. That keeps frizz down and helps the strands separate cleanly. Pull the roots up gently with your fingers, not a comb, unless you want the whole style to turn into a cloud.
A twist-out is especially nice if you want your cap to sit a little farther back on the head. The hair stays soft near the crown, and the ends keep enough movement to look full in profile shots. It’s not the flashiest option. It is reliable, though, and sometimes that matters more than drama.
3. High Puff With Sleek Sides
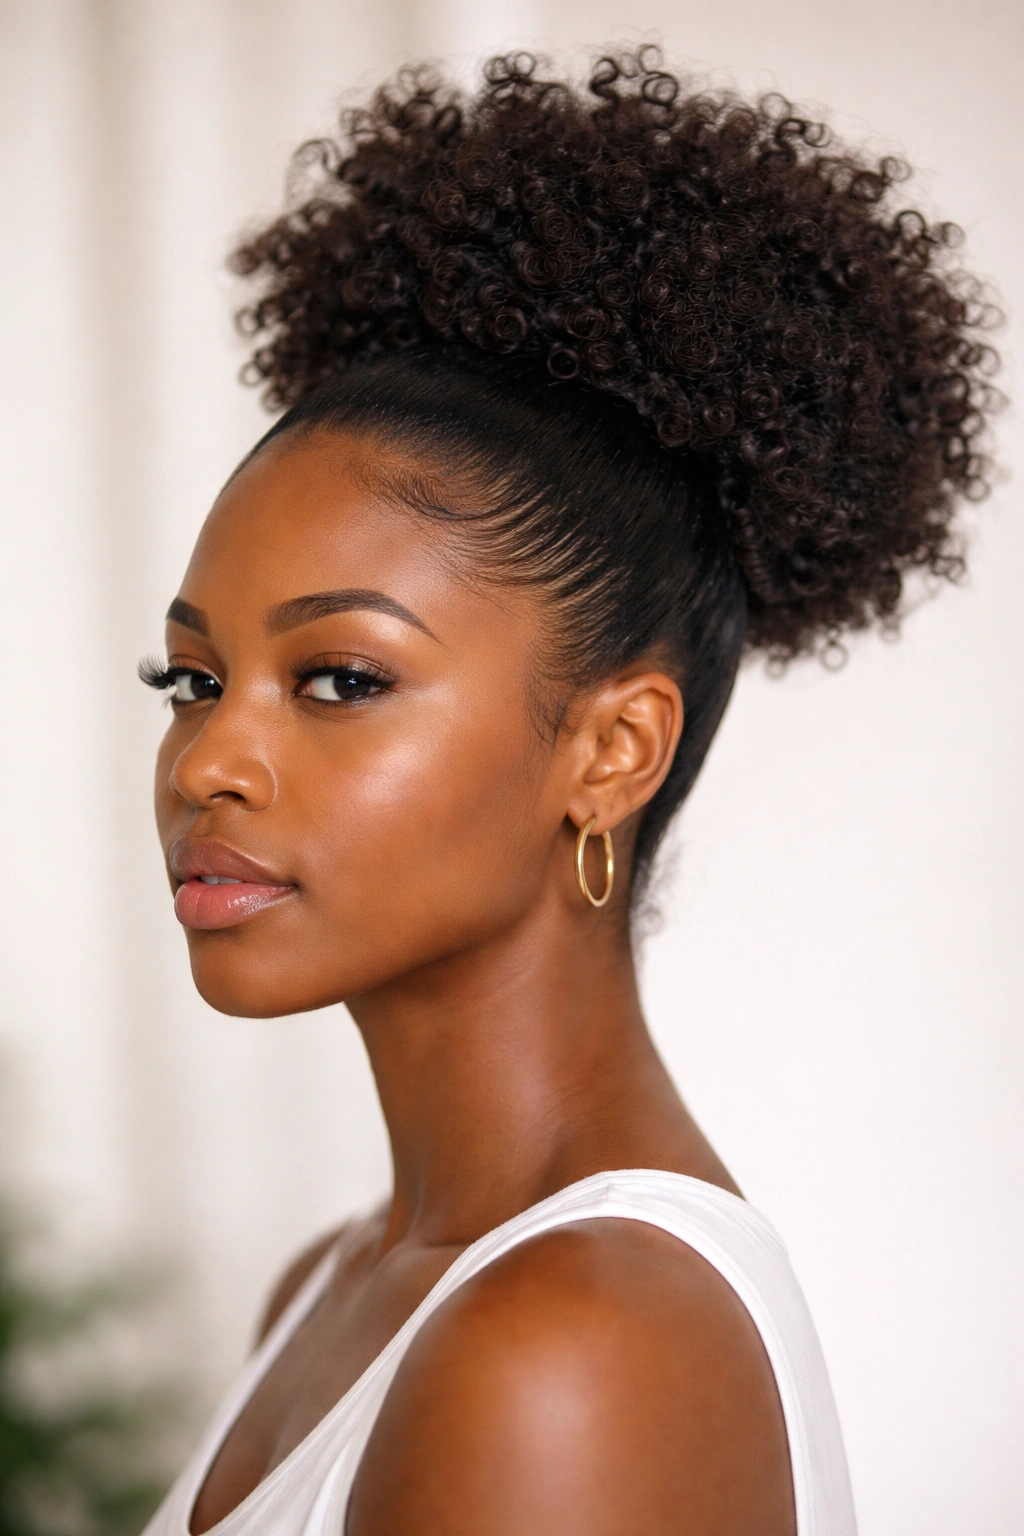
A high puff looks bold in photos and takes minutes to shape if your hair already has enough density. It also gives you a strong silhouette, which reads well from across a stage and under bright indoor lighting.
Here’s the catch: placement matters. A puff that sits too high can fight the cap. A puff that sits slightly back from the hairline usually behaves better, because the cap can rest more naturally at the front without crushing the whole shape. That little shift makes a bigger difference than people expect.
Do not crank the elastic tight. Seriously. A puff should feel secure, not like a headache waiting to happen. A bungee band or a long satin scrunchie is often easier than a thin elastic, especially if your hair is thick or coarse and you need room for volume.
Slick the sides with a gel or edge control that dries firm enough to stay put but not so hard that it flakes when you smile. A soft brush helps smooth the hair at the temples. Then stop. The puff is the star; overworking the sides usually makes the whole thing look overdone.
This style suits anyone who wants shape without a long styling session. It also photographs cleanly when the cap comes off, which is half the battle.
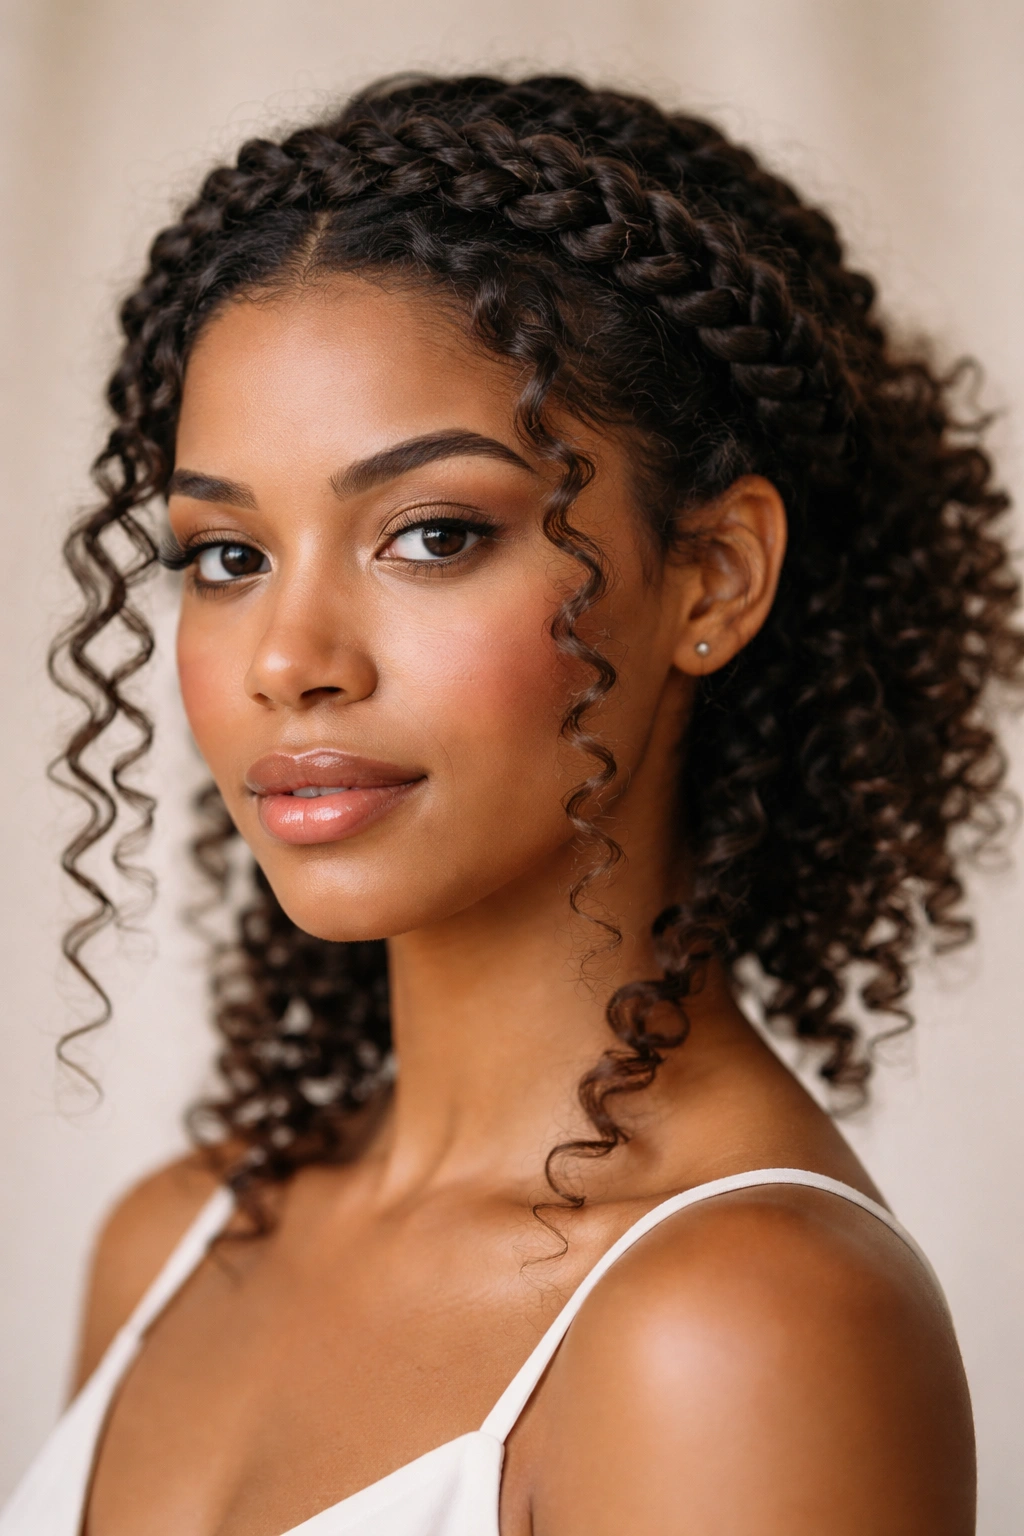
4. Braided Crown With Curly Ends

If your hair frizzes the second you breathe on it, braid the front. A braided crown keeps the hairline tidy and gives the whole style a little structure, while the curly ends bring back softness so it doesn’t feel too stiff.
The version I like most for graduation uses two braids that start at the temples and curve toward the back, then stop short and let the remaining curls hang loose. It has enough polish for a ceremony, but it still looks like natural hair, not a wax museum wig. That balance is hard to fake.
What makes this one work
The braids do the practical work. They hold the front of the style down, keep flyaways out of your face, and make cap placement less annoying. The loose curls at the back keep it from looking too severe.
If your curls are thick, use medium-size sections. Tiny braids can look fussy and take forever. Bigger braids read cleaner and tend to sit flatter under a cap. Add a couple of small cuffs or a pearl pin if you want decoration, but keep it simple. One or two accents are enough.
A braided crown is a good choice if you plan to keep the cap on for a while. The front stays neat. The back stays soft. And when the day gets long, the style still feels comfortable instead of heavy.
5. Low Puff With a Wrapped Base
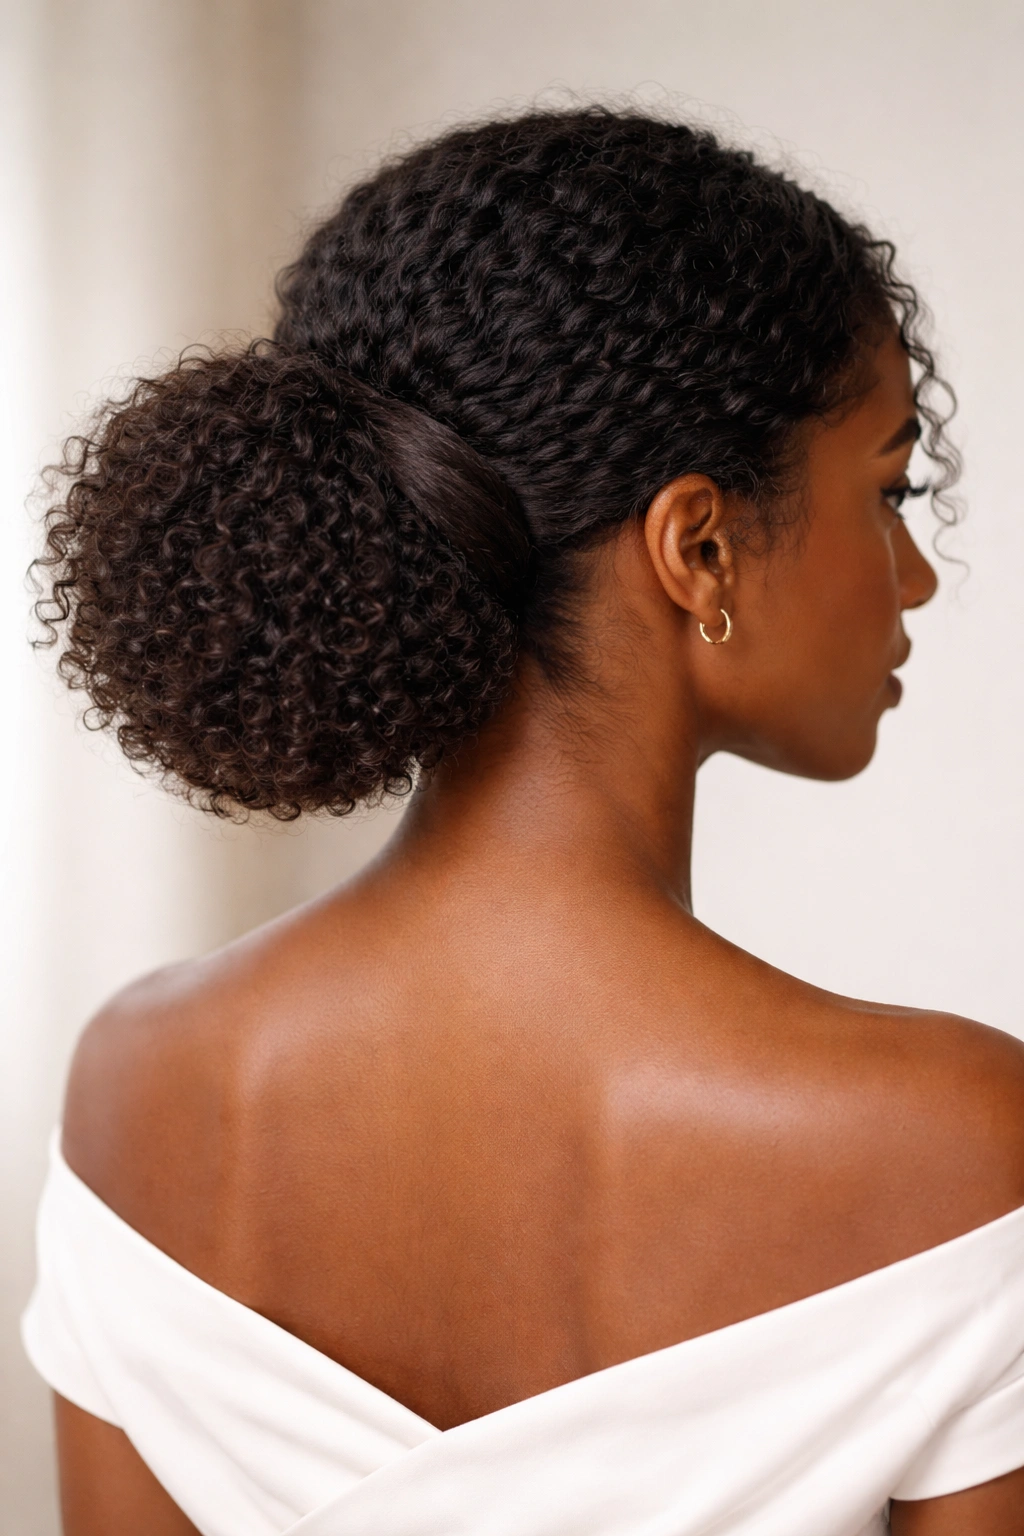
A low puff is the style I recommend to people who want comfort first and drama second. It sits near the nape, which means the cap has room to do its thing without flattening all your volume at once.
That position matters. A high style can start to feel like a wrestling match by the time you’ve sat through speeches and walked across the stage. A low puff stays out of the way. It also works on a wide range of curl patterns, from tight coils to looser spirals that need a little gathering.
Use a wide satin scrunchie or a soft band to collect the hair. Then wrap a small section around the base so the band disappears. That one move makes the whole look feel finished. If the hair at the front needs smoothing, use a tiny bit of gel on a toothbrush or edge brush and keep the product close to the hairline.
Why low wins on long ceremony days
Because it’s forgiving. The puff can get a little squashed and still look intentional. It can handle a cap. It can handle dancing. It can even handle a graduation dinner afterward without needing a full reset.
A low puff also leaves room for earrings, necklines, and stoles. That sounds small. It isn’t. If your outfit has a strong collar or a busy neckline, a low puff keeps the whole look from fighting itself.
If your hair is very dense, stretch it a little first with twists or braids. You’ll get more shape and less bulk. That makes the puff sit lower and cleaner, which is the whole point.
6. Half-Up Half-Down With Defined Front Curls
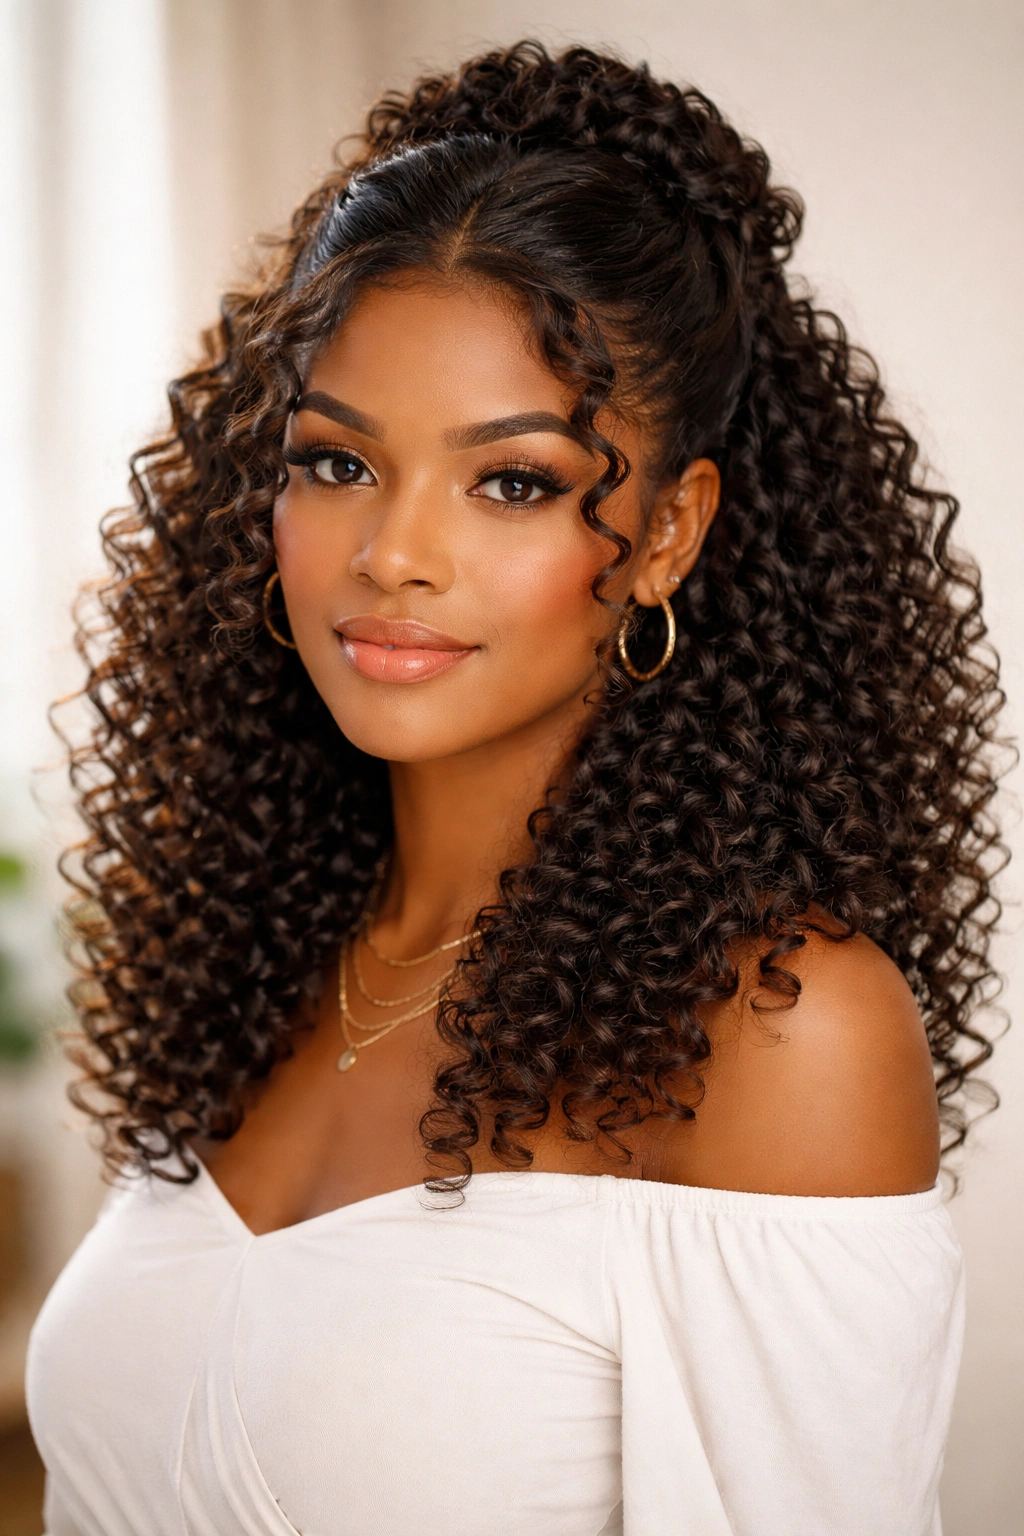
What if you want length and control in the same style? Half-up half-down is the answer. It gives you some lift at the crown, but it still leaves enough curl pattern visible to feel soft and youthful.
This works especially well when the top section is pinned back in a small twist, braid, or puff, and the rest of the hair hangs loose. The top stays managed under the cap. The back gives you movement in photos. It’s a nice compromise when you do not want an all-up style.
Use the front curls to frame your face on purpose. A couple of finger-coiled pieces near the cheekbones can soften the whole look and help the hair read better from the front. If your curl pattern is looser, a light mousse can give those front pieces more shape without making them crunchy.
The smartest version of this style keeps the top section low enough that the cap doesn’t push it into a weird bump. You want a gentle rise, not a mountain. The mistake I see most often is people gathering the top too high because they want volume, then wondering why the cap sits awkwardly. Lower is better here.
This is a strong pick for medium to long curls, especially if you like your hair down but still want it out of your face during the ceremony.
7. Halo Braid With Curly Tendrils
Neat hairline. Soft face frame. That’s the appeal.
A halo braid can look formal without feeling stiff, and that’s useful on a day when your outfit is already doing a lot. The braid wraps around the head like a crown, which keeps the edges tidy and gives you a clear shape around the face. Then a few curly tendrils around the temples or near the ears break up the structure and keep it from looking too severe.
This style is especially good for people who hate constant touch-ups. Once the braid is pinned, it tends to stay where it’s supposed to stay. That makes it one of the least annoying graduation hairstyles for natural curls if you know your hair frizzes fast or if you’ll be wearing the cap for a long stretch.
How to keep it soft, not tight
Leave the braid a little loose. A halo braid pulled too tight can give you a headache and can flatten the curls in an unflattering way. You want the braid to sit close to the head without digging into it.
Use pins that match your hair color, and slide them in where the braid crosses itself so they disappear. If your curls are long enough, leave the ends at the back slightly loose and finger-coil them so they curl back into shape instead of hanging limp.
This is one of those styles that looks more expensive than it is. Not because it’s fancy. Because it has clean lines. That matters in photographs.
8. Flat Twists Into a Low Updo
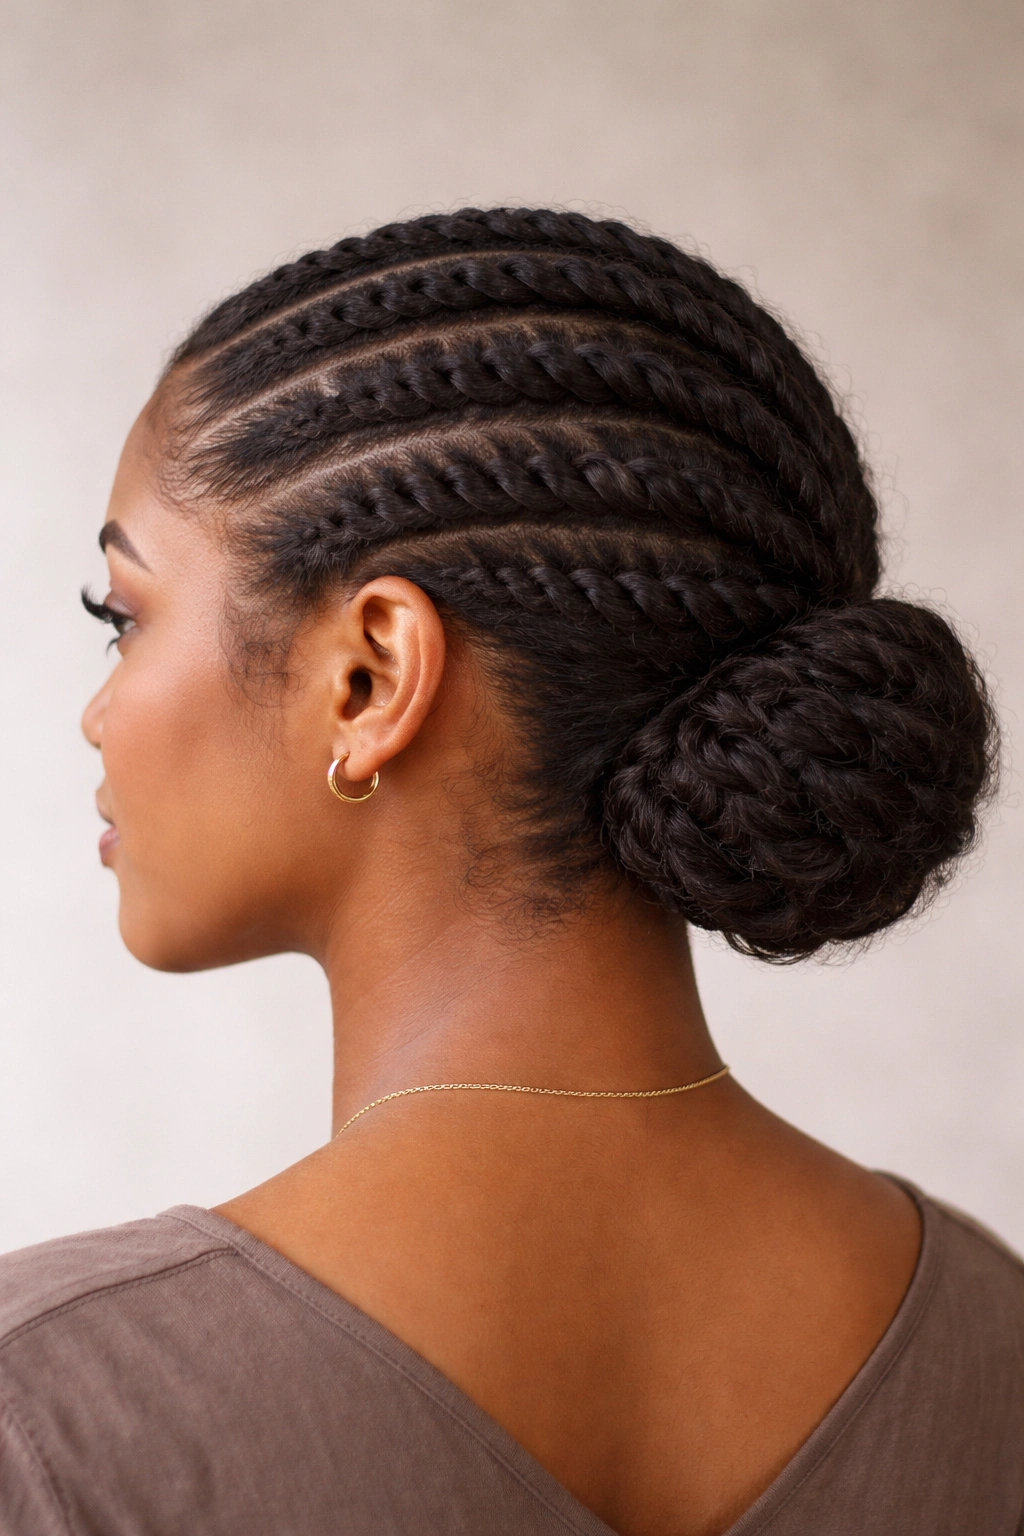
Flat twists are one of the most practical styles for natural hair, and they deserve more respect than they get. They sit close to the scalp, reduce bulk under a cap, and hold up better than a style that depends entirely on loose definition.
The basic shape is simple: twist sections down along the scalp, usually from the hairline toward the nape, then tuck or pin the remaining length into a low bun or coil. You can do two big twists or several smaller ones depending on how much detail you want. Either way, the style stays tidy.
This is a good option if your hair is on the denser side or if you want a polished look without a lot of loose volume at the crown. It also works well when you want your earrings, makeup, and stole to stand out. The hair supports the look instead of competing with it.
What to watch for
- Keep the sections even so the twists lie flat.
- Add product sparingly; too much cream makes the twists swell.
- Secure the ends with pins that don’t poke through.
- Smooth the front with a soft brush, not a heavy hand.
A flat twist updo can also be refreshed after the ceremony with a little oil on the fingers and a quick re-tuck of any loose ends. That kind of maintenance is mercifully easy.
9. Curly Bob With a Deep Side Part
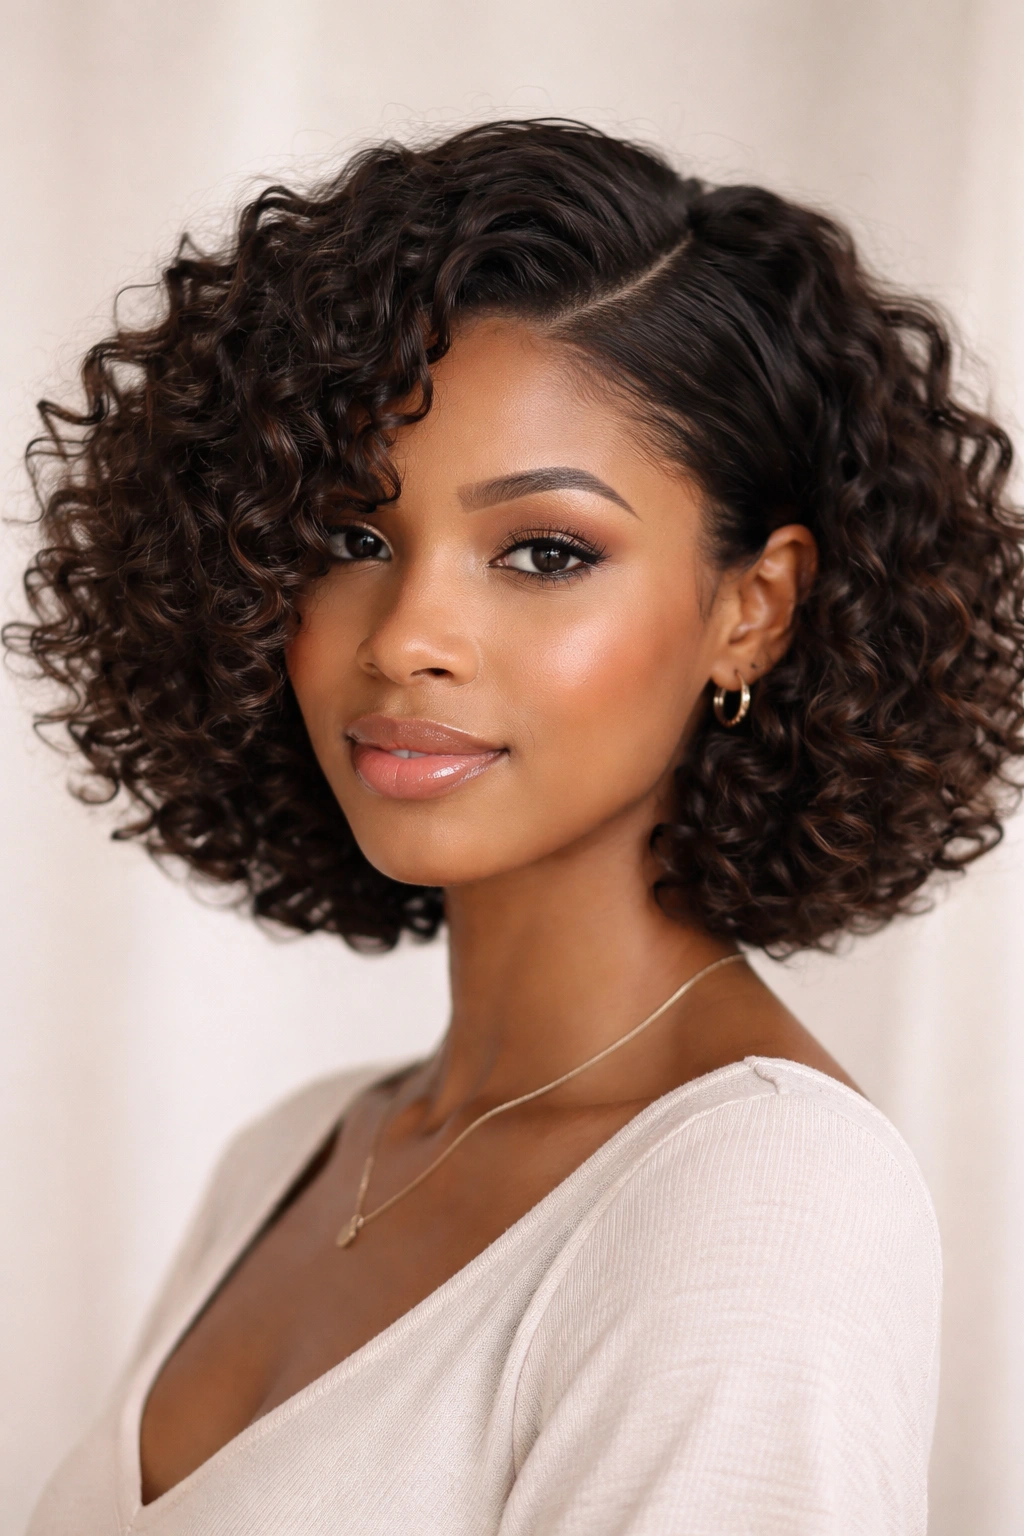
A curly bob is one of the cleanest short-hair options for graduation, and I’m a little biased toward it because it solves so many problems at once. It sits close enough to the head to work with a cap, but it still has enough shape to frame the face and keep the style from looking flat.
A deep side part gives the bob more movement and helps create a little lift at the front. If the cut lands around the jawline or just above the shoulders, it usually plays nicely with a cap and doesn’t bunch up awkwardly at the neckline. The shape stays neat. The profile looks intentional. That counts for a lot.
If the curls need extra definition, finger-coil a few front pieces and let the rest stay more free. That mix of polished front and softer body makes the style feel finished without turning it into a formal set. A couple of pearl clips, thin gold pins, or even one tucked side can make the whole thing feel dressed up without dragging it into prom territory.
This style is especially kind to shorter natural curls that tend to lose shape when they’re piled up. There’s less hair to manage, less bulk under the cap, and fewer places for frizz to hide. Small haircut. Big relief.
10. Finger-Coiled Tapered Cut With a Side Sweep
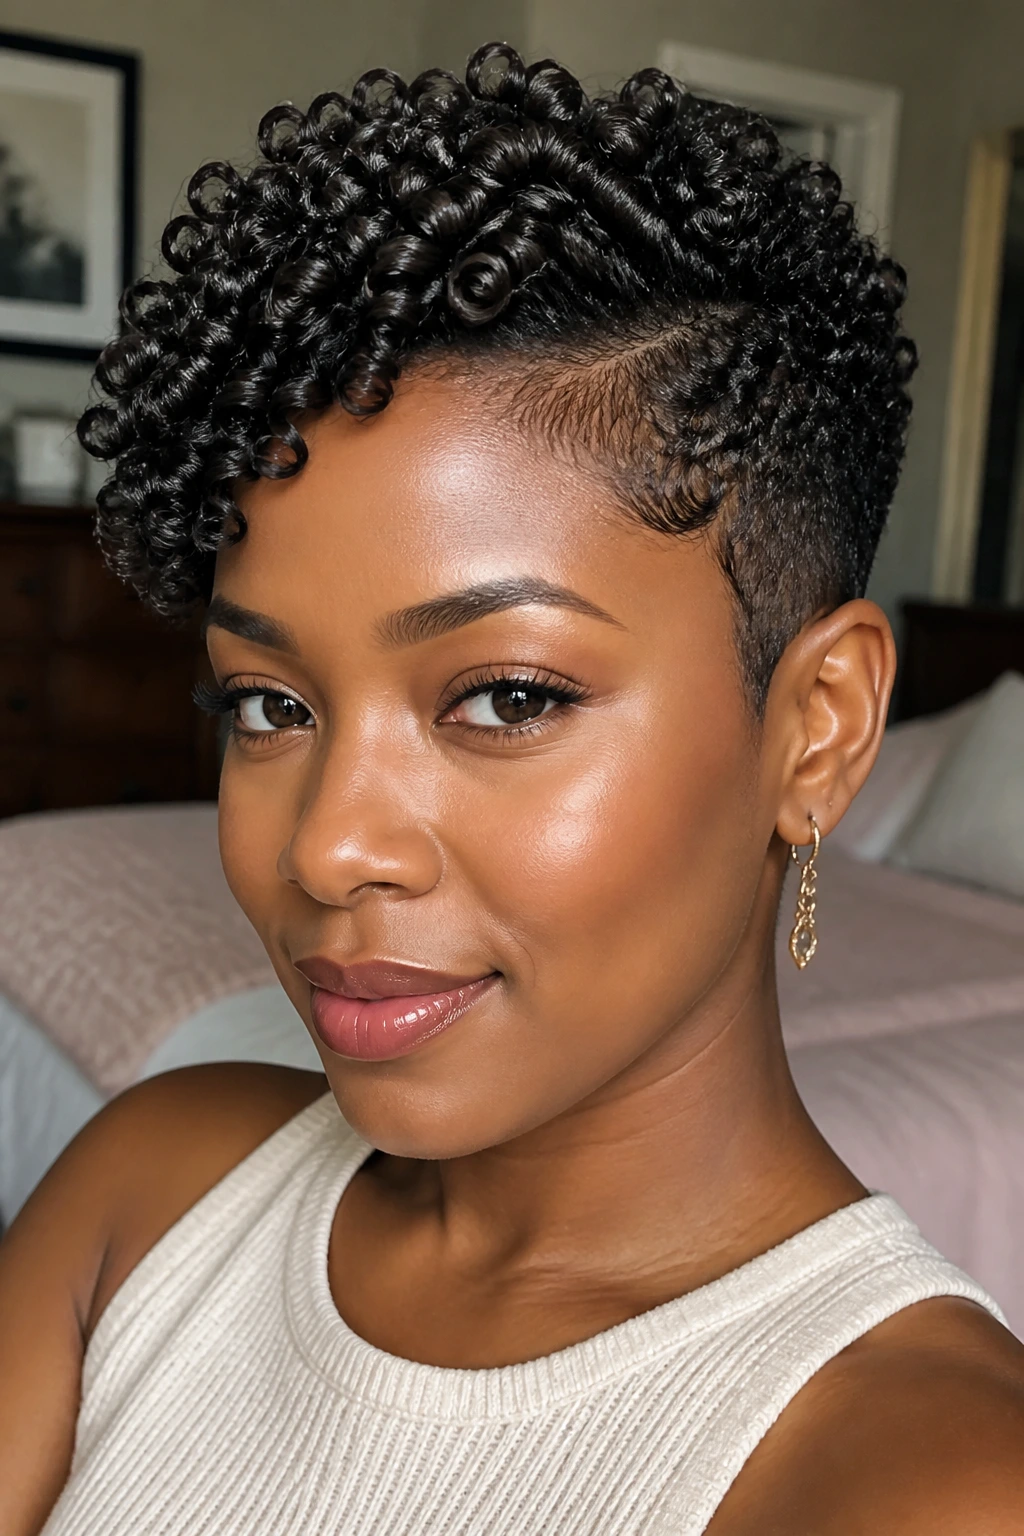
A tapered cut is already doing half the work for you. The shape is built in, which means graduation day is mostly about definition, not invention.
If your hair is shorter on the sides and fuller on top, a side sweep keeps the style from looking too rigid. Finger-coil the top section with a light cream or gel, smooth the sides just enough to keep them neat, and leave the silhouette alone. That’s the mistake people make with tapered cuts: they keep trying to add volume everywhere. The cut already knows what it wants to be.
A small clip at one temple can dress it up fast. So can a narrow barrette or a tiny comb accessory tucked just above the ear. Keep the accessory small. Big pieces tend to fight the clean lines that make a tapered cut look sharp in the first place.
This style is a gift on cap day because it stays close to the head while still showing off texture. If you want a more dramatic look, you can add a little shine spray before you leave the house. Use a light mist, not a soak. Short curls can turn greasy in photos faster than most people expect.
A tapered cut doesn’t need to pretend it’s something else. That’s the whole point. Wear the shape you’ve got, add a little definition at the top, and let the rest stay crisp.
The best graduation hair is the style you can leave alone. If you’re fixing it every ten minutes, it’s already asking too much. Pick the look that fits your curl pattern, your length, and your comfort level, then secure it well and move on to the part of the day that actually matters.