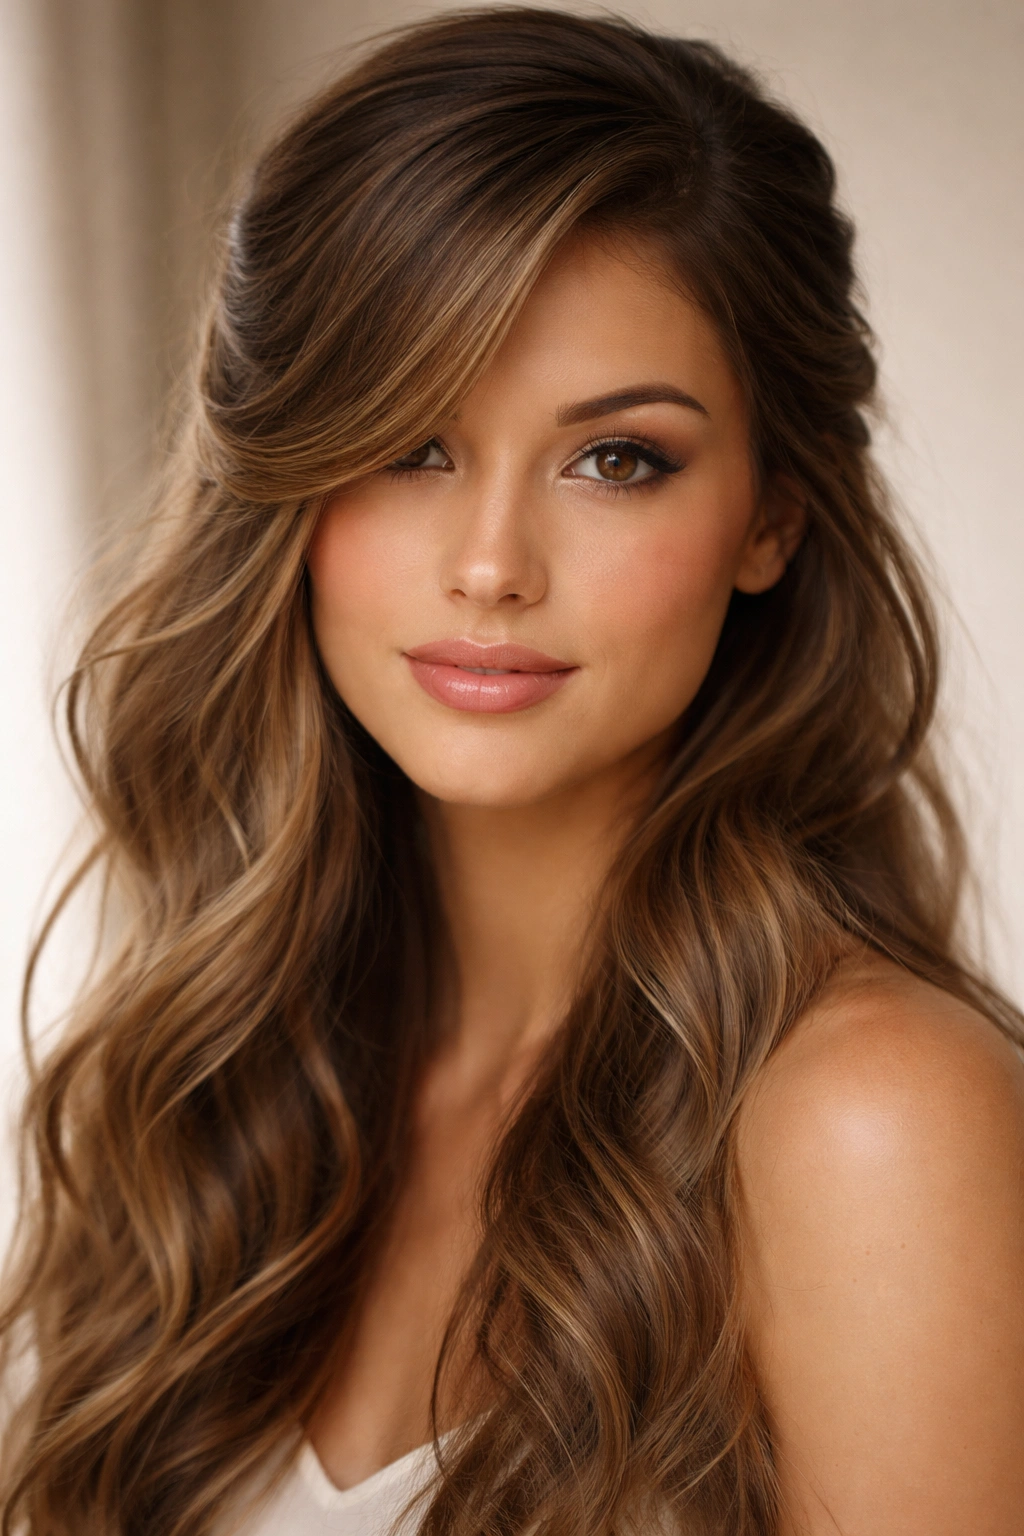
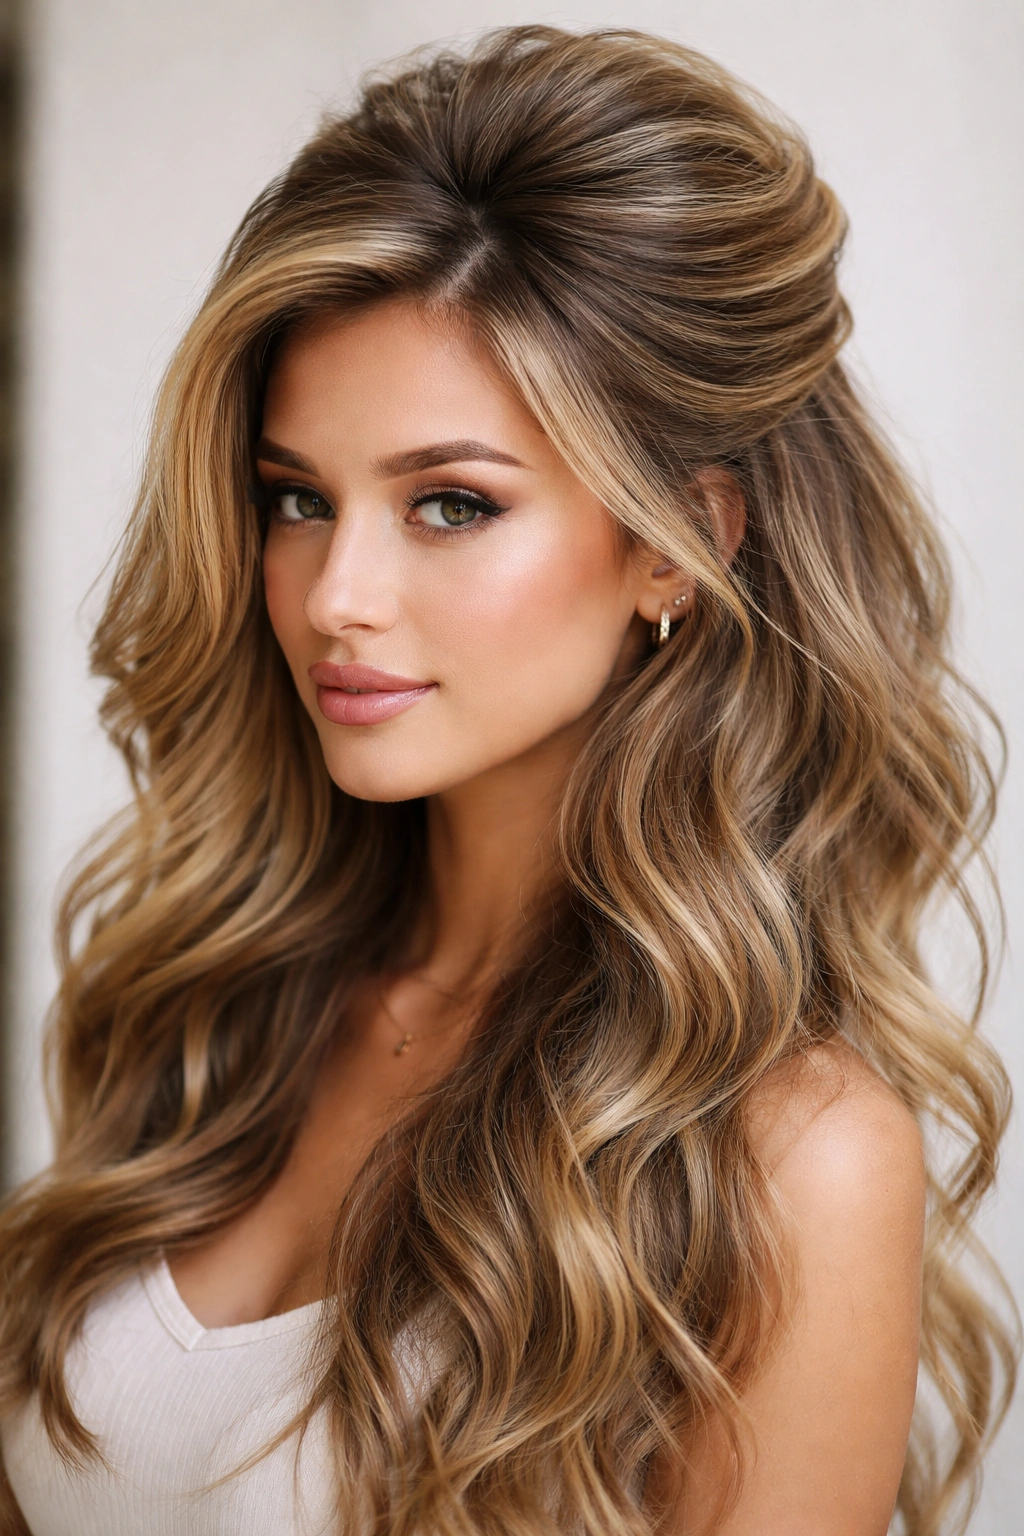
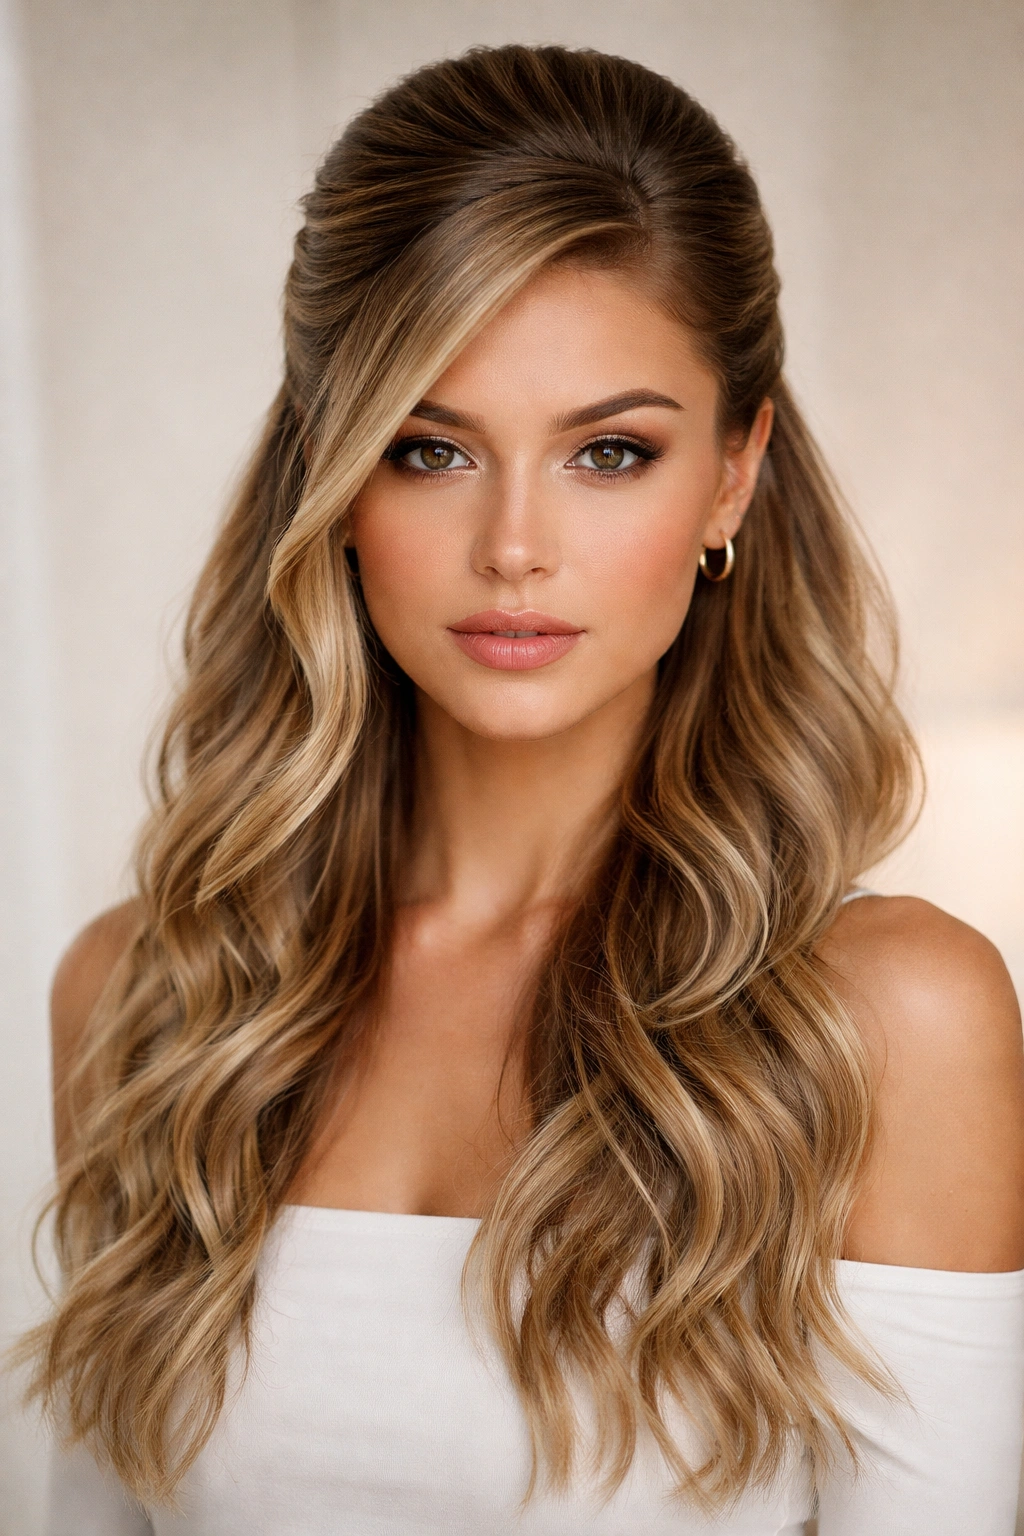
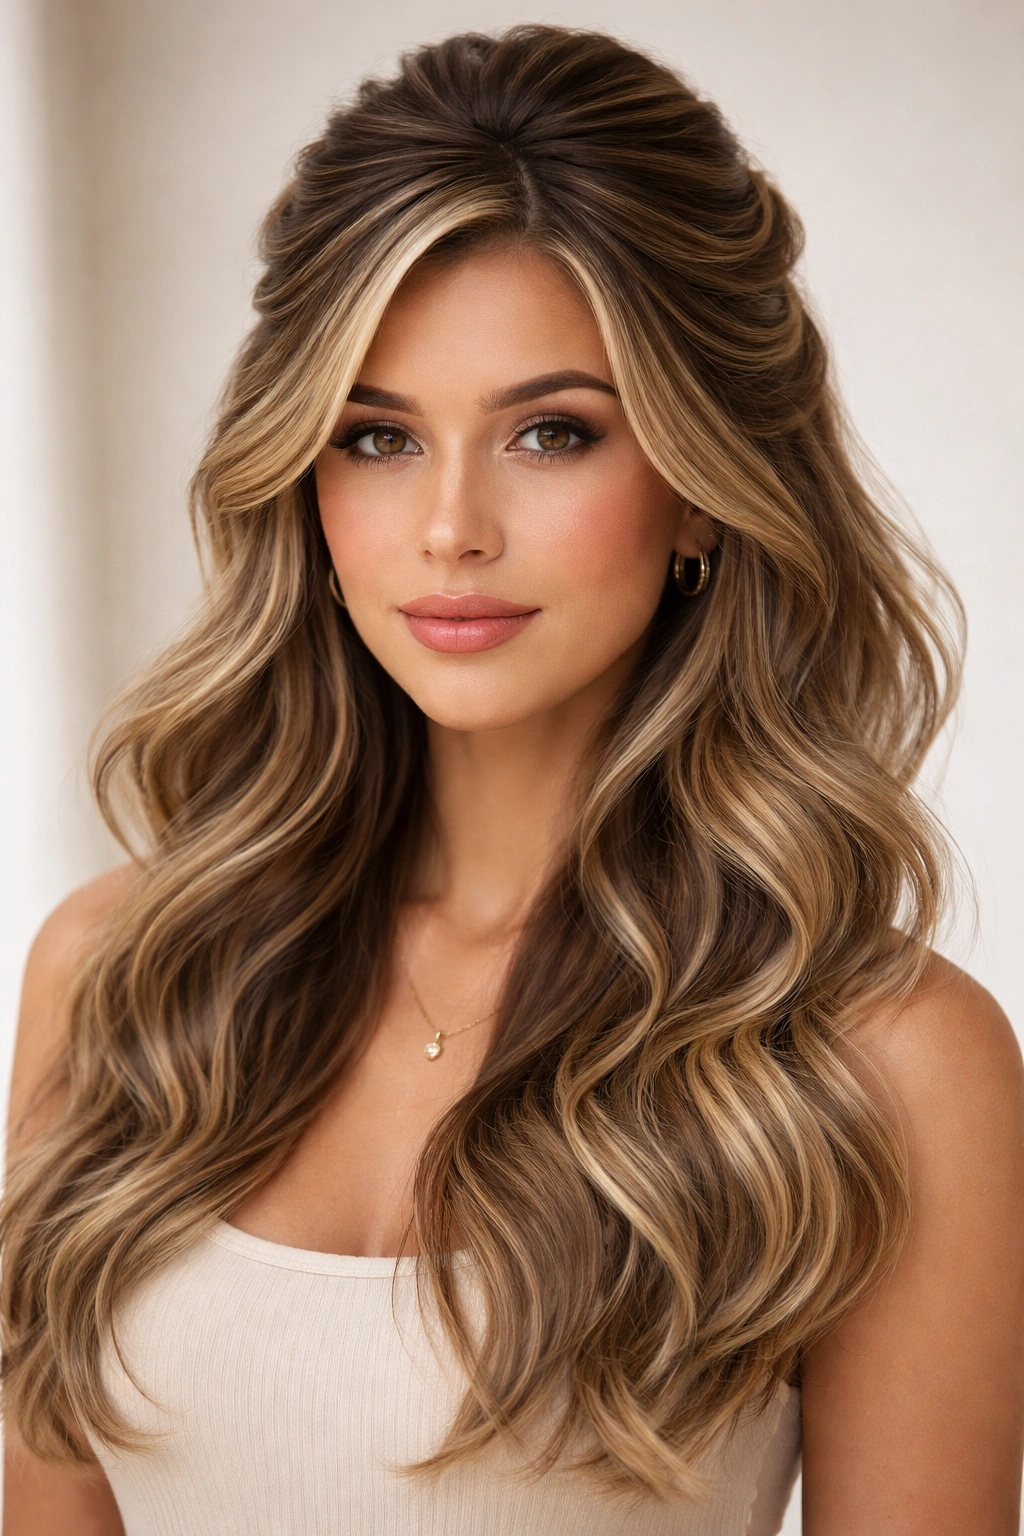
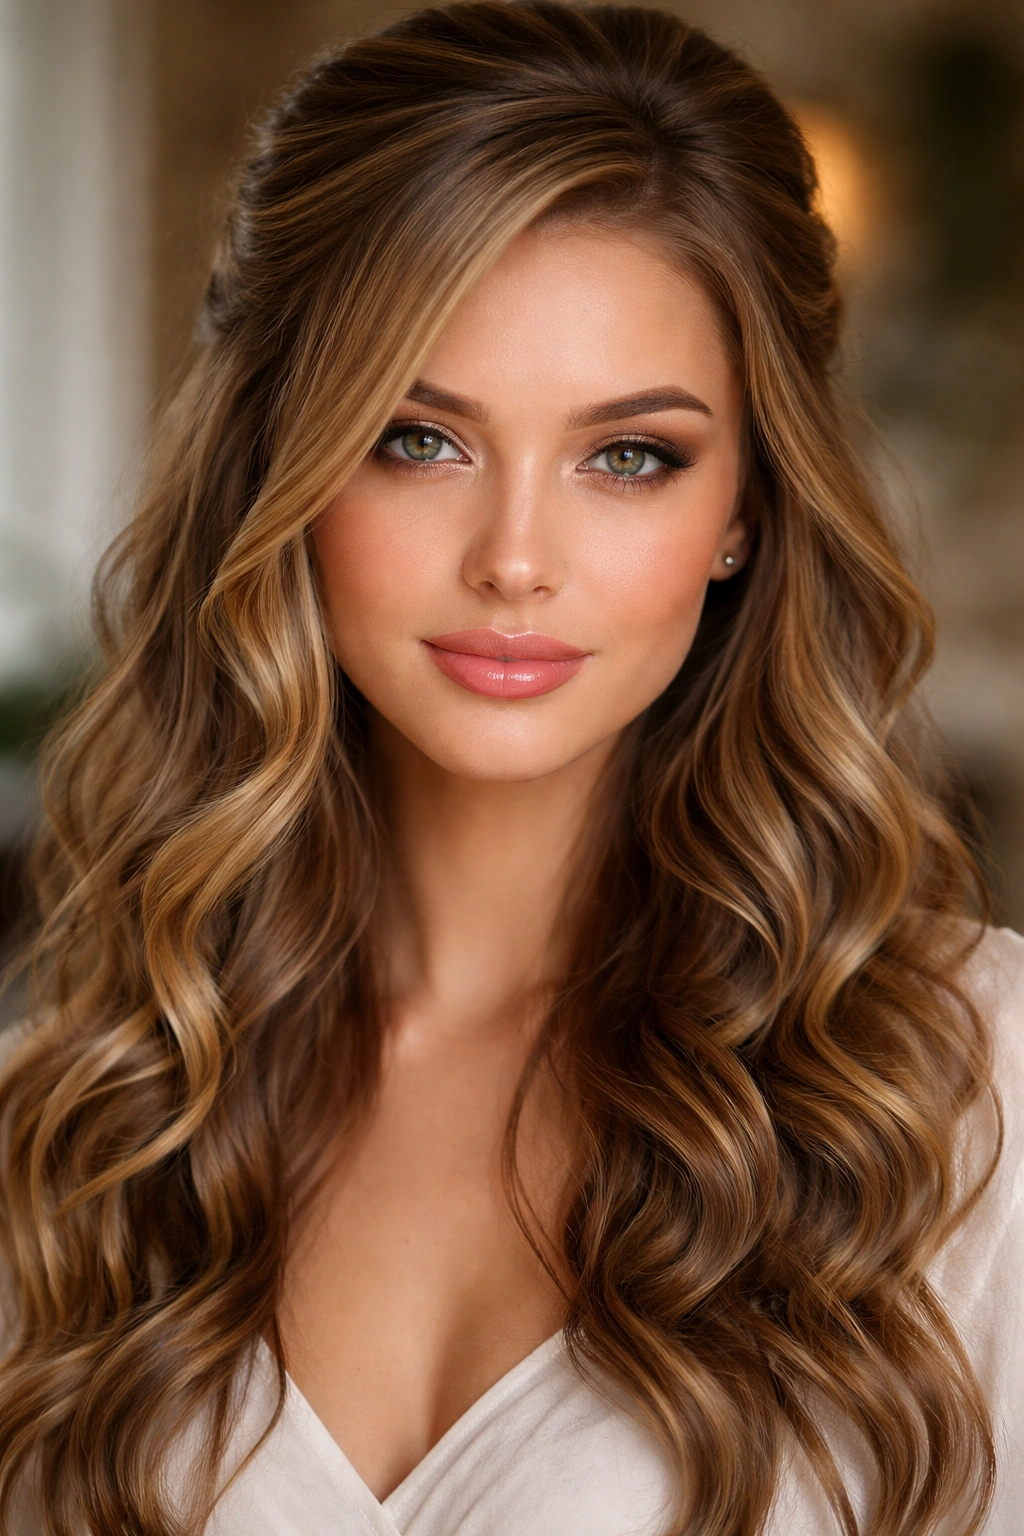
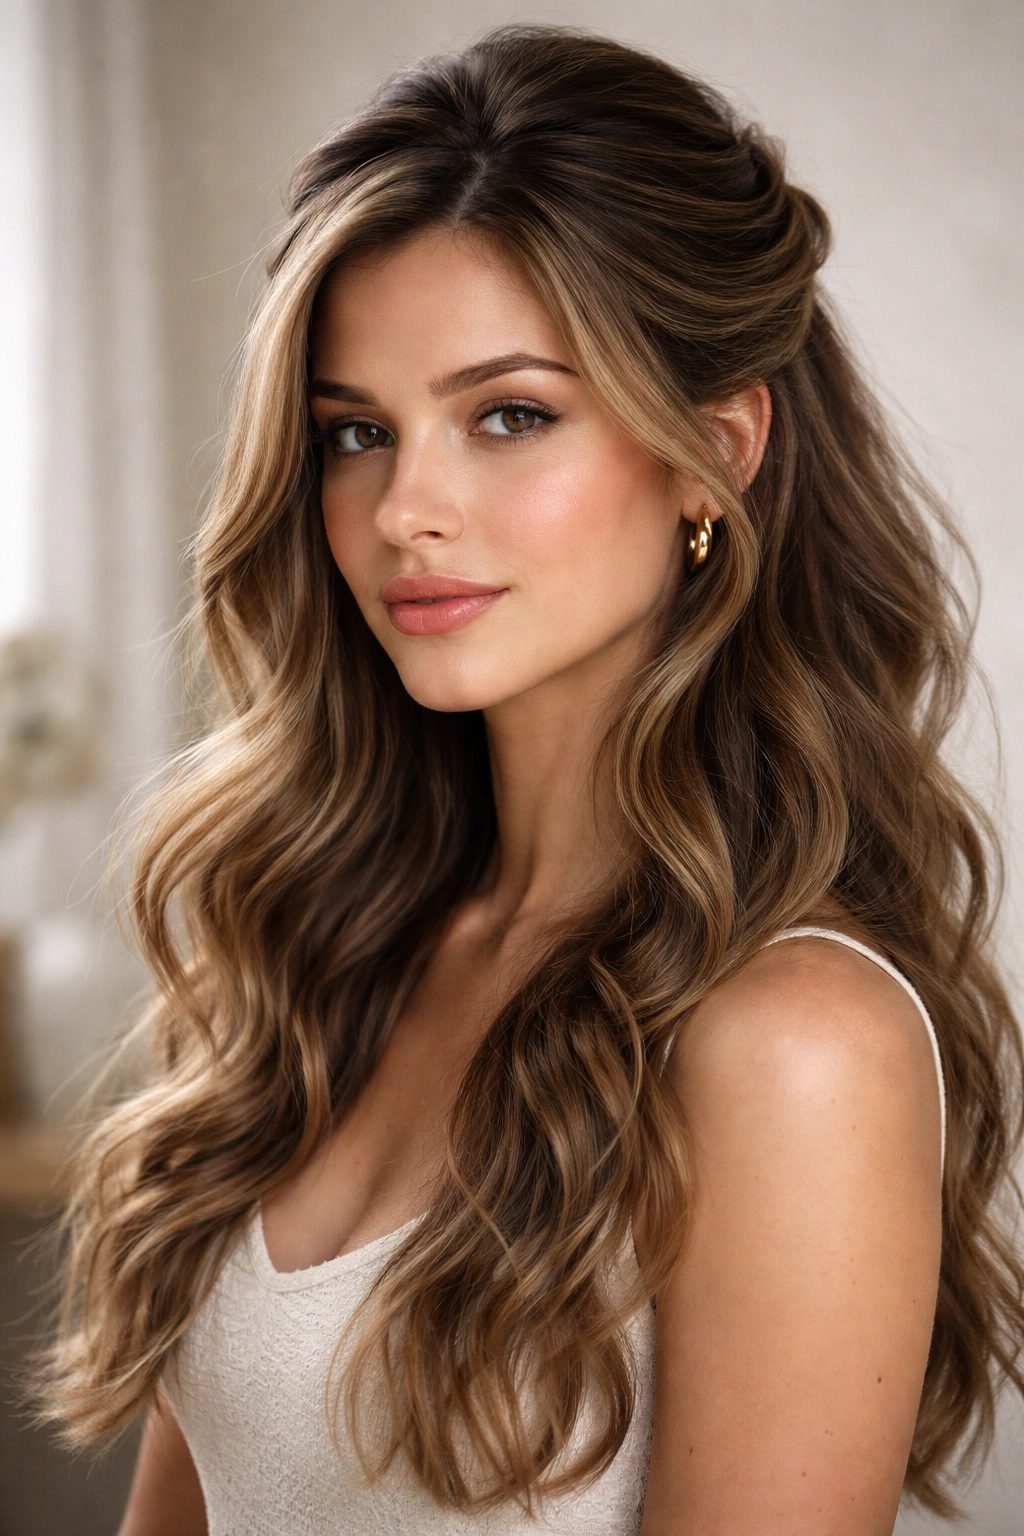
Wavy hair has this incredible natural texture that should be celebrated, not fought against. But getting those waves to cooperate while creating a polished, intentional hairstyle? That’s where the swoop half up half down comes in. This styling approach combines the best of both worlds—enough control to look deliberately styled, enough movement to let your waves do what they do best. The “swoop” is that elegant curved section that sweeps back from the face before being gathered into an updo, creating volume at the crown and soft waves falling down the back.
The beauty of the swoop half up half down is its adaptability. Whether you’re dealing with loose, beachy waves or tighter, more defined texture, there’s a version that works for your specific wave pattern and hair density. Some styles lean romantic and effortless for casual days; others are sophisticated enough for weddings or formal events. The styling takes anywhere from five to fifteen minutes once you understand the basic technique, and you don’t need an arsenal of tools—just your fingers, a few strategically placed bobby pins, and maybe a light texturizing spray.
What makes this style so effective for wavy hair specifically is that it plays with your natural movement instead of against it. You’re not trying to smooth everything into submission or create rigid curls. Instead, you’re using the waves as your foundation, then strategically directing them with gentle sweeping motions and minimal heat or tension. The result looks intentional and polished while still feeling relaxed and wearable day after day.
1. The Romantic Side Swoop with Face-Framing Layers
This version prioritizes softness by sweeping most of your hair from one side of your head, creating an asymmetrical silhouette that’s undeniably romantic. The key is leaving delicate, face-framing pieces loose on the opposite side, which adds movement and prevents the style from feeling too severe.
How to Build the Swoop
Start with hair that has been textured—either naturally wavy or gently wave-spritzed. Use your fingers to brush one side of your hair back from your face in a sweeping motion, gathering it loosely where your ear would meet the back of your head. Don’t use a brush; your fingers create a softer, more organic direction. Secure with bobby pins hidden underneath the swept section. Leave at least three to four inches of hair unswept on the opposite side of your face, allowing those pieces to frame your cheeks and fall naturally with the rest of your waves.
Why This Works for Wavy Hair
Wavy hair already has natural dimension, and this style amplifies it by creating contrast between the structured swoop and the freely falling waves. The asymmetry is flattering because it draws attention upward and creates the illusion of more volume at the crown.
- Works beautifully on shoulder-length to long hair (14 inches and beyond)
- Requires minimal styling products, just a light texturizing spray or sea salt spray
- Perfect for dates, casual events, or everyday wear when you want to look intentionally styled
- The side placement prevents the style from looking formal or overdone
Pro tip: Sleep in loose braids the night before to enhance your natural wave texture, making the swoop easier to shape and longer-lasting throughout the day.
2. The Twisted Crown Swoop with Pinned Waves
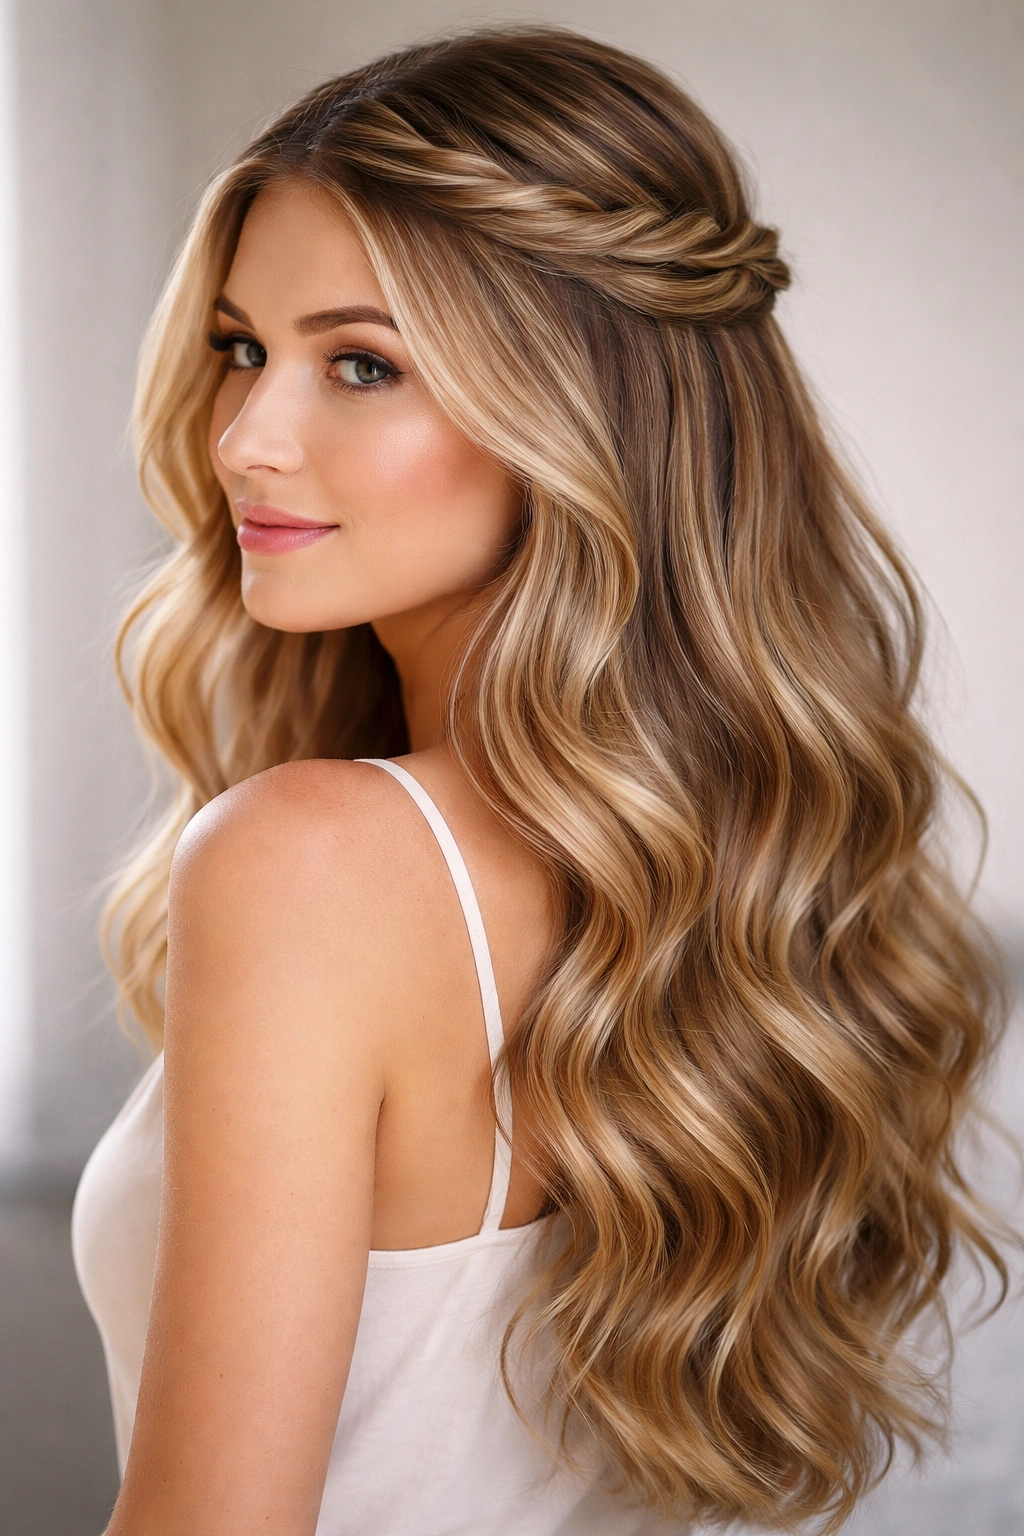
This style creates the illusion of a twisted crown by taking two sections from the front, twisting them as you move them back, and securing everything into a low ponytail or clip. The twist itself acts as the “swoop” while the remaining waves tumble freely underneath.
Building the Twisted Crown
Divide a section of hair starting from one temple and take it back in a gentle twist, adding small sections of hair as you go (the way you would French braid, but twisted instead). When you reach your ear, release the twist and take a second section from the opposite temple, twisting it the same way. Where the two twists meet at the back of your head, secure both sections together with a decorative clip or bobby pins. Leave all the hair below this point loose, letting waves flow freely. The twists frame the top of your head like a crown while half your hair remains down.
Key Details for Success
The twist works best when you don’t pull too tightly—wavy hair looks best when it has a relaxed, undone quality. Gently loosen the twist slightly after securing it to create a softer, more voluminous appearance.
- Best on thick, textured wavy hair (thin hair can look sparse with this method)
- Takes about 8-10 minutes once you get the technique down
- Holds all day without additional pins, even during activity
- Appropriate for workdays, casual events, or any situation where you need your hair off your face but want to maintain movement
Insider note: Use thin, bendable bobby pins in a color that matches your hair—they disappear completely once secured and cause less damage to your waves than thick, rigid pins.
3. The Voluminous Teased Swoop
For wavy hair that’s on the finer or less dense side, this version uses strategic teasing at the crown to create the illusion of fuller volume before sweeping the hair back. The teasing happens entirely at the roots, not throughout the hair, so it maintains texture without looking messy.
Creating Volume Where You Need It
Blow-dry or air-dry your waves first. At the very crown of your head, use a fine-tooth teasing brush to gently backcomb a 2-3 inch section of hair at the roots only—don’t tease the ends. Once you’ve created lift at the roots, use the same brush to smooth the outer layer slightly (this is called “smoothing over”). The texture underneath remains teased, providing volume, while the outside looks polished. Then sweep your hair back and secure with bobby pins hidden in that teased section. The swoop sits on top of the volume you’ve created.
Why Teasing Matters for Fine Waves
Fine wavy hair can collapse under its own weight throughout the day. Strategic teasing at the roots prevents that collapse and makes bobby pins grip more securely, so your swoop stays in place from morning to evening.
- Transforms fine, thin waves into a full, voluminous updo
- Takes 5-7 minutes once you’ve practiced the teasing technique
- Lasts longer than non-teased versions—the grip is significantly stronger
- Creates the illusion of thicker hair, which is psychologically satisfying if you have fine texture
Warning: Avoid over-teasing or teasing throughout the entire length—this damages waves. Tease only at the roots, and use a gentle touch with a fine-tooth brush designed specifically for teasing.
4. The Sleek Swoop with Textured Waves Below
This style creates a clean, sharp division between a smooth, controlled upper half and deliberately textured waves cascading below. It’s modern and polished while still honoring your natural wave texture.
Achieving the Sleek-to-Textured Contrast
Apply a smoothing serum or light styling cream to the upper half of your hair only. Using a wide-tooth comb or paddle brush, smooth that section down and back, gathering it at the nape of your neck or slightly lower, depending on how much of your hair you want in the swoop. Secure tightly with bobby pins. The lower half of your hair (the section that remains down) gets no smoothing product—instead, scrunch it gently with a texturizing spray or salt spray to emphasize and enhance whatever wave pattern you naturally have. The contrast between the smooth swoop and the textured waves creates visual interest and intentionality.
The Styling Philosophy
This look works because it acknowledges that wavy hair has two different personalities—the upper portion that’s easier to control, and the lower portion that wants to express its natural movement. Rather than fighting both, you’re working with what each section naturally does.
- Requires a smoothing serum and a texturizing spray for maximum contrast
- Best on medium to long hair where the distinction between sections is visible
- Appropriate for professional settings, dinner out, or events where you want a polished but modern aesthetic
- Takes about 10-12 minutes including product application and drying time
Pro tip: Smooth your upper section using a blow-dryer on low heat while running a brush through—this creates a sleeker, more defined line than air-drying alone.
5. The Braided Accent Swoop
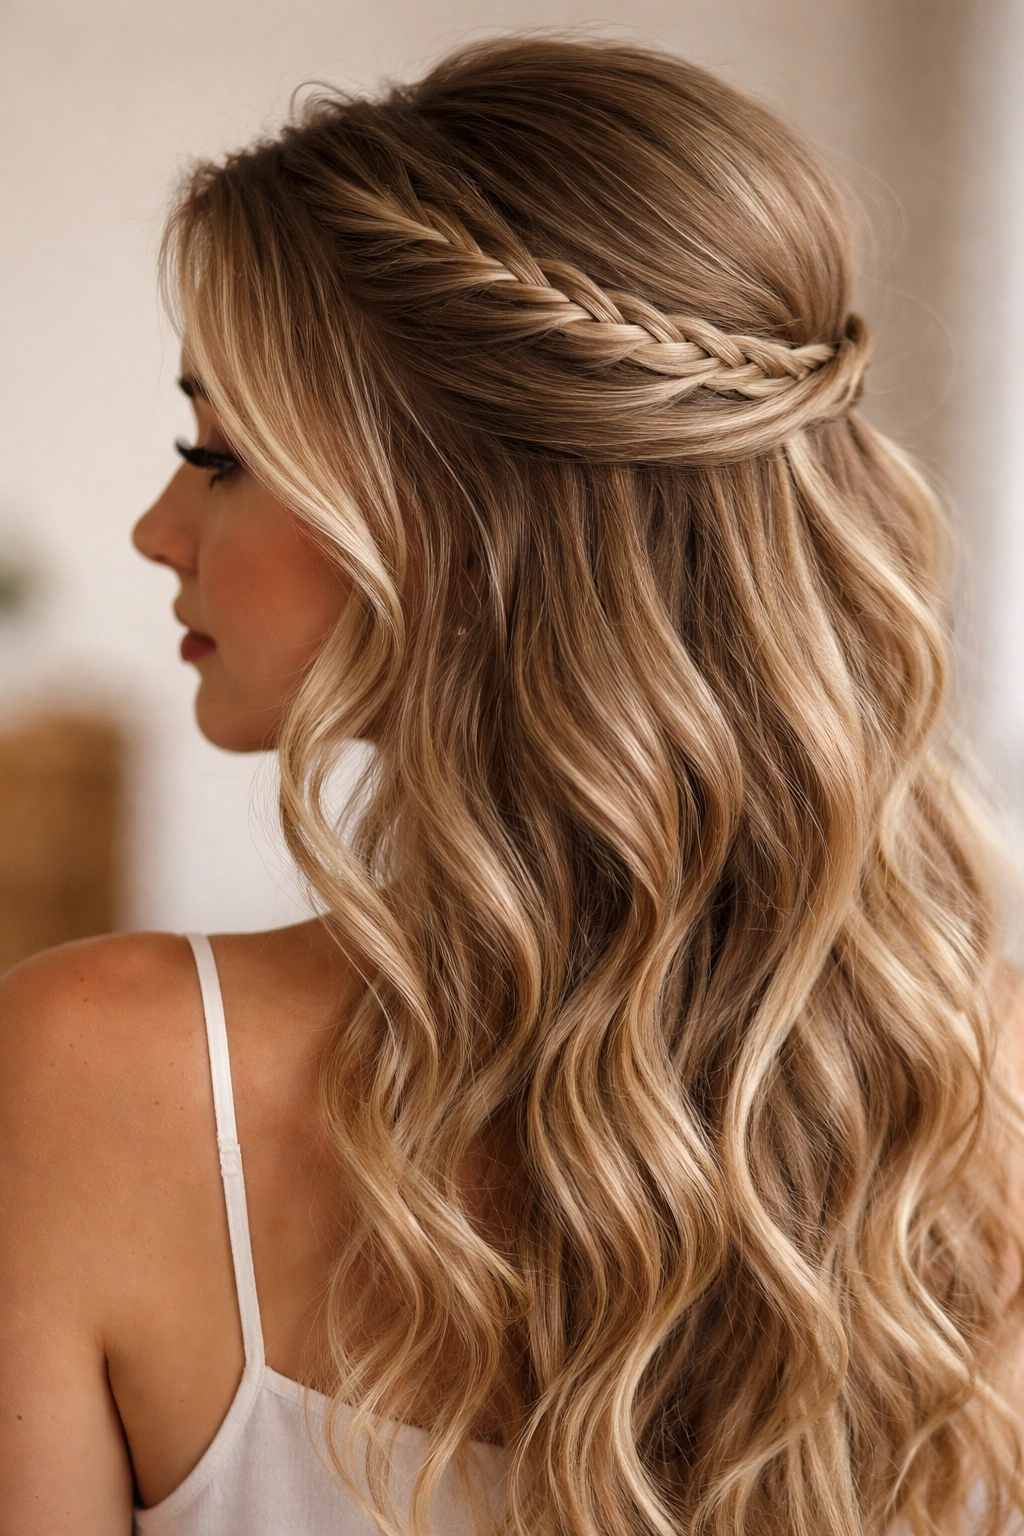
Instead of twisting, this style incorporates a thin, delicate braid that runs through the swoop section, adding texture and visual interest while keeping hair secured.
Braiding Into Your Swoop
Take a small section of hair from one side of your face and create a thin French braid (three strands, incorporating new hair as you go) that runs back toward where you’ll pin the swoop. The braid becomes part of the swoop itself—as you gather the swoop, the braid is integrated into the larger pinned section. This adds dimension because you can actually see the braid texture once it’s pinned, whereas a smooth swoop would be one flat surface.
Making the Braid Show
Don’t hide the braid under other hair. Instead, position it so it’s visible against the rest of your swoop. Slightly loosen the braid after pinning by gently pulling at the sides—this creates a softer, fuller appearance and makes the braid blend more seamlessly with your waves.
- Works on any wave type, but particularly striking on defined wavy or curly texture
- Takes 10-15 minutes because braiding requires more time than simple sweeping
- Appropriate for events where you want a romantic, intricate-looking style
- Lasts longer because the braid helps distribute bobby pins and provides additional grip
Worth knowing: Practice your braid on non-styled hair first. Once you’re confident, it becomes much faster and easier to execute on textured hair.
6. The Curved Swoop with Barrel Pin Finish
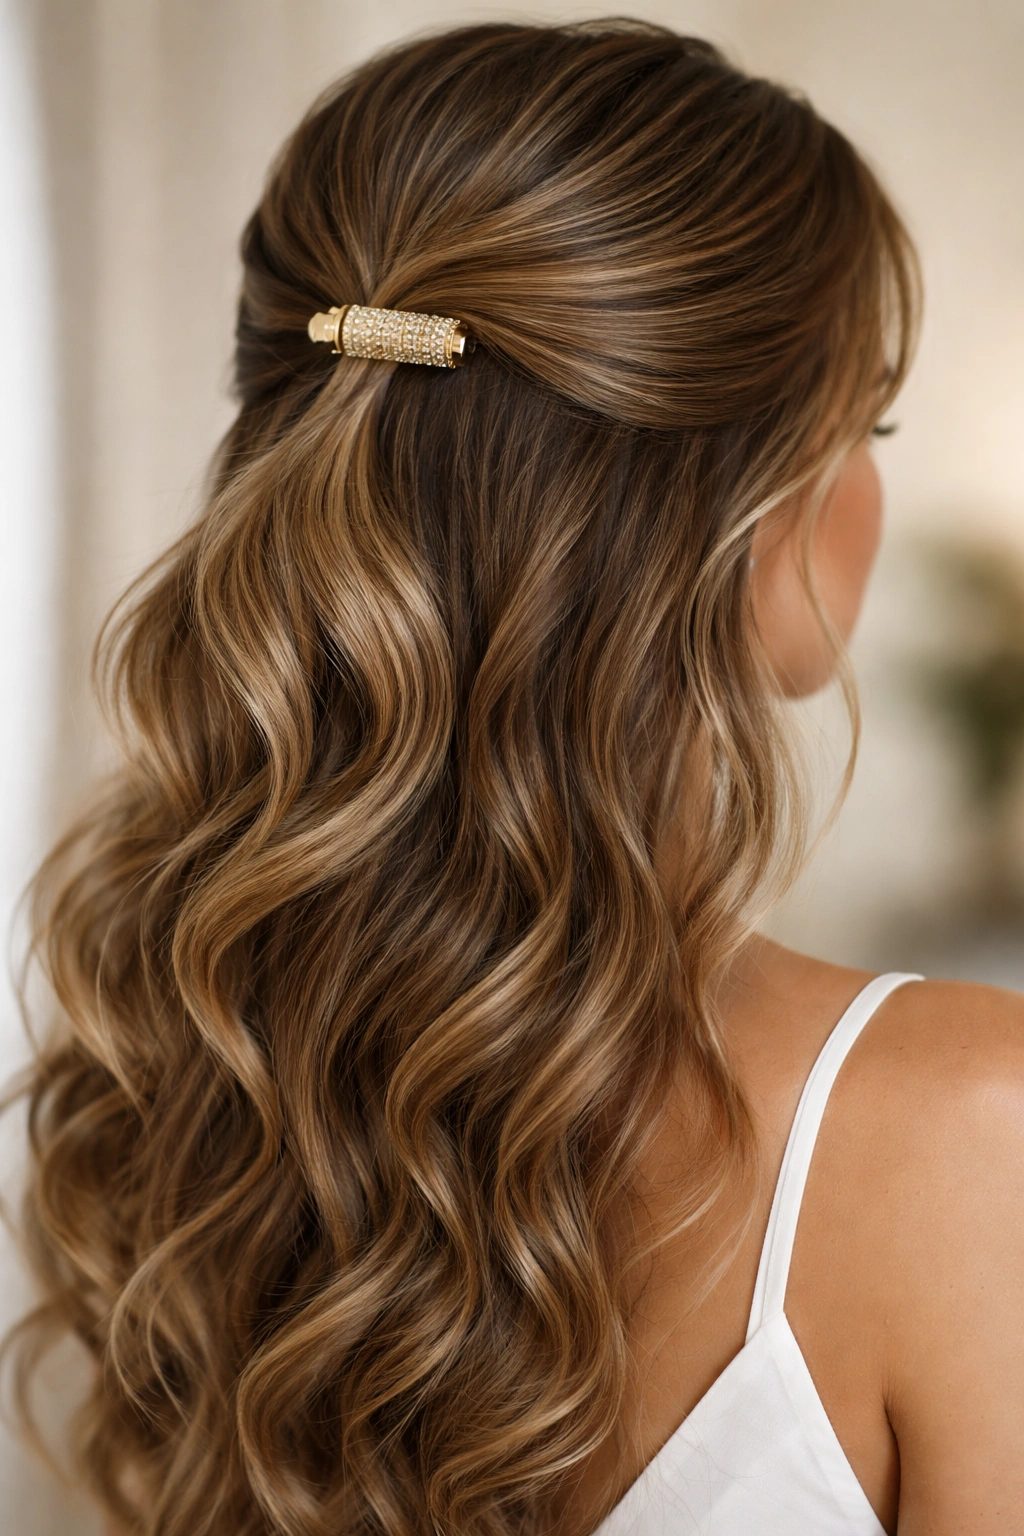
This version uses your hair’s natural curve to create an elegant swooping motion, then secures it with a decorative barrel pin or claw clip for a sophisticated finish.
Creating the Natural Curve
Don’t gather your swoop at the nape of your neck like you might with a typical half up half down. Instead, let the gathered section naturally curve—it should follow the contour of the back of your head. You’re working with gravity and your hair’s natural weight, allowing the swoop to curve gracefully rather than staying perfectly straight. Secure with bobby pins, but hide them completely. Then slide a decorative barrel pin or claw clip over the pinned area. The clip becomes the focal point, the element people notice.
Why the Curve Matters
A curved swoop is more elegant and flattering than a straight, horizontal line. It draws the eye upward and creates a line that’s kinder to most face shapes.
- Requires a beautiful barrel pin, claw clip, or decorative hair clip (this becomes a jewelry piece)
- Works on all hair types and lengths, though best visible on shoulder-length or longer hair
- Creates a statement look suitable for dates, special events, or whenever you want to feel intentionally put-together
- Takes only 5-8 minutes once you understand the curved placement
Styling secret: Use a clip with weight to it—lightweight clips slip out of wavy hair. A quality clip with a strong grip makes the entire style last throughout the day.
7. The Half-Teased, Half-Smooth Swoop
This intermediate version uses teasing only on one side of the swoop, creating a lopsided volume that feels modern and intentional rather than accidental.
Asymmetrical Teasing Technique
Blow-dry or air-dry your waves. At the crown, tease only the roots on one side (usually the side where your hair naturally has less volume). Smooth over the teased section, then sweep your hair back from both sides of your face. The side you teased will sit noticeably higher and fuller, creating a subtle asymmetry. Secure everything together at the back. The asymmetry is dramatic enough to be noticeable but subtle enough to look deliberate and high-fashion.
The Modern Appeal
This style feels current because it rejects symmetry. It’s the kind of detail that makes people say “your hair looks amazing” without quite being able to pinpoint why.
- Best on thick hair where volume differences are truly visible
- Takes 8-10 minutes including teasing and styling
- Perfect for anyone who wants a modern twist on the classic swoop
- Requires confidence—this style is meant to be a little bit different
Note: The side you tease should be the side with naturally less volume on your head. Tease the problem area to even out your overall proportions.
8. The Wrapped Swoop with Hidden Securing
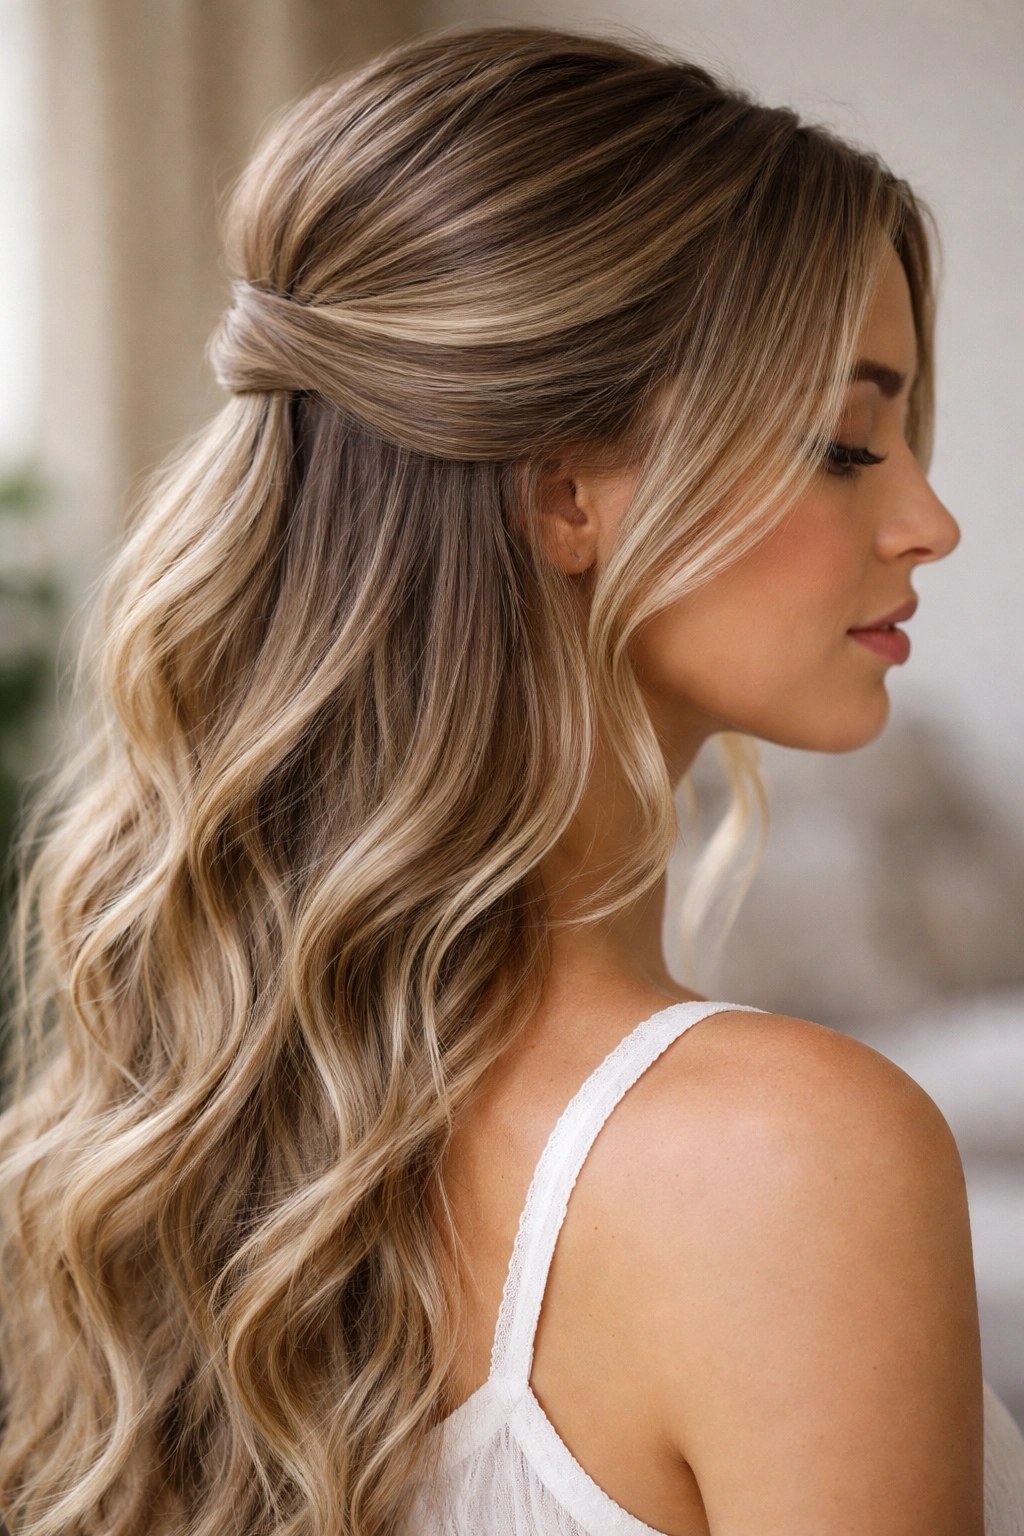
This technique uses a small section of hair from the main swoop to wrap around the base, hiding all the bobby pins and creating a polished, finished appearance.
The Wrapping Method
Gather your swoop as you normally would, securing it loosely with bobby pins. Then take a thin section of hair from the bottom of the swoop (where the hair meets the pins), and wrap it around the base of the swoop, covering all the pins completely. Secure the wrapped section with a bobby pin hidden underneath. From the front, it looks like your hair is naturally gathered—there’s no visible evidence of pins or clips, just hair flowing naturally from a defined point.
Why This Finish Matters
A wrapped swoop looks significantly more polished than a pinned swoop, even though the difference is subtle. It’s the detail that elevates your style from “casual” to “intentional” or “professional.”
- Works on all hair types and lengths
- Takes about 12-15 minutes because wrapping requires practice
- Perfect for professional settings, important events, or anywhere you want a refined appearance
- The wrapped finish makes your style look more expensive and carefully executed
Pro tip: Use the thinnest section of hair possible for wrapping—a super-thin wrapped section looks more delicate and elegant than a thick one.
9. The Multi-Layered Swoop with Varying Wave Heights
This style works with different wave heights in your hair, pinning them in stages to create depth and movement throughout your updo.
Working With Natural Variation
Rather than treating your swoop as one flat layer, identify where your hair’s waves are most defined and where they’re more subtle. Pin your swoop in stages—first, the pieces with the most defined waves, slightly lower. Then, add the pieces with less-defined waves slightly higher. This creates a multi-layered effect where you can see different levels and textures throughout your updo, adding incredible dimension.
The Visual Result
From the front, your swoop looks full and intricate. From the back or side, people can see multiple layers and textures working together, creating the illusion of a much more complex hairstyle than it actually is.
- Works best on hair with naturally varied wave patterns throughout
- Takes 10-12 minutes because you’re placing pins strategically in multiple locations
- Creates visual interest and sophistication, perfect for events or date nights
- Requires no additional products beyond what you’d normally use for styling
Insider knowledge: Spend a few minutes studying your hair’s natural wave pattern before styling. Once you understand where your waves are strongest, you can work with them rather than against them.
10. The Swoop with Face-Framing Spiral Waves
This style combines the swoop with intentional spiral waves on the face-framing pieces, adding texture and dimension to the parts of your hair that frame your features.
Creating Spiral Texture on Face-Framers
Leave two to three inch sections of hair on each side of your face entirely out of the swoop. As you work on your swoop, separately spray these face-framing sections with a light texturizing spray. Using a curling iron or wand (even if you don’t use heat on the rest of your hair), create soft spiral waves on these pieces. The spirals should be loose and relaxed, not tight ringlets—you’re enhancing, not creating new texture from scratch.
The Styling Purpose
Face-framing spirals draw attention to your face and create a romantic, intentionally styled appearance. The spirals also add movement and prevent the style from looking too severe, since the swoop is fairly controlled.
- Requires a curling iron or wand if your natural waves aren’t spiral-shaped
- Takes 12-15 minutes including the face-framing curls
- Best on longer hair where face-framing pieces have length to show off
- Appropriate for dates, special events, or whenever you want a romantic, feminine look
Worth knowing: Use a smaller barrel (1 to 1.25 inches) for tight, defined spirals. A larger barrel creates looser, wave-like spirals that blend more seamlessly with your natural texture.
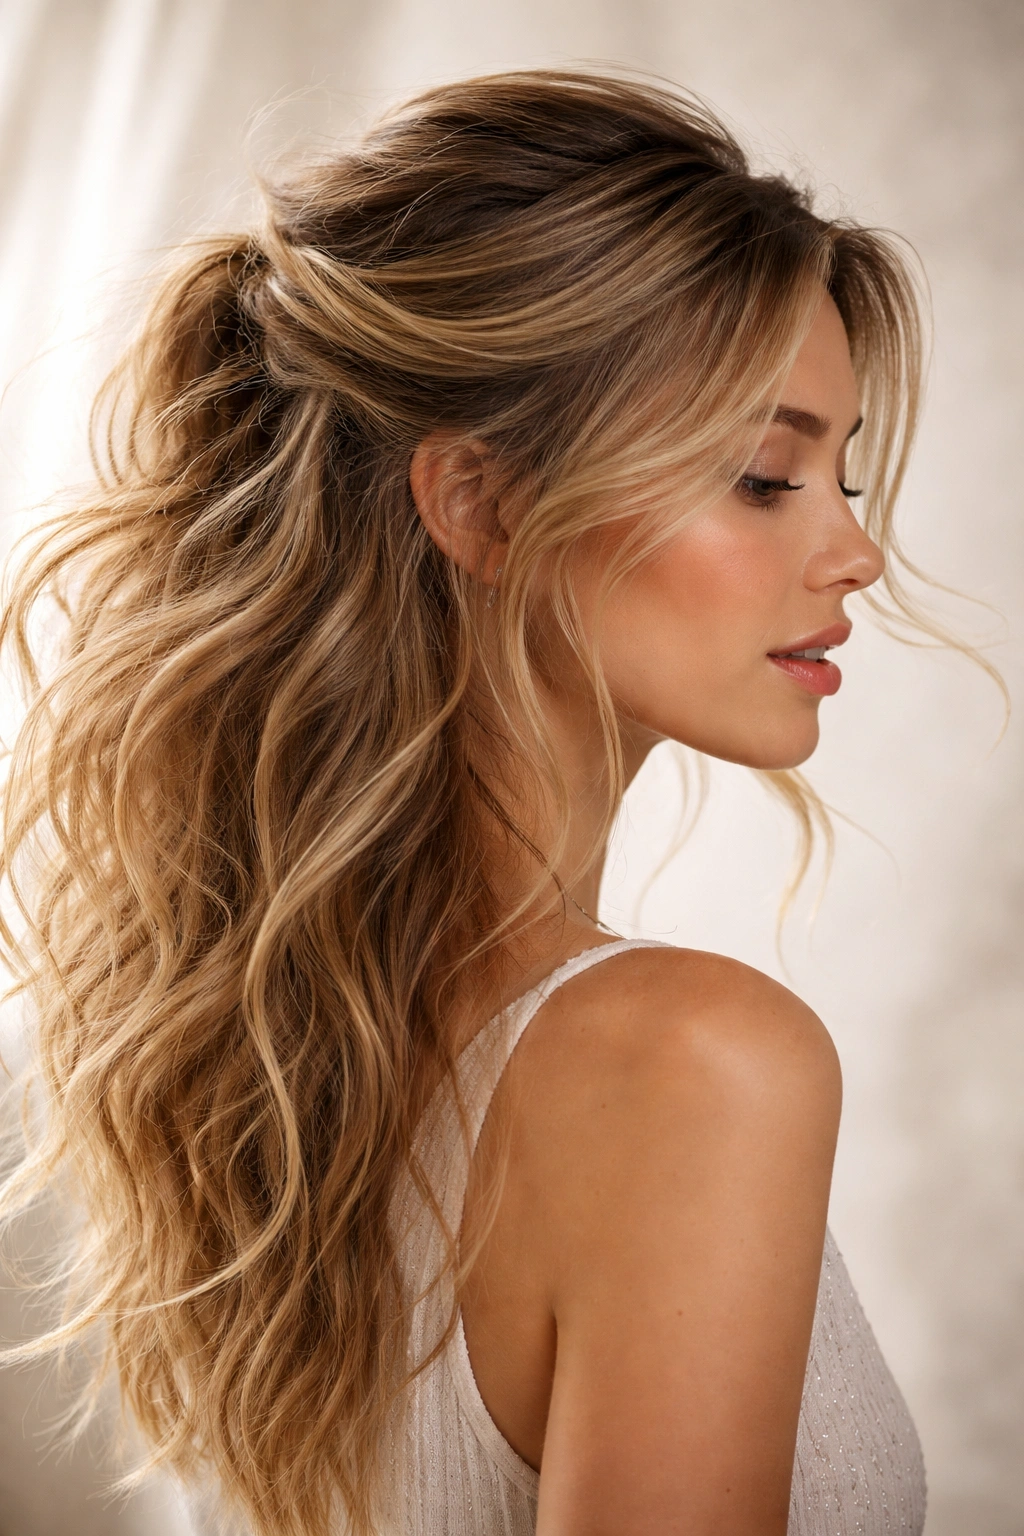
11. The Windswept Swoop with Movement Throughout
This style deliberately avoids looking overly polished—instead, it creates the illusion that your waves just naturally arranged themselves into a swoop, with plenty of movement and texture throughout.
The “Intentionally Undone” Approach
Rather than smoothing and tightening your swoop, gather it loosely and secure with fewer bobby pins than you might normally use. This means the swoop isn’t rigid—it has movement and some hair pieces escape the pins naturally, creating a soft, effortless appearance. For the rest of your hair that stays down, use texturizing spray generously and encourage waves by scrunching and separating them with your fingers. Don’t use any smoothing products. The entire style should look like you ran your hands through your hair once and it perfectly arranged itself into this beautiful swoop.
The Confidence Factor
This style requires confidence because it looks casual, but that casualness is entirely intentional and actually takes practice to achieve. It’s the hardest style to execute convincingly because it must look effortless while still being structured enough to stay in place.
- Best on naturally wavy hair—the more wave texture you start with, the easier this style is to execute
- Takes 5-10 minutes if you’re experienced, longer if you’re learning
- Appropriate for casual days, brunches, errands, or anywhere you want to look stylishly undone
- Requires the least product (just texturizing spray), making it low-commitment
Styling philosophy: Less is more with this style. Every time you think you should adjust something, step away instead. The imperfections are what make it work.
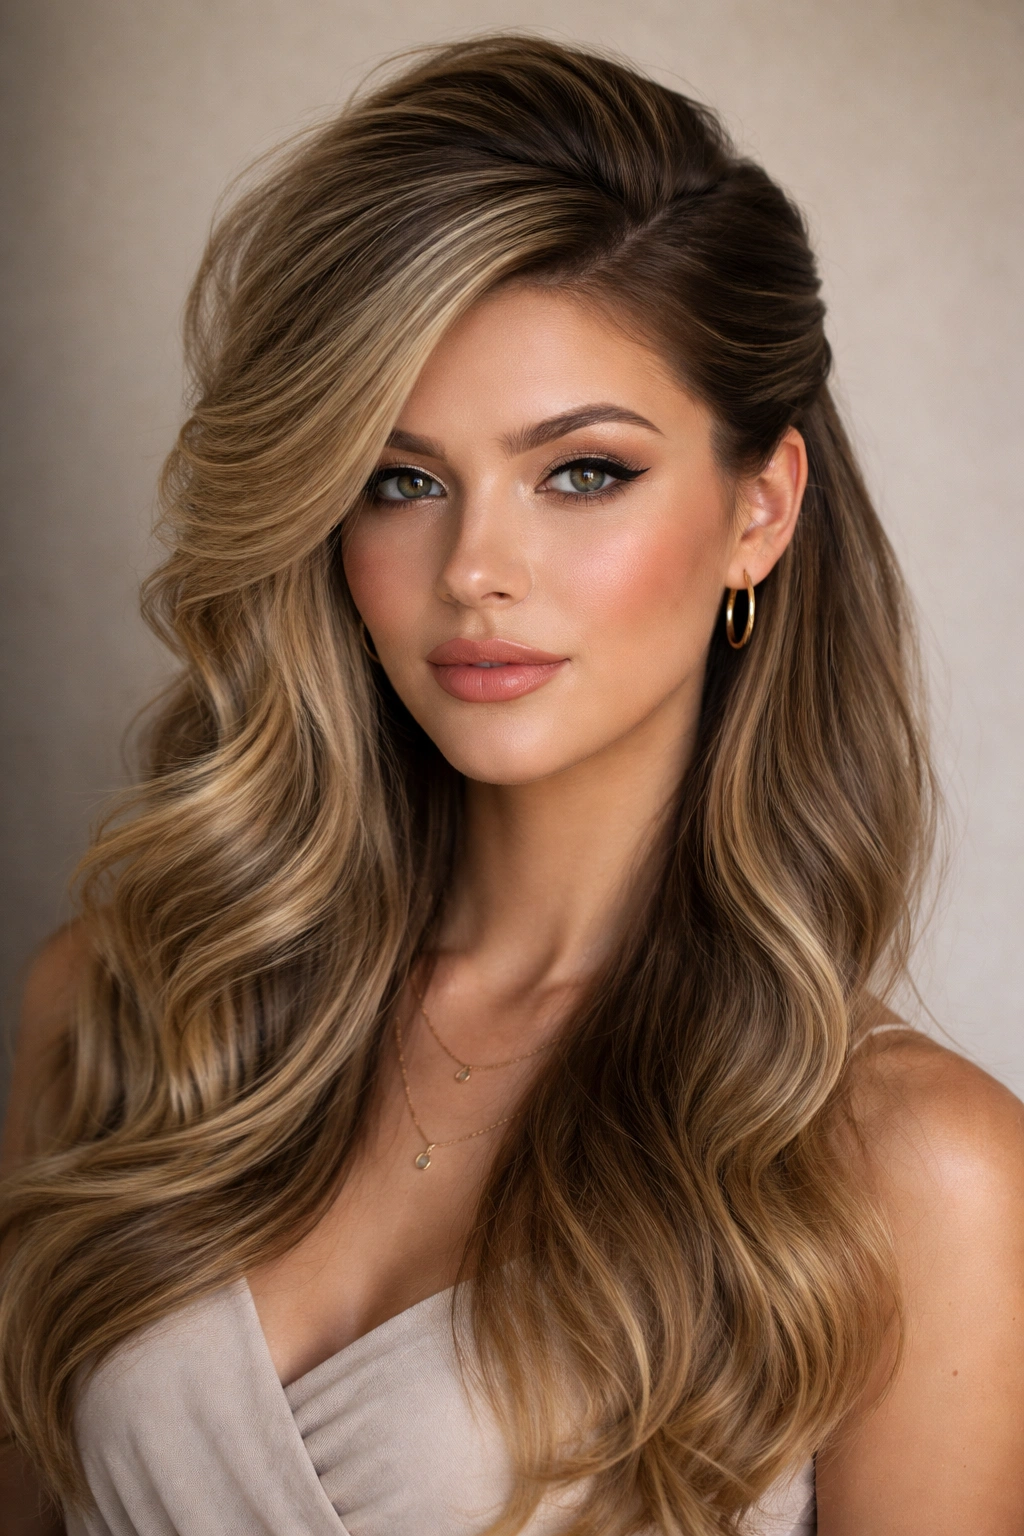
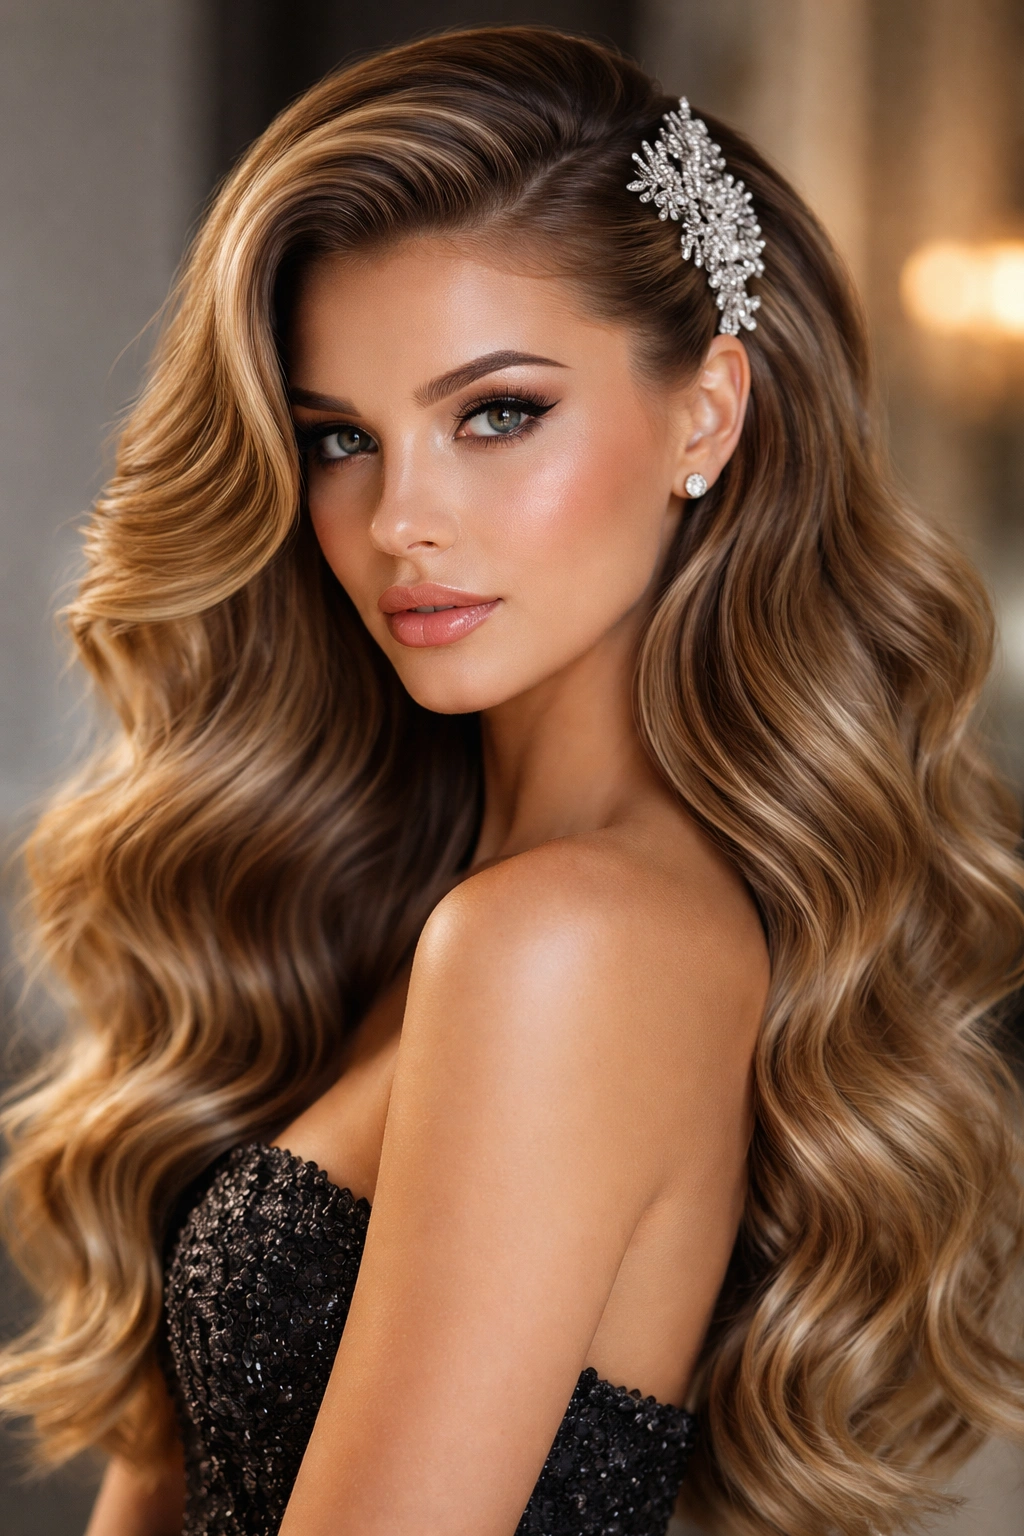
12. The Statement Swoop with Glam Waves
This is the dressed-up, high-fashion version of the swoop—everything is intentional, polished, and glamorous. Your waves are defined, your swoop is perfectly placed, and everything shimmers or shines.
Building the Glamorous Foundation
Start with hair that’s been blown out to enhance waves, or use a curling iron to create defined waves throughout your entire head. Apply a luminizing spray or light shine serum to catch light and add dimension. Gather your swoop with precision, securing it tightly so there’s no movement throughout the day. Use decorative bobby pins or hide your pins completely and finish with a statement hair comb, ornamental clip, or jeweled barrette. The statement accessory is crucial—this isn’t a casual swoop; it’s a hair moment.
The Complete Look
With everything polished and shiny, your updo looks magazine-worthy. This is appropriate for weddings, galas, formal dinners, or any occasion where you want your hair to be a standout feature of your overall appearance.
- Requires styling products that add shine (luminizing spray, serums, or pomade)
- Takes 15-20 minutes including waves, swoop placement, and accessory styling
- Best on thick, healthy hair with visible shine and dimension
- Requires a statement accessory to complete the look (just a swoop alone won’t feel glamorous enough)
Pro tip: Finish with a light hairspray designed for shine (not matte) to keep everything in place while maintaining luminosity throughout the evening.
Final Thoughts
The swoop half up half down is endlessly adaptable to your wave type, hair thickness, lifestyle, and the occasion you’re dressing for. Whether you’re choosing the relaxed windswept version for a casual Tuesday or the glamorous statement swoop for a special event, the underlying technique remains the same—sweeping your hair back from your face with respect for your natural wave pattern, then securing it in a way that looks intentional and polished.
The best version for you is the one you’ll actually wear. If you love intricate braids, master the braided accent swoop and wear it constantly. If you prefer minimal effort, the windswept version becomes your go-to. If you have fine hair, learn the teased version and watch how transformative volume at the crown can be. The beauty of the swoop is that it works with your hair’s natural properties rather than fighting them, which means it’s both easier to execute and more sustainable to wear.
Practice one version until it becomes second nature, then experiment with others. Each style teaches you something about how to work with your specific waves, and soon you’ll find yourself customizing and combining techniques to create versions that are uniquely yours.