The 90s gave us some of the most iconic hair moments in modern history, and the half-up half-down swoop style epitomized that era like nothing else. There’s something undeniably nostalgic—yet oddly timeless—about the way those styles combined effortless cool with intentional styling that somehow looked thrown together and painstakingly crafted at the same time. The swoop half-up was everywhere: on music videos, in mall fashion editorials, on the heads of teenagers who understood that a good hair day could change your entire social standing.
What made the 90s swoop so special wasn’t just the style itself, but what it represented. It was the sweet spot between wanting to show off your full head of hair while also claiming enough of it to make a statement. The swoop wasn’t neat and controlled like 80s styling—it had attitude, volume, and a certain “yeah, this took effort but I’m not going to tell you how much” energy. Whether slicked with gel, teased for maximum volume, or twisted into intricate patterns, the swoop half-up was endlessly adaptable. It worked on straight hair and textured hair, thick manes and finer strands. It looked equally at home at a school dance or a skate park.
These styles are experiencing a genuine renaissance, and for good reason. The 90s swoop half-up hits a perfect balance that modern aesthetics desperately crave: it’s nostalgic without feeling costume-y, bold without requiring extreme commitment, and genuinely flattering for most face shapes and hair types. Let’s dig into twelve distinct 90s swoop variations that defined the decade and continue to inspire today’s best hair moments.
1. Classic Swoop with Face-Framing
This is the foundational 90s swoop—the style that appears in every yearbook photo and music video from the era. The concept is straightforward: sweep a generous section of hair from one side of your head up and back, securing it with a clip or elastic band while leaving the rest of your hair down. What made it distinctly 90s was the way you swept it—with a slight curve and momentum that made it look like your hair was caught mid-movement, not deliberately posed.
Why This Became the Signature Look
The classic swoop worked because it created an instant frame around your face without fully committing to an updo. The swooped section curved around your head like a crown, drawing attention upward and emphasizing your eyes and forehead. It was sophisticated enough for family photos but casual enough for everyday wear, which meant everyone could wear it and claim it as their own.
How to Achieve the Classic Swoop
Start with clean, preferably slightly textured hair (yesterday’s hair works beautifully here—fresh-washed locks can be slippery and won’t hold the shape as well). Take a section from your temple on one side and sweep it gently back toward the crown, following the natural curve of your head. Use a texturizing spray or light hairspray to give it grip as you move. Secure with a small claw clip, bobby pin, or elastic band hidden at the crown, making sure a few pieces frame your face naturally. The key is leaving the swoop slightly loose—you want movement and softness, not a tight, controlled section.
Pro tip: If your swoop keeps falling throughout the day, try a light application of dry shampoo or texturizing spray at the roots before styling. This gives your hair more grip and helps it hold its shape.
2. Sleek Gel Swoop Half-Up
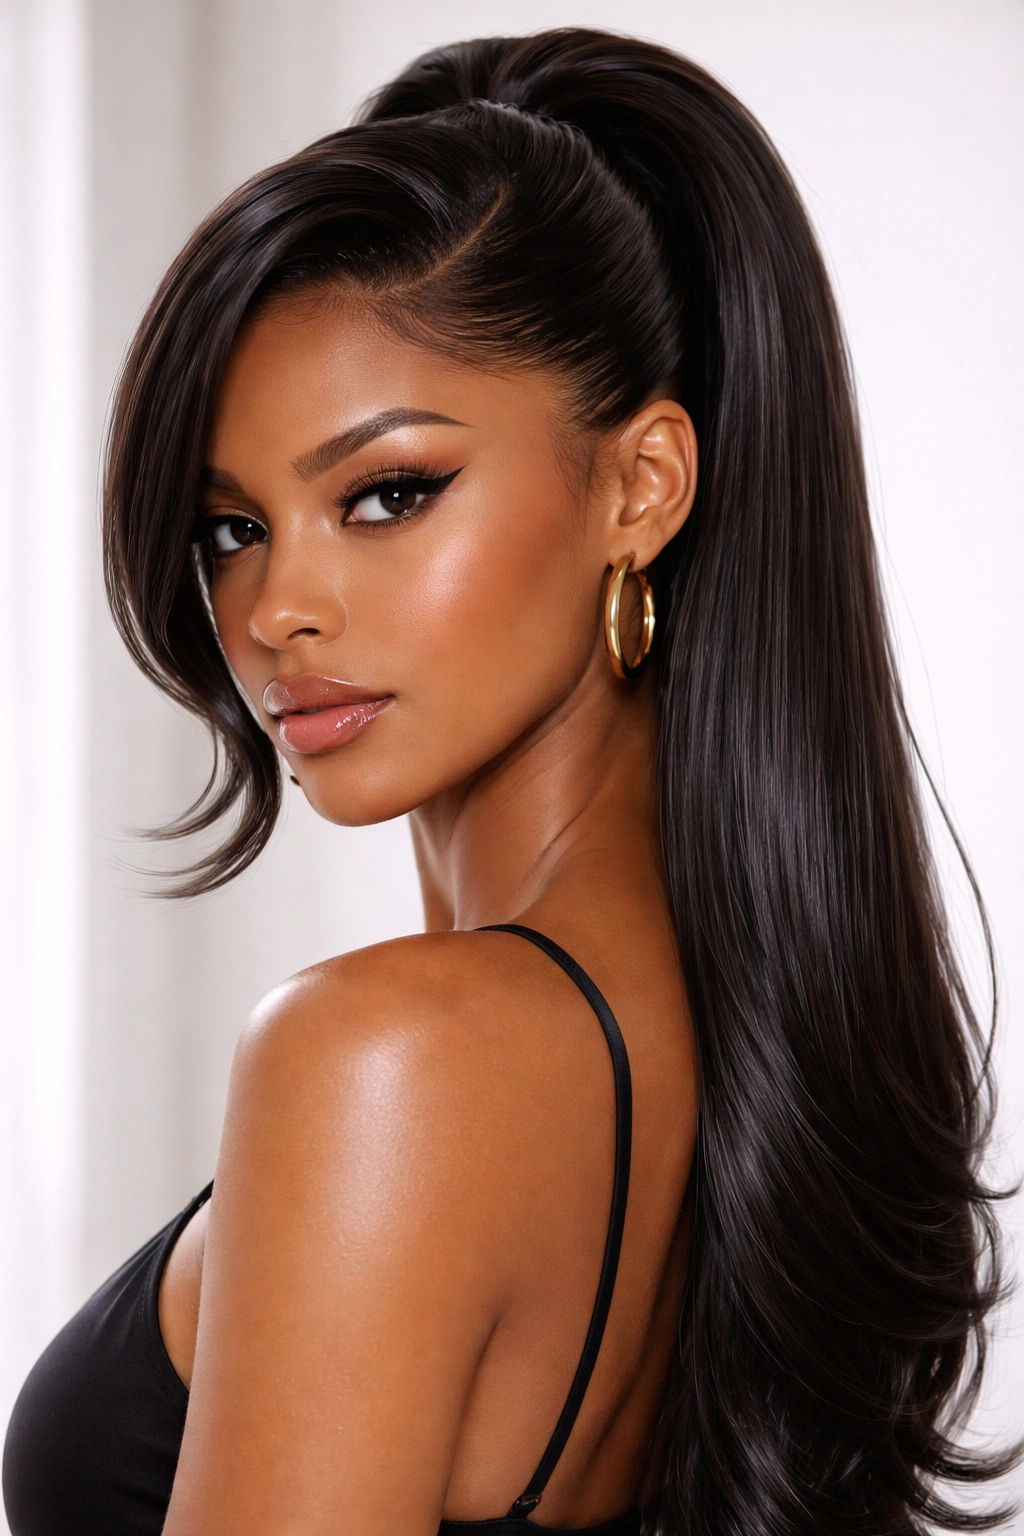
Take everything about the classic swoop and tighten it up with gel, and you’ve got the sleek version that defined 90s runway and red carpet moments. This iteration was smoother, more controlled, and far more polished—it said you had somewhere important to be, and your hair had already been briefed on the dress code. The gel gave the swoop a shine and structure that felt intentional and almost architectural.
The Gel-Slicked Technique That Defined the 90s
The sleek gel swoop required commitment. You were working with a strong-hold product to create smooth, almost wet-looking sections that had genuine staying power. The swoop itself was sleeker than its tousled cousin, but the real artistry was in the contrast—pristine, shiny swoop against fuller, sometimes crimped or textured hair below. This juxtaposition was purely 90s: one part prep school, one part rebel.
Building the Perfect Gel Swoop
Start with damp hair and apply a generous amount of gel (this is not the time for restraint—you need serious hold). Comb the gel through, working from the sides toward the crown. Take your main swoop section and brush it back smoothly, almost like you’re creating a smooth wave against your head. Use a fine-tooth comb to keep the lines clean. Secure at the crown with bobby pins or a clip—the gel will hold it in place beautifully. The swoop should look shiny and structured, with clear definition where the styled section meets the rest of your hair.
Worth knowing: Gel-based swoops photograph beautifully but can feel stiff in person. If you’re aiming for this look for a special event, try it the day before so you can adjust the product amount if needed.
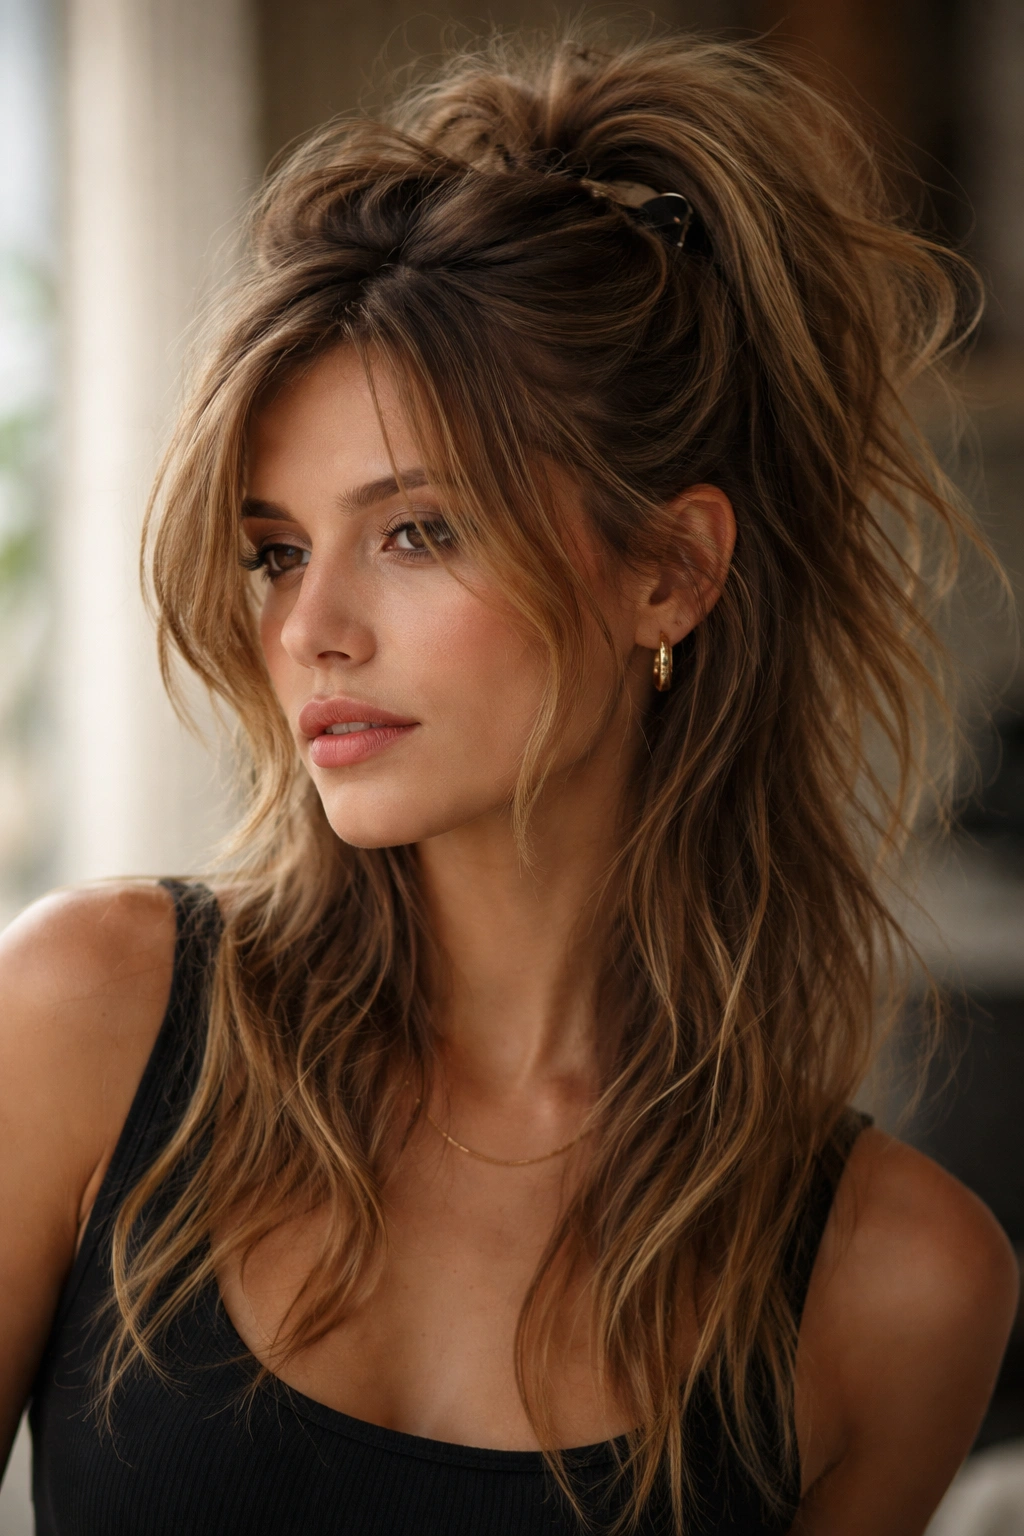
3. Textured 90s Grunge Swoop
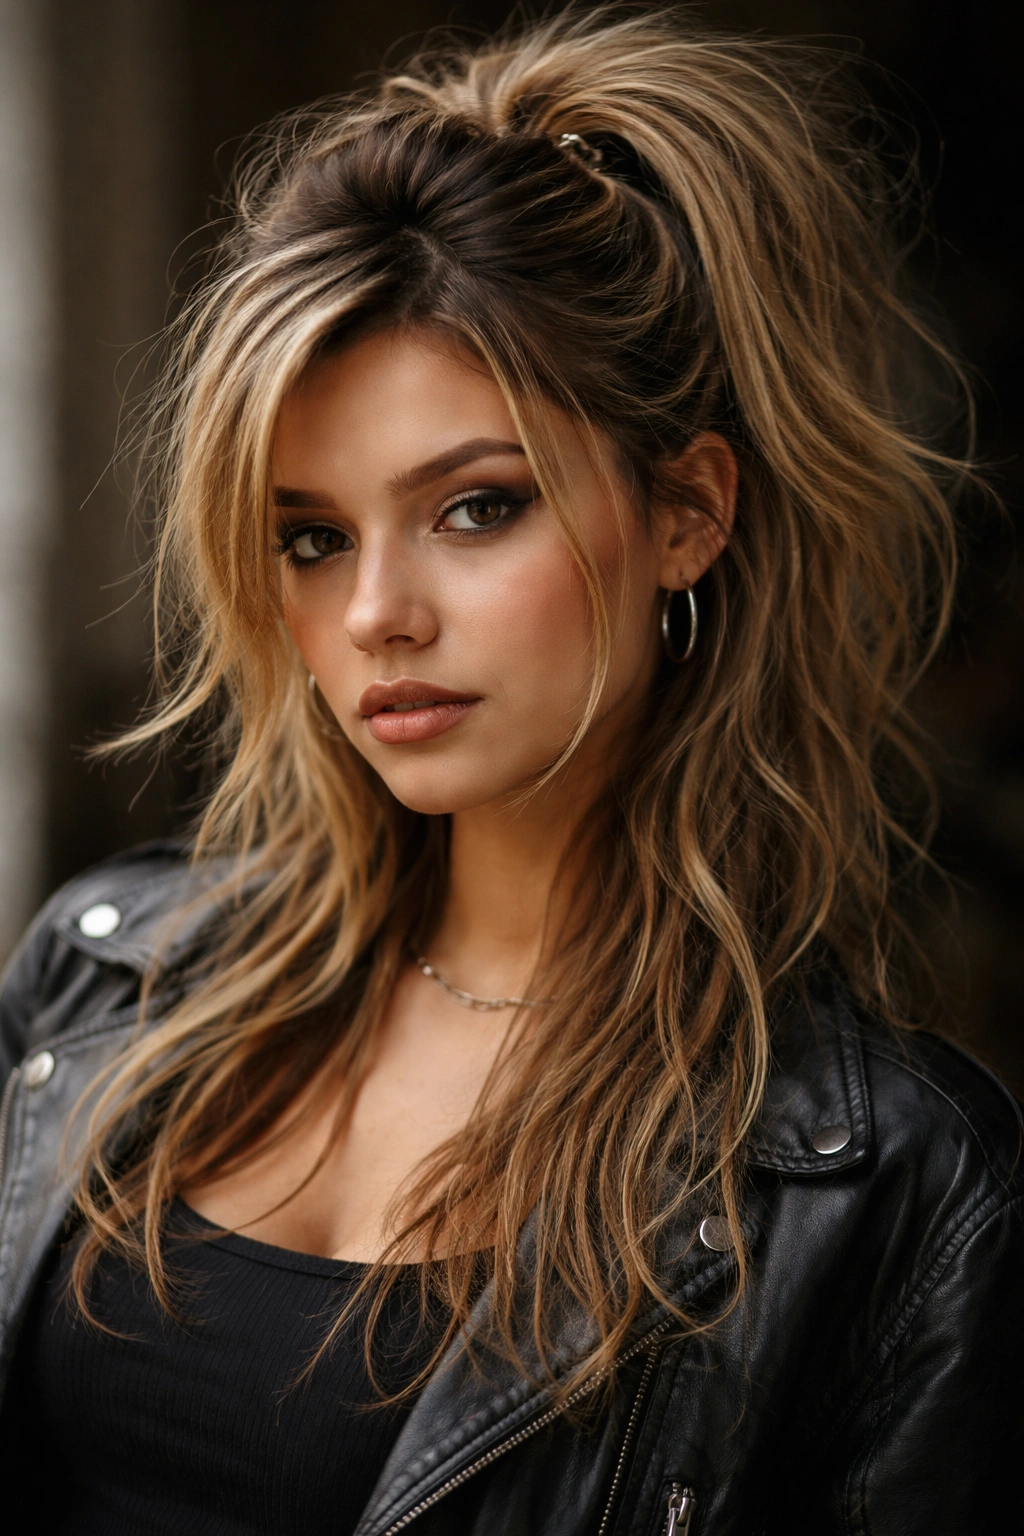
If the gel swoop was polished prom perfection, the textured grunge swoop was coffee shop defiance. This version embraced chaos while maintaining just enough structure to prove it was intentional. Flyaways, undone pieces, slight frizz—these weren’t styling failures, they were the point. The swoop still existed as a concept, but it looked like you’d just come in from the rain and casually swept your hair back without checking a mirror.
Why Grunge Swoops Felt Authentically 90s
The grunge aesthetic rejected perfection entirely. A textured swoop showed you were too cool to spend twenty minutes on your hair, even though you absolutely had. Dry texture and volume were essential—the messier and more deliberately undone, the better. This swoop lived at the intersection of punk rock and high fashion, borrowing energy from both worlds.
Creating Intentional Texture and Movement
The foundation here is texture, which you can build with sea salt spray, texturizing spray, or even dry shampoo applied to damp roots. Scrunch these products through your hair emphasizing your natural texture. Tease gently at the crown for volume if your hair is naturally straight. Take your swoop section and sweep it back more loosely than the gel version—you’re aiming for that “I definitely didn’t brush this” vibe. Leave smaller pieces loose around your face and don’t stress about perfection. A light hairspray keeps the shape without making it look stiff.
Insider note: If you’re going for grunge but your hair is too shiny and sleek naturally, try applying a texturizing product to day-old hair. Freshly washed hair often looks too clean for this aesthetic.
4. Spiky Swoop Half-Up for Texture
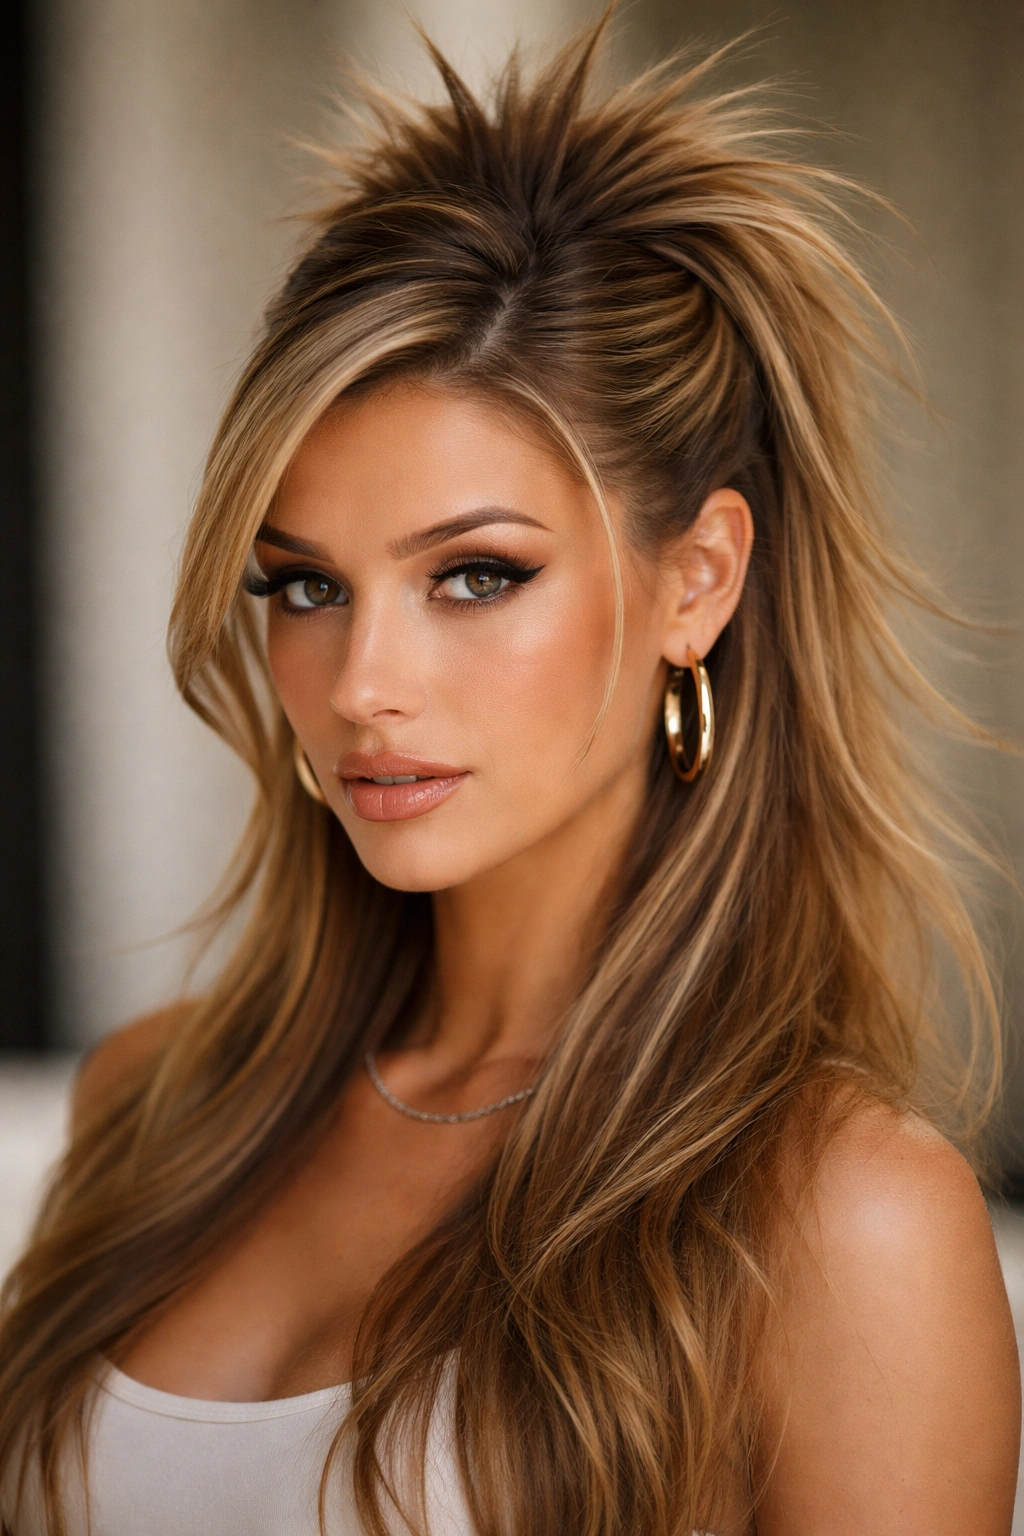
The spike factor took the swoop into genuinely bold territory. This version layered the swoop with deliberate points and dimension, creating a silhouette that was unmistakably 90s. Whether achieved through crimping, blow-drying with a round brush held at specific angles, or strategic teasing, the spiky swoop declared loud and clear that its wearer had opinions and wasn’t afraid to have hair.
The Technical Challenge of Maintaining Spikes
Spiky swoops required either product commitment or precise blow-dry technique—sometimes both. The spikes needed to hold their shape throughout the day, which meant either a strong-hold product or hair that had been teased at the roots and sealed with spray. The swoop section itself maintained its structure, but the crown and mid-lengths had dimension that moved and shifted as you moved.
Achieving Dimension Without Damage
Start with damp hair and apply mousse to the roots—this is your base for hold without extreme stiffness. Blow-dry your hair using a blow dryer with a concentrator nozzle, directing the heat and air in the direction you want the spikes to point. Once dry, use a large round brush to create volume at the crown, angling the brush to create the shape you want. Take your swoop section and secure it as usual. Now for the spikes: using a fine-tooth comb and light hairspray, gently tease sections of your hair, separating them slightly to create definition. This works best on textured or wavy hair; if your hair is very straight, a light crimping beforehand gives you texture to work with.
5. Side-Swept Swooped Half-Up
This variation emphasized the sweep—the movement and curve of hair traveling across and up your head. Rather than a centered crown pull, the side-swept swoop dragged hair horizontally before securing it, creating an exaggerated silhouette that looked almost sculptural. This was the swoop of ’90s music video goddesses, where hair moved like it had its own choreography.
The Drama of Horizontal Movement
The side-swept swoop created visual impact through motion and direction. By sweeping hair across the head rather than straight back, you created a diagonal line that naturally drew the eye and added apparent dimension to your face. It was a more theatrical choice than the centered swoop, perfect for nights out or days when you felt like your hair should make an entrance before you did.
Executing the Dramatic Sweep
Begin with hair that has some texture and body—work texture spray through damp hair and let it air-dry slightly curly or wavy. Start your swoop section higher than usual on one side of your head, positioning it so that when you sweep it back and up, it travels across and slightly above the crown. The movement is key: you’re not pulling directly back but rather sweeping in a graceful arc that emphasizes the curve. Secure at the back of the crown or slightly to one side, depending on which direction you’ve swept. A few wisps of hair left loose around the face soften the drama and prevent it from looking too severe.
Pro tip: This swoop looks especially stunning on hair with natural wave or curl, as the movement of the swoop enhances your hair’s texture. If you have straight hair, a light wave set beforehand makes this style much easier to execute.
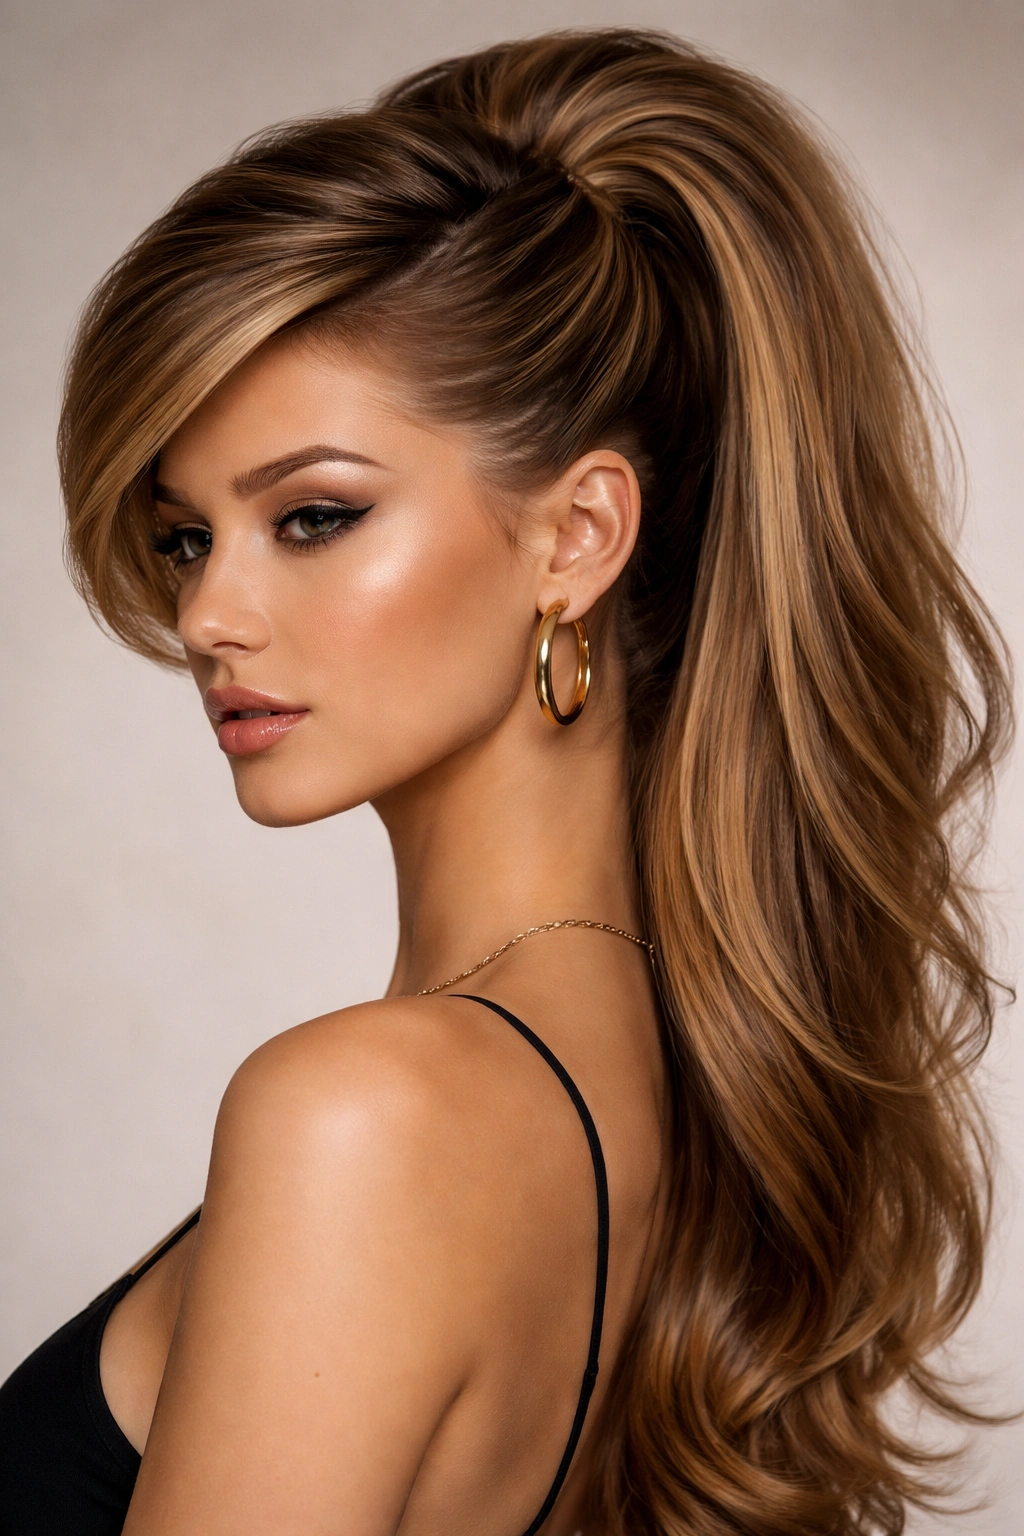
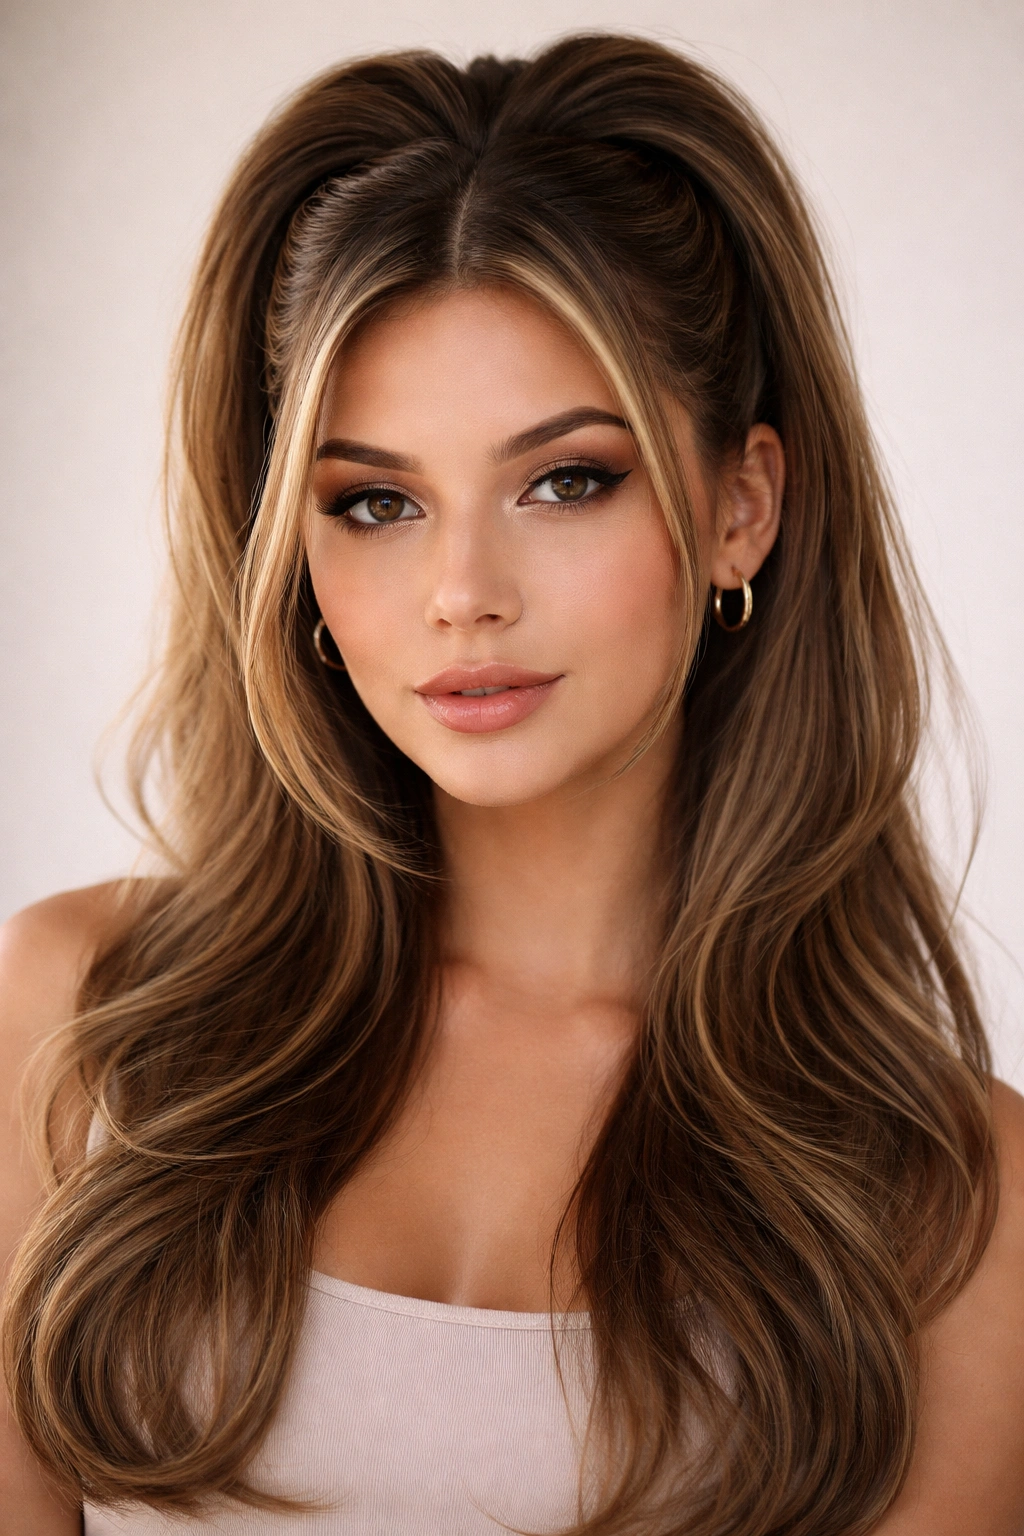
6. Voluminous Crown Swoop
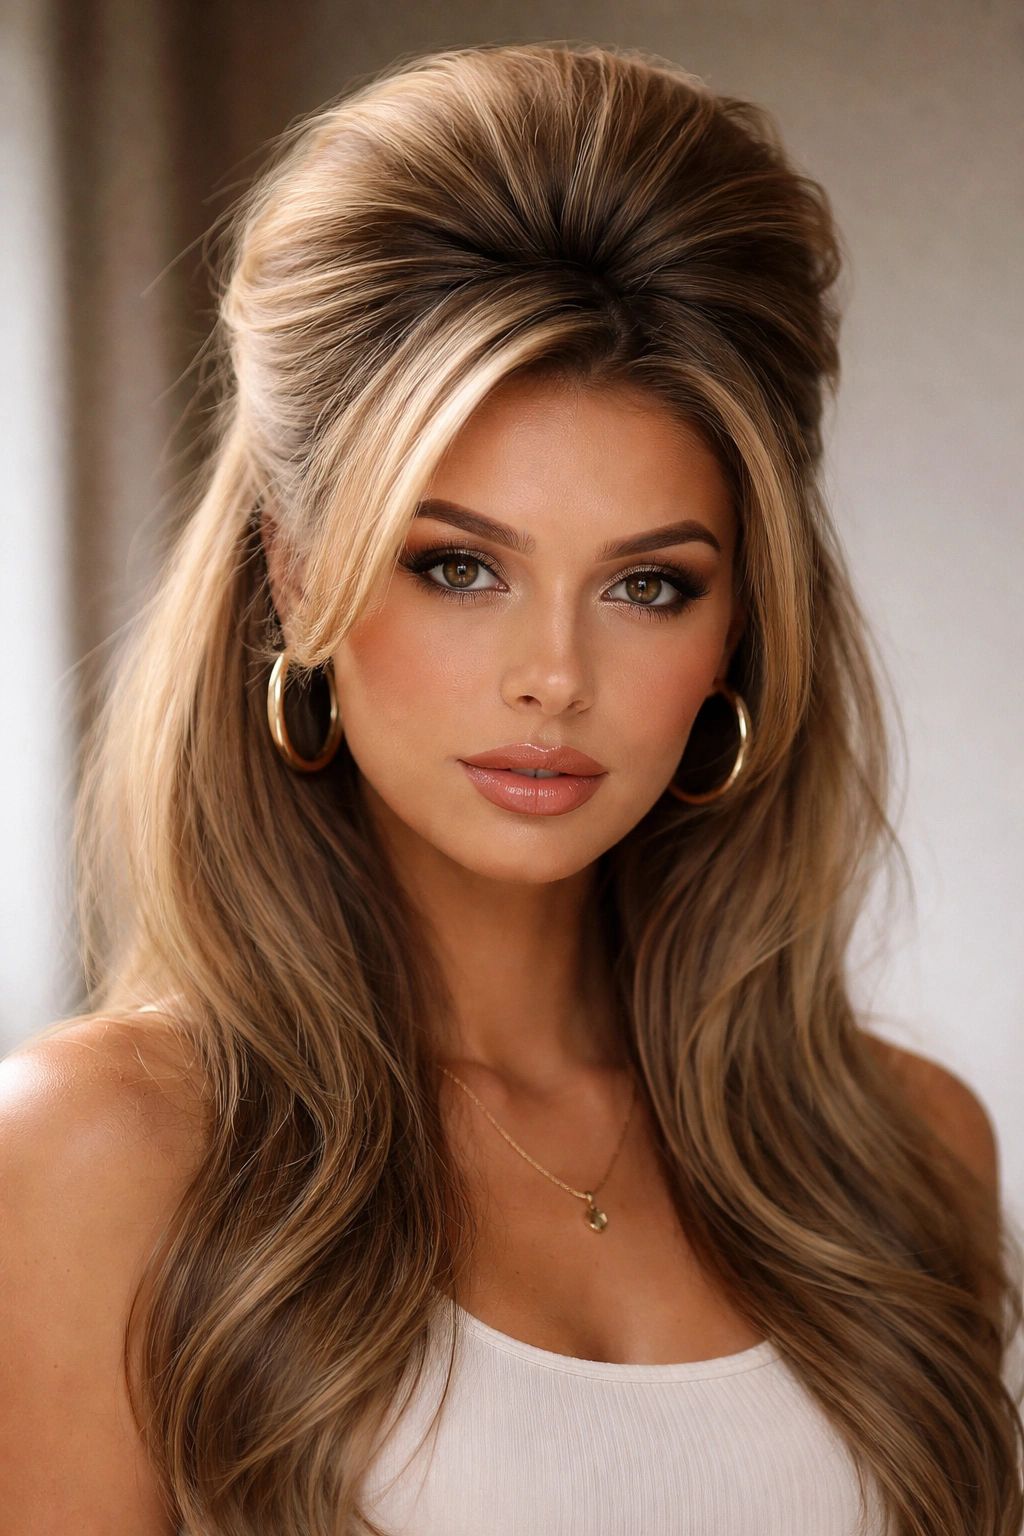
When bigger was better in the 90s, the voluminous crown swoop answered the call. This version didn’t just swoop hair back—it built serious height and fullness at the crown, creating a silhouette that was impossible to miss. The swoop was almost secondary to the sheer volume happening on top of your head, but it tied the whole look together by pulling key sections back and up.
Building Height That Actually Lasts
Voluminous crown styles required commitment to teasing and spray. The goal was to create a full, rounded shape at the very top of your head—think of a mushroom cloud of hair that swept upward and back. This was the swoop for people who wanted maximum impact and didn’t mind spending time on their hair.
The Teasing and Spraying Technique
Start with clean, dry hair if possible—damp hair is harder to tease effectively. Section your hair into quadrants. Begin at the crown with a section of hair straight up, and tease it vigorously using a fine-tooth comb, pushing downward toward the roots to build cushion and lift. Do this gently enough not to break your hair, but thoroughly enough to create real volume. Once you’ve teased the crown section, smooth the outer layer slightly (you want texture inside that holds volume, but the outside should be polished). Spray generously. Now create your swoop by taking a section from the side and sweeping it back and into the crown section, weaving it through the teased cushion for security. Secure with bobby pins hidden inside the voluminous area.
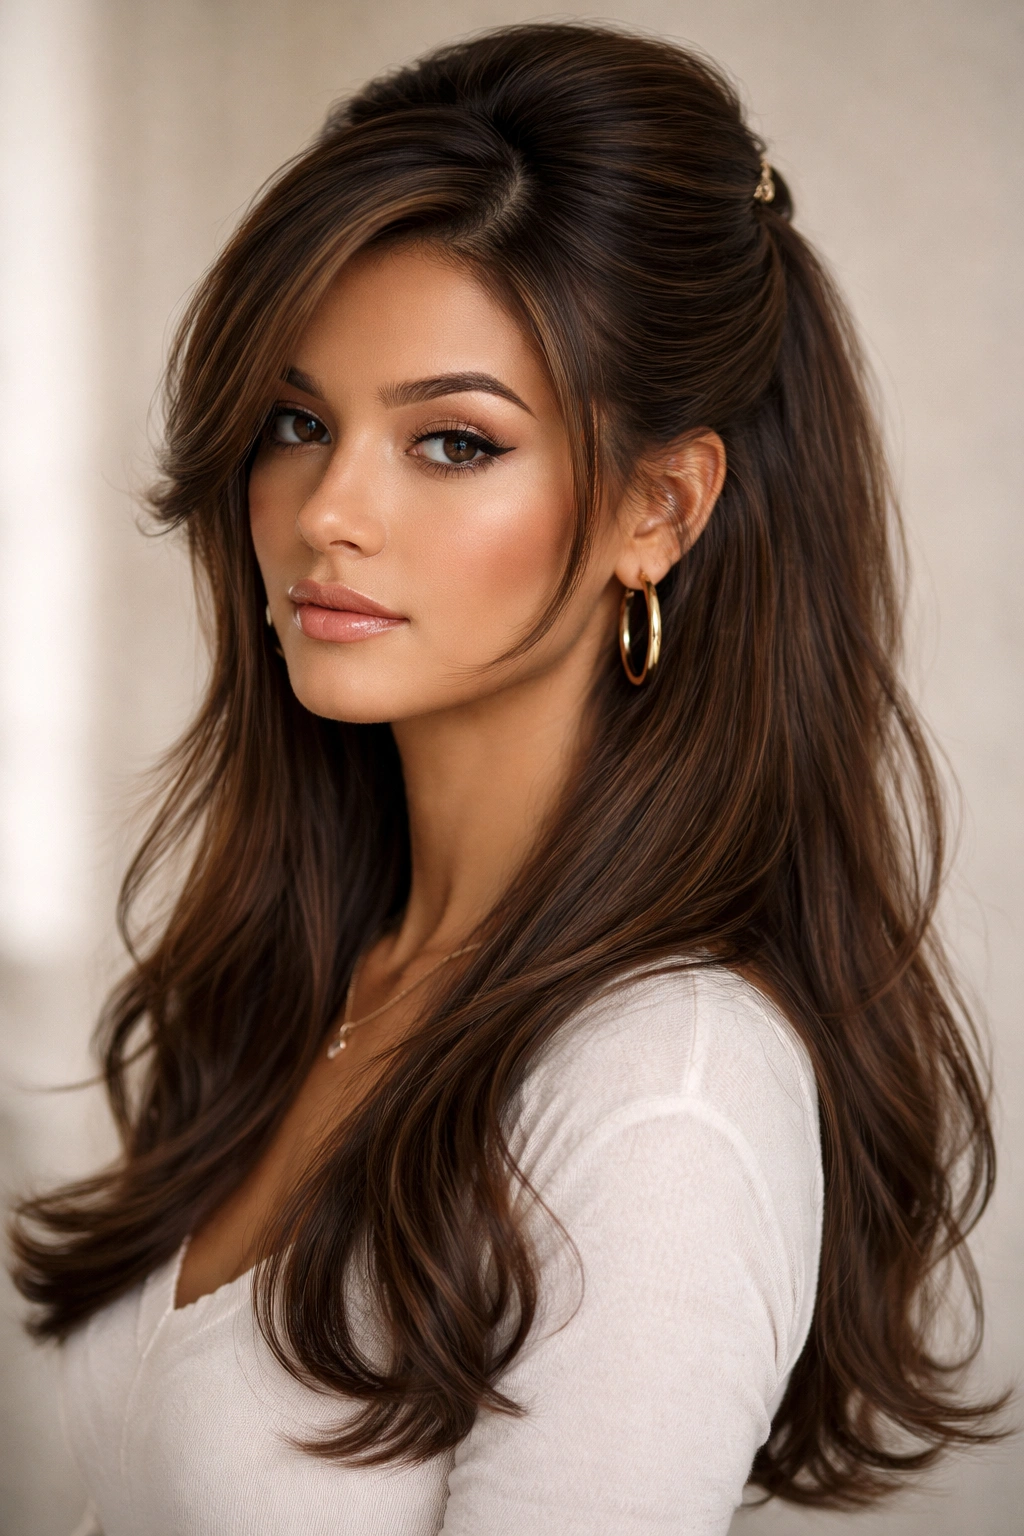
7. Twisted Swoop Half-Up
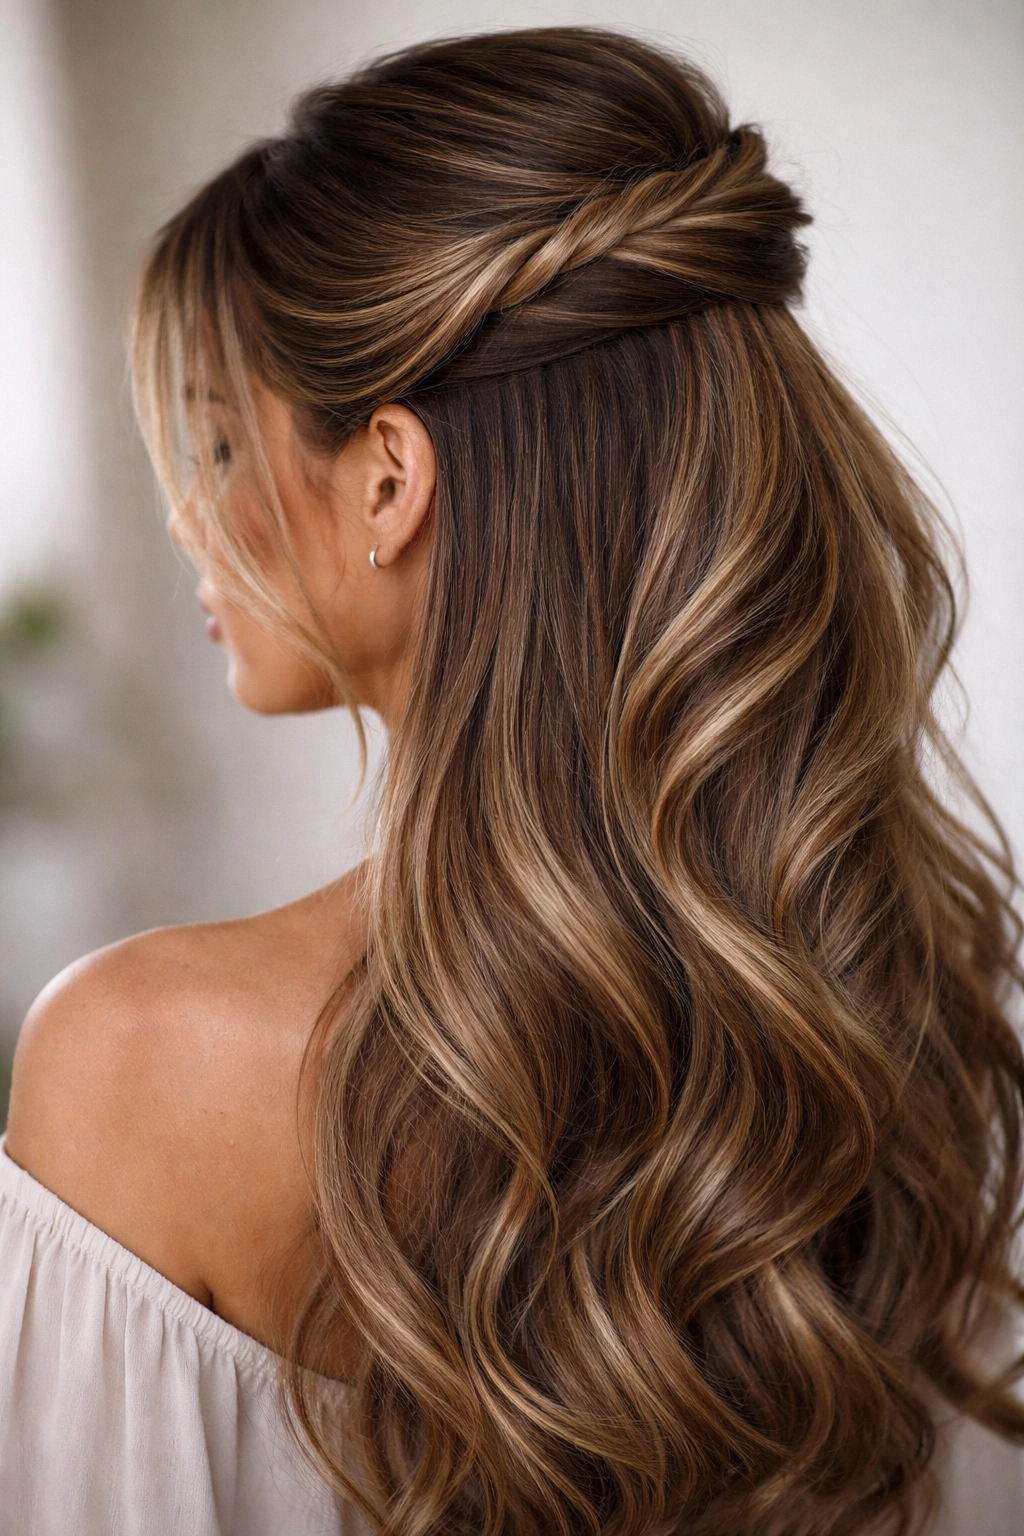
For those who wanted to add visible detail to their swoop, the twisted version provided complexity and craft. Rather than a simple sweep, the swoop section was twisted as it moved back, creating a rope-like detail that caught light and added texture. This style walked the line between elegant and edgy—it looked intentional and elevated without being overly formal.
Why Twists Made the Swoop More Interesting
A twisted swoop gave your styling more presence and sophistication. The twist provided visual detail that made the hairstyle more interesting when you moved or turned your head. It also served a practical purpose: the twist helped keep the swoop in place better than a simple sweep, making it a genuinely functional styling choice rather than purely aesthetic.
Executing a Swoop Twist
Work with hair that has some texture—freshly washed hair is too slippery. Take your swoop section and divide it into two strands. Gently twist these strands around each other, creating a rope-like twist that travels back from the side of your head toward the crown. Keep the twist slightly loose and organic rather than tight and formal. As you twist, you can let some hair escape from the twisted sections to create a softer, less structured look. Secure the twisted section at the crown with bobby pins, and adjust any loose pieces around your face for framing. A light hairspray holds everything in place without making it look stiff.
Worth knowing: Twisted swoops hold better when you separate the two strands and actually twist them together rather than just braiding. The separation creates more grip against your scalp.
8. Choppy Layered Swoop
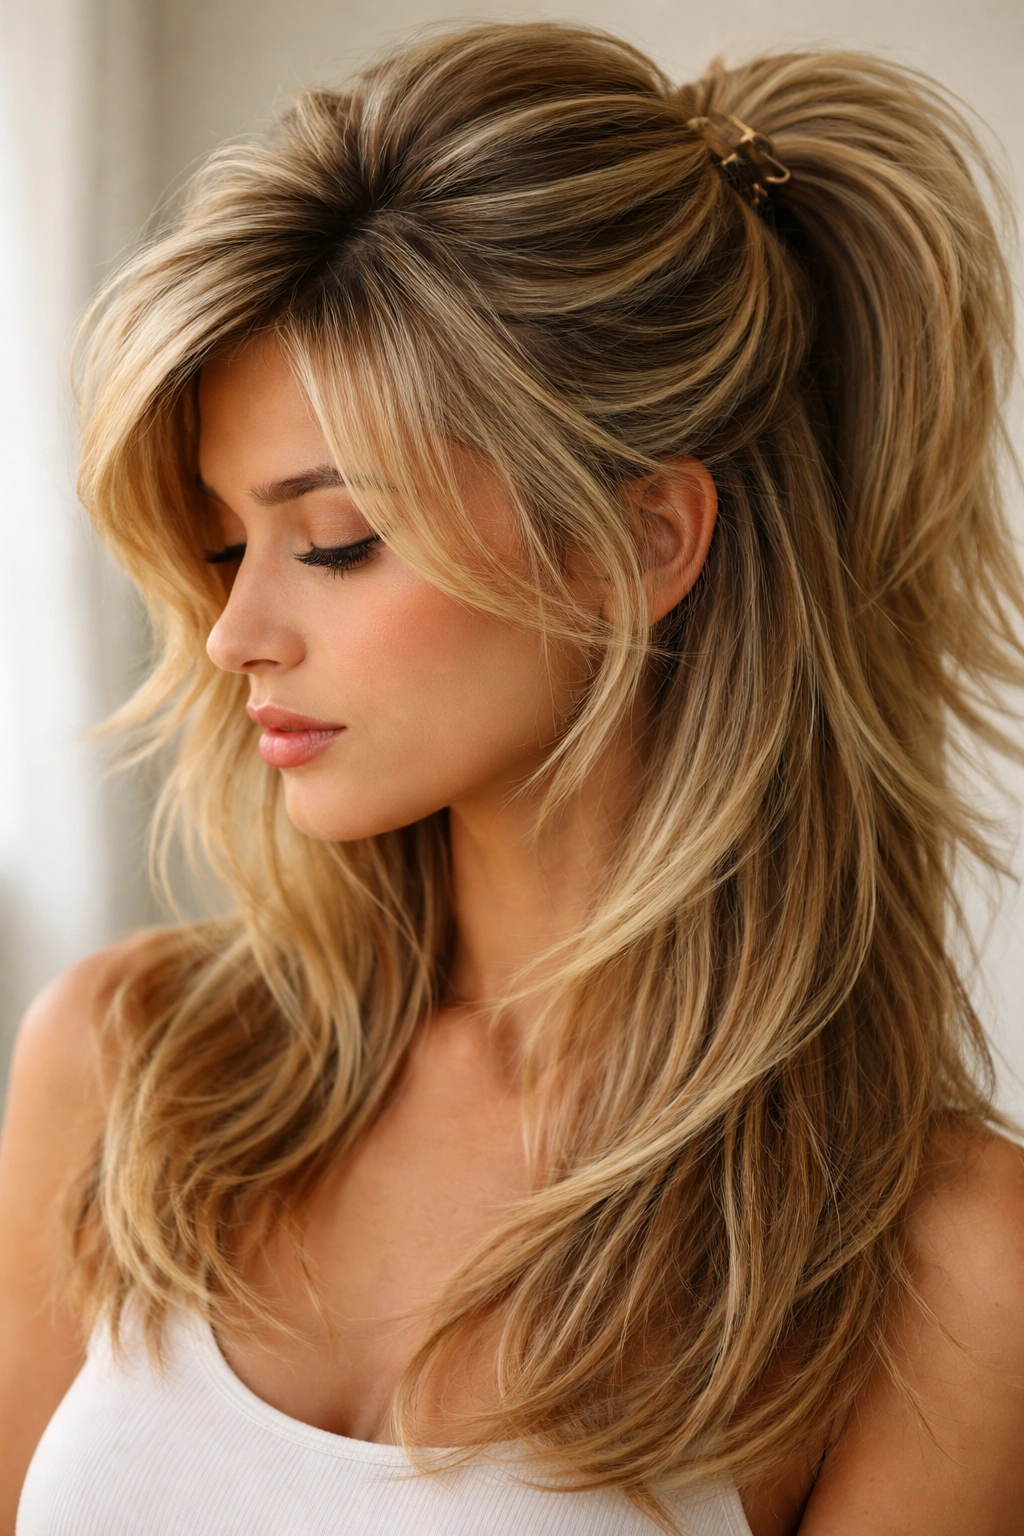
Choppy layers were a 90s staple, and when combined with a swoop, they created serious movement and dimension. The layers made the swoop look less solid and more dynamic, with pieces of varying lengths interacting as you moved. This style was perfectly suited for people with naturally textured or wavy hair but worked beautifully on straight hair too when paired with blow-drying technique.
How Layers Changed the Swoop’s Silhouette
Layers broke up the potential heaviness of a large swoop section. By having lengths of different sizes swooped back together, you created visual interest and ensured that movement happened throughout your hair, not just where the swoop was secured. This was the swoop for people who wanted visual complexity and didn’t mind that their hair moved a lot.
Styling Choppy Layers into a Swoop
If you have choppy layers already, work texture spray through damp hair and blow-dry, allowing the layers to separate and move naturally. The swoop happens more organically with layers—simply sweep the longer pieces back and secure with an elastic or clip, allowing shorter pieces to fall around your face naturally. If your hair is longer and you want to add the choppy effect without cutting, try blow-drying with a round brush while directing hair in different directions to create the illusion of layers, or use a light crimp to create texture variation that mimics the look of choppy layers.
9. Crimped Swoop Half-Up
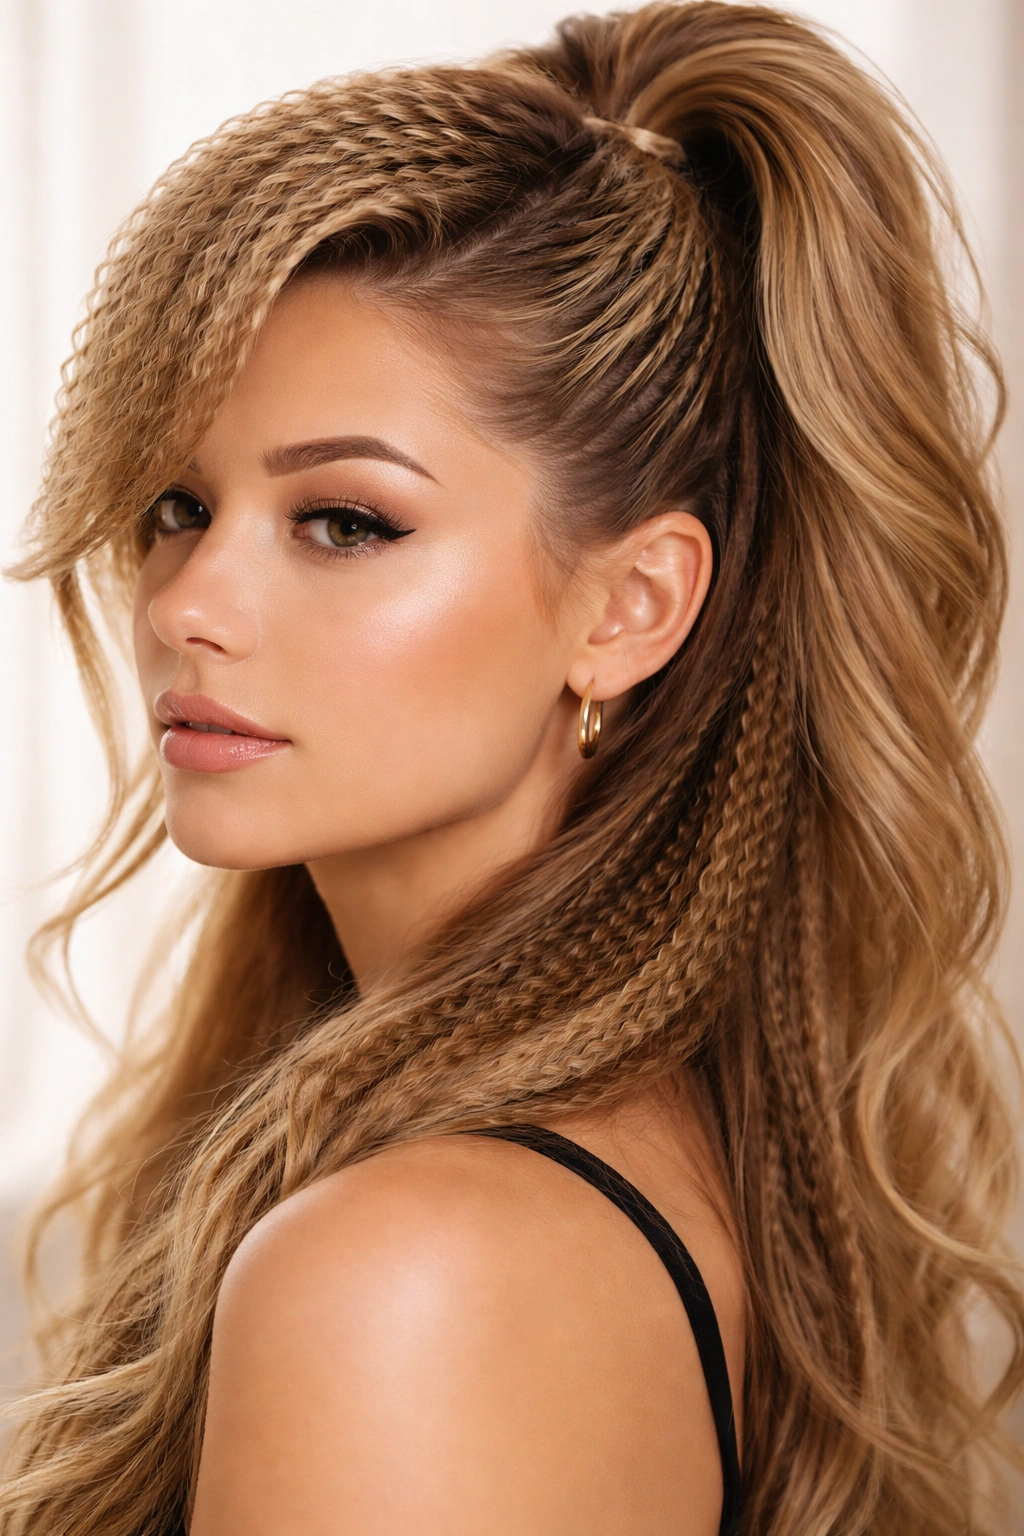
Crimping was having a major moment in the 90s, and adding crimped texture to a swoop created otherworldly volume and movement. The crimped sections had a distinctive texture that caught light differently than regular hair, and when you crimped your swoop section, you added visual interest and genuine structural support. This was a look that demanded to be noticed.
Why Crimping Made Swoops More Dramatic
Crimped hair has significantly more surface area and volume than smooth hair, which meant a crimped swoop looked bigger, bolder, and genuinely more impressive. The texture also helped hold the swoop in place—crimped hair grips better than straight hair. Beyond the practical benefits, crimping was pure 90s aesthetic: intentional, dramatic, and unapologetically bold.
Creating a Crimped Swoop
You’ll need a crimping iron (also called a crimper)—these create that distinctive zigzag texture. Apply a heat protectant product to your hair before crimping. Take your swoop section and section it into smaller pieces. Crimp each piece from roots to ends, creating that distinctive texture. Once your entire swoop section is crimped, sweep it back and secure at the crown. You can crimp your entire head for maximum impact or just the swoop section for a more balanced look. Finish with a flexible hold hairspray that lets your crimped texture maintain its shape without looking stiff.
Worth knowing: Crimping is intense on hair, so save this style for special occasions rather than everyday wear. Always use a heat protectant and don’t crimp the same section twice.
10. Slicked-Back Swoop with Volume

This style cleverly combined slicked-back polish with voluminous fullness—sleek on top where it mattered, full and round everywhere else. The swoop section was gelled back smoothly while the crown maintained serious height and the rest of your hair stayed loose and dimensional. It was the style of people who wanted to look put-together but not stiff, polished but not precious.
The Contrast That Made This Style Work
The interplay between smooth, gelled swoop and voluminous texture created visual interest and balance. The slicked-back portion felt intentional and controlled, while the volume suggested you had naturally gorgeous, thick hair. Together, they created a silhouette that looked effortless and impressive.
Balancing Sleek and Full
Start by teasing your crown and mid-lengths for volume, then spray to set that texture. Apply gel to your swoop section—this should be your most slicked-back, shiny portion. Using a fine-tooth comb, smooth the gel through your swoop section and comb it back sleekly. The contrast between the gel-slicked section and the textured, voluminous rest of your hair is what makes this work. Secure the swoop with bobby pins, making sure they’re hidden in the slicked-back portion. Finish with flexible-hold hairspray to maintain both the sleek swoop and the volume elsewhere without making anything look too stiff.
11. Messy Tousled Swoop
This is the “I just got back from adventure” swoop—the one that looks like you didn’t spend any time on it, even though the perfect amount of chaos requires its own kind of intention. Hair was ruffled, slightly undone, with the swoop barely visible but definitely present. This style lived in the grunge realm but with even more emphasis on the disheveled, throw-it-together vibe.
The Art of Controlled Chaos
The messy tousled swoop required the confidence to embrace imperfection. It looked best with slightly damp-looking or very textured hair, pieces going different directions, and zero attempt at sleekness or control. Yet it was clearly a swoop—you’d deliberately pulled some hair back, you’d just done it in the most casual way possible.
Creating Effortless Mess
Apply sea salt spray or texturizing spray to damp hair and let it air-dry for that slightly undone texture. Run your fingers through your hair, working upward and backward to create texture and lift. Take your swoop section and sweep it back loosely with your fingers rather than a comb—this preserves texture and keeps it from looking too styled. Secure with a hair clip or elastic, but leave plenty of pieces loose and falling. Tousle the secured section gently with your fingers to soften it further. A light, flexible hairspray sets the look without making it stiff.
Insider note: This style looks best when you don’t overthink it. The moment you start trying to perfect it, it loses the effortless charm that makes it special.
12. Double Swoop Half-Up
For those who couldn’t choose between left and right, the double swoop offered the best of both sides. A section was swept from each side of your head, meeting at the crown and secured together. This created a more symmetric, balanced look while still maintaining that essential 90s swoop energy. It was bold without being unbalanced and looked equally stunning from the front or from behind.
Creating Symmetry and Impact
The double swoop required more hair involvement than a single swoop but created a more complete, finished look. It framed your face from both sides, drew attention to the crown, and created a sense of balance and intention. This was the swoop for people who went all-in on a hairstyle choice.
Executing the Double Swoop
Start with textured or wavy hair. Take a section from the right side of your head at about your temple and sweep it back and up toward the crown, following the curve of your head. Secure loosely at the crown with a bobby pin. Now take an equal section from the left side and do the same thing, sweeping it back and up to meet the first section. Secure both sections together at the crown with a clip or elastic band. You want some softness and movement rather than everything pulled tight. A few wisps of hair left loose around your face balance the relative fullness happening at the back. Light hairspray holds everything in place while maintaining movement.
Pro tip: The double swoop looks especially stunning on thick or long hair, where you have enough volume to create serious visual impact at the crown. If you have finer hair, focus on teasing the crown first to create a base of volume that supports both swoop sections.
Final Thoughts
The beauty of the 90s swoop half-up is how genuinely adaptable it is. Whether you’re reaching for sleek gel and structure, embracing textured chaos, or building voluminous drama at your crown, the swoop works because it’s fundamentally flattering—it frames your face, adds dimension, and somehow manages to look both intentional and effortless.
These twelve styles represent different points on the spectrum of 90s hair philosophy, but they’re all saying the same thing: your hair is part of your self-expression, and you’re not afraid to use it as such. You can wear a swoop to a formal event, to a casual hangout, or to literally anywhere in between. The swoop adapts to your hair type, your face shape, and your daily vibe.
What makes these styles continue to resonate is their honest charm. They don’t pretend to be something they’re not. A messy swoop looks messy intentionally. A gel swoop shines unapologetically. A voluminous swoop takes up space with absolute confidence. That authenticity, that willingness to commit fully to a hair choice rather than splitting the difference, is what keeps people coming back to these styles decades later. The 90s swoop half-up wasn’t just a hairstyle—it was an attitude. And attitude, it turns out, never really goes out of style.