Tight ponytails that refuse to slip down by noon are a skill—not luck. The difference between a style that holds perfectly for twelve hours and one that’s falling out by 3 PM comes down to technique, product choice, and understanding how weight and tension actually work with your hair type. The right high updo ponytail isn’t just about pulling hair up and securing it; it’s about distributing tension strategically, anchoring to the right sections, and using tools and products that work with your hair’s natural properties instead of against them.
The styles that stay put all day share a common principle: they distribute the weight of your hair across multiple anchor points or use techniques that tighten throughout the day instead of loosening. A ponytail held only by a single hair tie at the crown will slip. One that’s teased at the base, secured with bobby pins hidden inside the ponytail itself, and finished with a secure elastic and a texture spray will hold through workouts, humidity, and active movement.
Your hair texture matters, but it’s not destiny. Fine, straight hair can hold ponytails as securely as thick, wavy hair when you use the right grip techniques and products. The real secret is creating friction between your hair and whatever’s holding it—whether that’s texture from teasing, grip from a quality elastic, or the strategic placement of bobby pins that do the actual holding work while a hair tie just looks pretty on top.
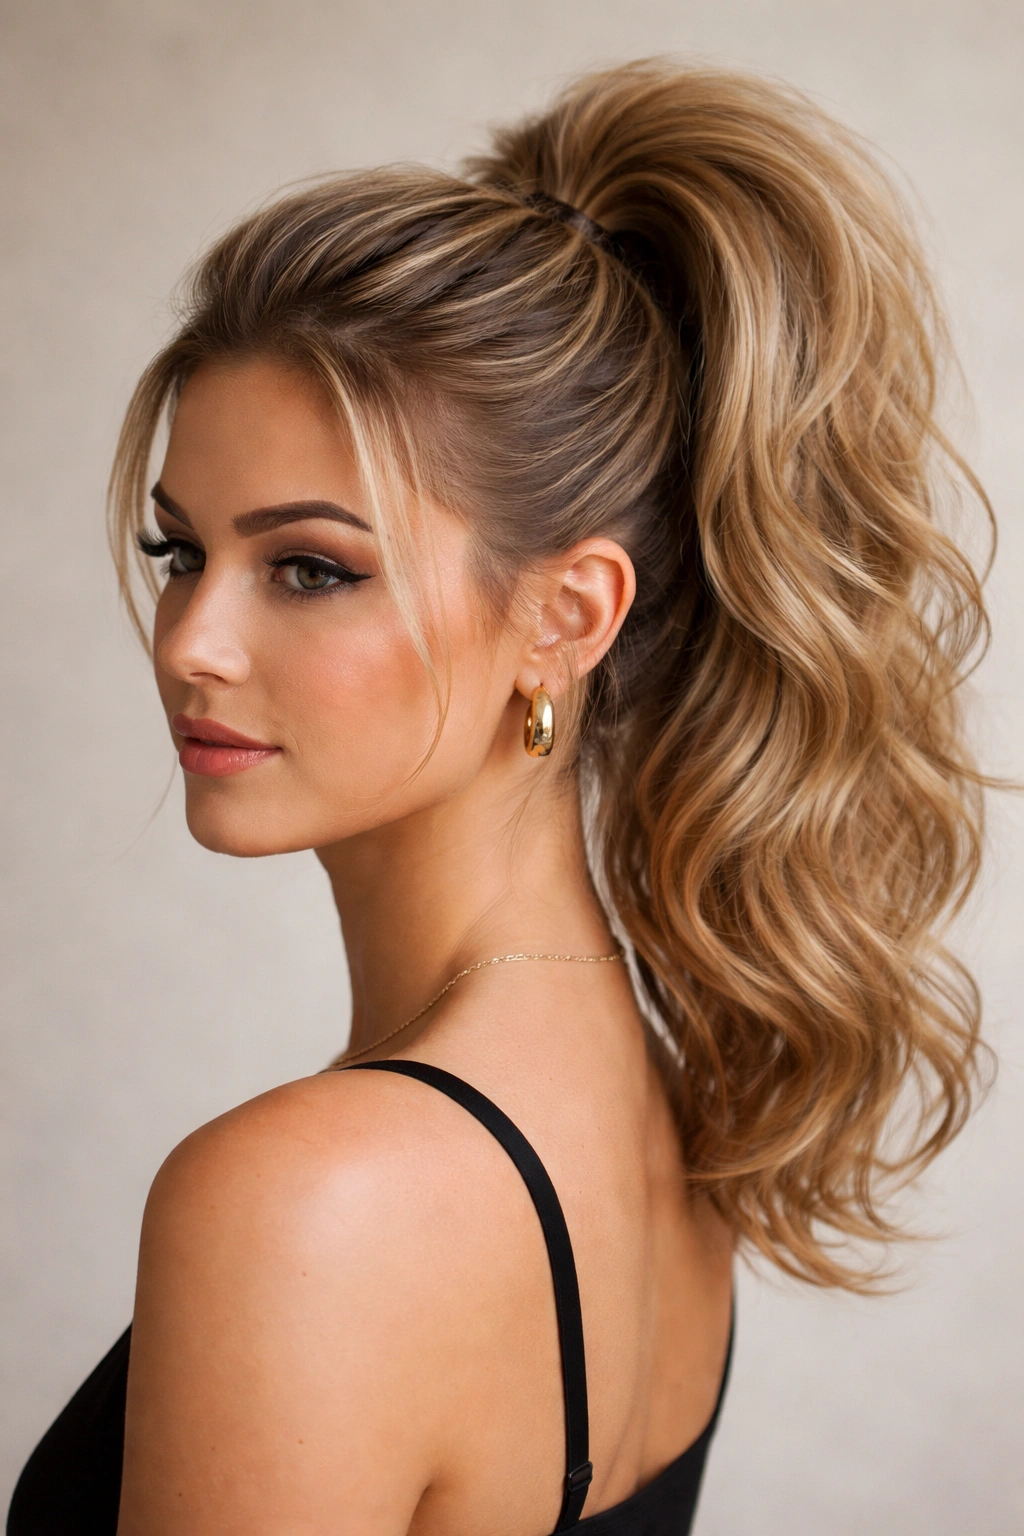
1. The Teased High Ponytail with Hidden Pins

This foundational style works on virtually every hair type because it builds grip from the inside out. The teasing creates texture that holds the ponytail base securely, while bobby pins anchored inside do the real work of keeping everything in place. It’s the workhorse style that stays up whether you’re sitting at a desk or running errands all day.
Why It Stays Secure
Teasing creates friction and volume at the base, which automatically grips your hair tie much tighter than smooth hair ever could. The bobby pins—the unsung heroes—are placed horizontally through the base of the ponytail and anchored directly to your scalp, not just looped through the elastic. This distributes the weight of your entire ponytail across multiple anchor points instead of relying on a single hair tie to hold everything up.
How to Create It
Start by applying a volumizing mousse or texturizing spray to your roots, especially at your crown. Blow dry this in for hold. Section off the top third of your hair at crown level—this is your ponytail. Take a fine-tooth comb and backcomb the roots of this section in short, quick strokes, working from scalp outward about an inch. Don’t overdo it; you want texture, not matted hair. Smooth the outer layer gently with your comb so it looks neat but feels grippy underneath.
Gather your ponytail at your desired height (higher looks longer and more dramatic). Secure it loosely with a small clear elastic. Now place two to three bobby pins horizontally through the base of the ponytail, pushing them deep into the teased section so they anchor to your scalp underneath. Twist your ponytail once and wrap a second, thicker elastic around it, positioning it just above the first one. This double-elastic technique prevents slipping. Smooth flyaways with edge control, and finish with a flexible hold hairspray.
Pro Tip
Use matte finish bobby pins rather than shiny ones—they grip better and disappear into the teased base completely. The teasing is temporary and washes out; don’t worry about damaging your hair with this technique when done occasionally.
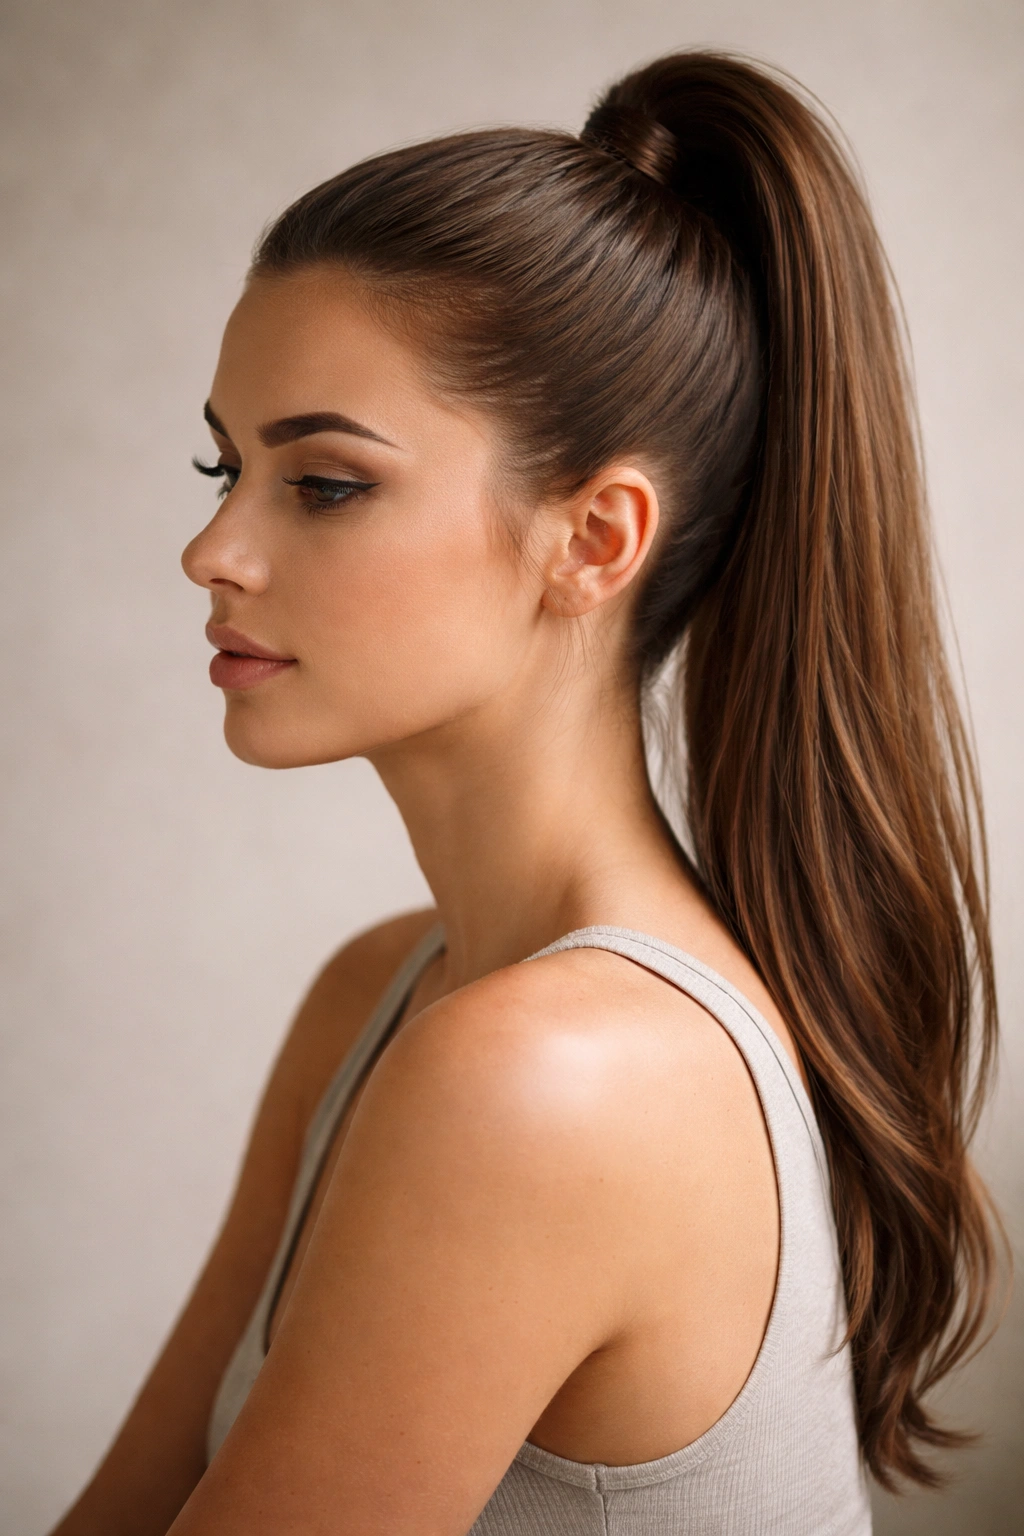
2. The Sleek Wet-Look Ponytail with Gel Lock
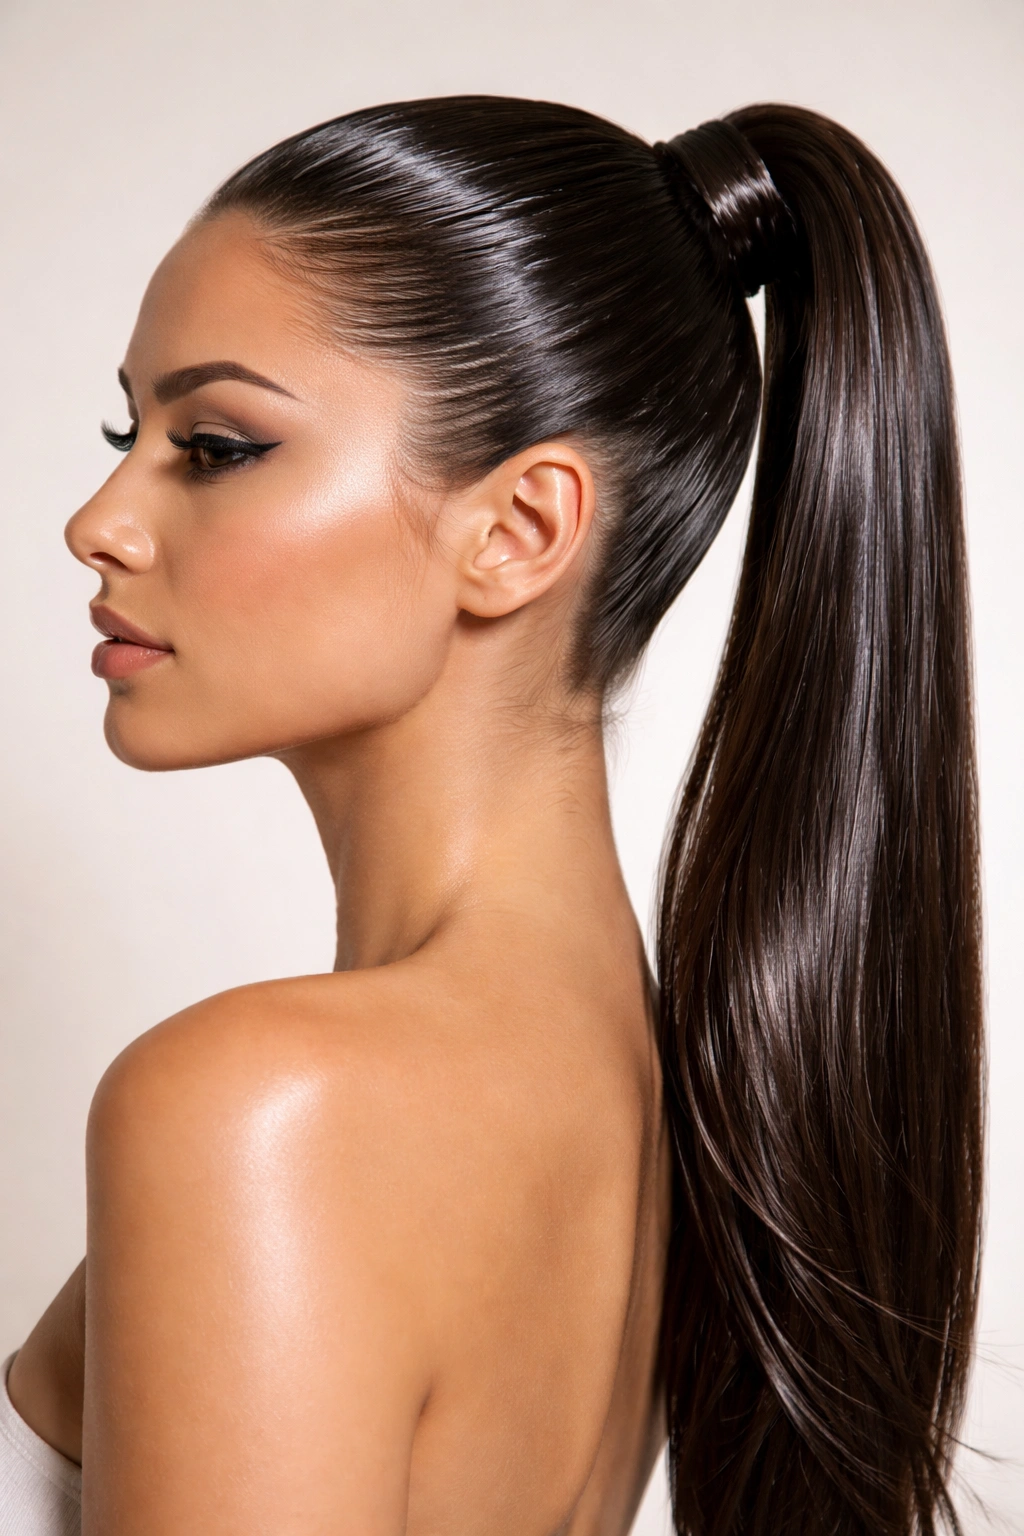
This style looks impossibly smooth while holding with absolute certainty. The gel creates a strong, sculpted base that refuses to slip, and the sleekness makes it perfect for workouts, professional settings, or whenever you need zero flyaways and maximum hold time. It works best on straight or wavy hair and gets stronger as your hair dries.
Why It Stays Secure
A strong gel creates a water-resistant grip on your hair shaft. Unlike cream or mousse products that can get slippery, a true gel dries to a solid hold that tightens as moisture evaporates from your hair. The smoother your hair, the more defined your gel grip becomes. You’re essentially creating a sealed unit that your hair tie simply cinches—the gel does the actual holding.
How to Create It
Wet your hair thoroughly or apply a wet-look gel to completely dry hair (both work, but wet hair gives better results). Use a fine-tooth comb to apply the gel, sectioning your hair as you go so you coat every strand evenly without lumps. Work from your hairline backward toward your crown. Use the comb to smooth your hair as you apply, pulling it taut toward where your ponytail will sit. Your hair should look wet and feel slightly stiff.
Gather your entire head of hair into a high ponytail at the crown. Use a small, firm elastic—clear or matching your hair color—and wrap it twice around the base. The gel will continue to set as it dries, actually tightening the grip. Take a small section of hair from the underside of your ponytail and wrap it around the elastic, securing the wrapped section with a bobby pin to hide your hair tie completely.
Pro Tip
This style gets stronger throughout the day as the gel fully sets. By hour six, it’ll hold just as well as it did when you first created it. Applying a light hairspray over the entire ponytail once it’s dry adds an extra invisible layer of hold.
3. The Rope Twist High Ponytail
This style uses two twisted sections that spiral around each other before being secured, creating a sturdy base that distributes tension across multiple points. It looks intentional and polished while being genuinely more stable than a simple gathered ponytail. The twisting also uses the natural grip of twisted hair, which holds tighter than straight sections.
Why It Stays Secure
Twisting your hair changes its geometry—twisted hair grips itself better than smooth hair. When you twist two sections around each other before securing them as a ponytail, you’re creating a reinforced base that’s much harder to slip than a simple gathered ponytail. The tension from the twisting also pre-tightens your hair before you even add the elastic.
How to Create It
Apply a volumizing mousse to your roots and blow dry. Section your hair into two equal halves from your center part. Take the right section and twist it loosely away from your face, all the way down from your hairline to ear level. Repeat on the left side, twisting in the same direction. These two twists should spiral around the back of your head toward a central point at your crown. Bring both twists together at that point, secure them tightly with a small elastic, and continue wrapping a second, thicker elastic around the base.
Once secured, gently pull small pieces of hair from your twists to create a softer, fuller look if you want it, or keep them tight and smooth for a more polished appearance. The key is keeping your twists taut as you’re creating them—loose twists won’t provide the same anchoring strength.
Pro Tip
For added security, place bobby pins through the base of the twisted section before you add your second elastic. This prevents any slipping while you’re forming the final ponytail.
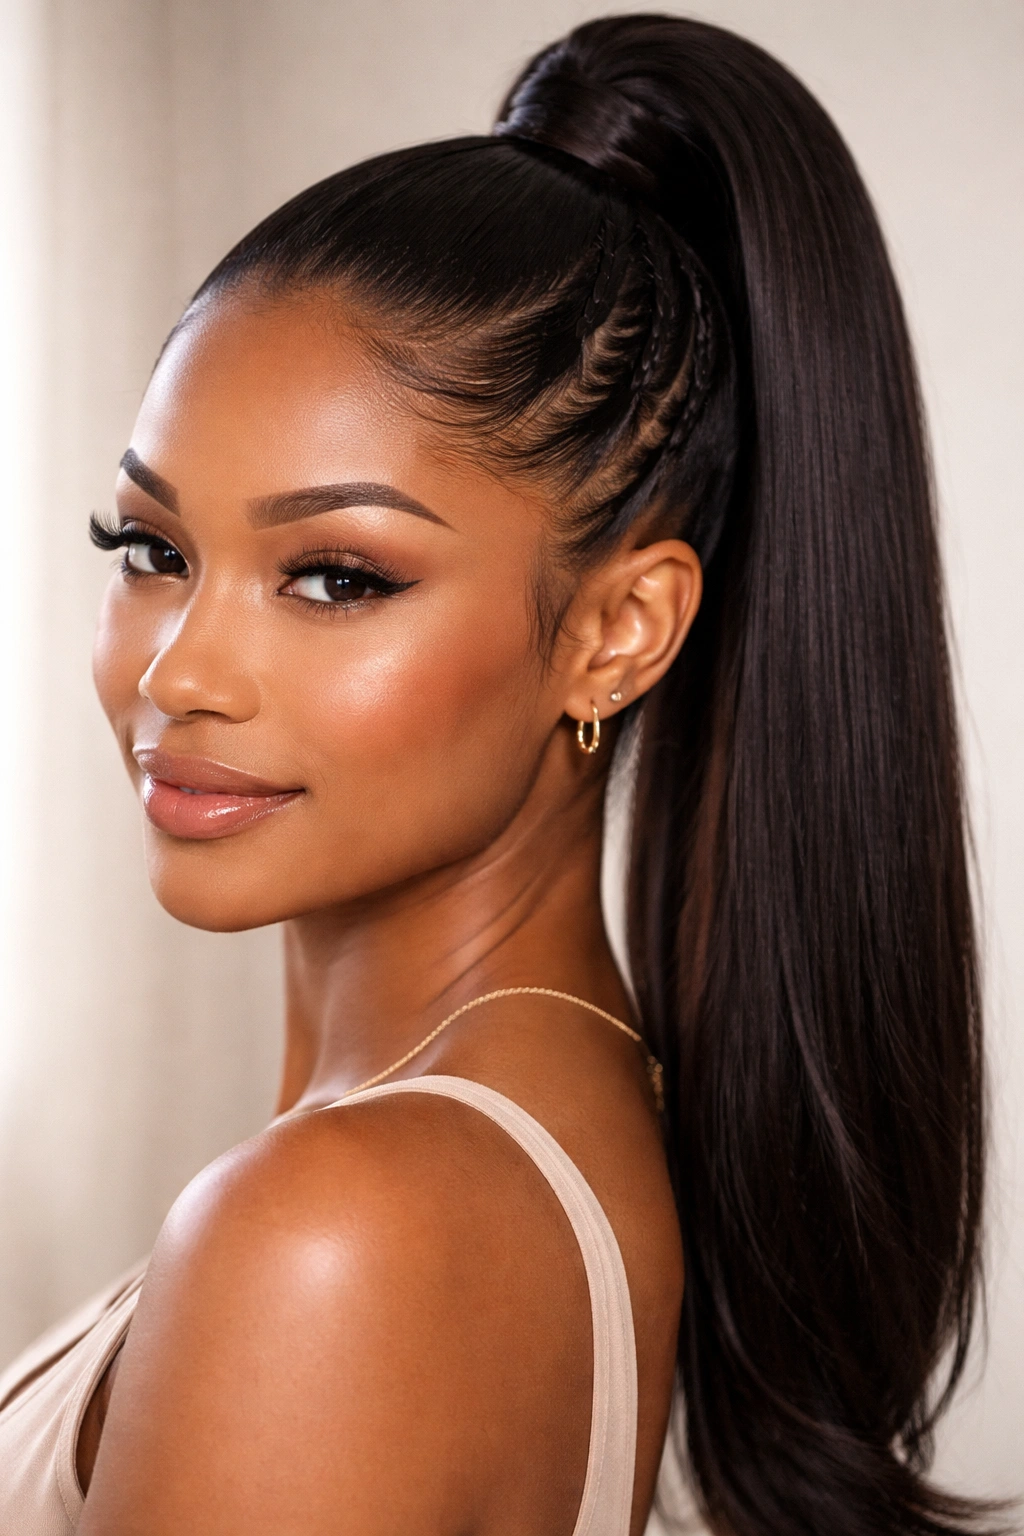
4. The Dutch Braid Crown with Attached Ponytail
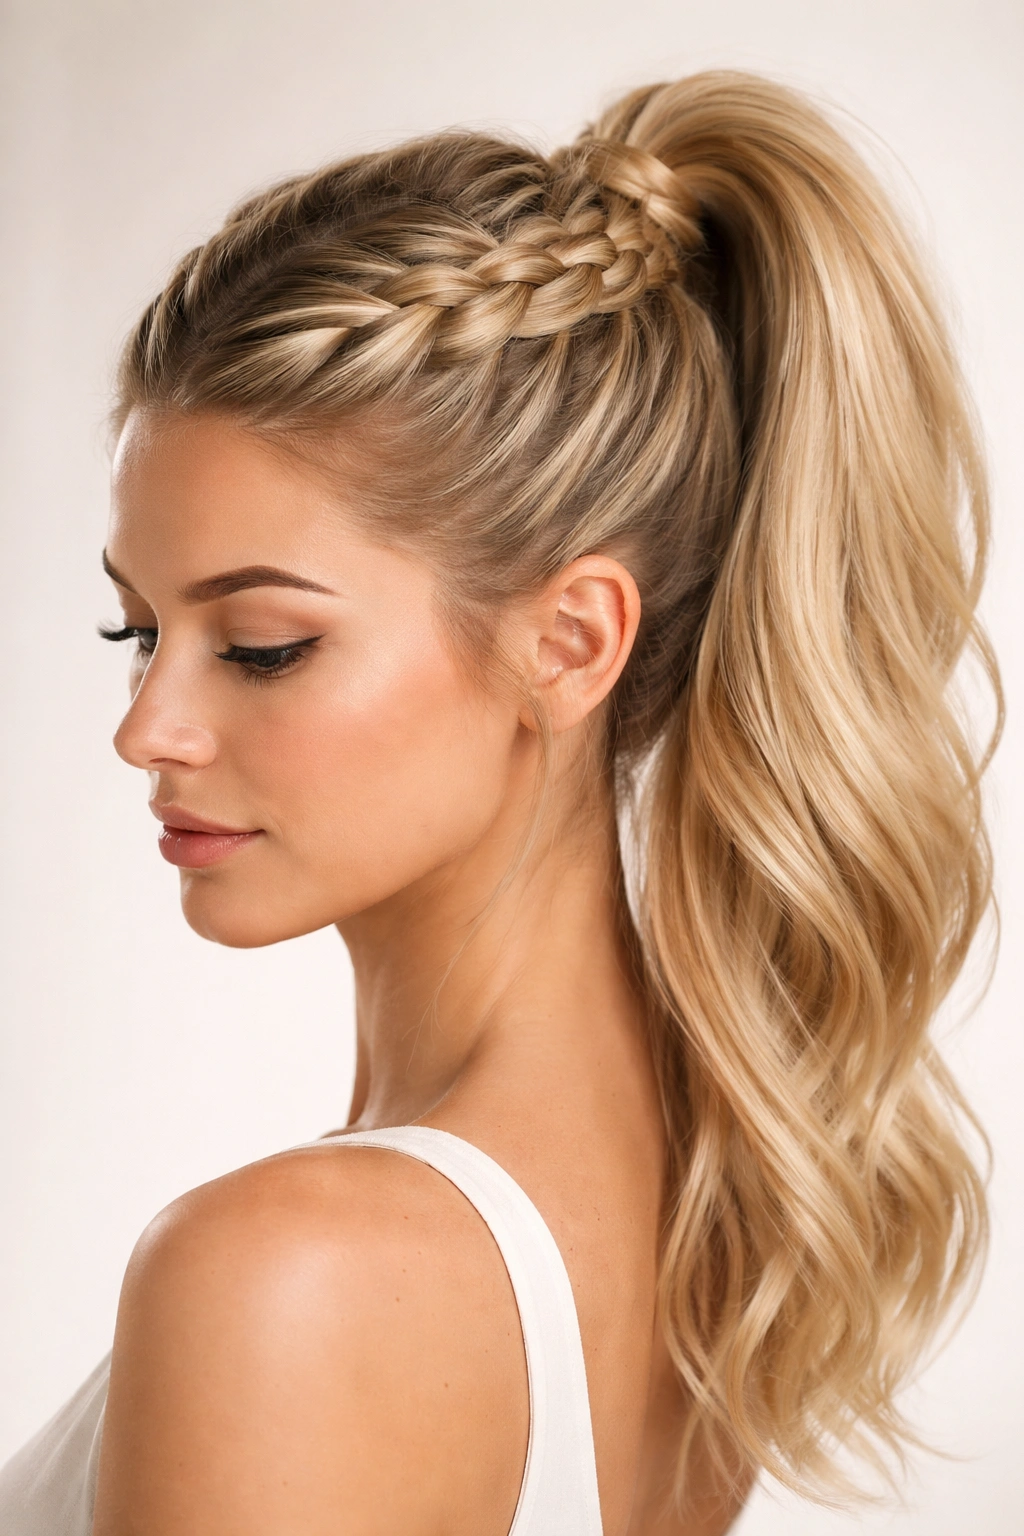
This style anchors your entire ponytail through a Dutch braid that sits at your crown like a headband, distributing the weight of your hair across your entire braid instead of concentrating it at a single point. It’s nearly impossible for it to slip because your hair is literally woven into place.
Why It Stays Secure
A Dutch braid—where you braid your hair by crossing sections under instead of over—sits tightly against your scalp. When you braid from ear to ear across your crown and attach your ponytail at the end, your ponytail’s entire weight is supported by the braid’s anchor points along your scalp, not just one gathering point. The more hair you braid in, the more secure your ponytail becomes.
How to Create It
Start with textured hair—use a texturizing spray or light mousse and let it dry. On one side of your head at ear level, take a small section of hair and begin a Dutch braid going across the back of your head toward the opposite ear. As you braid, pull hair sections from near your part and add them into the braid, incorporating more and more hair as you move across your head. Keep tension tight but not uncomfortable.
Once your braid reaches the opposite ear, stop braiding and let the remaining hair fall loose. Gather your entire loose hair—including the tail of your braid—into a high ponytail just behind your crown. Secure with a small elastic first, then add a second, thicker elastic directly on top. The braid itself becomes part of your ponytail’s anchor system.
Pro Tip
This works on every hair type and actually gets more secure if your hair is slightly greasy or hasn’t been washed in a day or two. The extra surface grip makes the braid hold even better.
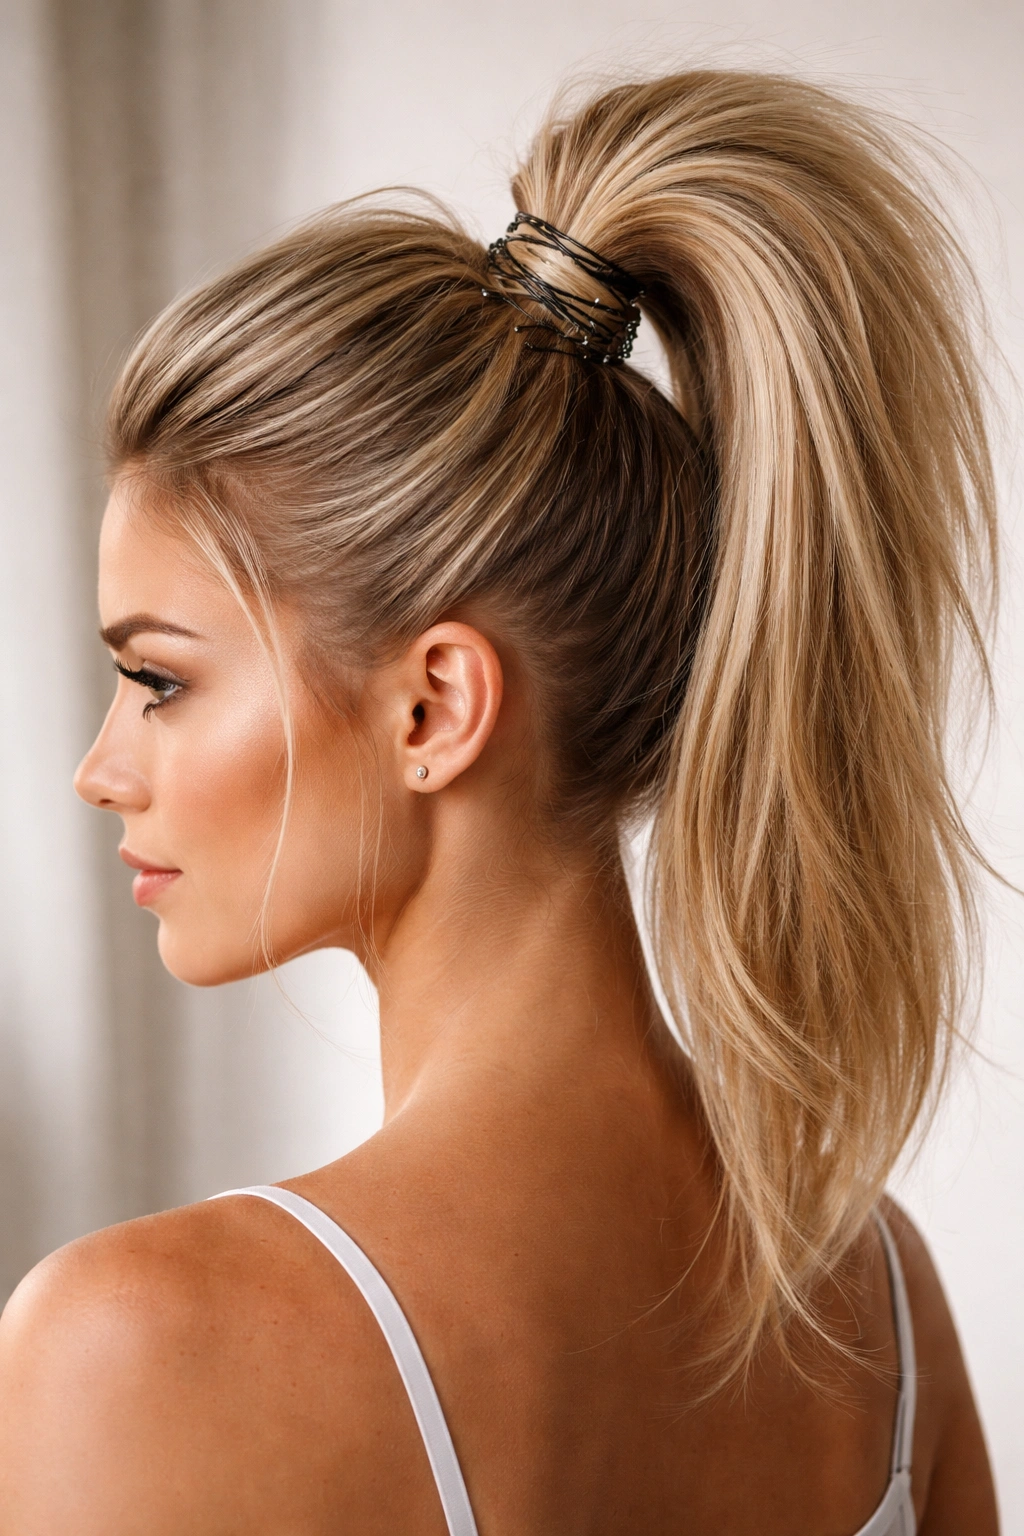
5. The Bubble Ponytail That Stacks Upward
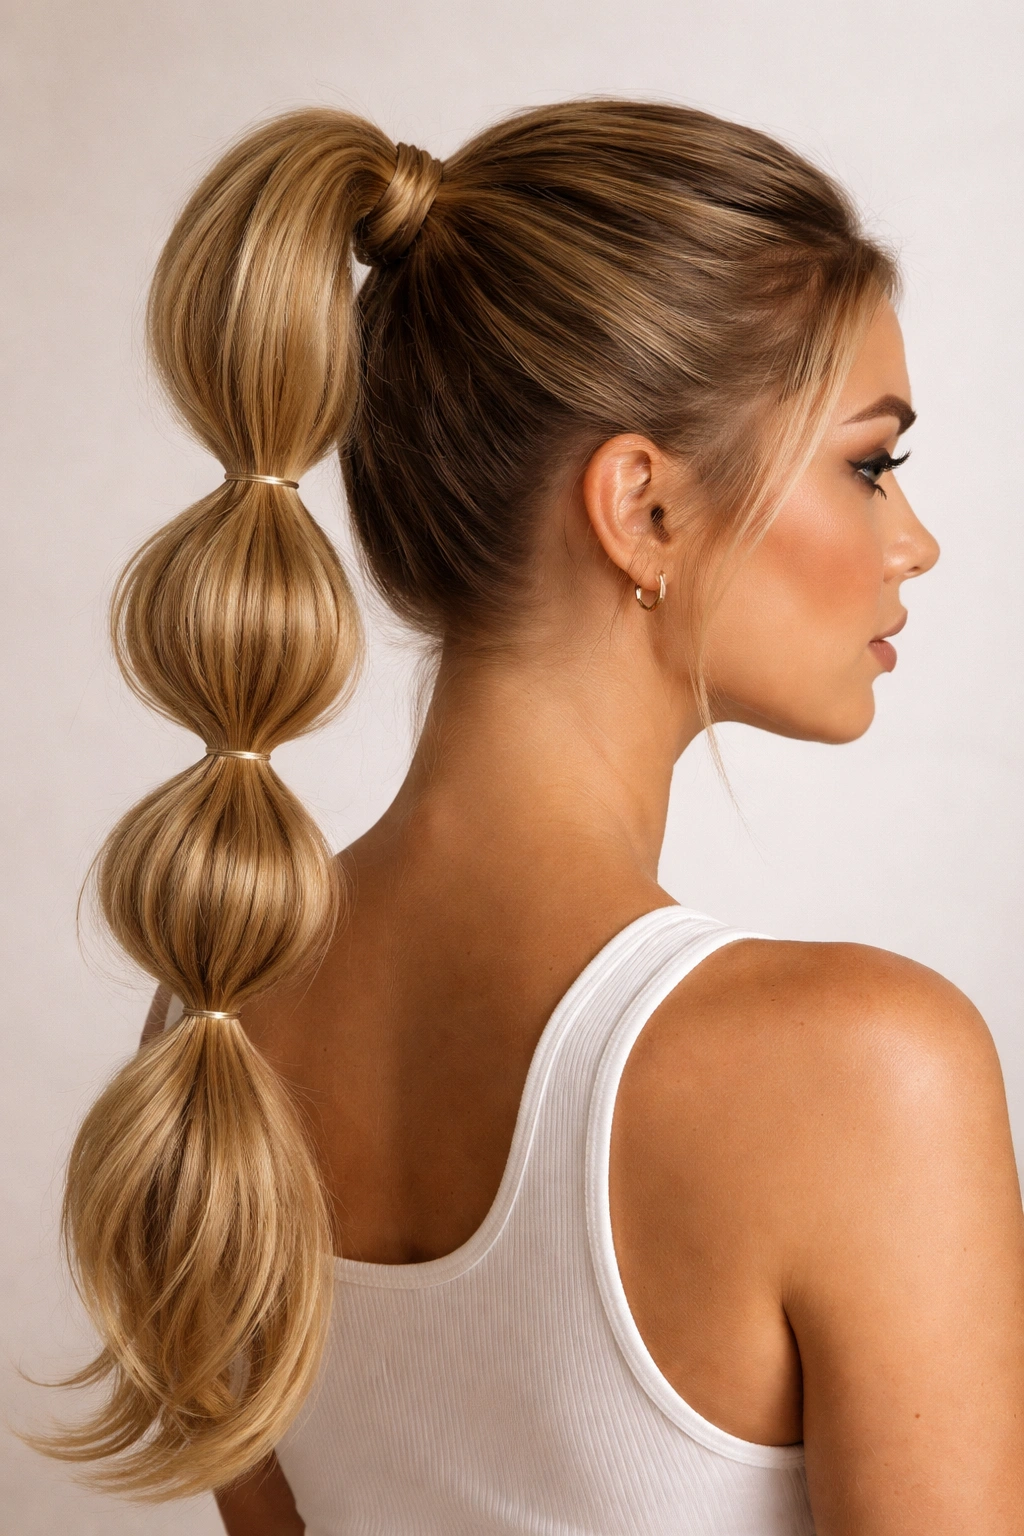
This style uses multiple sections and multiple elastics stacked vertically along the length of your ponytail, creating sealed sections that can’t slip past each other. It looks playful and textured while being mechanically impossible to fully collapse—even if one section slides, the others hold firm.
Why It Stays Secure
Each elastic creates a barrier that the hair above it cannot pass through. When you have five to seven elastics along your ponytail’s length, you’ve created a series of locked sections. Even if your hair stretches slightly from humidity or movement, it can’t move past all those elastics simultaneously. The distribution of tension across multiple points also prevents any single point from being stressed enough to fail.
How to Create It
Create a standard high ponytail and secure it with a small elastic. Separate a small section of hair from the bottom of your first section—about one inch—and secure it with a second tiny elastic positioned about two inches down your ponytail. Pull gently on the hair between the two elastics to create a bubble (a pouf) of hair. Repeat this pattern all the way down your ponytail, creating four to six bubbles depending on your hair length.
For extra security, tease gently between each elastic before you create the next bubble. This adds grip and prevents the hair from sliding. Each bubble should be evenly spaced and similarly sized for a polished appearance.
Pro Tip
This style actually lasts longer the more you move. The tension from your movement re-tightens each section slightly, making it more secure as the day goes on. It’s the rare hairstyle that benefits from activity rather than suffering from it.
6. The Velcro Roller Set Ponytail
This style uses a blow-dry technique with Velcro rollers to build curl and grip into your hair before you even make the ponytail. The curl creates natural friction that makes any ponytail hold exponentially better, and the root lift from the rollers prevents your ponytail from ever sitting flat against your scalp.
Why It Stays Secure
Curled or wavy hair grips hair ties and bobby pins much better than stick-straight hair because of all that extra surface area. A Velcro roller set adds grip throughout your entire head of hair, not just at the base of your ponytail. Your hair tie is literally holding onto texture instead of smooth, slippery hair.
How to Create It
Blow dry your hair smooth. While it’s still warm, roll sections of your hair onto medium to large Velcro rollers—the larger the roller, the looser your waves. Roll your entire head, or at minimum the top two-thirds. Let the rollers cool completely (this is important for hold) before removing them. Your hair will fall into soft waves or curls depending on roller size.
Now create your high ponytail as usual. The curled hair will automatically grip better. You might find you can use a lighter elastic and still have complete hold. Smooth down flyaways with edge control, and your ponytail is set. As your curls gradually relax throughout the day, the grip actually remains because the structure from the set stays in your hair.
Pro Tip
If you’re short on time, you can roll just the crown section—the area where your ponytail base sits—instead of your entire head. This gives you the grip benefit without a full styling session.
7. The Heatless Waves with Tight Elastic System
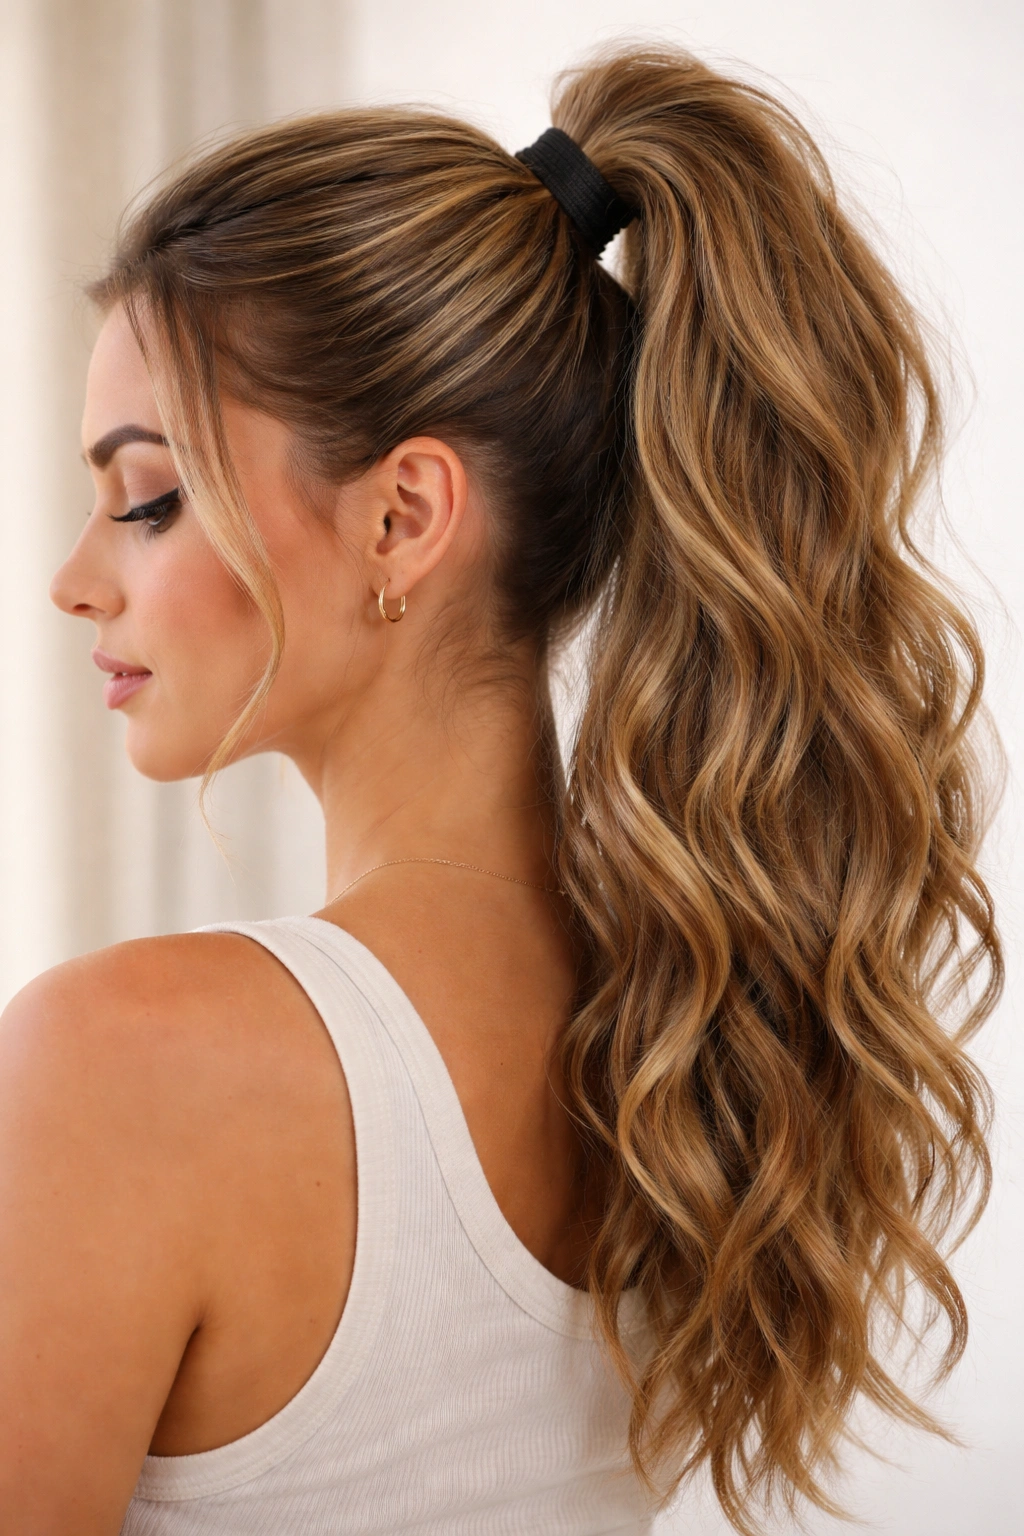
This style uses a no-heat texture method to add grip to your hair, combined with a double or triple elastic system that creates redundancy in your holding method. If one elastic loosens, others keep everything secure.
Why It Stays Secure
Texture + redundancy = maximum hold. The waves add grip from the texture itself, while the multiple elastics mean that even if one stretches or loosens, your ponytail is still held firmly by the others. This belt-and-suspenders approach is nearly fail-proof for staying put all day.
How to Create It
Before bed, braid your entire hair into a loose braid and secure it with a soft scrunchie. Sleep on it. In the morning, unravel your braid and you’ll have beautiful, permanent-looking waves that provide natural grip. Alternatively, use a damp braid method: braid damp hair, let it dry completely (use a diffuser if you’re in a hurry), then unravel for instant waves.
Create your high ponytail with your textured hair. Use a small elastic to secure it initially. Immediately place a second elastic—a slightly thicker one—directly on top of the first, wrapping it twice around your ponytail base. If your hair is very long or very heavy, add a third elastic just to be absolutely certain. Wrap a small section of hair around all your elastics to conceal them. Finish with flexible hold hairspray.
Pro Tip
The braid method actually strengthens your hair and prevents breakage compared to using heat tools. It’s especially great if you’re trying to grow your hair out while maintaining secure daily styles.
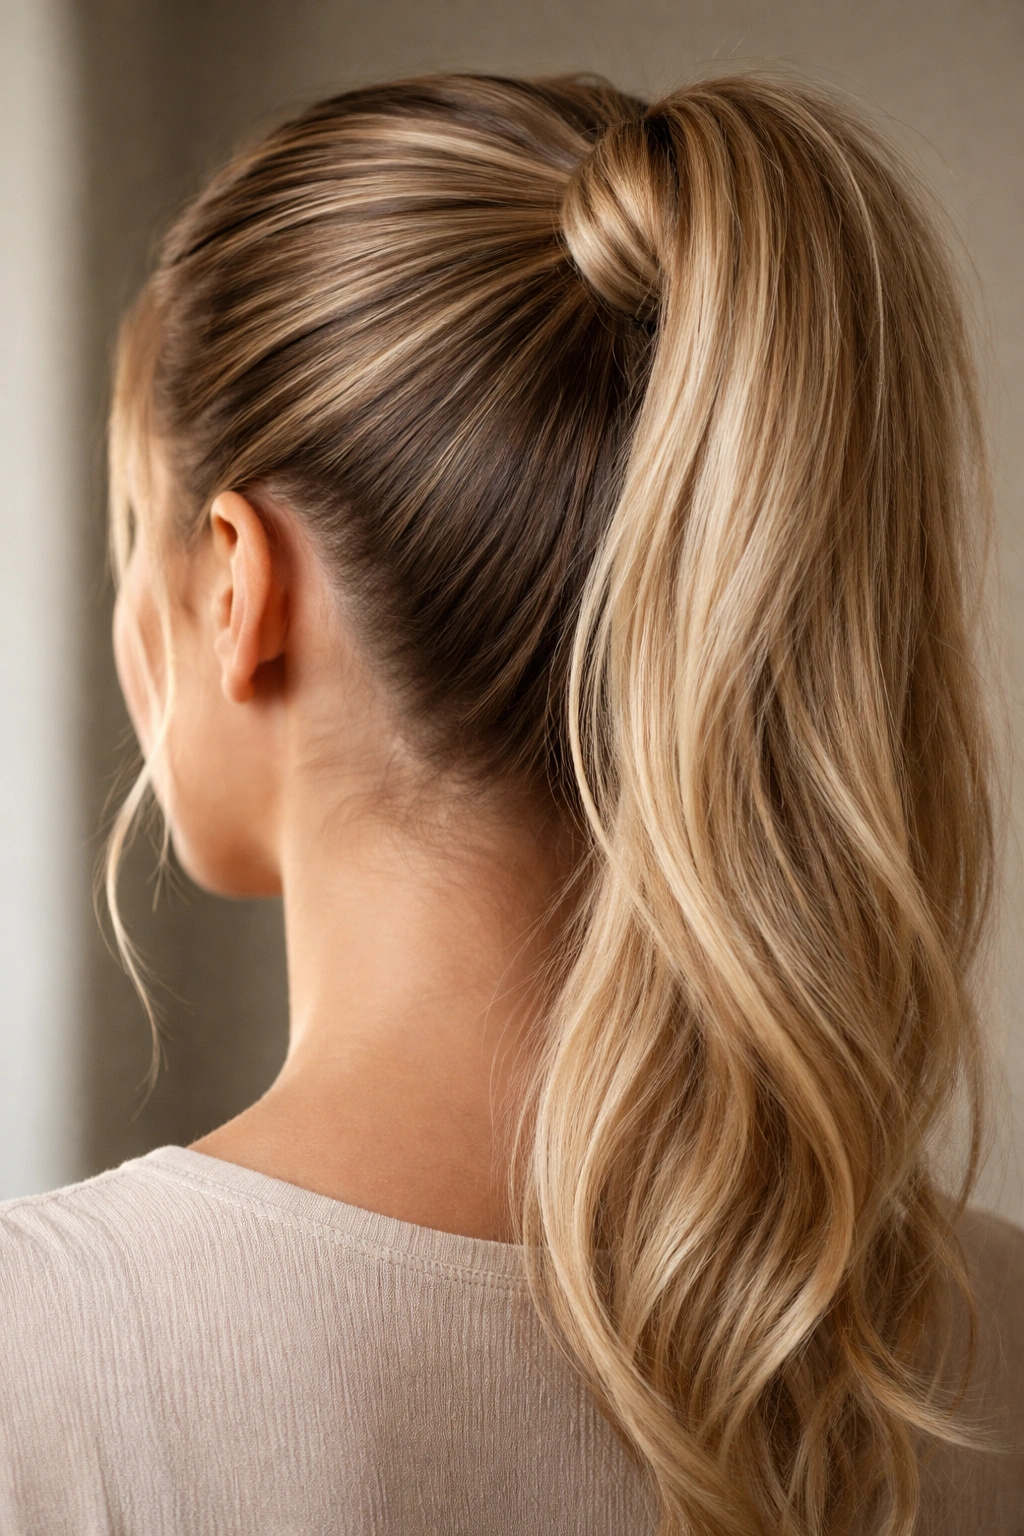
8. The Sleek Low-to-High Ponytail with Smooth Placement

This style starts lower on your scalp than a true high ponytail but sits higher visually because of strategic teasing and placement. It distributes the weight of your hair more evenly because it’s anchored lower, making it nearly impossible to slip downward even with hours of movement.
Why It Stays Secure
The lower anchor point means gravity is actually working with you instead of against you. Your hair is being pulled upward against its natural weight distribution, which paradoxically makes it more stable. The lower you can comfortably place your ponytail base, the more secure it becomes.
How to Create It
Apply volumizing mousse to your entire head and blow dry. Section off the hair that will be part of your ponytail—usually from about temple level back. Tease the crown and upper back of your head generously to create lift and volume. Smooth the outer layer and gather your ponytail slightly lower than your absolute crown—around the back of your head where it would hit your upper neck if you were looking straight ahead.
Secure with a small, tight elastic. The combination of low placement plus the teased volume in your crown creates the illusion of a super-high ponytail while actually being much more stable. Add bobby pins through your teased base for extra security. Smooth flyaways and finish with hairspray.
Pro Tip
This is the perfect style if you find that true high ponytails cause you scalp tension or if you’re trying to protect hair at your hairline from being pulled too tightly. It holds just as well while being more comfortable for all-day wear.
9. The Twisted Wrap Ponytail with Concealed Anchors
This style adds a decorative twisted wrap around your ponytail’s base that serves a dual purpose—it looks intentionally styled while the wrapped section actually anchors your entire ponytail through hidden bobby pins. It’s beautiful and virtually unslippable.
Why It Stays Secure
The twisted wrap provides both visual interest and functional security. Bobby pins placed horizontally through the wrap’s base anchor directly to your scalp, while the wrap itself distributes pressure across a wider area than a thin elastic. Your ponytail literally cannot slip because it’s pinned in place under a decorative wrap.
How to Create It
Create a standard high ponytail with your preferred method. Take a small section of hair from the underside of your ponytail—about one inch wide and two to three inches long. Twist this section tightly. Wrap it around the base of your ponytail where your elastic sits, covering the elastic completely. Secure the wrapped section with two bobby pins placed horizontally through the wrap and into the teased hair of your ponytail base.
Pull gently on your ponytail to make sure everything is secure—it should not move at all. The wrap should look intentional and pretty, with the bobby pins hidden completely underneath. If you want extra hold, apply a small amount of gel or flexible hold paste to the wrap before you anchor it.
Pro Tip
You can also use a decorative ribbon or fabric strip instead of hair to create this wrap. Thread the ribbon under a small section of hair at your ponytail base, wrap it around the elastic, and secure it with bobby pins or by tying the ribbon ends underneath. This gives you unlimited color and texture options.
10. The Sectioned High Ponytail with Strategic Teasing
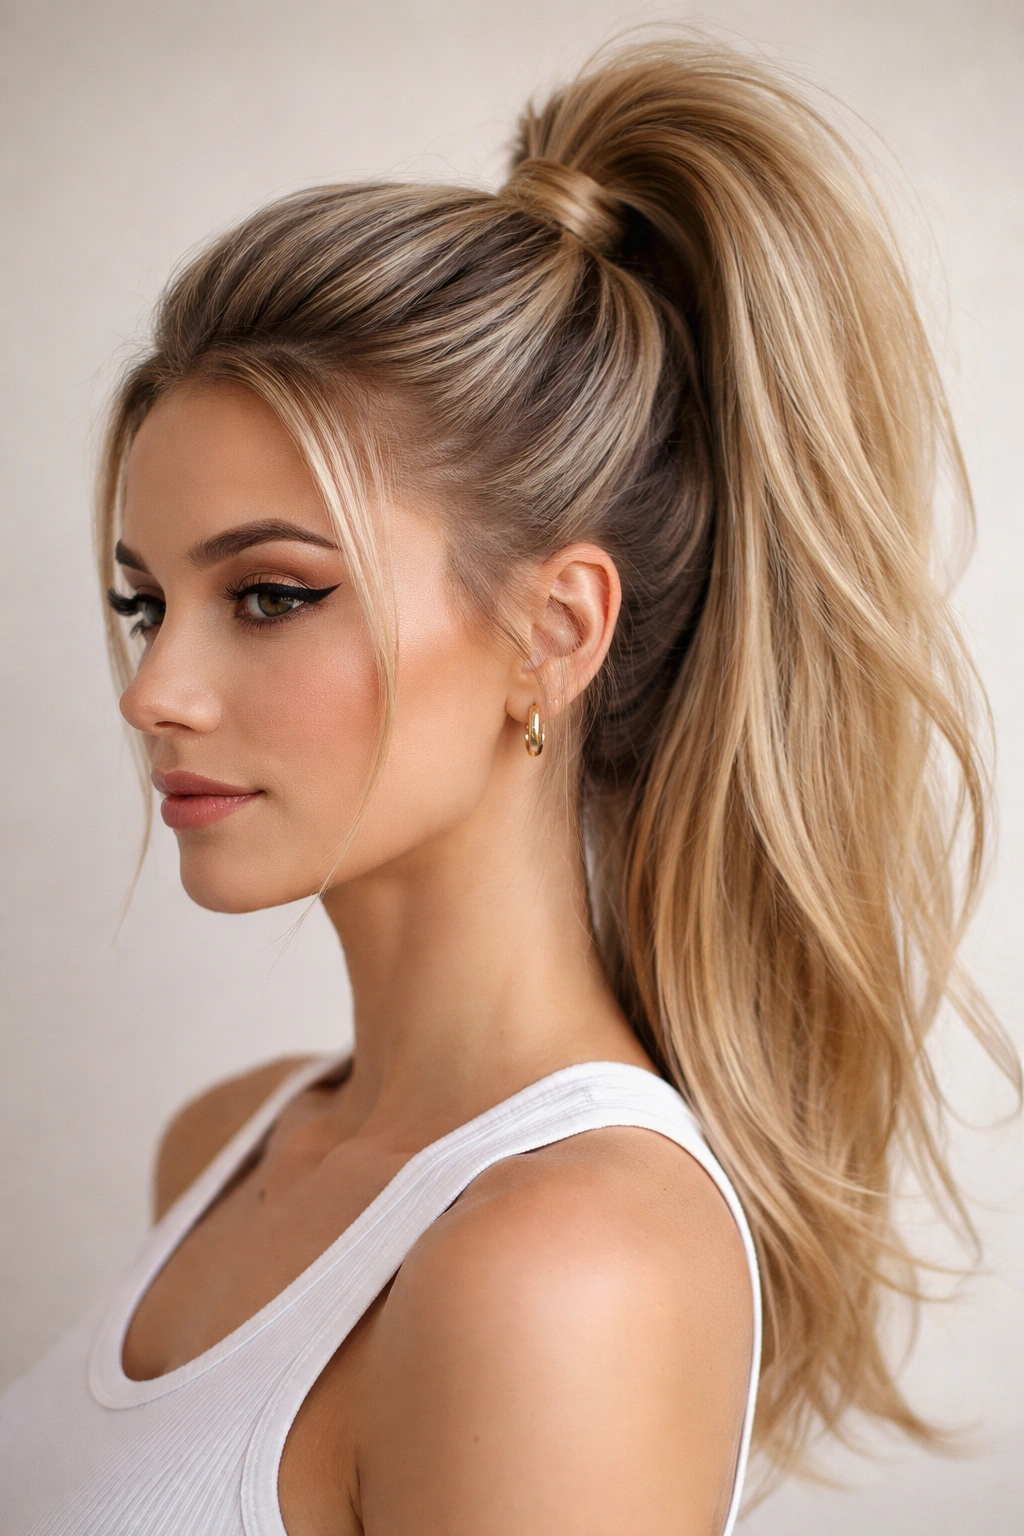
This style divides your ponytail into sections vertically and teases each section slightly, creating a fuller-looking ponytail that holds better because of all the internal texture. The strategic teasing also prevents the ponytail from looking thin or stringy as the day goes on.
Why It Stays Secure
Each teased section creates friction within your ponytail. Hair doesn’t just slide off as easily when it’s textured. Additionally, the fuller appearance from teasing means your hair tie is gripping more hair overall—it’s wrapped around more volume, which naturally creates a tighter hold. Thin, smooth ponytails slip more easily than full, textured ones.
How to Create It
Gather your high ponytail and secure it with an initial small elastic. Divide the ponytail into three to four vertical sections. Take the first section and tease it gently from mid-length downward—just enough to add texture without creating matting. Smooth the outer layer slightly. Repeat with each section. Your ponytail will look noticeably fuller and bouncier.
Secure your teased ponytail with a second, slightly thicker elastic placed directly above the first. The two elastics together ensure nothing is slipping. If you want to minimize the teased texture for a sleeker look, smooth down the outer layers more, but keep the internal texture intact for the grip benefit.
Pro Tip
Teasing throughout your ponytail’s length—not just the base—also helps prevent the “stretched out” look that ponytails develop by the end of a long day. The texture you add in the morning continues holding up your ponytail throughout the day.
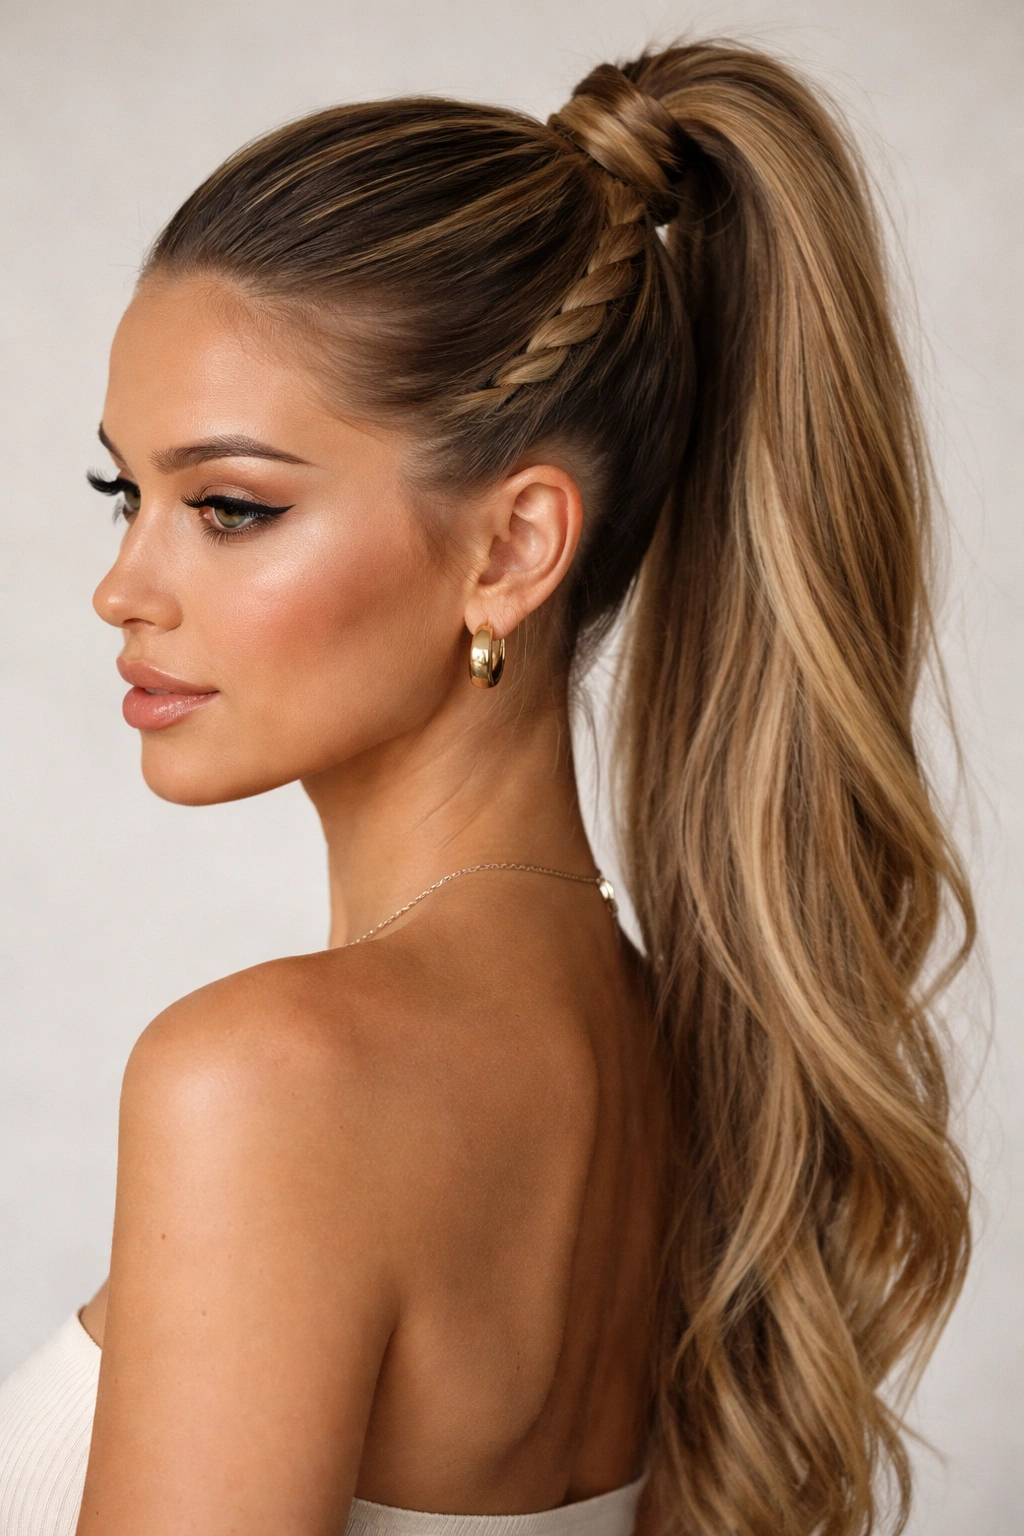
11. The Gel-Set Smooth High Ponytail with Flat-Twisted Sides
This hybrid style combines sleek gel for smoothness with flat twists on the sides for grip, giving you the polished look of a gel ponytail with the hold benefits of twisted sections. It’s sophisticated enough for professional settings while being secure enough for athletic activity.
Why It Stays Secure
The flat twists on the sides add texture and grip to your hairline area, preventing your ponytail from sliding downward even if just a bit of hair starts to slip at the crown. The gel on the main section of your ponytail provides strong hold, while the twists provide backup security. You have dual anchoring systems working at once.
How to Create It
Apply gel to your hair and smooth everything backward. Create two flat twists starting at your temples and spiraling back toward where your ponytail will sit. These flat twists should incorporate hair from your hairline and temples, pulling tautly toward your crown. Secure both twists at your crown with bobby pins, then gather all your hair—including the twisted sections—into a high ponytail.
Secure your ponytail tightly with a small elastic, then add a second elastic directly on top. Wrap a small section of hair from your ponytail around both elastics to conceal them. The twisted sections will be part of your ponytail visually, while the bobby pins hidden underneath do the real anchoring work.
Pro Tip
This style photographs beautifully and looks intentionally designed rather than thrown together. It works for professional environments, events, and everyday wear, all while maintaining impressive security.
12. The Industrial Strength Combination Method
This final style uses every available security method simultaneously: teasing, multiple elastics, bobby pins, gel, and texture. It’s the nuclear option when you absolutely must have a ponytail that will not move, period. Use this for intense physical activity, all-day events, or whenever failure is not an option.
Why It Stays Secure
This style is held by redundant systems—if one fails, multiple backups remain. You’re not relying on any single method; instead, you’re combining grip, anchoring, texture, and distributed tension all at once. It’s mechanically and chemically secured in multiple ways.
How to Create It
Start with a volumizing mousse and blow dry your hair. Apply a light styling gel to your roots. Tease your entire crown area and the base of where your ponytail will sit. Smooth the outer layer. Create your high ponytail and secure it with a small, tight elastic. Place two to three bobby pins horizontally through your teased base, anchoring them deep into your scalp underneath.
Add a second elastic directly on top of the first, wrapped twice. Wrap a small section of hair around both elastics and secure it with another bobby pin. Apply flexible hold hairspray to seal everything. Smooth flyaways with edge control. Every component here serves a function, and together they create a ponytail that will not slip under virtually any circumstance.
Pro Tip
This is your backup method for days when you know you’ll be running around, sweating, or in situations where your ponytail needs to stay absolutely perfect. It’s more work than daily styles, but it’s also completely reliable.
Final Thoughts
The best high updo ponytail for you isn’t determined by your hair type alone—it’s determined by what you need that day and how much time you’re willing to invest. A quick teased ponytail with one good elastic works for casual days at home. A gel-locked smooth style is perfect for professional settings where sleekness matters. A bubble ponytail or twisted style adds playfulness for social occasions. The industrial method ensures security when stakes are highest.
The real skill isn’t mastering one perfect ponytail style—it’s understanding the underlying principles of how ponytails actually hold and adapting them to what you’re doing that day. Teasing adds grip. Multiple anchor points distribute weight. Bobby pins do the real holding work. Texture beats smoothness for security. Lower placement is more stable than ultra-high placement.
Start experimenting with the styles that appeal to you most. You’ll quickly discover which techniques work best with your hair texture, which methods feel fastest for your routine, and which combinations give you the hold you need. By the time you’ve tried three or four of these styles, you’ll be instinctively combining elements to create ponytails that work perfectly for your specific hair and your specific needs. That’s when you’ve truly mastered keeping a ponytail up all day.