A polished ponytail isn’t just about pulling your hair back — it’s about creating a silhouette that flatters your face, commands attention, and says you’ve put genuine effort into your appearance. The swoop ponytail, with its graceful curved line and sleek finish, has become the go-to style for anyone looking to elevate their everyday look or create something sophisticated enough for special occasions. Unlike the basic straight-back ponytail, a swoop adds movement, dimension, and an undeniable touch of elegance that works across face shapes, hair types, and personal styles.
What makes the swoop ponytail so incredibly versatile is that it’s not just one style — it’s a technique that transforms depending on where you place it, how you shape it, and what elements you add to it. You can wear it sleek and minimal for the boardroom, add texture and height for a night out, or incorporate face-framing pieces for something altogether more romantic. The beauty of perfecting this style is that once you understand the basic mechanics of creating that signature curved line, you can adapt it to suit whatever mood, outfit, or occasion you’re working with.
Whether you’re dealing with thick, fine, curly, or straight hair, there’s a swoop ponytail version that will work beautifully for you. The key is understanding the fundamentals — the right products, the technique for smoothing without flattening, and how to position that swoop to suit your face shape and the overall aesthetic you’re going for. Let’s explore twelve stunning interpretations of this timeless style.
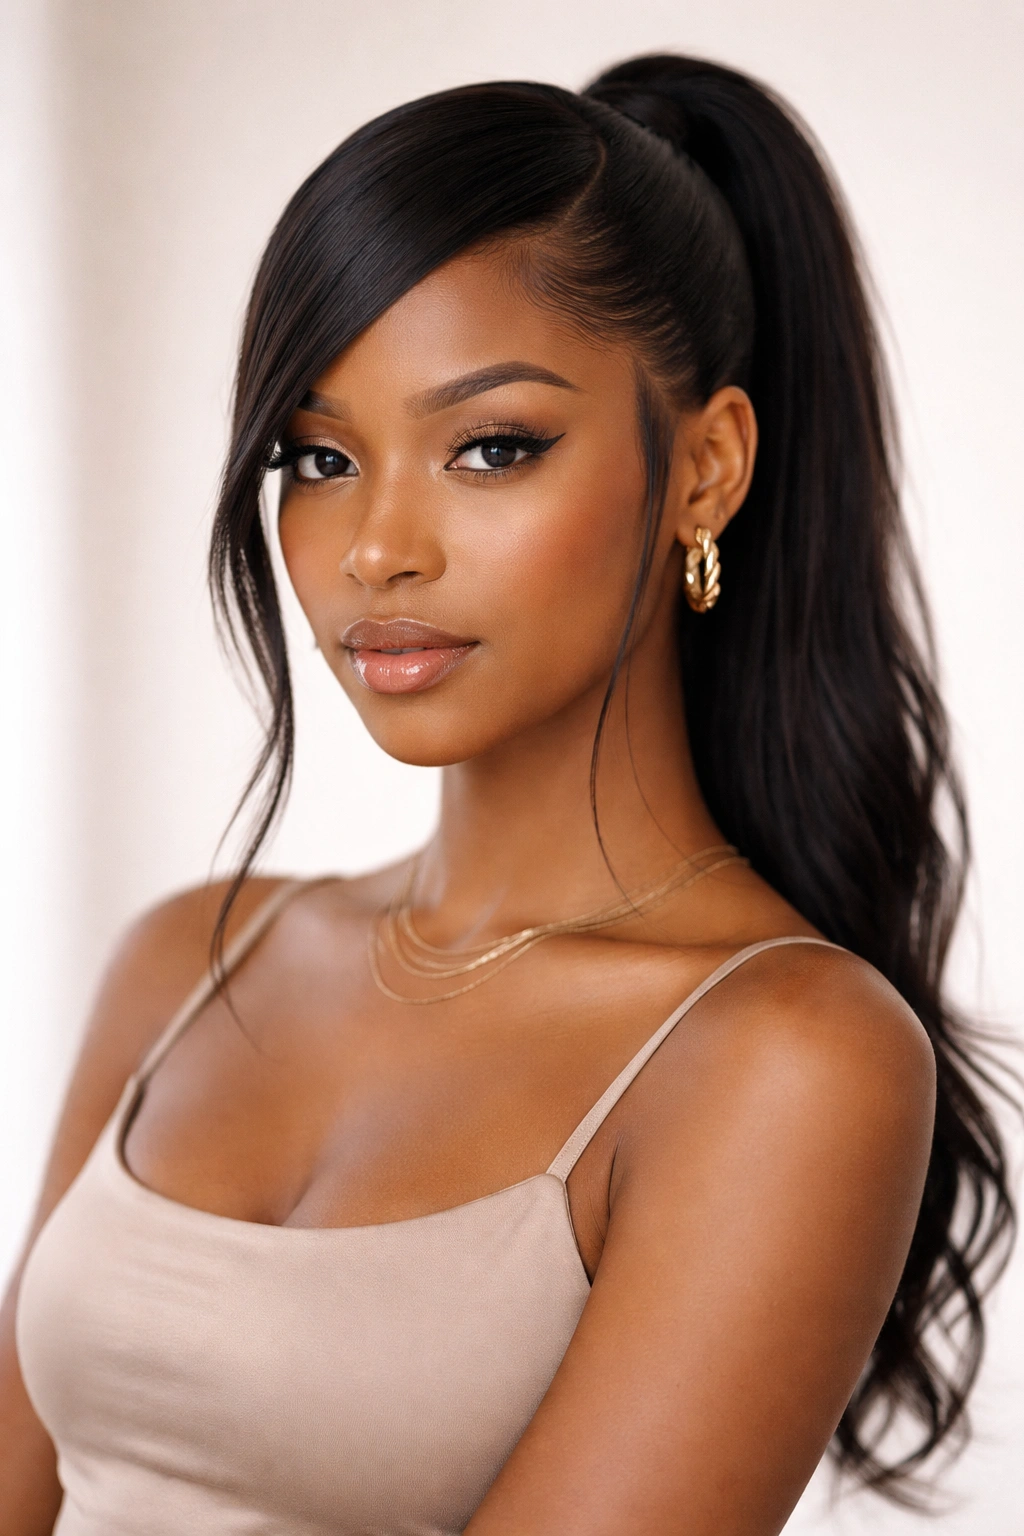
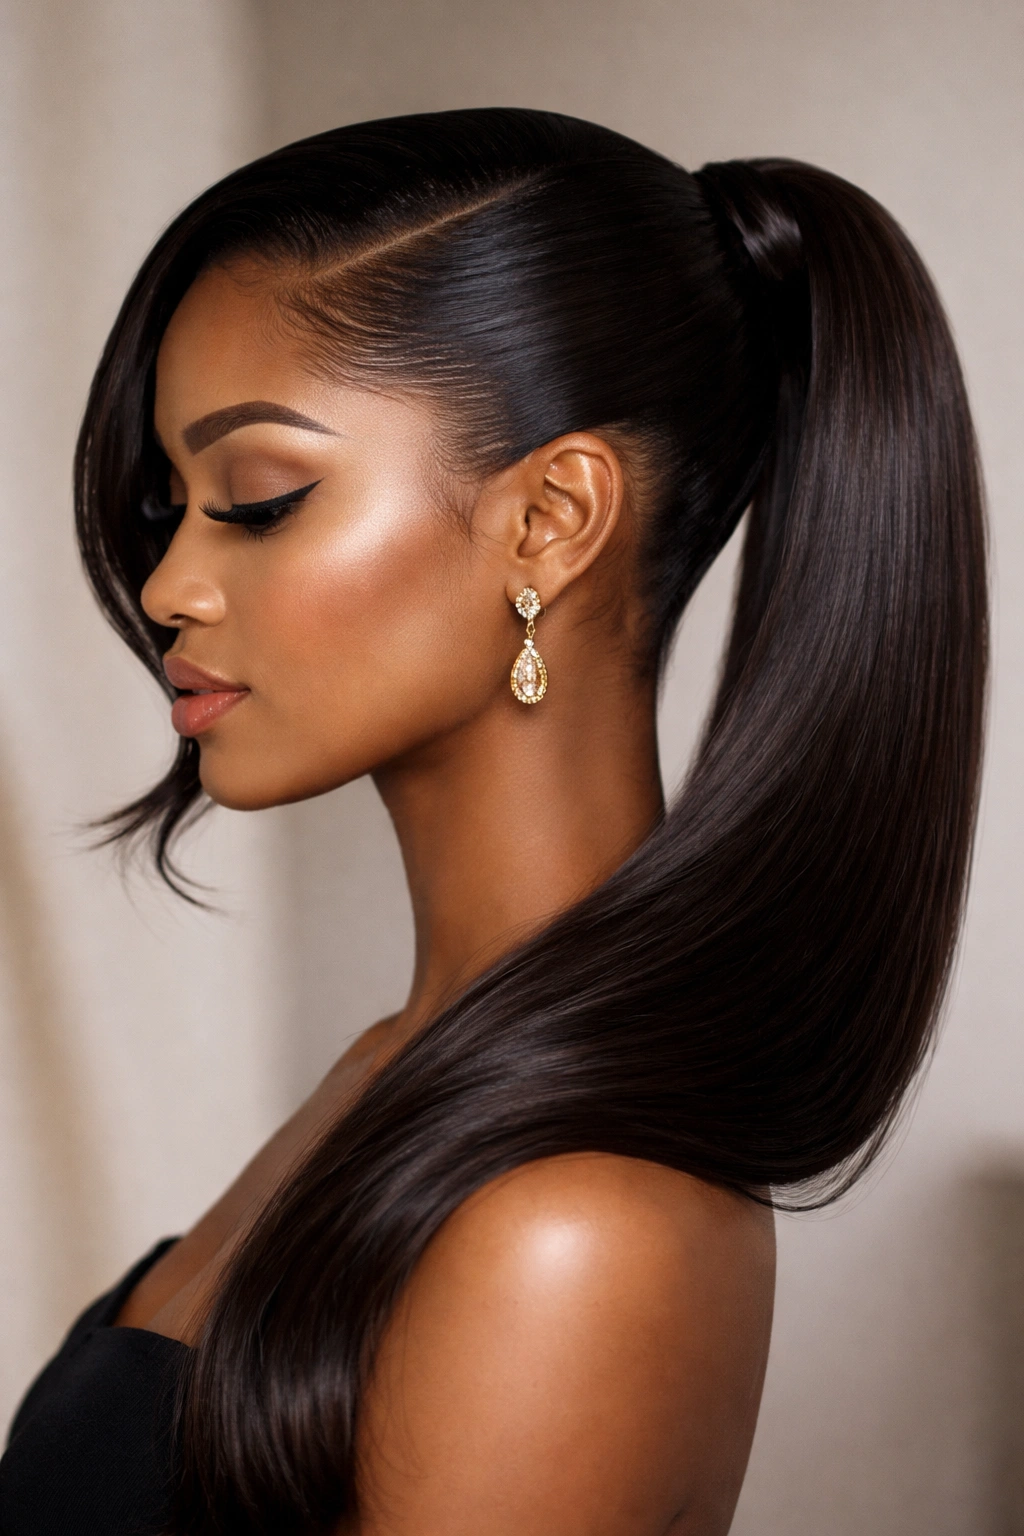
1. High Sleek Swoop Ponytail
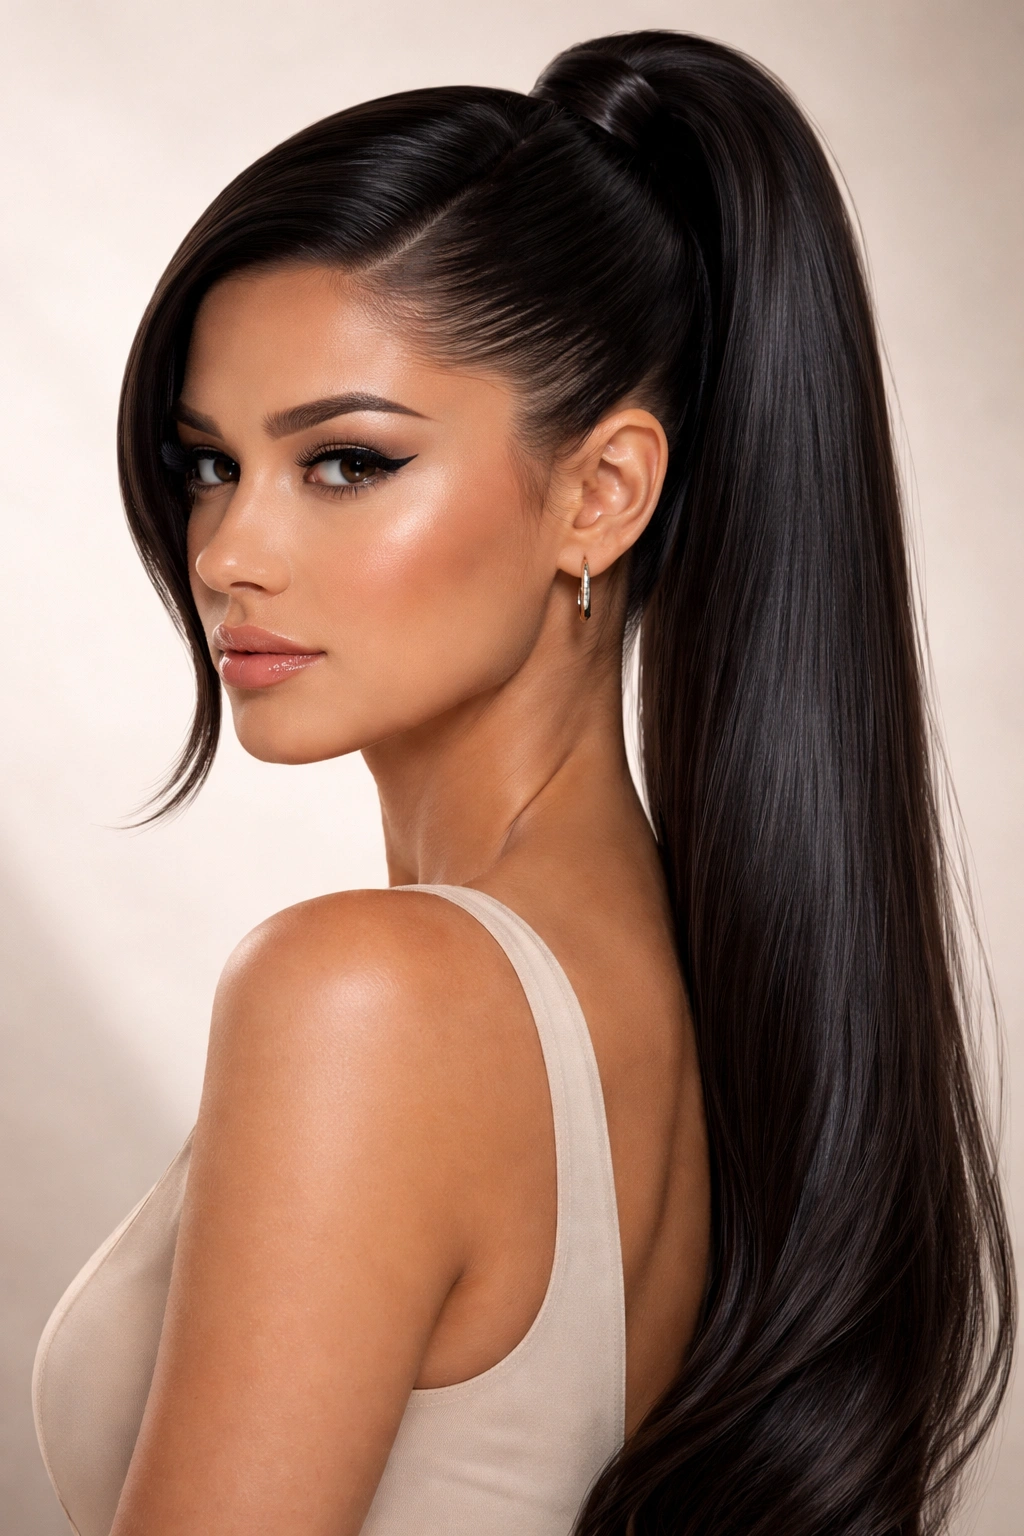
The high sleek swoop sits at the crown and creates an instantly polished, elongated silhouette that works particularly well if you have a longer face or want to draw attention upward. This version is all about minimalist sophistication — everything is smooth, controlled, and intentional. It’s the kind of style that looks effortless but actually demands precision in execution, which is exactly what makes it feel so pulled-together and professional.
How to Create the Perfect High Swoop
A high sleek swoop requires excellent tension control and the right product combination. Start by applying a smoothing serum or lightweight gel to damp hair, then blow-dry using a paddle brush for maximum straightness. Once your hair is completely dry, use a fine-tooth comb and a small amount of edge control to create a deep side part — the deeper the part, the more pronounced your swoop will be. Gather your hair into a high ponytail positioned at the crown, but instead of centering it directly at the back of your head, angle it slightly toward your part side.
Essential Products and Technique Details
- Gel or edge control cream: Apply to the hair you’re swooping backward to lock it in place and create that signature curved line. Use a firm-hold formula rather than a flexible one.
- Paddle brush: This flat, wide brush gives you maximum surface area for smoothing and helps you create sleek sections without creating flyaway frizz.
- Fine-tooth comb: Perfect for detailing your part and smoothing individual sections before gathering into the ponytail itself.
- Lightweight hairspray: Finish with a medium-hold hairspray that won’t weigh down your high ponytail or make it look crispy or stiff.
- Boar bristle brush or paddle brush: Use this to smooth the swoop section one final time before securing everything, which removes any texture or separation in the line.
2. Low Side Swoop Ponytail
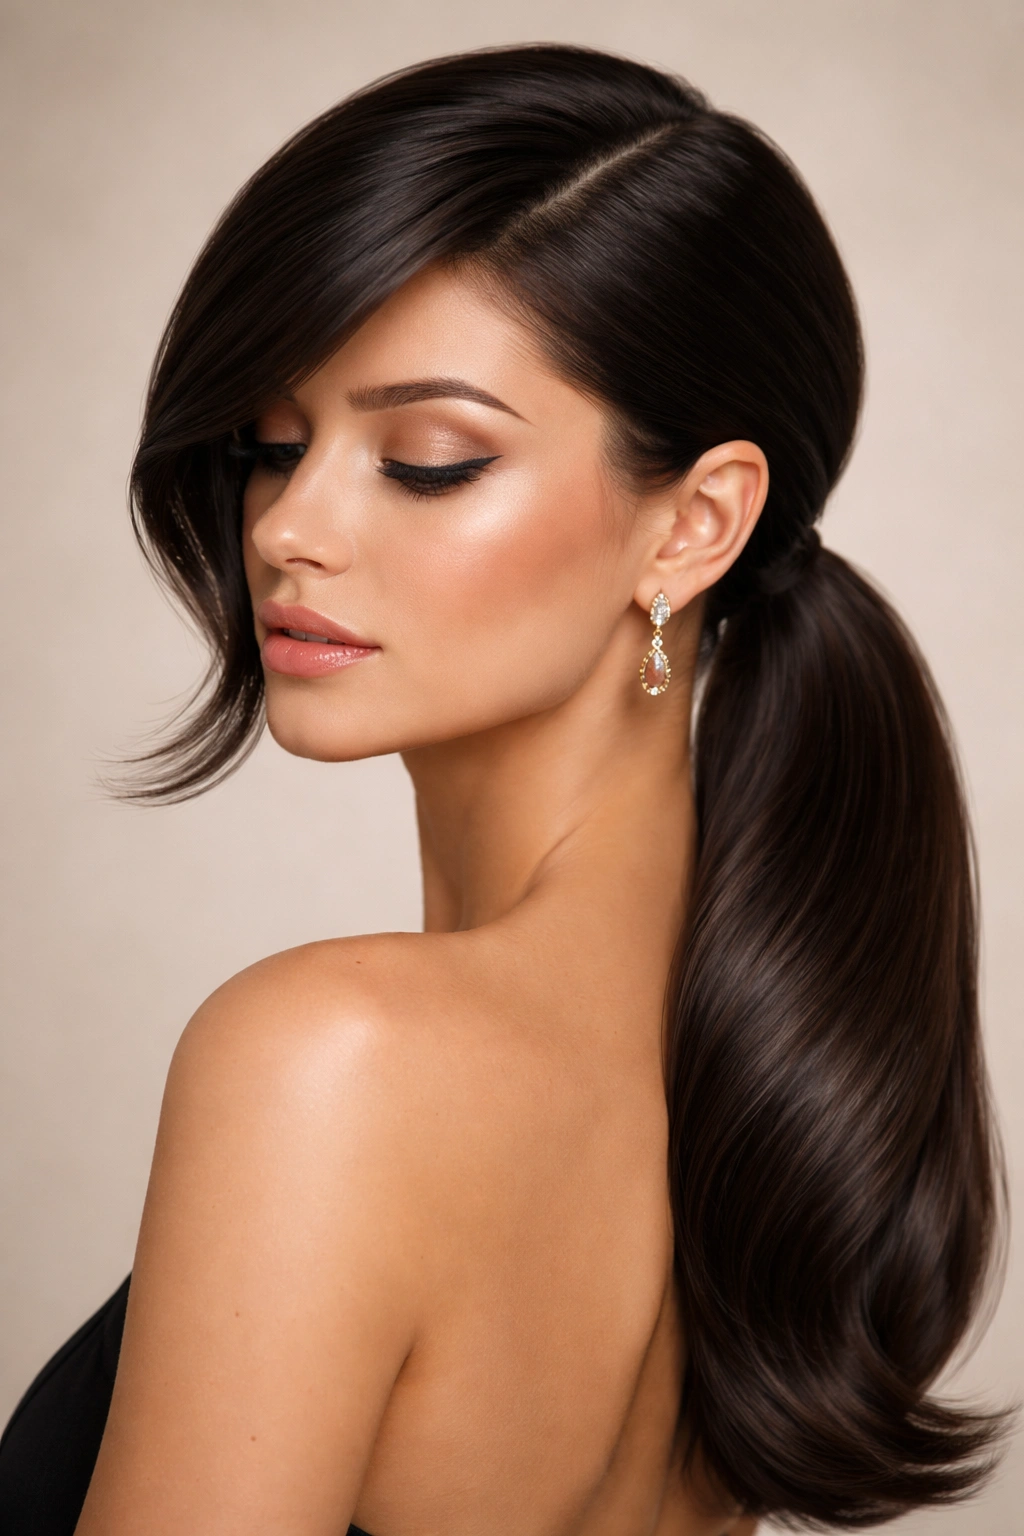
A low side swoop ponytail is the epitome of understated elegance — it sits at the nape of your neck and sweeps dramatically from one side of your head to the other. This style works beautifully for finer hair because the lower placement means you’re not fighting gravity as hard, and the side positioning creates the illusion of fullness without requiring excessive teasing or height. It’s sophisticated enough for dinner dates and polished enough for professional settings where severe styles feel too harsh.
What Makes This Version Uniquely Flattering
The low side position of this swoop actually changes the proportions of your face in a subtle but noticeable way. By positioning your ponytail off-center, you’re creating an asymmetrical element that feels modern and intentional, and because it sits lower on your neck, it draws the eye downward rather than emphasizing height. This works especially well if you have a round face shape because the lower placement elongates your proportions, or if you have a square jaw where you want to soften lines slightly.
How to Execute It Perfectly
- Create a deep, dramatic side part that extends from your temple down toward the nape of your neck — this part is what creates the swoop, so commit to making it obvious and beautiful.
- Smooth the larger section: Use edge control or gel along the smooth, swooped section and brush it back in one fluid motion toward the opposite side of your head.
- Gather at the nape: Instead of pulling everything back into a high, centered ponytail, collect your hair at the side of your neck, just one or two inches above where it naturally falls.
- Add a strategic hair elastic: Use a thin, dark elastic that blends with your hair color to secure the ponytail. The lower placement means the elastic will be somewhat visible, so choose one that coordinates rather than contrasts.
- Polish the swoop: Use a fine-tooth comb or boar bristle brush to smooth the swooped section one more time, creating a continuous curved line from your hairline to your ponytail gathering point.
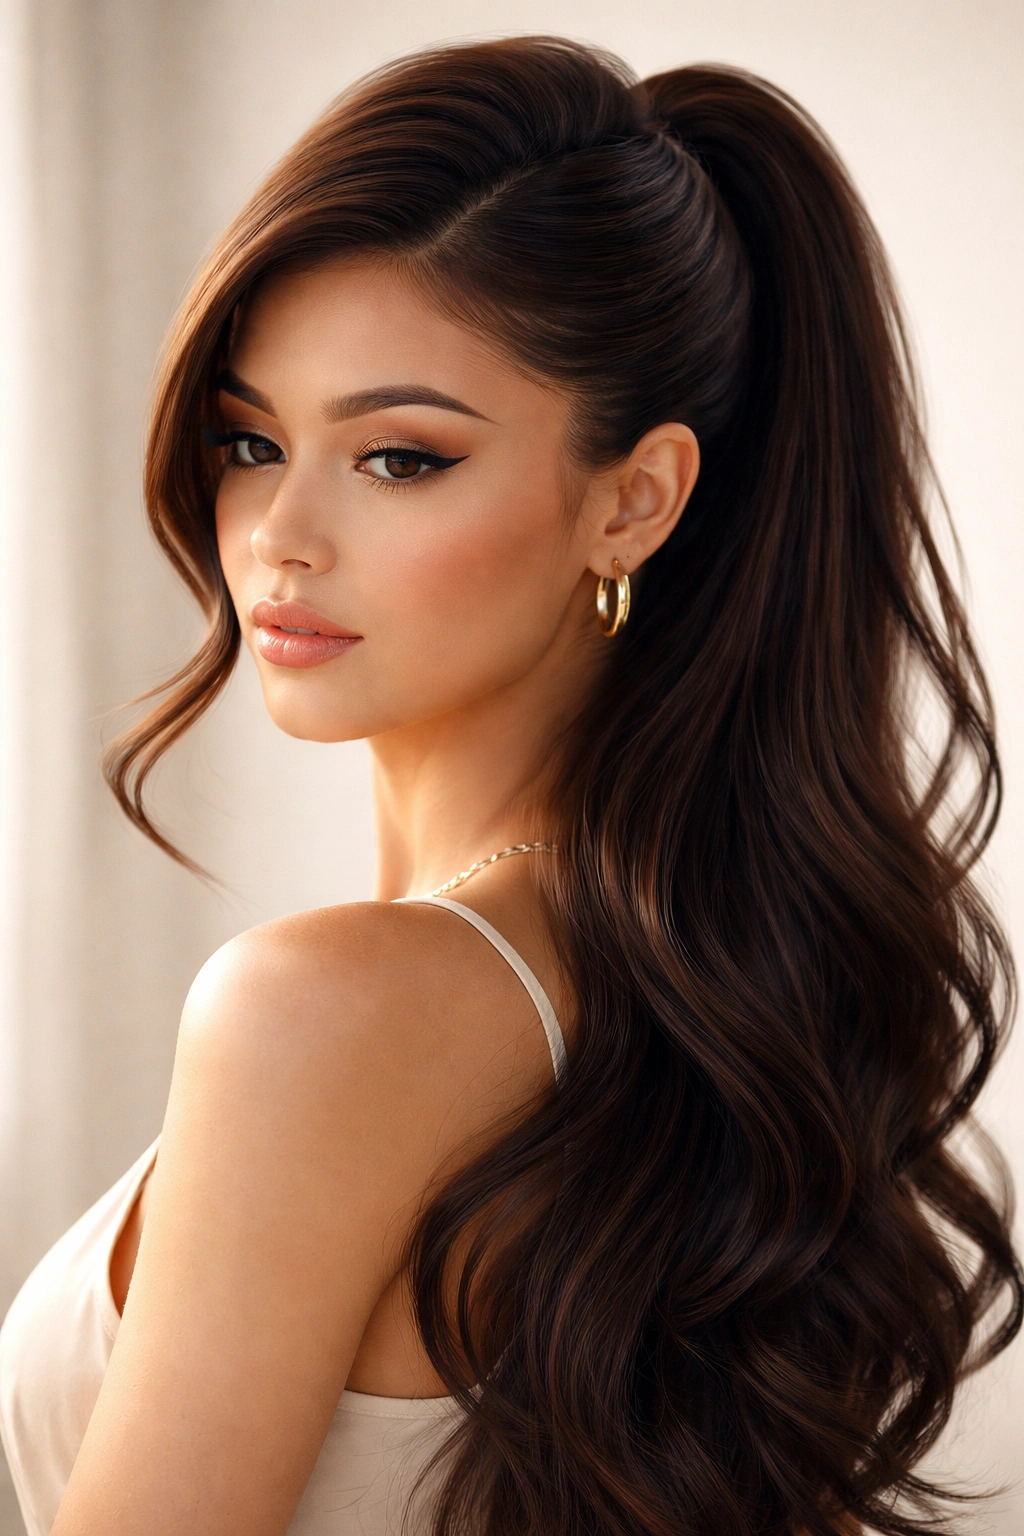
3. Teased Crown Swoop Ponytail
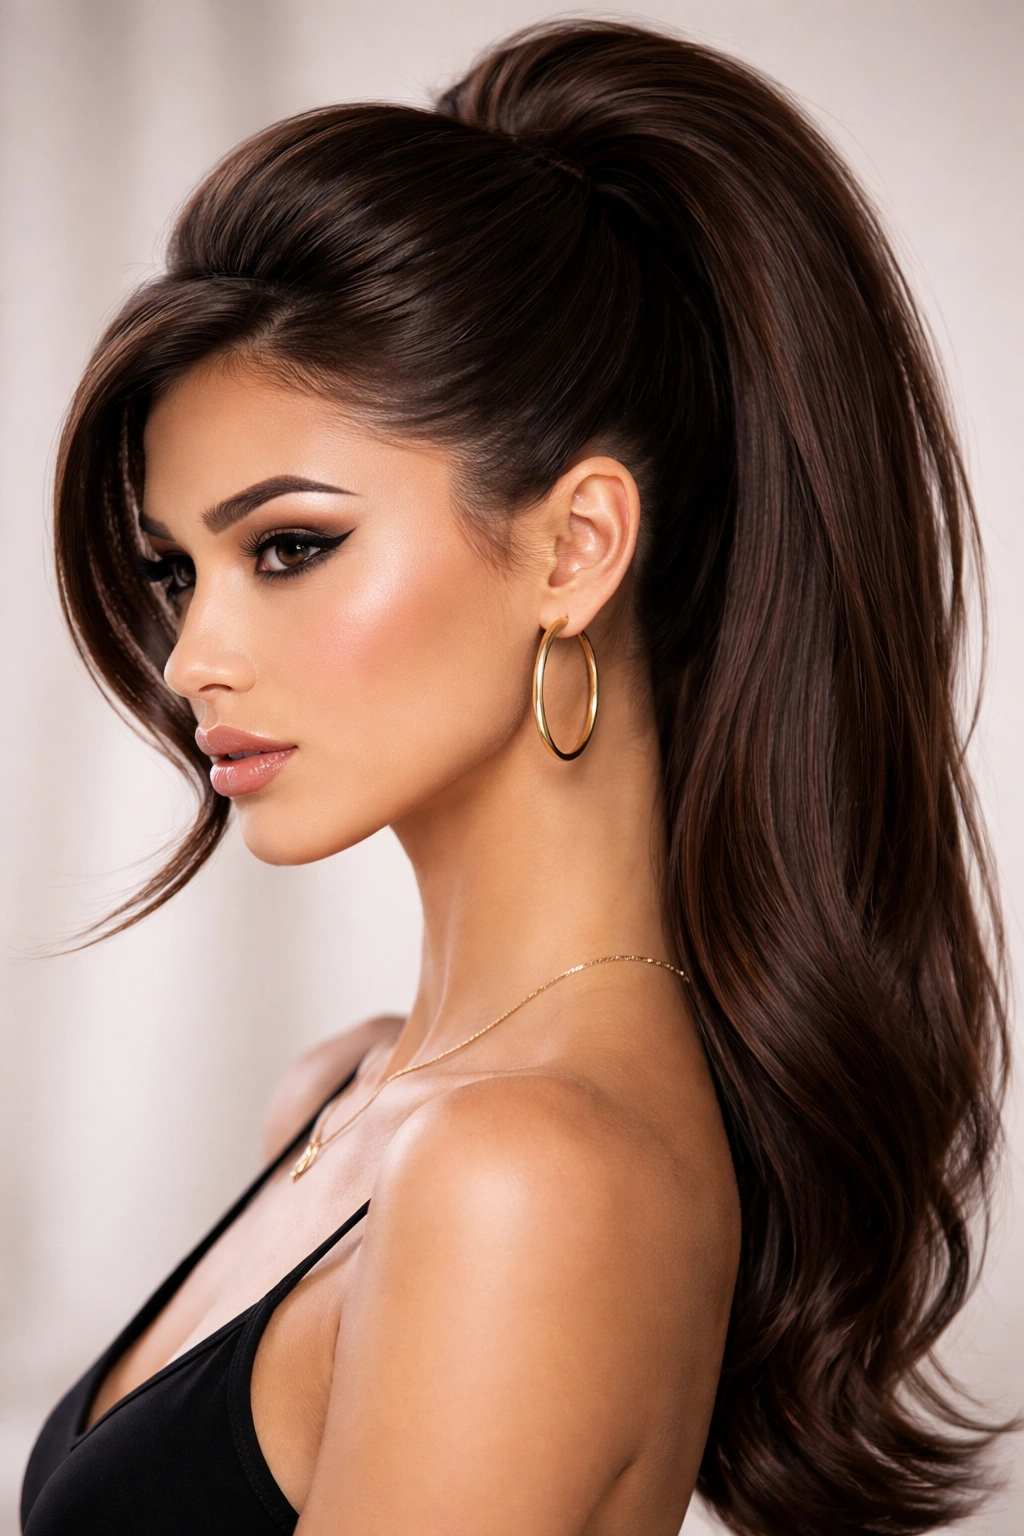
This version builds drama and volume at the crown while maintaining sleekness at the swoop itself, creating a sophisticated contrast that photographs beautifully and commands attention in person. The teasing gives you lift and movement at the back of your head, while the sleek swoop frames your face — it’s the best of both worlds for anyone who loves volume but also appreciates a polished silhouette. This style is particularly stunning if you have naturally thick hair or are willing to use extensions for added substance.
Why Teasing Transforms the Swoop
Teasing in the crown area creates a foundation that allows your ponytail to sit higher and fuller than it naturally would, and this extra height actually makes your swoop more dramatic and visible. When you swoop sleek hair back from a teased, voluminous crown, the contrast creates visual interest and dimension that a completely smooth swoop alone cannot achieve. The texture also helps your ponytail appear thicker and fuller overall, even if you’re working with fine or medium-density hair.
The Technical Steps for This Style
- Blow-dry your roots upward for maximum natural lift before you even begin teasing.
- Tease strategically: Section off the crown area (roughly from your ears back) and backcomb or tease just the undersides of these sections, leaving the surface smooth. This creates fullness without looking choppy or textured from the front.
- Smooth the surface: Use a fine-tooth comb or paddle brush to smooth just the outer layer of hair in the crown area, sealing down the teased interior.
- Create your swoop: Apply gel or edge control to the front sections and smooth them back into the crown area, creating that curved swooping line.
- Secure everything: Gather all your hair into a high or mid-height ponytail, making sure the elastic sits on top of your teased crown section so it holds its shape.
- Set with hairspray: Use a stronger-hold hairspray to lock everything in place, especially if you teased the interior, so it doesn’t loosen up as the day goes on.
4. Twisted Swoop Ponytail
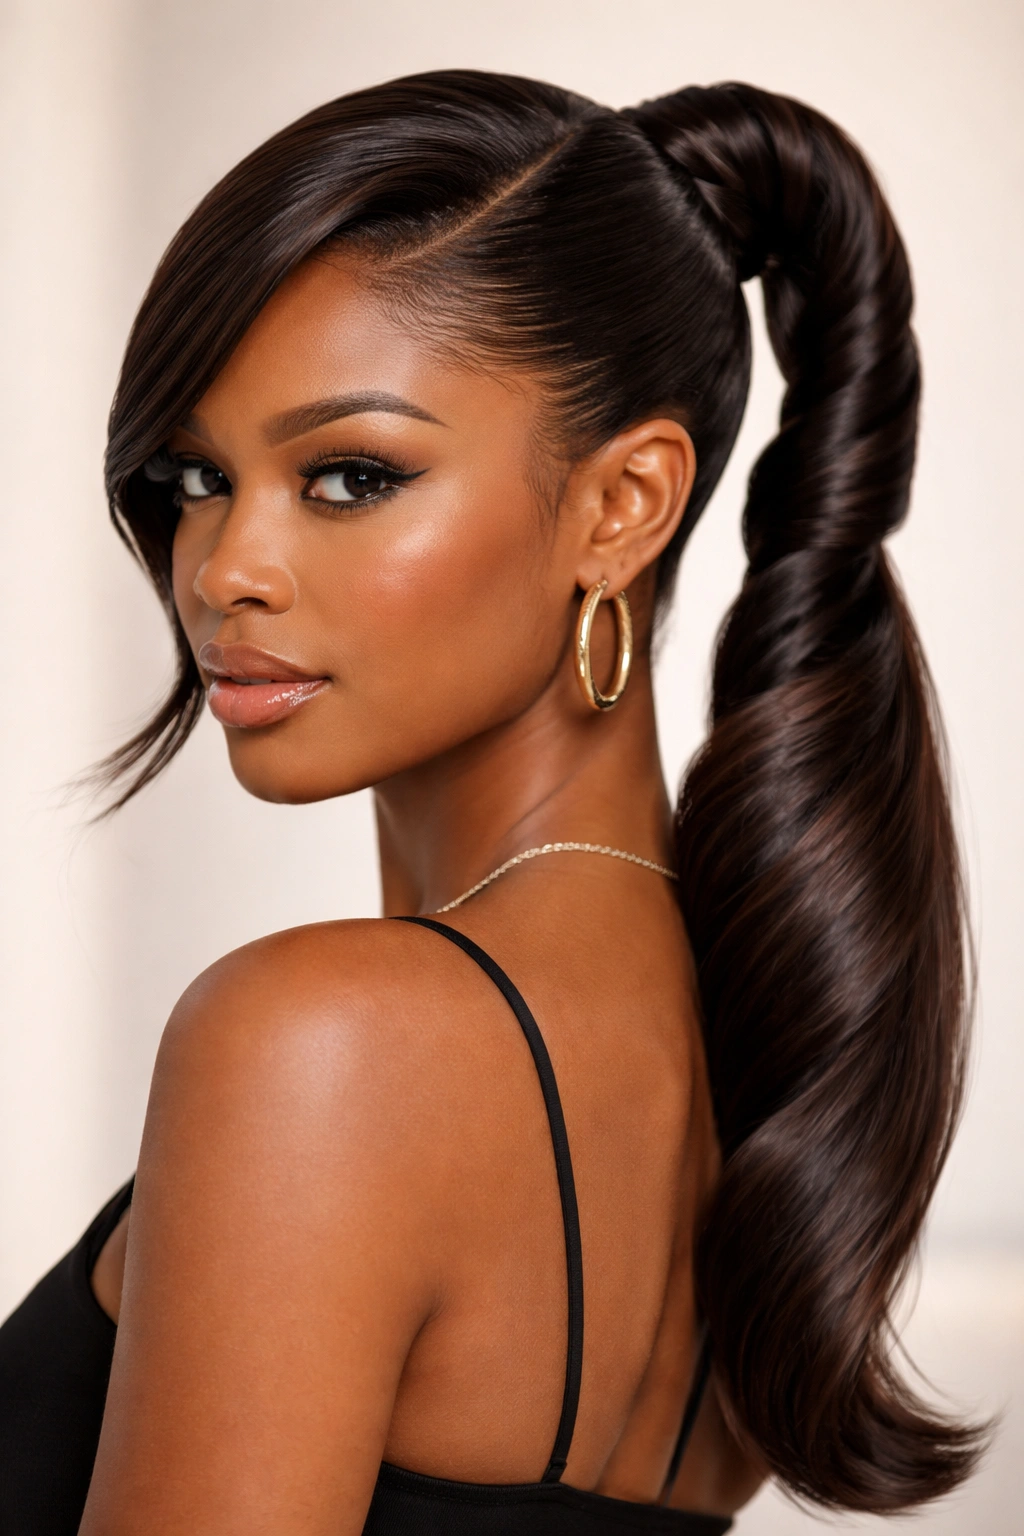
A twisted swoop adds a textural dimension to the sleek category — instead of simply smoothing your hair back into a curve, you’re twisting the swooped section, which creates a spiral detail that’s visible and adds sophistication. This works especially well if you have hair that’s shoulder-length or longer because the twist gives something for the eye to follow, and it’s intricate enough to feel special without actually being difficult to execute. It’s the perfect style for when you want to look like you spent an hour on your hair but actually only needed fifteen minutes.
How Twisting Changes the Visual Impact
When you twist the swooped section rather than simply smoothing it, you’re creating a linear detail that draws the eye along that path. A twist is more interesting visually than a smooth line, and because it spirals, it creates the illusion of more texture and movement than a perfectly straight swoop. For finer hair, a twist actually makes your hair appear thicker because the twisting compresses the hair and makes it denser. For thicker hair, a twist elegantly contains volume while maintaining that sleek, controlled aesthetic.
Step-by-Step Execution
- Start with perfectly smooth hair: Blow-dry your hair straight or smooth it out completely before you begin, because a twist works best on sleek hair that already has controlled texture.
- Apply smoothing product: Use a lightweight smoothing cream or serum to the section you’re about to twist — this helps the twist hold its shape and look intentional rather than accidentally disheveled.
- Create your deep side part: This is where your swoop begins, so make it dramatic and clean.
- Twist one continuous section: Take the hair from your part and twist it in one direction (clockwise or counterclockwise) all the way back to where you’re gathering your ponytail. The tighter you twist, the more defined the spiral will be.
- Wrap the twist around your ponytail base: Once you’ve twisted the swoop section, wrap it around the base of your gathered ponytail and secure with bobby pins underneath so the pins aren’t visible.
- Secure the main ponytail: Use your hair elastic to hold everything in place, and make sure the twisted swoop element sits on top of the elastic so it frames your face.
- Set with light hairspray: Use a light, flexible hairspray rather than a firm-hold formula so the twist doesn’t look stiff or feel uncomfortable.
5. Slicked-Back Swoop Ponytail

This is the most minimal, geometric version of the swoop — everything is aggressively sleek and controlled, creating a clean, modern silhouette that looks particularly striking with bold makeup or statement earrings. A slicked-back swoop leaves your entire face completely exposed, so it’s best suited for times when you have your makeup done or when you want to emphasize your bone structure. It’s unapologetically modern and reads as confident, almost edgy, which makes it perfect for creative industries or anyone who loves a strong aesthetic.
What Makes This Style Singularly Bold
A slicked-back swoop doesn’t leave any wiggle room for texture, imperfection, or softness — it’s an all-or-nothing style. This directness is exactly what makes it so powerful. By pulling everything back completely, you’re essentially saying “here is my face, here is my vision” with no softening elements. It works best on faces with good bone structure because nothing is hidden, and it works beautifully with a strong brow, defined cheekbones, and intentional makeup. Without these elements, it can read as too severe, so know your audience and your own face before committing to this version.
Products and Application
- Firm-hold gel or edge control: This is non-negotiable for a slicked-back swoop. You need something with serious holding power that won’t soften as the day goes on.
- Wet your hair slightly: Actually dampen your hair slightly when applying the gel so it absorbs evenly and doesn’t sit on top of dry hair, which would make it look flaky or chalky.
- Use a fine-tooth comb: This is your primary tool for creating that geometric smoothness. Comb from your hairline all the way back in one continuous motion.
- Work in sections: Don’t try to smooth all your hair at once. Create two or three sections from your part to your ear, and smooth each one individually for a more polished result.
- Secure tightly: Your ponytail elastic should be positioned exactly where you want it with no chance of slipping, because a slicked-back swoop can’t accommodate loose, messy elements.
- Finish with hard-hold hairspray: Use the firmest-hold hairspray you have, applied liberally to every slicked section, so the style lasts all day without any flyaways or softening.
6. Half-Up Swoop Ponytail
A half-up swoop takes the dramatic swooping line and applies it to just the upper half of your hair, leaving the lower half down for a softer, more romantic aesthetic. This hybrid style gives you the polished face-framing element of a swoop without the commitment of a full ponytail, making it perfect for times when you want your hair partially off your face but don’t want it completely secured. It’s ideal for casual dates, weekend brunches, or any situation where you want to look intentional without feeling overdressed.
Why Half-Up Works for Different Hair Lengths
The half-up swoop is exceptionally forgiving across different hair lengths. If you have longer hair, it adds dimension and interest without making you feel like you’re fully styling everything. If you have shoulder-length hair, it creates a flattering frame for your face and prevents you from feeling like your hair is always falling in front. Even if you have shorter hair — say, collarbone-length or just past shoulder — a half-up swoop adds a sophisticated element that reads as more intentional than simply wearing your hair down.
How to Build a Half-Up Swoop
- Determine your section line: Mentally divide your head in half horizontally — everything above that line will be gathered into your half-up, and everything below will remain down.
- Smooth the upper section: Apply smoothing serum and a light gel to just the upper half of your hair, creating that signature swoop from your part toward the back.
- Gather at the crown or just behind: Instead of gathering at your neck like a full ponytail, gather your upper section right at your crown or just slightly behind it. This positioning keeps your upper half contained while allowing your lower half to flow freely.
- Secure with a small elastic: Use a thin elastic that matches your hair color, or a decorative elastic if that suits your style.
- Smooth your down hair: Use a paddle brush or flat iron to ensure your lower half has the texture and finish you want — stick-straight, wavy, or with loose curls.
- Add a bobby pin detail: For extra security and a polished look, hide a bobby pin or two underneath where your half-up is gathered, anchoring the upper section more firmly to your head.
7. Braided Swoop Ponytail
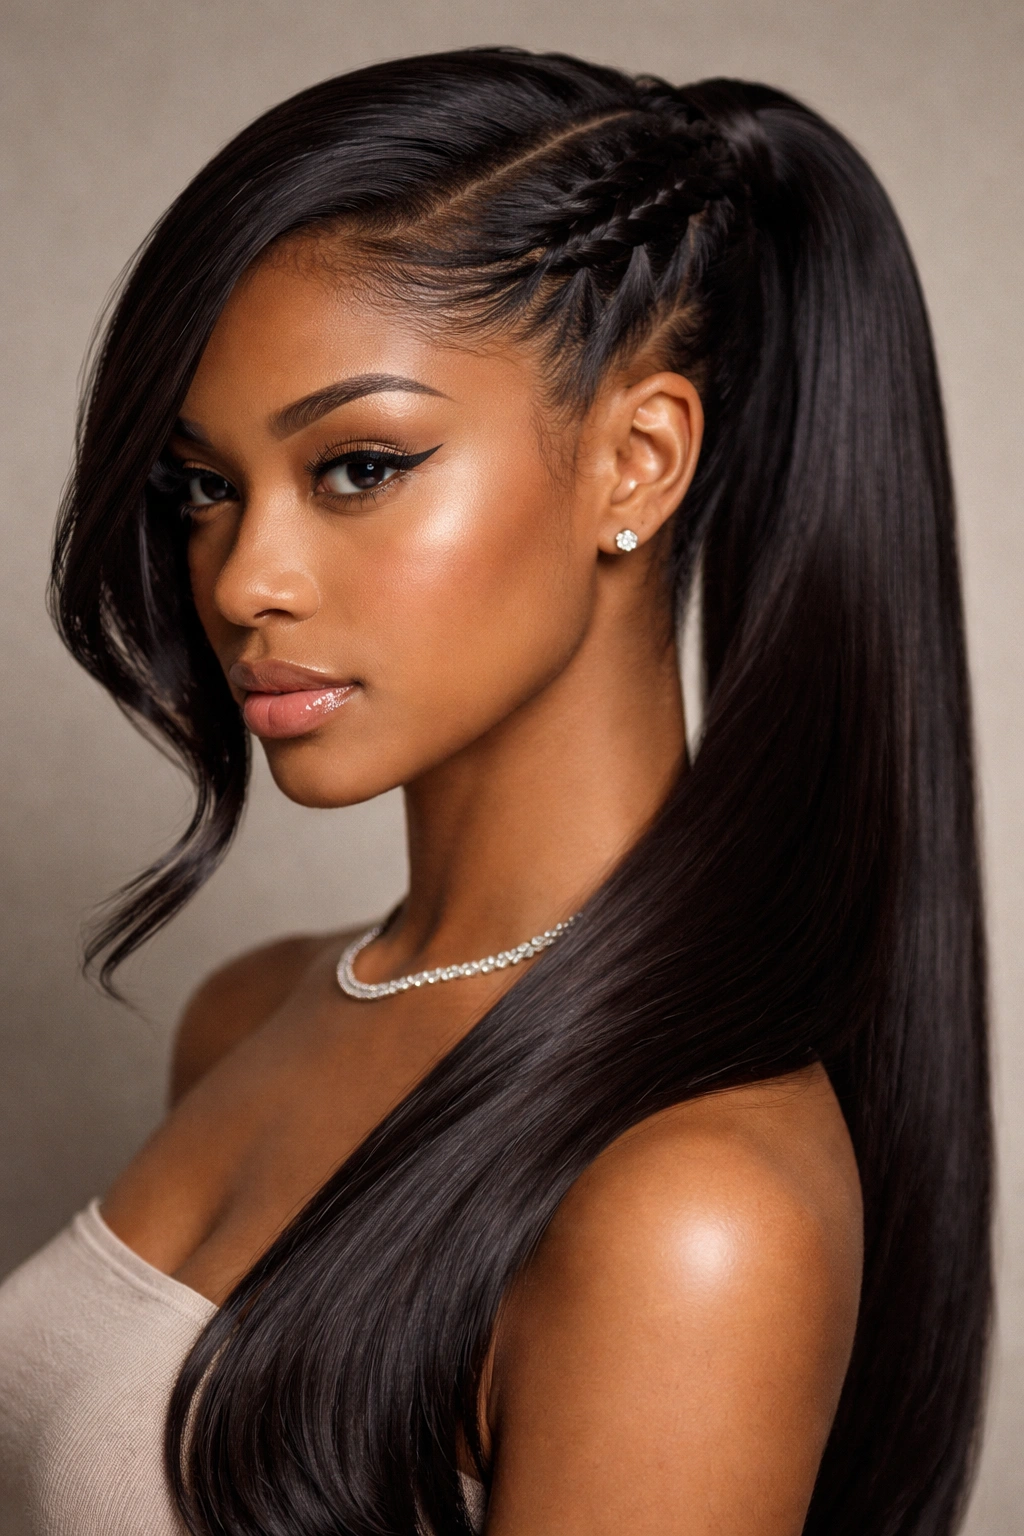
By incorporating a braid into your swoop, you’re adding texture and intricacy that elevates the style from simple to statement-making. A braided swoop can be a single braid that forms the swooped line, or multiple small braids incorporated into the swoop section — either way, it’s a style that shows you’ve put thought and effort into your hair. This works beautifully on textured hair because the braid is easier to see and define, and on straight hair, it creates welcome visual interest and dimension.
Different Braiding Approaches for Your Swoop
The most straightforward approach is a three-strand braid that begins at your deep side part and is braided all the way back to where you’re gathering your ponytail. Another approach is to braid just the outermost section of your swoop and leave the interior smooth — this gives you the braid definition without it being overwhelming. A third option is to use microbraids or thin Dutch braids woven throughout the swoop section, which creates a more textural, bohemian aesthetic. Choose the approach based on how much time you have and how bold you want to go.
Execution Steps for a Single-Braid Swoop
- Start with smooth, product-treated hair: Apply smoothing serum or a light gel throughout your hair so your braid is sleek and defined rather than fuzzy or textured.
- Create your deep side part: This is where your braid begins, so make the part clean and obvious.
- Braid one continuous section: Take the section from your deep part and braid it in three strands all the way to the nape of your neck or wherever you’re gathering your ponytail. Keep the braid tight and consistent — loose braids read as less intentional.
- Secure the braid: Use a small elastic at the end of your braid, then tuck the end underneath where you’re gathering the rest of your ponytail so the elastic isn’t visible.
- Gather your full ponytail: Secure all your hair, including the braided swoop section, into your ponytail elastic.
- Adjust and smooth: Use a fine-tooth comb to smooth any flyaways and make sure your braid sits prominently on top of your ponytail base so it’s fully visible.
- Set with flexible hold: Use a flexible-hold hairspray because braids can feel stiff if you use too much firm product.
8. Bubble Swoop Ponytail
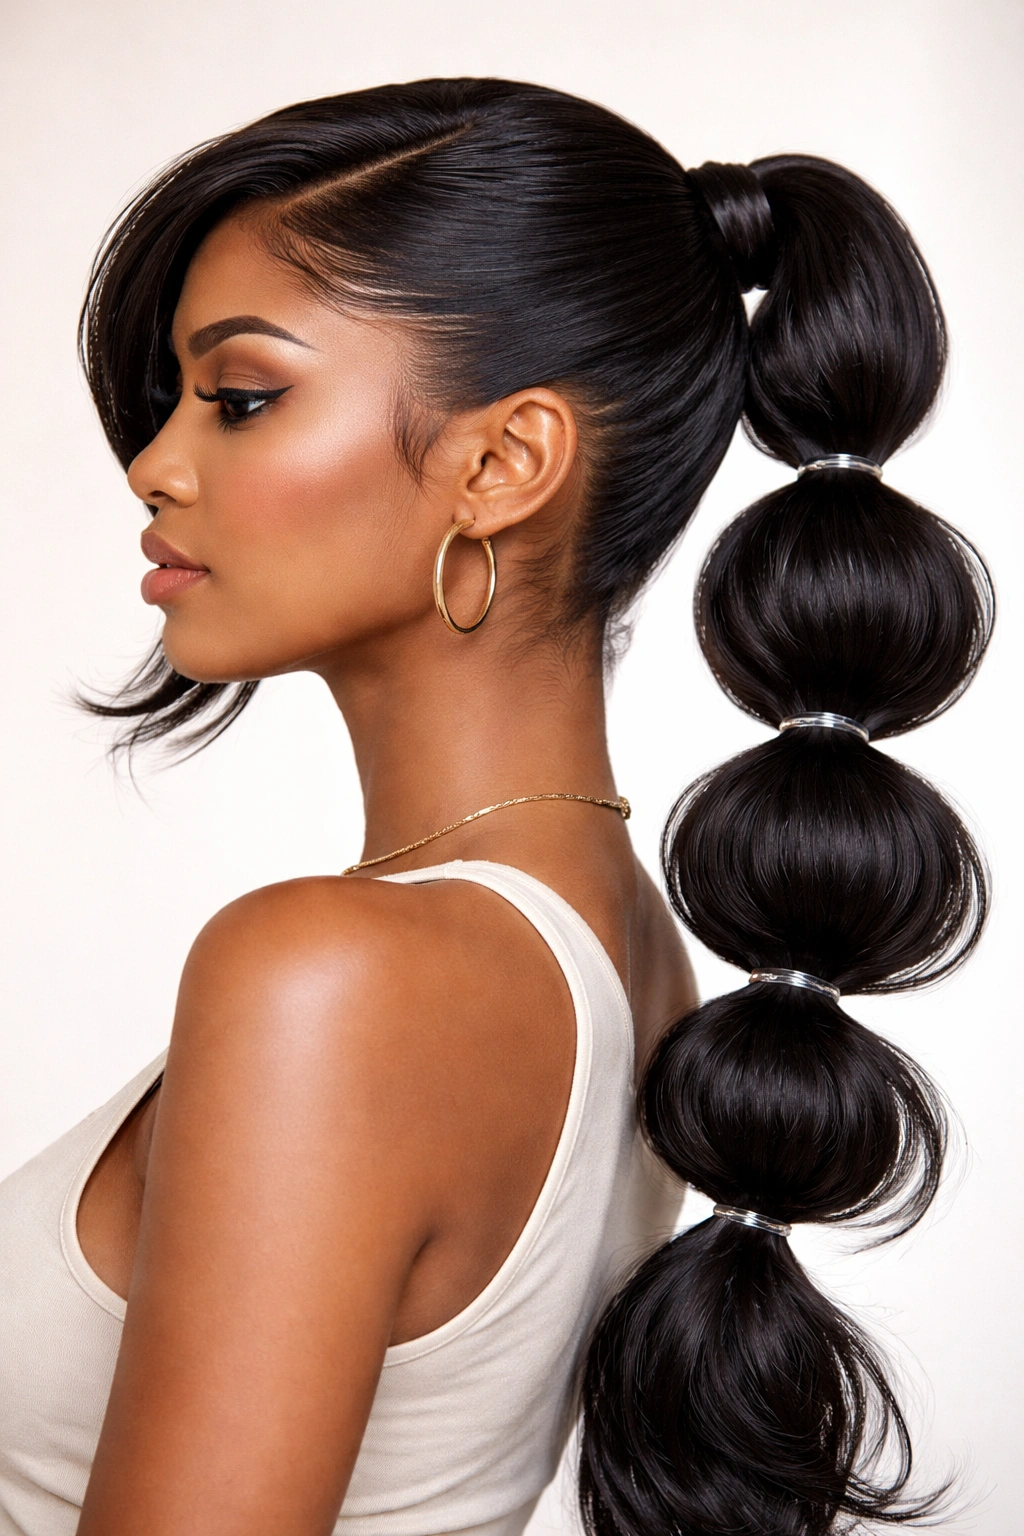
A bubble swoop incorporates texture and dimension into the swooped line by creating small gathered sections (bubbles) along the curve. Instead of a smooth, continuous line, your swoop has intentional texture created by elastic placements that cinch the hair into small rounded sections. This style is playful without being juvenile, and it works across all hair types because the bubbles add volume and visual interest. It’s perfect for anyone who loves the swoop silhouette but wants something with more personality and dimension.
The Visual Effect and Appeal
Bubbles break up what would otherwise be a long, smooth line and add movement and playfulness to your swoop. They also make the swooped section appear fuller because each bubble has a small amount of volume built in, which is especially helpful if you have fine or thin hair. The technique is the same as a bubble ponytail — you’re just applying it to a swooped section rather than a straight-back ponytail — so if you’ve ever done a bubble ponytail before, you already understand the mechanics.
Creating Perfectly Spaced Bubbles
- Gather your swoop section into a high ponytail: Start by creating your deep side part and swooping your hair back as normal, but instead of creating one final ponytail, gather your swoop section at the crown or mid-head into a temporary ponytail.
- Section and re-secure: Below your first elastic, take a section of hair (approximately 1-2 inches of your ponytail) and secure it with a second elastic, creating your first bubble. The space between your two elastics creates the bubble effect.
- Repeat down the length: Continue this process down the length of your ponytail, spacing your bubbles 1-2 inches apart. You can make as many bubbles as you want depending on how textured you want the effect to be.
- Gently pull to define bubbles: Once all your elastics are in place, gently pull outward on each bubble section to make them rounder and more defined. This also helps cover the elastics.
- Smooth and set: Use a fine-tooth comb to smooth the swoop section if needed, and finish with a flexible-hold hairspray.
9. Curved Swoop Ponytail

Where most swoops are angular and dramatic, a curved swoop is softer and more rounded, creating a romantic line that flows from your temple all the way to your ponytail gathering point. The difference is subtle but meaningful — instead of a sharp directional swoop, you’re creating a continuous curved line that feels more organic and less geometric. This style is ideal for softer styling occasions like weddings, engagements, or any time you want to look effortlessly elegant rather than sharply polished.
How Curve Changes the Aesthetic
A curved swoop feels more romantic because the line mimics natural curves and soft shapes rather than angles and geometry. It works beautifully with loose waves or curls in your ponytail because the curve of the swoop complements other curves in your styling. If you have naturally wavy or textured hair, a curved swoop looks more intentional and less like you’re fighting your hair’s natural direction. It also softens your overall look, which is perfect if you have strong facial features and want something that feels slightly less severe.
Technique for Creating a Smooth Curve
- Start with your deep side part: Make your part as normal, but instead of swooping in a straight line back, think about creating a gentle arc.
- Use a curved brush or paddle brush: A curved brush is actually ideal for creating this effect because the curve of the brush naturally creates a curved line in your hair.
- Smooth in one flowing motion: Instead of multiple brush strokes that might create angles, try to smooth your swoop section in one long, flowing motion from your temple to the back of your head.
- Apply smoothing product strategically: Use edge control along the hairline and smoothing serum through the length to help create and maintain that curved line.
- Gather your ponytail: Secure your hair into a ponytail, making sure the curved swoop sits prominently and frames your face.
- Finish delicately: Use a light, flexible hairspray so the style doesn’t feel stiff or overly controlled.
10. Swoop with Face-Framing Pieces
This version keeps the sleek swoop but intentionally leaves small, thin sections of hair framing your face, which softens the look and adds romanticism while maintaining that polished swoop structure. Instead of the swoop claiming all your hair, you’re strategic about which pieces go back and which pieces stay forward. This is perfect for anyone who loves the swoop silhouette but finds completely exposed faces too harsh or stark. It’s also ideal for longer hair where face-framing pieces add dimension.
The Strategic Placement of Face-Framing Sections
Leaving intentional face-framing pieces requires thought about which pieces to free. Typically, you’d leave thin sections from your temples or just behind your ears, loose and hanging at face level. These pieces should be thin enough that they don’t interfere with the swoop or make it look accidentally messy, but substantial enough to be noticeable and intentional. The pieces can be completely straight, wavy, or even loosely curled depending on what mood you’re going for and how much time you have.
How to Execute This Version
- Identify your face-framing sections: Before you even begin styling, section off thin pieces from your temples and behind your ears — these are the pieces that will stay down.
- Smooth and secure the swoop: Create your swoop and gather your ponytail as normal, making sure your swoop encompasses most of your hair.
- Release your face-framing pieces: Don’t include those identified face-framing sections in your ponytail. Let them stay out completely.
- Smooth those pieces separately: Use a small amount of smoothing serum on your face-framing pieces and either leave them straight or create soft waves depending on your styling preference.
- Secure those pieces lightly: You can tuck them behind your ears with a bobby pin or just leave them naturally falling — either approach works.
- Optional curl detail: If you want those pieces to be more prominent, you can use a thin curling iron to add loose waves or curls to just those sections, creating a contrast with your sleek swoop.
11. Statement Pin Swoop Ponytail
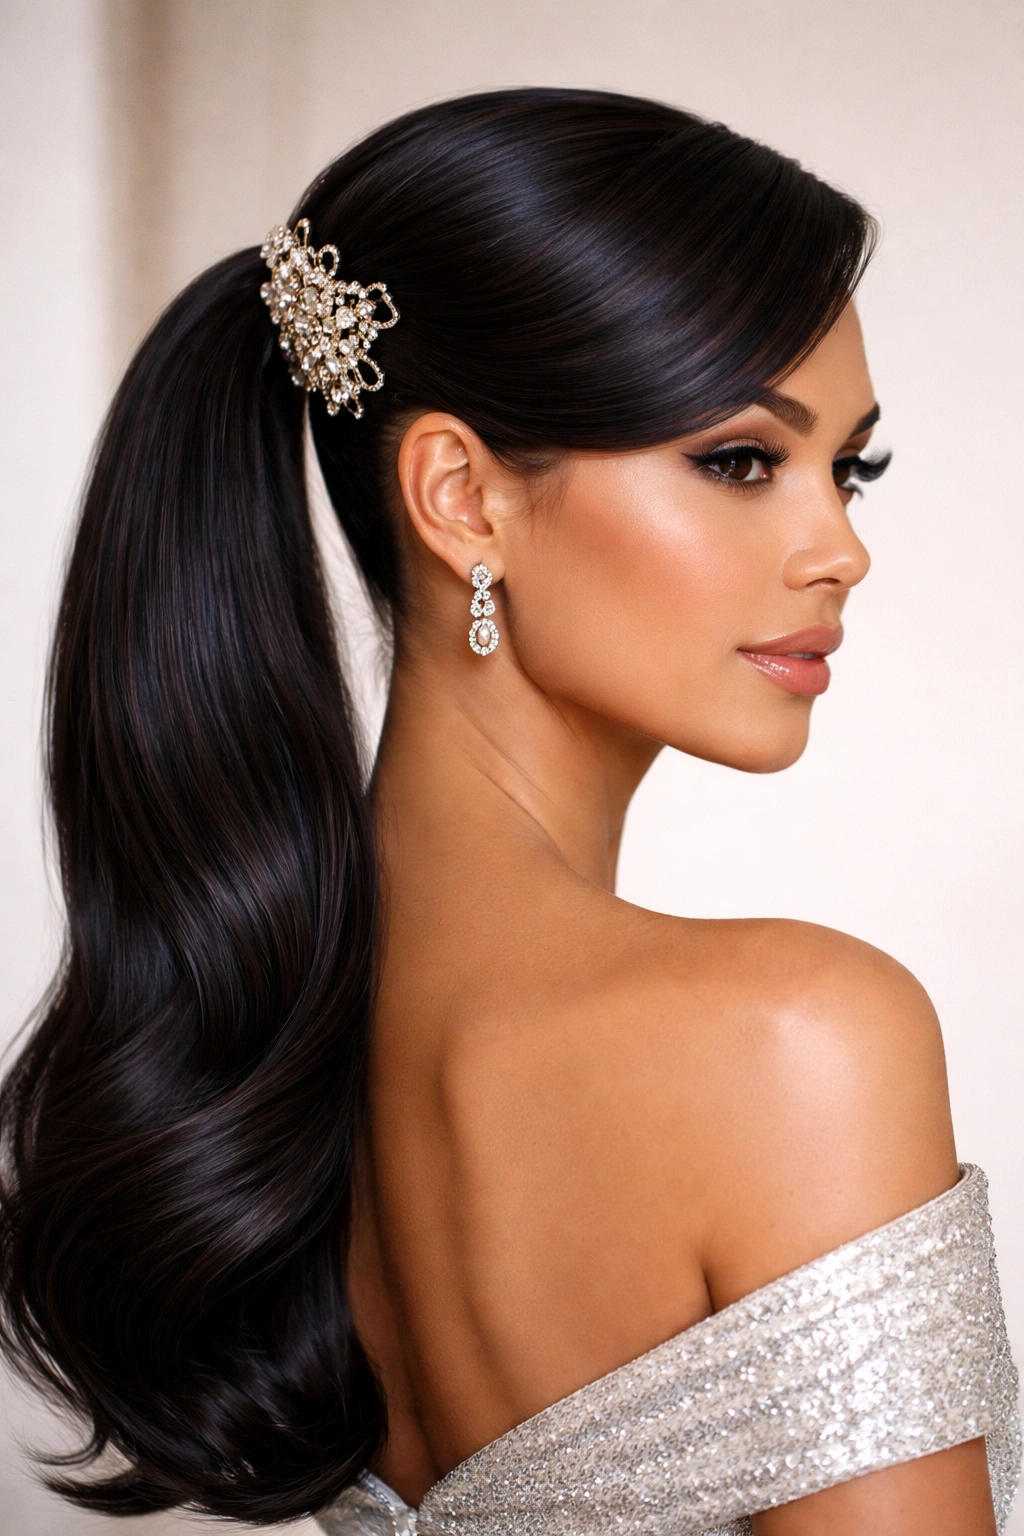
Transform a basic sleek swoop into something memorable by adding a statement hair accessory — a decorative pin, a metal cuff, an ornate clip, or even a jeweled barrette positioned right where your swoop meets your ponytail. The accessory becomes part of your styling, not just a functional element, and it elevates the entire look from minimal to intentional. This works especially well for events, professional photos, or any time you want your hair to feel like part of your overall aesthetic rather than just a background element.
Choosing and Positioning Your Statement Piece
The right statement piece depends on your style and the occasion. Metal cuffs and geometric pins feel modern and professional. Jeweled clips or vintage-inspired hair barrettes feel romantic and nostalgic. Pearl-studded pins feel refined and elegant. Oversized tortoiseshell clips feel creative and artistic. Whatever you choose, position it right at the point where your swoop curves into your ponytail — this is the focal point of the style and where an accessory will be most visible and impactful.
Making Your Statement Pin Styling Work
- Create your swoop as normal: Smooth your swoop, gather your ponytail, and secure everything with an elastic as usual.
- Position your statement piece: Place your chosen accessory right at the gathering point where your swoop meets your main ponytail. This is the sweet spot that shows off the piece without it looking random or awkwardly placed.
- Make sure it’s secure: Test the positioning and make sure your pin or clip is truly secure before you go anywhere. The last thing you want is for your statement accessory to slip partway through your day.
- Let the accessory be the focus: If you’re wearing a bold statement pin, keep the rest of your styling understated so the accessory truly shines rather than competing with other details.
- Consider your ponytail finish: Depending on your pin, you might want a sleek, polished ponytail or a slightly textured, ponytail tail that complements your accessory choice.
12. Low Curved Swoop Ponytail
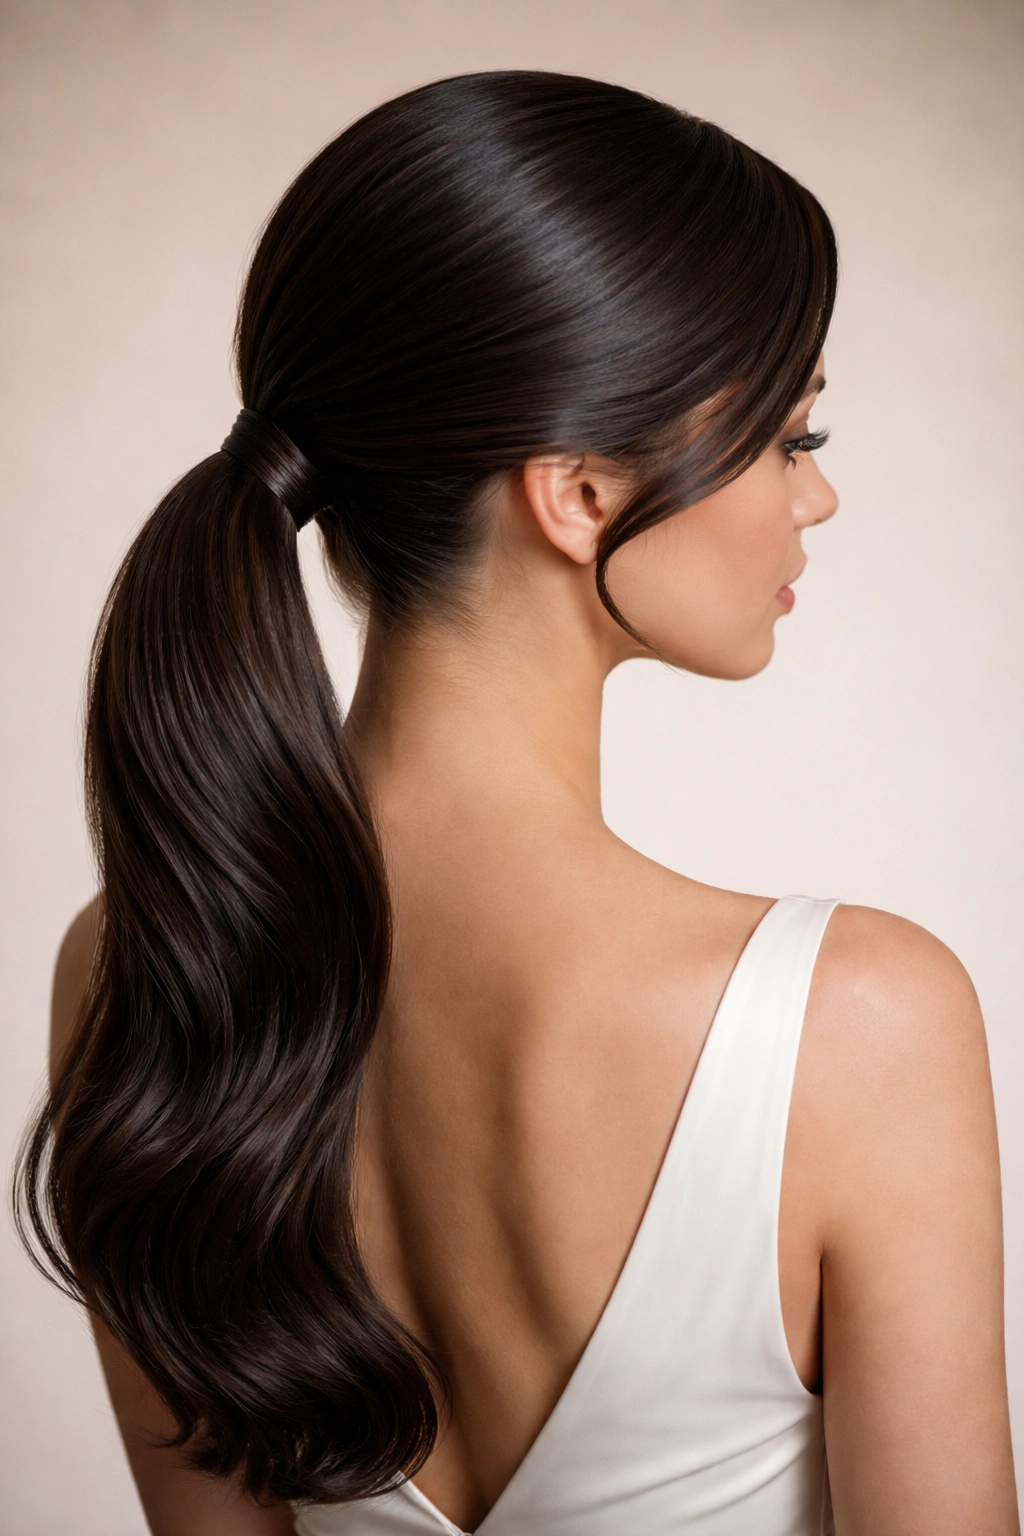
This version combines the softness of a curved swoop with the placement of a low ponytail, creating an elegant, romantic style that sits at the nape of your neck and sweeps gently from the opposite side of your head. It’s the most effortlessly glamorous version of the swoop because the low placement feels relaxed while the curved, swooped line reads as incredibly intentional and polished. This style is perfect for events like weddings, anniversaries, or any occasion where you want to look absolutely stunning without looking overdone.
Why Low Placement Creates Elegance
The lower the ponytail, the more elongated and refined your neck appears, which is inherently elegant. When you combine that low placement with a curved, romantic swoop, you’re creating a style that looks like it belongs on a red carpet or in a wedding party. The curve of the swoop becomes even more visible when it’s a low ponytail because the viewer’s eye traces that entire curved line before reaching the gathering point, making the line feel more important and intentional.
Creating a Low Curved Swoop Ponytail
- Create your deep side part: This is where your swoop begins, so make sure it’s clean and dramatic.
- Smooth from temple to nape: Apply smoothing product to the section you’re swooping and, using a curved brush or through intentional technique, smooth this section in a gentle arc from your temple down to the nape of your neck.
- Gather low on your neck: Instead of gathering at your crown or mid-head, gather all your hair at the nape of your neck, just one or two inches above where it naturally falls. This low placement is crucial to the elegance of this style.
- Secure with a thin elastic: Use an elastic that blends with your hair color, positioned precisely where you want your ponytail.
- Smooth everything one final time: Use a fine-tooth comb or boar bristle brush to smooth the entire swoop section, from hairline to gathering point, creating one continuous curved line.
- Add subtle texture to ponytail: You can leave the ponytail itself smooth for a minimalist look, or add very loose waves or slight texture to the length of the ponytail to soften the overall aesthetic.
- Set with flexible hairspray: Use a light, flexible hairspray so the style feels romantic and soft rather than stiff or overwrought.
Final Thoughts
Mastering the swoop ponytail opens up a world of styling possibilities because the technique is endlessly adaptable. Whether you’re going for corporate polish, romantic softness, or creative edge, there’s a swoop variation that suits your intention. The foundation remains the same — a deep side part, smooth product application, and deliberate curving of hair backward — but from there, you can build height with teasing, add texture with braids, incorporate bubbles for playfulness, or keep everything minimal and geometric.
The real skill in executing any swoop ponytail is understanding your own hair and working with it rather than against it. If you have fine hair, focus on techniques like teasing or adding texture through braids to create fullness. If you have thick hair, lean into sleek, controlled versions that show off your hair’s density. If you have textured or curly hair, straightening products and smoothing techniques become essential, but the final result is often more impactful because the contrast between your natural texture and the sleek swoop is more dramatic.
Invest in quality products — a good smoothing serum, a reliable edge control, and a flexible hairspray that doesn’t make everything feel stiff — because the difference between a swoop that lasts all day and one that softens within hours really does come down to product quality. Spend time practicing your part technique and your smoothing motion until they become second nature. Once the swoop is intuitive, you’ll find yourself reaching for this style not just for special occasions but for everyday moments when you want to feel pulled-together and intentional.