If you have long hair, you’ve probably discovered that a basic ponytail is your secret weapon on mornings when you’re running late, on days when you can’t decide what to do with your length, or when you want something effortless that still looks intentional. The beautiful thing about long hair is that it gives you endless possibilities for ponytail styles—from sleek and polished to textured and romantic, from simple to surprisingly intricate—and most of these styles take just a few minutes to master once you know the technique. Whether you’re prepping for work, heading to the gym, or looking for something that bridges casual and dressy, there’s a ponytail here that will become your go-to. Long hair creates natural volume and movement that shorter styles can’t achieve, so even the simplest ponytail looks fuller and more intentional when you’ve got the length. The best part? You don’t need advanced styling skills or expensive tools—just some basic technique knowledge and the confidence to try a few different approaches until you find what works with your hair texture and daily lifestyle.
1. The Classic High Ponytail
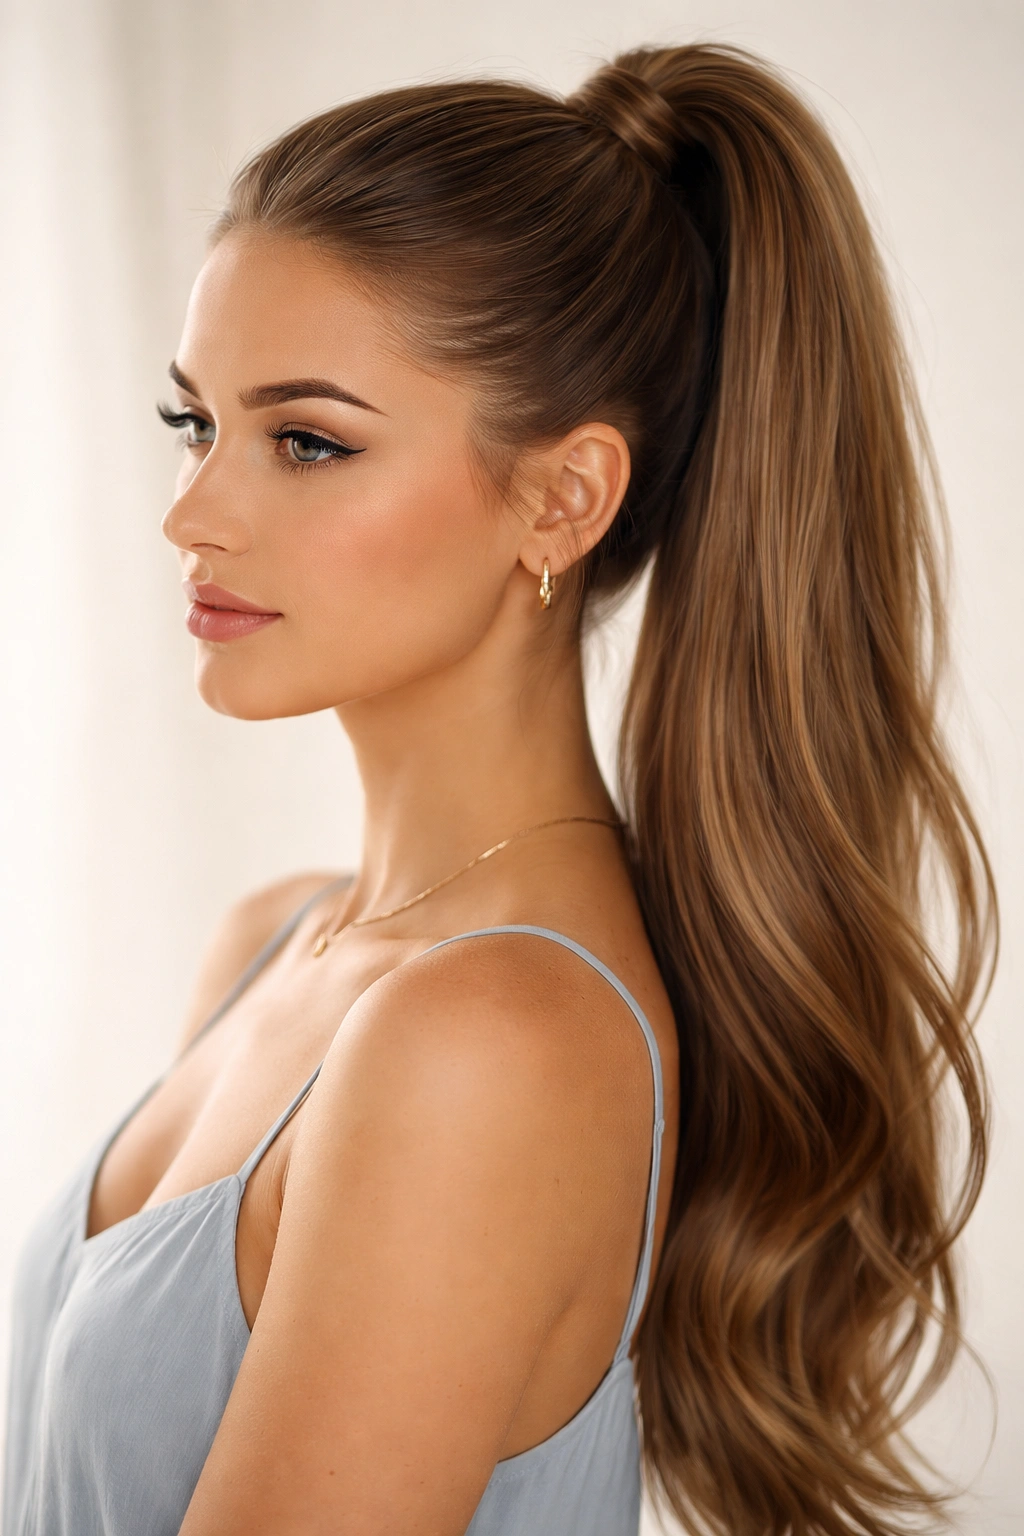
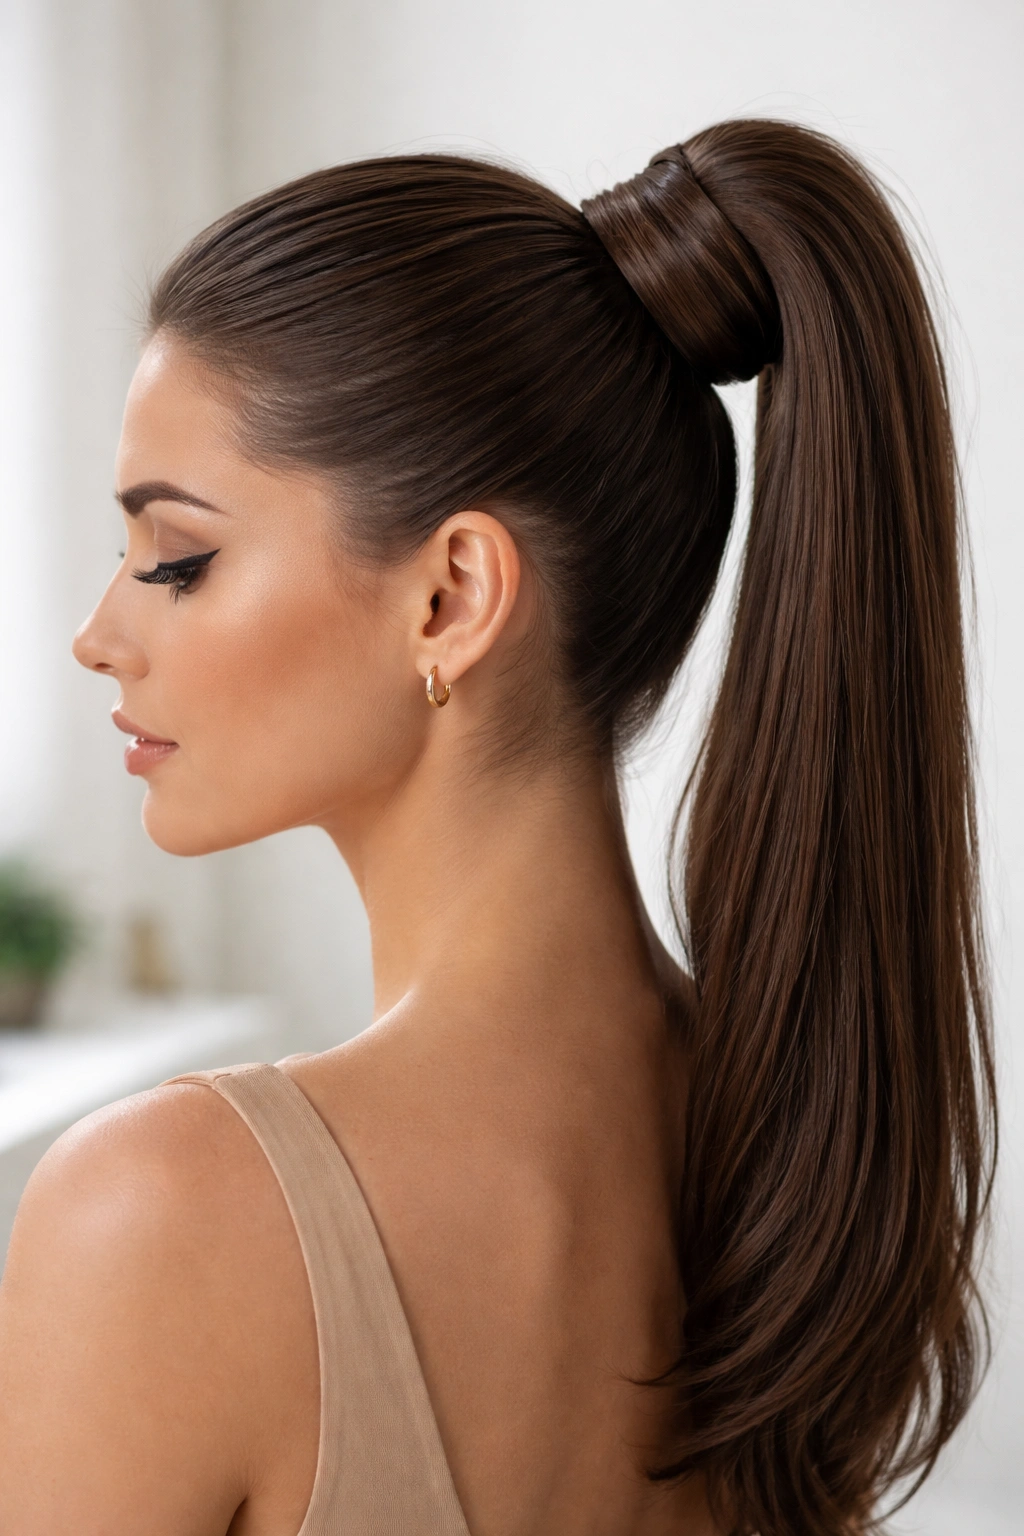
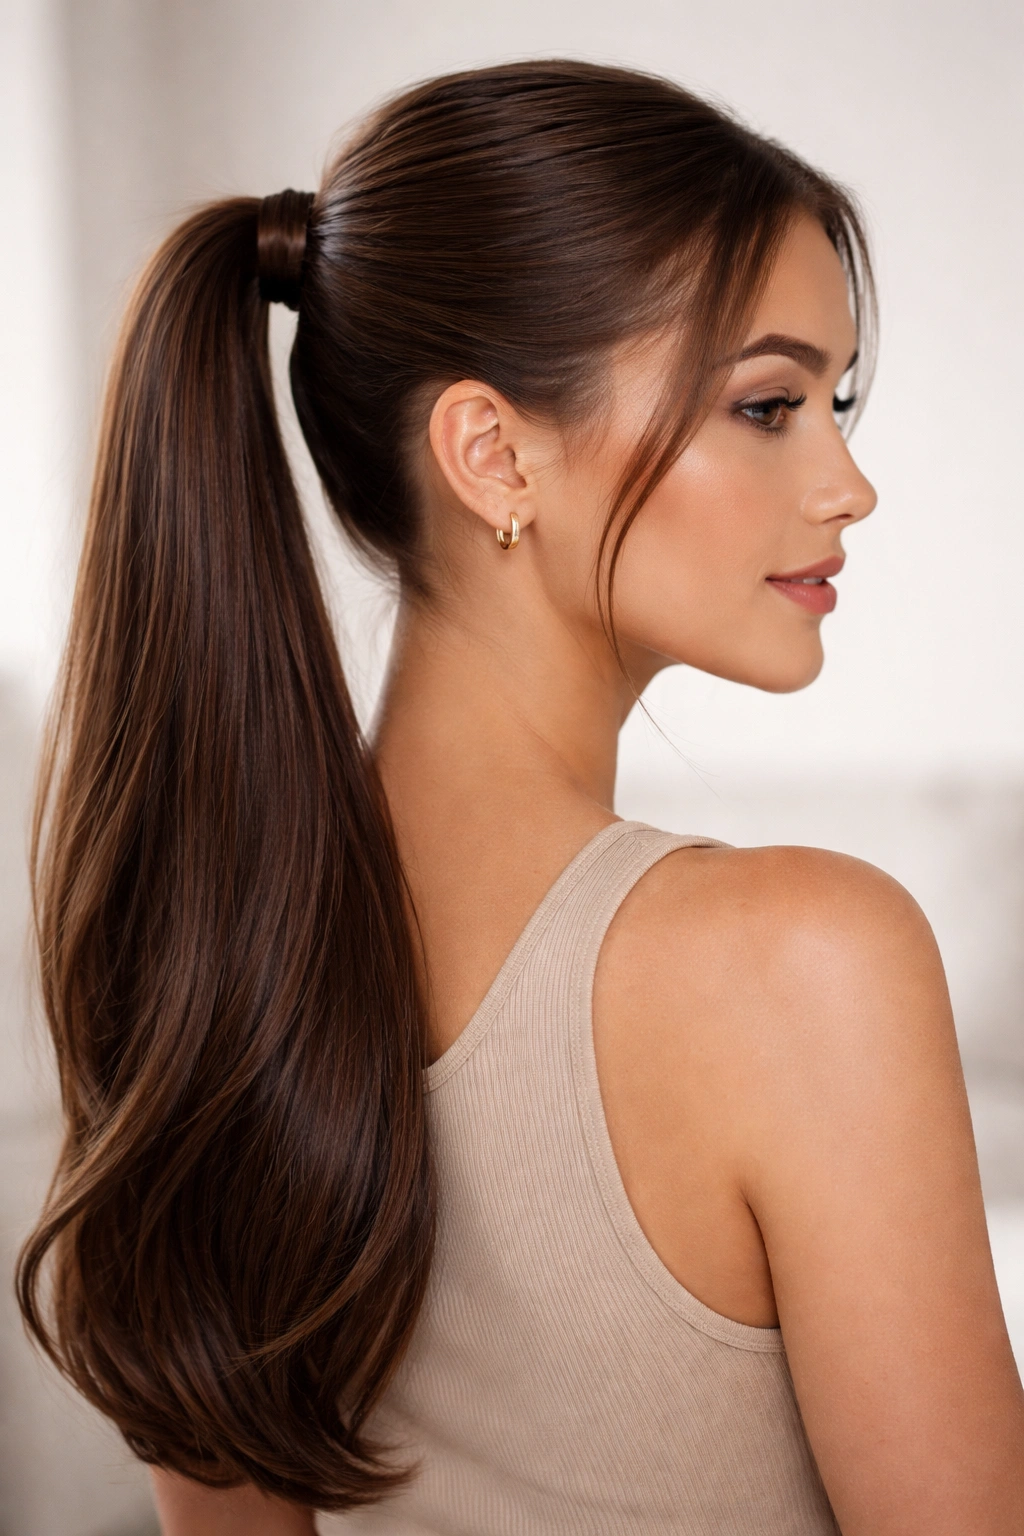
The high ponytail is the foundation every long-haired person should master, because it’s genuinely versatile enough to work from the office to the gym to a casual night out. This style sits where your crown meets the back of your head, creating instant lift and an open face that highlights your features. The key to making it look polished rather than costume-y is getting the gathering point right—too high and it can look severe, but the right height is incredibly flattering.
How to Create It
Start by brushing your hair straight back from your face, using a fine-tooth comb or brush to smooth out any flyaways as you gather. Pull the hair back to about where your crown is (roughly where you’d place a tiara, if that helps visualize it). Secure with a small elastic, then take a small section of hair from the base of the ponytail and wrap it around the elastic to hide it. Pin that wrapped section underneath with a bobby pin that matches your hair color. This wrapping detail transforms the look from casual to polished instantly.
Quick Styling Tips
- For maximum volume, tease gently at the crown before gathering your ponytail, then smooth the outer layer for a sleek finish
- If you have wispy baby hairs, smooth them down with a tiny bit of smoothing serum or gel applied to your fingers—don’t use so much that it looks wet
- Secure the elastic low enough that it doesn’t pull uncomfortably, but high enough that you can see the gathered base when you look in the mirror
- This style works beautifully with face-framing layers that can fall loose and soft around your face
Pro tip: If your hair slips out of the elastic throughout the day, try a textured elastic (like fabric-covered ones) instead of smooth rubber, or use a thinner elastic that grips better.
2. The Sleek Low Ponytail
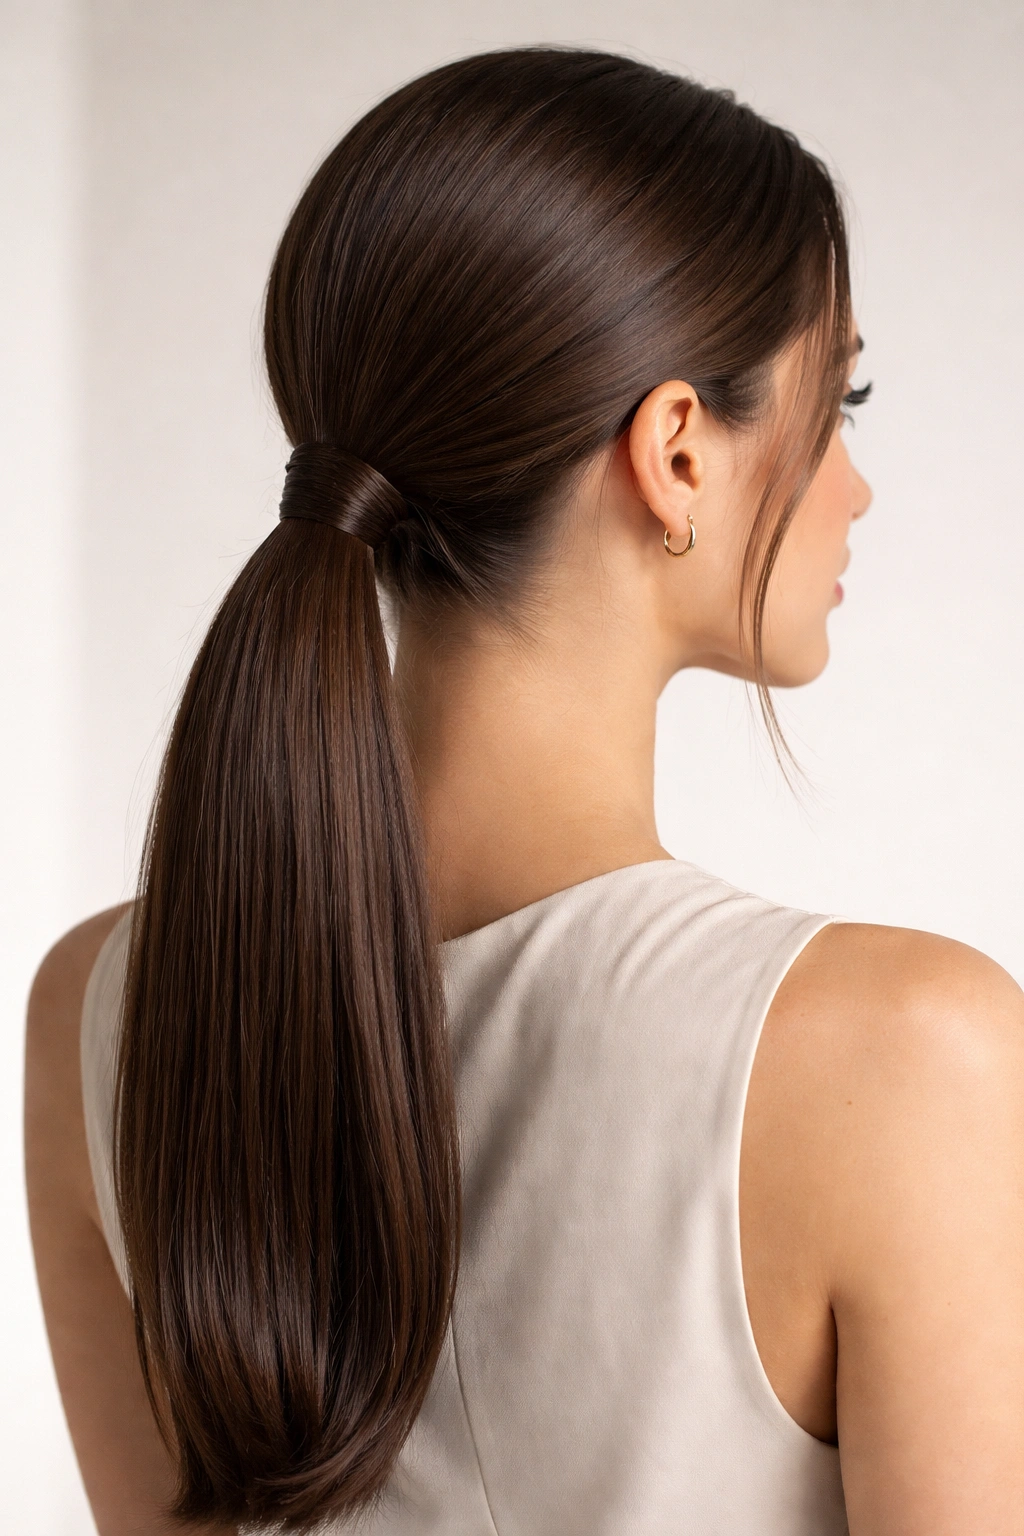
The sleek low ponytail is the most flattering, universally-appropriate style you can wear—it works for casual weekends, professional settings, and even semi-formal occasions. This is the ponytail that looks effortlessly chic because the simplicity is the entire point. The magic is in how smooth and polished you make it, not in complicated technique.
How to Create It
Start with clean, dry or lightly damp hair (damp hair is actually easier to smooth). Brush your hair straight back into a low ponytail, positioning the elastic at the nape of your neck where your hairline ends. Use a fine-tooth comb and a smoothing product (serum, cream, or a tiny amount of gel) to eliminate flyaways and create an ultra-smooth finish. Wrap a small section of hair around the elastic to hide it, pinning underneath. The sleekness is non-negotiable here—any texture or frizz reads as unfinished, so take time with your smoothing step.
Making It Work for Your Hair Type
- Fine or slippery hair: Use a matte texture spray or dry shampoo before styling to create grip, then use a thicker elastic or a claw clip instead of a traditional elastic
- Thick or coarse hair: Apply smoothing serum generously to tame flyaways, and consider using a velvet scrunchie that grips without creating a crease
- Curly or textured hair: You can create a sleek ponytail by straightening first, or embrace the texture and go for a sleek base with textured ends (more on that below)
- Short layers or wispy hair: Use a smoothing gel on those pieces so they integrate with the ponytail rather than looking stray
Worth knowing: This style is stunning with an accessory—a silk scarf wrapped around the base, a delicate metal cuff, or a statement clip can elevate it from everyday to special-occasion appropriate.
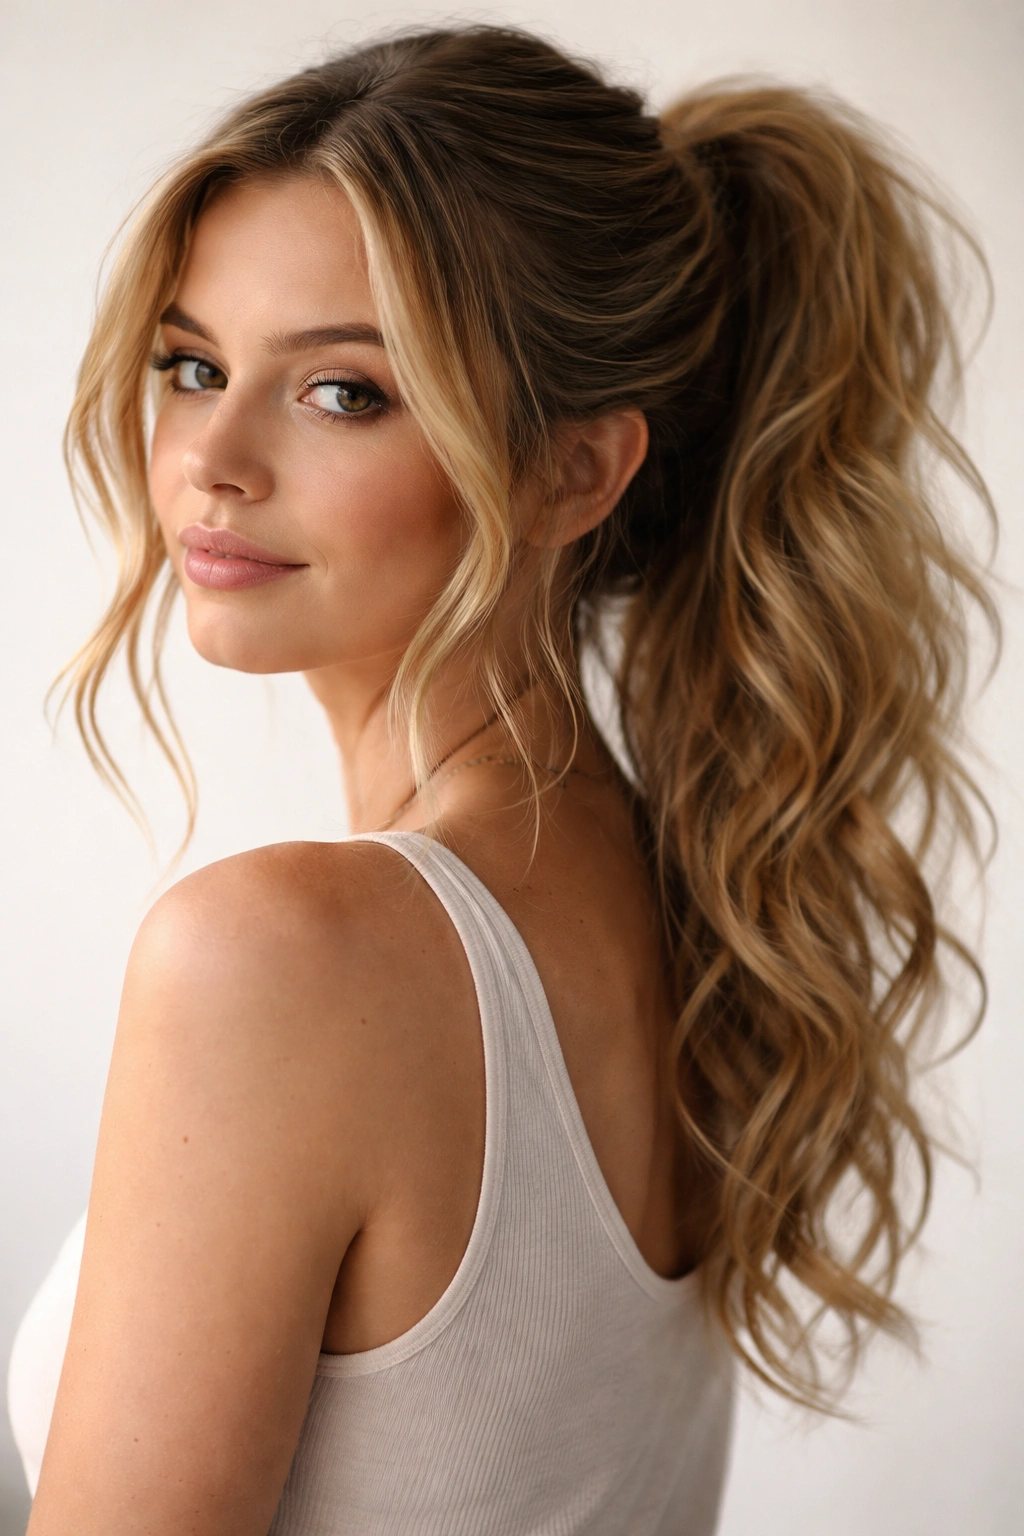
3. The Textured High Ponytail
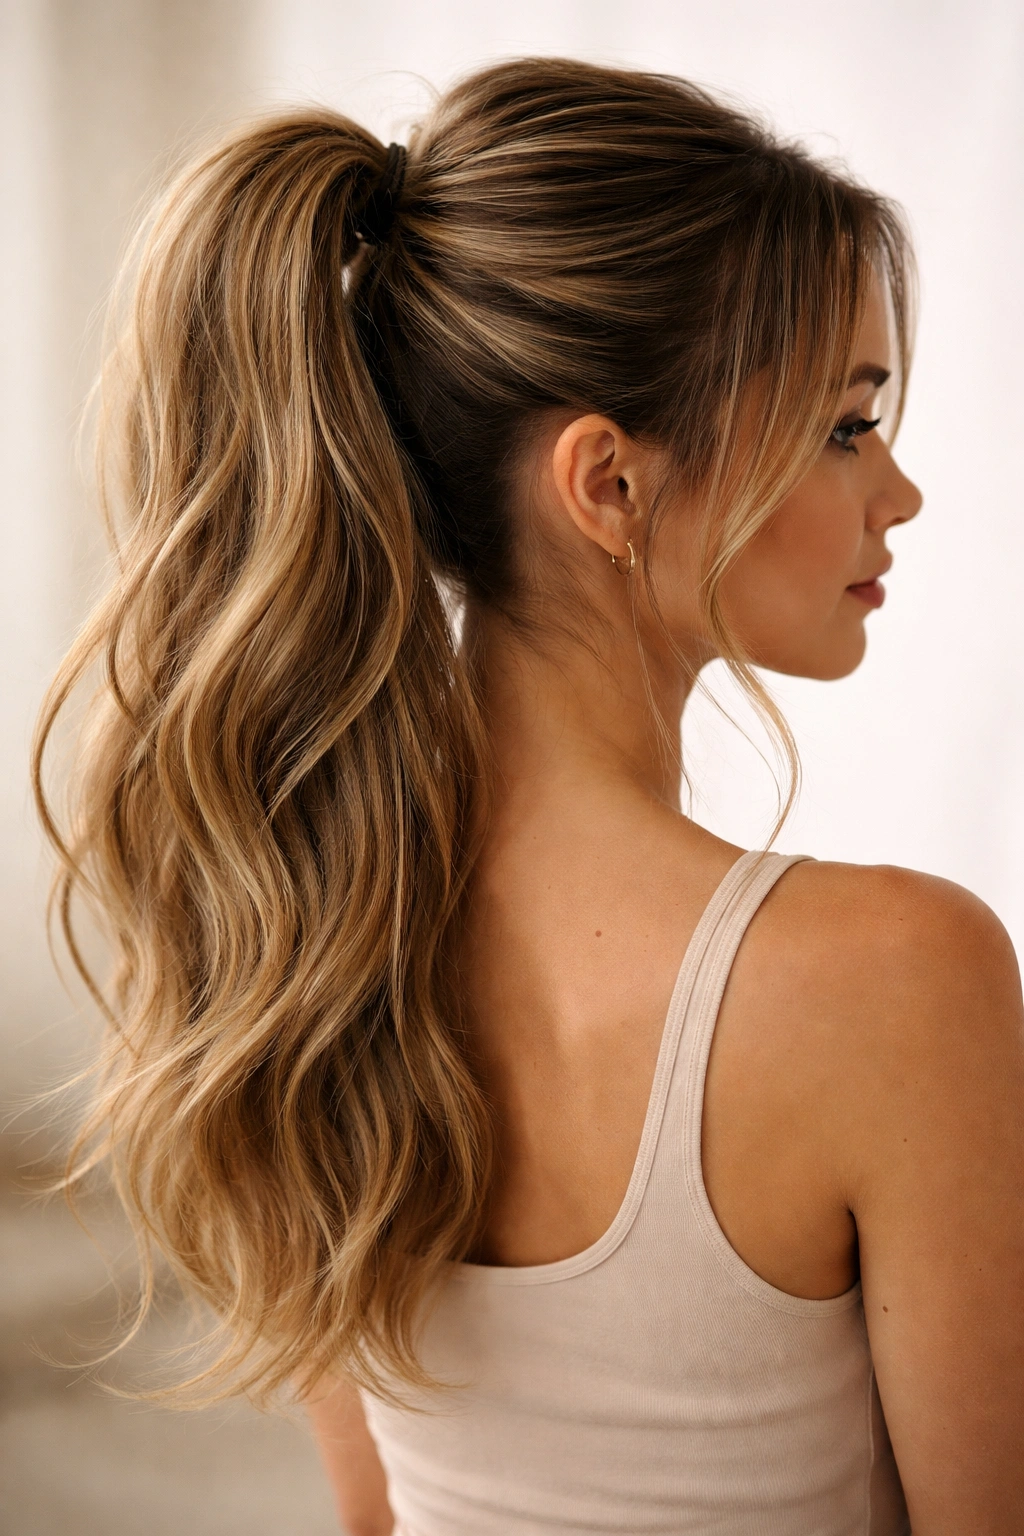
For days when you want the practical benefits of a high ponytail but with a softer, more romantic vibe, the textured version is your answer. Instead of pulling hair straight back, you’re deliberately creating movement and dimension, which makes the style feel intentional and modern rather than gym-class basic.
How to Create It
Brush your hair back loosely—not smoothly, but without major tangles. As you gather the ponytail, don’t worry about making it perfectly sleek; a little texture at the crown and sides actually enhances the style. Secure with an elastic, then gently pull and loosen small sections to create a softer, slightly undone shape. This pulling-apart step is crucial—it transforms a simple ponytail into a textured one instantly.
Adding Dimension and Movement
- Apply a texturizing spray or sea salt spray before you start, which automatically creates grip and the casual texture you’re going for
- Use a curling iron on the loose ends of your ponytail to add waves, letting them cool before finishing
- Leave one or two small sections loose around your face rather than pulling everything back—this softens the overall look dramatically
- Backcomb very gently at the crown under the top layer to create internal volume without obvious texture
Insider note: Textured ponytails look best when you’ve either curled your hair previously or your hair naturally has some wave to it. If your hair is completely straight, the texture spray and the pulling-apart technique become even more important.
4. The Double-Section Ponytail
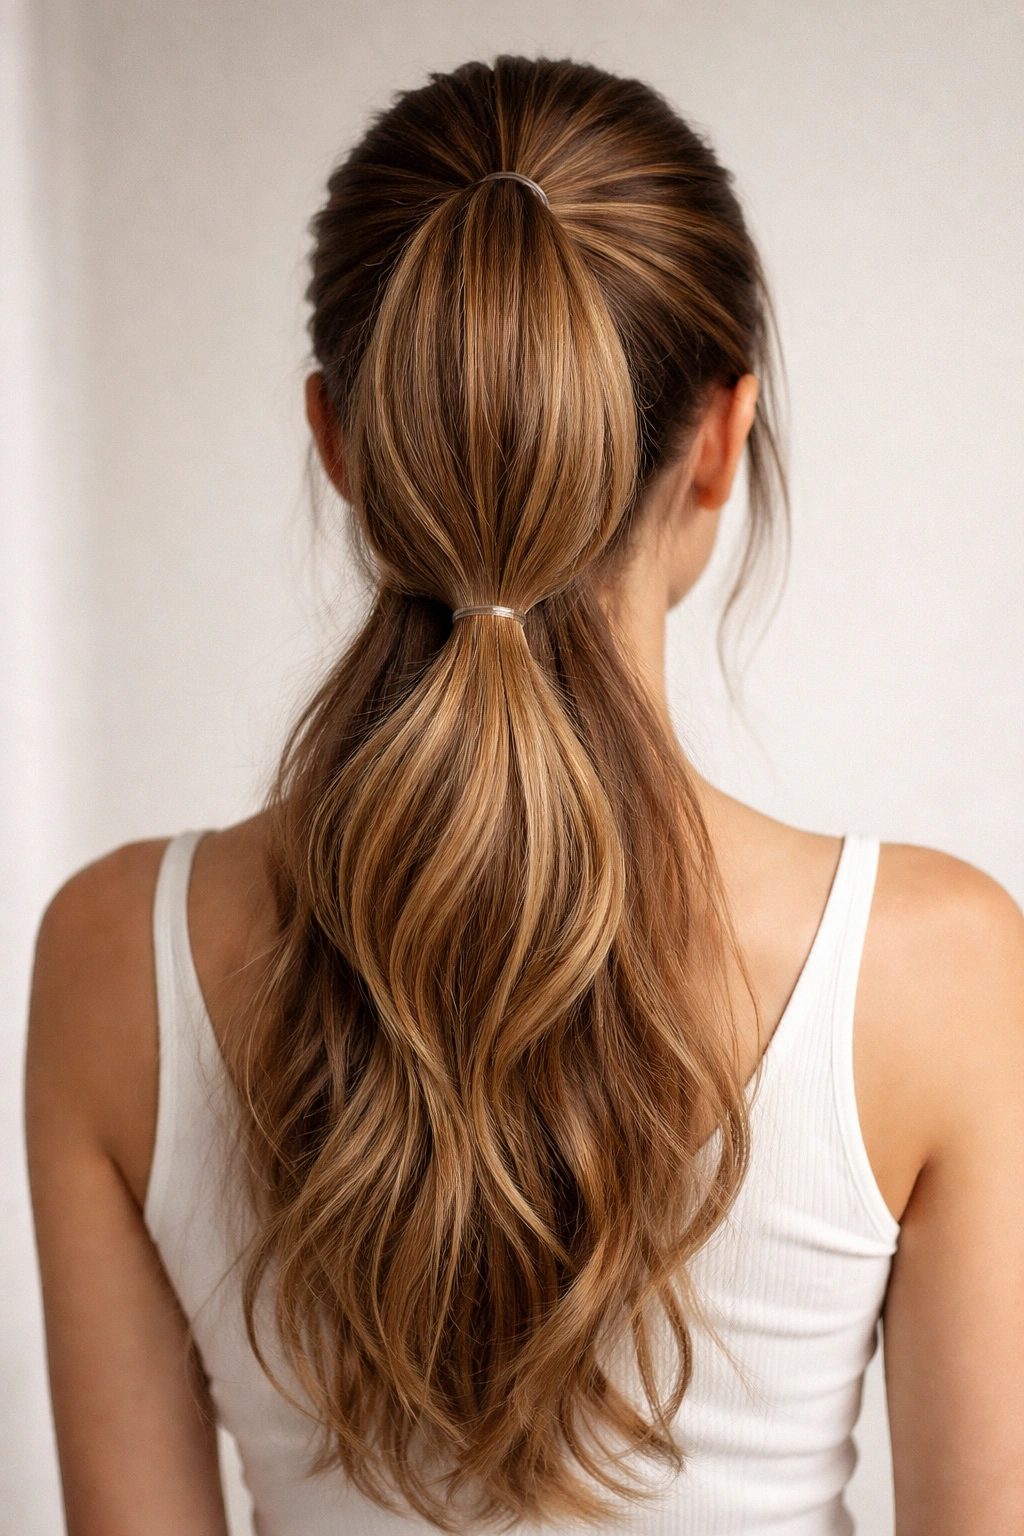
This style creates the visual illusion of thicker, fuller hair and is deceptively easy to execute once you understand the concept. You’re essentially making two ponytails at different heights and integrating them, which creates a sophisticated look that people often assume took way more effort than it actually did.
How to Create It
Divide your hair horizontally from temple to temple, creating a top section and a bottom section. Create a high ponytail with the top section and secure it. Then gather the bottom section with the tail of the high ponytail and secure them together into one lower ponytail. You can either leave the two sections distinct or gently blend them by loosening and fluffing. The result is a ponytail with exceptional volume and dimension.
Why It Works
- The two-tier approach creates the appearance of fullness without needing to backcomb or tease heavily
- It works beautifully on fine or thin hair because you’re stacking and layering rather than trying to create thickness in one section
- The style is incredibly stable because you’ve essentially created two anchor points instead of one
- You can customize the distance between the two sections depending on your hair length and how dramatic you want the effect
Quick fact: This style was popularized as the “bubble ponytail” when done with distinct, separated sections, but keeping them blended looks more modern and elegant.
5. The Braided Ponytail
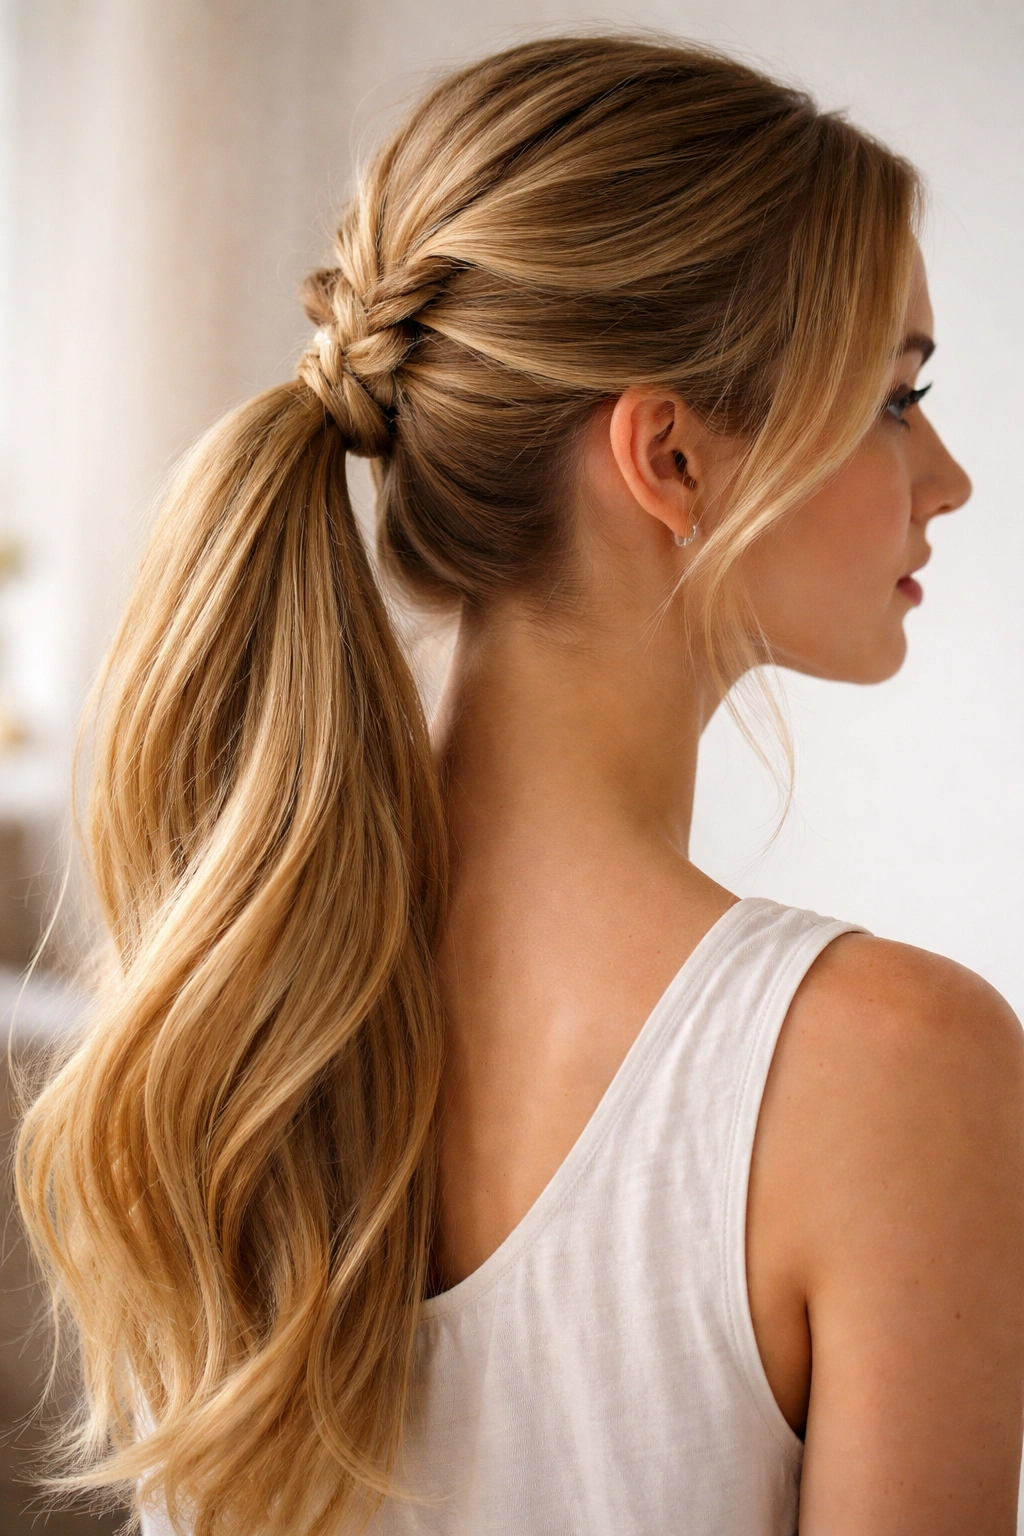
Adding a braid element transforms a simple ponytail into something that feels special without being complicated. You’re not braiding your entire head—just incorporating one or two braids into the base, which automatically elevates the whole look.
How to Create It
Gather your hair into a ponytail as you normally would, but before securing with an elastic, divide the gathered hair into three sections and create a simple three-strand braid. Braid down about two to three inches, then secure the entire style with an elastic that sits below the braid section. The braid becomes the visual anchor of the style, and the loose hair falls beautifully beneath it.
Variations Worth Trying
- French braid from one temple to the back, then gather everything into a ponytail for a more intricate look
- Create two thin Dutch braids on each side of your head, then gather everything into a low ponytail for a fuller, more interesting style
- Braid just the front sections and leave the back loose, creating a half-up hybrid that’s incredibly flattering
- For added drama, braid loosely and then gently pull apart the braid to make it wider and more textured
Pro tip: Slightly damp or textured hair braids much more easily than completely dry, slippery hair, so consider applying a texturizing spray before you start.
6. The Side-Swept Ponytail
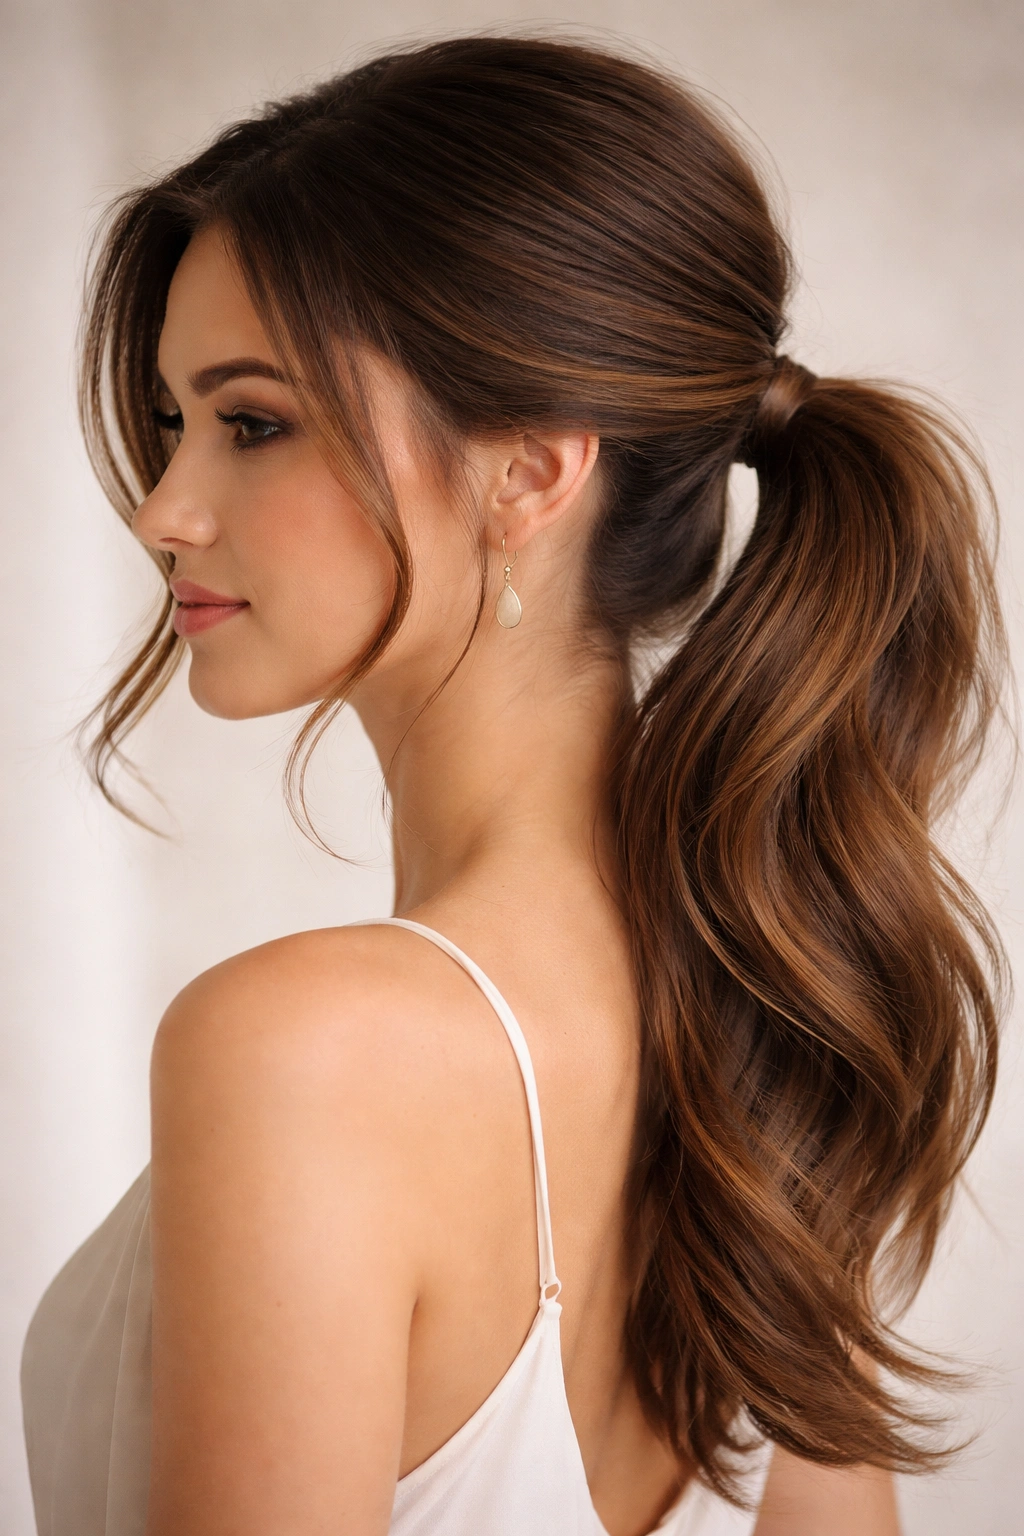
The side-swept ponytail is inherently flattering because it angles your features and creates movement across your face rather than pulling everything straight back. This style works beautifully for dates, events, or any time you want to look polished but not overly formal.
How to Create It
Brush your hair to one side, gathering it slightly lower and further back than you would for a center ponytail—this off-center placement is what creates the swept effect. Secure the ponytail to the side at the nape of your neck or just below your ear depending on how dramatic you want the sweep. For maximum impact, leave face-framing pieces loose on the other side of your face, which lengthens your face and softens the overall effect.
Styling for Different Face Shapes
- Round faces: Sweep to the side to create angles and vertical line
- Oval faces: Either side works, so choose based on which side you prefer
- Square faces: Sweep toward your stronger side to balance your features, and leave loose pieces to soften angles
- Heart-shaped faces: Sweep away from your wider forehead to balance proportions
- Long faces: Bring the swept ponytail slightly higher to avoid elongating further
Worth knowing: This style is absolutely stunning with waves or curls through the ponytail because the movement echoes the sweep and creates more visual interest.
7. The Bubble Ponytail
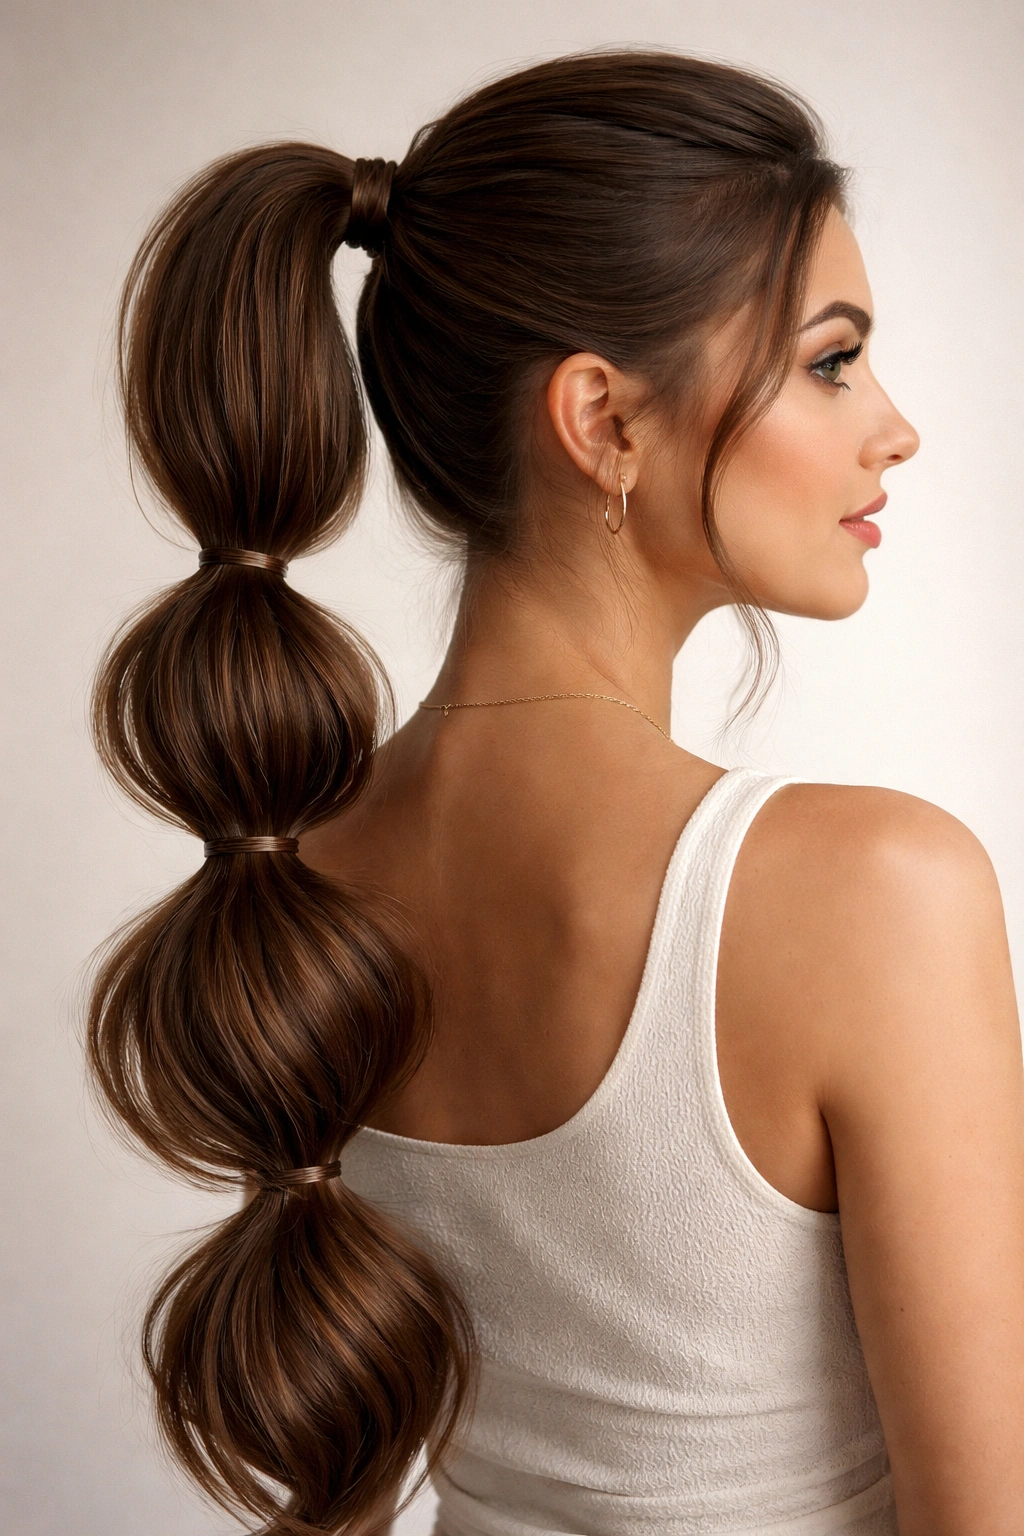
The bubble ponytail is the statement-making style that looks complicated but is genuinely simple once you get the technique. It’s perfect for when you want to look like you spent hours styling (but you didn’t) and creates an instantly fun, youthful vibe.
How to Create It
Create a high ponytail and secure it with an elastic. Then section the ponytail into 3-4 distinct segments using additional elastics, spacing them about two to three inches apart. Gently pull out and fluff each section (called a “bubble”) to create separation and dimension. The more you pull out and loosen each bubble, the fuller and more playful the style looks.
Making Bubbles Look Polished
- Make sure each elastic is positioned exactly where you want it before pulling apart—you can’t easily adjust once you’ve fluffed
- Use smaller elastics that match your hair color so they’re less visible, or use decorative elastics and chains for an intentional accessory moment
- Pull out each bubble evenly so the style looks balanced rather than lopsided
- Consider curling the ponytail lightly before sectioning to add texture that makes the bubbles look fuller
- This style works best when you have medium to thick hair; finer hair may look stringy rather than full
Quick fact: The number of bubbles and their size directly impacts how playful versus polished the style looks—fewer, larger bubbles read more elegant, while many, smaller bubbles look fun and casual.
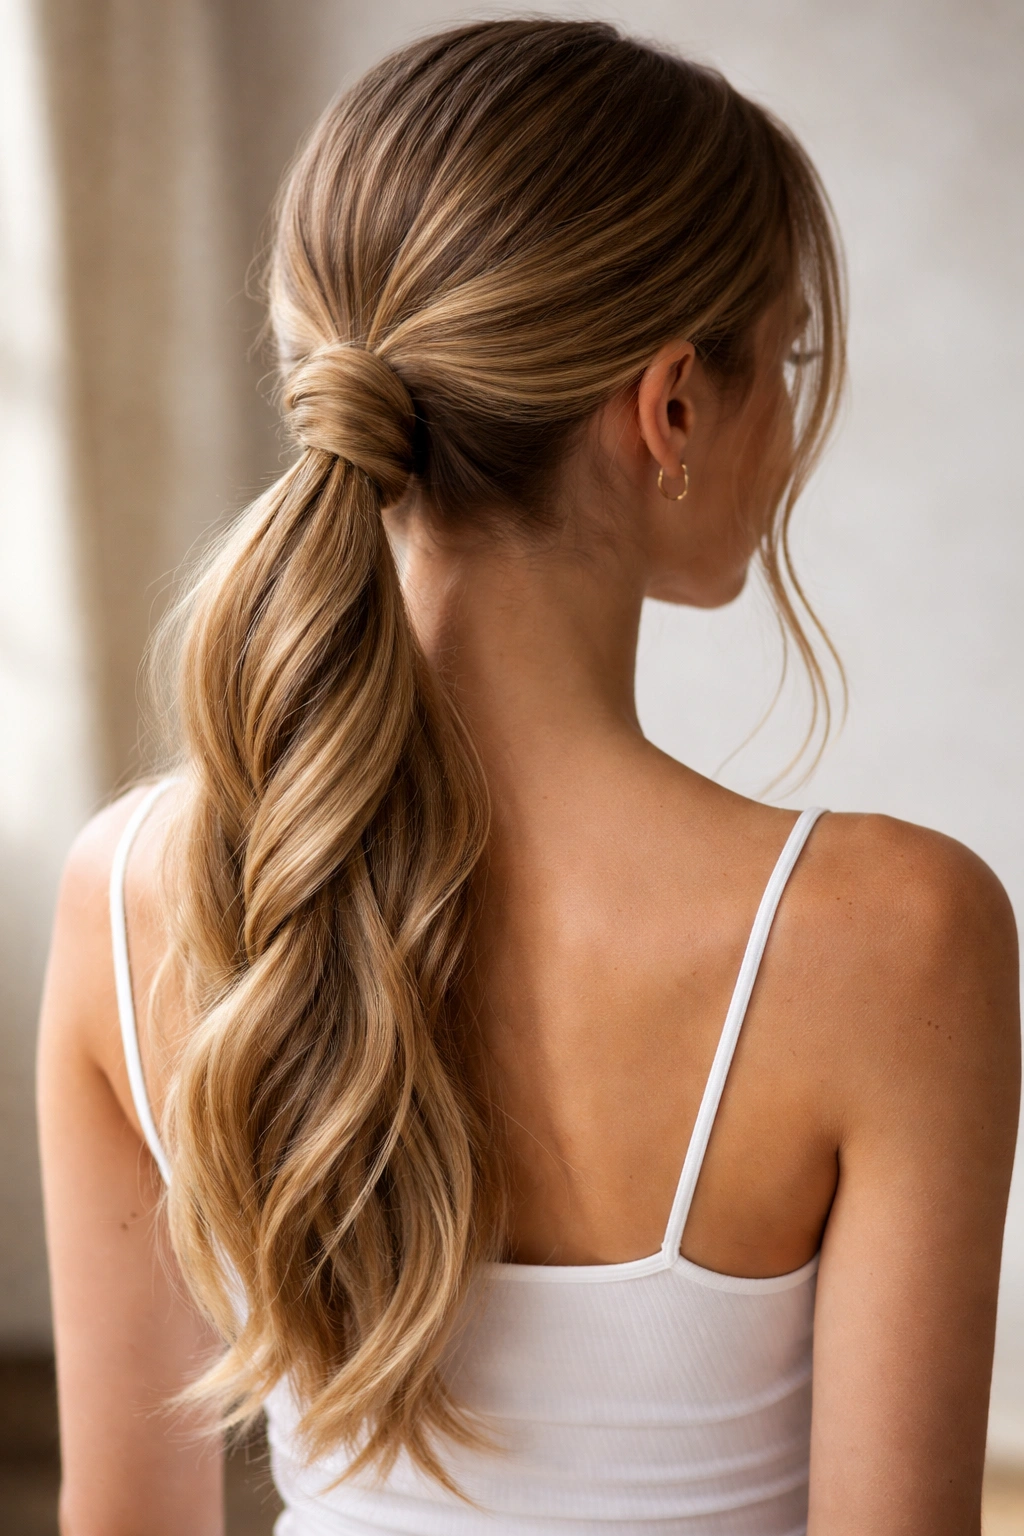
8. The Wrapped Ponytail
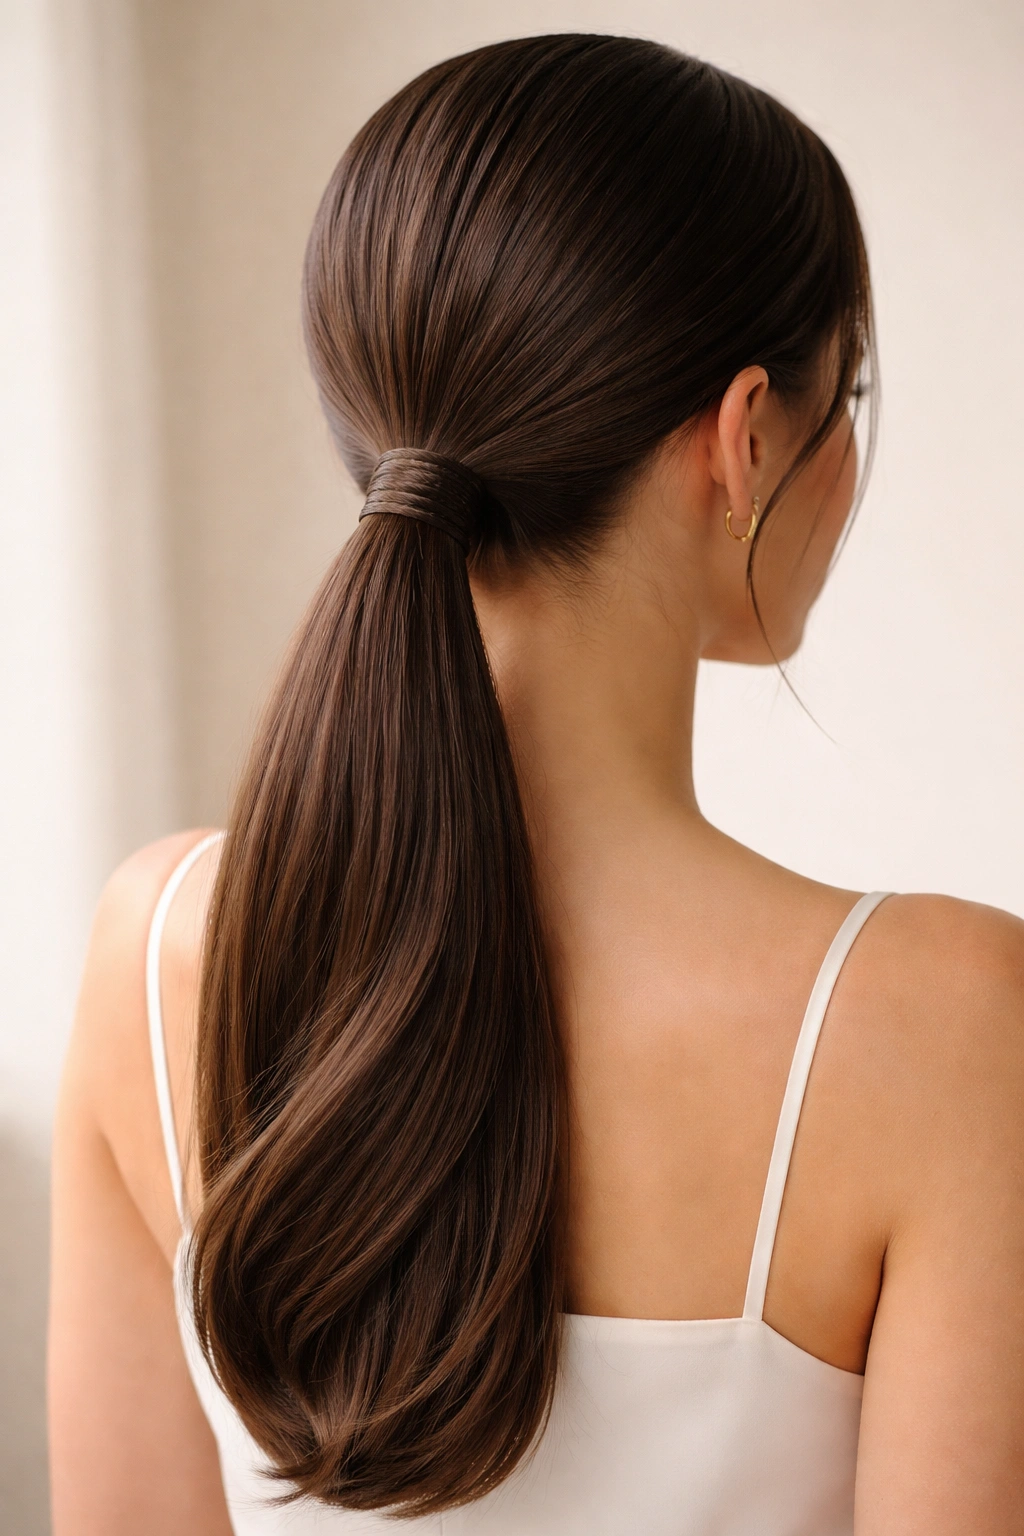
The wrapped ponytail is essentially a low ponytail with an intentional focal point created by wrapping your own hair (or a coordinating ribbon) around the base. It’s minimalist but elevated, and the wrapping detail makes it look significantly more polished than a basic ponytail.
How to Create It
Create a sleek or textured low ponytail and secure it with an elastic. Take a thin section of hair (about one inch wide) from underneath the ponytail and begin wrapping it around the elastic and base, spiraling upward. Continue wrapping until you’ve covered the elastic completely, then pin the end underneath where it won’t be visible. Smooth any flyaways with a light smoothing product for a finished look.
Alternative Wrapping Methods
- Use a silk ribbon or metallic cord instead of hair for a more decorative, accessory-forward approach
- Wrap a decorative scarf around the base for a bohemian, intentional look
- Create a twisted section (rather than straight hair) to wrap for added texture and dimension
- Wrap only partway around the elastic for a half-wrapped, modern aesthetic
- Use a contrasting color wrap to make the ponytail a statement piece
Pro tip: The wrapped section should be smooth and sleek, so if you’re wrapping with your own hair, either straighten that section or smooth it with serum before you start wrapping.
9. The Messy Textured Ponytail
This is the style that celebrates imperfection and movement—it looks intentionally undone rather than sloppy, creating a relaxed, effortless vibe that’s perfect for weekends, casual outings, or when you genuinely didn’t have time to style but still want to look put-together.
How to Create It
Start by adding texture to your hair using waves, curls, or a texturizing spray. Gather your hair into a ponytail at your preferred height, but don’t worry about making it perfectly smooth—a little texture and looseness is the entire point. Secure with an elastic, then deliberately pull apart and loosen sections of the ponytail, working your way down. Leave flyaways and soft pieces loose around your face and neck for maximum relaxed effect.
Getting the “Effortless” Balance Right
- The difference between messy and unkempt is intention—you’re deliberately creating looseness, not just throwing your hair in a band
- Use a texturizing spray or dry shampoo to create grip and texture; this makes the messy look feel intentional rather than greasy or dirty
- Make sure your face and hairline are clean and groomed, which contrasts with the intentional looseness of the ponytail
- Leave the lower back portion of your ponytail slightly fuller and less pulled-apart for balance
- Smooth any pieces that fall in front of your ears so they frame rather than cover your face
Worth knowing: This style actually requires more thought than it appears to—you’re being deliberate about where the texture is, where the looseness is, and where things are tight. It’s the styling equivalent of carefully curated chaos.
10. The Sleek High Bun Ponytail
For occasions when you want the practicality of a ponytail but the polished formality of a bun, this hybrid style splits the difference beautifully. You get a high gathering point that’s secure and elegant, but with the softness and volume of a ponytail.
How to Create It
Create a sleek high ponytail as you would normally, but make it looser than a standard high ponytail. Gently twist the ponytail and begin coiling it around the base to create a wrapped, bun-like shape. Secure the coil with bobby pins tucked underneath, and use a smoothing product to finish any flyaways. The result is something between a ponytail and a bun—formal enough for events or professional settings, but with the ease and practicality of a ponytail.
Occasion-Appropriate Styling
- For very formal events: Keep it completely sleek and smooth with zero texture; consider a decorative comb or pearl pins for elegance
- For professional settings: Medium smoothness with a few soft pieces around the face looks approachable rather than severe
- For casual occasions: Loosen the coil and pull out some texture so it reads as more relaxed
- For maximum staying power: Use bobby pins generously and finish with a light hairspray
- With long hair: The excess length gives you a full, voluminous coil rather than a tight, thin bun
Insider note: This style is incredibly stable, so it’s an excellent option if you’re going to be active, outdoors, or in a humid environment where standard ponytails might slip.
11. The Half-Up Ponytail
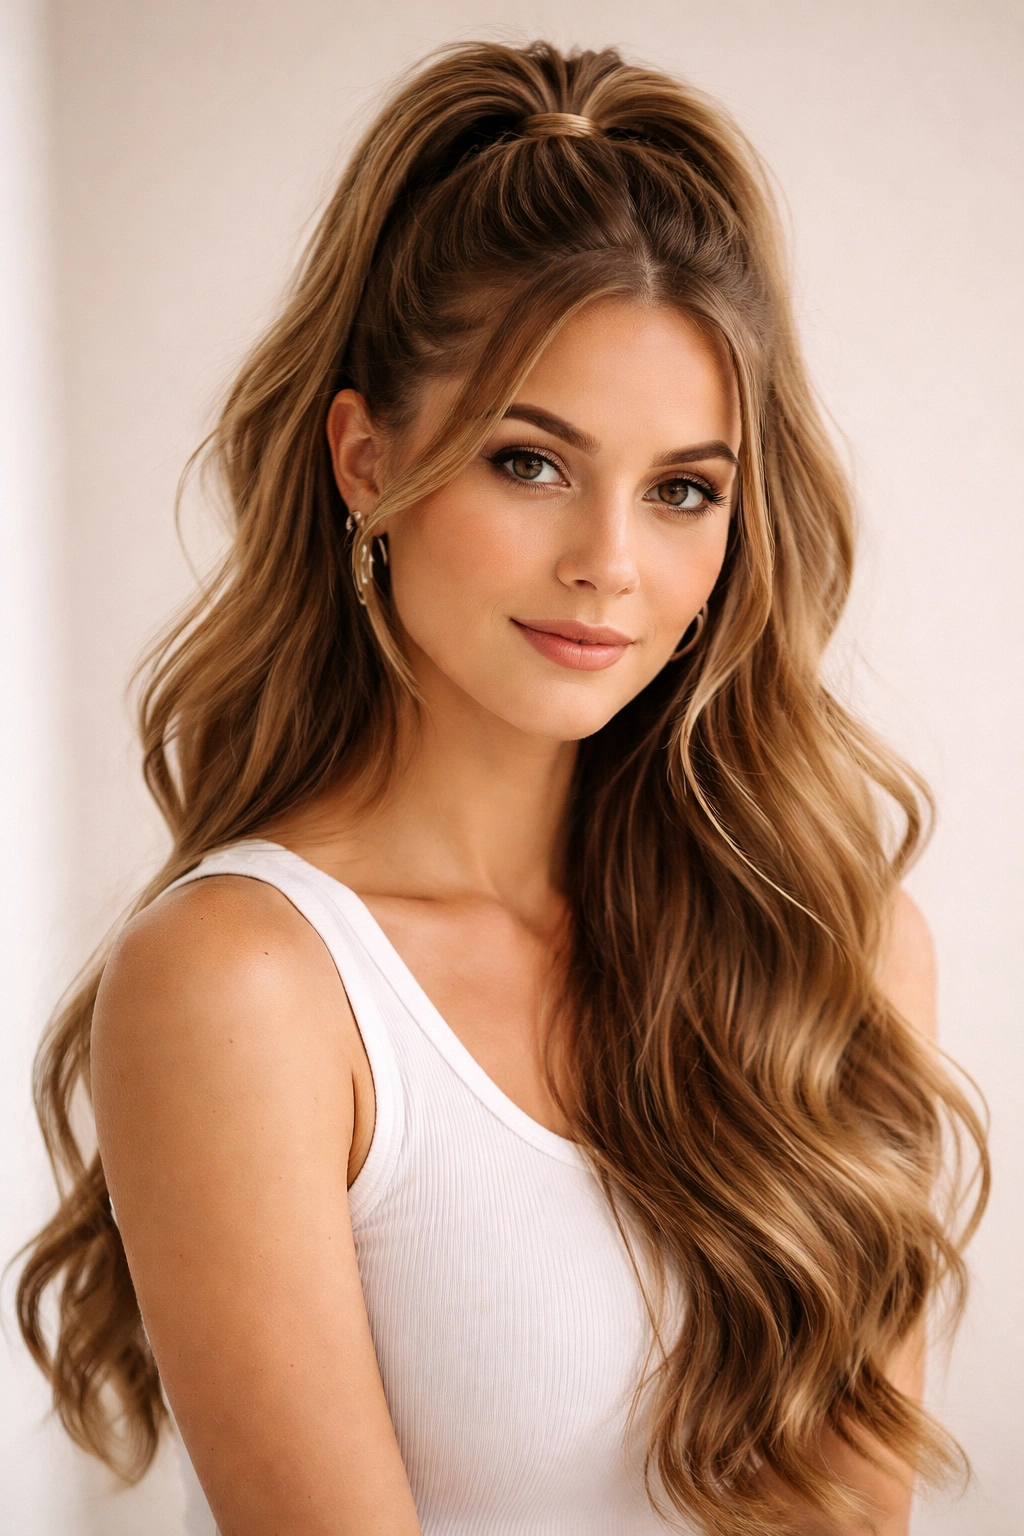
The half-up ponytail gives you the best of both worlds—the practical security of a gathered style with the movement and length of wearing your hair down. It’s endlessly versatile and works for nearly every occasion, from gym sessions to dinner dates.
How to Create It
Section off the top half of your hair from temple to temple, as if you were creating a half-up style. Gather this section into a ponytail at the crown and secure with an elastic. The bottom half of your hair falls completely loose, creating a layered, interesting look. You can make the gathered section tight and sleek, or loose and textured—both versions read as intentionally styled.
Variations That Add Visual Interest
- Braid the gathered section before securing for a more intricate look
- Create two smaller half-up sections on each side and connect them at the back for a fuller effect
- Leave pieces loose around your face within the gathered section for softness
- Twist the gathered section rather than braiding it for a more casual aesthetic
- Add a wrap or hair accessory where the elastic sits to create an intentional focal point
Pro tip: This style works beautifully with long layers because the loose bottom section has multiple lengths that create natural movement and dimension.
12. The Twisted Ponytail
The twisted ponytail is elegant and visually interesting without being complicated—you’re essentially twisting sections of your hair as you gather, which creates a rope-like texture that reads as significantly more intentional than a basic gather.
How to Create It
Take your hair and divide it into two sections. Twist the left section clockwise, twist the right section clockwise, then wrap the two twisted sections around each other to create a rope effect. Gather this twisted rope at your preferred ponytail height and secure with an elastic. The result is a textured, sophisticated gather that looks intricate but requires no braiding skill.
Customizing Your Twisted Style
- Twist tightly for a polished, structured look that works for professional settings
- Twist loosely and pull apart the twists for a relaxed, textured aesthetic
- Create three twisted sections instead of two for additional visual complexity
- Wrap one twisted section around the elastic as your finishing touch
- This style works beautifully with slightly damp or texture-sprayed hair, which holds the twist more consistently
Quick fact: The twisted ponytail is often more secure than braided versions because the rope-like structure has natural grip, making it excellent for active days or warm weather when you need something that will definitely stay put.
Final Thoughts
The wonderful thing about long hair ponytails is that you genuinely don’t need advanced styling skills or expensive tools to look polished and intentional—just a basic elastic, maybe a few bobby pins, and the knowledge of which style suits the occasion and your mood. Whether you’re reaching for the simplicity of a classic high ponytail before a workout, the sophistication of a sleek low ponytail for work, or the creativity of a twisted or braided version for fun, you’ve got instant options that transform your look in minutes.
The real secret to ponytails that look professionally done rather than hastily thrown together is taking just a bit of extra time in a few key places: smoothing flyaways if you’re going for sleek, adding texture if you’re going for relaxed, and wrapping or securing elements so the elastic isn’t visible. These finishing details matter disproportionately to how polished the final result looks.
Keep experimenting with these styles until one or two become your absolute go-to defaults—the ones you can create in barely any time because your hands know the steps automatically. Long hair is genuinely a styling advantage, so lean into that length and let it do the heavy lifting for you. Your future self on mornings when you’re running behind will absolutely thank you.