Getting your hair ready for school should be quick, cute, and actually hold throughout the day without falling apart by second period. A great ponytail isn’t just about throwing your hair into a tie and calling it done—it’s about choosing a style that works with your hair type, keeps you looking polished from morning through afternoon, and gives you the confidence to focus on your classes instead of adjusting your hair every five minutes.
The beauty of ponytail hairstyles is that they’re endlessly adaptable. Whether you have thick, curly, straight, or fine hair, whether you want something sleek and preppy or casual and textured, there’s a ponytail style that’ll work perfectly for you. Plus, once you nail the technique for a few of these styles, you can switch things up throughout the week without spending any more time in front of the mirror. You’ll actually save time in the mornings while looking more put-together than friends who leave their hair down.
School ponytails need to be practical, but that doesn’t mean they can’t be fun. You can add texture, play with placement, incorporate braids, or use accessories to make the same basic ponytail look completely different. The styles below range from effortlessly simple to slightly more involved, so you can pick based on how much time you have before the bell rings and how adventurous you’re feeling.
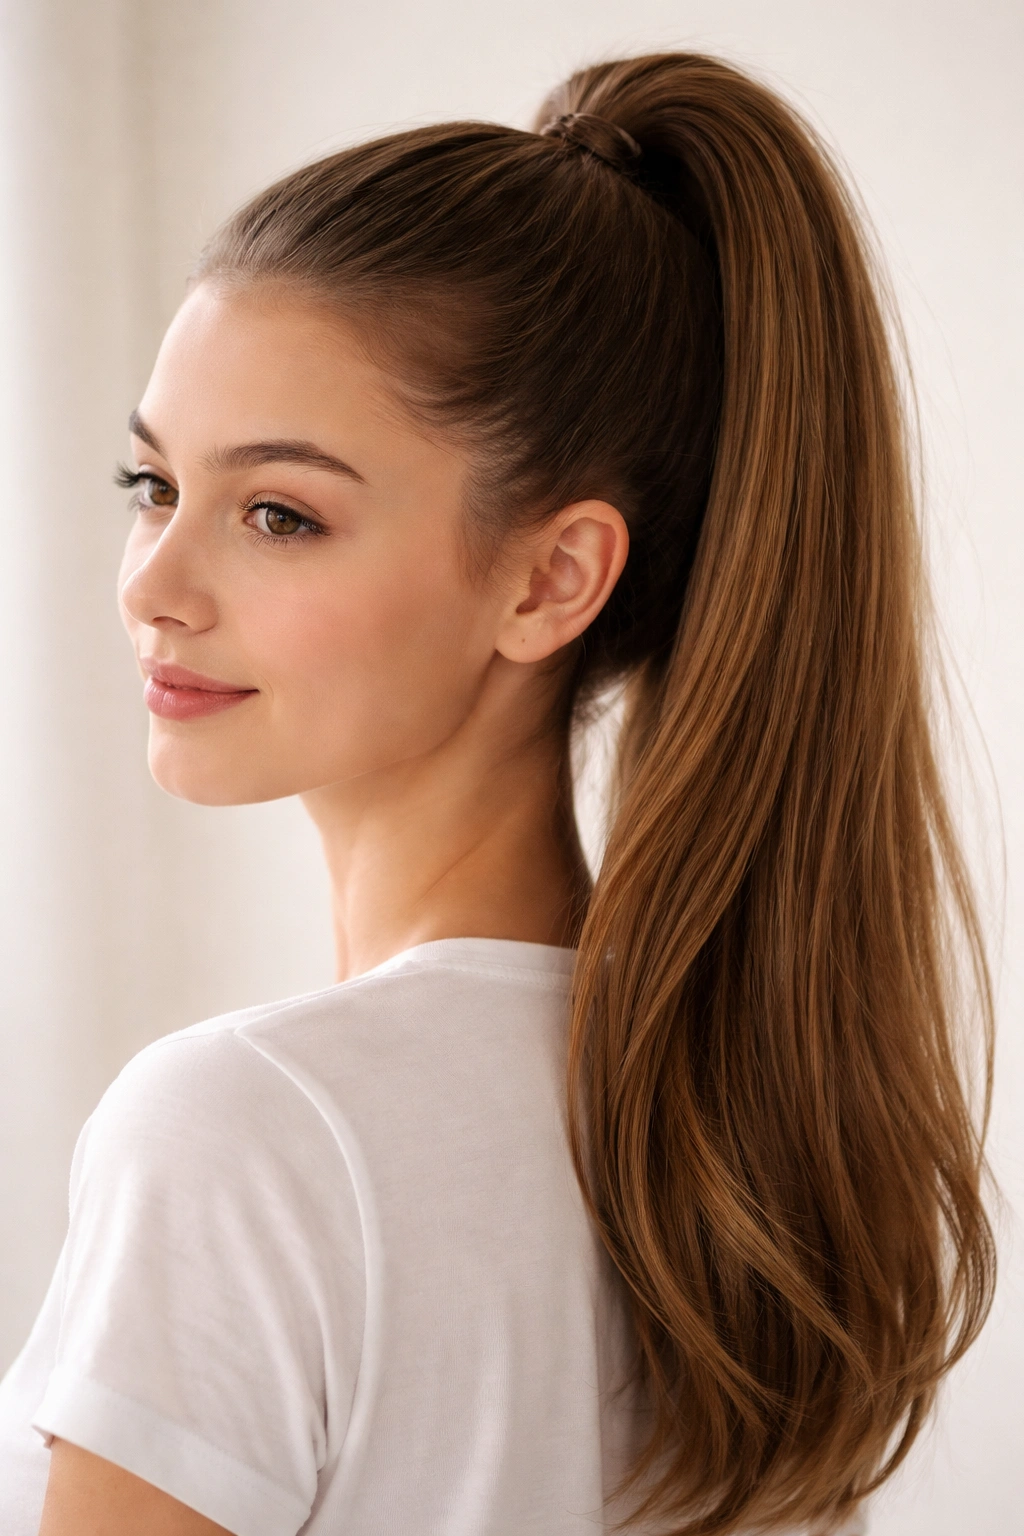
1. The Classic High Ponytail
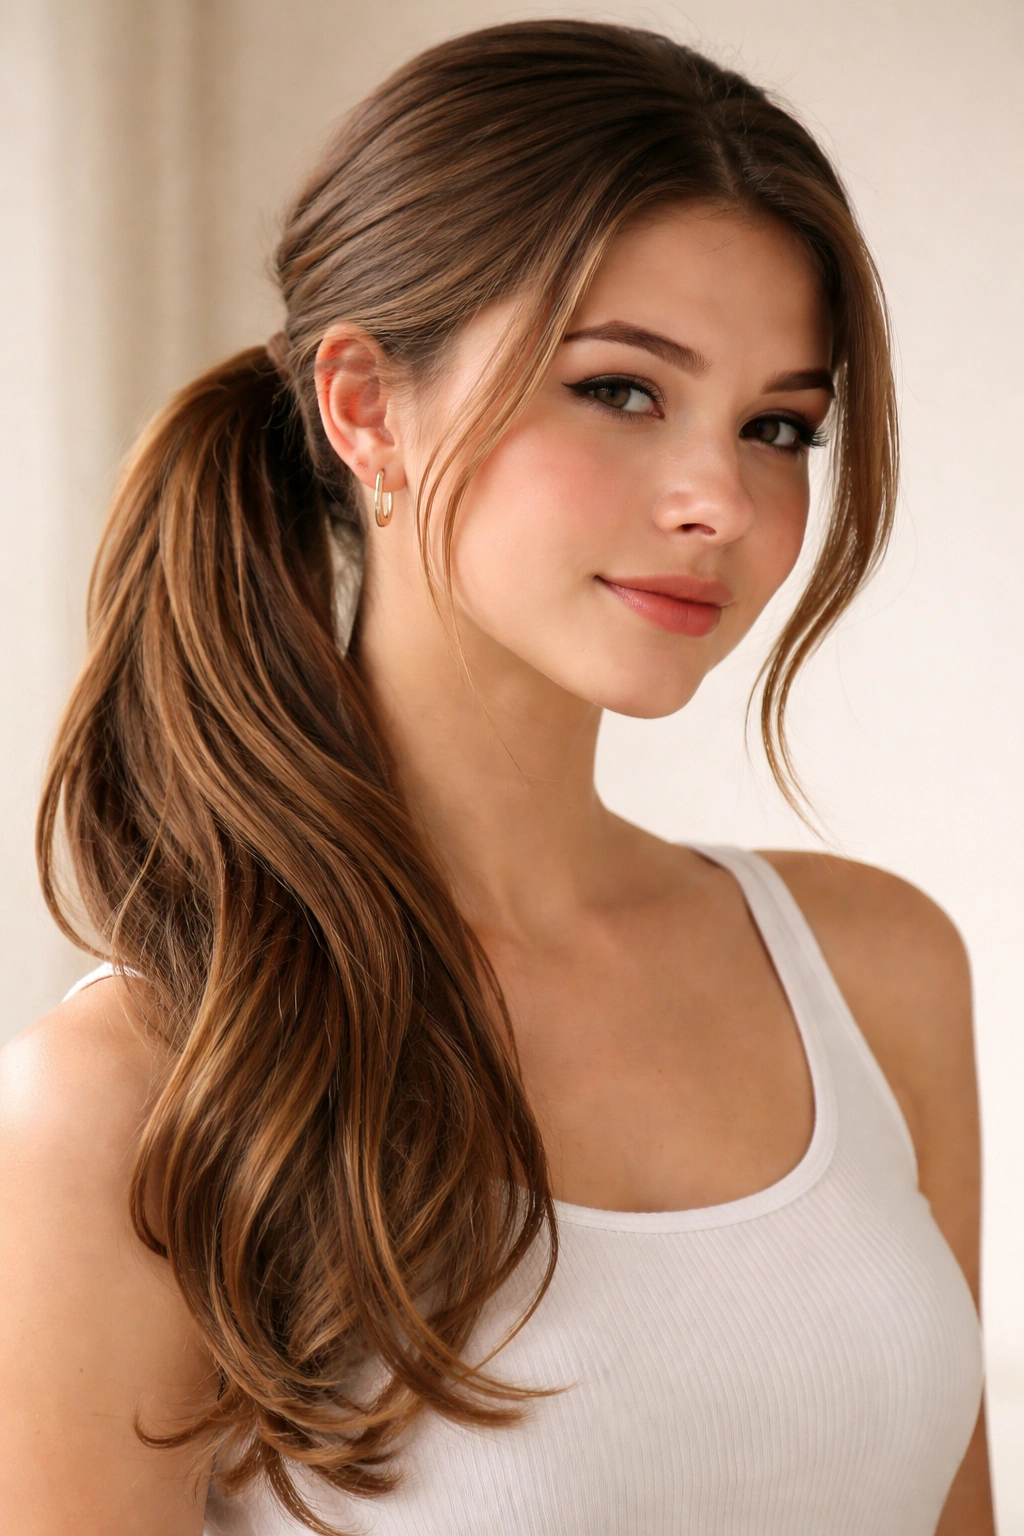
The high ponytail is the foundation every student should know because it’s clean, timeless, and works for literally every occasion. This style sits at the crown of your head and creates an instant pulled-together look that reads as intentional and neat, even when you’re wearing casual clothes. It’s the kind of style that works equally well in biology class, at lunch, or if you suddenly find out there’s a surprise assembly.
Why It Works for School Days
A high ponytail keeps hair completely off your face and neck, which means you’ll stay comfortable throughout the day without the distraction of strands falling into your eyes. The height of the placement instantly lifts your face and makes you look more awake, which is genuinely helpful on those mornings when you didn’t sleep quite enough. Because this style is so polished-looking, it actually makes you appear more focused and ready to learn—research on first impressions shows that neat hairstyles contribute to how competent and attentive people perceive you as being.
How to Create the Perfect High Ponytail
- Start with dry or slightly damp hair for the best grip and texture—completely wet hair is too slippery and will slide out of your elastic by mid-morning
- Use a fine-tooth comb or brush to smooth hair straight back from your face, gathering everything at the crown of your head (the highest point of your scalp, not the back of your head)
- Hold your ponytail firmly with one hand while using the other to wrap an elastic around the base two or three times until it’s completely secure
- For extra polish, take a small section from the base of the ponytail and wrap it around the elastic to hide the hair tie, then secure that wrapped section with a bobby pin tucked underneath
Pro tip: If you have flyaways or baby hairs around your face, smooth them down with a tiny bit of gel or a damp toothbrush before securing the ponytail—it takes 30 seconds and makes the style look infinitely more intentional.
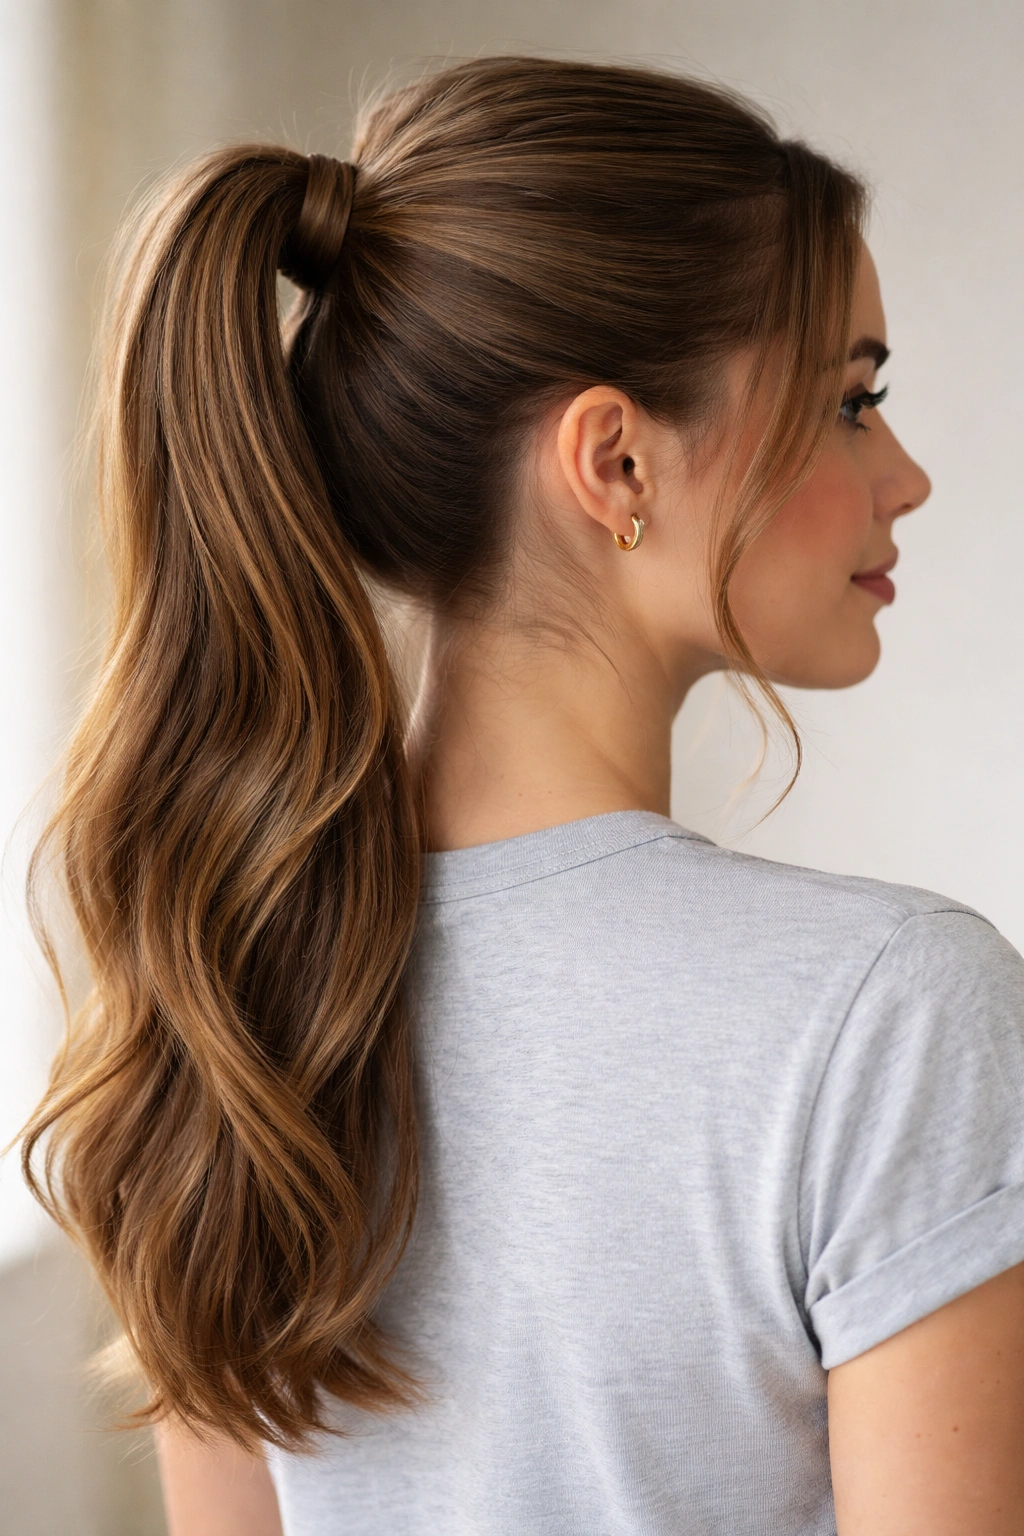
2. The Low Ponytail
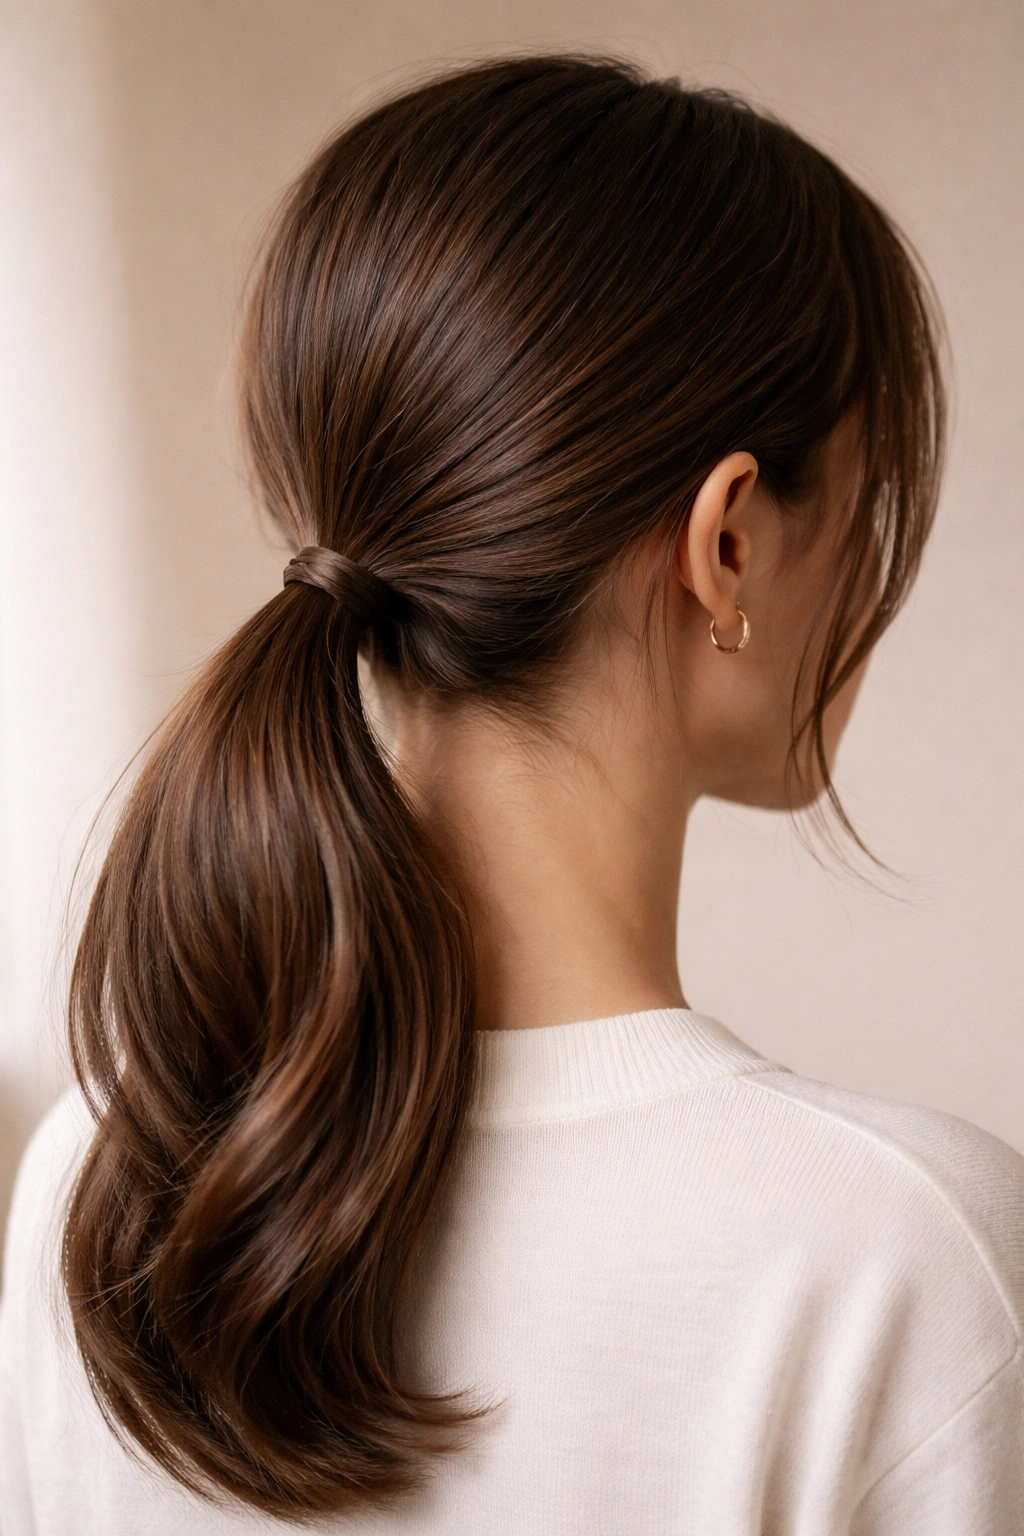
A low ponytail sits at the nape of your neck and creates an effortlessly sophisticated look that feels less intense than a high ponytail. This style is perfect for days when you want your hair pulled back but still want a softer, more relaxed vibe. It photographs well during school events, and it’s genuine enough that people won’t think you spent an hour getting ready when you actually did it in three minutes.
What Makes It Perfect for Casual School Days
Low ponytails read as more mature and thoughtful than high ponytails, which is why they’re especially smart for presentations, group projects, or any day when you want to project confidence without looking like you’re trying too hard. The placement just below the nape of your neck creates a longer vertical line that’s flattering on most face shapes. Because the ponytail sits lower, it also puts less tension on your scalp, which means it’s more comfortable to wear for eight hours straight without getting that pulling sensation that can lead to headaches.
Steps to Master a Polished Low Ponytail
- Brush your hair smoothly back toward the back of your neck, aiming for the lowest point where your head starts to curve downward
- Gather all your hair with both hands at that spot, making sure no sections are left out from the sides
- Secure with an elastic, wrapping it around at least twice so the ponytail absolutely won’t slip
- For a softer finish, gently pull a few face-framing pieces loose around your temples—just small sections that won’t fall into your eyes during class
- Optional: take a small section from the ponytail itself and wrap it around the elastic base, pinning it underneath for a finished, intentional look
Worth knowing: Low ponytails work especially well if you have layered hair, since the layers create natural texture and movement that looks polished without extra effort.
3. The Sleek Bun Ponytail Hybrid
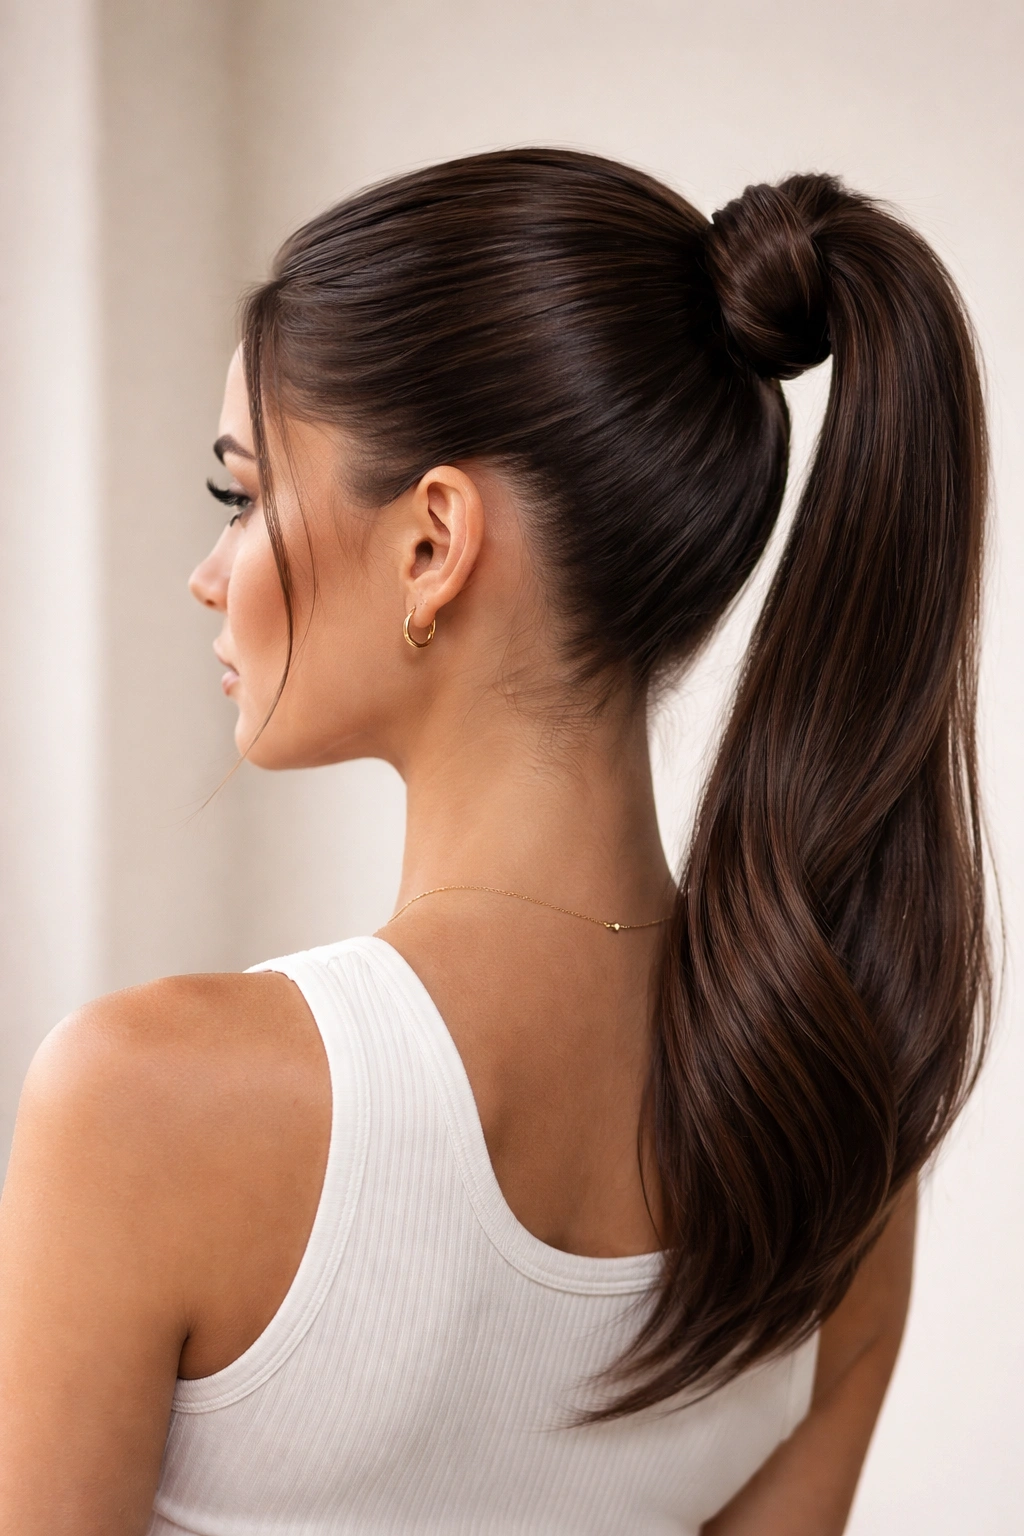
This style is technically a high ponytail, but instead of leaving the length loose, you twist it and wrap it around the base to create a bun-like shape. It’s the perfect option when you want all the benefits of a ponytail but also want something that feels a little bit special or more formal. You get to keep your hair off your neck, plus you get the clean, purposeful look of an updo.
Why Students Love This Hybrid Style
The bun ponytail hybrid is genuinely versatile—it looks casual enough for regular school days but polished enough for presentations, performances, or dress code days. It’s also incredibly practical because twisted hair is less likely to come loose than a standard ponytail, which means you won’t spend the day retying your hair. The style is forgiving too; if your twist isn’t perfectly neat, it actually looks intentional and modern rather than messy.
Creating a Sleek Bun Ponytail in Minutes
- Gather your hair into a high ponytail and secure it tightly with an elastic
- Take the ponytail length in both hands and twist it firmly, turning it in one direction until it forms a rope-like spiral
- Wrap the twisted ponytail around the base in a circular motion, going around and around until all the length is coiled
- Use bobby pins to secure the wrapped bun, inserting them horizontally through the bun and into your scalp underneath
- Smooth down any flyaways with a little bit of styling cream or gel for that sleek, intentional finish
Insider note: If your hair is slippery and won’t hold a twist well, do a basic ponytail first, then twist just the bottom half—it’s much easier to manage and looks just as polished.
4. The Bubble Ponytail
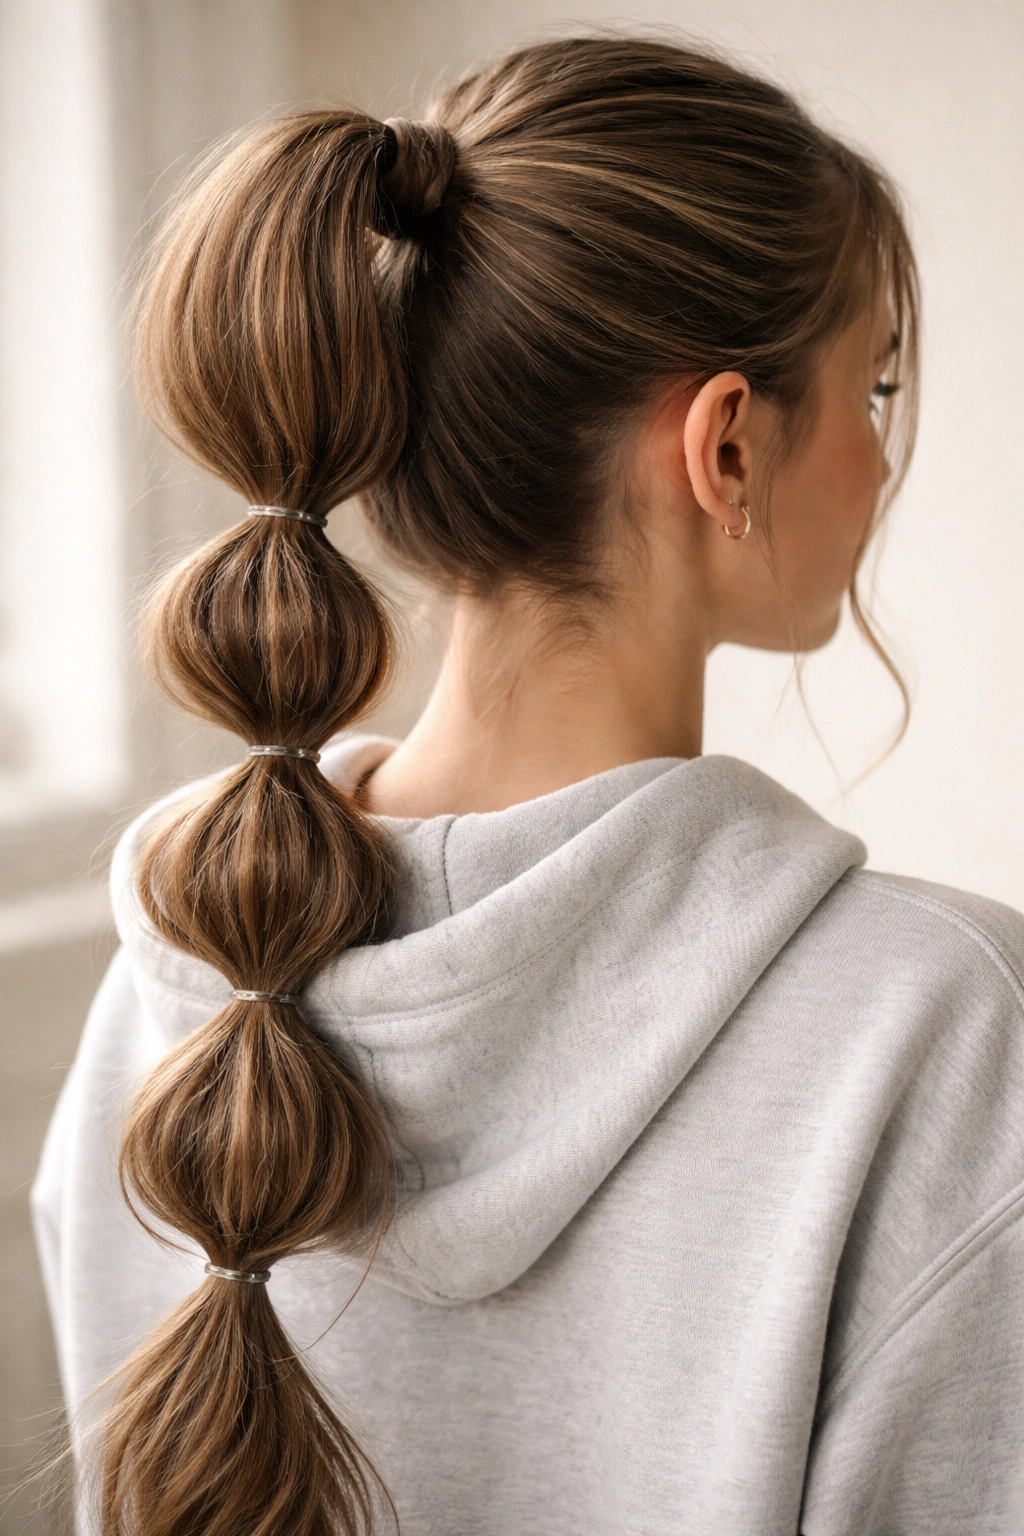
A bubble ponytail is a high or mid-height ponytail with several elastics spaced down the length, creating rounded “bubbles” of hair between each elastic. It looks playful and modern without being childish, and it’s definitely a conversation starter if you’re looking to stand out from the standard ponytails your classmates are wearing. The technique is surprisingly simple once you understand the concept.
Why It’s Unexpectedly Practical
Bubble ponytails are more secure than regular ponytails because the multiple elastics distributed along the length prevent the whole thing from slipping. They also naturally create texture and movement that reads as intentional and styled, even though you’re just using basic elastics. The visual interest of the bubbles makes this style especially great if your hair is fine or thin, since the bundled sections make your hair look thicker and fuller.
Building Your Bubble Ponytail Step by Step
- Start with a regular high ponytail secured tightly with an elastic at the crown
- About two inches down the ponytail length, add another elastic, gathering the ponytail above it and wrapping the elastic around it
- The section between the two elastics will puff out slightly—this is the first “bubble”
- Continue down the ponytail, adding elastics every two inches, creating multiple bubbles as you go
- Gently fluff each bubble outward with your fingers to make them fuller and more pronounced
- Tease lightly under each bubble with a comb to add volume if you want extra texture
Pro tip: Matching elastics to your hair color makes the bubbles look intentional and polished, while contrasting colors with fun hair clips look playful—either approach works depending on the vibe you want.
5. The Twisted Ponytail
Instead of a straight ponytail, this style incorporates a twist, creating a more textured, interesting look that feels less harsh than a standard smooth ponytail. You’re essentially wrapping a section of your hair around the rest of your ponytail, which adds visual interest and makes a basic style feel more sophisticated. It works on all hair types and actually hides imperfections better than a totally smooth ponytail.
What Makes the Twisted Style Special
A twisted ponytail feels less severe than a perfectly smooth high ponytail, which is why it’s perfect for days when you want to look put-together but not overly formal. The twist adds dimension and movement that photographs well and looks interesting from every angle. Because the twisted section is wrapped around the base, it also camouflages the elastic and any loose hairs, making the whole style look more refined and intentional.
The Technique for a Gorgeous Twisted Ponytail
- Gather your hair into a high or mid-height ponytail and secure it with an elastic
- Take a one-inch section from the side of the ponytail and twist it firmly, turning it tightly until it forms a rope
- Wrap the twisted section around the base of the ponytail where the elastic sits
- Secure the end of the twisted section with a bobby pin tucked underneath so it’s invisible
- Use your fingers to gently soften the twist slightly—you want it to look intentional but not overly perfect
- Optional: pull a few tiny face-framing pieces loose for a softer, less severe look
Worth knowing: If your ponytail is thick or heavy, use two twisted sections instead of one—it distributes the weight better and looks more balanced.
6. The Side Ponytail
A side ponytail sits off to one side of your neck rather than centered in the back, creating an asymmetrical, interesting look that immediately sets your style apart. This placement works especially well if you have side-swept bangs or longer layers around your face. It’s a style that looks effortlessly chic and works for both casual school days and slightly dressier occasions.
Why Side Ponytails Stand Out
Side ponytails create the illusion of fullness and thickness because of how the hair is gathered to one side, which is especially helpful if you have fine or thin hair. The asymmetrical placement is inherently flattering—it’s the reason makeup artists and stylists use off-center placement to create visual interest. A side ponytail also feels more fashion-forward and intentional than a centered style, so people tend to notice and compliment it more.
Creating a Polished Side Ponytail
- Brush all your hair to one side of your head, typically the side that naturally suits your face best
- Gather it at the side of your neck (approximately where your ear is) and hold it firmly with one hand
- Secure with an elastic, wrapping it around two or three times for security
- Gently pull a few face-framing pieces loose around your opposite temple for balance and softness
- Option to wrap a small twisted section around the elastic base for a more finished look
- Smooth the side piece that’s gathered with a brush or comb for a sleek finish
Pro tip: If you have bangs, keep them down when doing a side ponytail—it balances the asymmetry and frames your face beautifully.
7. The Braided Ponytail
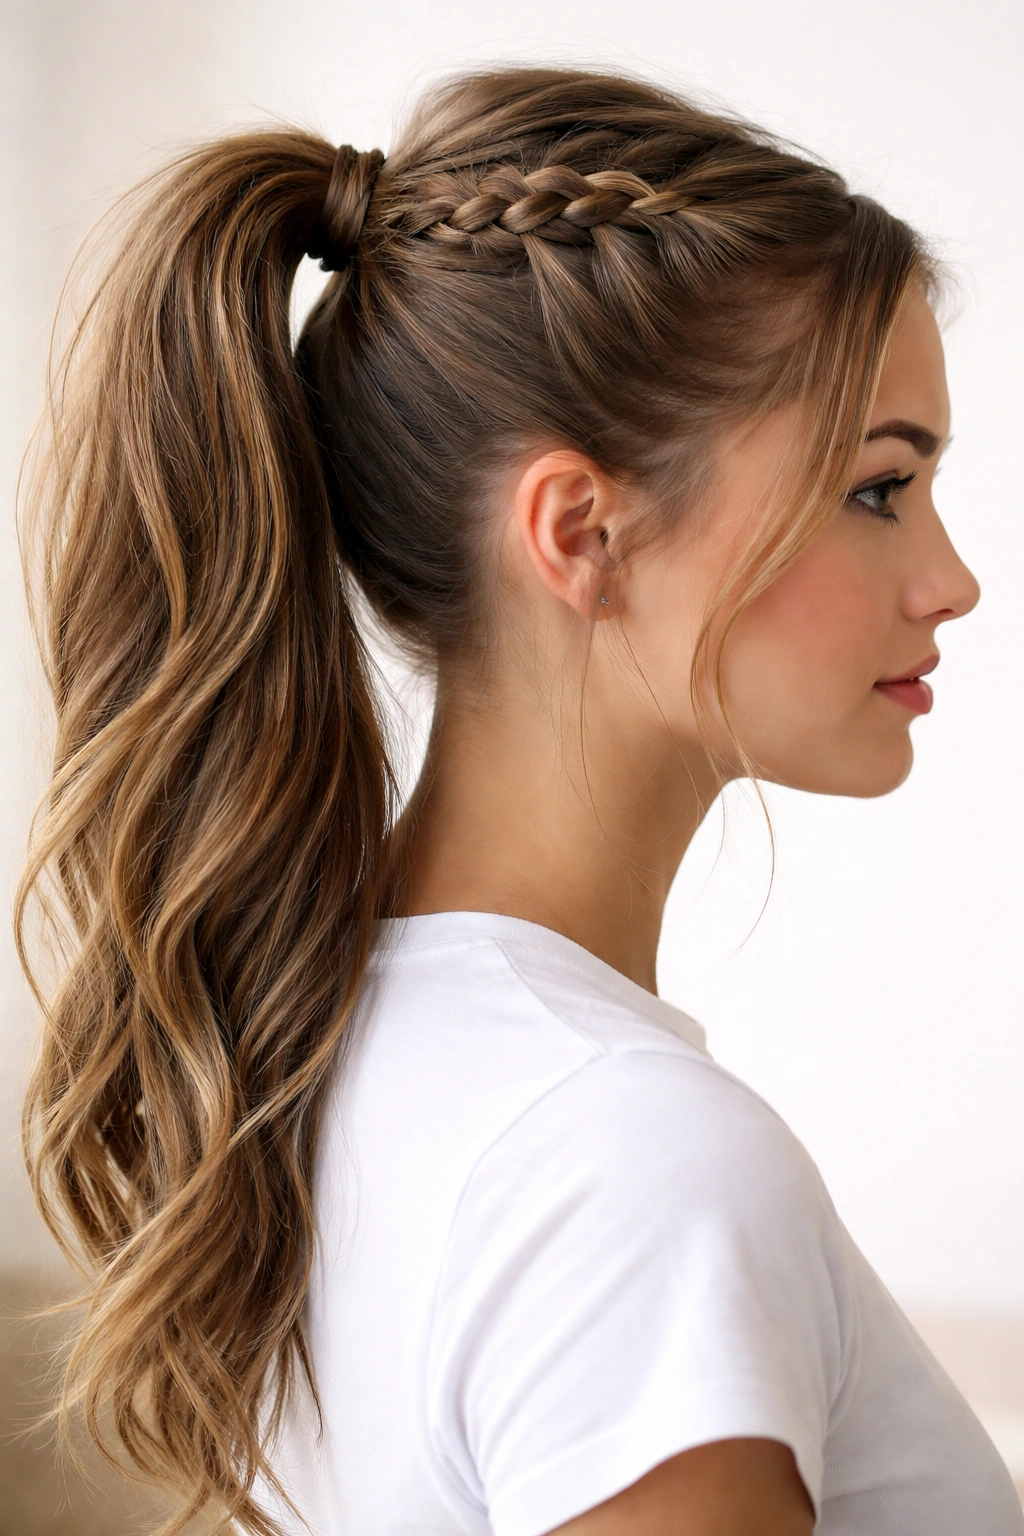
This style combines braiding with a ponytail—you braid a section of your hair and incorporate it into a regular ponytail, or you braid the actual ponytail length itself. Either approach adds texture and visual interest while keeping your hair completely secured and secure for the entire school day. It’s the perfect style if you want to look like you put real effort into your appearance without the fuss of doing a full head of braids.
Why Braids Make Everything Better
Braided elements instantly make a hairstyle look more intentional, polished, and thoughtfully done. A braided ponytail is significantly more secure than a regular ponytail because the braiding locks everything in place—it won’t slip or loosen throughout the day. Braids also look great on every hair texture from straight to curly, and they actually work better when your hair isn’t freshly washed and is slightly textured.
Two Braided Ponytail Approaches That Work
- Side braid into ponytail: Braid a section from one side of your head (starting near your temple), then gather all your hair including the completed braid into a ponytail at the back. The braid wraps around and becomes part of the gathered ponytail.
- Braided ponytail length: Create a regular ponytail, then divide the length into three sections and braid it from the elastic all the way down to the ends. Secure the end with a small elastic.
For either method: Let the braid be slightly loose and textured—tight braids look harsh for school, while relaxed braids look modern and intentional. Gently tug the edges of the braid to make it fuller and softer.
Insider note: French braiding is optional—a simple three-strand braid works just as beautifully and is faster to execute on a school morning.
8. The Half-Up Ponytail
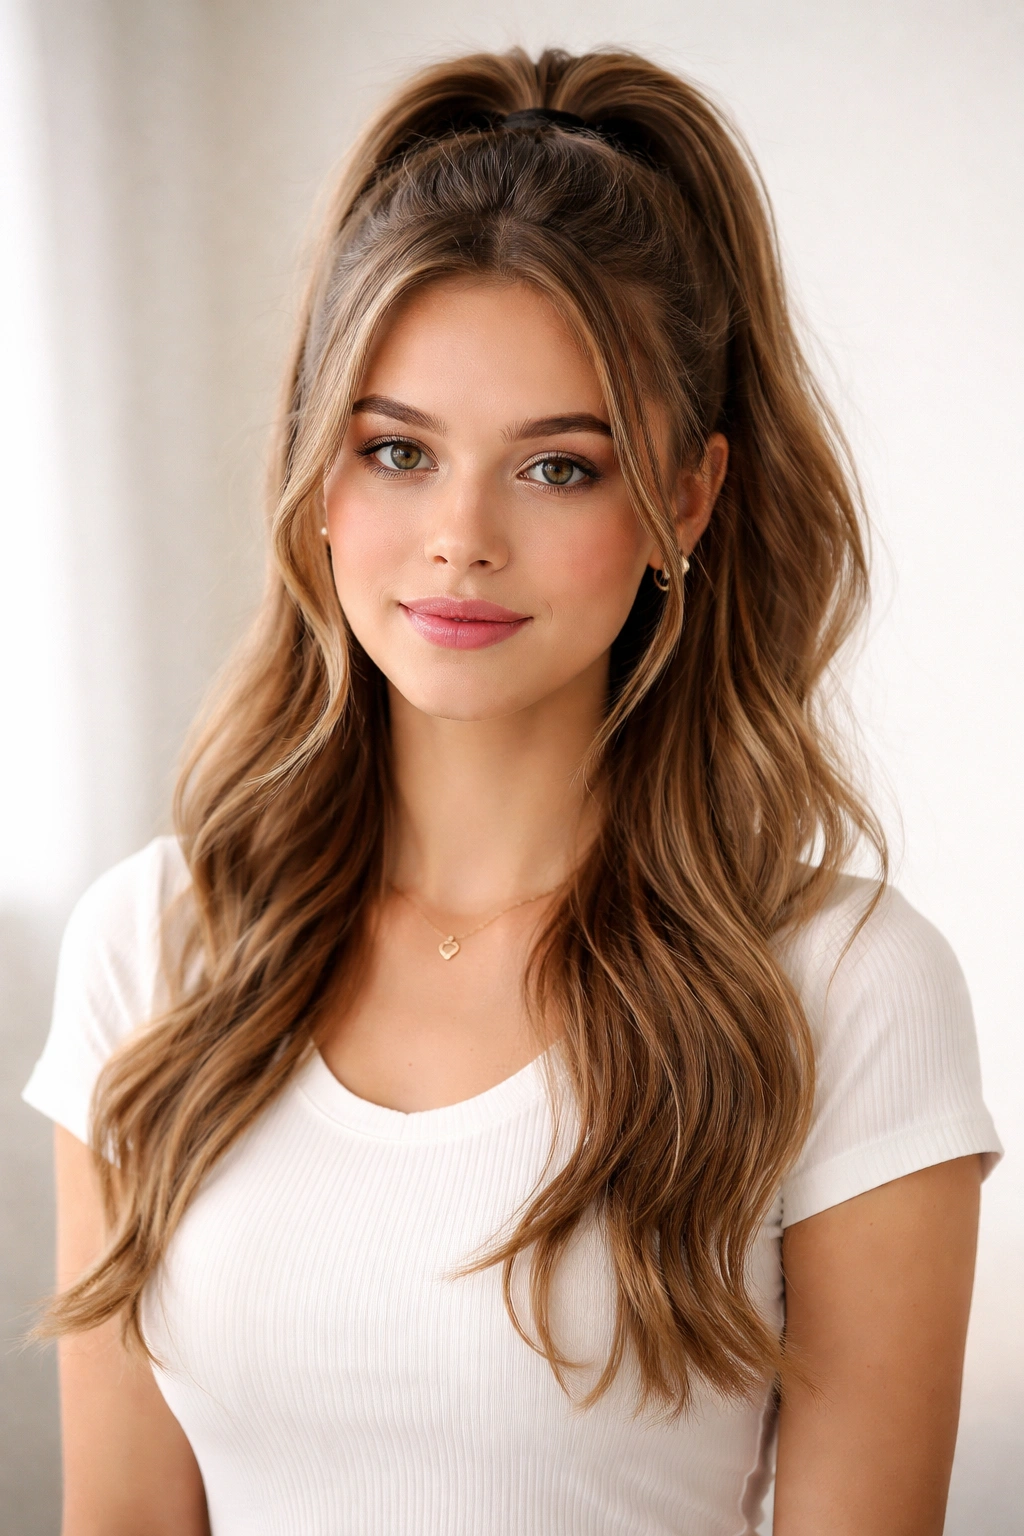
A half-up ponytail leaves the bottom half of your hair down while gathering just the top half back with an elastic. This style gives you the best of both worlds—you get hair off your face and neck, but you keep some length and softness down. It’s perfect for days when you want a quick, polished look without committing to a full ponytail.
What Makes Half-Up So Versatile
The half-up ponytail reads as intentional and styled while still being casual enough for everyday wear. This placement is flattering on most face shapes because it frames your face while still showing off your hairline and length. The style also works on all hair types and textures—it looks equally good on straight hair, wavy hair, and curly hair, which is why it’s one of the most universally flattering ponytail options.
Creating a Half-Up Ponytail with Dimension
- Gather the top half of your hair (from about ear-level upward) by running a comb or brush from one ear, across the crown, to the other ear
- Hold this section firmly and secure it with an elastic at the crown
- Leave the bottom half of your hair completely down and loose
- Gently pull a few face-framing pieces down in front of your ears for softness
- Optional: tease the ponytail section slightly at the crown for added volume and dimension
- Wrap a small section around the elastic base if you want a more finished appearance
Worth knowing: If you have thick hair, use a stronger elastic for the half-up because half your hair weight is significant—a weak elastic will slip throughout the day.
9. The Messy Textured Ponytail
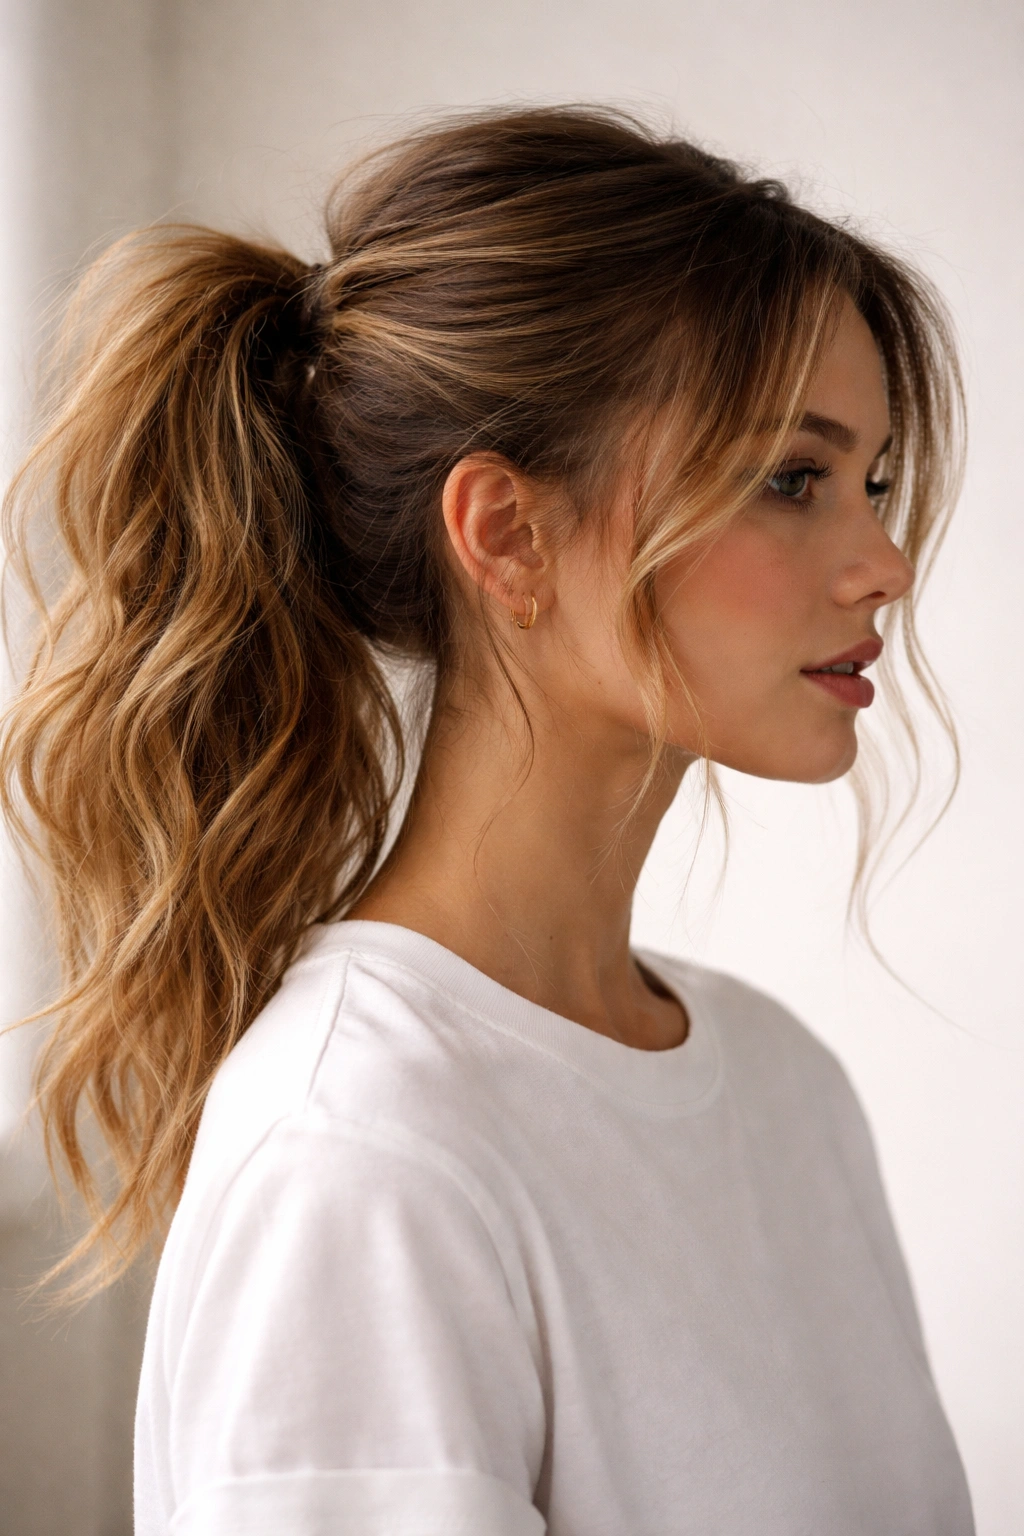
This style looks deliberately undone and relaxed, with pieces pulled loose and texture emphasized throughout. It’s perfect for days when you’ve got a lot going on and want to look cute without appearing like you spent time styling your hair. The key is that “messy” doesn’t mean sloppy—it means intentionally imperfect and texture-focused.
Why Messy Ponytails Are Actually Genius
A textured, relaxed ponytail works especially well if you don’t have time to perfectly smooth and polish your hair on a busy morning. The style celebrates natural texture and slight imperfection, which reads as confident and modern. Messy ponytails are also more forgiving—loose baby hairs and little flyaways actually contribute to the intentional aesthetic rather than looking like a mistake.
Building Your Intentionally Messy Ponytail
- Start with slightly textured hair (day-old waves or hair that’s been curled work perfectly)
- Gather hair into a high or mid-height ponytail, but don’t pull it too tightly—aim for about 80% taut, leaving it slightly loose
- Secure with an elastic, but leave a few small sections unpulled around your hairline and temples
- Gently tease or backcomb the ponytail just above the elastic to add fullness and texture
- Use your fingers to pull small pieces loose along the sides and back of the ponytail
- Finish with a light texture spray or sea salt spray to enhance the natural waves and keep everything in place
Pro tip: Sleeping in a loose braid the night before gives you the perfect textured base for this style, saving you time in the morning.
10. The Double Ponytail
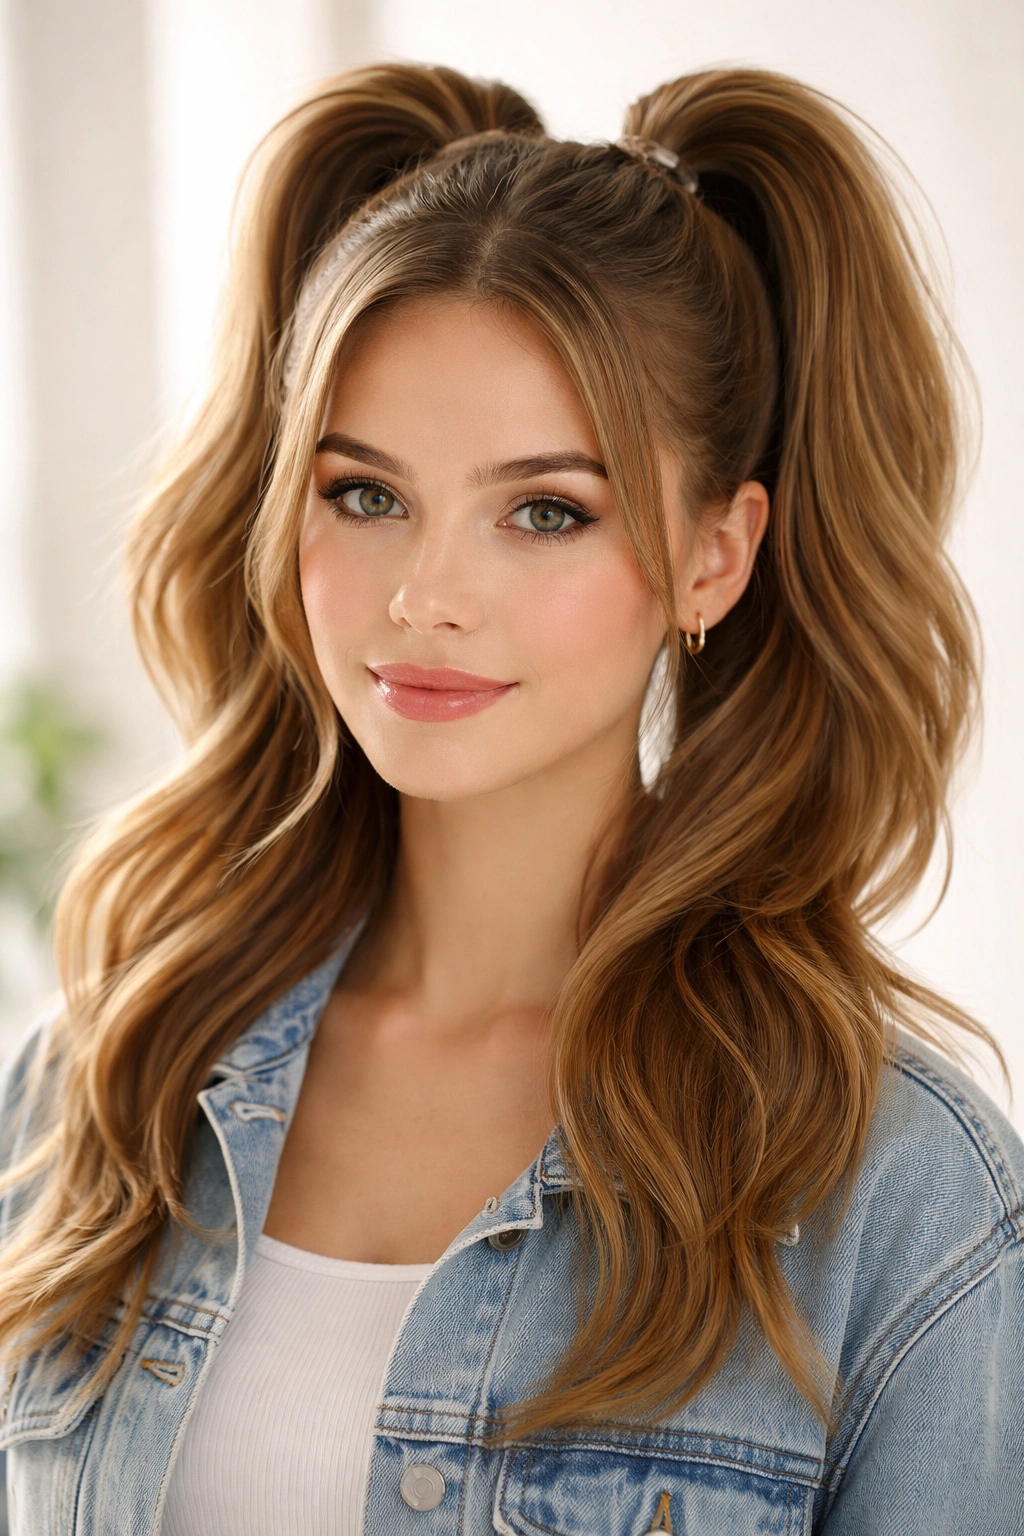
This eye-catching style uses two separate ponytails stacked on top of each other, creating a bold, modern look that definitely gets noticed. You can do it with both ponytails centered in the back, or offset them for an asymmetrical twist. It takes just a couple extra minutes compared to a regular ponytail but looks significantly more interesting and fashion-forward.
Why Double Ponytails Make a Statement
The double ponytail is a trend that’s gotten genuinely popular with students because it looks playful and confident without being childish. The stacked placement creates visual height and dimension, which is especially flattering if you have fine or thin hair. This style also naturally creates a fuller, thicker appearance because you’re breaking the hair mass into two sections.
Executing a Polished Double Ponytail
- Create a high ponytail at the crown and secure it tightly with an elastic
- Create a second ponytail directly below the first, using the remaining loose hair, and secure it with another elastic
- You should now have two distinct ponytails stacked vertically
- Gently pull and tease the top ponytail to create volume and fullness
- Do the same with the bottom ponytail so both sections look equally substantial
- Optional: wrap small sections around each elastic base for a more finished look
- Fluff both ponytails with your fingers to make them appear fuller
Insider note: For an edgy variation, offset the ponytails to the side instead of centering them—it’s more interesting and feels less symmetrical.
11. The Wraparound Ponytail
This style creates the visual illusion of a sleek ponytail wrapped with a decorative section of hair. You’re actually wrapping a section of your own hair around the elastic base to hide it and create a polished finish. It’s the kind of detail that makes a simple ponytail look significantly more intentional and put-together.
What Makes This Technique So Elegant
A wrapped ponytail looks like it came from a professional salon because of that finished detail covering the elastic. The wrapped section also secures the entire ponytail more firmly, so it won’t slip or loosen as you move throughout the day. This technique works on all ponytail heights and styles, so once you master it, you can apply it to any ponytail variation you want to elevate.
The Wrapping Technique Explained
- Start with a basic high or mid-height ponytail secured tightly with an elastic
- Take a thin section of hair from the underside of the ponytail (so it won’t be visible)
- Wrap this section around the elastic base, going around horizontally
- Continue wrapping until the elastic is completely covered and hidden
- Secure the end with a bobby pin tucked underneath the wrap, where it won’t show
- Gently smooth the wrapped section with a comb so it looks neat and intentional
- Optional: use a small elastic to secure the wrapped section to itself for extra security
Pro tip: If you have fine hair or difficulty wrapping, use a velcro hair roller instead of wrapping—slide it over your ponytail base and it creates the same polished effect with zero effort.
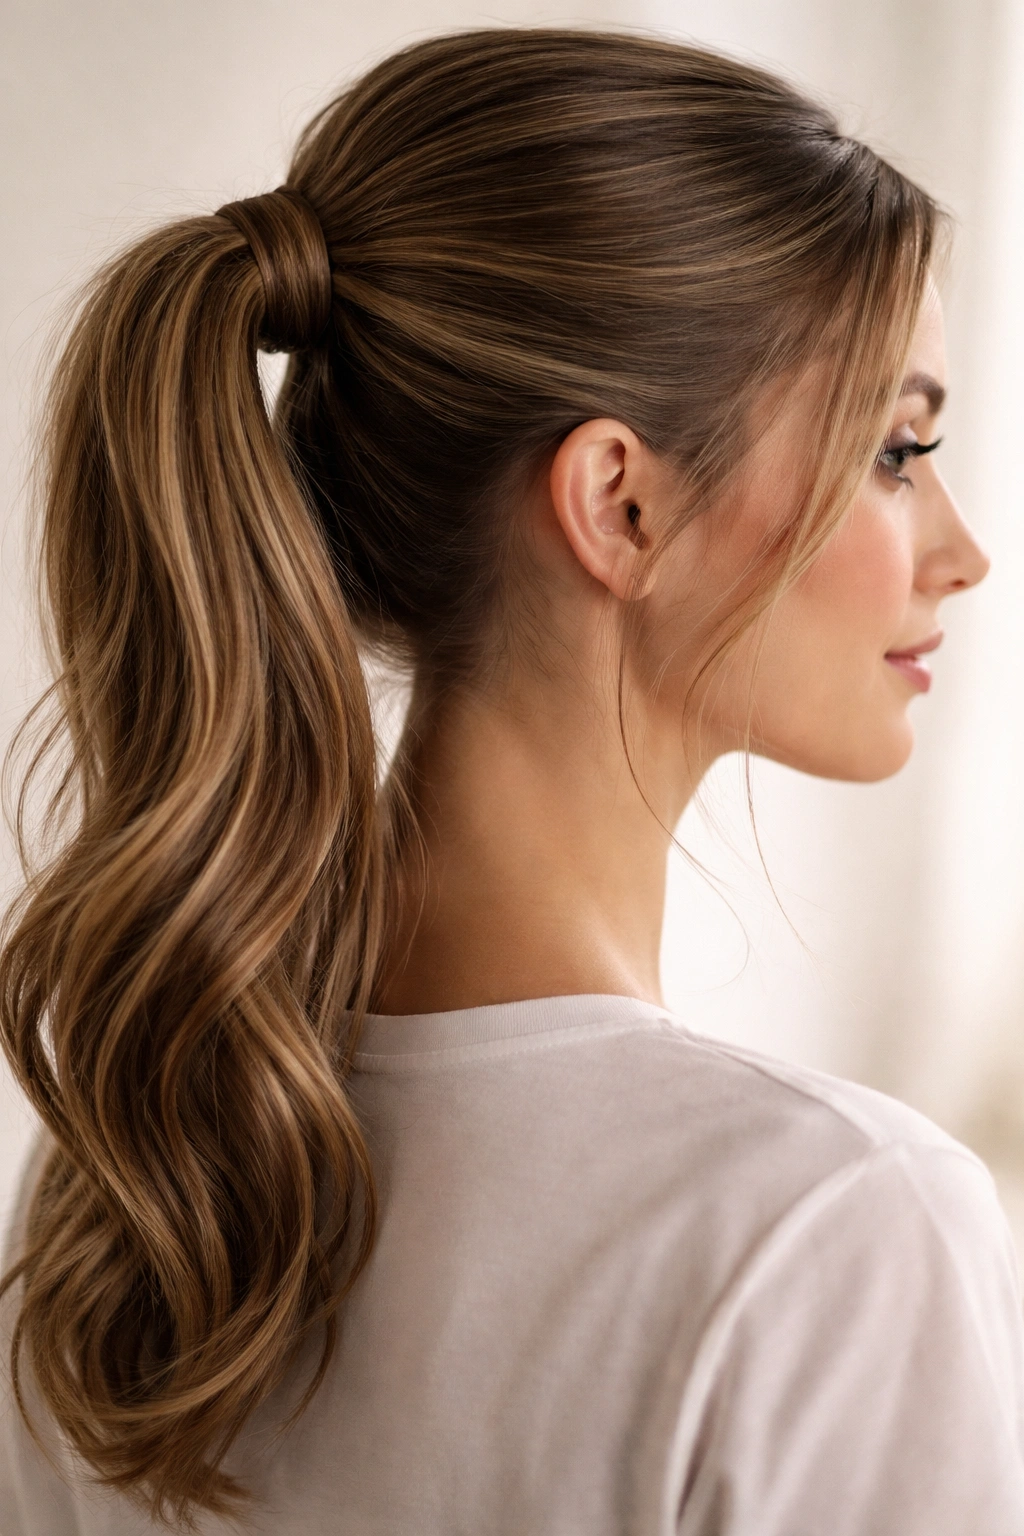
12. The Curved Ponytail with Waves
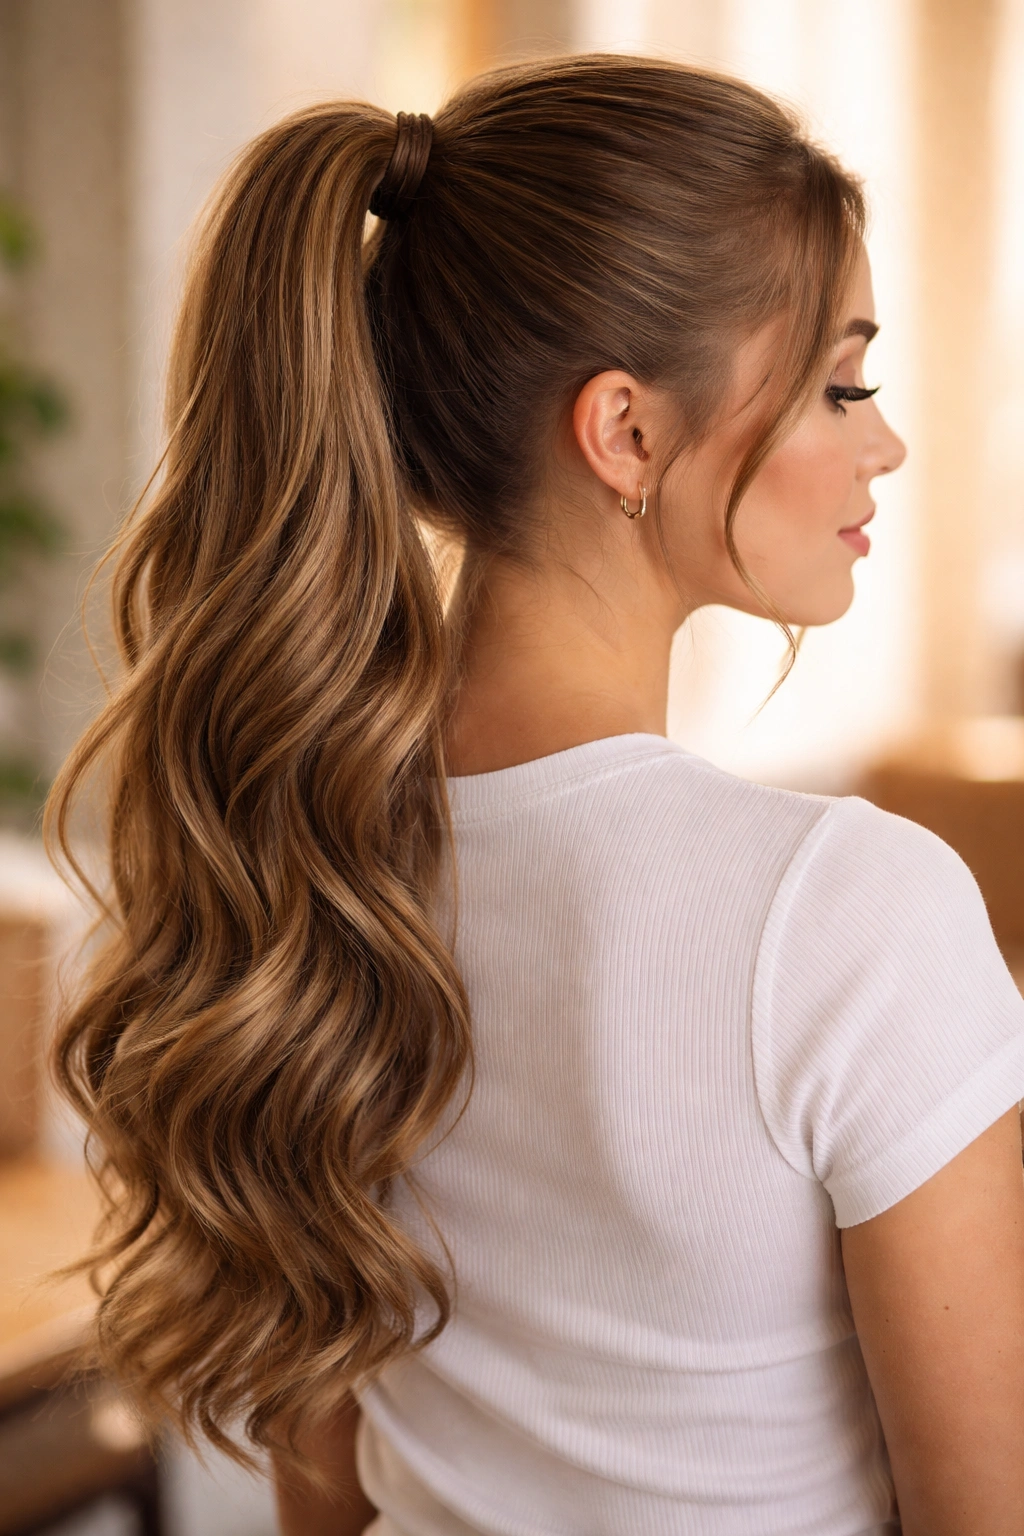
This style starts as a regular ponytail but the length is curled or waved, creating a soft, feminine look that feels special without being over-the-top. You can achieve waves with a curling iron, a waver tool, or even overnight braiding. The combination of a neat, tight ponytail with soft, textured waves creates beautiful contrast that’s perfect for days when you want to feel a little bit extra.
Why Waves Transform a Simple Ponytail
Adding waves to a ponytail length instantly upgrades the style from casual to polished and special-occasion-worthy. The texture of the waves adds visual interest and dimension that makes even a basic ponytail style feel intentional and thoughtfully done. Waves also photograph beautifully, which is helpful if there are school photos or events planned. The softness of waves balances the tightness of a pulled-back ponytail, creating a cohesive, flattering overall look.
Creating Waves in Your Ponytail Length
- Gather and secure your hair into a high or mid-height ponytail
- Divide the ponytail length into sections about one to two inches wide
- Using a one-inch curling iron or waver, curl each section away from your face, holding for about five seconds
- Release and let the curl cool slightly before moving to the next section
- Once all sections are curled, gently run your fingers or a wide-tooth comb through the waves to relax them slightly
- Finish with a light hairspray to hold the waves throughout the day
- Alternative method: braid the ponytail loosely overnight and release in the morning for naturally textured waves
Worth knowing: Waves hold better if you apply a lightweight texture spray or mousse to damp hair before curling—it helps the curl set and last longer through the school day.
Final Thoughts
The perfect school ponytail isn’t about finding one style and sticking with it forever. Instead, it’s about having a toolkit of different techniques so you can choose based on your mood, how much time you have, your hair type that day, and what look matches your outfit or the day ahead. A high ponytail might be exactly what you need on Monday when you want to feel polished and put-together, while a textured, messy style might be perfect for Wednesday when you need something quick and casual.
The beautiful thing about all of these styles is that they’re genuinely achievable with just basic tools—a brush, some elastics, a few bobby pins, and maybe a curling iron if you want waves. None of them require expensive products, professional training, or an hour in front of the mirror. Spend a little time practicing each one, and you’ll develop muscle memory that makes these styles faster and easier every time you do them.
Most importantly, remember that the best hairstyle is the one that makes you feel confident and comfortable. Whether you choose something sleek and polished or textured and relaxed, secure and practical or playful and eye-catching, you’re doing it right if it makes you feel like yourself. Your hair is part of how you present yourself to the world, and taking a few minutes to style it in a way that makes you happy is genuinely worth it.