The best afro puff styles do not fight your face shape; they work with it. That sounds almost too simple, until you stand in front of a mirror, pull your hair back, and realize a puff an inch higher or lower can change the whole mood of your face.
A round face reads differently from a long one. A square jaw wants something softer near the edges. A heart-shaped face usually looks better when the volume is not piled all the way up top. That is the part people skip, and then they wonder why one puff looks polished while another feels a little off, even if the hair is clean, moisturized, and neatly tied.
Hair texture matters too. So does density. So does shrinkage, which can make a puff look smaller at home than it does once you leave the house and your coils breathe. A puff that feels elegant on one person can feel top-heavy on another, and the fix is usually not more gel or tighter tension. It is placement.
Pull your hair back, look at the widest part of your face, and notice where your eyes land first. That tiny observation will save you from a lot of bad styling choices, and it makes the rest of these styles much easier to read.
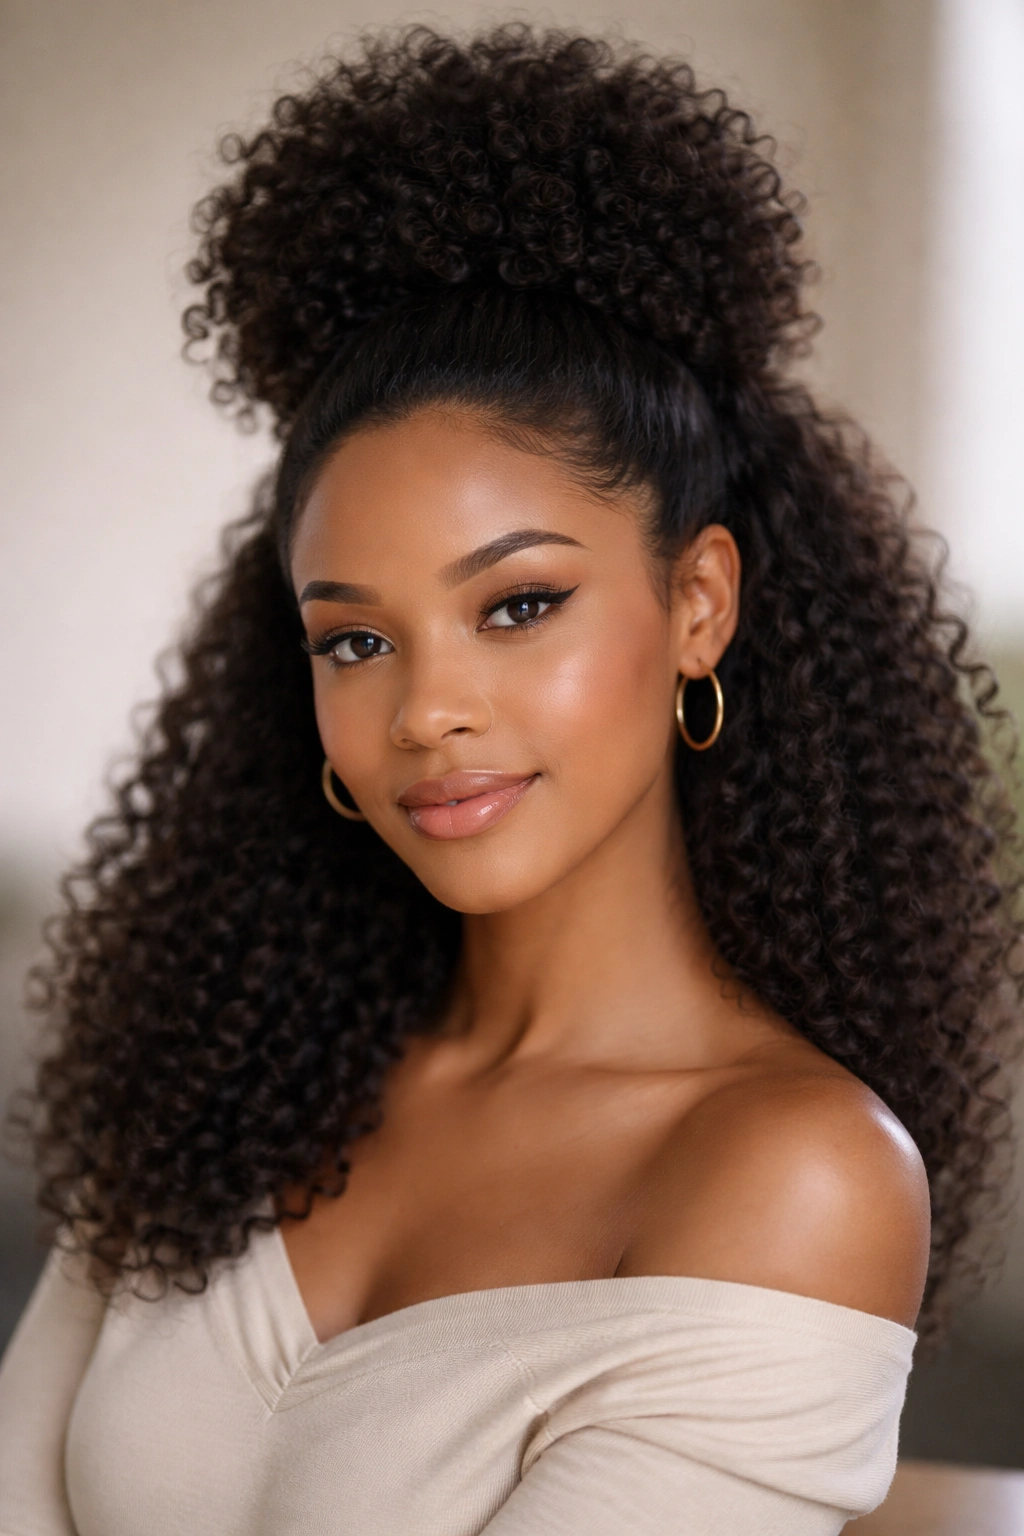
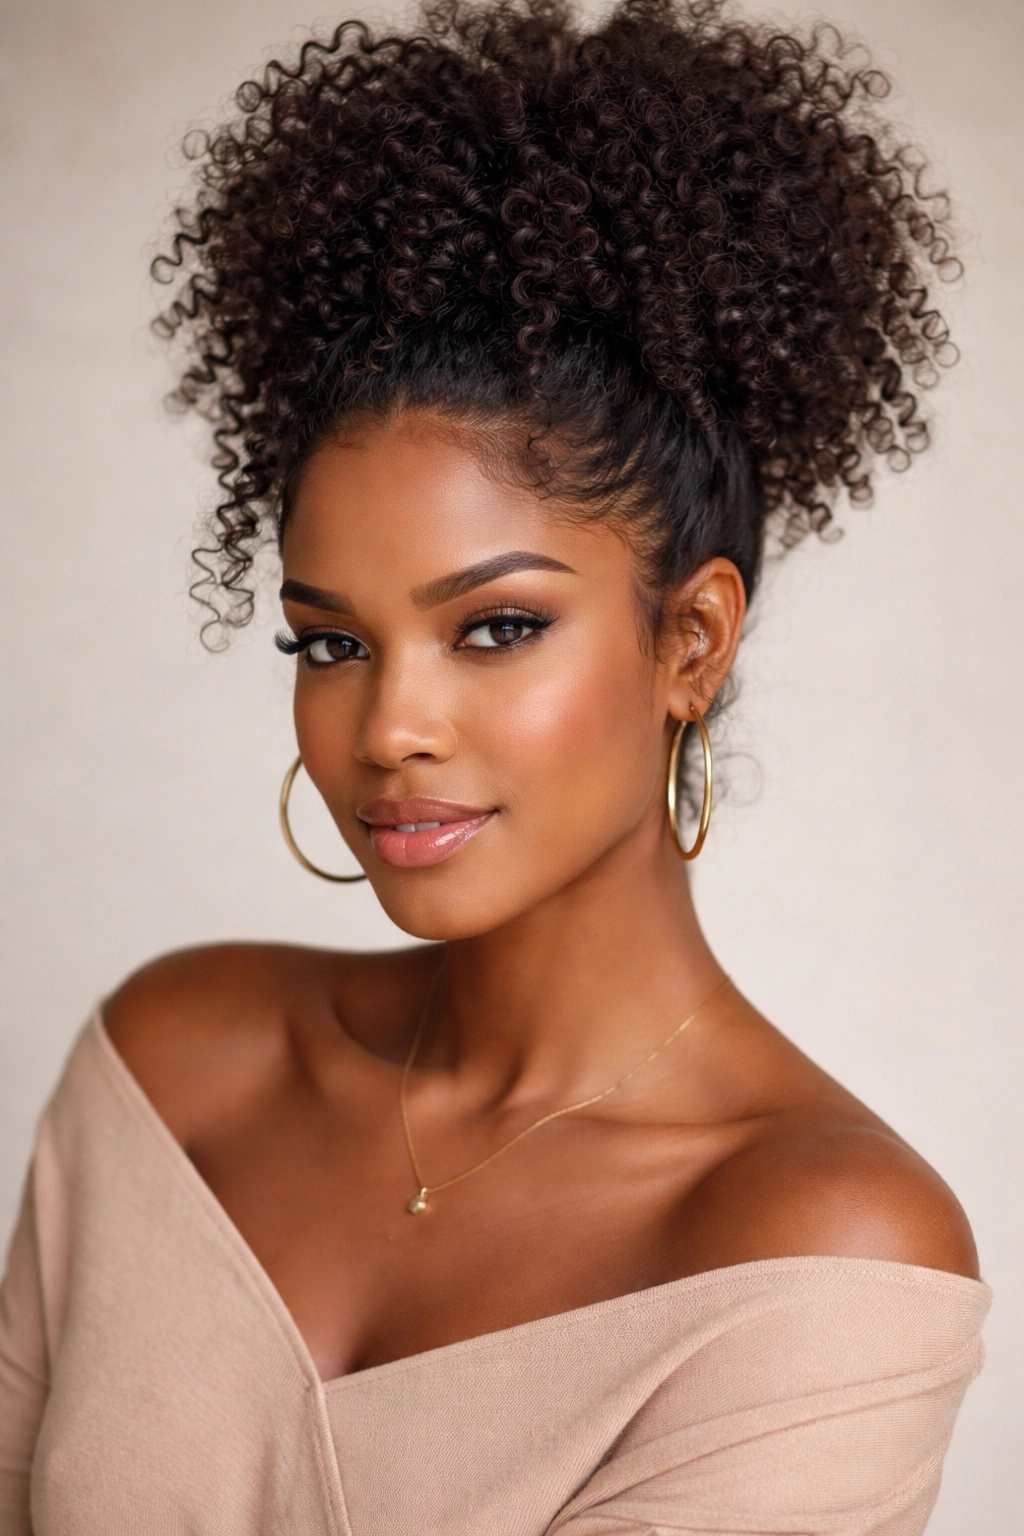
1. High-Crown Puff for Round Faces
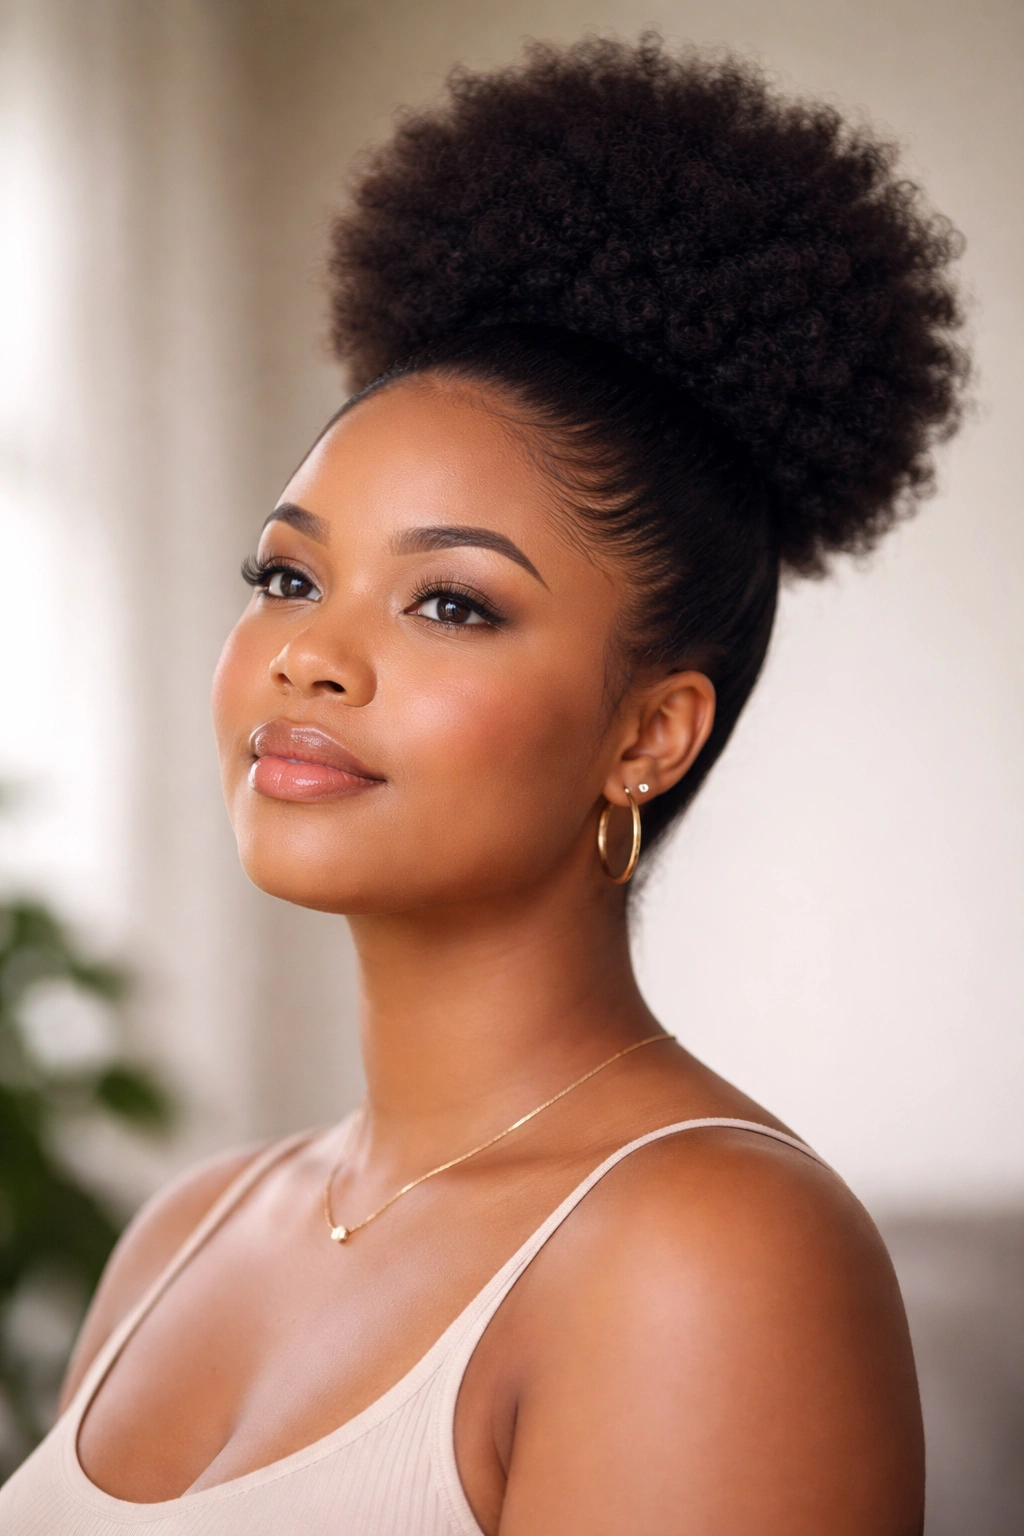
A round face likes vertical lift. Not a tower, not a helmet, just enough height to stretch the eye line upward so the cheek fullness does not dominate everything else.
The high-crown puff is the style I reach for when someone wants their face to look a little longer without losing the softness that makes a puff so good in the first place. Place the puff 2 to 3 inches above the crown, not right on top of it, and keep the sides smooth enough that the puff becomes the obvious focal point. If the puff sits too low, the width spreads outward and the face can read even rounder.
What to keep high and what to keep low
A clean front section helps a lot. A tiny side part, or even no part at all, keeps the eye moving upward. You do not need slicked-down edges that feel glued in place. You want the hairline neat, not stiff.
- Gather the puff high enough that the base is above the widest part of the cheeks.
- Keep the back of the puff fluffy so it spreads upward, not outward.
- Leave a few soft coils at the temples if your hairline is dense; that little break keeps the style from looking boxed in.
- Use a satin scrunchie or a gentle elastic so the puff stays lifted without digging into the scalp.
Best detail: if your puff looks round from every angle, pin the back once with two bobby pins so the front can fan forward a little more.
One thing I like about this style is how forgiving it is. You can make it neat enough for work or loose enough for a weekend, and the face-shaping part still holds.
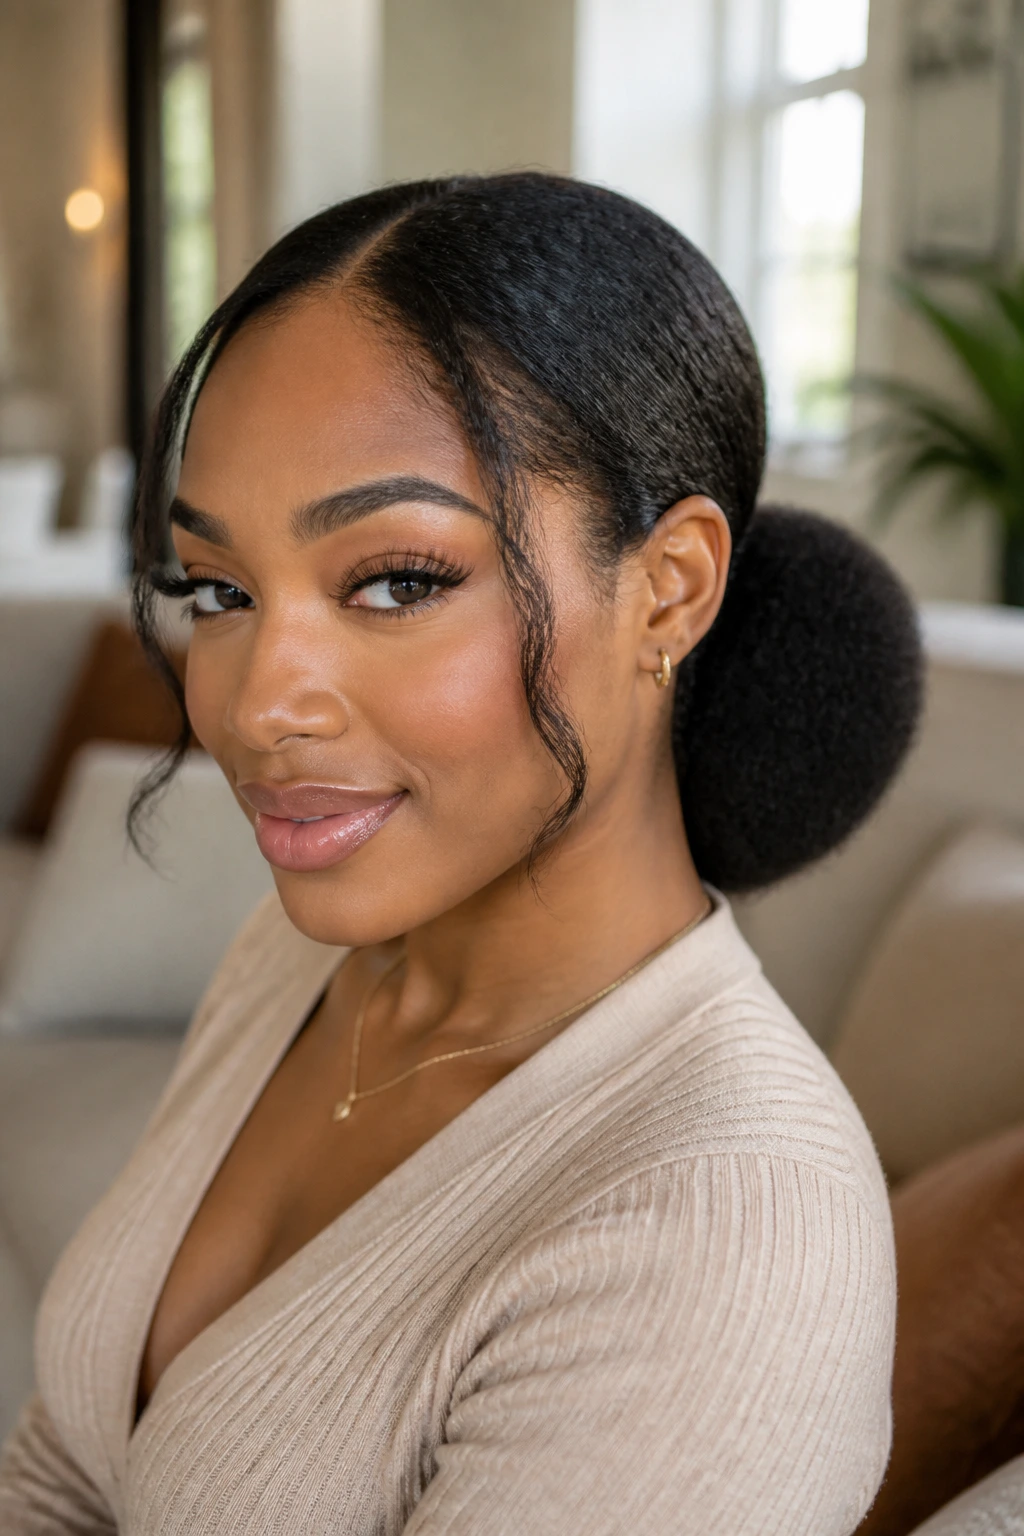
2. Low Nape Puff for Long Faces
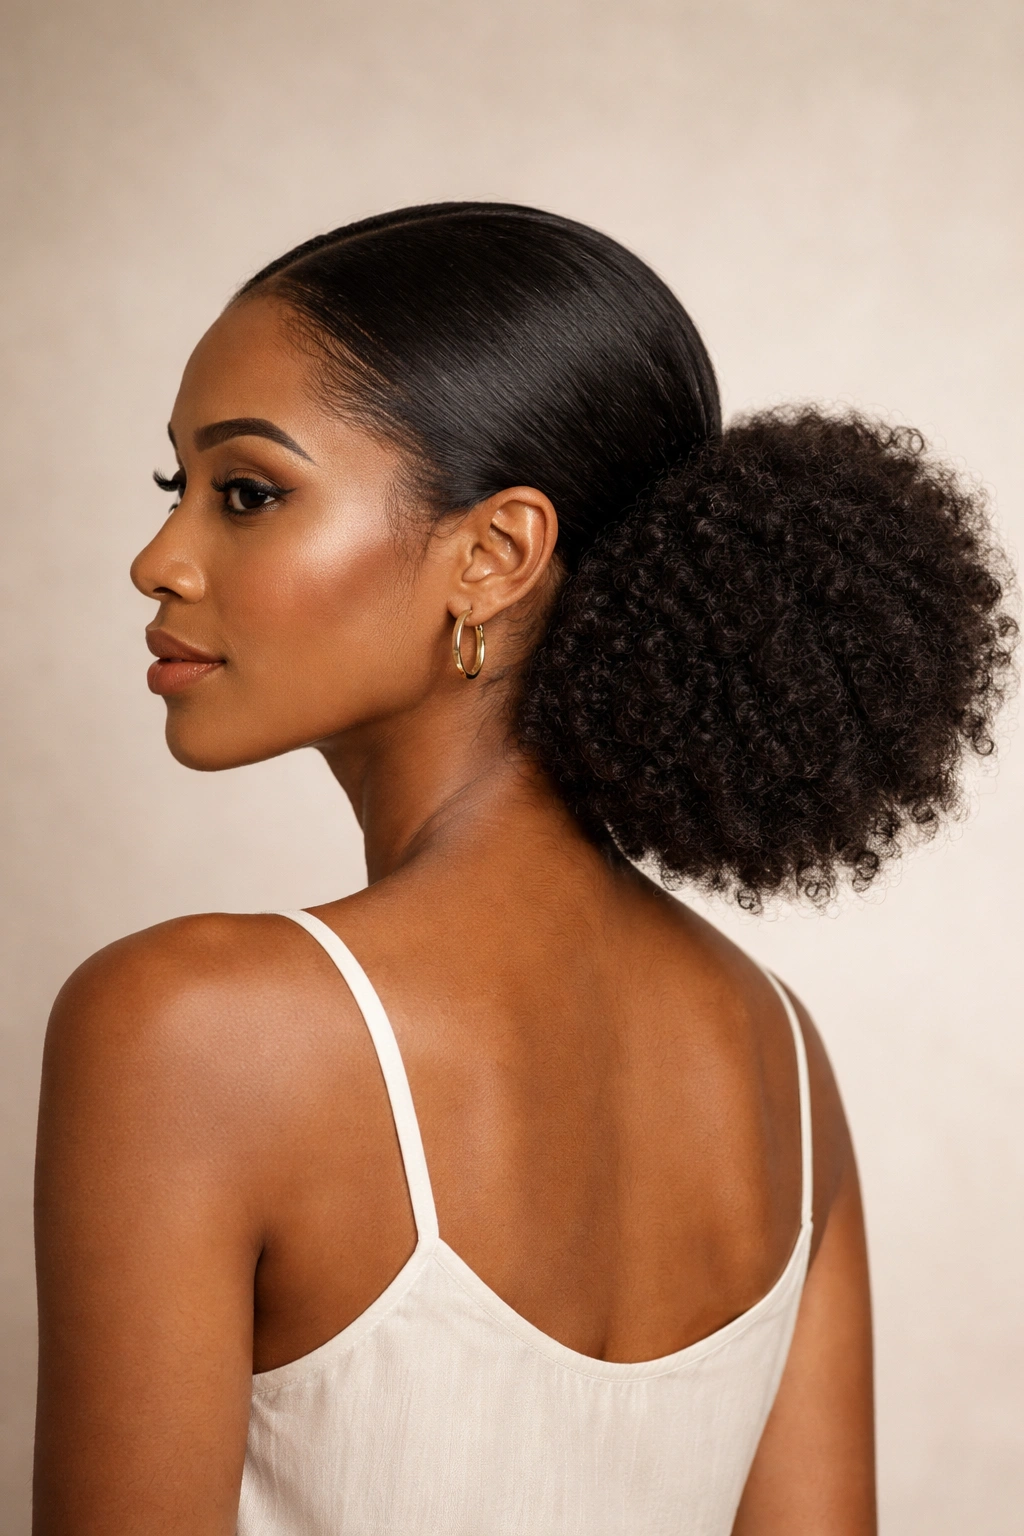
What if your face already runs long and narrow? Then you do not need extra height. You need width, softness, and a lower line that slows the eye down.
The low nape puff sits close to the neckline, almost like it was tucked in on purpose. That low placement shortens the visual length of the face, which is why it works so well for oblong and long face shapes. Keep the puff full, but keep it low. If the puff creeps up toward the crown, the whole effect changes.
How to make it feel balanced
A middle part can work here, but I usually like a gentle side part better because it breaks the vertical line. A few face-framing coils near the cheekbones help, too. They do not need to be perfect. In fact, perfect can look too hard on a long face.
- Place the elastic at the nape, or just above it.
- Puff the hair outward at the sides so it creates width.
- Let a small fringe or curl fall near one brow if your forehead feels tall.
- Avoid a sharply slicked top unless you also have strong side volume.
Quick tip: if your hair is thick, stretch the puff slightly with your fingers after tying it so it opens into a wider oval instead of a tight ball.
This is one of those styles that looks quiet in a good way. No drama, no extra lift, just a shape that makes the face feel more even.
3. Side-Swept Puff for Square Faces
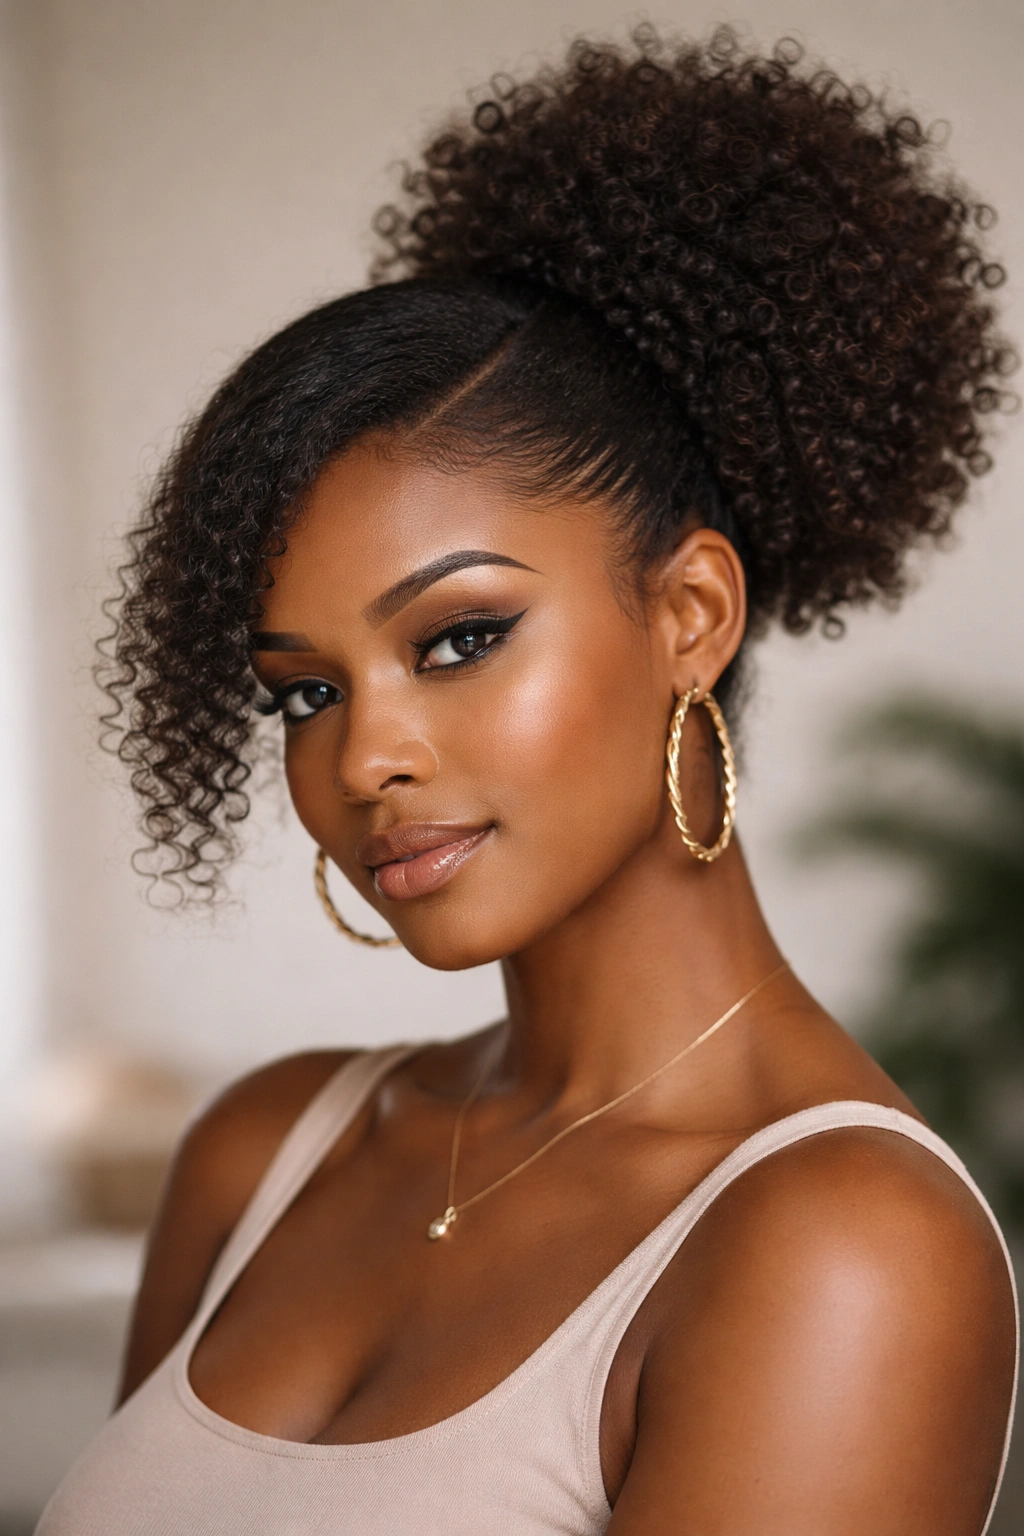
Square faces love softness near the jaw. That is the whole game here. Strong angles can look stunning, but they also need a little bend, and a side-swept puff gives you that without turning the style fussy.
The deep side part is the main move. Shift the puff slightly off center so it does not sit like a perfect circle above the face. That asymmetry relaxes the jawline and softens the width across the forehead and cheeks. A square face can wear plenty of volume, but straight-up symmetry can make the angles feel sharper than they need to be.
Sharp lines need a little bend.
A few loose pieces near one temple do more work than a pile of product ever will. If your hair is long enough, twist or braid a small front section before pulling the rest into the puff. If it is shorter, a finger-coiled front piece works fine. The point is to interrupt the hard line, not hide the shape of your face.
What makes the side sweep work
The puff itself should stay plush. A flat puff defeats the purpose. What you want is a soft cloud sitting to one side, with the top section guided gently in the same direction.
- Make the part deep enough to be obvious, usually about 2 to 3 inches from center.
- Keep the puff anchored slightly above the ear on the heavier side.
- Leave the front section soft, never razor-slick.
- If you use edge control, keep it at the hairline only, not across the whole front.
This style feels a little more dressed-up than a basic puff, but it is still easy enough for an ordinary morning. That is why I keep coming back to it.
4. Center-Part Double Puffs for Oval Faces
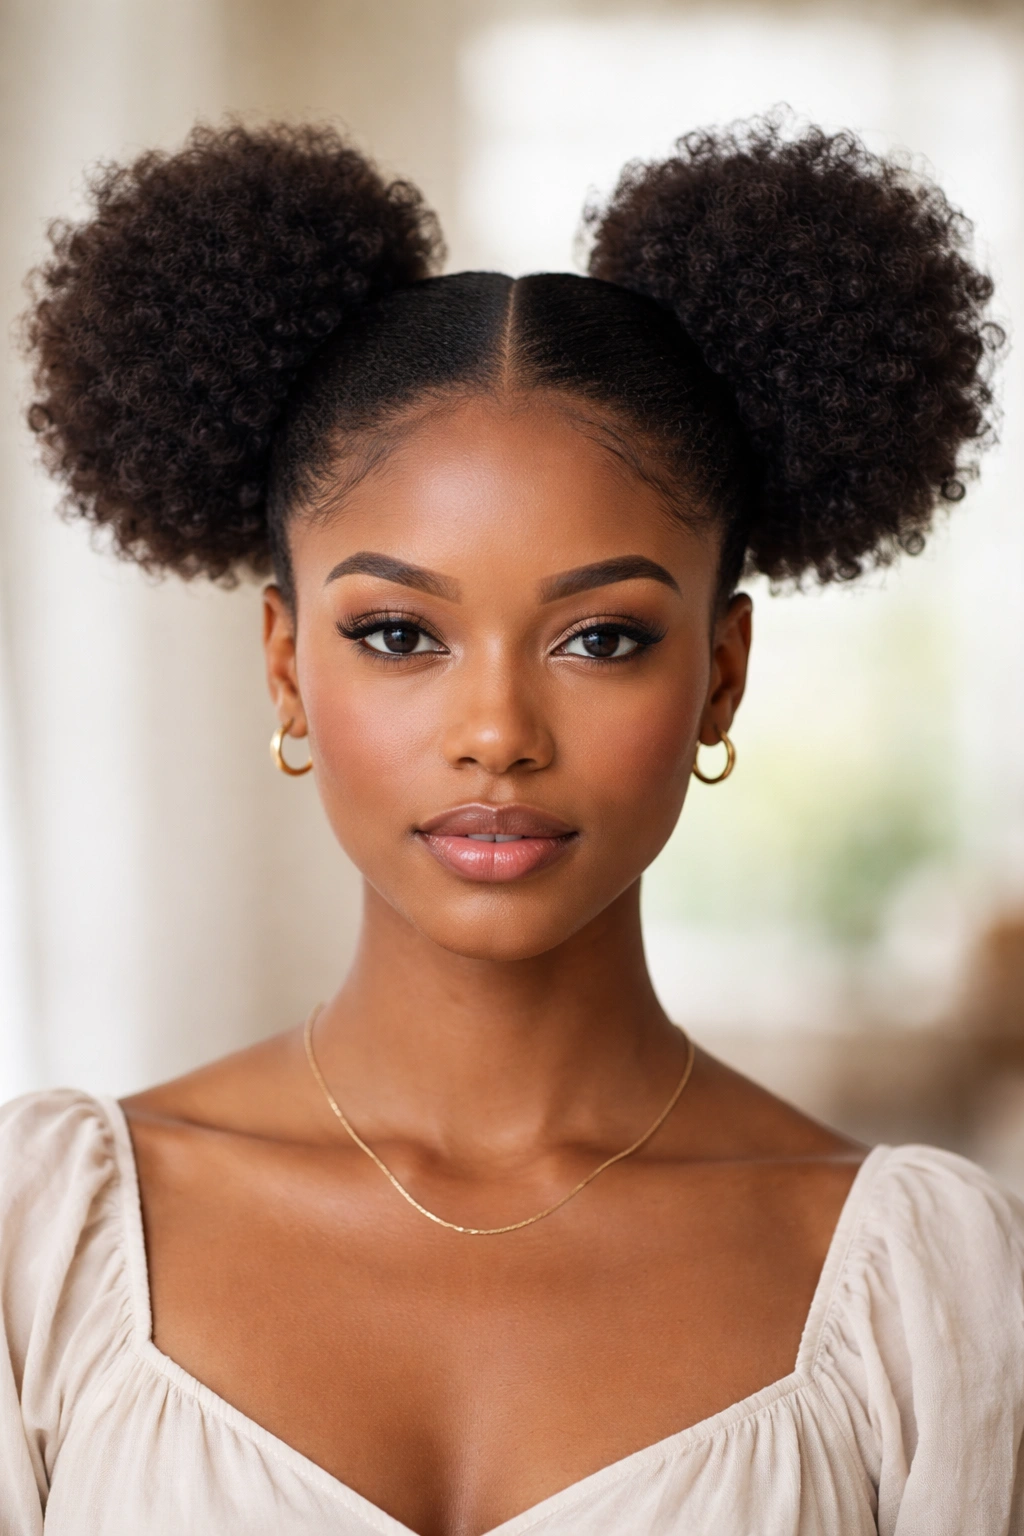
Oval faces can get away with almost anything, which is both a blessing and a trap. Too many people assume that means any puff will do. Not quite. A balanced face shape still benefits from proportion, and twin puffs can either look playful and chic or veer straight into cartoon territory if the placement is off.
Center-part double puffs suit oval faces because they echo the natural balance of the features without forcing one side to do more work than the other. The middle part keeps everything even. The two puffs add a little youth and bounce. If your features already feel balanced, this is one of the cleanest ways to play with texture.
How to size the puffs
Keep the sections similar, but not identical to the millimeter. Human hair is never perfectly matched, and that tiny variation often looks better. Put the puffs a bit above ear level if you want a lifted look, or slightly lower if you want something softer and more casual.
- Part straight down the center from forehead to nape.
- Create two equal sections, then smooth the roots before tying.
- Fluff each puff outward so the shape is round but not tiny.
- If the face is very narrow, make the puffs slightly wider rather than taller.
One good rule: if the puffs look like little balls from the front, keep fluffing them until they read as soft domes.
I like this style on oval faces because it lets texture be the star without competing with the face itself. It is cheerful, easy, and a little bit cheeky in the best way.
5. Half-Up Afro Puff for Heart-Shaped Faces
A heart-shaped face usually has a wider forehead and a narrower chin, so the trick is to keep the top from feeling too heavy while giving the lower half some visual weight. A half-up afro puff does that nicely.
Here’s the part a lot of people miss: the puff does not have to own the whole head. In this style, the top section becomes the puff, while the rest of the hair stays loose, braided, or twisted down the back. That lower texture helps balance the narrow chin area and keeps the face from feeling top-heavy.
The look works especially well when the front is a little softer than the crown. A puff that sits too high on a heart-shaped face can make the forehead feel even broader. A puff that sits mid-head, with some fullness hanging below, feels easier on the eyes.
One sentence version? Keep the lift modest and the lower half soft.
I like adding two face-framing pieces near the temples, especially if the forehead is broad. They do not need to be long. Even curls that stop at the cheekbone are enough to break up the shape. If you want a cleaner finish, twist the side sections before tying the puff so the style looks intentional instead of hurried.
6. Curly Bang Puff for Diamond Faces
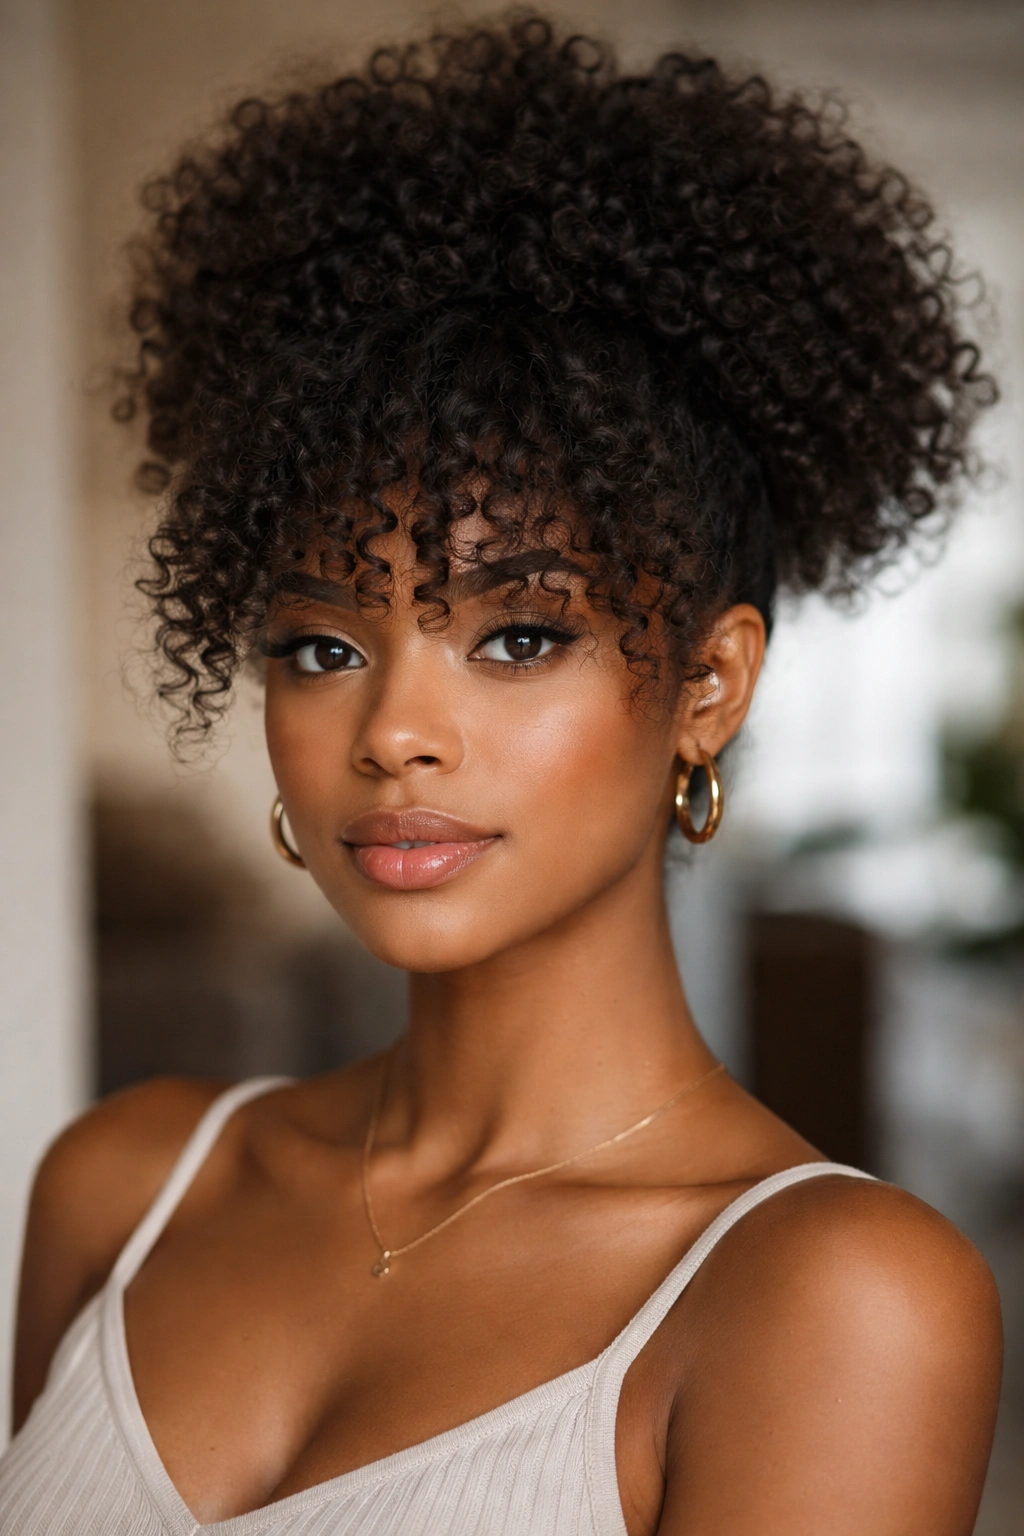
Why do bangs matter so much here? Because diamond faces tend to be widest at the cheekbones, with a narrower forehead and jawline. A curly bang pulls attention upward and softens that middle width without flattening the rest of the style.
The puff can sit mid-height or slightly low, but the fringe is what makes the shape work. A twist-out bang, a stretched curl bang, or even a few defined coils brushed forward can widen the forehead area just enough to balance the cheekbones. That is the entire point. Not hiding the face. Balancing it.
Best fringe lengths for this style
If the bangs are too short, they can look a little abrupt. Too long, and they start covering the eyes in a way that feels more messy than soft. Somewhere in the 2- to 4-inch range after stretching usually lands well, though shrinkage will change the final look.
- Start the puff a little behind the hairline so the fringe has room to sit.
- Keep the bang section separate while styling, then shape it last.
- Use a tiny bit of cream or gel on the fringe so it holds definition.
- Let the puff stay airy; the bangs should do the softening, not the entire style.
Diamond faces can handle drama, but I like this version because it creates movement without forcing a hard silhouette. The bangs do the quiet work. The puff does the rest.
7. Braided-Base Puff for Pear-Shaped Faces
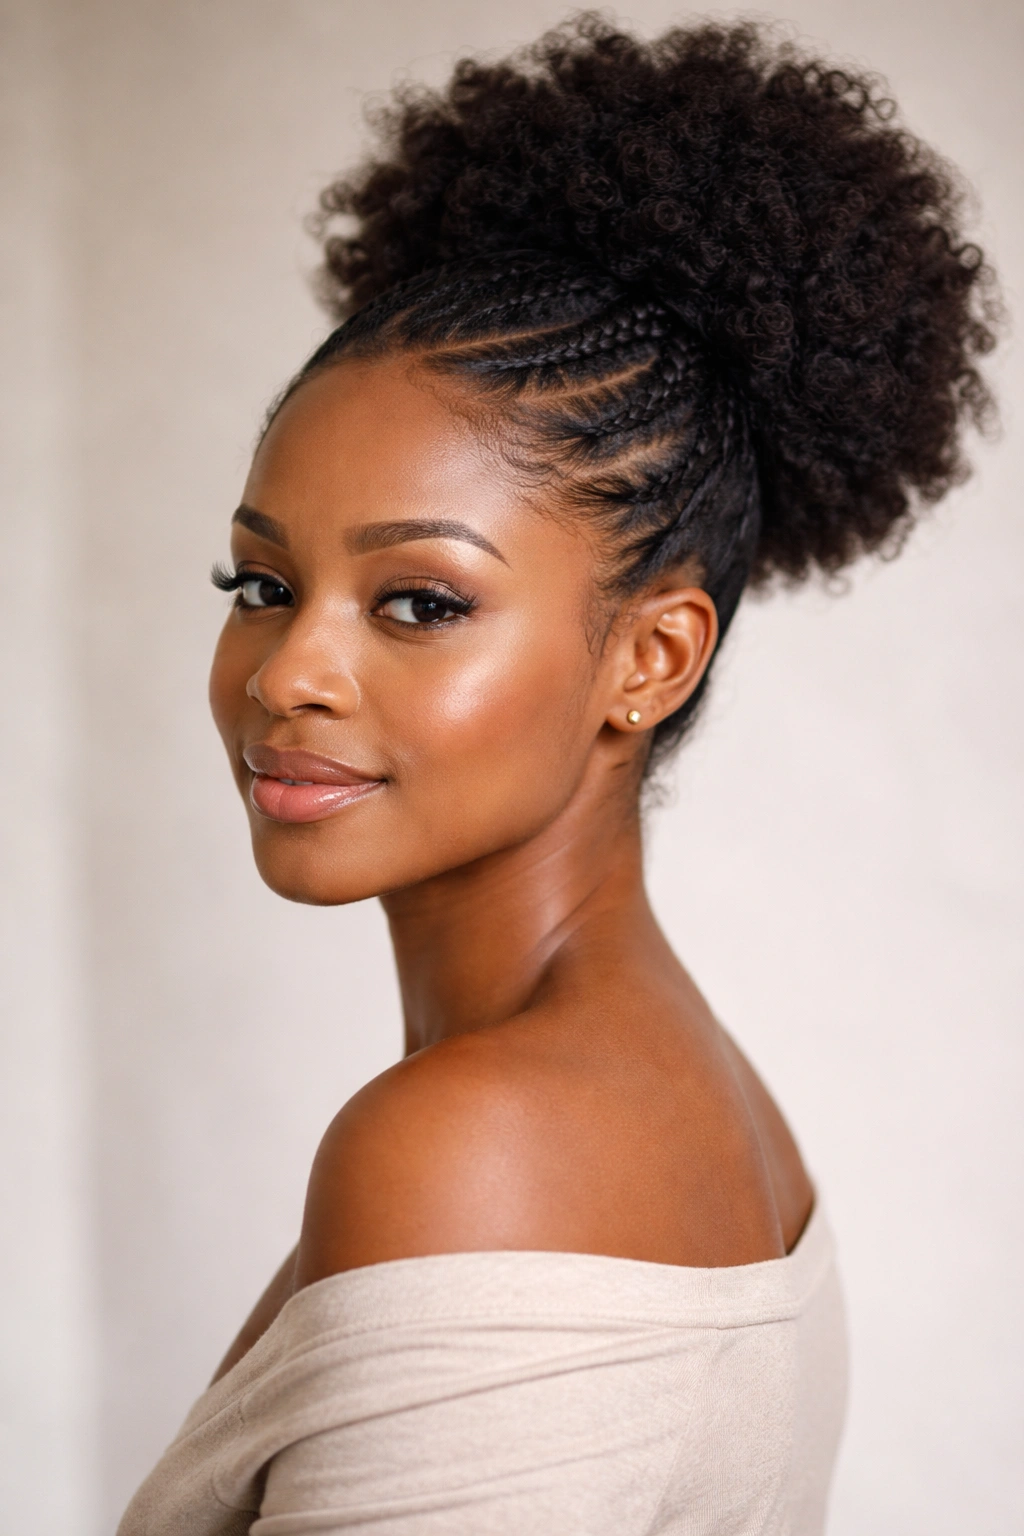
Pear-shaped faces are broader at the jaw and narrower at the forehead, so the smartest move is to bring a little attention upward without making the top look tiny. A braided-base puff does exactly that.
I love this style because the braid or flat twist across the front acts like a visual arrow. It leads the eye up toward the puff, which adds width where you want it most. At the same time, the base stays clean, so the jawline does not get crowded out by too much hair hanging low around the cheeks.
Picture this: a neat braid starts near one temple, crosses the front or the side, and feeds into a rounded puff above the upper half of the head. That little structure changes everything. It gives the style a shape, not just volume.
The placement that matters
If the braid sits too low, the style can drag the eye downward. If the puff sits too far back, the whole thing loses its balancing effect. Aim for a braid line about 1 inch behind the hairline and a puff that lives slightly above the ears.
A few loose curls near the forehead can help if the face feels heavy at the jaw. So can a side braid instead of a straight-across one. I usually prefer a side braid on pear-shaped faces because it adds movement and keeps the front from looking too rigid.
This is one of those styles that feels a bit more styled without being precious. And that matters. A puff should still feel like hair you can live in.
8. Stretched Puff for Shorter Faces
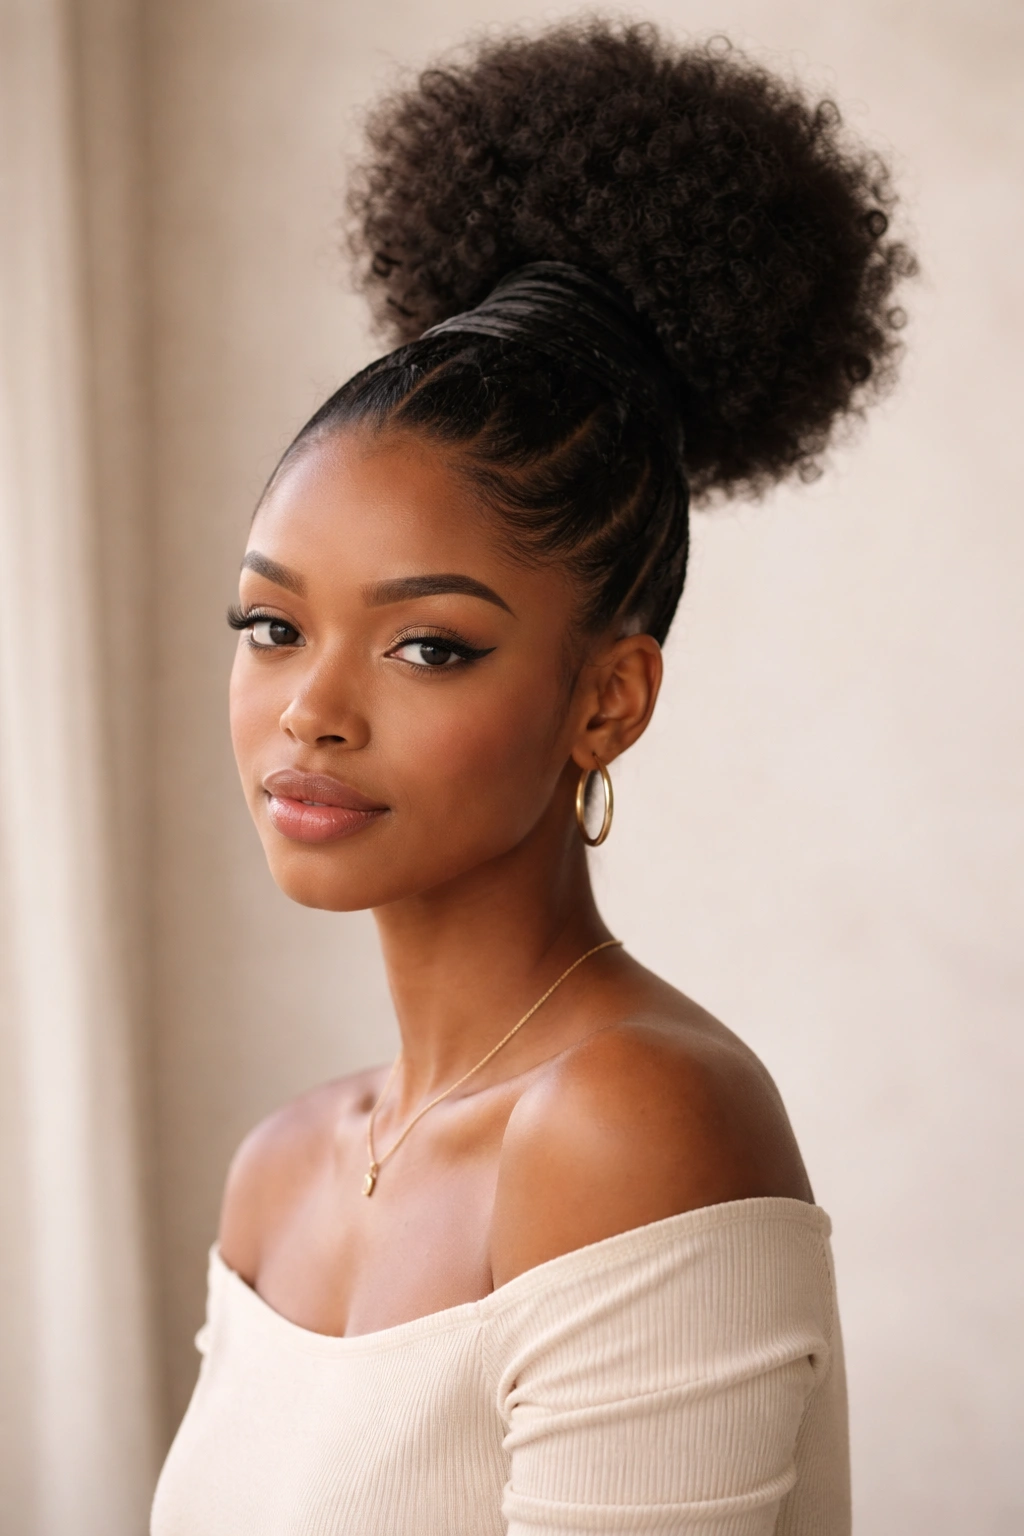
Not every puff should be fluffy from root to tip. Sometimes the smartest choice is a stretched puff, especially if your face is shorter, your forehead is compact, or you want the style to read a little longer and more refined.
A stretched puff changes the silhouette before you even get to the puff itself. Instead of forming a tight cloud right at the base, the hair keeps some length and shape. That helps with shorter faces because it adds a vertical line without making the puff feel towering. The result is calmer. Cleaner, too.
How to stretch without overdoing it
There are a few ways to get there. Banding with satin ties overnight is one of the gentlest. A chunky twist-out can work if you want more texture. Low heat on stretched sections is fine for some hair types, but I would keep it light and stop well before the hair feels dry or rough.
- Use 3 to 5 bands down the section if your hair shrinks hard.
- Let the roots stay a little soft so the puff does not look stiff.
- Tie the puff lower than a high crown style, but not all the way at the nape.
- Finger-separate only once or twice; too much fluff can erase the stretch.
The beauty of this style is the shape control. You still get the puff, but it is less round, less bulky, and more tailored to a shorter face line.
9. Pineapple Puff for Square and Rectangular Faces
The crown looks airy, the edges stay soft, and the whole style sits like a cloud that decided to behave. That is the pineapple puff when it is done well.
Square and rectangular faces can wear this shape especially well because the style breaks up straight lines without adding harsh height. The puff sits high enough to create lift, but loose enough that the curls spill slightly outward instead of forming a hard top knot effect. If the hair is pulled too tight, the shape loses its ease and starts to look severe. That is the opposite of what you want.
I like the pineapple puff on hair that has already been stretched from a twist-out or braid-out. The texture shows up better that way. You can still do it on a fresh coil pattern, but the silhouette will be tighter and a little more compact. If your face is square, leave a few soft curls around the temples so the jawline does not feel boxed in.
Small details that change the whole look
- Use a loose scrunchie so the root does not crease hard.
- Place the puff high, but not so high that it turns into a top-heavy cone.
- Pull a few curls forward near the forehead if your face needs extra softness.
- Keep the back fluffy so the style looks full from the side, not only from the front.
This is a forgiving style on days when you want shape without stiffness. It feels easy. Which is exactly why it works.
10. Wrapped Puff with a Scarf Accent for Wide Foreheads
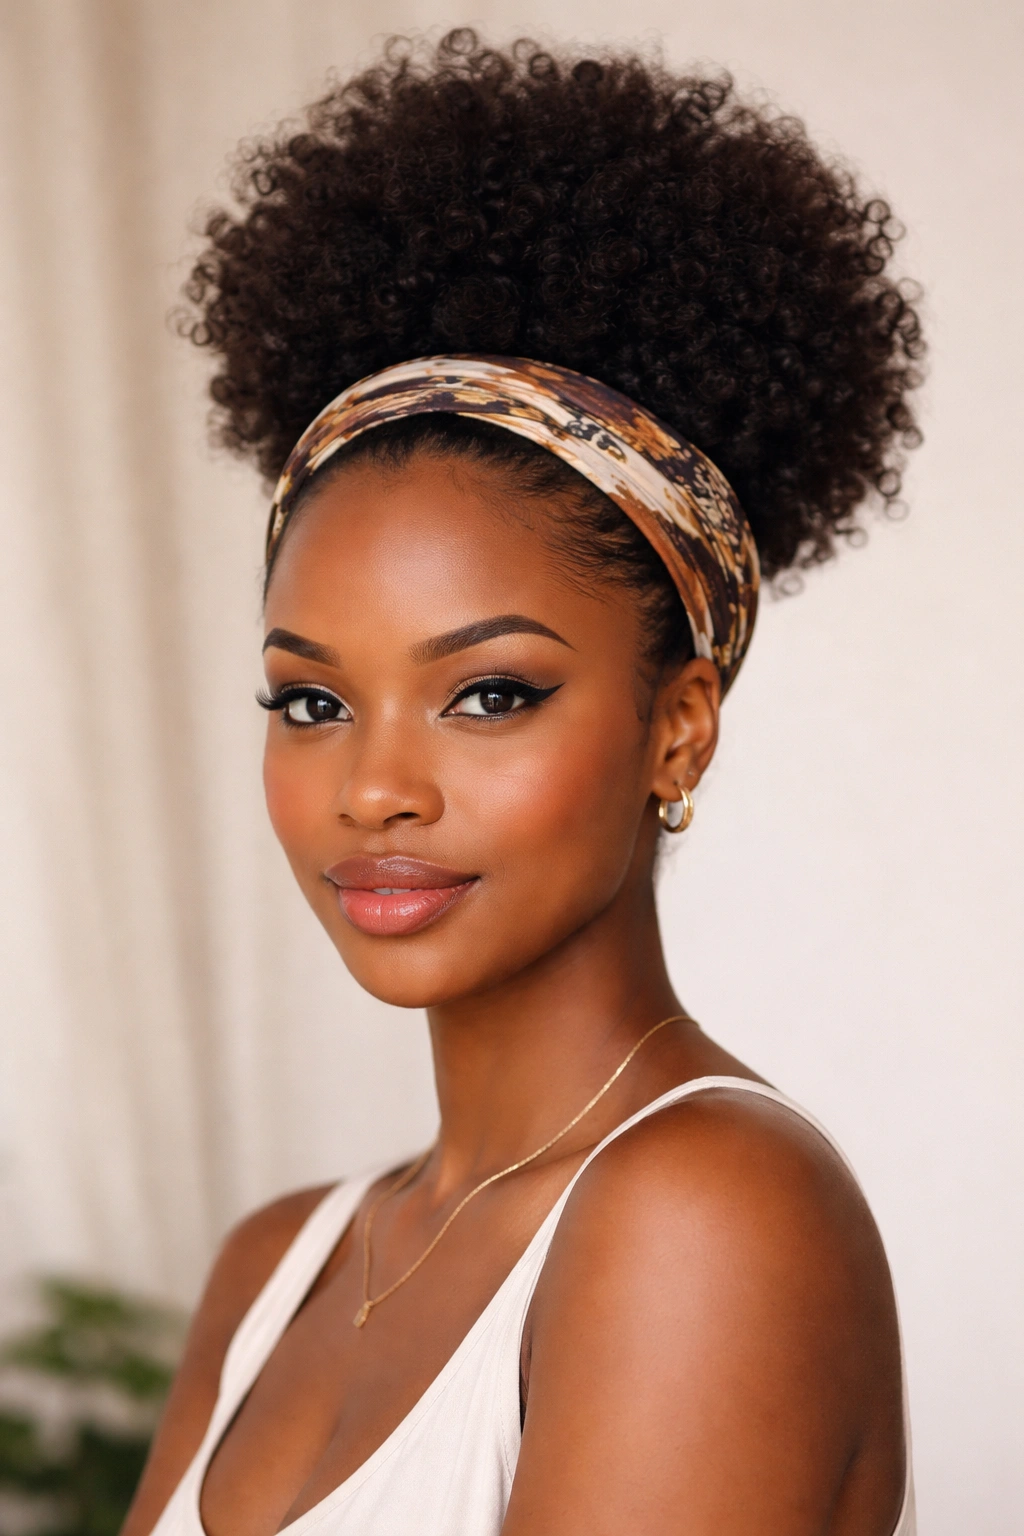
Unlike a bare puff, a scarf can change where people look first. That is the whole appeal here. A wrapped puff lets you control the hairline, the forehead space, and the mood of the style in one move.
Wide foreheads, triangle faces, and even some heart-shaped faces tend to benefit from this because the scarf gives the top edge a more deliberate finish. Fold the scarf into a band about 2 to 3 inches wide, then place it slightly behind the hairline or directly on it, depending on how much forehead you want to show. The puff can sit high or mid-height, but the wrap should be the quiet frame around it.
The scarf does not need to be loud to do its job. A solid color, a soft print, or even a satin strip that matches the outfit can work. What matters is the placement. Too low, and it eats the face. Too high, and it looks like an afterthought.
I like this style for days when the puff itself is simple but you want the whole head to feel finished. It is also one of the easiest ways to make a basic puff look intentional when you do not have time for much else. And honestly, that practicality counts.
11. Off-Center Puff for Mixed or Asymmetrical Faces
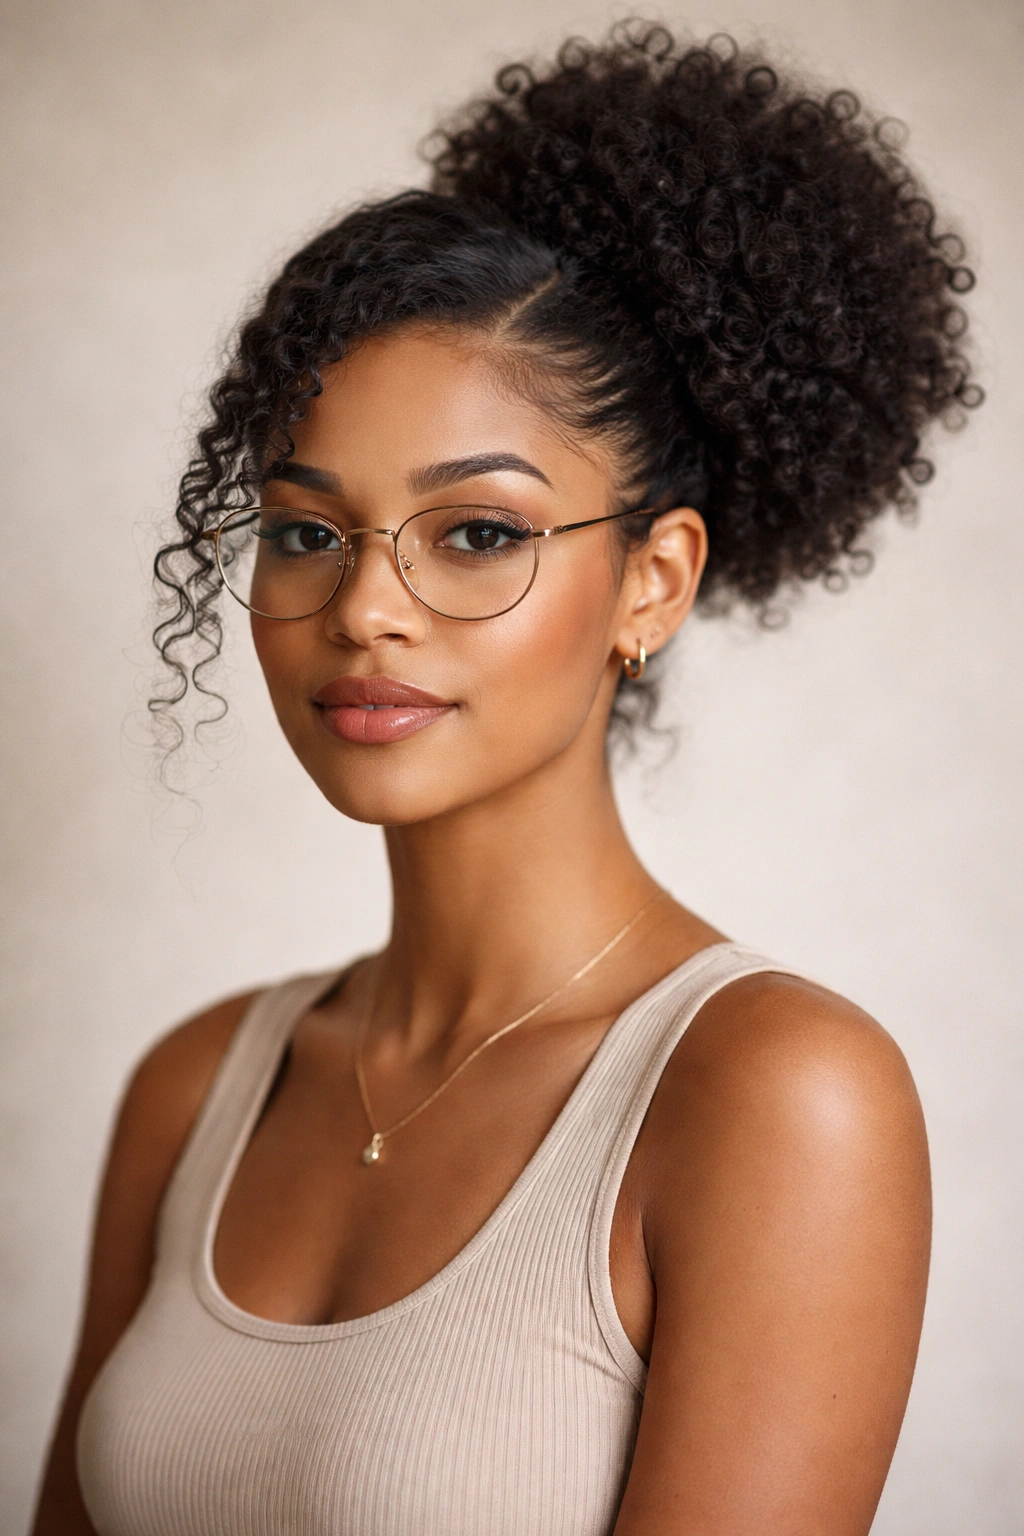
What if your face does not fit one neat box? Most people’s faces don’t. One eyebrow sits a little higher. One cheek is fuller. One side reads stronger in photos. That is normal, and an off-center puff handles it better than a perfectly centered one.
The trick is to shift the part just enough to change the balance, not so much that it becomes obvious from across the room. A puff placed slightly to one side can soften a stronger jaw, balance a fuller cheek, or keep a face with mixed features from looking overly symmetrical. That little offset is subtle, but it changes how the eye travels.
This style is also kind to glasses. A center puff can sometimes compete with frames, especially if the frames are thick or square. An off-center puff creates a little breathing room. The face feels less crowded.
How to find the right offset
Start the part about 1 to 2 inches off center, then test the puff position before you commit. Turn your head from side to side in the mirror. If one side suddenly feels heavy, shift the puff a little farther back on that side so the front stays open.
- Keep the larger side of the puff behind the fuller cheek, not in front of it.
- Leave one front curl looser if you want to soften the profile.
- Avoid making the part so deep that the style starts to look lopsided on purpose.
- Use the puff to balance, not to erase.
This is the style I recommend when someone says, “I’m not sure what face shape I have.” It covers a lot of ground without feeling generic.
12. Sculpted Low Puff with Face-Framing Pieces
If I had to point someone toward one puff that works on the widest range of face shapes, it would be this one. A sculpted low puff with a couple of face-framing pieces is steady, flattering, and not at all precious.
The low placement keeps height under control, which helps round, heart, and long faces alike. The sculpted part at the front gives the style enough shape to feel done. Then the face-framing pieces do the softening work. They can stop at the cheekbones, the jaw, or just below the ears, depending on how much movement you want.
It is not a flashy style. That is why it lasts.
You can wear it with a sharp middle part, a small side part, or no part at all. You can keep the front sleek or let a few curls live a little. You can add edges or leave them alone. The style still works because the proportions are doing the heavy lifting, not the decorations.
A lot of puff styles chase drama. This one does not. It gives shape, keeps the hair off the neck, and flatters the face without demanding a lot of extra work. If your hair is thick, the puff will look plush. If it is fine, the low placement keeps it from getting swallowed by its own volume. If you want one puff you can trust on a regular day, this is the one I would start with.
And if you end up switching between styles depending on mood, that is fine too. Face shape helps, but it is not the whole story. Hair texture, length, density, and even the neckline of your shirt can nudge a puff in a different direction. That is part of the fun. One day you want height. Another day you want softness. The best afro puff is the one that makes your face feel like itself, only a little more finished.