Some mornings, the mirror tells the truth fast. Your hair has opinions, the clock is rude, and “simple” suddenly means something that can be done with one hand while the other hunts for a hair tie. Easy hairstyles for afro hair work best when they lean into texture instead of fighting it, and that’s the whole game here.
Afro-textured hair doesn’t need to be tamed to look polished. It needs shape, a little moisture, and a style that respects shrinkage, density, and the way coils hold on to themselves. The best low-effort looks often come from one smart sectioning choice, a good part, or a stretch of hair that has been handled gently enough to stay soft.
A lot of people overcomplicate natural hair styling by reaching for heat, too much gel, or tiny tricks that only work on one hair type. That’s usually how you end up with flakes, sore scalp, or a style that collapses by lunch. A better approach is boring in the best way: clean parts, secure foundations, the right amount of hold, and styles that still look intentional when a few coils do their own thing.
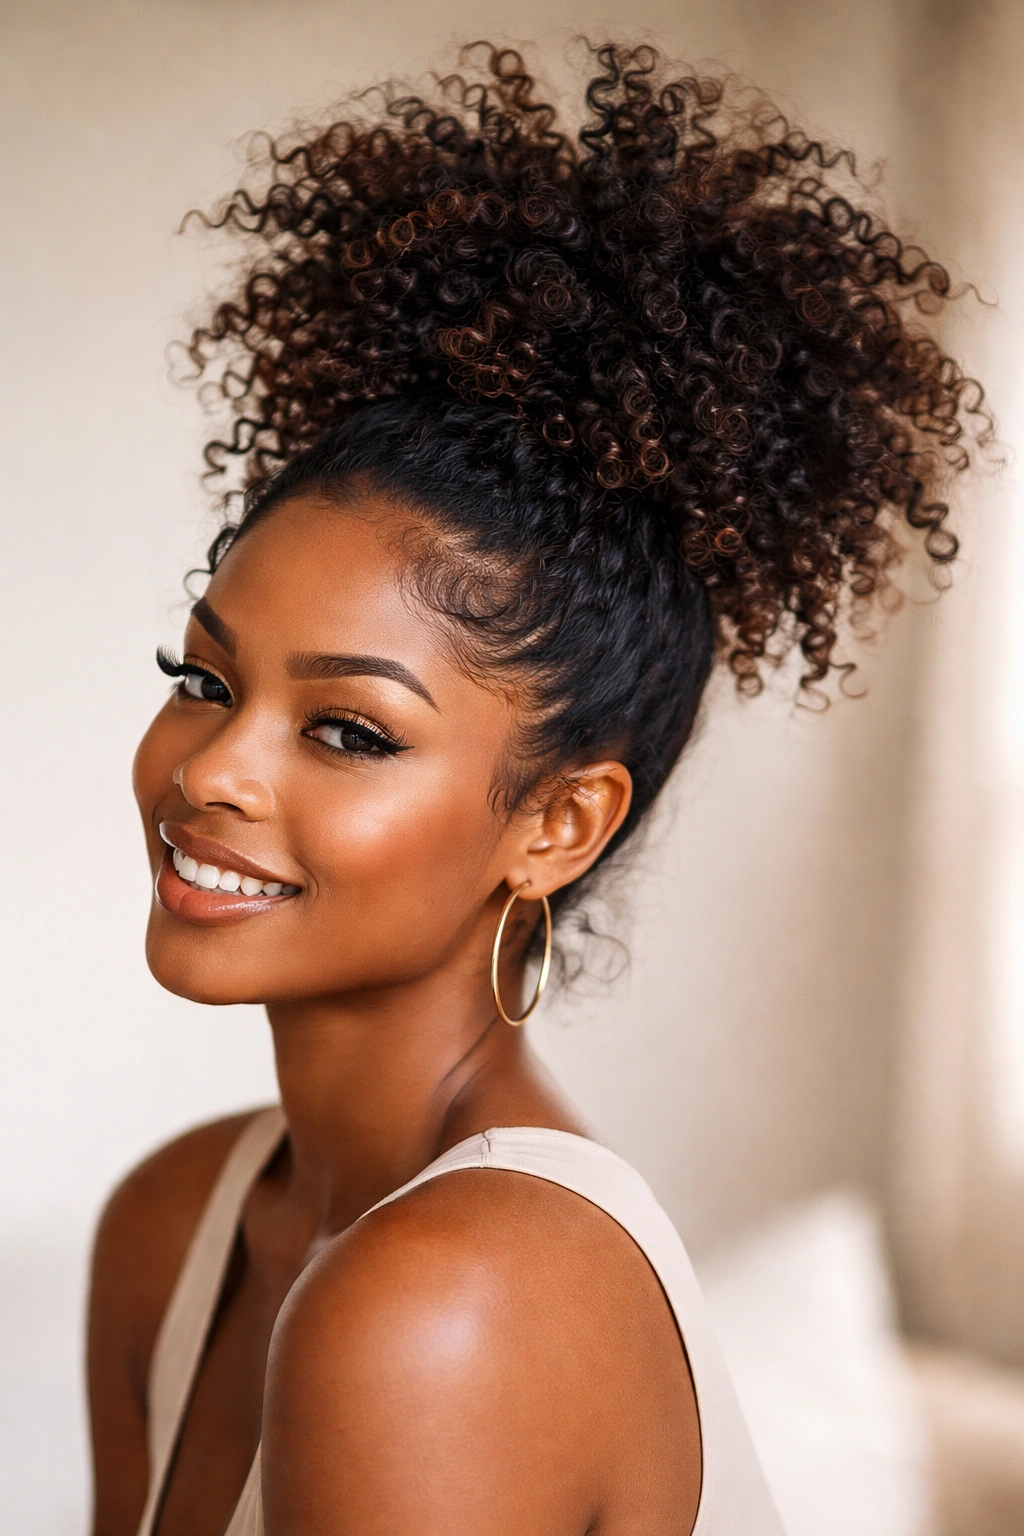
1. The High Puff
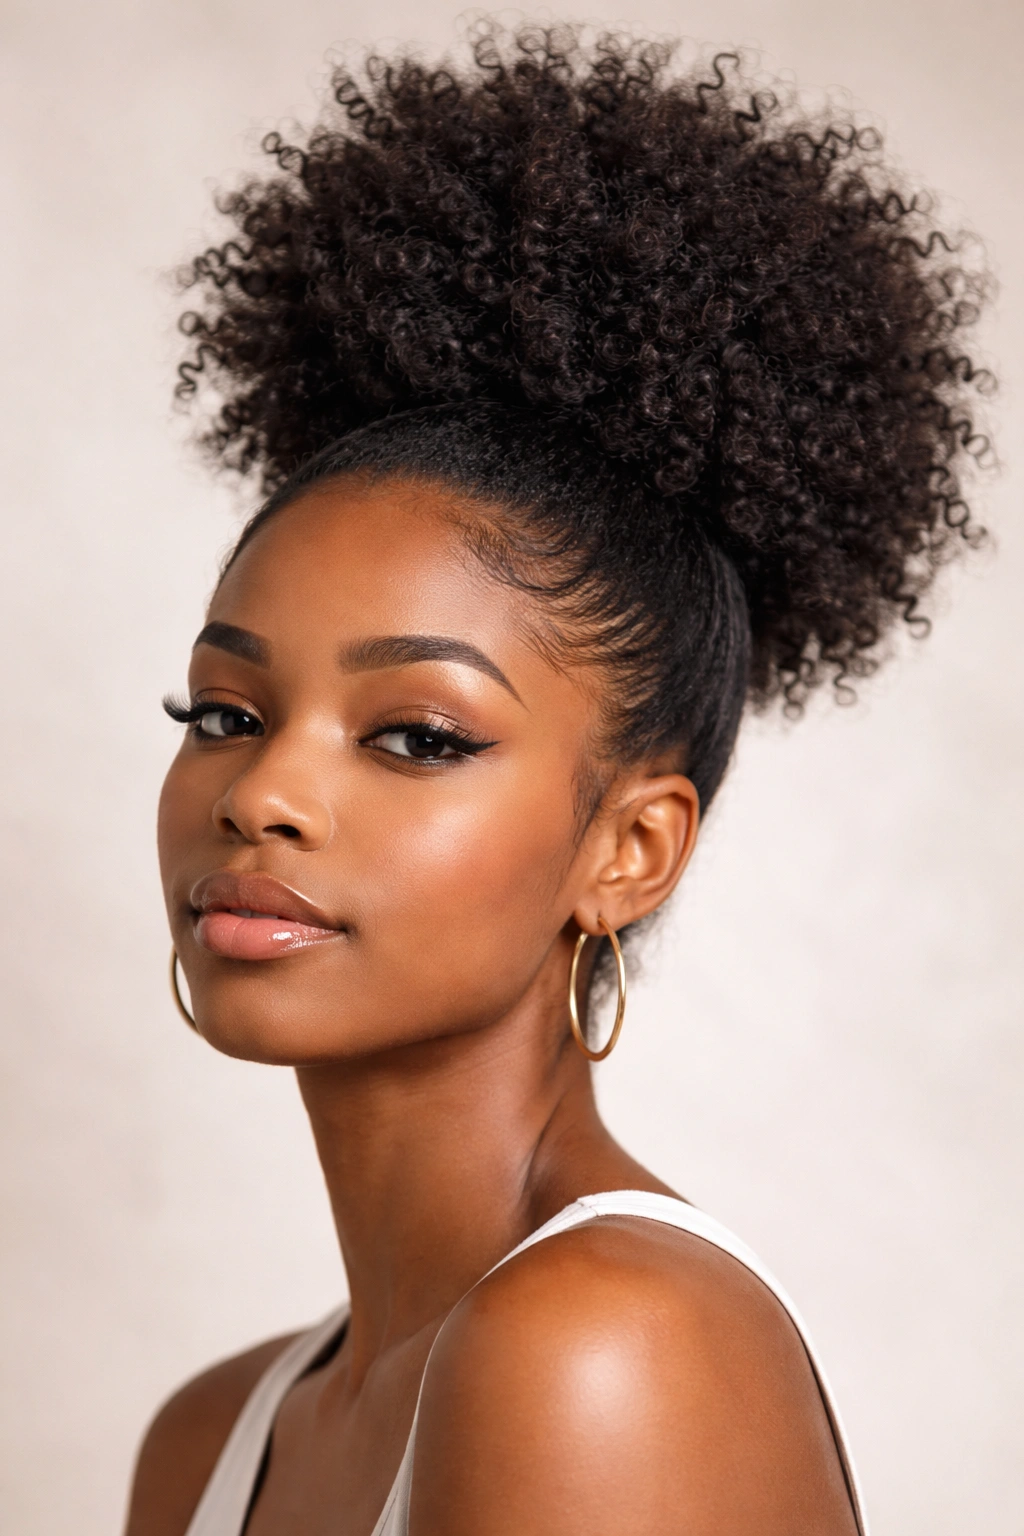
The high puff is the style people reach for when they want volume without a wrestling match. It gathers the hair at the crown, shows off texture, and looks pulled together in under ten minutes when the hair is already moisturized and detangled.
What makes it so useful is the balance between structure and freedom. You get a defined shape at the base, then all that glorious Afro texture fans out above it. If your hair is short to medium in length, the puff sits high and playful. If it’s longer, the puff can feel more dramatic, almost sculptural.
How to Keep the Puff Looking Full
A stretched base helps. Not bone-straight, not stretched to death — just enough so the hair can gather without fighting back in every direction. Use a soft hair tie or a drawstring puff cuff if you want less tension at the edges.
- Smooth the perimeter with a light cream or gel, not a heavy layer.
- Tilt your head forward when gathering the hair so the puff sits evenly.
- Use your fingers or a soft brush to lift the roots once it’s secure.
- Fluff the puff from the outside, not the center, if you want more shape.
Best tip: leave a little life at the roots. A puff that’s too slick can look stiff fast.
2. The Low Puff
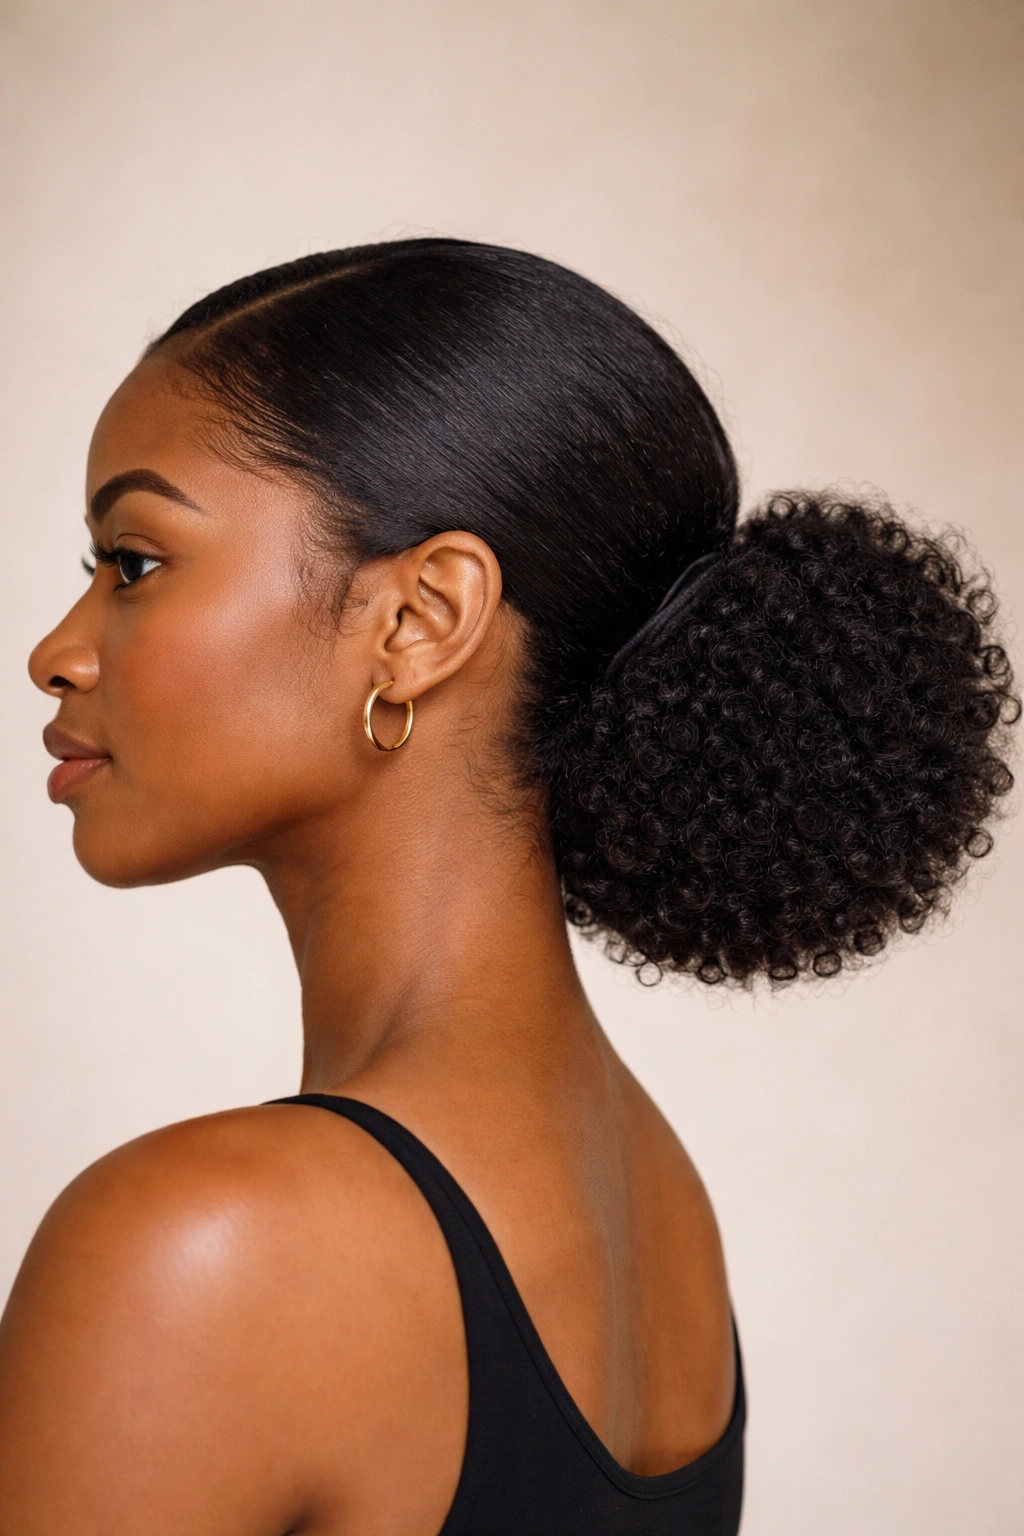
Want something calmer than the high puff? The low puff gives you the same easy shape, just lower on the head and a little softer around the edges.
It’s especially good on hair that’s past shoulder length or on days when your scalp wants less tension. A center part gives it a cleaner look. A deep side part makes it feel more casual and a bit more romantic, if that word still works for hair. Either way, the low placement tends to sit comfortably for longer wear.
The trick is to keep the base neat and the puff loose enough to move. If you slick the front too hard, it loses the charm. If you leave the front too fuzzy, the style can look unfinished. Aim for that middle ground where the hairline is smooth but not plastered down.
A silk scarf for 10 to 15 minutes after styling helps the base settle. Then lift the puff with your hands and stop fussing. That part matters more than people think.
3. Two-Strand Twists
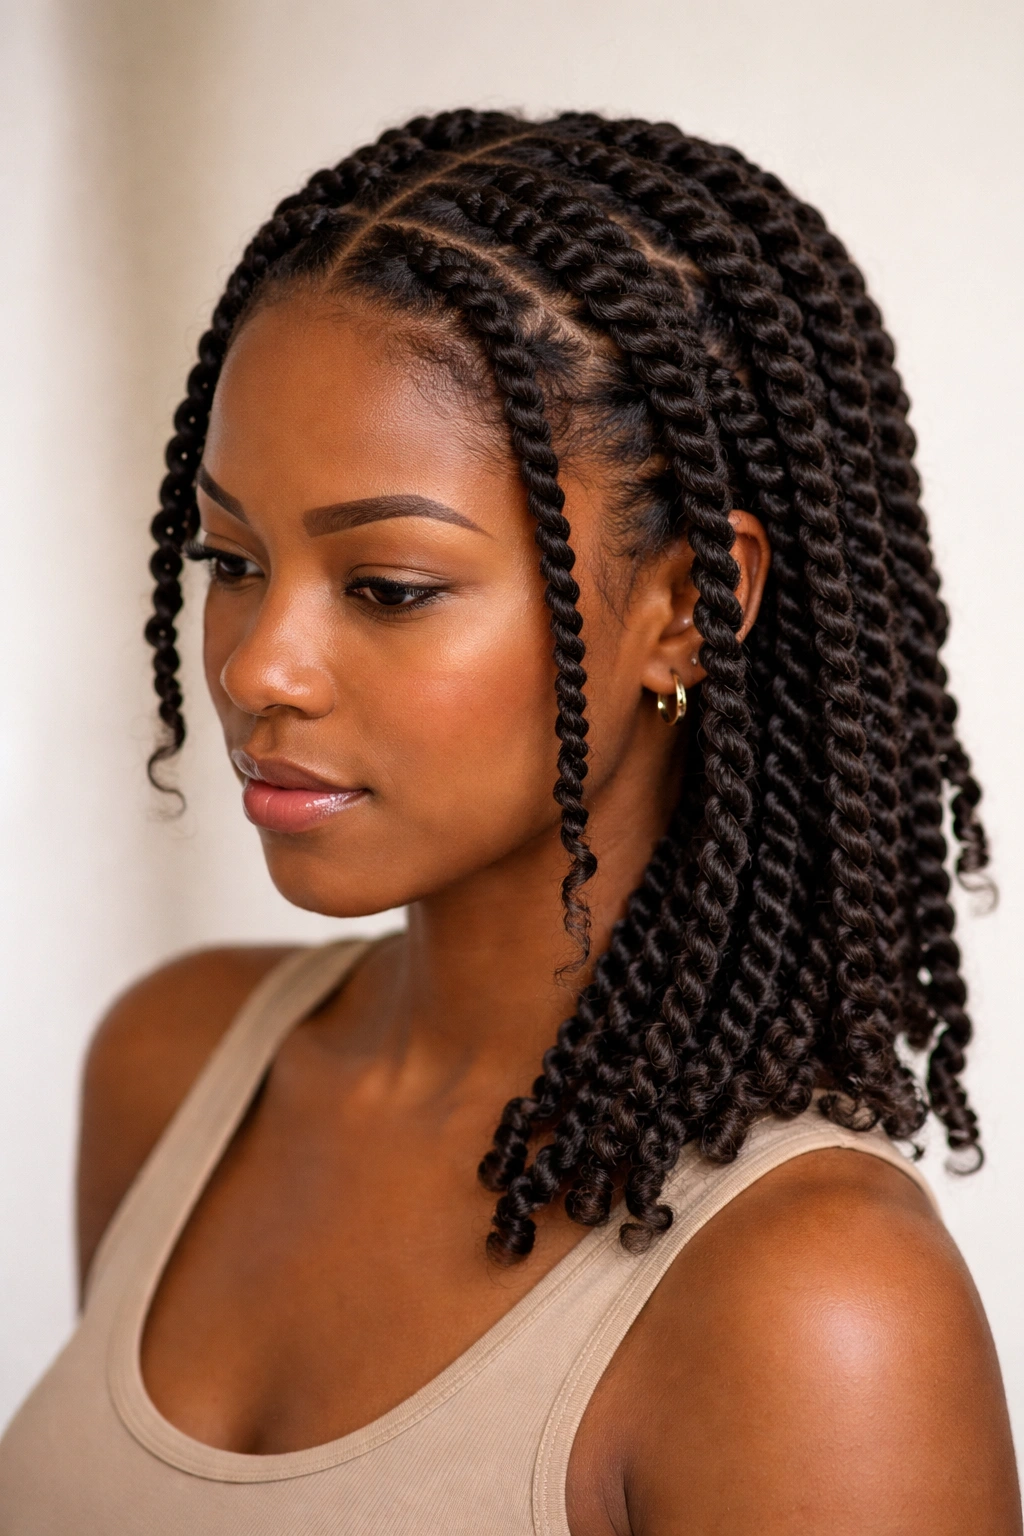
Two-strand twists are one of those styles that pull double duty. They look neat on day one, and they can become a twist-out later if you want a second style from the same work.
A twist on afro hair is not hard, but it does reward patience with your parts. Medium-sized sections are the sweet spot for most people: small enough to hold shape, large enough to avoid spending your whole evening at the bathroom mirror. If the hair is dry, the twists tend to frizz up early. If it’s soaking wet, they can take forever to set. Damp hair with leave-in conditioner is the safer bet.
Why Twists Earn Their Place
They’re friendly to short hair, thick hair, and hair that tangles if you look at it too long. They also keep ends tucked away, which is handy when you’re trying to reduce daily manipulation.
- Part cleanly with a rat-tail comb or your fingers.
- Smooth each section with a little cream before twisting.
- Twist from root to end with even tension, not a death grip.
- Seal the ends by twirling them around your finger or adding a touch of product.
Sleep with a satin bonnet or scarf. Seriously. Twists can look great in the morning if you don’t flatten them under a cotton pillowcase.
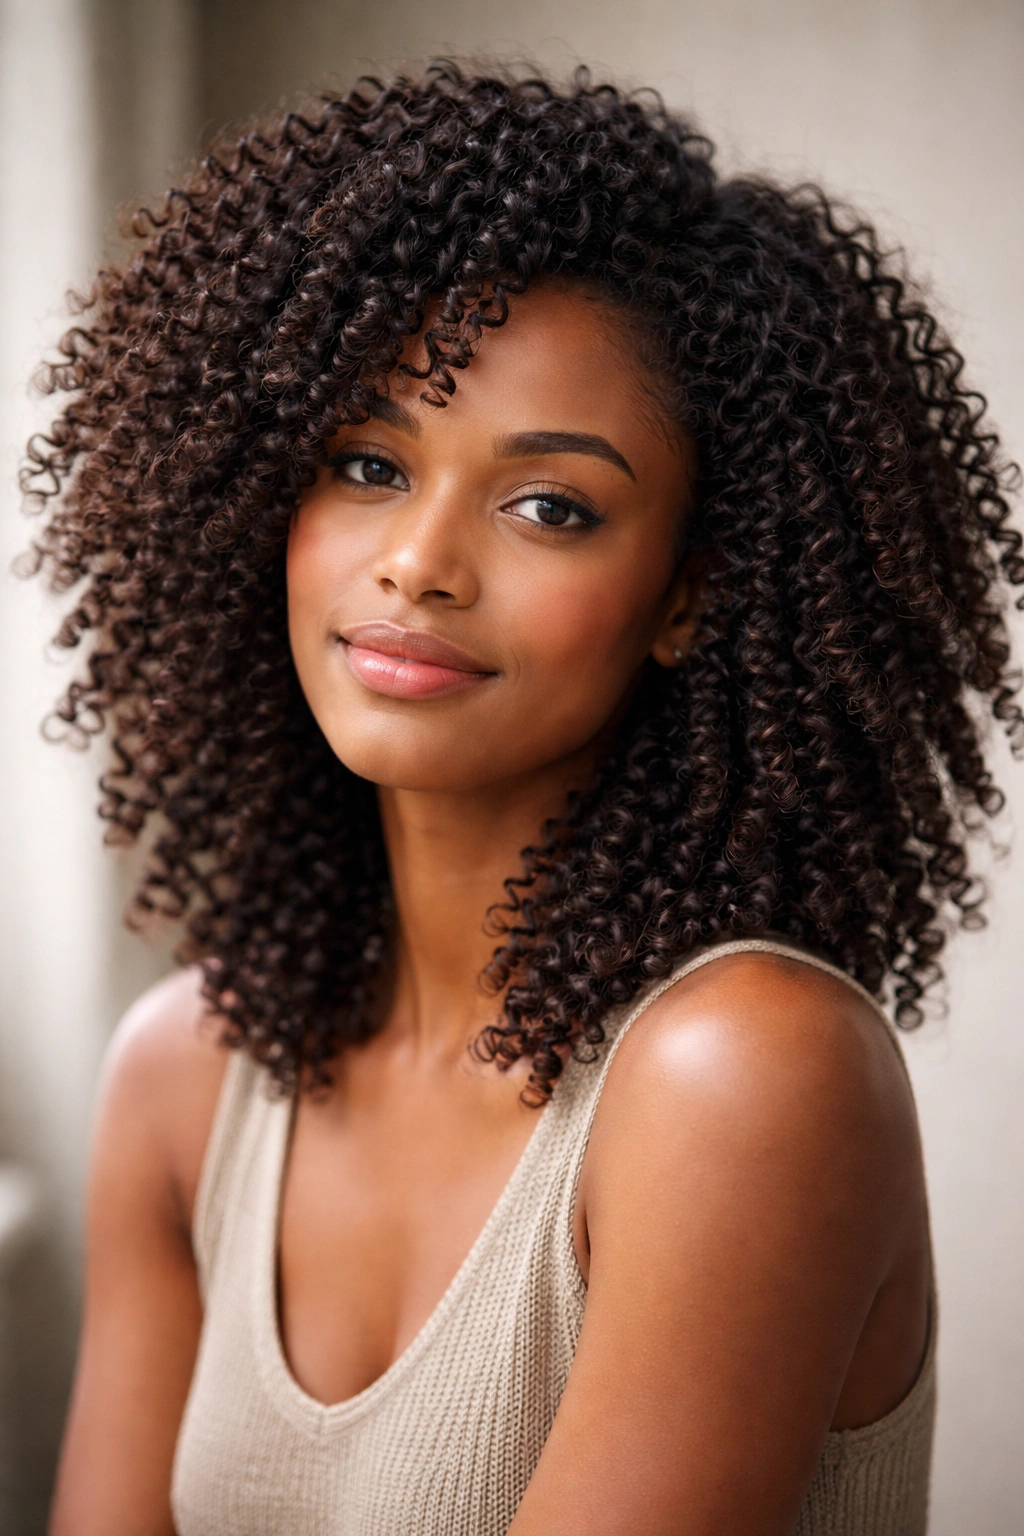
4. The Twist-Out
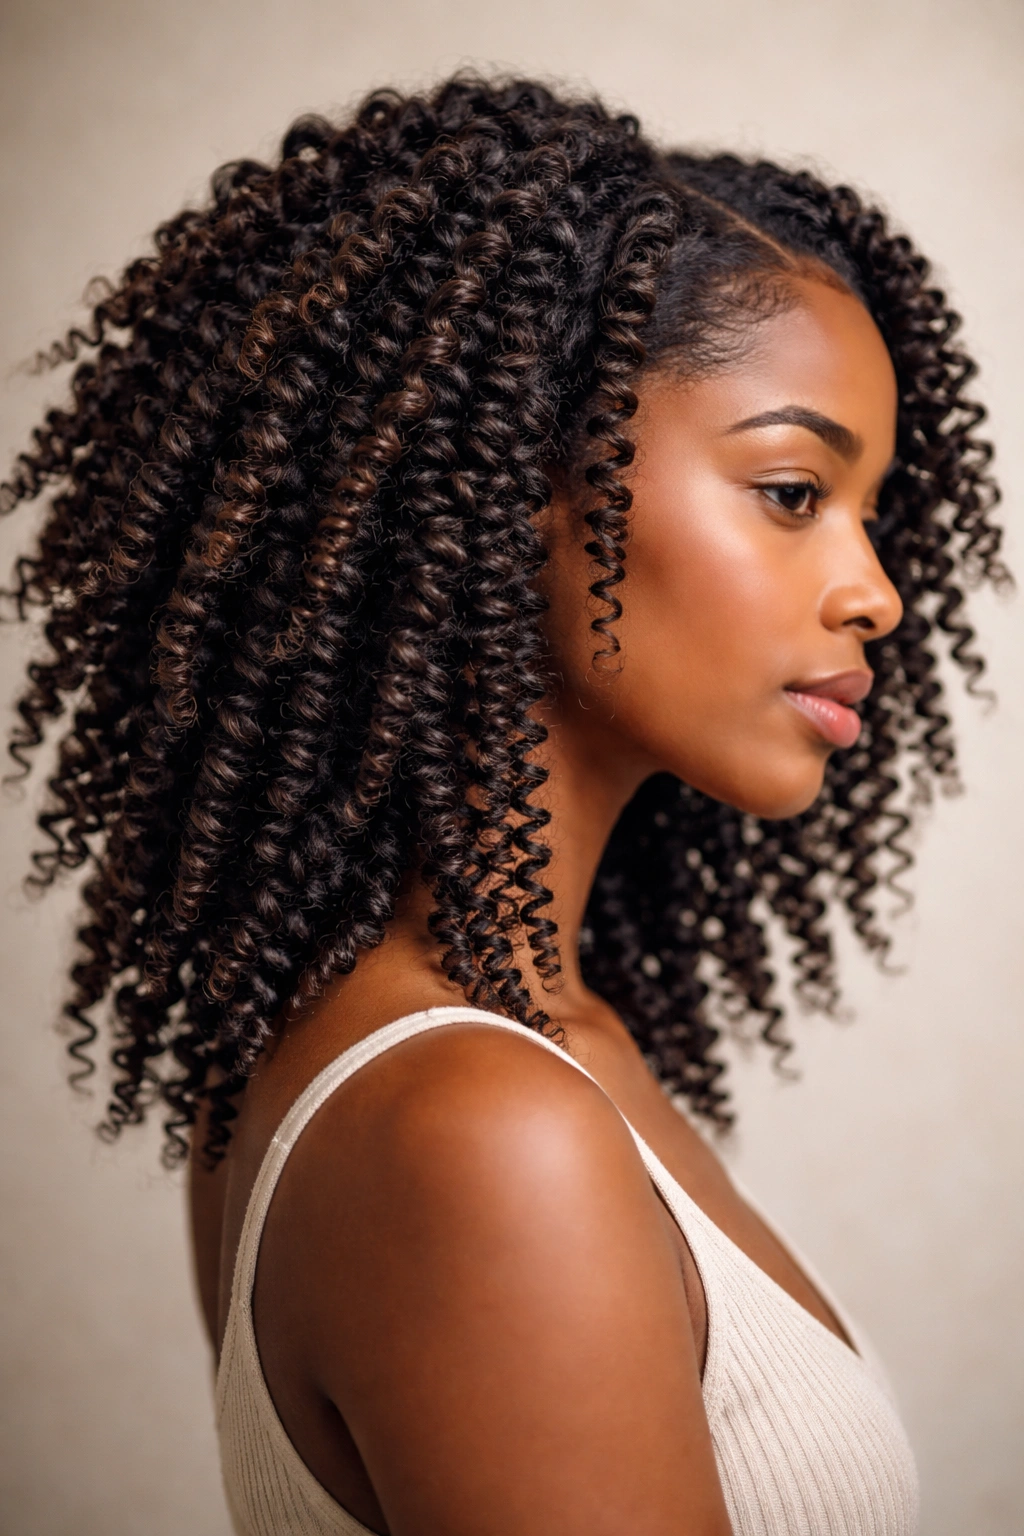
A twist-out is what happens when twists come undone on purpose and look better for it. The result is a fluffy, stretched curl pattern with more definition than a wash-and-go and more volume than a simple set style.
This is one of my favorites because it gives afro hair movement without forcing it into a shape that feels fake. The pattern you get depends on twist size, product choice, and drying time. Smaller twists give tighter definition. Bigger twists give more stretch and a softer finish. If the hair isn’t fully dry, the style can turn fuzzy fast, so this is not the place to rush.
Use a rich leave-in, a cream with slip, and a light hold product if your hair likes to frizz. Then leave the twists alone until they’re dry all the way through. Not a little dry. Dry-dry. The roots should feel cool and the twists should feel lightweight before you separate them.
When you take them down, coat your fingers with a tiny bit of oil. That helps reduce frizz and keeps the hair from snagging while you separate the sections.
5. The Braid-Out
A braid-out looks similar to a twist-out at first glance, but the texture is different. Braids give you a crisper wave pattern and a little more stretch, which is great if your hair tends to shrink the moment you blink.
This style works well when you want definition without a coil-heavy look. It’s also a smart option if your twist-outs come out too puffy for your taste. Braids tend to set more firmly, especially on hair that holds braid patterns well. The downside is that they can leave sharper lines if the braids are too tight or if you braid sections that are much too small.
If you want a softer braid-out, braid on hair that has been lightly moisturized rather than drenched. Bigger braids create a looser wave, and that’s usually easier to wear for daytime. A side part can make the style look more deliberate without adding any extra work.
Take the braids down slowly. The temptation is to rip through them. Don’t. Separate from the ends upward, and stop once the shape looks full. Over-separating turns a decent braid-out into a cloud with no plan.
6. Mini Twists
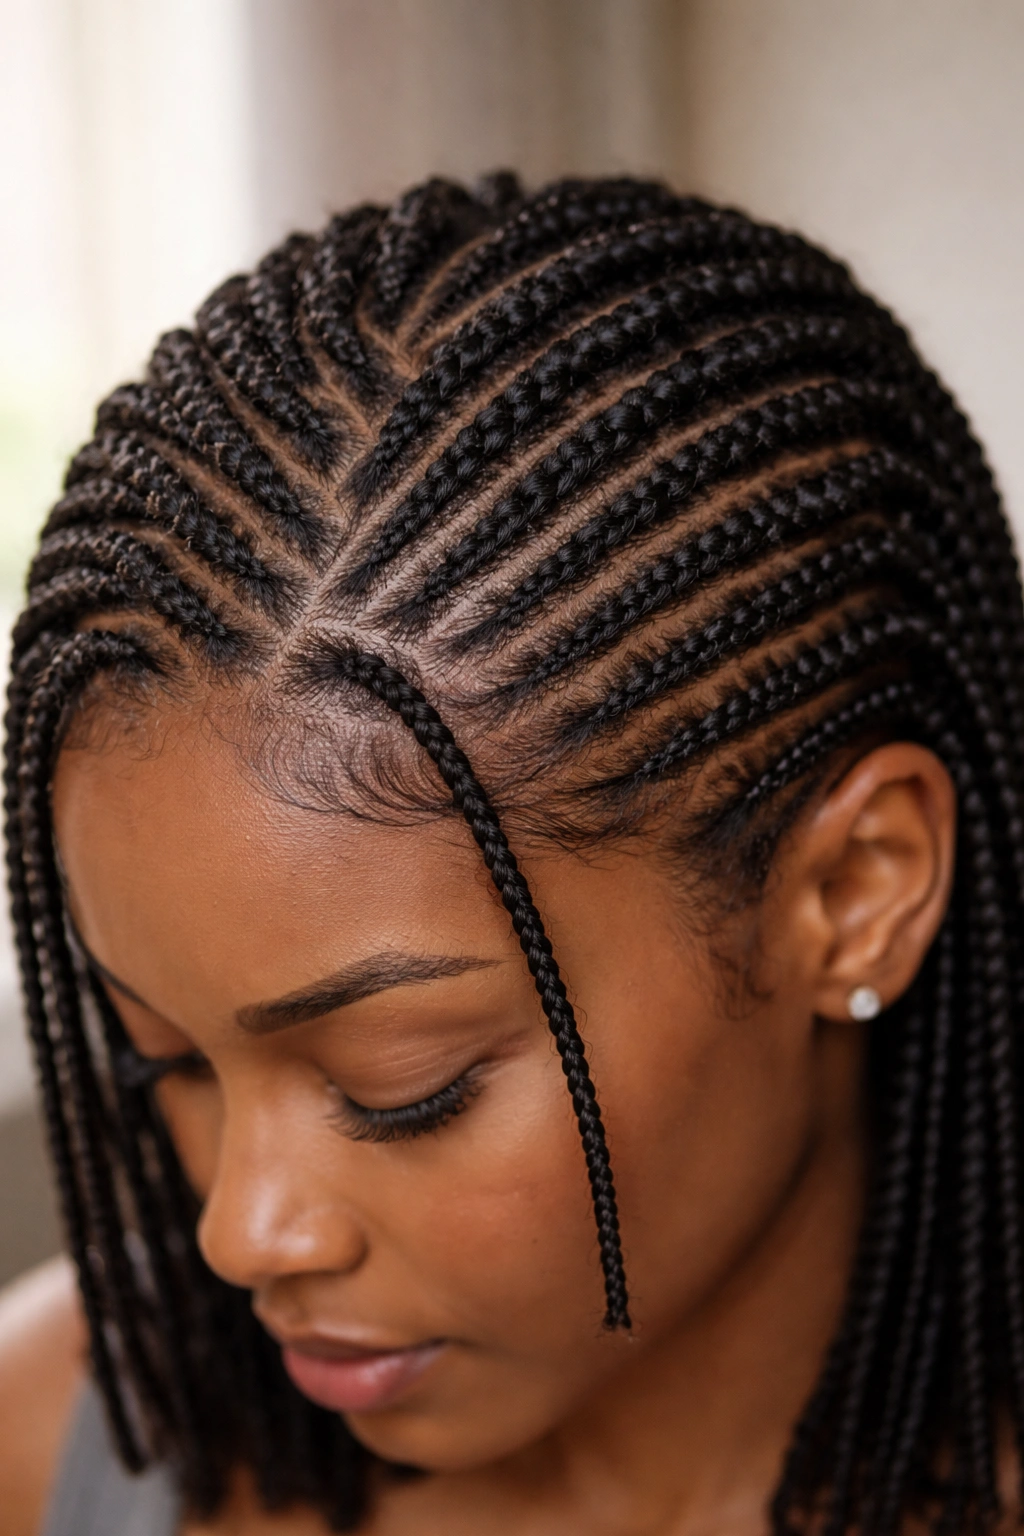
Mini twists are the quiet overachievers of easy hairstyles for afro hair. They take more parting time up front, but after that, they ask for almost nothing and can stay neat for days.
The appeal is partly practical. Smaller twists sit close to the scalp, dry well, and make it easier to tuck the ends away. They’re also one of the better options when you want a low-manipulation style that still looks styled, not accidental. If your hair is dense, mini twists can reduce the daily “what do I do with this?” problem for a good stretch of time.
What Makes Them Different
Mini twists are not about volume on day one. They’re about clean lines, movement, and staying power.
- Use a fine-tooth comb only if your hair is already detangled.
- Work in rows so the parts stay even.
- Keep the sections small but not tiny enough to snag.
- Add a little more product to the ends than the roots.
The one catch is patience. Tiny parts can eat time, and if your hands cramp easily, you may want to split the style over two sessions. Still, the payoff is real. Mini twists age better than plenty of faster styles.
7. Flat Twists
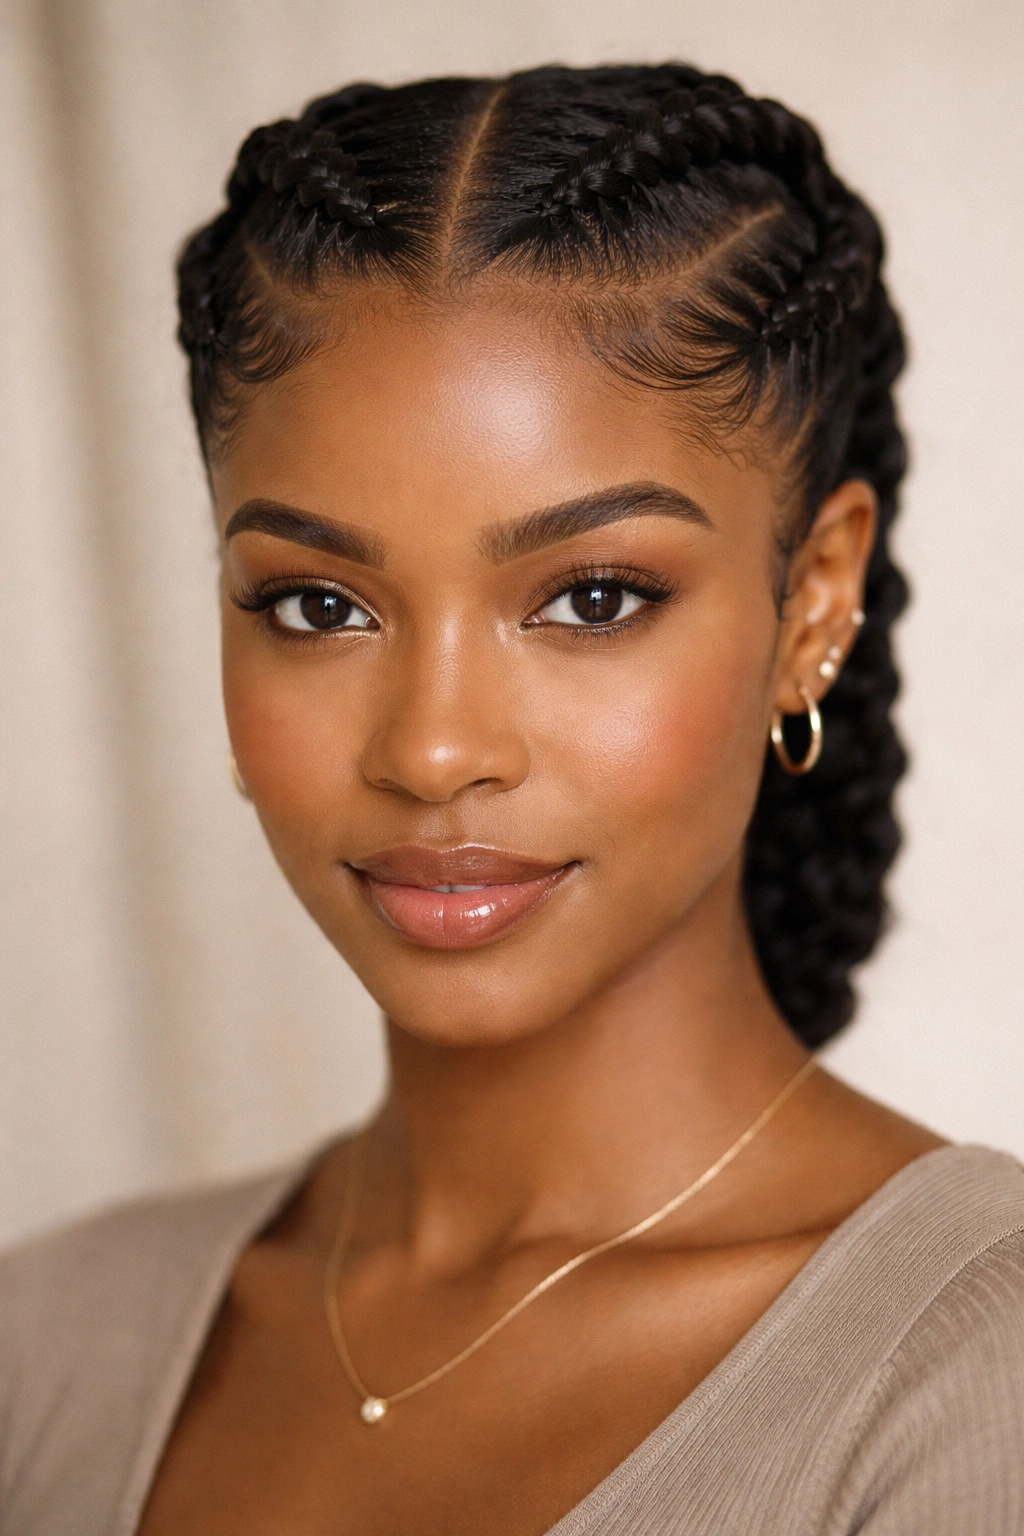
Flat twists are a smart middle ground when you want the look of braiding without the same amount of tension. They lie close to the scalp, which makes them handy for keeping hair secure while still looking neat.
They’re especially good if you want a style that can be worn as is or used as the base for another look. Two flat twists can frame the face. Four or six can create a clean, tidy pattern. And if you sweep them into a bun or puff at the back, the style gets more polished without any extra drama.
A lot of people underestimate how useful flat twists are on hair that’s just been washed. The scalp gets some breathing room, the lengths stay organized, and the whole style can be finished with a twist-out later if you want a softer texture. That’s a nice bonus.
Keep the tension firm enough to hold, but not so firm that the skin feels pulled. If the parts start wavering, stop and reset. Messy parts show more in flat twists than in fluffy styles, so the neatness matters here.
8. Bantu Knots
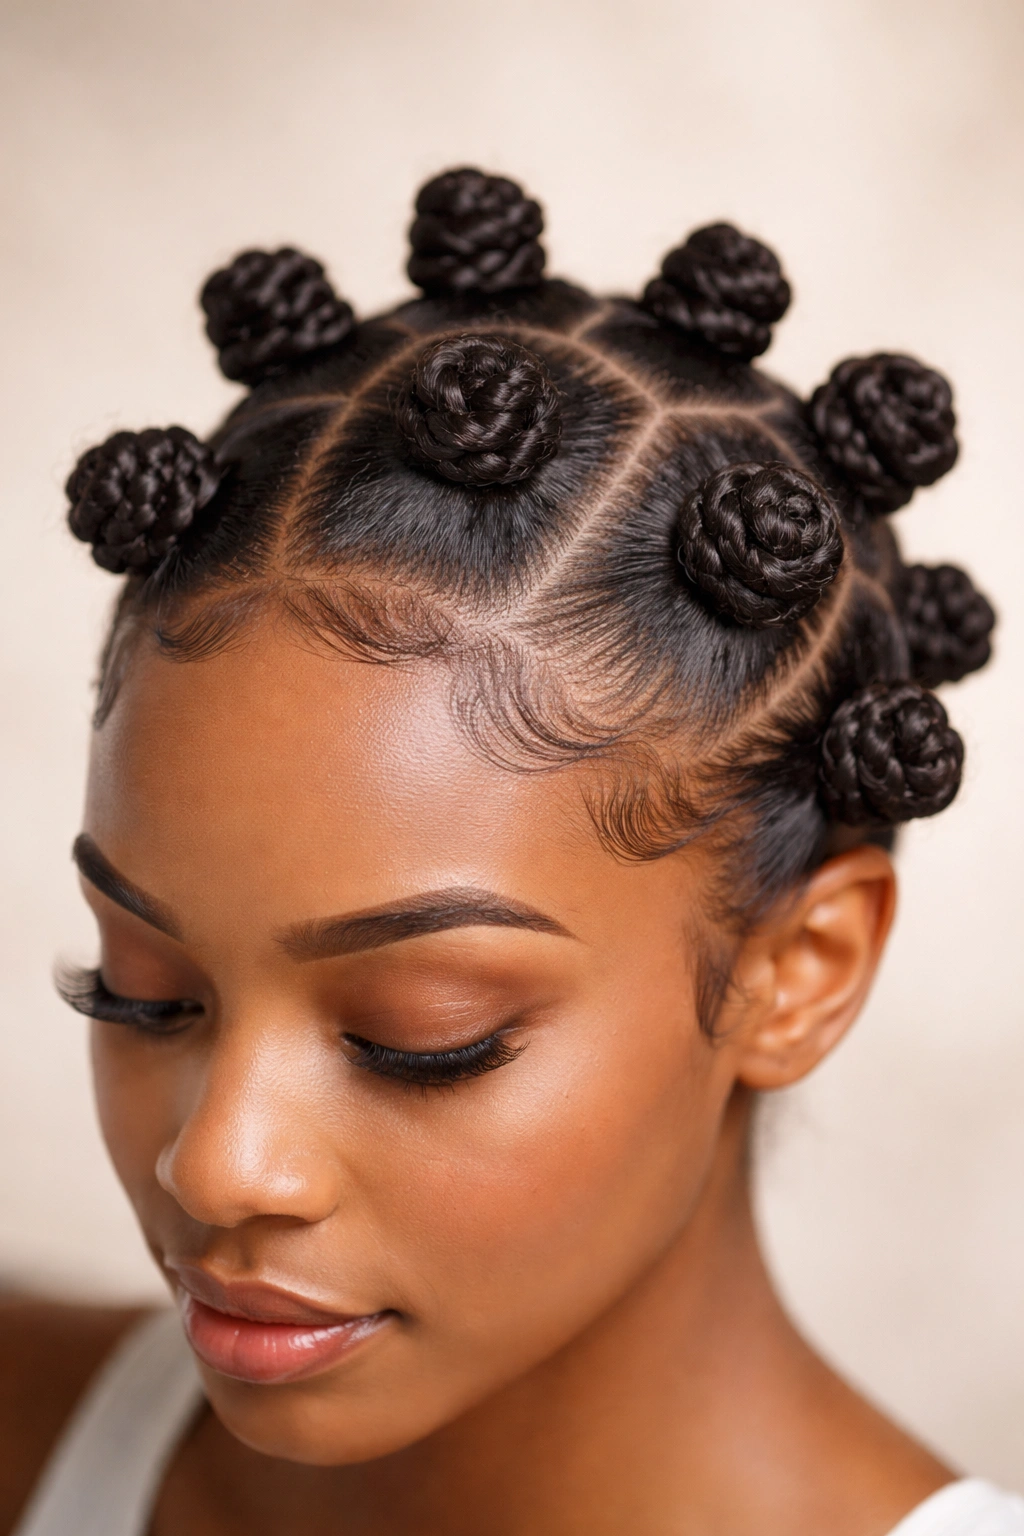
Bantu knots look decorative, sure, but they’re also one of the most practical styling options for coily hair. You can wear them as a finished style, or you can use them as a setting method for a knot-out with tight, springy curls.
The style works best on hair that has enough slip to coil without snagging. A little leave-in conditioner and a cream with hold can make the twisting easier. The hair should feel soft in your fingers, not slippery in a way that makes it impossible to grip. That distinction matters.
Smaller knots give you more definition later, while larger knots are quicker and create a chunkier look. If you want to wear the knots themselves, keep the sections even and the scalp clean. If you want a knot-out, let the knots dry completely before taking them down. Half-dry knots are a mess. There’s no polite way to say it.
A satin scarf helps keep the knots from getting fuzzy overnight, especially around the edges. And if your hair is very long, pinning the bases before you wrap them can keep the knots from sagging.
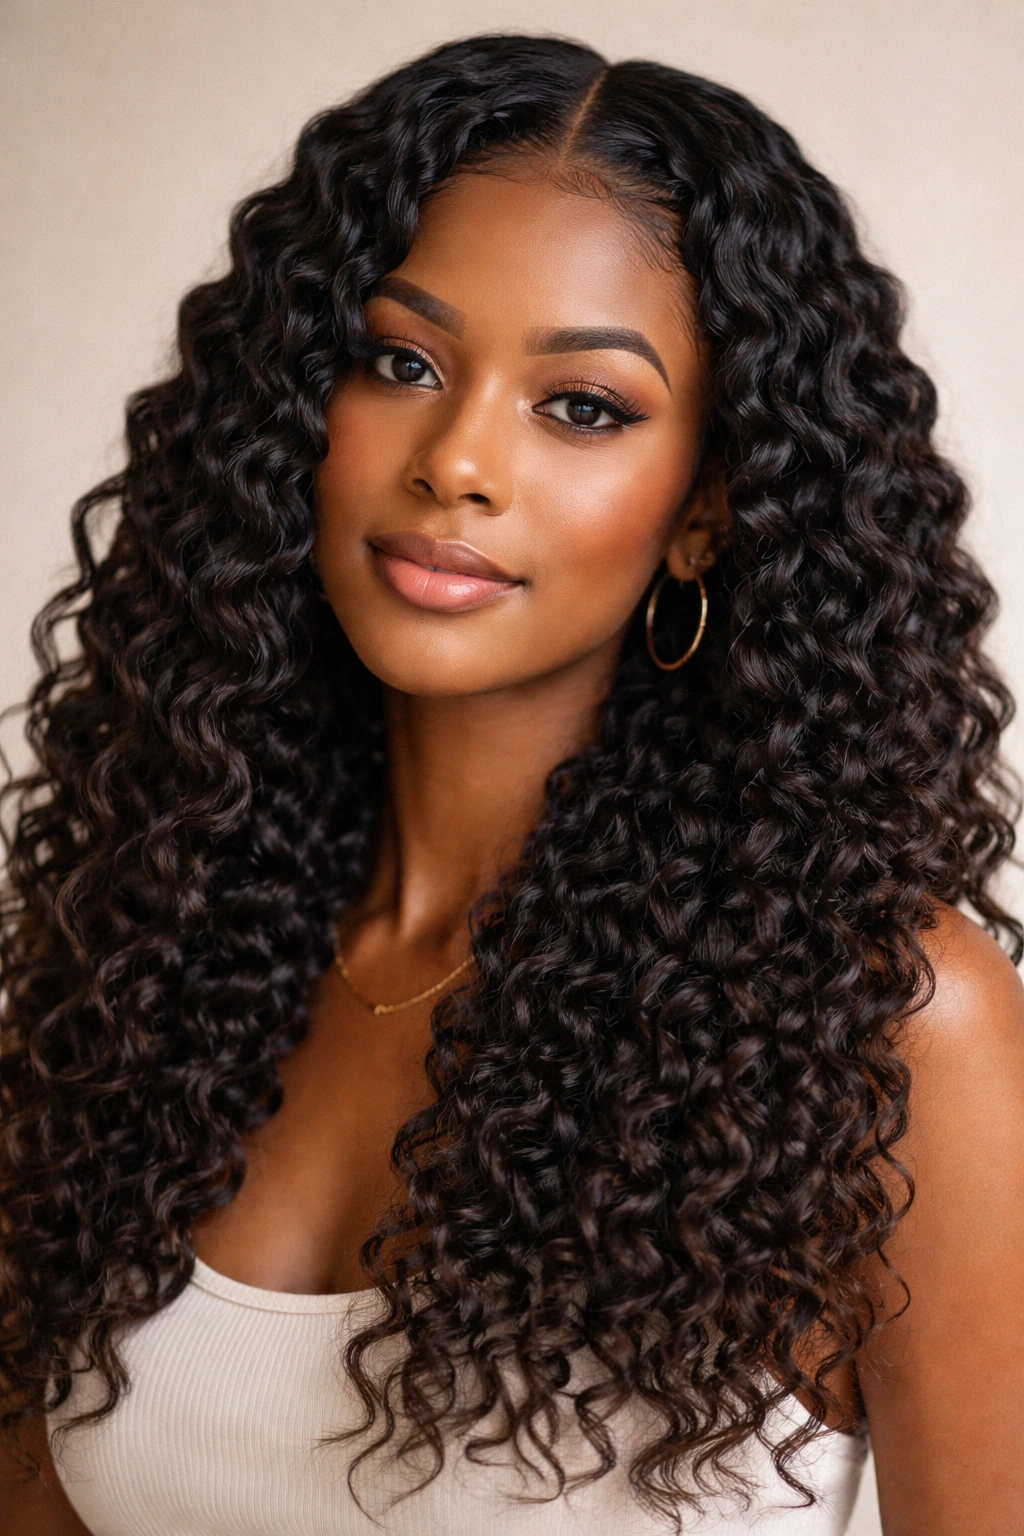
9. The Wash-and-Go
A wash-and-go sounds easy because, on a good day, it is. But it only feels easy when you respect the curl pattern instead of trying to force one shape onto every strand.
For afro hair, that usually means applying products while the hair is wet, then letting the curls clump the way they want to. Some heads look defined and compact. Others expand into a cloud of coils with less obvious ringlets. Both are valid. Both count. The hair does not need to perform a tiny-curl illusion to be successful.
What helps most is product order. A leave-in for moisture, a styler for hold, and then hands off. Raking too much breaks the clumps apart. Scrunching too hard can create frizz before the hair even dries. If you use a diffuser, keep it on low heat and low speed so the curls don’t blast apart.
A wash-and-go is also one of the best styles for people who like to see their texture in full. Not hidden. Not stretched. Just there, doing its thing.
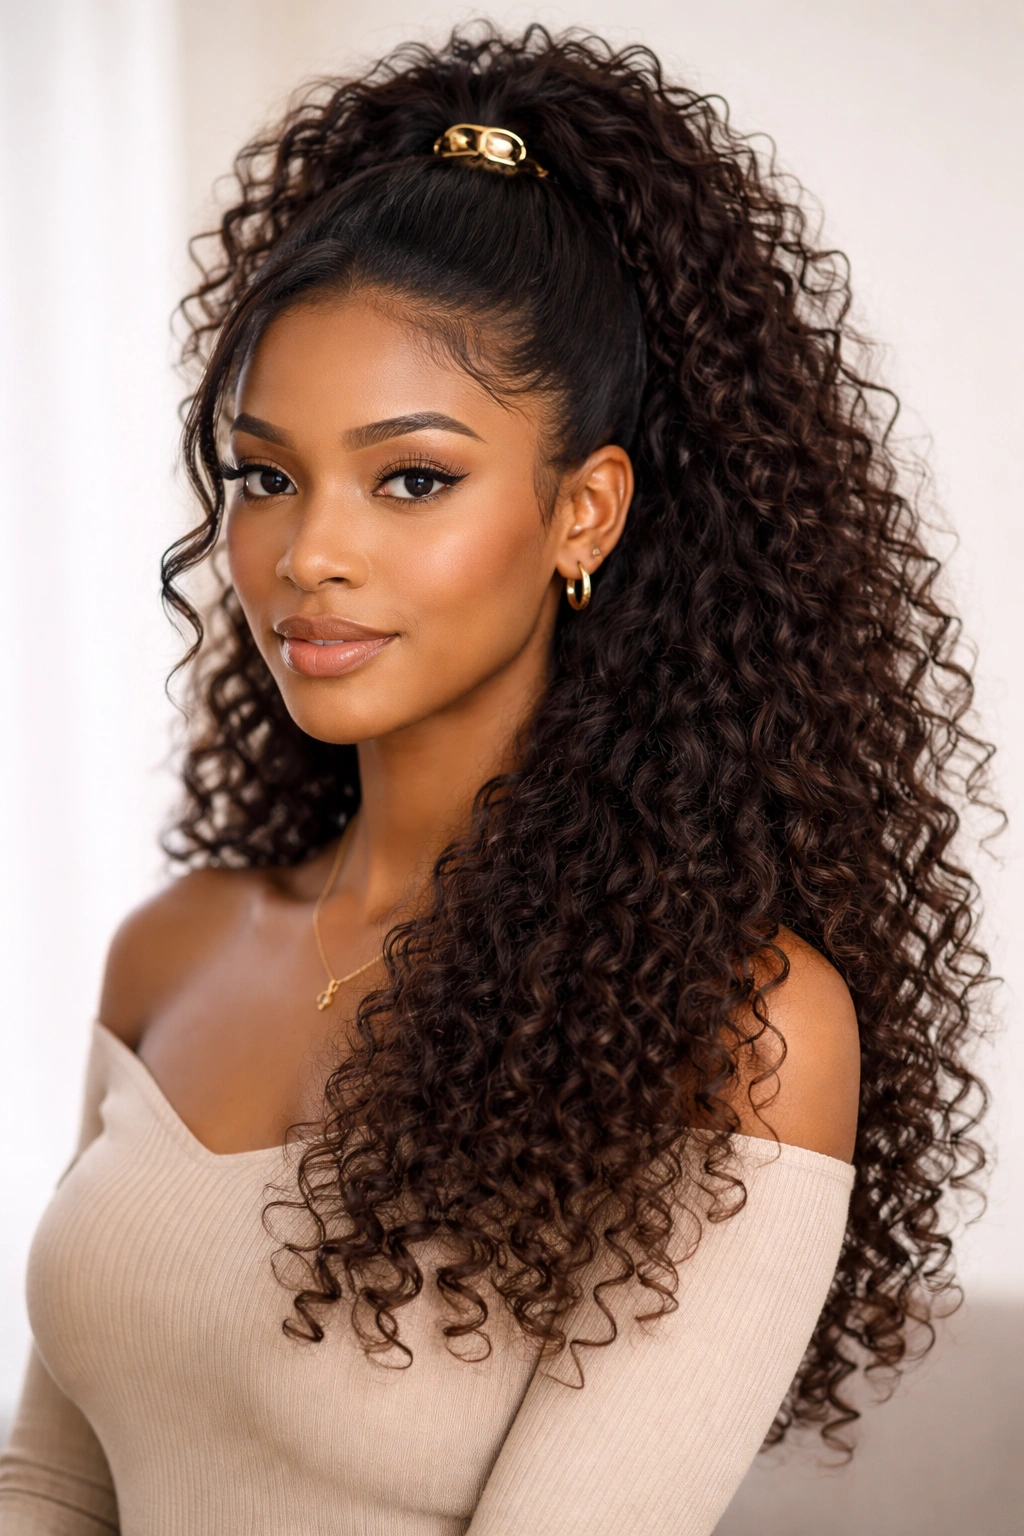
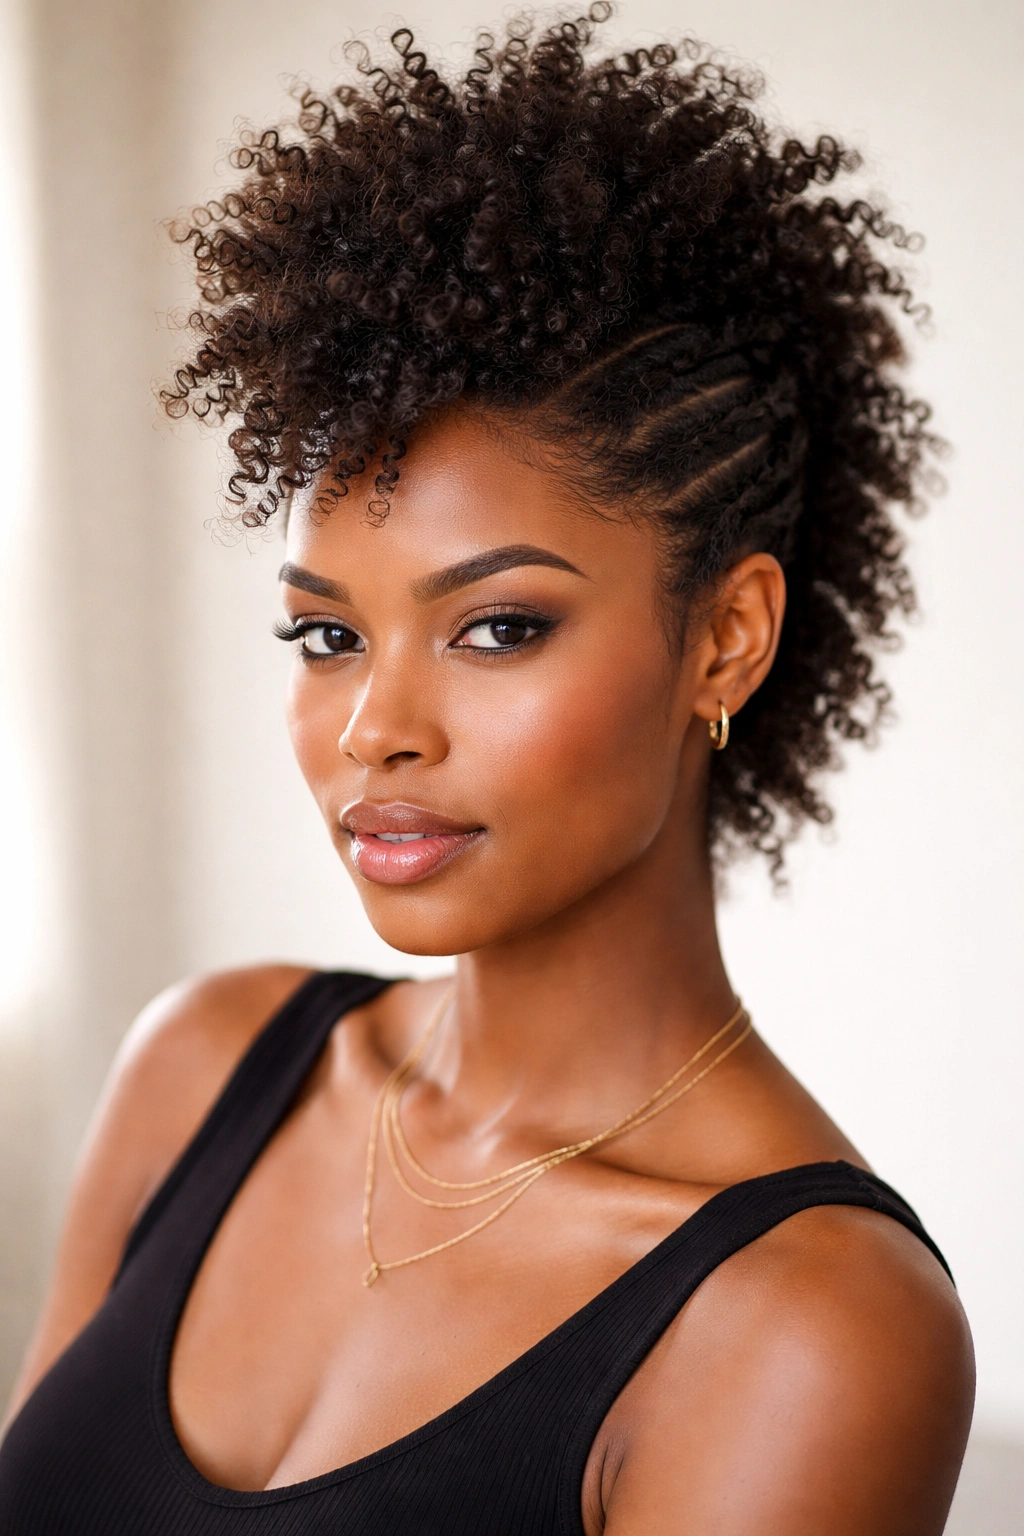
10. The Pineapple Updo
The pineapple updo is the style that says, “I know exactly how to save my curls.” It gathers the hair high on the head, usually with a loose band, so the ends stay protected and the shape stays playful.
It’s one of the easiest ways to stretch a previous style into another day. A twist-out, braid-out, or wash-and-go can all be pulled into a pineapple when you need your curls off your neck. The hair falls forward in a way that feels light, which makes it a nice choice for warm rooms, busy mornings, or plain old laziness. Honestly, all three.
How to Make It Look Intentional
The difference between a messy pineapple and a neat one is mostly placement. Too low, and it turns into a vague ponytail. Too high, and it can look strained. The sweet spot is near the crown, with the base loose enough that the front isn’t flattened into a helmet.
- Use a fabric scrunchie or a soft tie.
- Leave the ends loose and lifted.
- Fluff the front gently with your fingers.
- Add a scarf or headband if you want more polish.
It’s a casual style, but that doesn’t mean careless. The good ones look quick and still feel planned.
11. Half-Up, Half-Down
Half-up, half-down is the style I recommend when someone wants a little structure but refuses to lose all the texture. It works on puffs, curls, twists, and even old braid-outs that need a second life.
The top section gives you control around the face, and the bottom section keeps the hair full and soft. If your hair is thick, this style can show off density without making you deal with all of it at once. If your hair is shorter, the half-up portion can create lift and the bottom section can make the whole look feel longer.
You can use a puff cuff, a clip, or a simple band to secure the top. Then leave the rest alone. That’s the part a lot of people miss. They over-style the top and under-style the bottom, which leaves the whole look lopsided. A quick fluff at the ends usually fixes that.
A side part gives it a little drama. A center part gives it a cleaner finish. Pick one and commit.
12. Space Buns
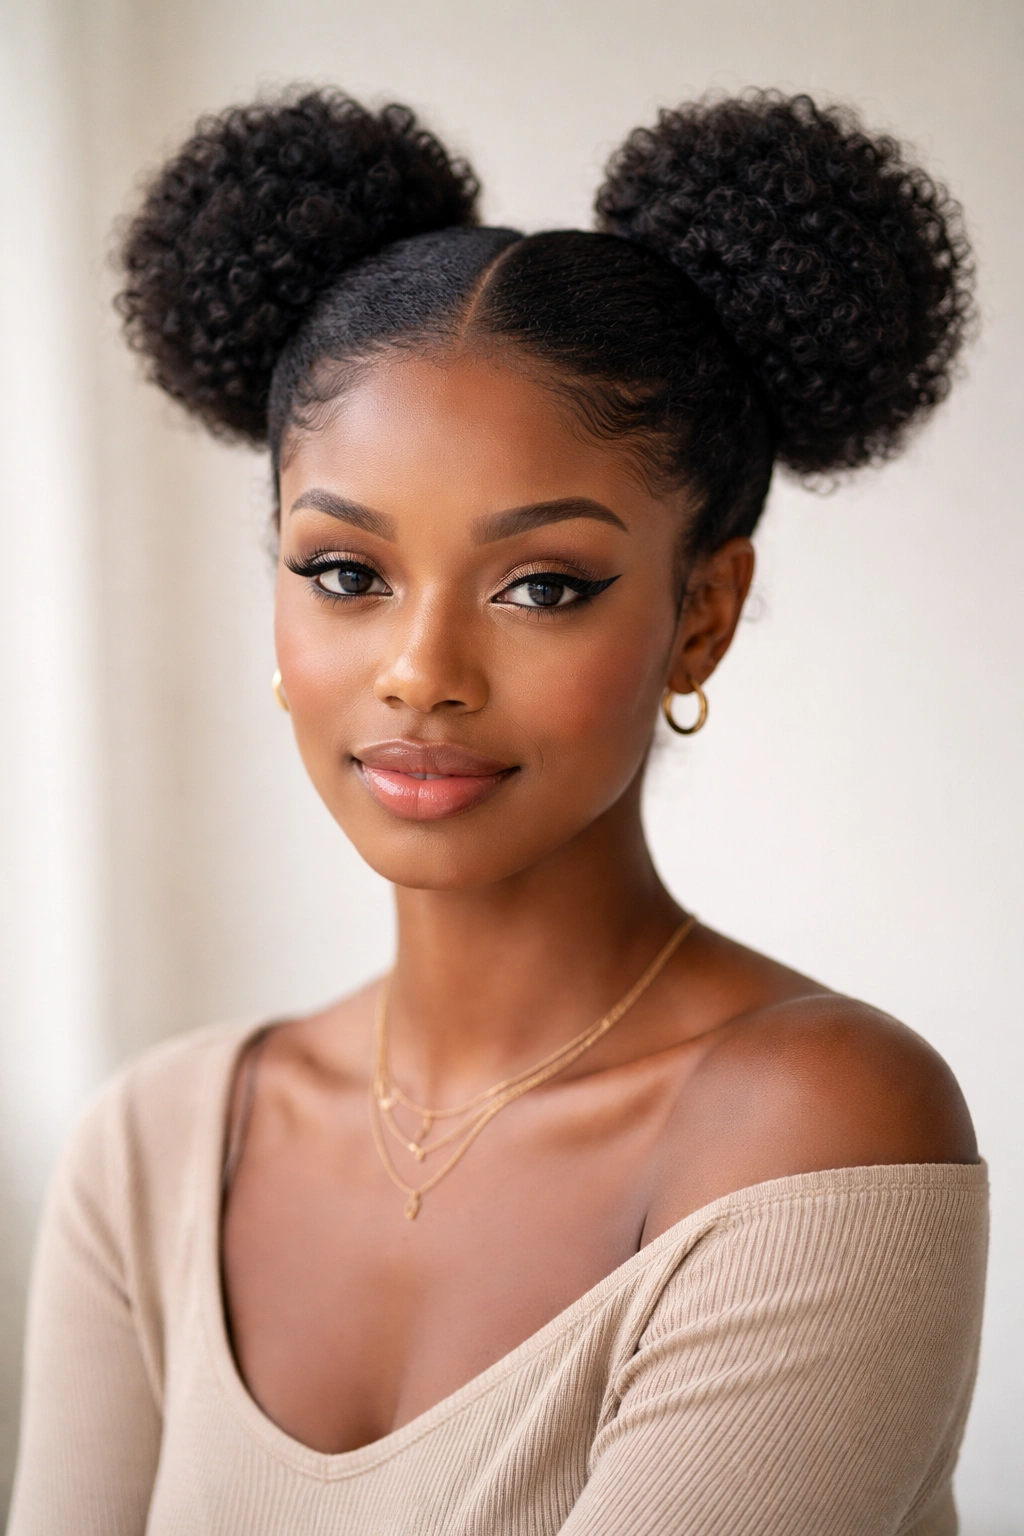
Space buns look playful, but on afro hair they can also be tidy, secure, and easier than they seem. The style just asks you to divide the hair evenly, create two sections, and wrap or twist each one into its own bun.
I like this style because it gives the scalp some relief. You are not leaving every strand loose, and you are not pinning all the hair at one point either. That balance matters when your hair is dense or long and you want something that stays put without too much fuss.
If the hair is freshly moisturized, the buns hold their shape better. If it’s stretched, they sit flatter and can look cleaner. You can make them high and round, or lower and a bit more relaxed. Both versions work. The symmetry is what people notice first, but the texture is what makes it feel like afro hair rather than a costume version of it.
Use a few pins inside each bun if the hair keeps slipping. Nothing fancy. Just enough to anchor the style so you’re not rebuilding it every hour.
13. The Headband Tuck
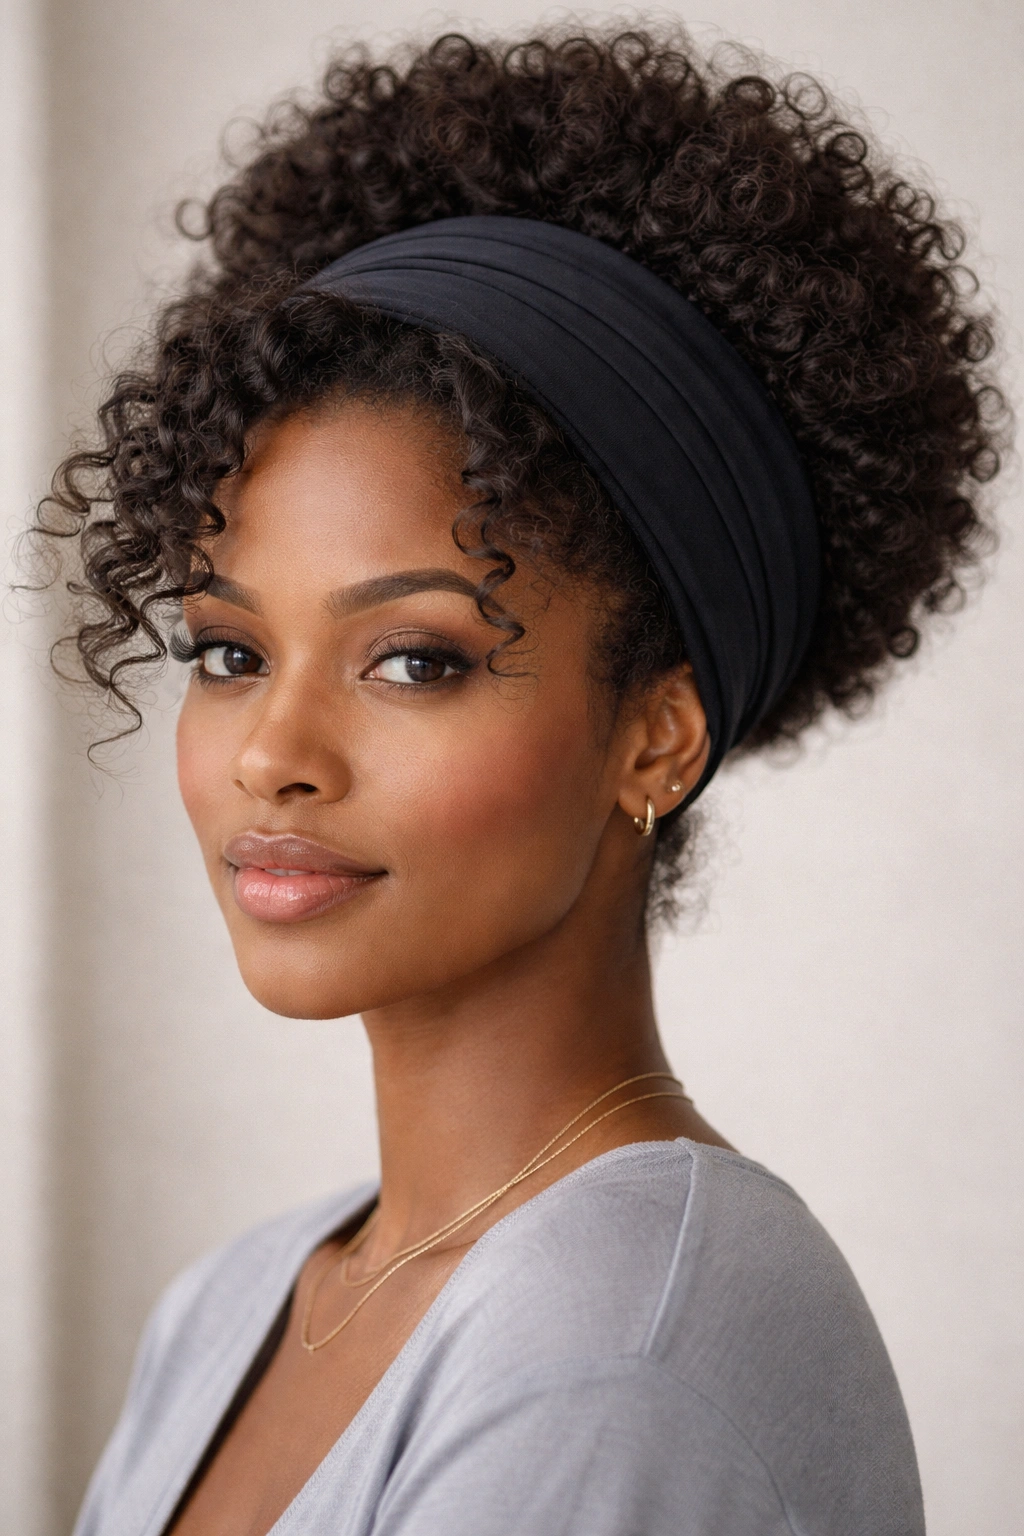
A headband tuck is one of the fastest ways to make afro hair look intentional with almost no heat and almost no effort. You place a stretchy headband over the hair, tuck sections into it, and let the curls or stretched lengths fold into a soft roll.
This works especially well on hair that is already stretched or already in an old twist-out. The texture gives the tuck something to grip, and the result can look cleaner than a basic bun when you want the hair off your face. It’s also forgiving. A few uneven pieces usually make the style look fuller, not sloppy.
What to Watch For
The band should be snug enough to stay in place but not so tight that it digs into the scalp. If the band slips, the tuck loosens. If it bites, you’ll hate wearing it after an hour.
- Start with detangled, lightly moisturized hair.
- Place the band low first, then move it into position.
- Tuck from the sides toward the back for a smoother shape.
- Leave a few curls out near the front if you want softness.
A thick headband makes this easier. A thin one tends to roll or dig. That’s the kind of small detail that changes everything.
14. The Faux Hawk
A faux hawk looks more involved than it is. That’s part of the fun. You section the hair into rows or puffs along the center, pin the sides up, and let the middle line stay full and lifted.
This is a good choice when you want edge without cutting anything, and it works on many lengths of natural hair. Short hair can look sharp and compact. Longer hair can look dramatic in a softer, more textured way. The style is basically structured volume. That sounds fancy, but it mostly means pins, patience, and a decent mirror.
You can build the faux hawk from twists, small puffs, or even loose sectioning with bobby pins. The less perfect it is, the more natural it usually looks. That’s one of those rare situations where a tiny bit of mess helps.
If the sides keep puffing out, use a little gel or cream and smooth them back with a brush. Then pin from underneath, not just on top. The hidden pins hold better, and the finished shape looks cleaner from every angle.
15. The Sleek Low Bun
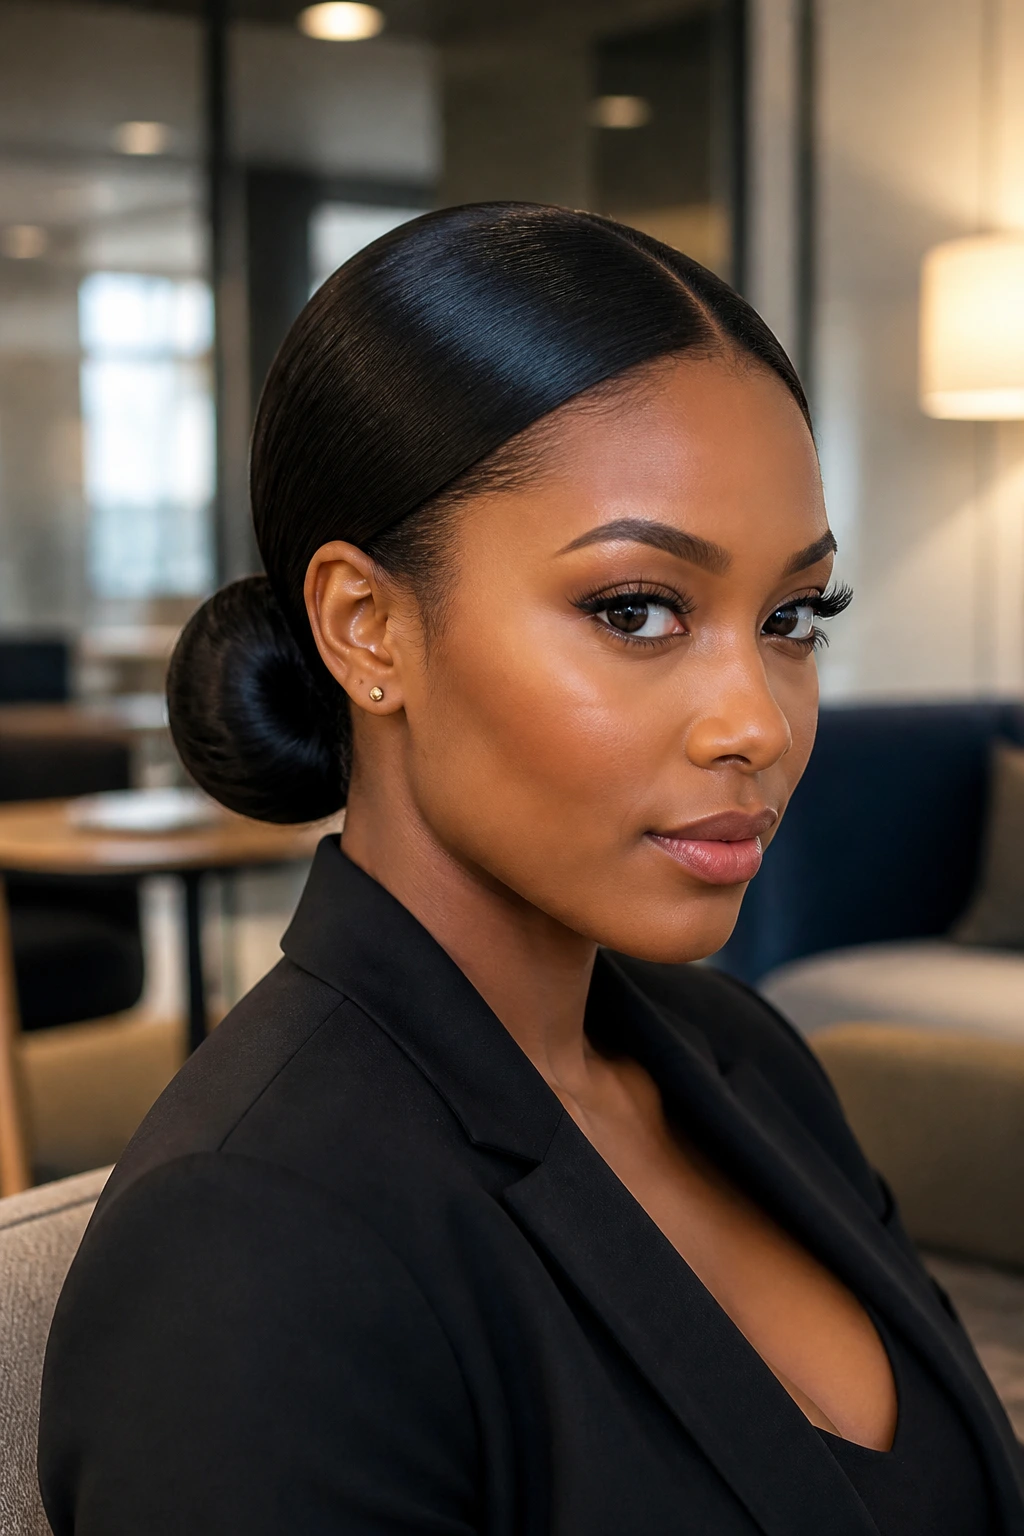
A sleek low bun is the one people underestimate until they need something that works for a meeting, a dinner, a long day, or a week where the hair just needs to sit down and behave. It’s simple, but not boring when it’s done with a clean part and enough moisture to keep the surface smooth.
The trick is not to overdo the product. Too much gel can leave the bun crunchy or flaky. Too little and the front starts to puff up. A light leave-in, a soft brush, and a firm but flexible hold product usually do the job. If your hair is dense, work in sections instead of trying to smooth everything at once. That saves time and reduces breakage around the edges.
A bun low at the nape feels calmer than a tight ballerina style and often sits more comfortably on afro-textured hair. If you want a little polish, wrap a strand of hair around the base. If you want it faster, skip the wrap and use a plain coil. Either way, this is one of those styles that earns its place because it stays neat and doesn’t ask for much.
A good easy style should leave you with energy left over for the rest of the day. That is the real standard. Not perfection. Not symmetry so sharp it hurts to look at. Just hair that fits your life, your texture, and the amount of patience you actually have at 7 a.m.