The beauty of coily hair lies in its incredible versatility, but achieving that effortless soft look takes more than just letting your curls do their thing. When you’re working with coily textures, the difference between a tightly defined coil and a gracefully loose curl often comes down to technique, hydration, styling method, and the products you choose. A soft coily style isn’t about fighting your natural texture—it’s about enhancing it and giving your curls room to express themselves in a relaxed, touchable way.
Loose coily hairstyles sit in that perfect sweet spot between definition and freedom. They maintain enough structure that your curls have shape and movement, but they’re relaxed enough that they feel organic rather than rigid or overly perfected. This aesthetic works beautifully for everyday wear, special occasions, and everything in between. Whether you’re looking to refresh your styling routine or discover something entirely new, the hairstyles ahead all deliver that coveted soft, flowing look while celebrating your natural coil pattern.
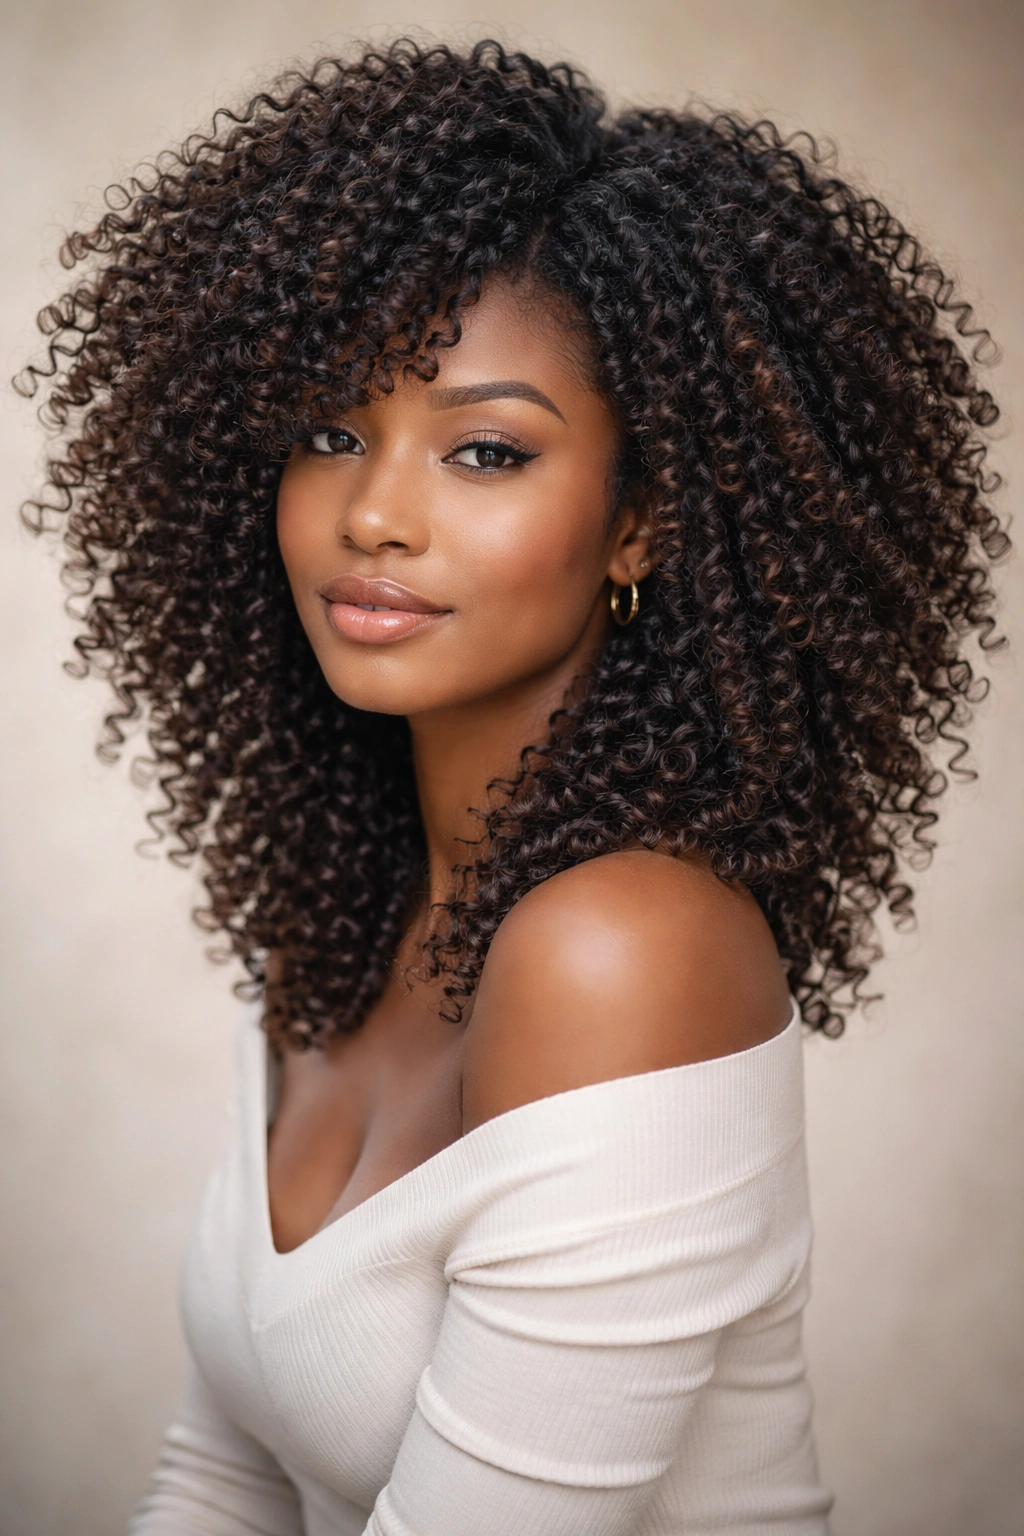
1. Loose Spiral Curls
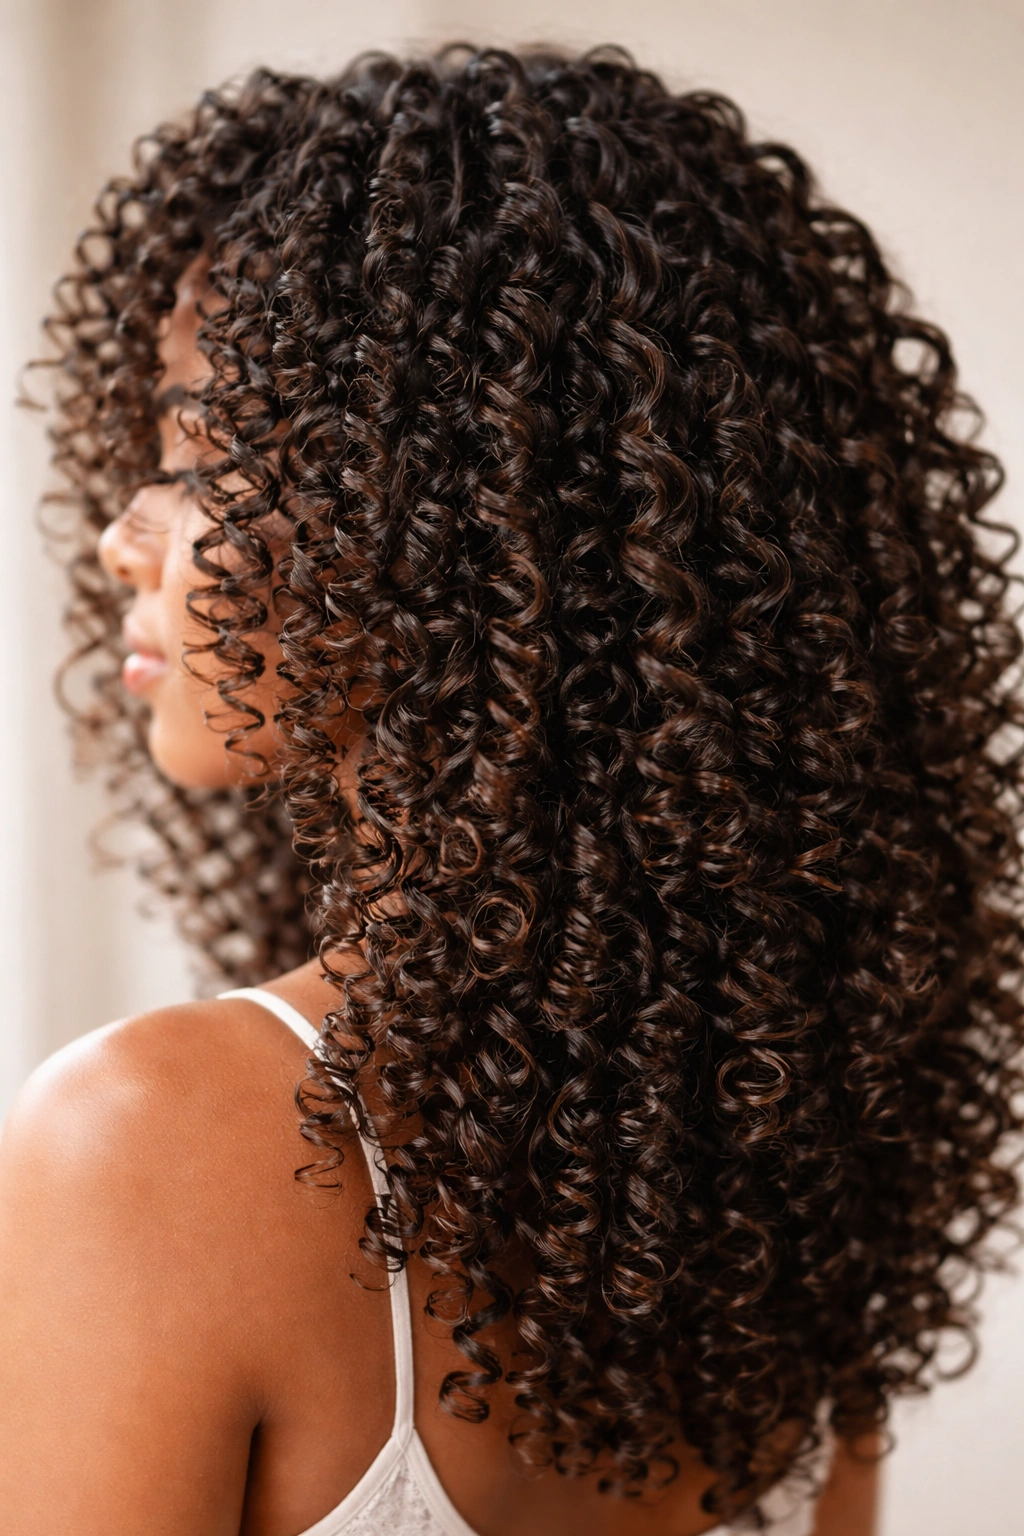
Loose spiral curls create one of the most romantic and effortlessly elegant looks for coily hair. Instead of tightly coiled spirals that bounce straight up, loose spirals have elongated, stretched-out curves that cascade down your shoulders with movement and flow. This style works particularly well if you have medium to long coily hair and want something that feels both glamorous and genuinely wearable.
How to Create the Spiral Effect
The secret to loose spirals is using larger styling tools or stretching your coils during the styling process. Start with damp hair and apply a leave-in conditioner and styling cream to create a smooth, hydrated base. Using a curling rod or wand that’s larger than your natural coil diameter, wrap sections of hair around the barrel and hold for 10-15 seconds before gently releasing. The key is not using heat that’s too intense—medium heat (around 350°F/175°C) is ideal because it sets the spiral without frying your curls. Once cooled, release the rod and gently separate the spirals with your fingers to loosen them into waves.
Pro Tips for Long-Lasting Spirals
- Use a lightweight gel or curl cream to hold the spirals in place throughout the day without creating crunchiness
- Refresh your spirals the next day with a light spray of water mixed with a bit of conditioner—no need to restyle from scratch
- Sleep on a silk or satin pillowcase to prevent your spirals from getting flattened or frizzing overnight
- Avoid touching your spirals too much while they’re still warm, as handling them before they fully cool will disrupt the pattern
Insider note: If heat styling feels risky for your hair health, you can achieve a similar look by using magnetic rods on damp hair and letting them air dry overnight, then gently unraveling them in the morning.
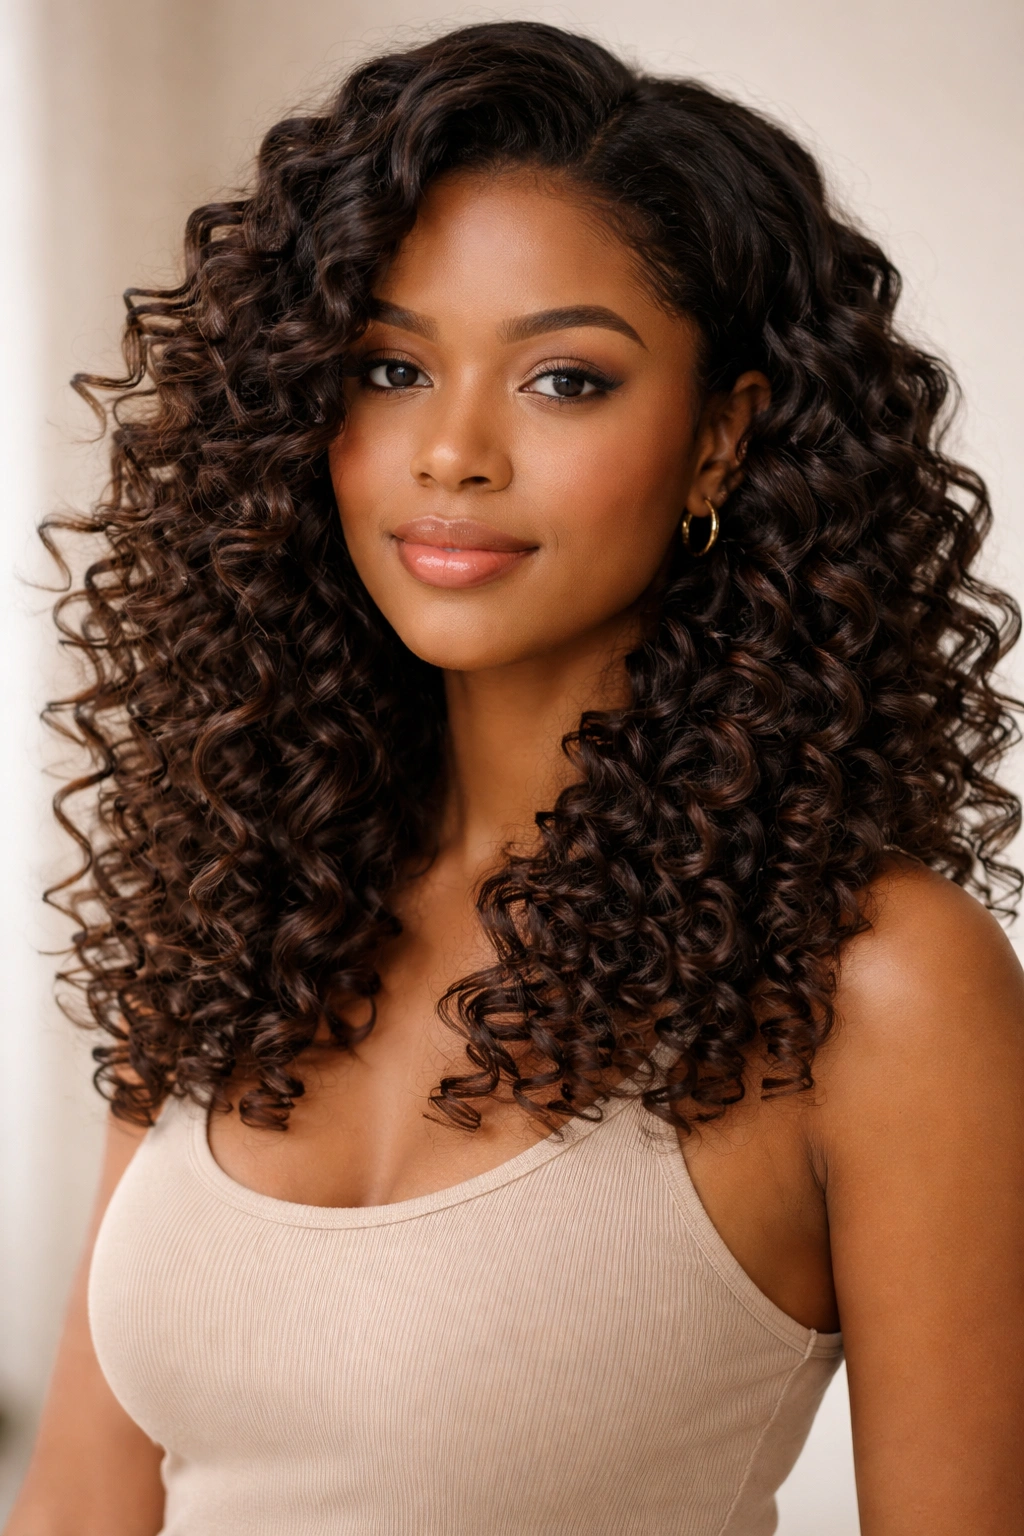
2. Bouncy Ringlets
Bouncy ringlets are individual, defined curls that have just enough looseness to move and swing as you walk. Unlike tight coils that stay in one place, ringlets have a personality—they bounce, they catch light, they make movement visible. This style is perfect if you want definition without severity, and it works across different coil patterns from tight to medium.
Creating Ringlets with Hold and Movement
Ringlets thrive on moisture and the right amount of hold. Begin with soaking-wet hair and apply a rich curl cream or butter-based styling product that provides both hydration and light hold. Using a smaller curling iron (around ¾ inch / 2 cm barrel) or coil-setting method, create individual curls by wrapping hair around the tool or using perm rods. The difference between stiff curls and bouncy ringlets is letting them air dry completely or cool fully after heat styling before you touch them—patience here pays off. Once they’re set, use your fingers to gently separate and fluff them, never a comb, which would disrupt the coil structure.
Technique Breakdown for Maximum Bounce
- Apply product to soaking-wet hair, not damp—moisture is essential for bouncy, not crispy, ringlets
- For heat styling, use a medium barrel and keep the iron on each section for 8-10 seconds max
- Let ringlets cool completely before separating (at least 20 minutes if heat-set, or overnight for air-dried versions)
- Use a lightweight finishing spray, not a heavy-hold gel, to keep ringlets defined without weighing them down
- Refresh ringlets on day two with a light misting of water and a tiny bit of cream, then gently re-fluff
This style is particularly striking when you have varying lengths or layers, because the ringlets at different heights create natural, movement-filled texture.
3. Textured Wave Pattern
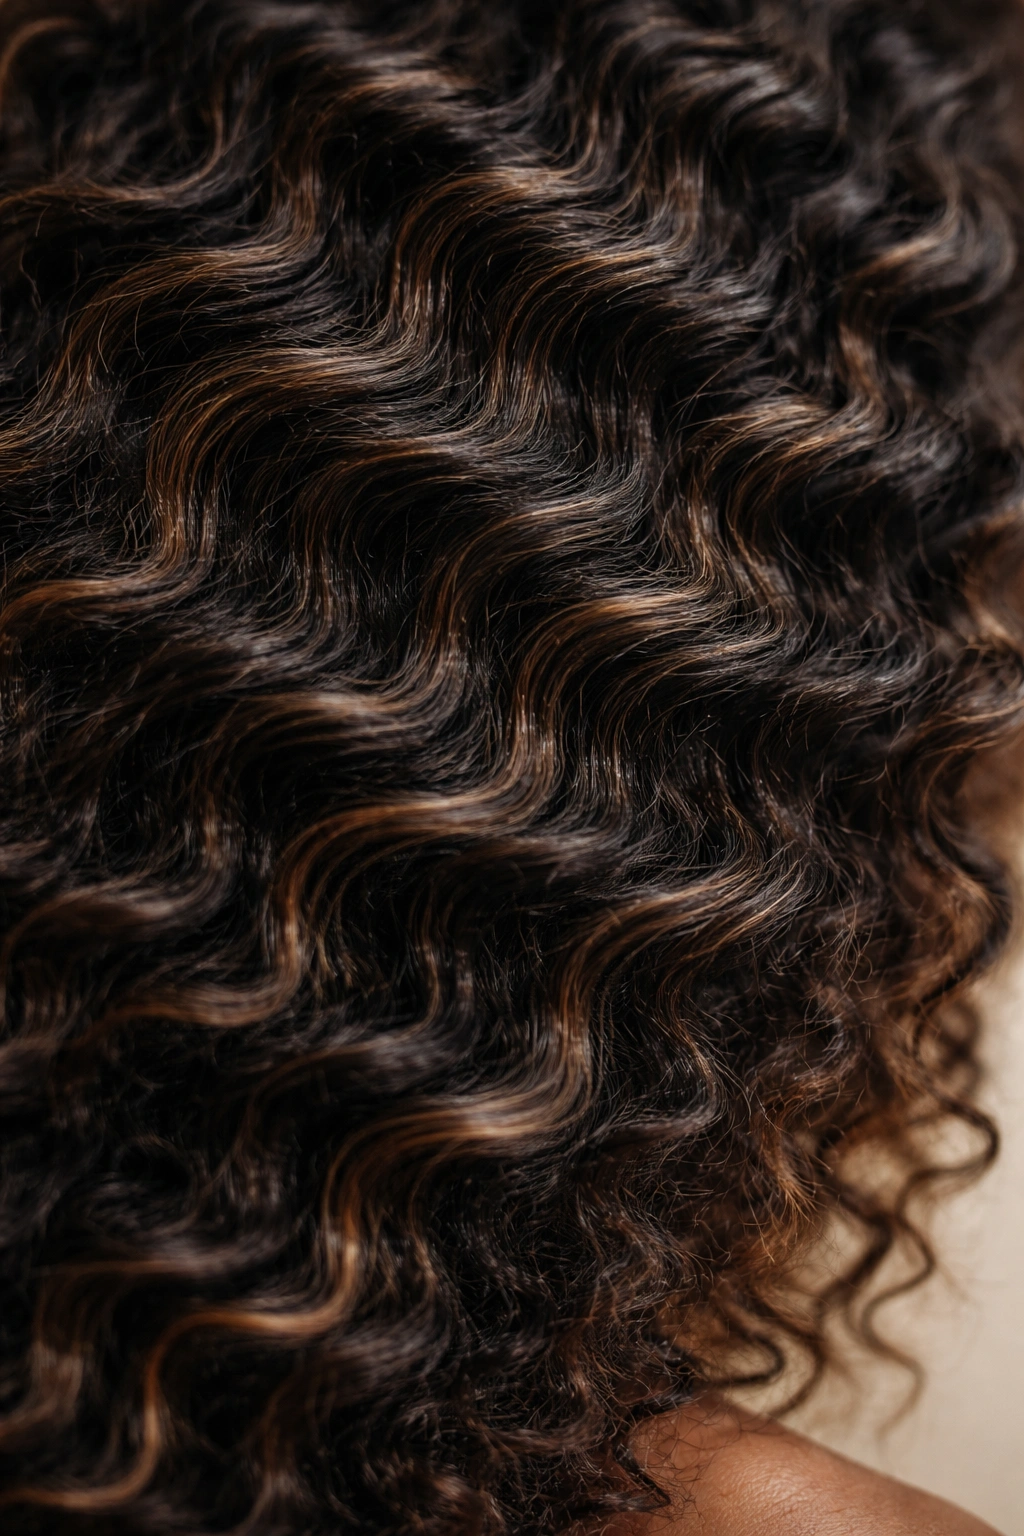
Textured waves sit somewhere between a straight wave and a loose coil—they have clear movement and definition but flow more horizontally than vertically. This style is ideal if you want the sophistication of waves with the texture and depth that comes from working with your natural coil pattern. Textured waves feel modern, intentional, and beautifully feminine without being overly done.
Building Waves Into Your Coils
The technique here involves stretching your natural coil pattern slightly while still maintaining its inherent texture. Start with damp hair and apply a lightweight styling cream or gel that provides definition without stiffness. Using a flat iron on low to medium heat (300-325°F / 150-163°C), gently glide it through sections of hair while slightly twisting your wrist as you move down the strand—this creates that wave-within-texture effect rather than straightening. Alternatively, you can use the “shingling” method: apply product to each individual coil with your fingers, starting at the root, and as you distribute the product, gently stretch and angle each coil slightly away from your head, creating a wave-like pattern as they dry.
Making Waves Last Without Losing Texture
- Use a product that provides hold without drying your hair—a styling cream or mousse works better than heavy gel for this look
- If heat-styling, keep the temperature on the lower end to avoid damaging your coils
- Air dry waves when possible for softer, more natural-looking results
- Avoid touching waves while they dry; let them set completely before styling
- Use a microfiber towel or cotton t-shirt to dry your hair, never a regular towel which creates frizz
- On day two, refresh with a light spritz of water and a tiny amount of product, then gently reshape the waves with your hands
The beauty of textured waves is that they look intentional and styled, yet still feel like an enhancement of your natural hair rather than a completely different look.
4. Soft Coil-Out Style
A coil-out is a classic styling method where you create individual coils or braids while your hair is damp, then release them to form soft, defined curls. When done loosely, a coil-out produces curls that have structure and shape while still feeling relaxed and natural. This method requires patience but zero heat, making it one of the gentlest ways to achieve a beautiful soft look.
The Coil-Out Process Step-by-Step
Start with freshly washed, damp hair and apply your favorite leave-in conditioner and styling cream or gel to create a hydrated base. Divide your hair into sections—the larger your sections, the looser and fluffier your final coils will be. Using your fingers or a crochet hook, wrap each section around itself to form a coil, then secure it to your scalp with a bobby pin or allow it to set naturally if your hair holds well. Leave the coils in place for 4-8 hours or overnight—the longer you leave them, the more defined they’ll be. Once they’re completely dry, gently unwind each coil and separate your curls with your fingers for a soft, touchable texture.
Coil-Out Success Strategies
- Thicker sections produce looser, fluffier coils; thinner sections create tighter definition
- Use a gel or cream that holds well but isn’t overly stiff, so your coils dry soft rather than crunchy
- Avoid taking coils down while your hair is still even slightly damp—wait until completely dry
- Sleep on a satin bonnet or pillowcase to protect your coils overnight and keep them fresh
- You can refresh a coil-out style for 3-4 days with light spraying of water and conditioner, then gently re-coiling any sections that have loosened
This is a no-heat method, which means it’s perfect for anyone looking to protect their hair’s long-term health while still achieving gorgeous definition and softness.
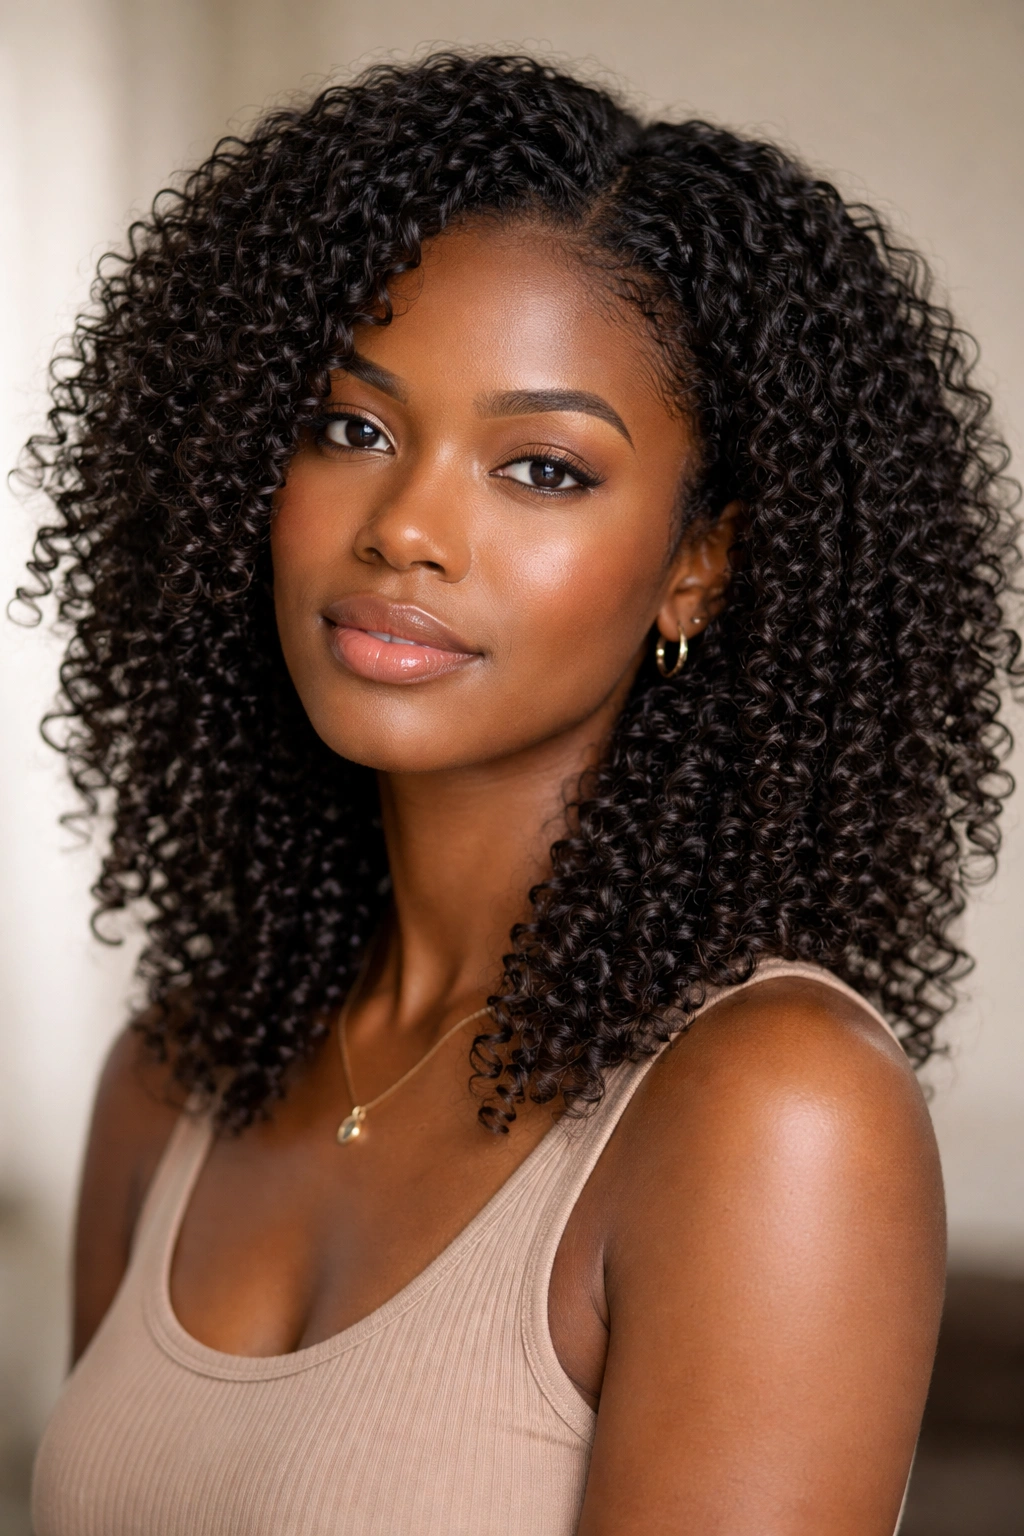
5. Defined Coils with Lightweight Cream
Sometimes the softest look comes simply from enhancing your natural coil pattern with the right product. Rather than manipulating your hair into a different texture, you apply a lightweight curl cream that brings out definition while keeping your coils loose and soft. This is a perfect everyday style that celebrates exactly what your hair naturally does.
Choosing and Applying the Right Cream
Not all curl creams are created equal, and the wrong one can leave your hair feeling stiff, weighed down, or crunchy. You want a cream that’s nourishing and hydrating, not filled with heavy silicones or excessive hold. Apply it to soaking-wet hair—not damp, wet—right after the shower. Use the praying hands or raking methods: for praying hands, sandwich a section of hair between your palms and smooth the product through; for raking, run your fingers through the section to distribute the product evenly and encourage coil formation. Some people prefer applying cream section by section to their entire head, while others prefer the plopping method: gather all your wet hair on top of your head, apply product, and then plopping into a microfiber towel for 15-20 minutes.
Air-Drying for Maximum Softness
- Use a microfiber towel or cotton t-shirt to absorb excess water—never squeeze your hair aggressively
- Apply your cream to soaking-wet hair, then use the plopping method for 20-30 minutes
- After plopping, gently rake your fingers through to separate coils and encourage formation
- Air dry completely, which typically takes 4-8 hours depending on hair thickness and coil size
- Avoid touching your hair while it dries; movement can disrupt your curl pattern
- Once completely dry, gently scrunch your hair upward to give it extra volume and softness
- Finish with a light-hold spray if you want longevity without crunchiness
The magic of this method is its simplicity—you’re not fighting your hair or forcing it into an unnatural shape, just enhancing what’s already there.
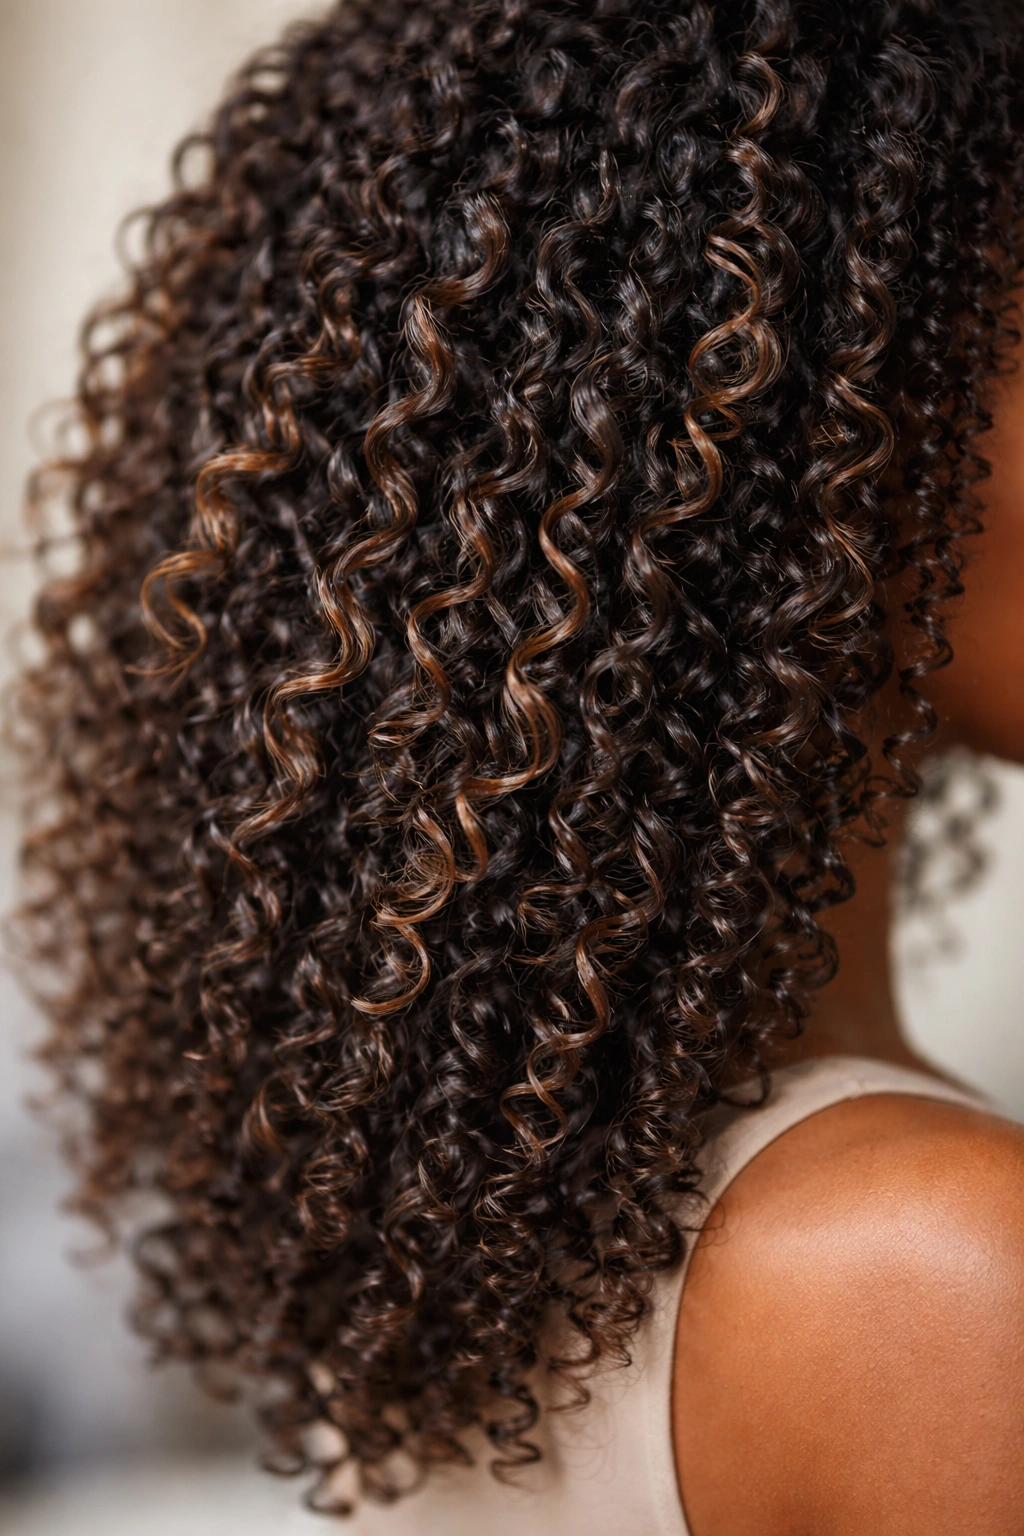
6. Stretched Coils
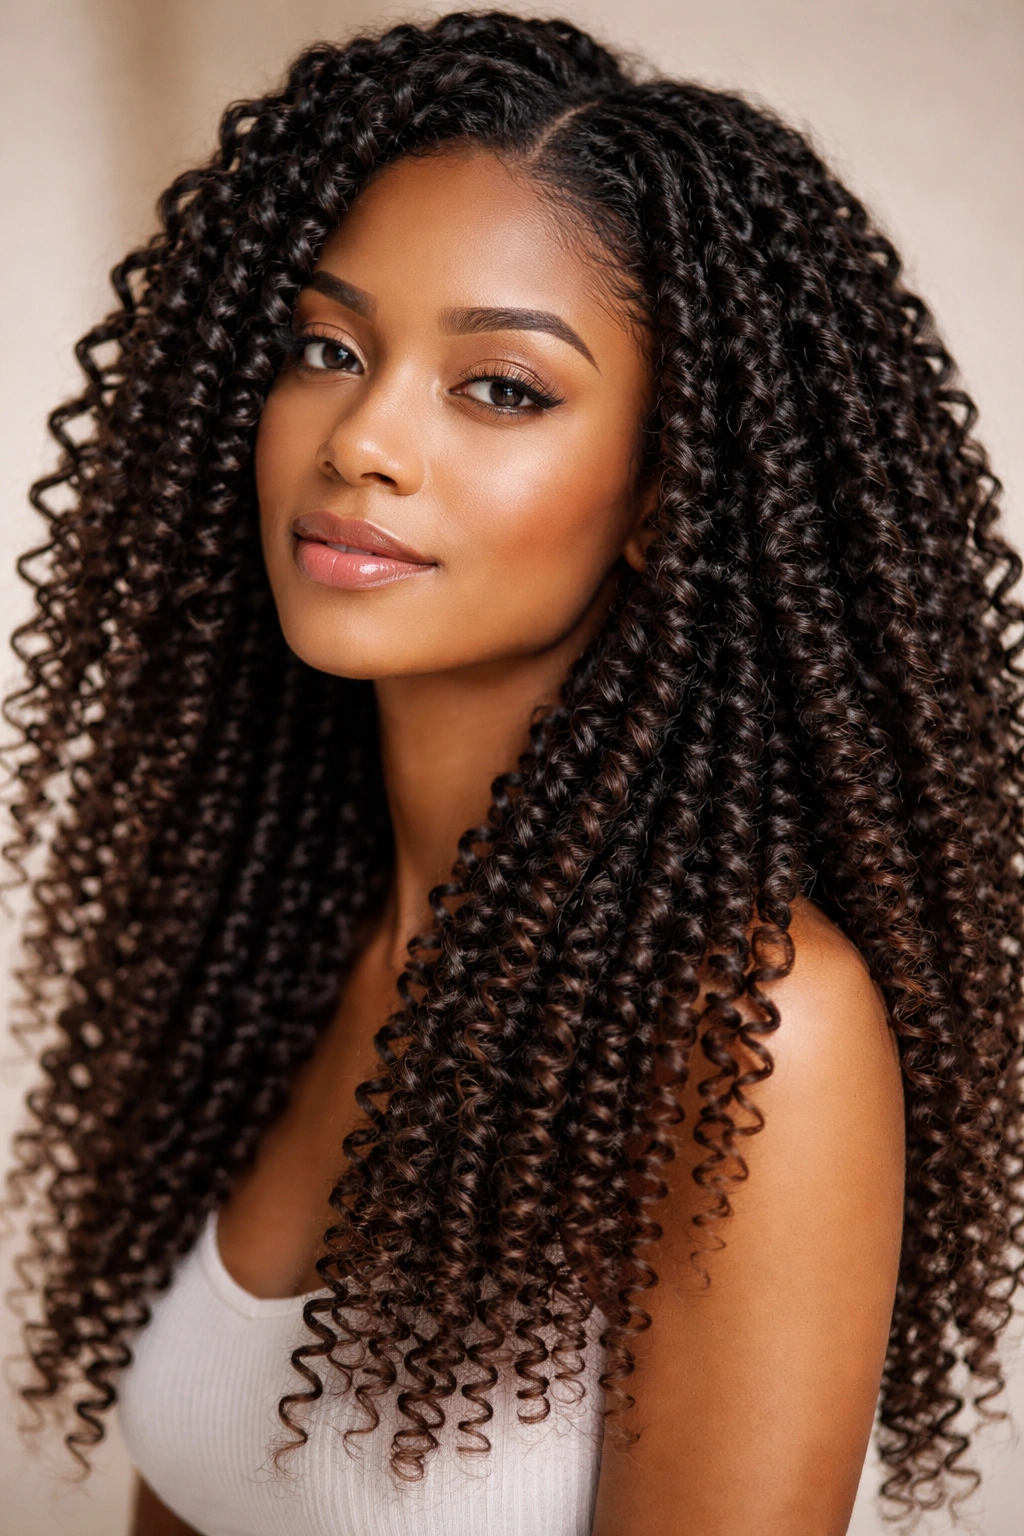
Stretched coils are created by deliberately elongating your natural coil pattern before it fully sets, resulting in a longer, more relaxed curl that still maintains definition and bounce. This style gives you the best of both worlds: the softness and flow of a looser curl with the defined structure of a true coil. Stretched coils work beautifully on hair that’s been recently moisturized and have impressive longevity.
Stretching Techniques for Longer Curls
There are multiple methods to achieve stretched coils, and the best one depends on your hair’s response. The banding method is one of the most popular: create your coils or braids while your hair is damp and saturated with product, then wrap elastic bands around each coil from root to tip. Leave these in for 6-12 hours or overnight—as your hair dries while stretched, it elongates your coil pattern. Once dry, carefully remove the bands by gently sliding them off. Another technique involves setting coils on larger perm rods or using flexi-rods, which physically create more space between coils. You can also try the twisting method: twist sections of hair while damp and apply product, leave them twisted as they dry, then unwind to reveal stretched, defined waves.
Making Stretched Coils Last
- Stretched coils typically last 5-7 days with minimal maintenance
- Sleep on a satin bonnet or pillowcase to prevent flattening and frizz
- On day two or three, refresh by lightly misting with water and running your fingers through
- If you have flyaways, use a tiny bit of edge control or lightweight gel to smooth them
- Stretched coils look increasingly softer and more relaxed as the week goes on, which many people actually prefer to day-one styling
- When it’s time to take them down, gently unravel rather than pulling or tugging
The stretched coil look is particularly popular for special occasions because it’s visibly styled and intentional while still feeling natural and touchable.
7. Pineapple Updo
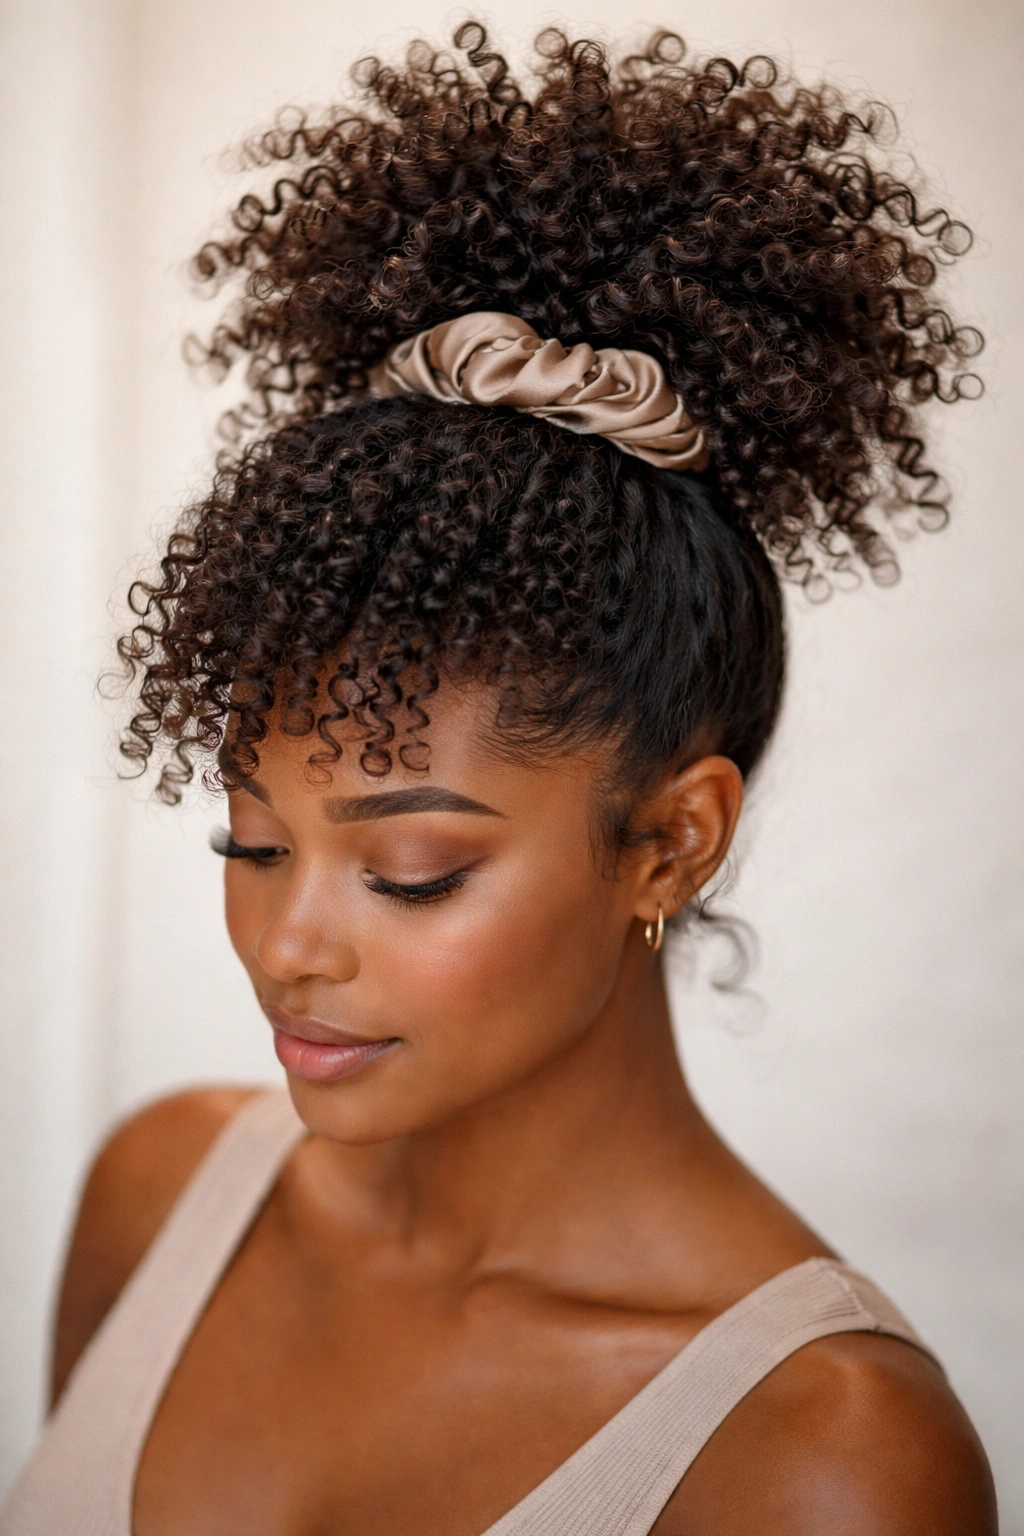
A pineapple updo might sound whimsical in name, but it’s actually one of the most practical and beautiful protective styling options for coily hair. By gathering your curls high on your head and securing them with a soft scrunchie or clip, you create a soft updo that protects your coils from friction, extends the life of your style, and looks effortlessly put-together. The “pineapple” name comes from the way the curls gather at the top—they fan out and create a shape reminiscent of a pineapple crown.
Creating a Soft Pineapple Updo
The foundation of a great pineapple is using a soft, non-damaging hair tie. Forget tight elastic bands—invest in a silk scrunchie, a coil hair tie specifically designed for curly hair, or even a soft fabric scrap. Start with hair that’s been freshly styled into coils or waves, preferably at least a day old so the curls are fully set. Flip your head upside down and gather all your hair to the very top of your head, as high as you can go. Secure with your silk scrunchie, making sure it’s snug enough to hold but loose enough that you’re not creating tension that could lead to breakage. Allow some of your curls to fall naturally around your face if you prefer a softer, less formal look, or gather everything back for a cleaner silhouette.
Styling Variations and Tips
- For a more formal pineapple, smooth the curls as you gather them and use a bobby pin to secure any flyaways
- For a softer, more romantic version, let curls fall loosely around your face and allow some to escape from the base of the pineapple
- You can add a decorative clip, scarf wrap, or head wrap to elevate the pineapple updo for special occasions
- A pineapple updo is protective—it keeps your curls from rubbing against pillows and your shoulders overnight, so they stay fresh longer
- Sleep in your pineapple at night to protect your curls while you sleep
- Refresh a pineapple updo by gently fluffing the curls and resecuring with your silk tie
- This style works on day-one curls, refreshed curls, or even 5-6 day old curls, making it incredibly versatile
The pineapple updo is both a styling choice and a protective measure, making it a favorite among people who want their coils to last longer while looking intentional and elegant.
8. Side-Swept Coiled Waves
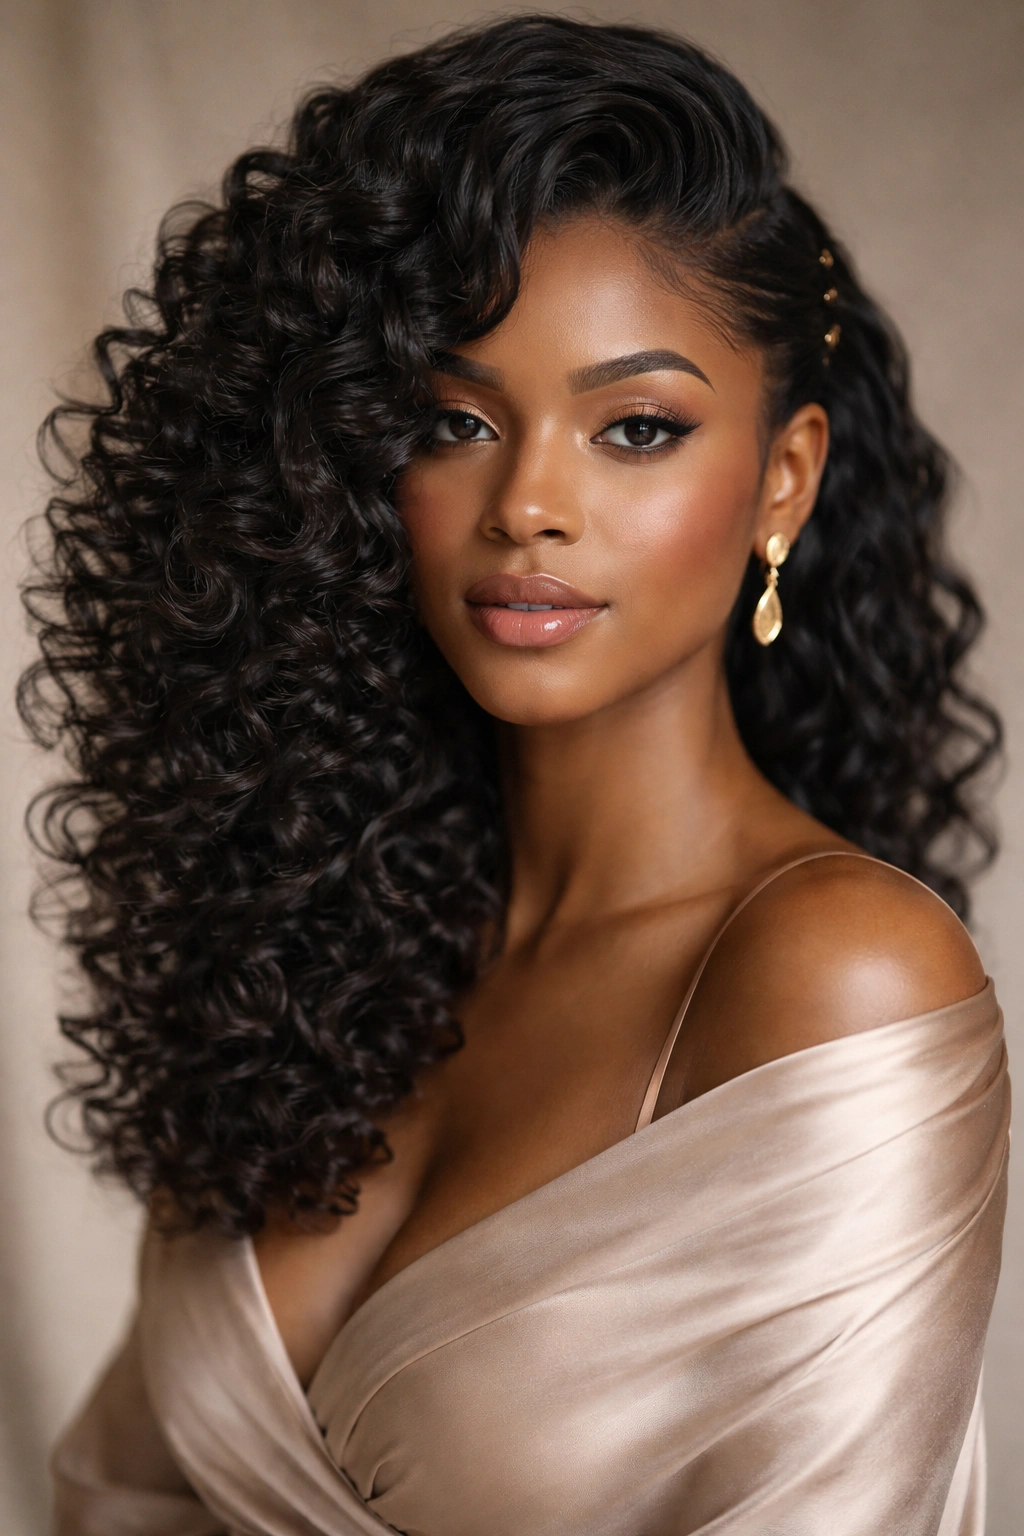
A side-swept style takes your loose coils and waves and positions them dramatically over one shoulder, creating asymmetrical movement and visual interest. This hairstyle feels sophisticated and feminine without being overly formal. The side-swept coiled wave works beautifully for date nights, special events, or any time you want to feel a bit more polished than your everyday style.
Creating Dimension with Side Sweeping
Start with loosely coiled or waved hair that you’ve already styled and allows to set for at least a day. You’re not starting from scratch—you’re repositioning and enhancing what you’ve already created. Gently brush or rake your fingers through your curls to slightly loosen them and create a smooth wave pattern. Then, using a brush or your fingers, sweep your hair to one side. Use bobby pins in a matching color tucked beneath the top layer to anchor the sweep and keep it in place all day. The key to making this look soft rather than severe is not pulling too tightly—you want movement and flow, not a slicked-back appearance.
Side-Sweep Styling Details
- This style works best on curls that are at least day-old, as newer curls hold their shape better than fresher ones
- Use clear or hair-colored bobby pins rather than dark ones, so they blend with your hair
- Add a decorative hair clip or jeweled pin over the bobby pins for an extra touch of elegance
- You can create soft waves within your side-swept coils by using a large-barrel curling iron on low heat
- If your curls want to fall forward, lightly mist with a flexible-hold spray to encourage them to stay in place
- For an even softer look, let a few pieces fall around your face rather than sweeping everything back
The beauty of a side-swept style is that it takes your existing coils and just gives them direction and intention, so it feels like enhancement rather than a completely different look.
9. Chunky Twist-Outs
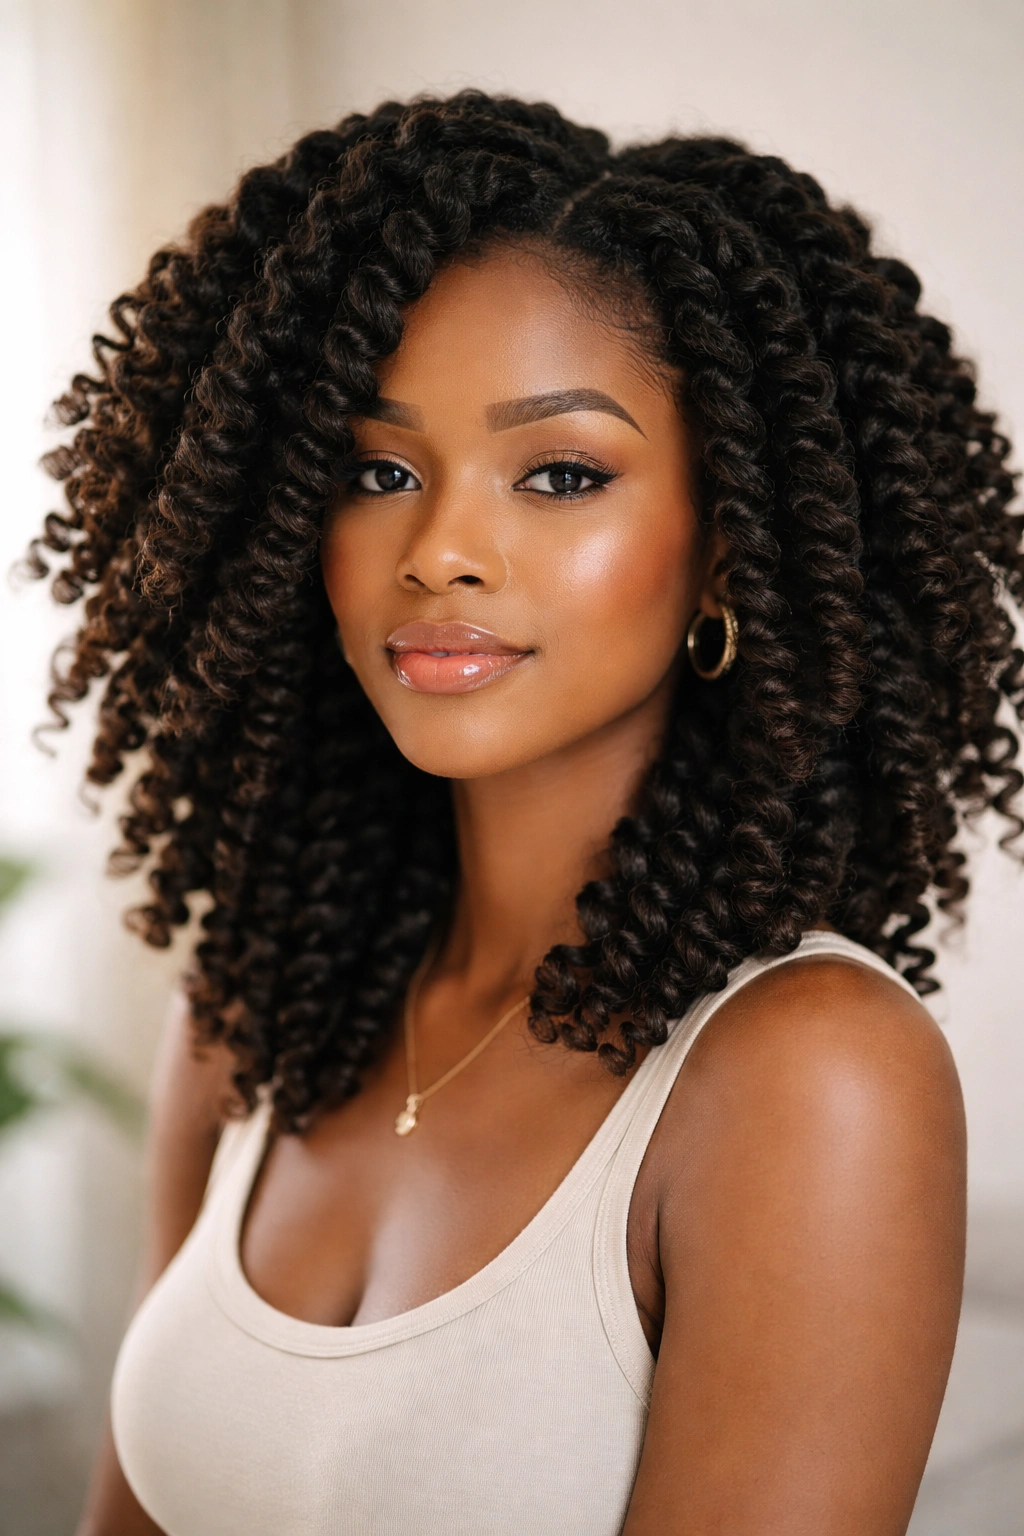
A chunky twist-out is similar to a coil-out but uses twists instead of coils, resulting in larger, looser curl definition. When done with bigger sections, twist-outs create soft, full texture with beautiful separation between curls. This style is perfect if you want visible structure without tight definition, and it works on all hair lengths and coil patterns.
The Chunky Twist-Out Method
After washing your hair, apply a nourishing leave-in conditioner and your choice of styling cream or gel while your hair is soaking wet. Divide your hair into larger sections—the bigger the section, the looser and softer the final twist-out—typically 6-12 sections depending on your hair volume. Take each section and twist it around itself in a spiral motion from root to tip, then pin the twist to your scalp or allow it to hang if your hair holds well. Leave the twists in place for 6-12 hours or overnight until your hair is completely dry. Gently untwist each section and use your fingers to separate and fluff the curls, creating that soft, touchable texture that twist-outs are known for.
Tips for Perfect Chunky Twist-Outs
- Thicker sections create looser, fluffier curls; if you want more volume, use bigger sections
- Use a product that provides hold without crunchiness—a lightweight gel or curl cream works best
- Leave twists in longer (overnight or 12+ hours) for more definition; remove sooner for a softer, more relaxed look
- Sleep on a satin bonnet or pillowcase to protect your twists and keep them fresh
- Don’t detangle or separate your curls until they’re completely dry, or you’ll lose definition
- On day two, you can refresh by misting lightly with water and running your fingers through
- Twist-outs typically last 5-7 days with minimal maintenance
The chunky twist-out produces that effortlessly soft texture that looks like you woke up with gorgeous curls, even though you actually put intentional work in.
10. Feathered Coils with Layers
If you have layers in your coily hair, you can leverage them to create feathered coils with dimension and movement throughout. Feathered coils have shorter, wispy pieces mixed with longer curls, creating soft texture that catches light beautifully. This style is particularly striking if you’ve had your hair cut specifically for coily hair with layers built in to enhance movement.
Styling Layered Coils for a Feathered Effect
Start with freshly washed, damp hair and apply a lightweight leave-in conditioner and curl cream throughout. You want enough product to define your coils but not so much that you weigh down your layers. Style using your preferred method—the plopping method for air-drying, coil-setting on rods, or simply raking product through and letting it air dry. As your hair dries, your layers will create natural separation and feathering. Once dry, gently scrunch your hair from underneath to flip your layers upward and create volume. Use your fingers to gently separate coils and enhance the feathered effect—shorter pieces should frame your face and extend outward, while longer coils add length and movement.
Maintaining Feathered Coil Definition
- Layers look best when each layer is well-hydrated, so use a rich leave-in conditioner
- Apply product to each section individually, working through the layers to ensure every piece gets product
- Sleep on a satin bonnet to keep your layers separated and prevent them from flattening
- Refresh by misting with water and gently scrunching your coils upward to maintain the feathered lift
- You can enhance feathering by using a diffuser on a blow dryer set to low speed and low heat, cupping your coils as you dry
- Edge control can smooth any flyaways created by your layers without sacrificing the soft, feathered look
The feathered coil style is particularly stunning because the layers create natural movement and dimension that you simply can’t achieve with one-length hair.
Final Takeaway
Soft coily hairstyles celebrate your hair’s natural texture while giving you intentional shape and movement. Whether you’re choosing a heat-free method like coil-outs and twist-outs, working with your natural coil pattern using moisturizing creams, or trying a protective style like the pineapple updo, each of these approaches prioritizes both your hair’s health and your aesthetic goals. The key to achieving and maintaining any soft coily style is investing in quality products that hydrate rather than stiffen, using techniques that work with your hair rather than against it, and understanding that moisture and patience are your greatest tools. Your coils are beautiful exactly as they are—these styles simply give them the framework to express themselves in their softest, most flowing form.