Twist outs are one of the most versatile and rewarding styling techniques for Type 4 hair, delivering defined coils, bouncy texture, and endless styling possibilities without requiring heat or chemical manipulation. The magic of a twist out lies in how it works with your natural hair texture rather than against it—you’re essentially training your coils into intentional patterns that showcase your curl definition while keeping your hair healthy and moisturized.
Type 4 hair in particular responds beautifully to twist outs because the coil pattern is already present and eager to be accentuated. When you twist damp or wet hair, the coils set into a defined shape as they dry, and when you unravel those twists, you’re left with gorgeously sculpted waves, spirals, and springy coils. The results can vary dramatically depending on the size of your twists, the products you use, how long you leave the twists in, and your natural curl pattern—which is why understanding the different variations is essential to finding the styles that work best for your specific hair.
The best part about twist outs is that they’re genuinely low-maintenance once you master the technique. You can create them with just a few products you probably already have at home, they protect your hair from daily manipulation and breakage, they typically last anywhere from three to seven days (sometimes longer with proper refreshing), and they open up a world of styling options for different occasions and moods. Whether you’re looking for a polished, defined look for work, a bold statement for a night out, or a protective style that lets your hair recover from daily styling, there’s a twist out variation that will deliver exactly what you need.
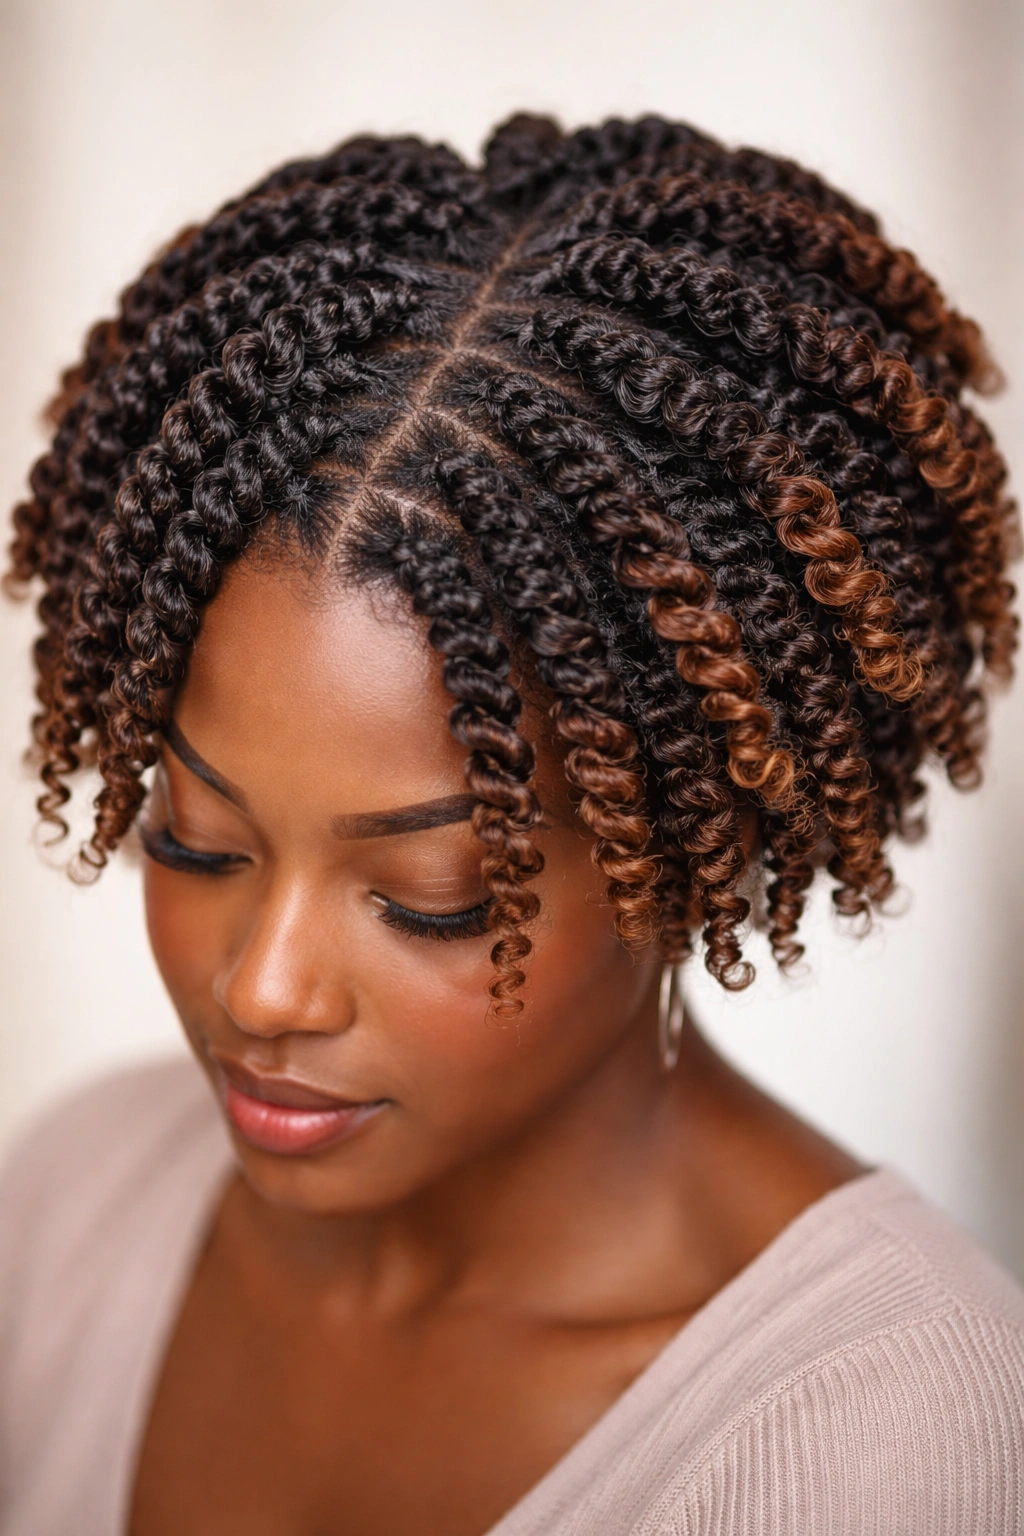
1. The Classic Two-Strand Twist Out

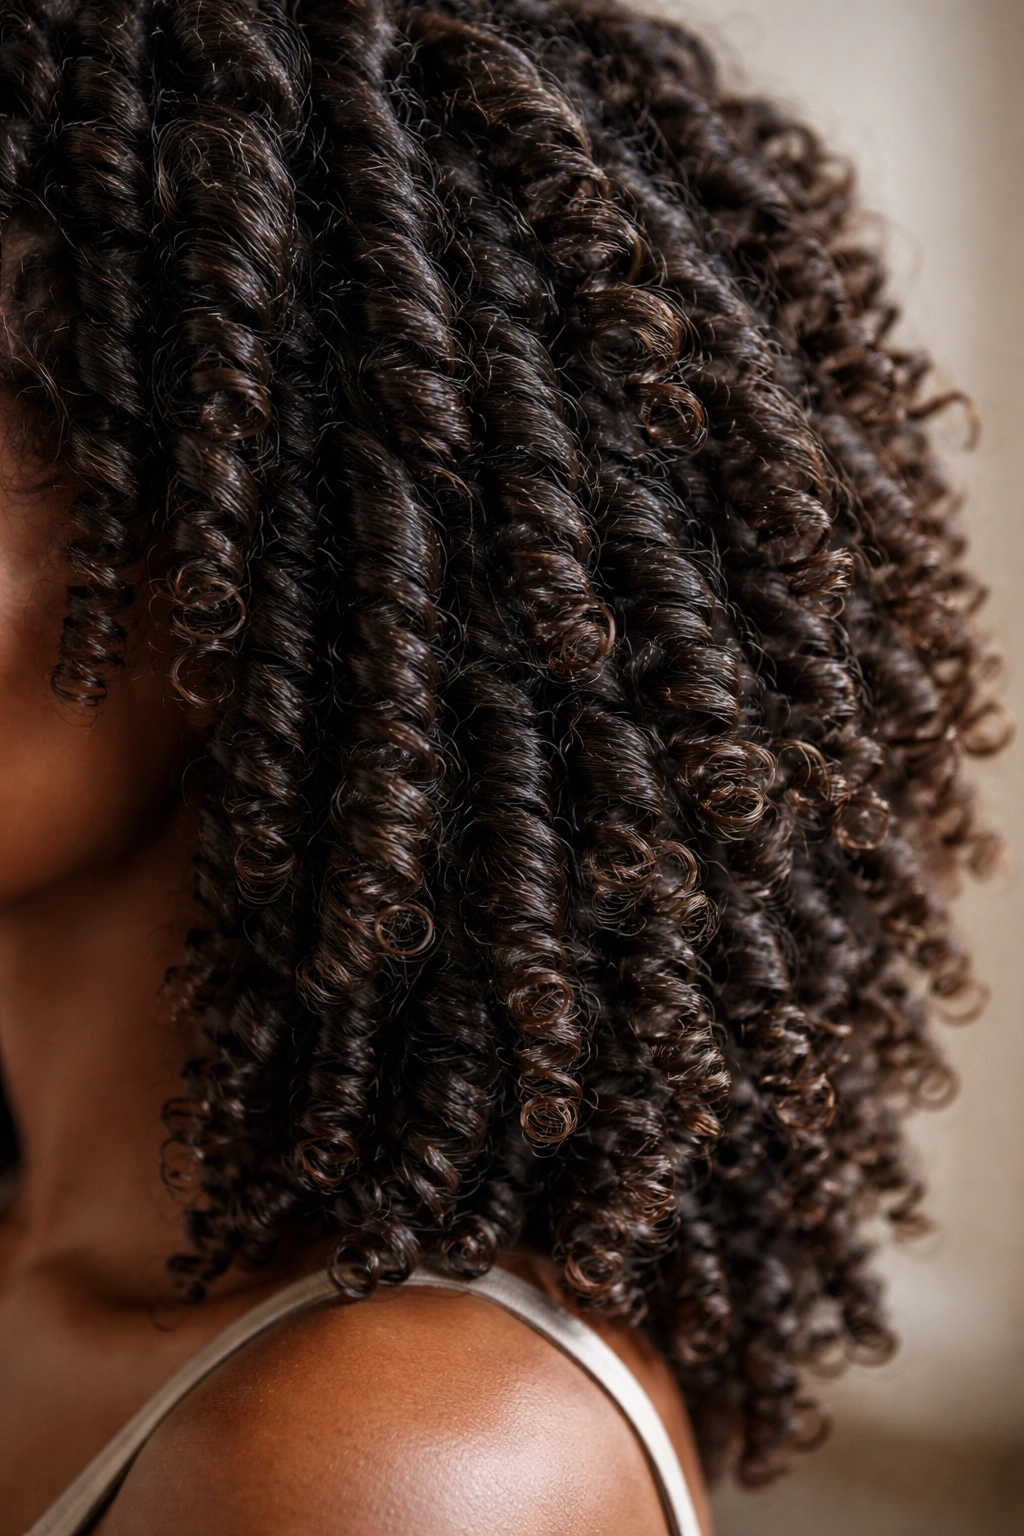
Two-strand twist outs are the foundation of the twist-out world and arguably the most forgiving option for beginners working with Type 4 hair. This style involves taking sections of hair and twisting two strands of hair around each other from root to tip, creating a rope-like effect that unravels into beautifully defined coils and waves when dry. The beauty of this style lies in its simplicity—you don’t need any special tools or advanced techniques, just your fingers, some leave-in conditioner, and a little patience.
Why This Works for Type 4 Hair
Two-strand twists naturally align with how your coils want to form anyway. When you twist damp hair, you’re essentially creating a mold that guides your coils into an intentional pattern, and Type 4 hair holds that pattern remarkably well throughout the drying process. The twist size directly controls how defined or loose your final coils will be—smaller, tighter twists yield more defined, springy coils that last longer, while larger, looser twists create softer waves with more movement and a slightly different aesthetic.
How to Create This Look
Start with hair that’s freshly washed and deeply conditioned, then apply a generous amount of leave-in conditioner and a styling cream or gel to damp (not soaking wet) hair. Detangle gently using a wide-tooth comb or your fingers. Divide your hair into even sections—the number depends on your desired twist size, but for Type 4 hair, anywhere from 8 to 20 sections works well depending on your density and texture. Take one section, divide it into two strands, and twist them around each other firmly but not aggressively all the way down to the end. The tighter and more consistent your twist, the more defined your final coils will be.
Quick Facts
- Best for: All Type 4 textures, especially 4a and 4b patterns
- Prep time: 45 minutes to 1.5 hours depending on hair length and thickness
- Setting time: Overnight (6-8 hours minimum) or air dry for 24 hours for maximum definition
- Longevity: 4-7 days with proper care and refreshing
- Styling versatility: Can be worn down, in a high puff, braided, or pinned up once set
Pro tip: For maximum definition and longevity, apply products to each twist as you create it rather than to the whole head first—this ensures even distribution and prevents product buildup or flaking.
2. The Flat Twist Out
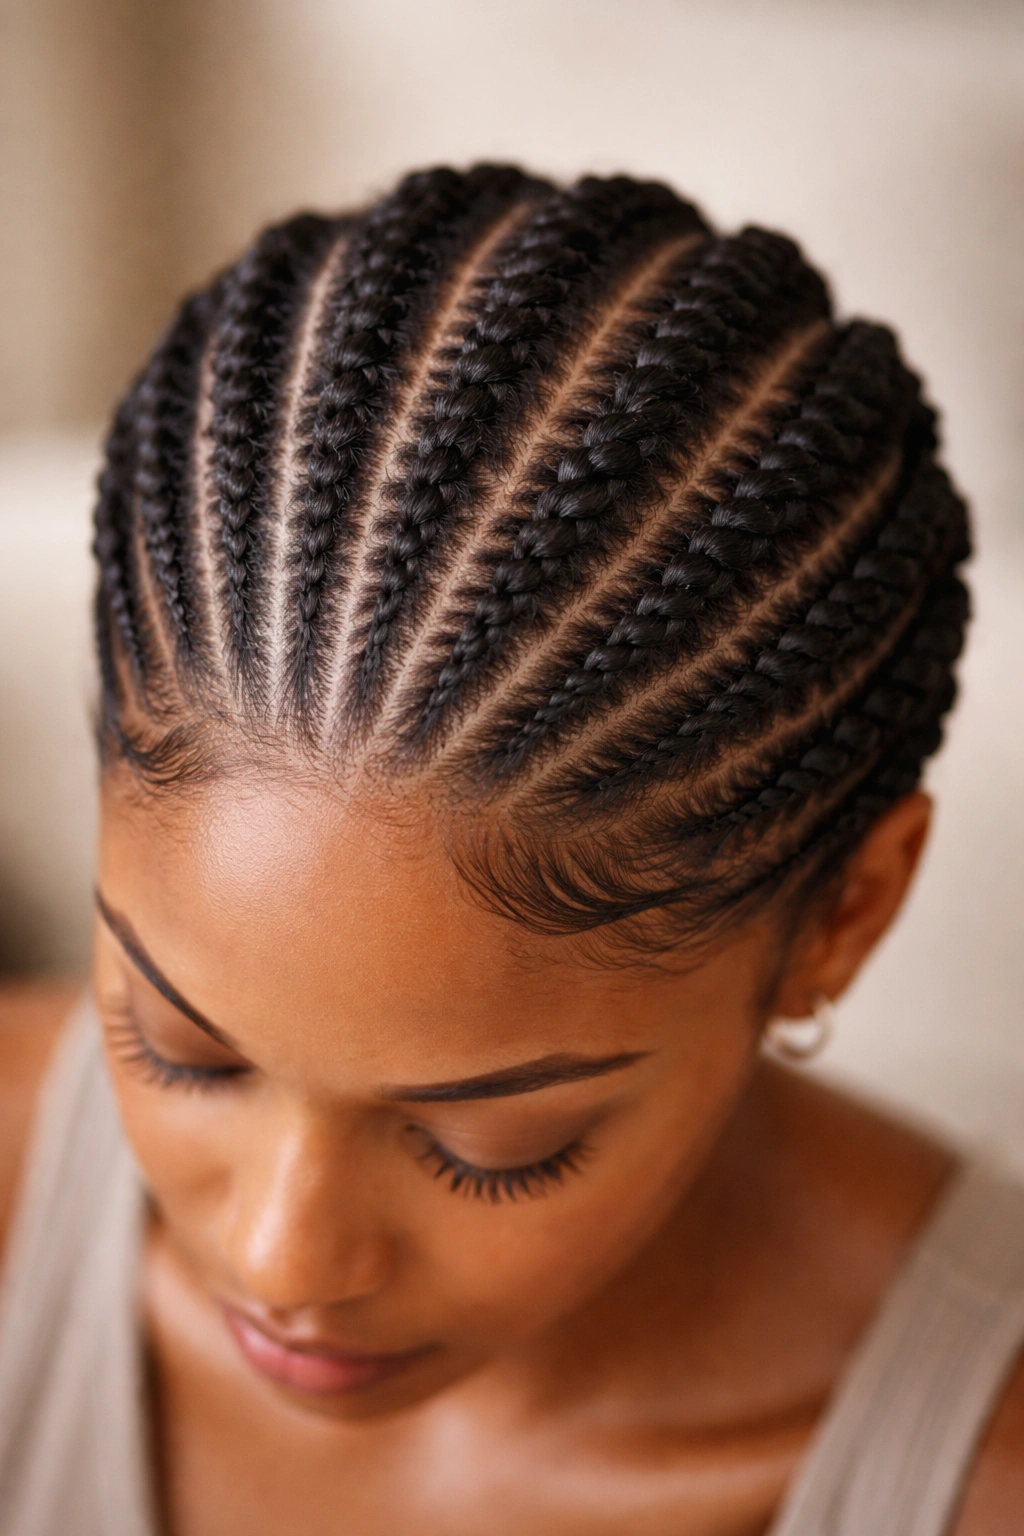
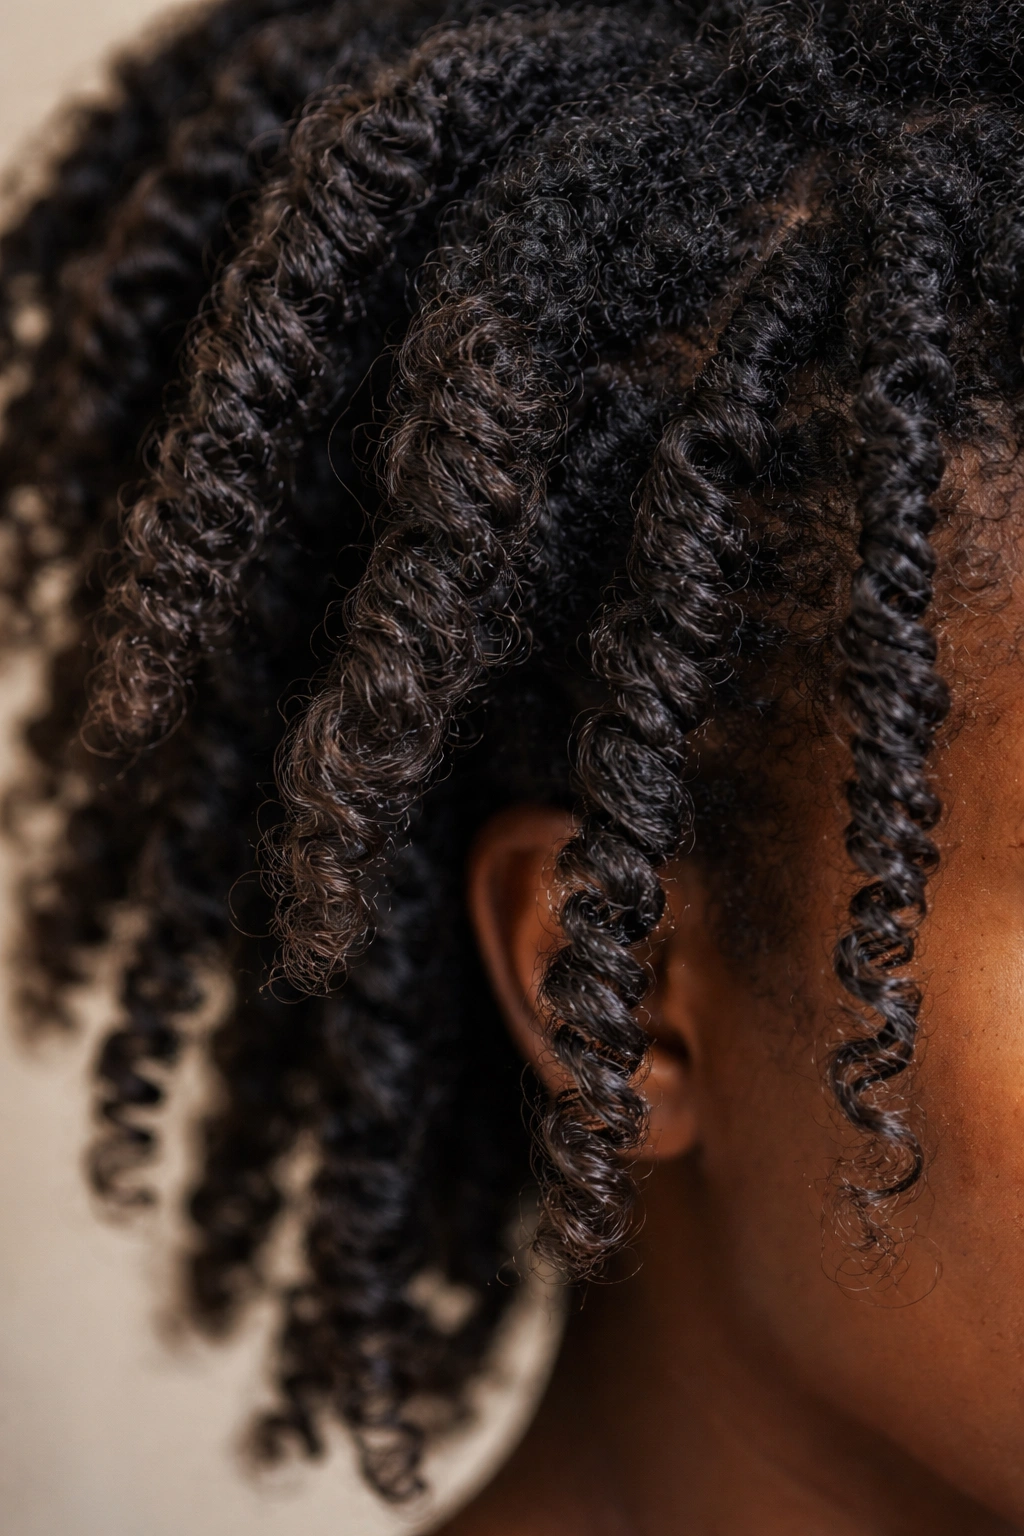
Flat twist outs use the same foundational technique as two-strand twists, except the twists run along your scalp in rows (like cornrows) rather than freely hanging down. This variation creates a more sculpted, artistic look while simultaneously protecting the hair closer to your scalp from manipulation and breakage. The final result, when unraveled, gives you beautifully defined coils with an added texture boost from the way the twists wrapped around your scalp.
Why This Works for Type 4 Hair
Flat twists distribute tension more evenly across the scalp than loose twists, making them excellent protective styling for Type 4 hair. They also create a distinctive wave pattern or ridge texture even before you unravel them, and when you do unravel them, those ridges add dimensional interest and definition to your coils. The style is especially flattering if you want a more polished, intentional look rather than the relaxed vibe of loose two-strand twists.
How to Create This Look
Wash and condition your hair thoroughly, then apply leave-in conditioner and styling cream to damp hair. Divide your hair into sections based on how you want the flat twists to run—straight back, diagonal, or in a creative pattern. Section off a piece of hair at your hairline or part line, then as you twist two strands around each other, simultaneously feed new hair into the base of the twist as you move down your scalp, just like you would with a cornrow. Keep the tension firm and consistent. The finished flat twists should lie flat against your scalp and cover the full length of your hair.
Quick Facts
- Best for: Type 4a, 4b, and 4c textures; those wanting a protective style with definition
- Styling precision: High—this requires some practice to get neat, even twists
- Moisture retention: Excellent; the protected scalp means less moisture loss at the roots
- Time to set: Overnight or 12+ hours; longer setting time = more defined coils when unraveled
- Retention potential: 5-7+ days; sometimes even longer than loose twist outs
Worth knowing: If you’re new to flat twisting, start with just three to five large sections rather than a full head to build your confidence and technique.
3. The Perm Rod Twist Out
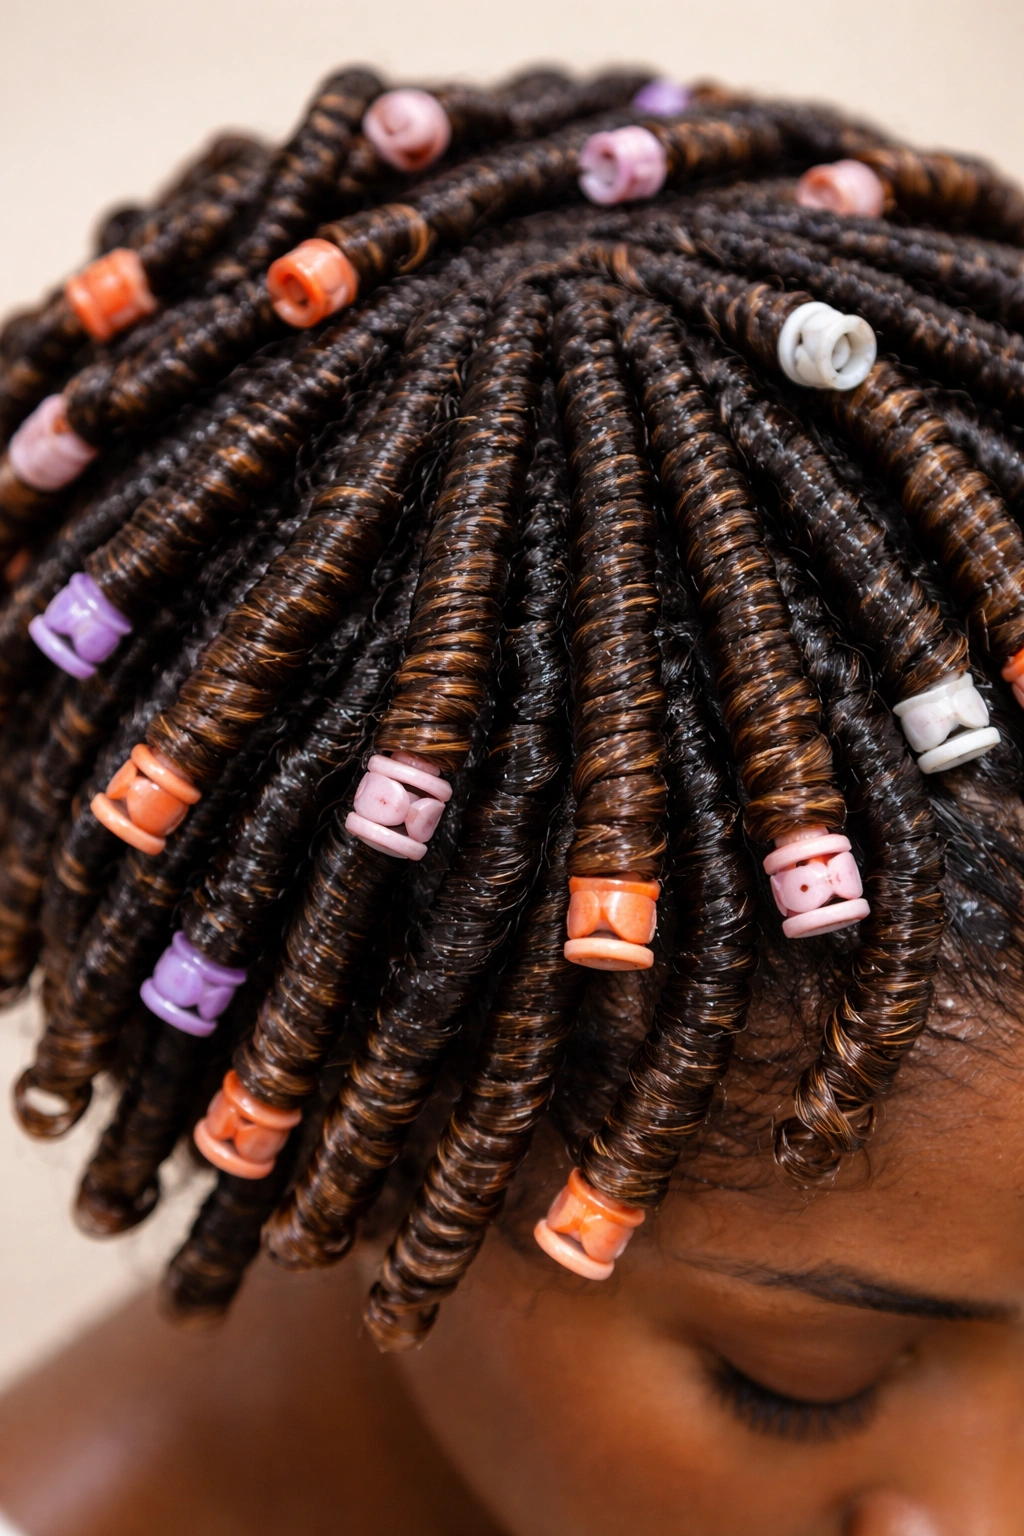
This hybrid style combines two-strand twists with perm rods (or flexi-rods) to control the shape and curl pattern of your twist out. You create two-strand twists as normal, then wrap each twisted strand around a perm rod and secure the end, which creates more uniform, bouncy ringlets and spiral curls. This method is particularly striking for Type 4 hair because it can create a level of uniformity and shine that showcases your curl definition beautifully.
Why This Works for Type 4 Hair
Perm rods add structure and bounce to Type 4 curls in a way that unraveling loose twists alone sometimes cannot achieve. The rod’s diameter determines your final curl size—smaller rods create tighter, more uniform spirals, while larger rods give you looser waves. For Type 4 hair specifically, this method can create really impressive coil definition and shine, especially if you use products with light hold and moisture.
How to Create This Look
Wash and condition deeply, then apply leave-in conditioner and a lightweight styling cream or curl gel to damp hair. Create two-strand twists as you normally would, but instead of leaving them loose, gently roll each completed twist around a perm rod from the end upward toward your scalp. Secure the rod’s ends or use a hair clip to keep it in place. Allow hair to dry completely (overnight is ideal), then carefully unroll the rods by releasing the end clip and gently unraveling each twist from the rod. Use your fingers to gently separate and fluff the curls for maximum volume.
Quick Facts
- Rod sizes that work best: Small (⅜ inch) for tight ringlets; medium (½-¾ inch) for balanced coils; large (1+ inch) for loose waves
- Product hold needed: Light to medium hold—too much hold makes curls stiff
- Drying method: Air dry or low heat on a bonnet dryer; perm rods allow air to circulate well
- Longevity: 5-7 days, sometimes longer because the rod creates more structured curl memory
- Versatility: Once set, you can wear the curls down, in a puff, or style them further
Insider note: Perm rods work especially well if you’re going for a more defined, salon-like finish that lasts through multiple days of wear.
4. The Chunky Twist Out
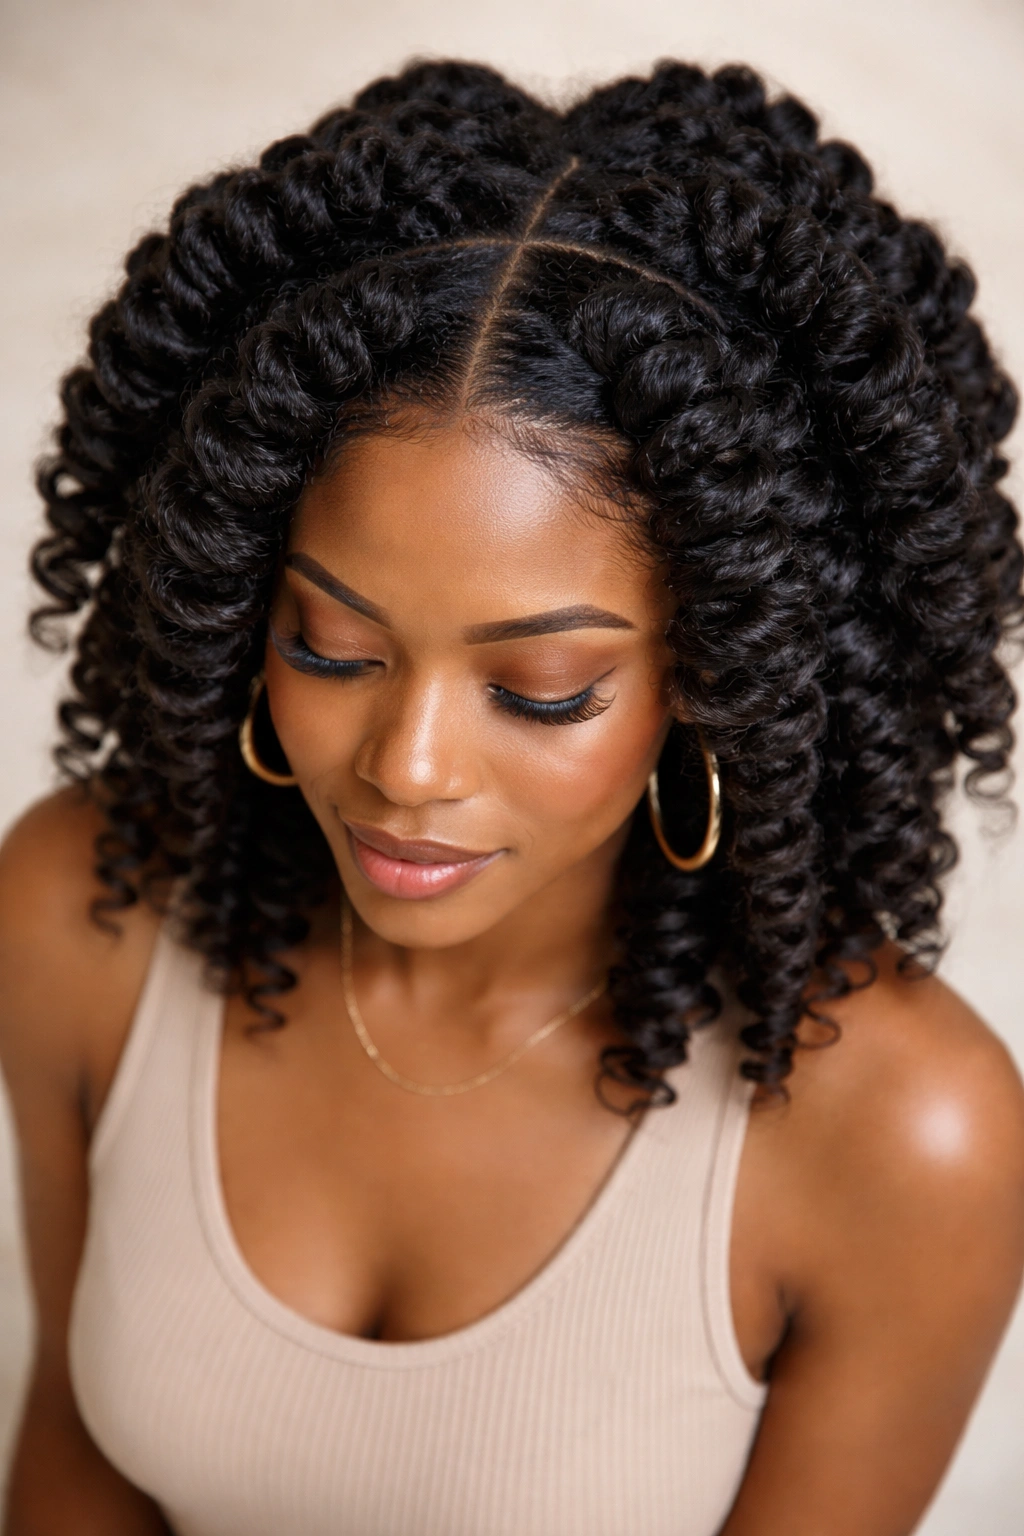
Chunky twist outs use larger, thicker sections of hair, resulting in bigger, bolder waves and coils with more volume and movement compared to traditional two-strand twists. Instead of dividing your head into 12-20 small sections, you might only create 4-8 very large twists, each using a substantial amount of hair. The result is a more relaxed, textured look that’s also faster to create and maintain.
Why This Works for Type 4 Hair
Type 4 hair tends to thrive with chunky styles because the volume and dimension feel intentional and flattering while still being protective. Chunky twists create beautiful texture and wave pattern without feeling overly fussy or tight. The style also has a more laid-back, natural vibe that many people prefer, and because you’re working with larger sections, there’s less scalp friction and tension.
How to Create This Look
Wash, condition, and detangle your hair thoroughly while damp. Apply leave-in conditioner and styling product, then divide your entire head into just 4-8 large sections using clips. You want each section to be substantial—roughly the size of your thumb or larger. Create a single two-strand twist down the length of each section, making sure your twists are firm but not uncomfortably tight. You can leave these twists in overnight to set, or air dry them for a fuller 24 hours if you have time.
Quick Facts
- Number of twists: 4-8 for a full head, depending on density and thickness
- Best hair types: Works beautifully on all Type 4 textures, especially 4c and very dense hair
- Time to create: 20-40 minutes (significantly faster than smaller twists)
- Setting time: 6-12 hours minimum; overnight is ideal
- Styling options: Can be worn down, in a high bun, in a puff, or half-up/half-down
Worth knowing: Chunky twist outs work best if your hair is already well-moisturized and defined—they can sometimes look a bit frizzy on very dry hair.
5. The Twist Out Bun or Updo
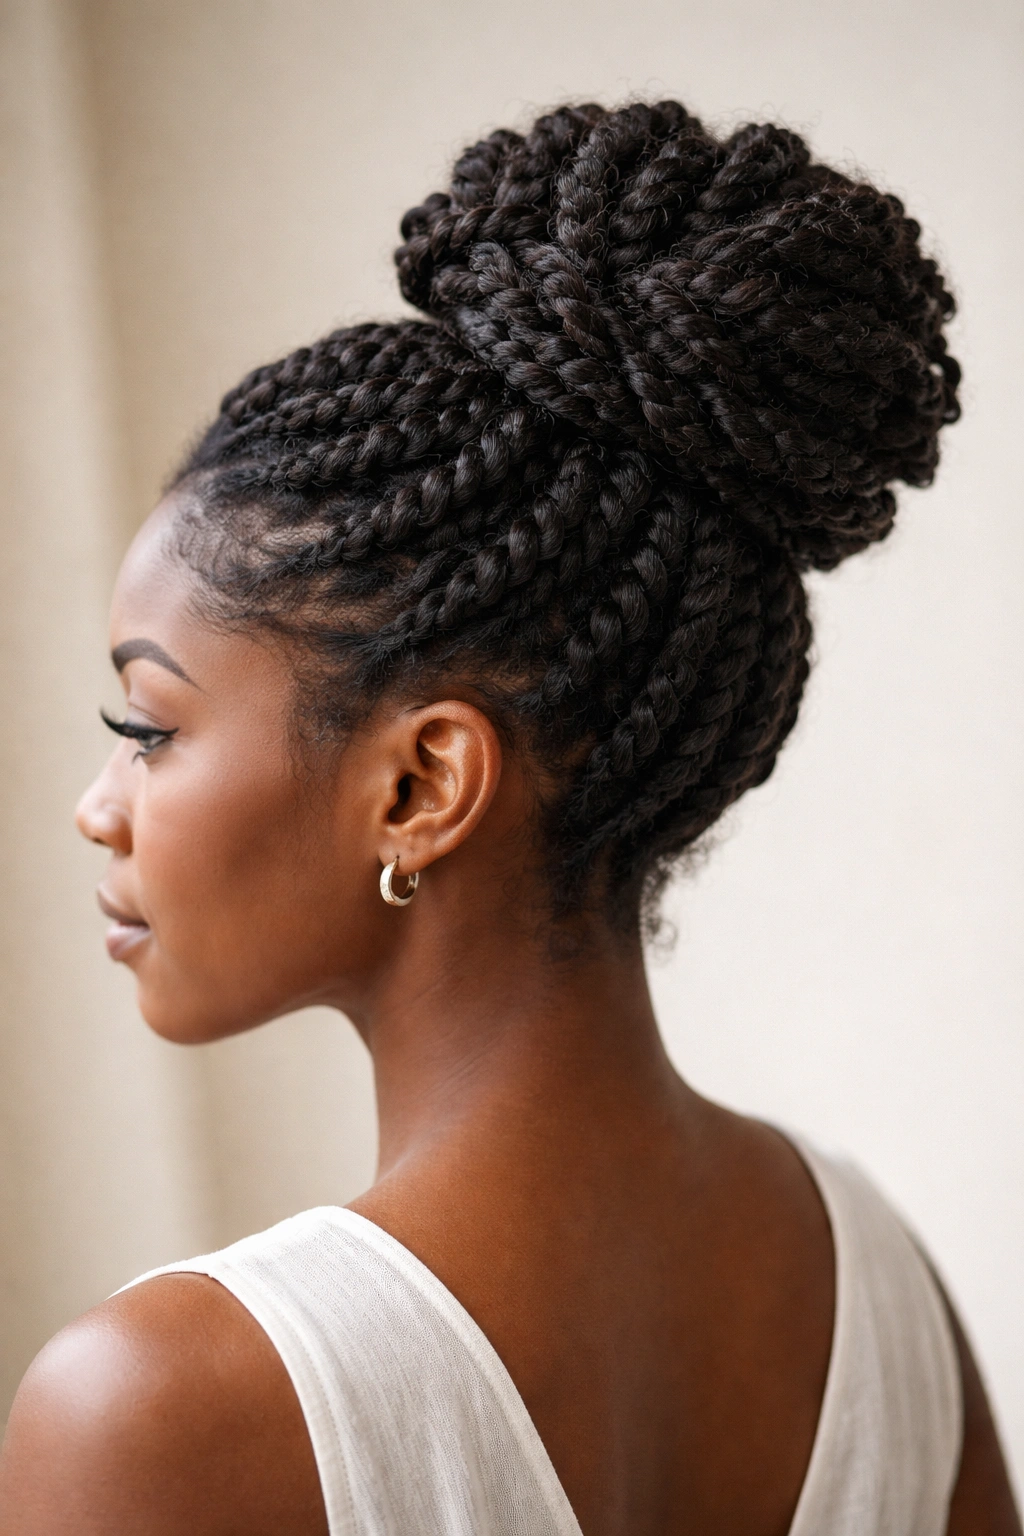
Instead of unraveling your twists, you can style them directly into buns, updos, or other creative hair designs while they’re still twisted, creating a totally different aesthetic that reads as intentional and polished rather than casual. You can gather multiple twists into a high bun at the crown, create a twisted crown bun using your flat twists as the base, or arrange your twists into swirls and loops secured with bobby pins and clips.
Why This Works for Type 4 Hair
This approach gives you protection without unraveling—your twists stay intact, which means less manipulation of individual coils and maximum moisture retention. The visual impact is also stunning: your twisted pattern is the focal point of the style, which is especially striking on Type 4 hair where that texture and definition read as truly beautiful. This style works equally well in professional settings and for casual, creative looks depending on how you arrange it.
How to Create This Look
Create your twists as you normally would (two-strand, flat, or chunky—whatever you prefer), but instead of unraveling them after they dry, style them directly into your desired updo shape. For a simple high bun, gather all your twists into a high ponytail at the crown and secure with a hair tie, then coil the twists around the base and secure with bobby pins. For a more artistic look, arrange individual twists into swirls, loops, or a crown pattern, pinning them as you go. The key is to be intentional with your arrangement—it should look like you planned it.
Quick Facts
- Styling difficulty: Medium—easier if you’re already comfortable with updo styling
- Longevity: 7-14 days; because you’re not unraveling, the twists stay intact much longer
- Occasion versatility: Works for work, dates, events, and casual days (depends on your arrangement)
- Moisture retention: Excellent; zero additional manipulation after the twists set
- Refreshing: Can be refreshed simply by misting with water and re-pinning if needed
Pro tip: If you want your twisted bun to look intentional and polished, make sure all your twists are roughly the same size and that they’re evenly spaced when you arrange them.
6. The Colored or Highlighted Twist Out
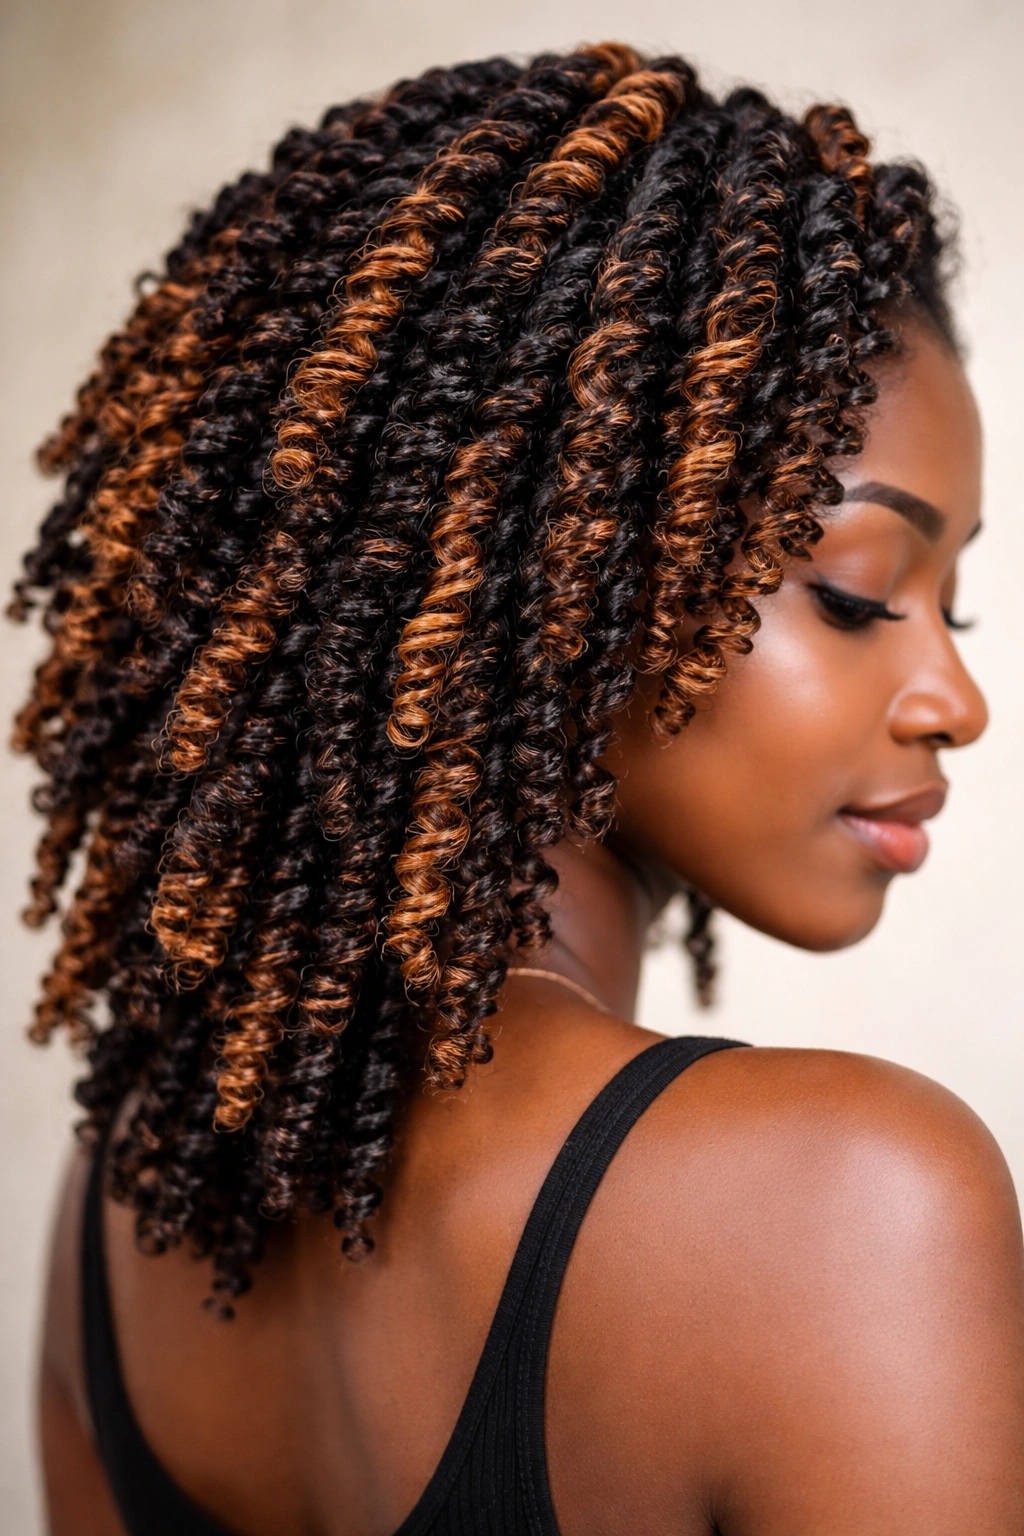
This variation involves creating twist outs with hair that’s been colored, highlighted, or has colorful synthetic hair (like marley hair or kanekalon) twisted in alongside your natural hair. The result is a twist out that showcases gorgeous color dimension, making your coils appear more dimensional and multi-tonal even though you’re using the exact same technique as a standard twist out.
Why This Works for Type 4 Hair
Color or highlights on Type 4 hair can look absolutely stunning because of how the coil pattern catches light differently on lighter and darker sections. When you create a twist out with colored hair or synthetic hair woven in, the final result has incredible depth and visual interest. This approach also allows you to experiment with bold color without permanent commitment—you can take the twists down whenever you choose.
How to Create This Look
Start with clean, moisturized hair. You can incorporate color in a few ways: twist small sections of dyed hair alongside your natural hair (split the difference), braid or twist marley hair or synthetic hair alongside your natural coils from root to tip, or use semi-permanent or temporary color directly on damp hair before twisting. Apply your leave-in conditioner and styling product as normal, create your two-strand twists (incorporate the synthetic or colored hair as you go if that’s your approach), and allow everything to set overnight or longer.
Quick Facts
- Color options: Temporary dye, semi-permanent color, synthetic braiding hair, or highlights work beautifully
- Cost consideration: Synthetic hair adds minimal cost; color is a one-time investment if using dye
- Durability: Synthetic hair stays perfect for the entire wear period; color fades gradually, which is part of the charm
- Styling ease: Exactly the same as a regular twist out—no special handling needed
- Aesthetic impact: Creates striking dimension and makes coils appear shinier and more defined
Worth knowing: If you’re using synthetic hair, make sure it’s specifically hair extension hair, not craft braiding hair, which can be much coarser and uncomfortable.
7. The Twisted Knot Out
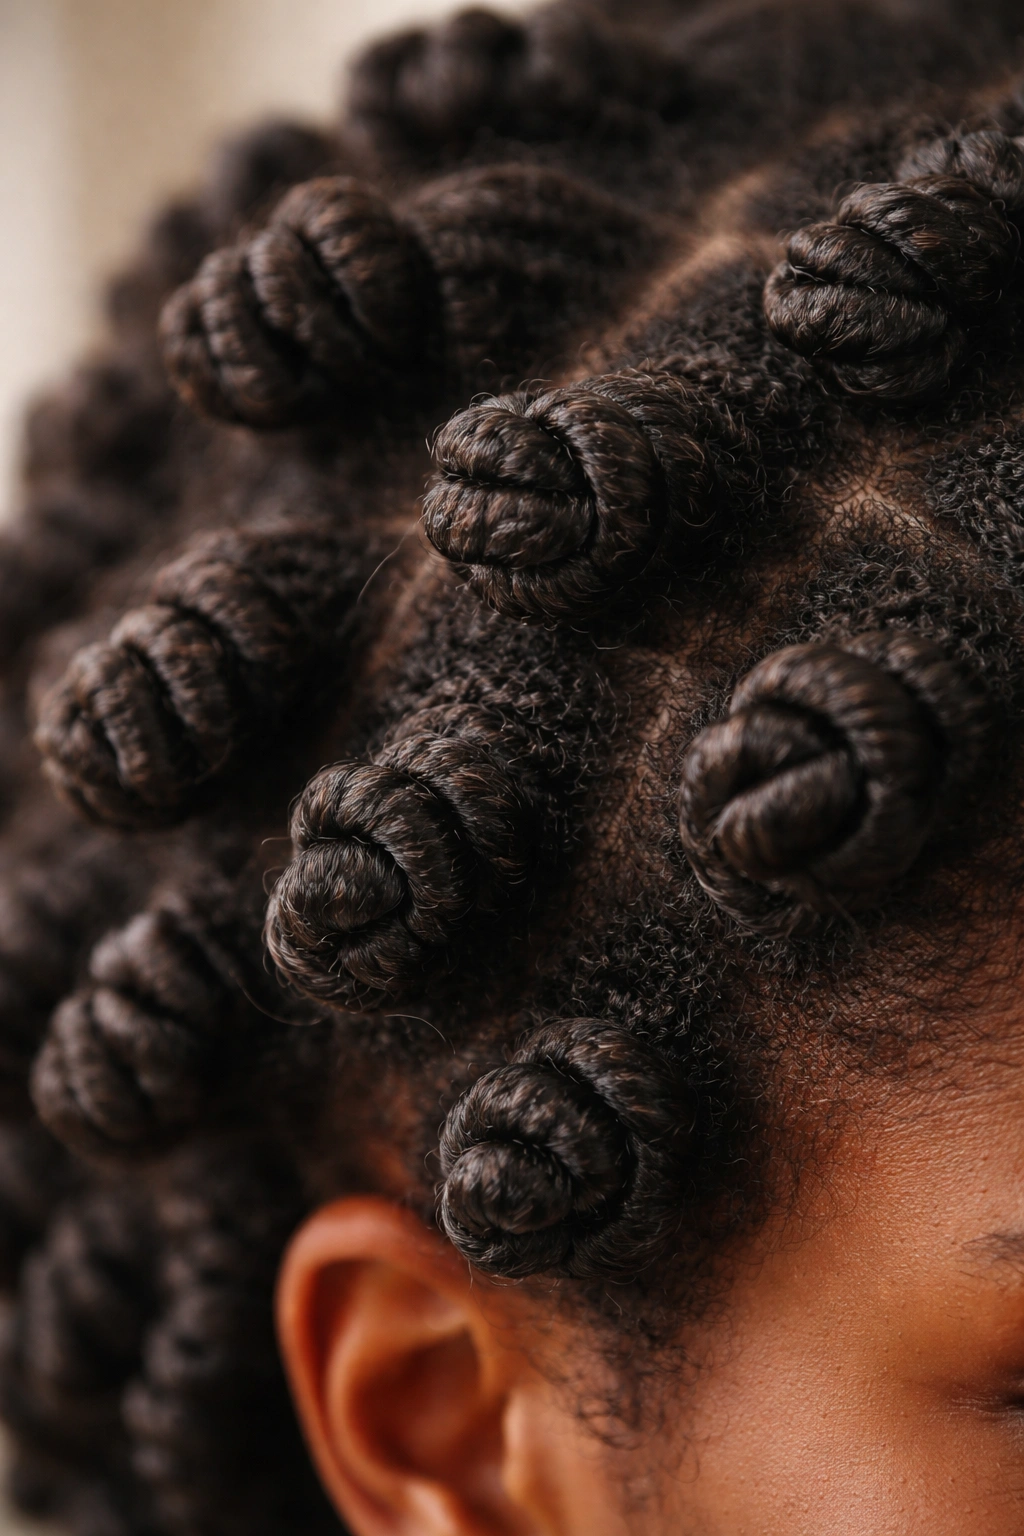
This creative variation uses twisted knots instead of traditional two-strand twists to create a totally different coil and wave pattern. You create small twisted knots by taking a section of hair, twisting it into a spiral, then tucking the end back into the knot to secure it—similar to a flat twist technique but working in a compact knot shape rather than a linear line. When you unravel these knots, you get gorgeous, bouncy coils with a unique texture and definition.
Why This Works for Type 4 Hair
Twisted knots are particularly striking on Type 4 hair because they can create incredibly defined, bouncy coils that hold their shape beautifully through multiple days of wear. The knot technique distributes the twisting motion evenly throughout your coil, which creates more uniform definition. This style is also less time-consuming than creating many small two-strand twists because the knots are more compact.
How to Create This Look
Wash and condition thoroughly, then apply leave-in conditioner and styling cream to damp hair. Divide your hair into sections (6-12 depending on your hair volume). Take one section, twist the entire length into a spiral, then gently coil and tuck the twisted end back into the base of the section to create a knotted shape. Secure the knot with a bobby pin or clip if needed. You can also create flat twisted knots by working the knot against your scalp instead of freely. Allow to dry fully (overnight is ideal), then gently unravel each knot to reveal your coils.
Quick Facts
- Setup time: 30-60 minutes for a full head, depending on knot size
- Number of knots: 8-12 for chunky definition; 12-20 for tighter coils
- Best for: All Type 4 textures; especially striking on 4a and 4b hair
- Hold and longevity: 5-7 days with proper care; sometimes longer because the knot creates strong coil memory
- Styling after unraveling: Can be worn down, in a puff, braided, or pinned up
Insider note: If you find traditional two-strand twists tedious or time-consuming, twisted knots often feel faster and are just as effective.
8. The Twisted Two-Tone or Reverse Twist Out
This final variation plays with direction and technique to create visual interest and unique coil patterns. A reverse twist involves twisting your hair in the opposite direction from side to side (right side twisted one way, left side twisted the opposite way), which creates a balanced, intentional look. A two-tone approach might involve using two different textures of hair, or creating some twists with maximum tension and others with loose, relaxed tension, to create visual variation in your final coil pattern.
Why This Works for Type 4 Hair
Mixing twisting directions or techniques creates a more dynamic, artistic final look without requiring any additional time investment. Type 4 hair responds beautifully to these variations because the coil definition is strong enough to maintain distinct patterns even when created with different techniques. This approach is perfect if you want a twist out that feels personalized and unique rather than uniform and predictable.
How to Create This Look
Wash and condition as normal, then apply products to damp hair. Create twists down the center back of your head, then divide the left and right sides. On the left side, twist sections in one direction (let’s say clockwise); on the right side, twist the same sections in the opposite direction (counterclockwise). The visual balance this creates when you unravel is surprisingly striking and sophisticated. Alternatively, you can vary your tension intentionally—create some twists very tightly and others more loosely—to create natural variation in coil size and definition.
Quick Facts
- Complexity level: Medium—requires intentionality and planning, but not difficult to execute
- Best used for: Creating a balanced, editorial, intentional look; especially good for styling for events or photos
- Time investment: Same as a regular twist out (1-2 hours)
- Impact: Creates natural variation and visual interest without looking accidental
- Styling versatility: Works beautifully worn down to showcase the pattern, or styled into updos
Pro tip: If you’re nervous about creating a reverse twist pattern, mark your parting lines with bobby pins or clips before you start twisting to keep yourself organized.
Prepping Your Hair for Success
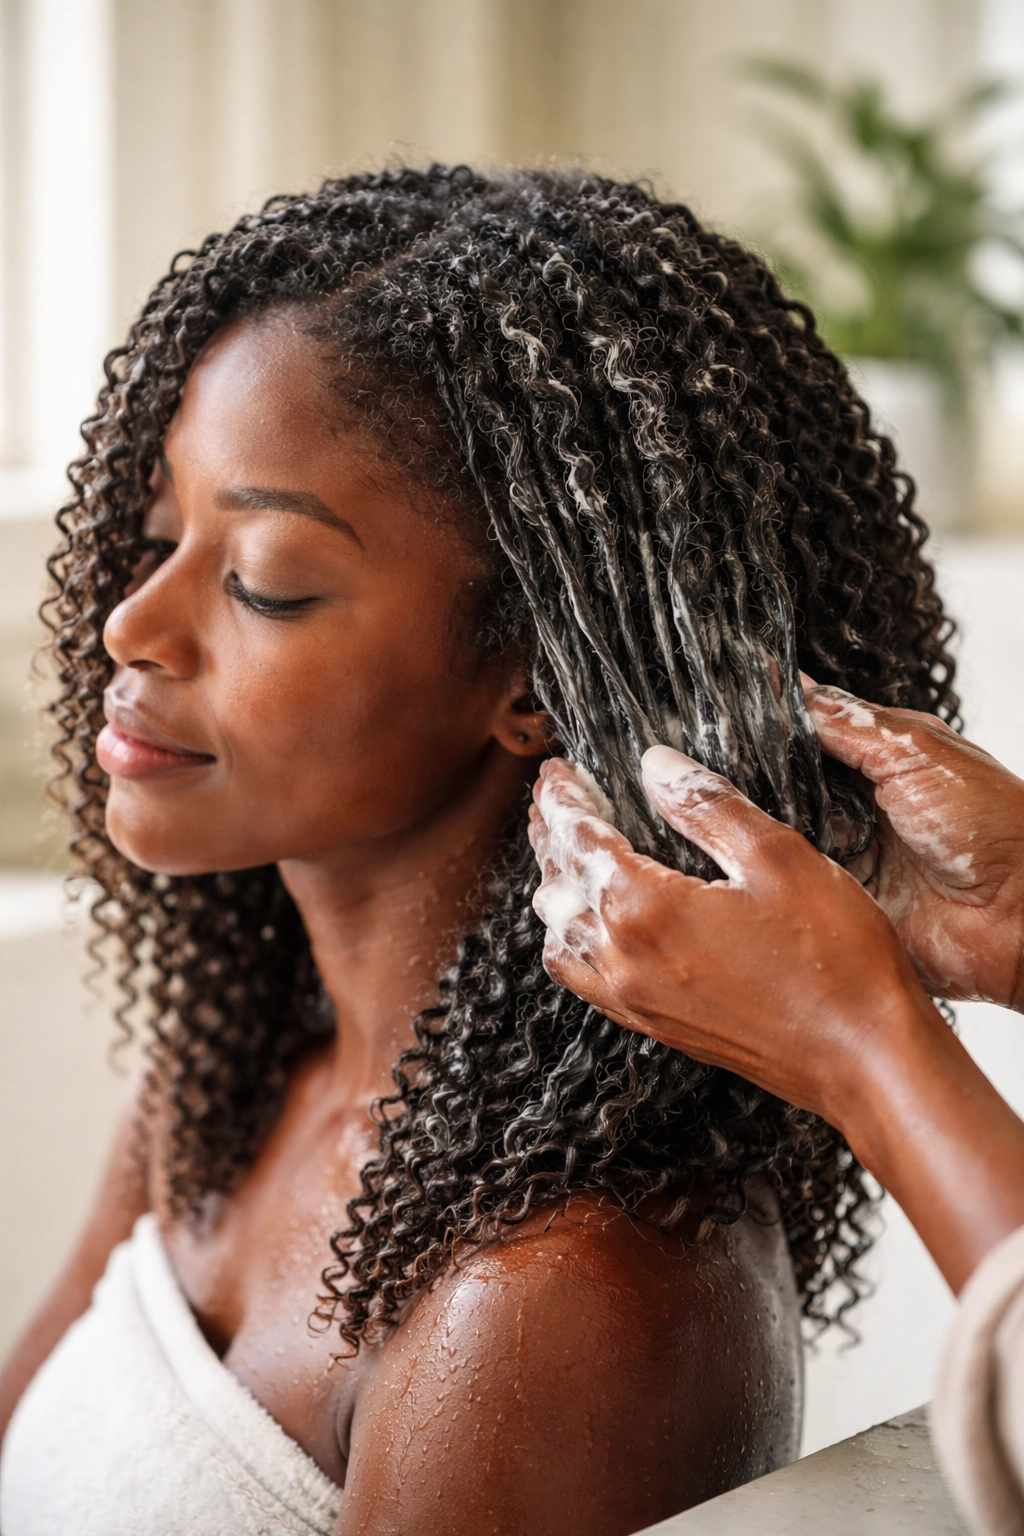
The quality of your twist out depends heavily on how well you prepare your hair beforehand. Type 4 hair needs deep hydration before twisting because twists can sometimes draw moisture out during the drying process if you haven’t started with a fully moisturized base. Wash your hair with a sulfate-free shampoo (which is gentler) or do a co-wash—massaging conditioner into your scalp and through your lengths before rinsing it out.
Deep condition for at least 10-15 minutes after shampooing. You can apply a deep conditioning mask, use a leave-in conditioner, or even just let regular conditioner sit for longer than usual. Type 4 hair benefits tremendously from this extra moisture, and it will make a visible difference in how defined and shiny your twist out ultimately looks. After deep conditioning, do a final rinse with cool water, which helps seal your cuticles and locks moisture in.
Detangle gently while your hair is still wet and saturated with conditioner. Use a wide-tooth comb or your fingers, working from the ends upward in small sections. Never detangle Type 4 hair when it’s dry—you’ll create unnecessary breakage. Once detangling is done, apply your leave-in conditioner and styling product while hair is still damp. The dampness helps distribute products evenly and ensures they’re absorbed properly.
Product Selection Matters
Not all products work equally well for twist outs on Type 4 hair, so understanding what to look for will save you frustration. You need a leave-in conditioner that’s moisturizing but not so heavy that it weighs your coils down completely—look for products that contain humectants (like glycerin) and emollients (like shea butter or coconut oil). Avoid products with silicones if you’re trying to maximize definition, as silicones create a coating that can blur coil definition.
For styling hold, use either a curl-defining cream or a lightweight to medium-hold gel, depending on how defined you want your final result to be. Creams provide moisture and definition with minimal hold, making them ideal if you prefer softer, more moveable coils. Gels provide more hold and crunch, which often translates to more defined coils that last longer, but can sometimes feel stiff if you apply too much product. Many people find a combination approach works best—using a cream first, then a light gel on top, which gives you moisture plus hold.
Avoid products with heavy oils or butters as your primary styling product; instead, use them sparingly if you use them at all. The goal with twist outs is to showcase coil definition, and heavy products tend to weigh coils down and make them look less defined. You can always add a light oil or butter as a final seal once your coils are set if they feel a bit dry.
Common Mistakes to Avoid
One of the most common mistakes is applying too much product, which creates product buildup and makes coils look weighed down and dull rather than bouncy and defined. Start with a modest amount of leave-in conditioner and styling product, then add more only if you need it. You can always add more, but you can’t remove product once it’s in your hair without washing again.
Another frequent mistake is unraveling your twists before they’re completely dry. If you unravel damp twists, they’ll lose definition and frizz up as they finish drying. Allow your twists to dry completely before touching them—ideally overnight or a full 24 hours if you have time. If you’re in a rush, use a bonnet dryer on low heat to speed the process, but air drying always produces superior results.
Many people also make the mistake of twisting their hair too tightly, which creates unnecessary tension on the hair, scalp, and follicles. Your twists should be firm and consistent, yes, but not so tight that they create discomfort or pull on your scalp. If your twists are uncomfortable or giving you a headache, they’re too tight. Loosen them slightly and look for a firmer but still comfortable tension level.
Refreshing Your Twist Out Through the Week
A twist out doesn’t have to be worn down the entire time it lasts. Once your coils are set, you can style them into different shapes and configurations throughout the week. On day two or three, try pulling your coils into a high puff using a soft hair tie, which protects them while giving you a completely different look. You can also braid them, pin them up, or flip your head over and refresh the volume by gently separating coils at the roots with your fingers.
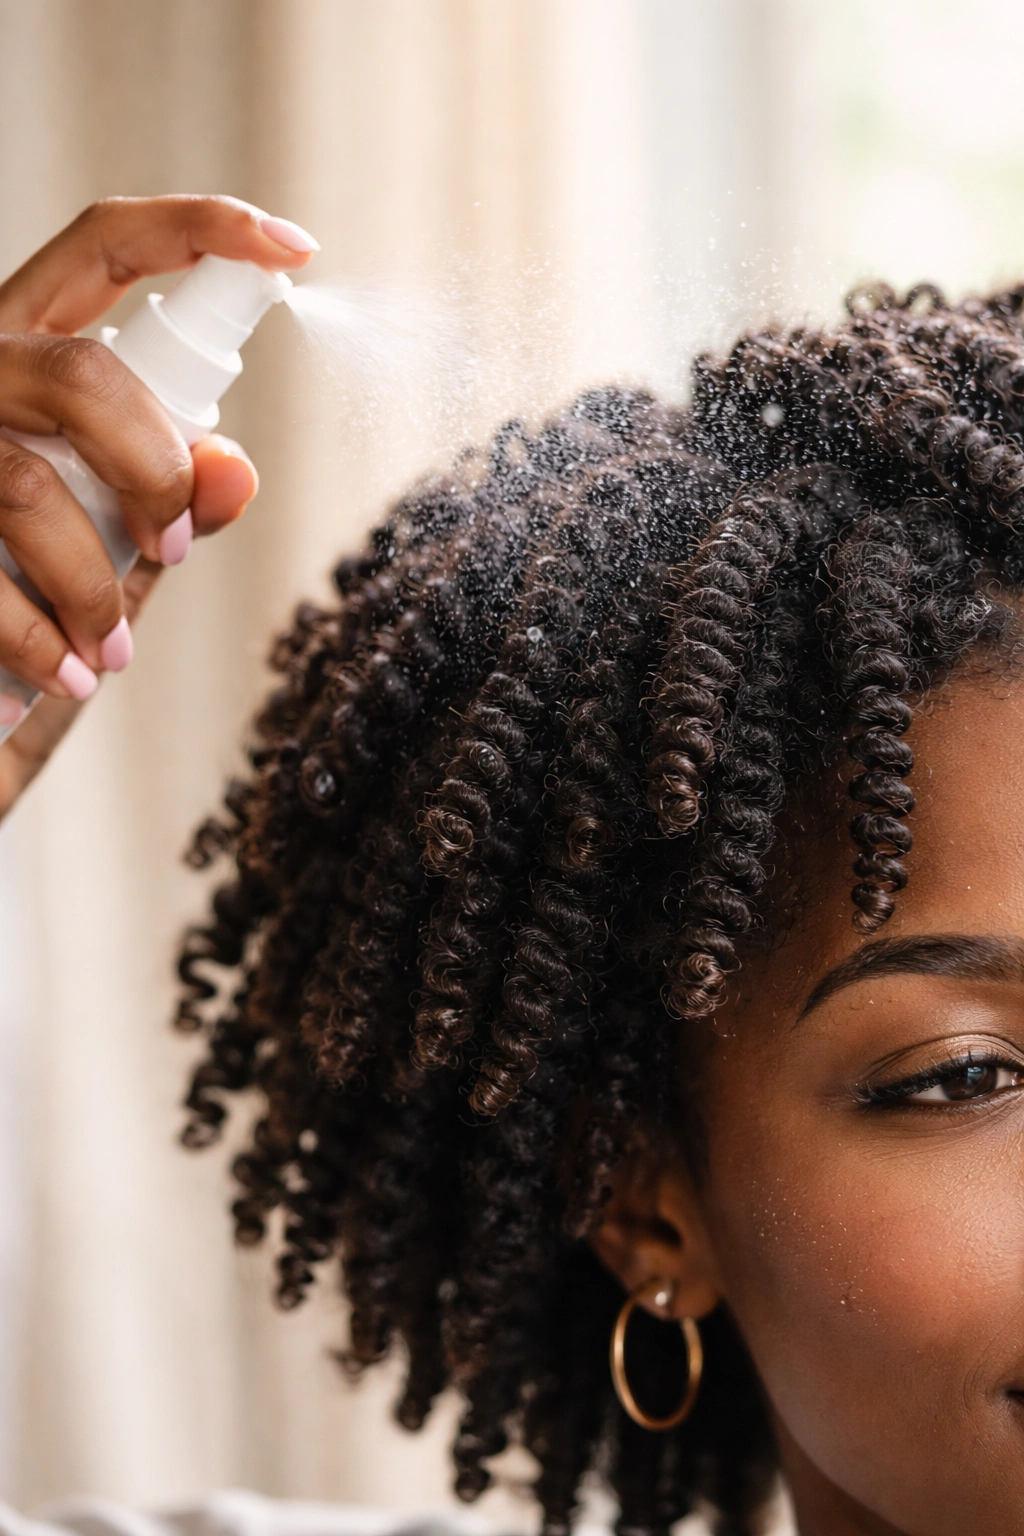
Moisture and protection are your best friends if you want your twist out to last through the end of the week. Mist your hair lightly with a mixture of water and leave-in conditioner every morning or whenever it starts to feel dry. Sleep on a silk or satin pillowcase (or wrap your hair in a silk bonnet or scarf) every night to reduce friction and moisture loss while sleeping. These two simple habits—refreshing moisture and protecting at night—can extend a twist out by several days beyond its natural lifespan.
If your coils start to look frizzy or lose definition partway through the week, resist the urge to re-twist or manipulate them. Instead, mist your hair with water mixed with a light styling cream or gel, then either style them into an updo or allow them to air dry in a bonnet after refreshing. You’ll be amazed at how much bounce and definition comes back once your hair is hydrated and has time to set again.
Final Thoughts
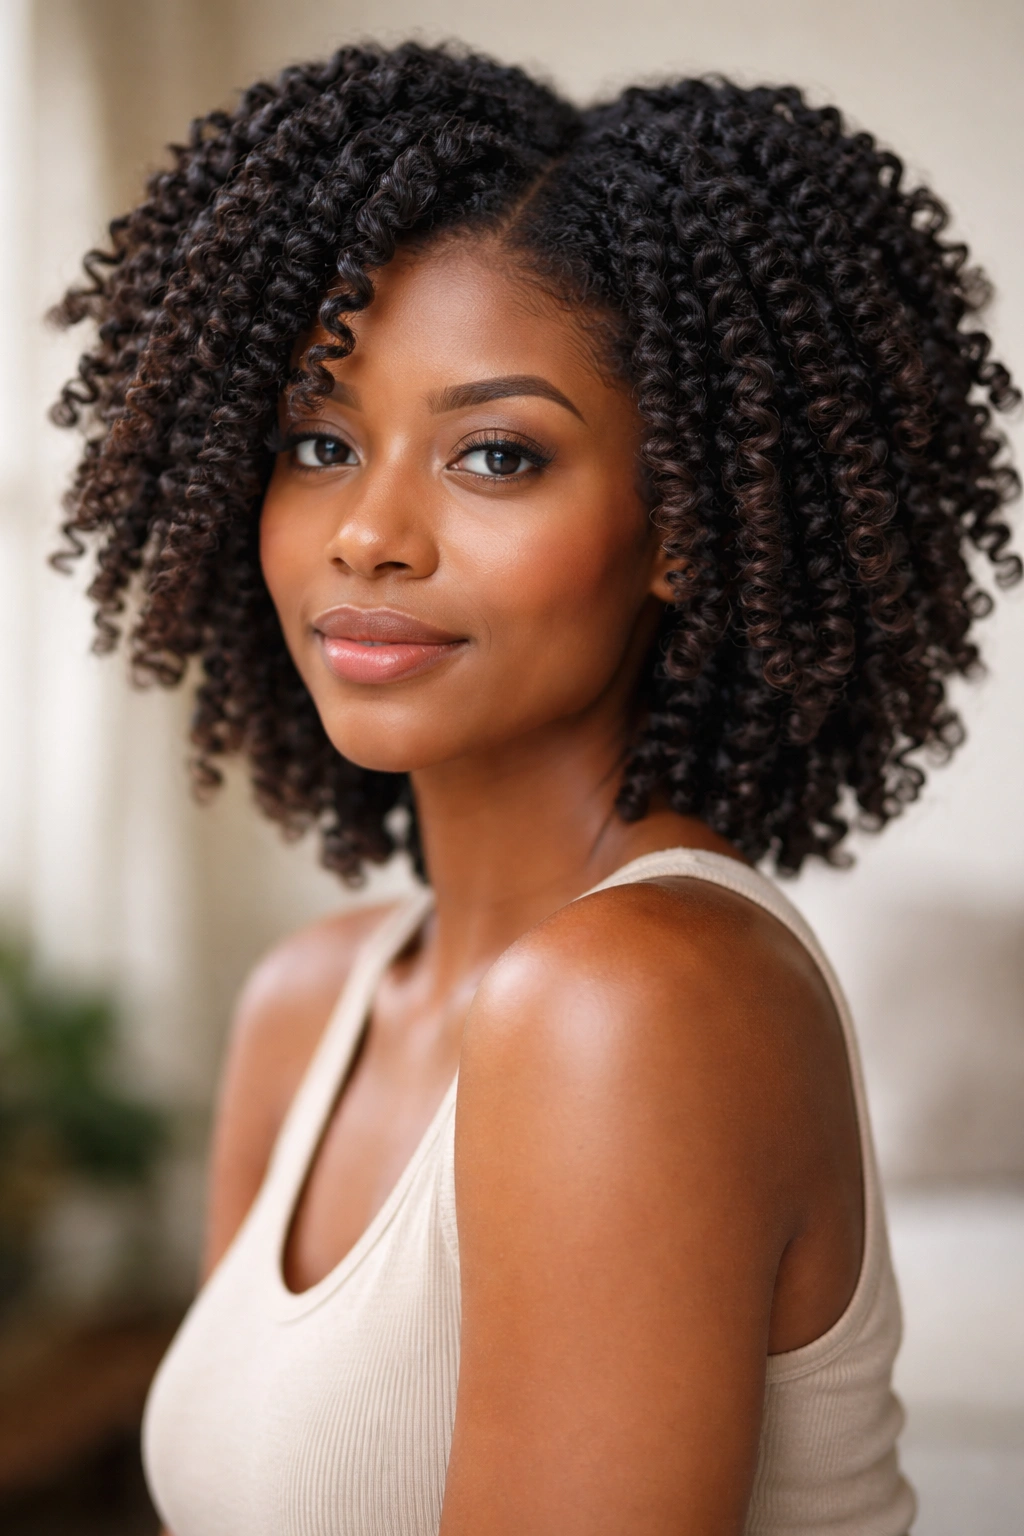
Twist outs are one of the most rewarding styling techniques available for Type 4 hair, offering beautiful definition, versatile styling options, and genuine protection without heat or manipulation. Whether you’re drawn to classic two-strand twists, the polished look of flat twists, the bouncy spirals of perm rod twist outs, or the artistic impact of colored or reverse-twist variations, there’s absolutely a version that fits your aesthetic and lifestyle.
The key to success is starting with deeply moisturized hair, using products that enhance rather than overshadow your natural coil definition, and allowing enough time for your twists to set properly. Patience during the setup process—whether that’s the hour or two you spend twisting, or the overnight time you allow for drying—pays off dramatically in how long your style lasts and how defined your coils ultimately look.
Your Type 4 hair deserves to be shown off in all its natural beauty and texture, and a well-executed twist out does exactly that. Once you find your favorite variation and perfect your technique, you’ll have a go-to style that you can recreate confidently whenever you need a protective, beautiful look that lets your coils shine.