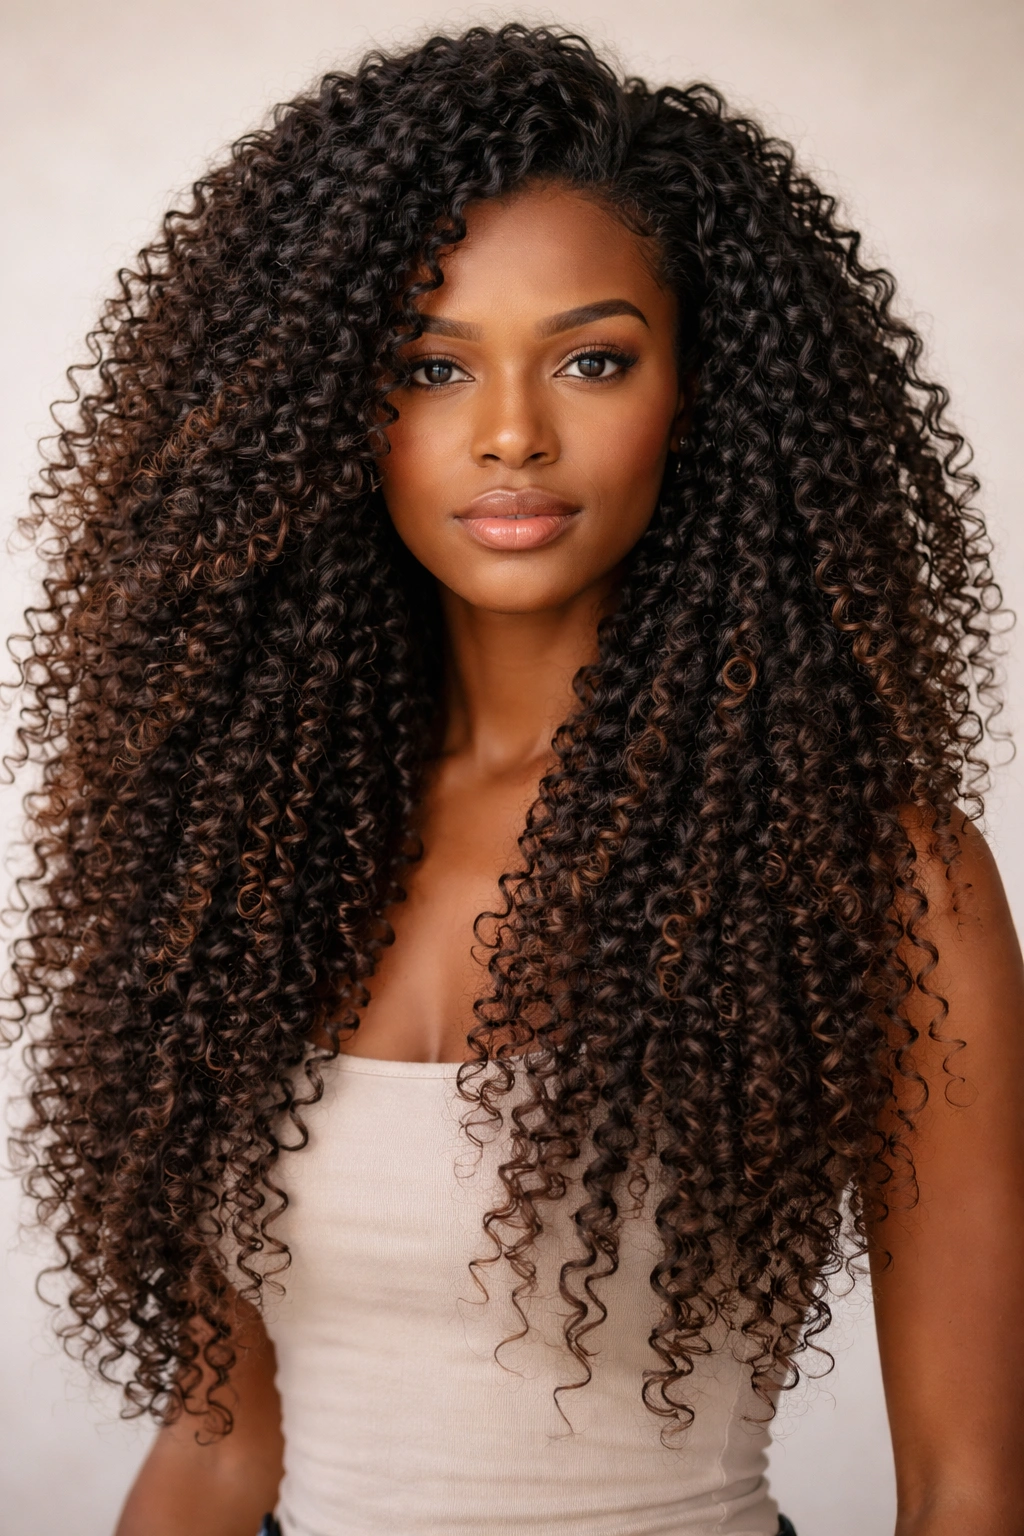
Long coily hair is a canvas for endless style possibilities, but styling requires strategy. When your natural curls stretch downward, you’re working with length that multiplies visual impact — a coily style that works on a shorter cut becomes dramatic and dimensional on a longer length. The challenge isn’t finding options; it’s finding styles that actually honor your coil pattern while working with the weight and unique moisture demands of extended length.
The frustration most people with longer coily hair experience is this: tutorials show beautiful styles on shoulder-length or collar-bone-length natural hair, but when you have length that reaches past your shoulders or down your back, the dynamics shift entirely. Your coils have more weight to carry. Your curl pattern might stretch differently at the ends than at the roots. Refreshing becomes more complicated. And honestly, not every style that looks stunning short translates to long hair without modification.
The good news? There are coily hairstyles designed specifically for length — styles that take advantage of your extended curls rather than fighting them. These aren’t just shorter styles stretched out; they’re approaches that work with the physics of longer coily hair. You’re about to discover the exact styles that showcase length while keeping your coils defined, manageable, and genuinely wearable for multiple days.
1. Loose Coils with Layered Texture
This is the foundational look that makes longer coily hair feel effortless and deliberate at the same time. Rather than uniform curl size throughout, layering your coils — meaning intentional variation in how tight or loose your waves are from root to tip — creates depth and movement that catches light beautifully on length. You’re not straightening anything; you’re styling your natural texture with deliberate variation.
How to Create the Coil Variation
Start with damp hair and apply a light leave-in conditioner throughout, focusing on mid-lengths and ends. Use a wide-tooth comb or your fingers to gently detangle. The key is using different styling methods on different sections: finger-coil the front sections closest to your face to keep them defined and tight, then use a larger-barrel curl comb or your hands to encourage looser waves through the middle layers, and allow the bottom third of your hair to dry more naturally without manipulation. This graduated approach creates visual interest without requiring heat tools or chemical alteration.
Why Length Makes This Style Shine
- When you have 14+ inches of coily hair, even small variations in coil tightness become obvious and flattering
- Loose coils near the face are softer and less bulky than tightly coiled styles, making longer hair feel intentional rather than overwhelming
- The layering technique distributes your hair’s volume naturally, preventing the “top-heavy” feeling some longer coily styles create
- Light, loose coils reflect more light along their length, making your hair appear shinier and more dynamic
Pro tip: This style thrives on the second or third day. The coils have time to settle and interlock slightly without completely losing definition, so the texture appears more refined.
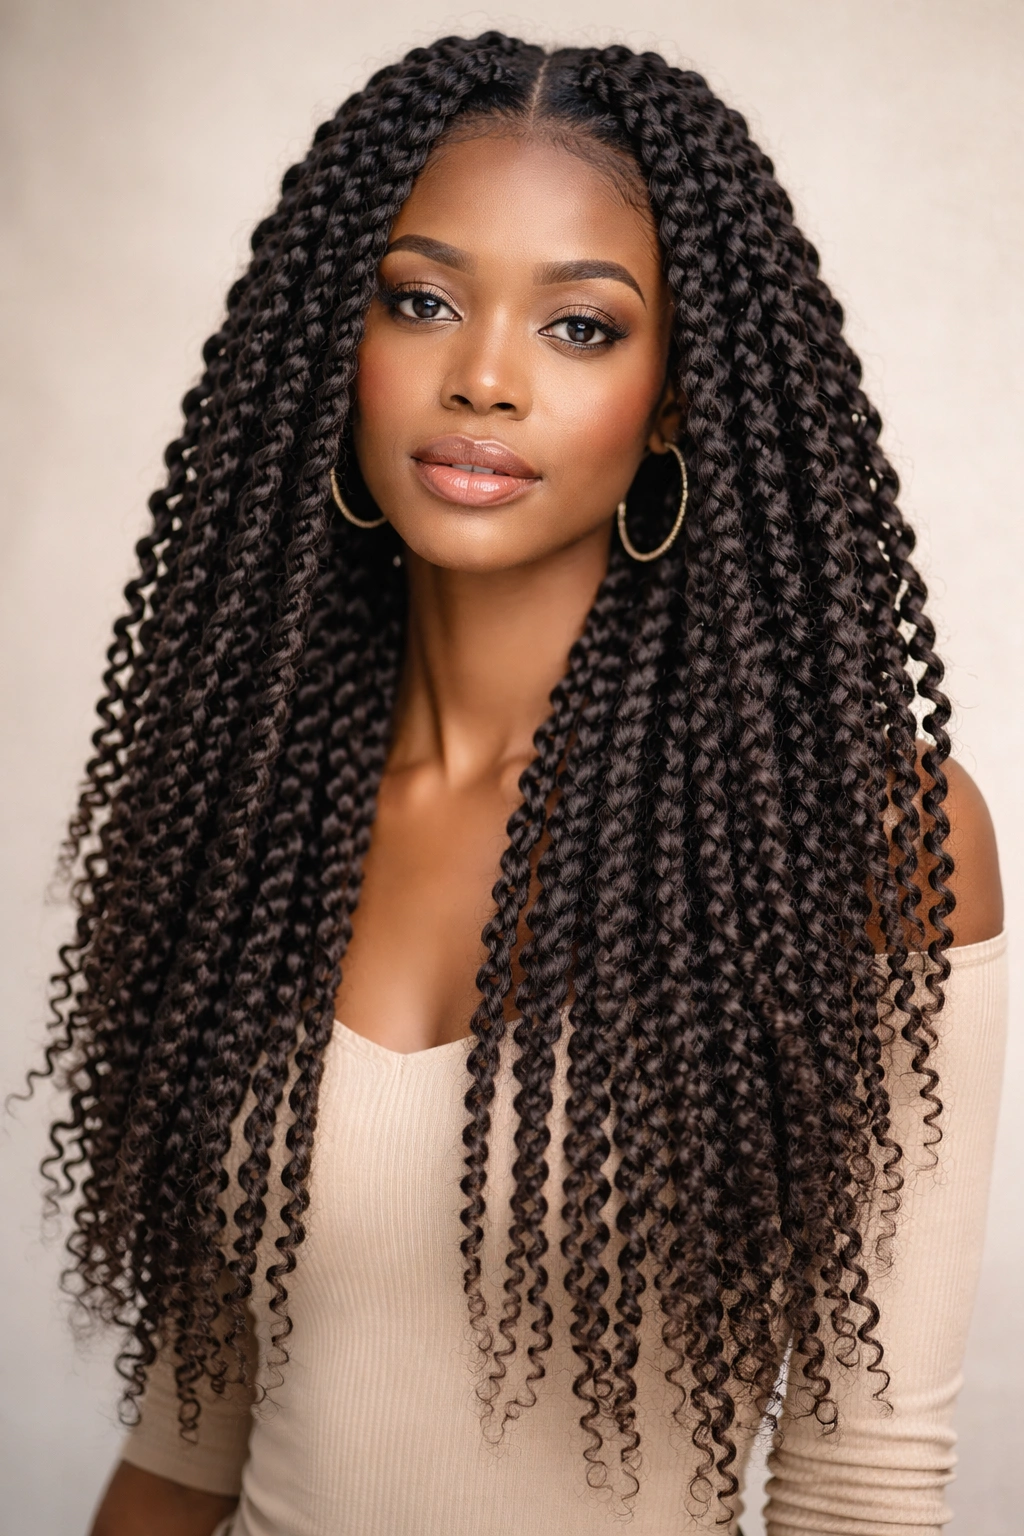
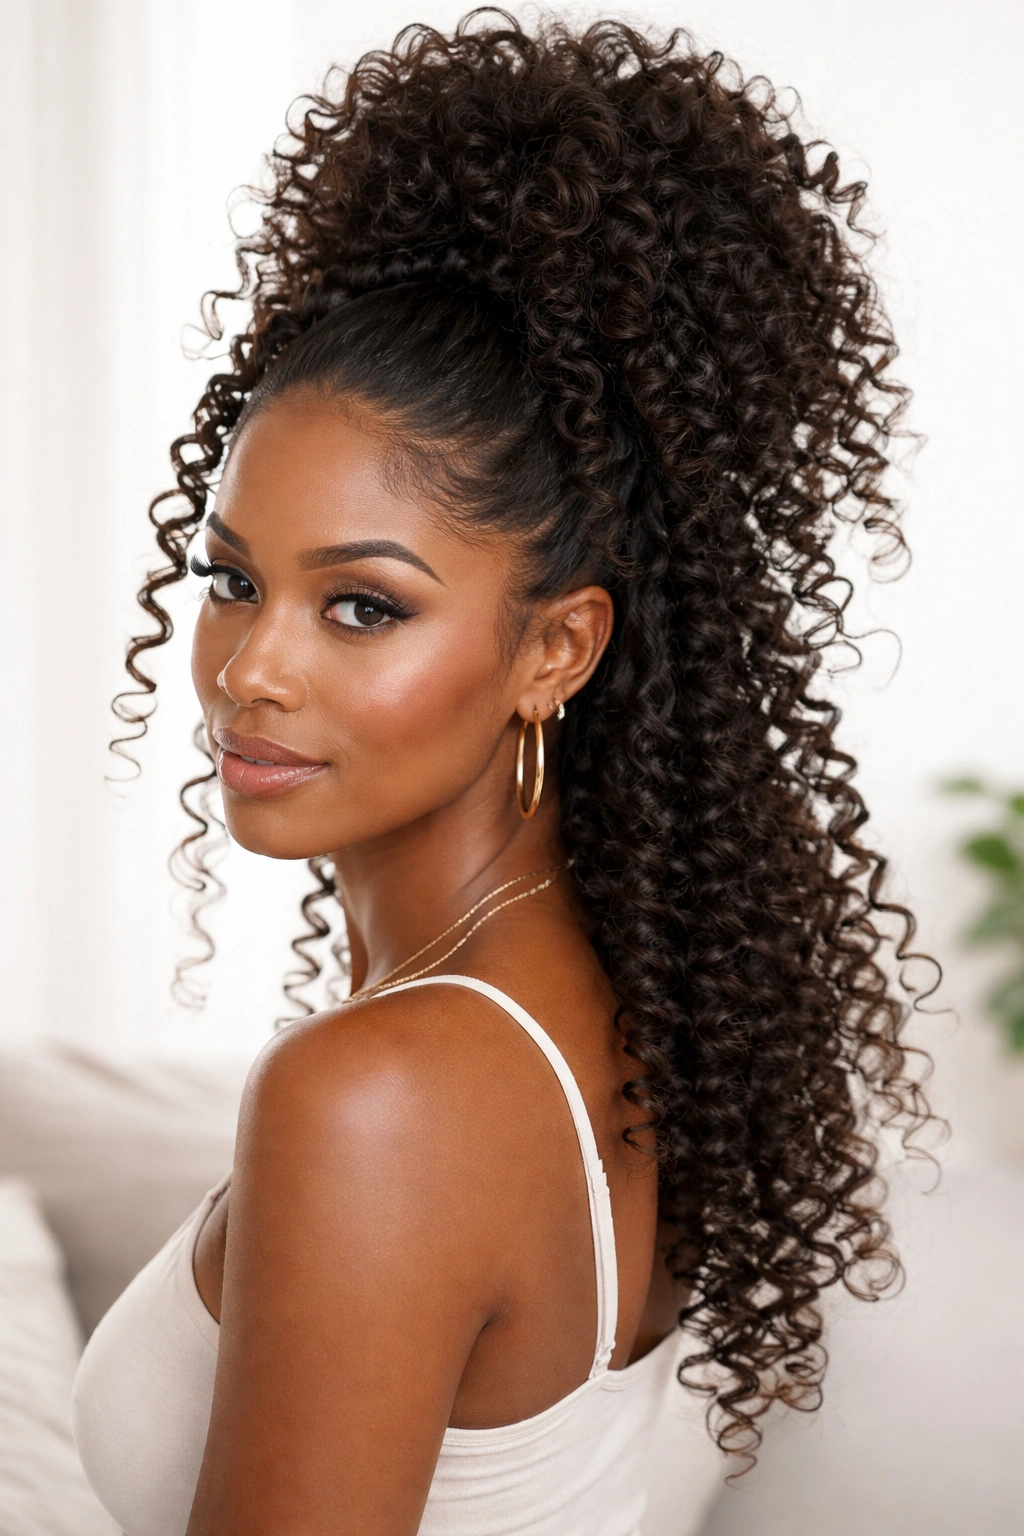
2. High-Definition Coils with Braided Crown
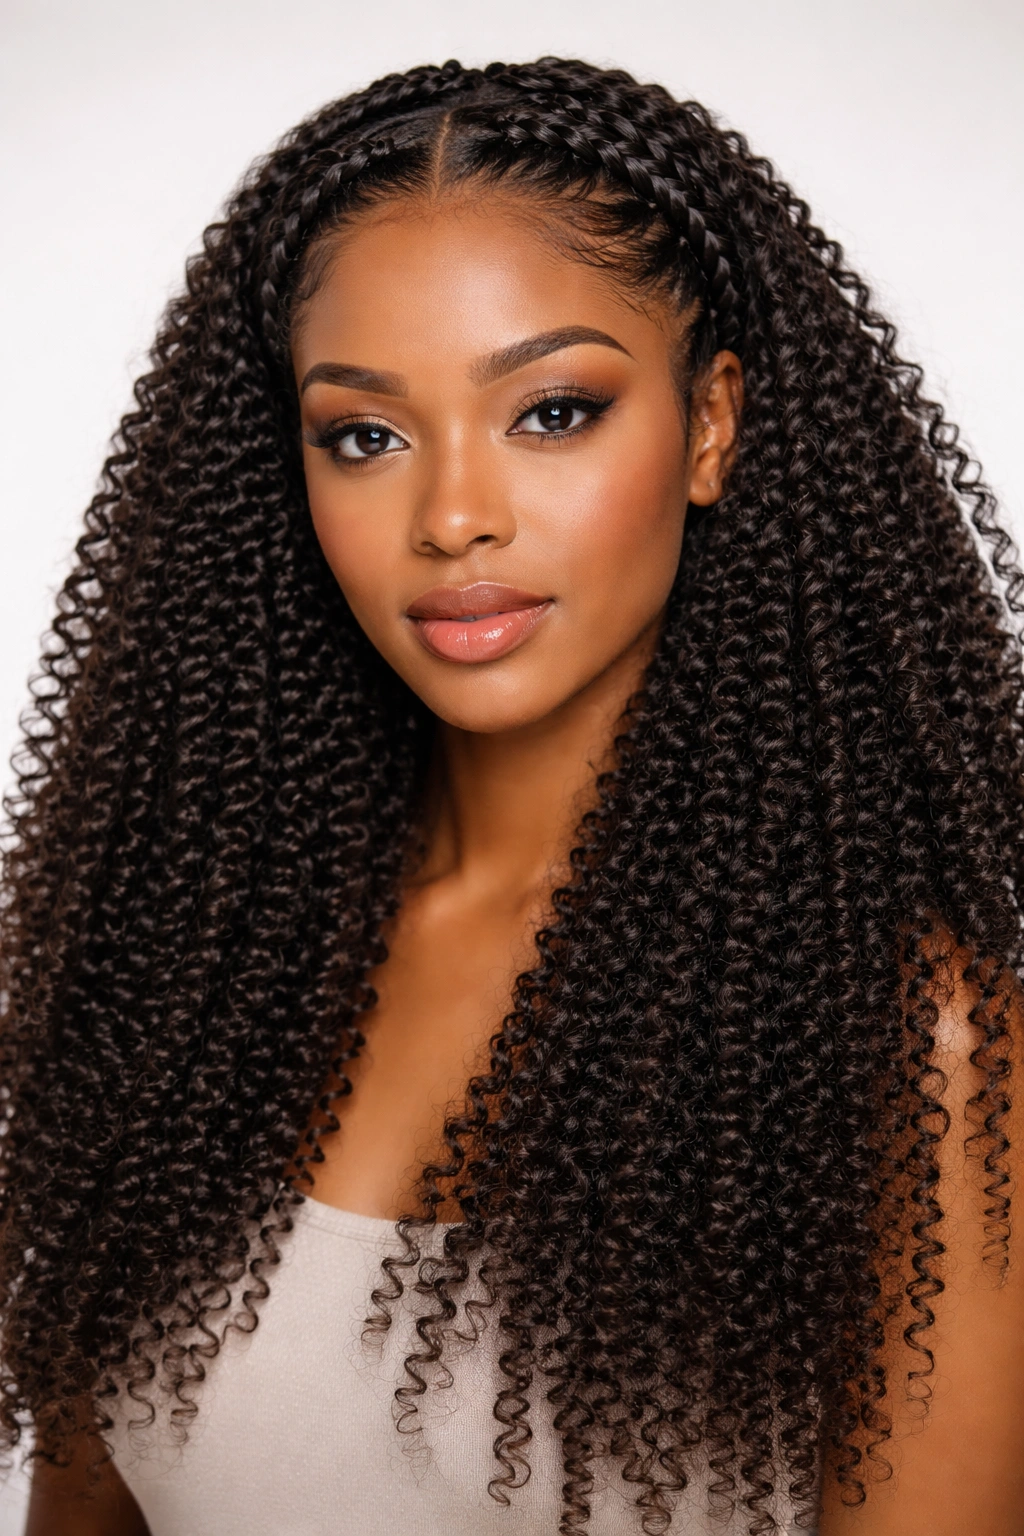
High-definition coils — meaning coils that are clearly separated and crisply outlined — paired with a braided crown detail creates a style that’s polished enough for formal occasions while still celebrating your natural curl pattern. The braid serves as both decoration and function: it frames your face, keeps some hair off your neck, and adds a distinctive accent line that interrupts what might otherwise feel like a solid mass of hair on longer lengths.
Styling Steps for Defined Coils
Apply a coil-defining gel or mousse to soaking-wet hair section by section, then use a denman brush or curl comb to rake through and define individual coils. You’re creating separation — each coil becomes its own visible unit rather than blending into surrounding coils. Once you’ve defined your coils throughout your entire head, allow them to air-dry or use a diffuser on low heat. While they’re still slightly damp, take a small section from one side of your head (about two inches wide from temple to ear) and create a Dutch braid that wraps toward the back of your head, anchoring it with bobby pins.
The Visual Power of Crown Braids on Long Coily Hair
- A braid creates a strong horizontal line across your head that visually shortens the appearance of very long hair, making it feel more balanced
- The braid’s texture contrasts beautifully with coil texture, adding dimension even when your coils are uniform
- This style keeps hair partially off your shoulders without the severity of a full updo, perfect for when you want coily hair visible but managed
- The braid acts as a focal point that draws eyes upward, especially flattering for longer face shapes
Worth knowing: This style requires coils that are at least 90% dry before braiding, or the braid will create a crimp line that disrupts your coil pattern once you unbraids.
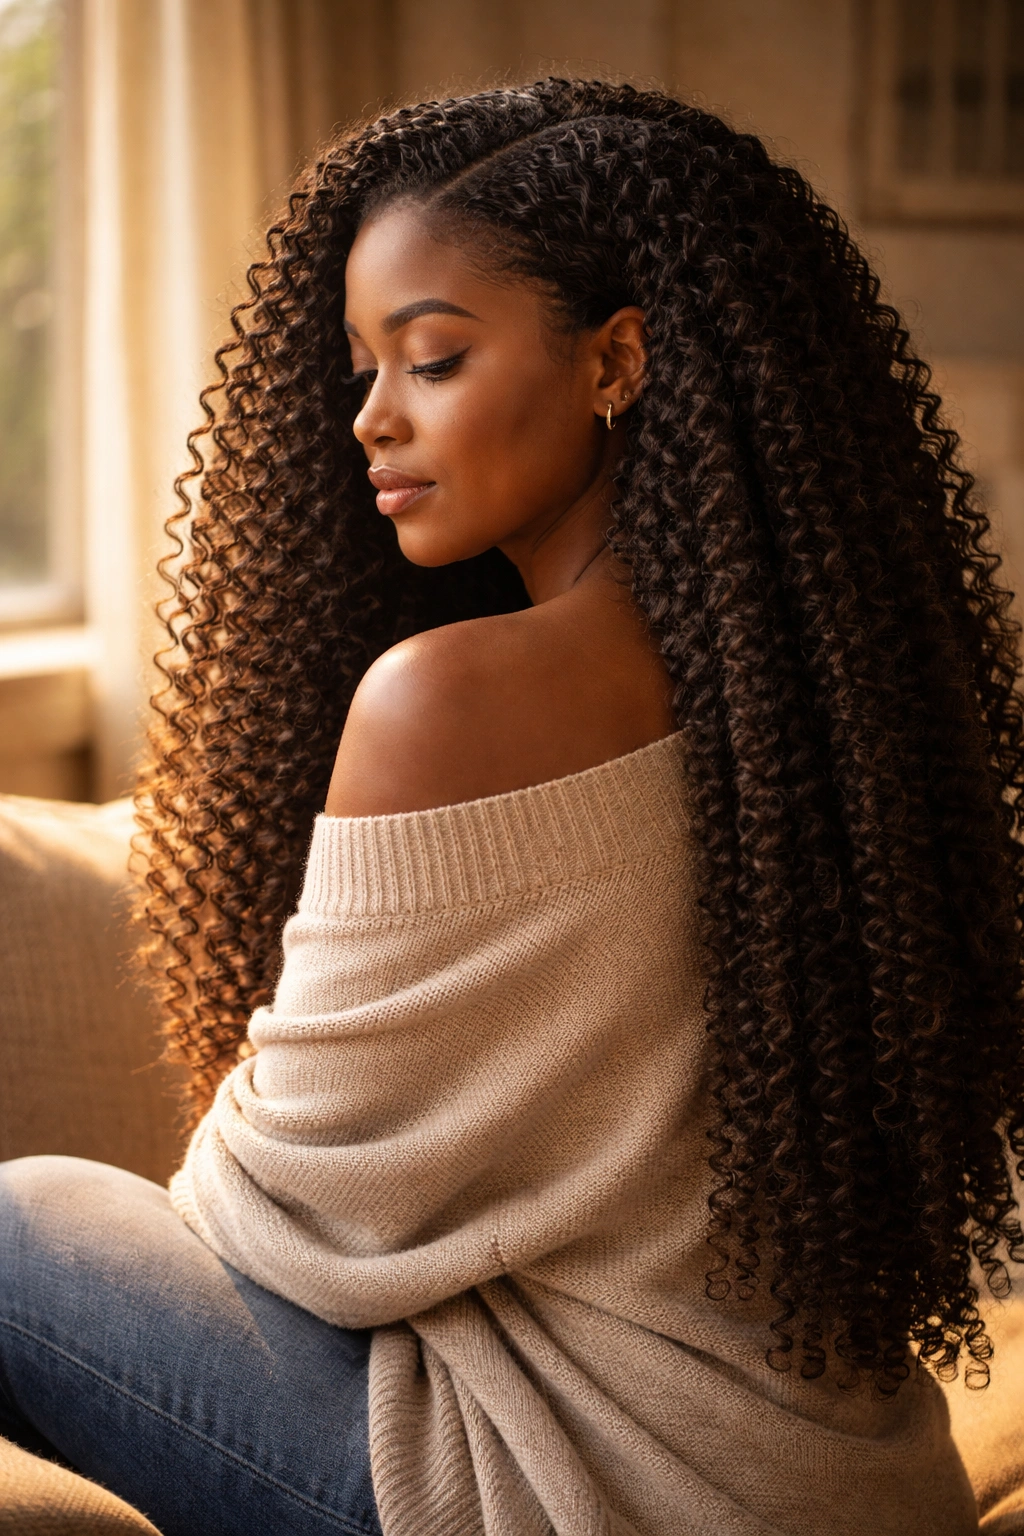
3. Stretched Coils with Side-Swept Styling
Stretched coils are longer than their natural shrunken state — your actual curl pattern elongates — which can make extremely long coily hair feel less voluminous while still showcasing your coil structure. This is achieved by either air-drying while gently stretching each section as it dries, or by using a technique called “wet-stretching.” The side-sweep accent transforms it from casual to deliberately styled, giving the impression of intention and care.
How to Achieve the Stretch
Apply leave-in conditioner to dripping-wet hair and begin with a wide-tooth comb at the roots, combing through small sections and gently pulling downward as you comb, stretching the curl slightly. The weight of the water in your hair helps with this; don’t force it or you’ll create breakage. As you move through each section, comb from root to tip with a steady, gentle downward pull. Allow your hair to air-dry while you maintain this stretched position — you can sit under a bonnet dryer, use a leave-in styling cream that’s designed to hold stretch, or simply allow gravity to do the work over several hours.
Why Side-Swept Matters on Longer Hair
- A center part on very long hair can feel stark and emphasize any asymmetries in face shape; a side part automatically looks softer
- Sweeping your stretched coils to one side creates a visual diagonal line that’s more dynamic than a centered style
- This positioning creates a “sweep” effect at your shoulders, a natural stopping point that makes the length feel intentional
- Sidewept styling on stretched coils catches light asymmetrically, creating highlights and shadows that add dimension
Insider note: Stretched coils photograph exceptionally well — they show your actual coil pattern and length more clearly than shrunken coils, which is why this style dominates natural hair media.
4. Spiral Curls with Tapered Undercut
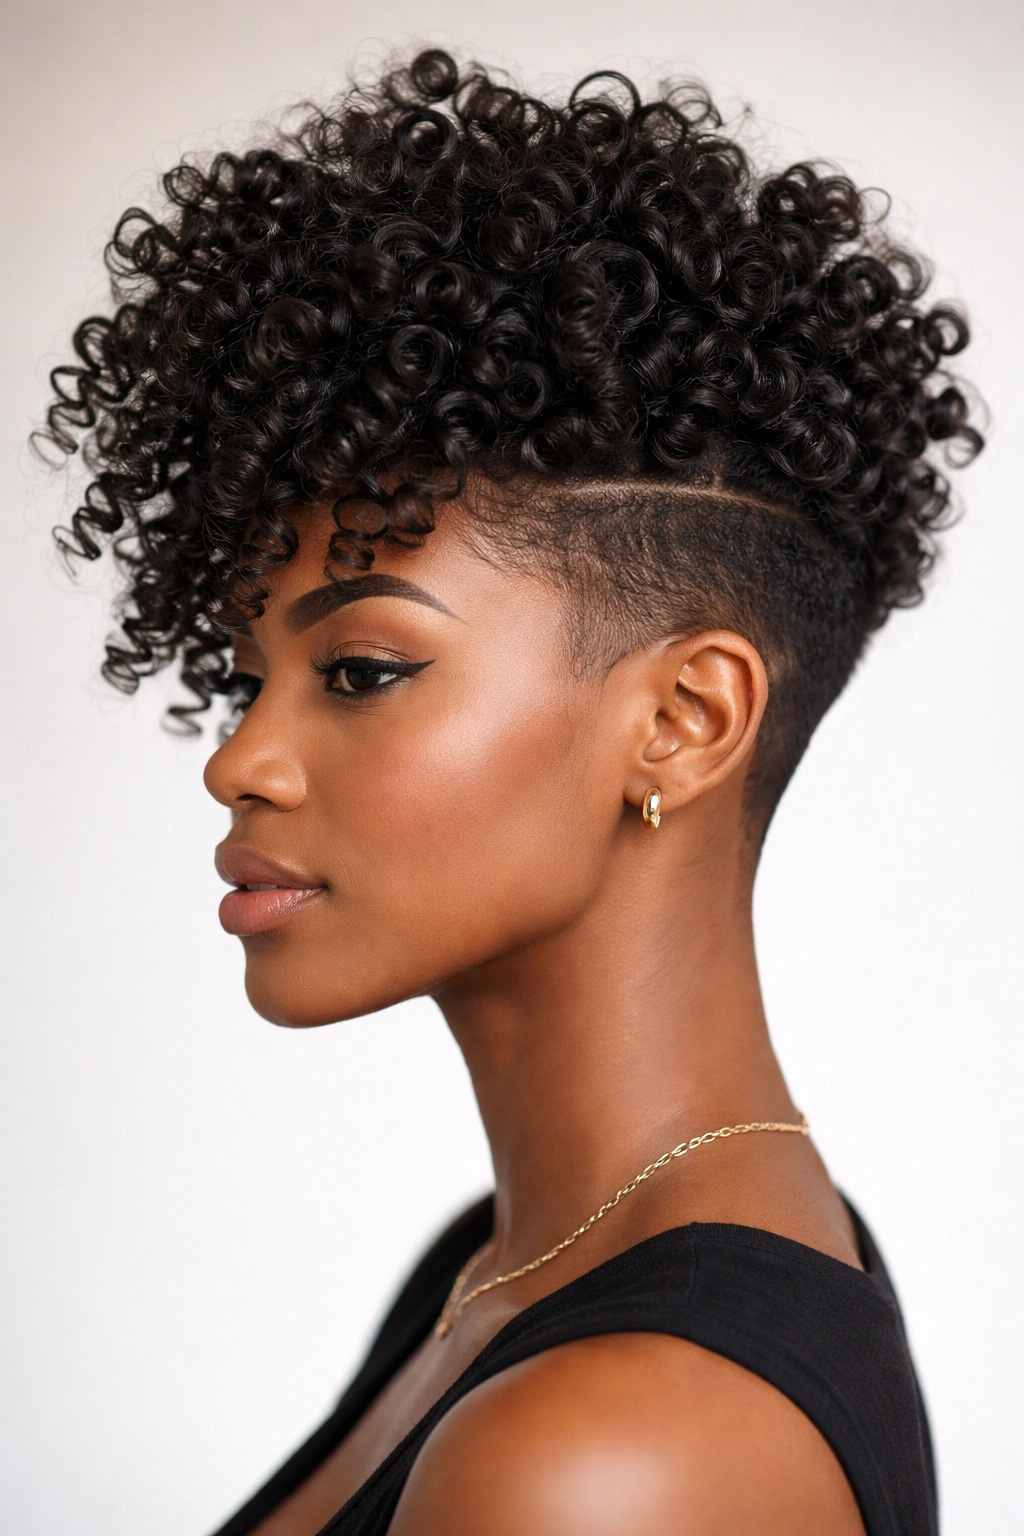
Spiral curls are tight, springy coils that corkscrews vertically — the most dramatically curly version of coily hair — and they look absolutely stunning at length when paired with an undercut (shorter hair underneath, longer on top). The undercut serves a practical purpose: it removes weight that would pull your spirals downward and loosen them, while the visual contrast between undercut and length makes the style feel modern and intentional.
Creating Perfect Spirals
You’ll need to use a curling tool for this style — either a spiral curling wand (a specialized tool with grooves that guide hair into a coil shape) or the traditional method of wrapping small sections of wet hair around a finger or perm rod and allowing them to set. Section your hair into small quadrants, then take subsections about the width of a pencil. Wrap each subsection around your index or middle finger, smoothing the coil downward as you wrap, then carefully slip the coil off your finger onto a perm rod or secure it with a bobby pin to hold the spiral shape while it dries. This takes time — 15 to 20 minutes for a full head — but the results last for days.
The Undercut Advantage for Spiral Curls
- Spiral curls are heavy; an undercut can remove 30-40% of your hair’s weight, allowing spirals to hold their shape longer
- The contrast between clipped sides and long, spiraled tops is visually striking and reads as intentional styling rather than accident
- An undercut creates air circulation against your scalp, helping with drying time and reducing the flattening that can happen when too much hair presses against your head
- Longer spiral curls without an undercut can look voluminous but formless; the undercut adds shape
Real talk: This style requires commitment. Maintaining the undercut means visiting a barber or stylist every 3-4 weeks, and styling takes 20+ minutes every time you want full spiral definition. It’s worth it if you love the look; skip it if you’re looking for low-maintenance.
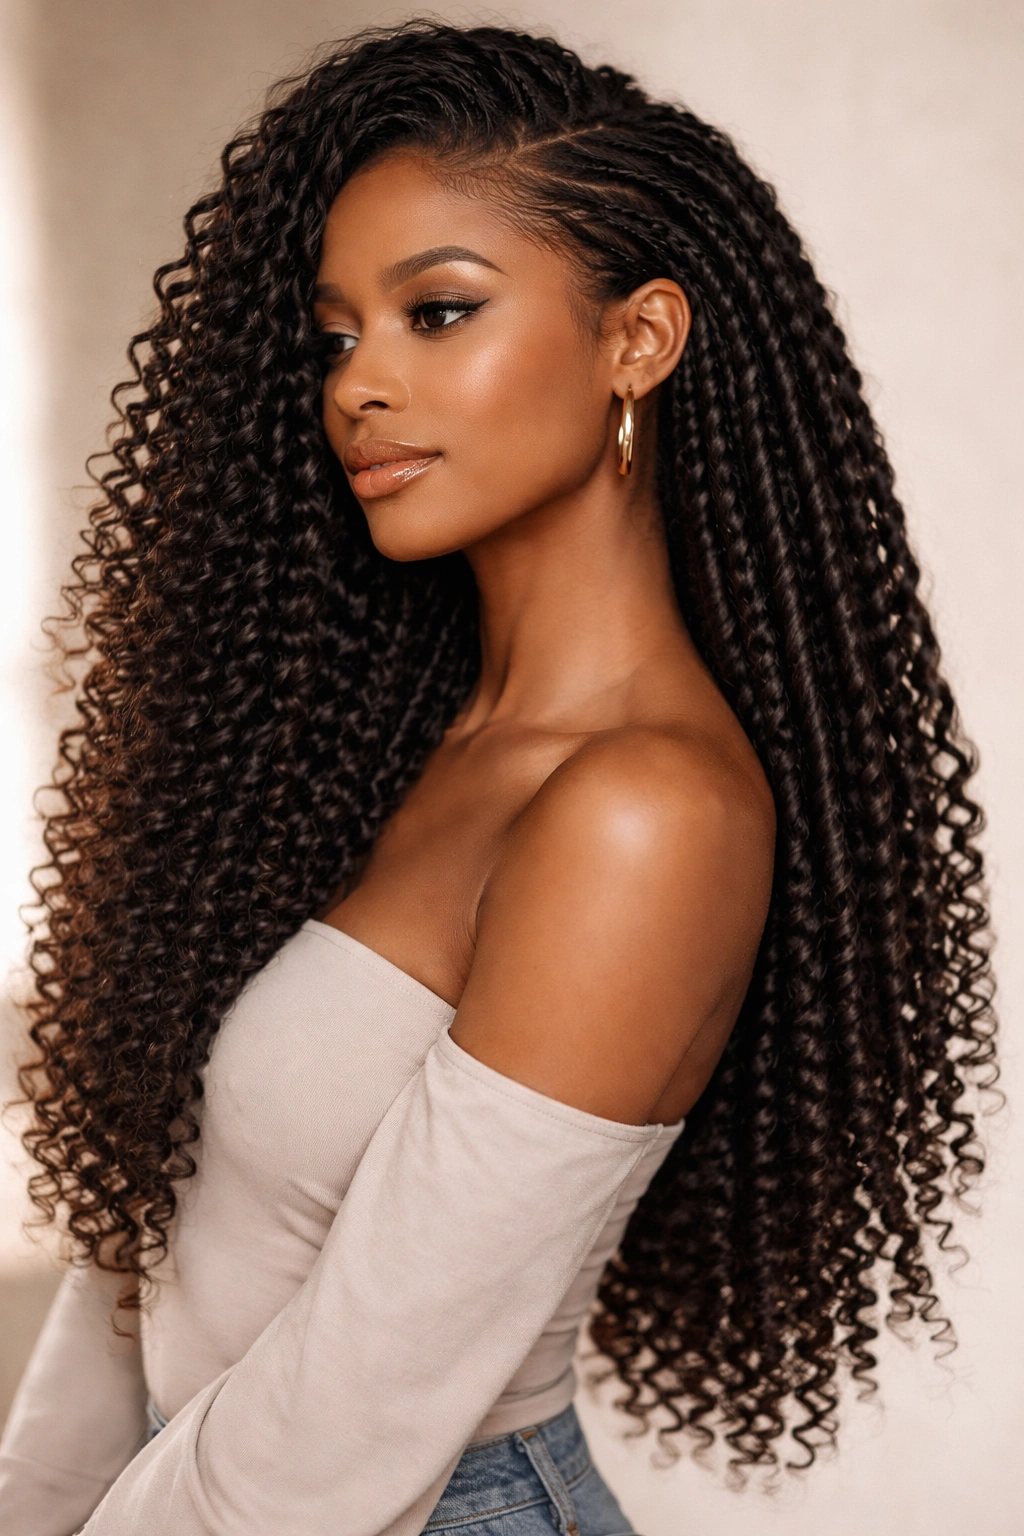
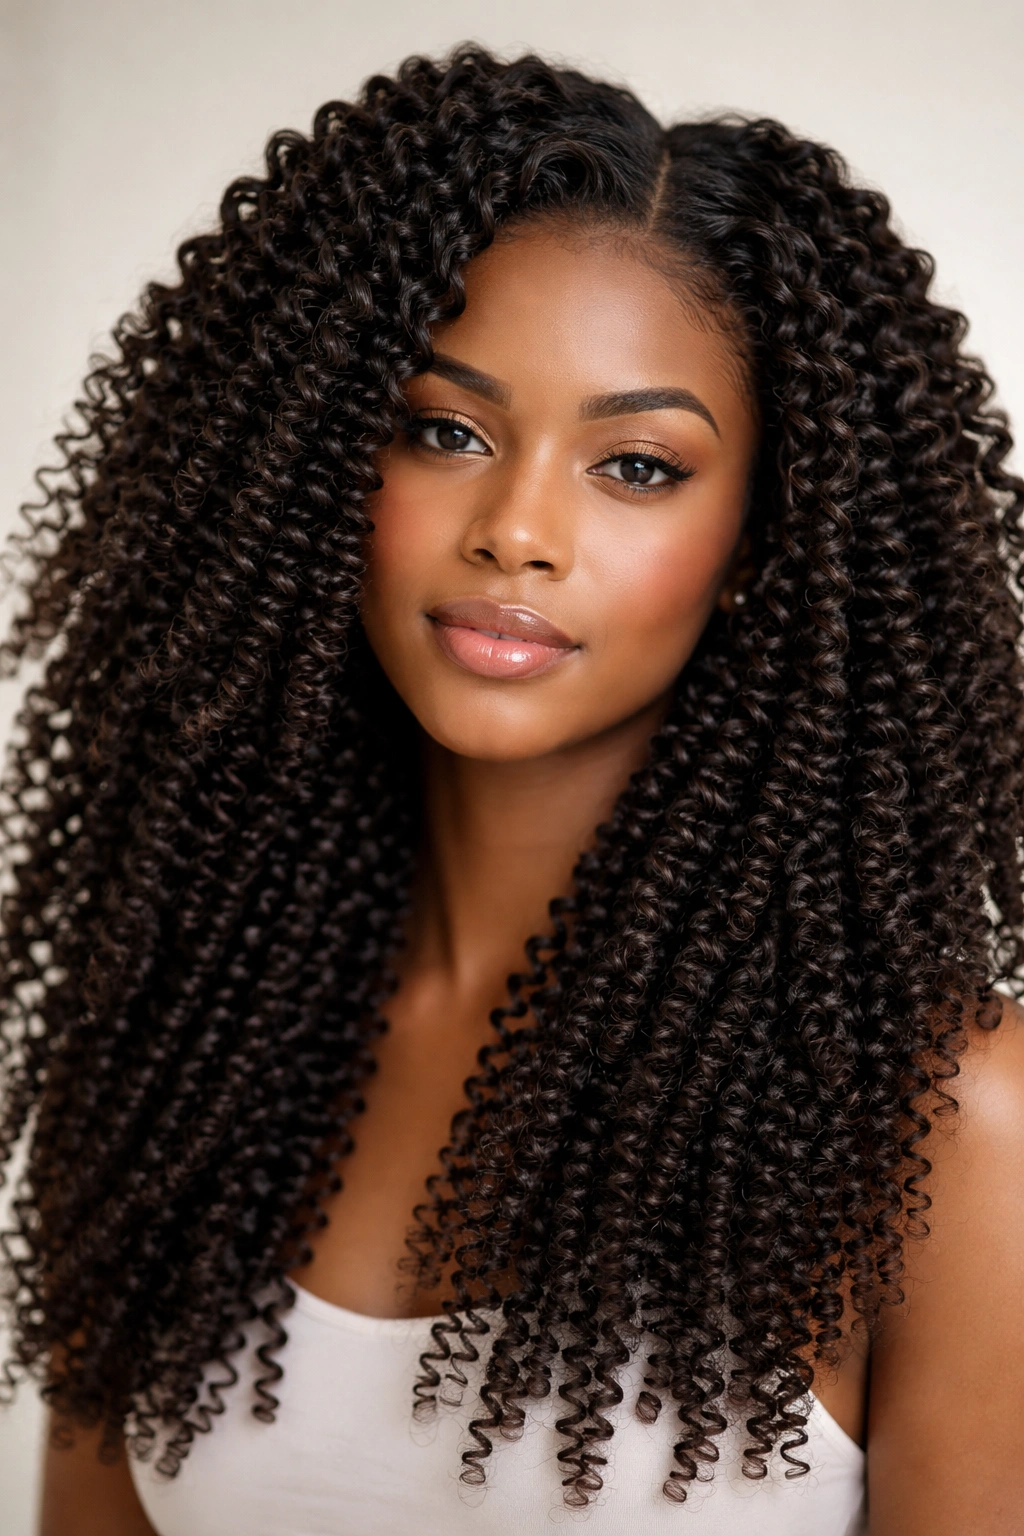
5. Two-Strand Twist-Out for Maximum Length
A two-strand twist-out is created by two-strand-twisting damp hair (wrapping two sections of hair around each other in a double-helix pattern), allowing it to dry completely, then untwisting to reveal a wave pattern with more separation than a simple coil. This style is a workhorse for longer coily hair because it’s relatively quick to install, lasts for days, and creates consistent texture throughout your length.
The Two-Strand Twist Installation Method
Part your hair into four to six sections, depending on thickness and desired wave size. In each section, take two thin strands of hair (the thinner the strand, the smaller and tighter the twist texture will be) and wrap them around each other, twisting from root to tip, then secure the end with a small rubber band or by tucking it into the base of the twist. You’re essentially creating a rope of hair. Work through your entire head — this can take 45 minutes to an hour for longer hair, so set aside time when you’re not rushing. Apply a light styling cream or gel to keep flyaways smooth, then allow your twists to set for at least 24 hours (ideally 48 hours for very long hair, which needs more time to fully dry).
Why Two-Strand Twists Excel on Length
- This method distributes your hair’s volume evenly, preventing the top-heavy feeling that other styles can create
- Twists create a wave pattern that’s tighter than your natural coils but less “perfect” than spiral curls, landing in a sweet spot that looks natural even when it’s intentionally styled
- The technique works on all curl types — from wavy to tightly coiled — making it genuinely versatile
- Once you untwist, you get waves that last for 4-7 days with proper maintenance, incredible value for the time invested
- Two-strand twists scale well with length; a style on shoulder-length hair looks good, but on longer hair the waves have more room to showcase their pattern
Pro tip: If you’re doing this style the night before an important event, twist your hair damp but not soaking wet, then sleep on the twists. They’ll be drier by morning and you’ll have less drying time required.
6. Bantu Knot-Out with Defined Coils
Bantu knots are small coils of hair wrapped into themselves to create a knot shape — a traditional protective style that originated in South Africa. When you unravel them, you’re left with incredibly defined, springy coils. On longer hair, a bantu knot-out creates texture so distinct and intentional that it reads as purposeful styling rather than a wash-and-go.
Installing Bantu Knots Properly
Section your hair into 10 to 15 sections (more if your hair is very thick or very long). In each section, start by creating a coil using your finger or a small curl comb — wrap the hair around your index finger to create a spiral. Carefully slide your finger out, keeping the spiral intact. Now wrap that coil around itself, tucking the end underneath to secure it and create a little knot. You can use a bobby pin to hold it if needed. The knot should sit at the base of your scalp or slightly forward on that section. Allow the knots to dry completely — 24-48 hours with longer hair — then gently unravel each knot from the base outward, carefully separating the coils.
What Makes Bantu Knots Perfect for Longer Hair
- The method creates coil definition that rivals finger-coiling but takes significantly less time if you have experience
- Bantu knots are the least damaging way to create extremely defined, separated coils because you’re not using heat or chemicals
- On longer hair, unraveled bantu knots create a style with texture variation — tighter defined coils at the roots, slightly looser waves at the ends — that feels intentional
- The style lasts for 5-7 days even on longer hair, and actually improves on day two or three as coils settle
What to watch for: Tighter coils (especially at the roots) can sometimes feel stiff or crispy immediately after unraveling. Spritz lightly with water and a tiny bit of leave-in conditioner, then gently finger-comb through to soften. Don’t disturb the coils too much — the goal is gentle separation, not complete redefining.
7. Wash-and-Go with Refreshed Coils
A wash-and-go is your natural coil pattern styled with just products and air-drying, no twisting, braiding, or manipulation beyond basic product application. On longer hair, this seems impossible — longer hair takes forever to dry and coils often lose definition — but strategic product layering and a few drying tricks make this genuinely achievable and stunning.
The Product Layering Technique
The key is using the right products in the right order. Start with a hydrating leave-in conditioner applied to soaking-wet hair; this is your moisture base. While your hair is still dripping wet, apply a styling cream or mousse designed for coil definition — something with light hold that won’t flake or feel heavy. Finally, seal everything with a light oil or gel that defines coils without creating crunch. The layering matters: conditioner first (penetrates and hydrates), cream or mousse second (defines and separates), sealing product last (holds the definition and reduces frizz). Rake your fingers through gently or use a wide-tooth comb to distribute products evenly, then allow to air-dry.
Making Wash-and-Go Work on Longer Hair
- Longer hair holds moisture longer, which actually helps coils maintain definition — the water in your hair acts as a holding agent
- Applying products to soaking-wet hair, not damp hair, ensures even distribution throughout your length; even one dry section will disrupt coil pattern
- Longer hair benefits from sectioning during product application; work in four to six sections, applying products thoroughly to each section before moving on
- Use a microfiber towel or t-shirt to remove excess water (not soaking wet, but not dripping either) before air-drying; this speeds drying significantly
- A bonnet dryer on low-heat or warm-air setting can cut drying time from 6+ hours to 2-3 hours without damaging your coils
Real talk: This style works best on hair that’s been freshly washed and is healthy enough to hold coil definition without manipulation. If your coils tend to lose definition as they dry, this might not be your best everyday option, but it’s perfect for day two or three of another style.
8. Half-Up Coily Bun with Face-Framing Pieces
A half-up style takes the front sections of your hair and secures them at the crown while leaving the back down, instantly making longer hair feel less overwhelming while keeping your coils visible. Adding face-framing pieces — intentionally loose coils at the sides of your face — softens the look and prevents the style from feeling pulled or severe.
Creating the Half-Up with Intentional Framing
Section out the front third of your hair, from temple to temple across the crown. Leave two small sections (about the width of two fingers each) at your temples out of this section — these are your face-framers. Gather the remaining section into a high ponytail at the crown and secure with a clear elastic. Now take the ponytail and wrap it around the elastic, tucking the end underneath to create a half-bun shape. You want the bun relatively compact so it doesn’t look like you’re trying to do a full bun. Pin in place with bobby pins hidden underneath. The face-framing pieces should curve softly around your cheekbones.
Why This Works on Longer Coily Hair
- A half-up style cuts your hair’s visual weight in half while keeping it down and showcasing your length
- Longer hair worn fully down can feel heavy and overwhelming; pulling just the top back creates proportion and elegance
- Face-framing coils soften your face and draw attention to your features rather than your hair volume
- The contrast between the secured top section and loose bottom section creates visual interest and prevents the “all one shape” effect of very long, very voluminous hair
- This is one of the rare updo-adjacent styles that genuinely works on all coil patterns and all lengths
Pro tip: Create this style on second-day hair (hair that’s not fresh from washing but not yet dirty). The coils hold together better and the style lasts longer.
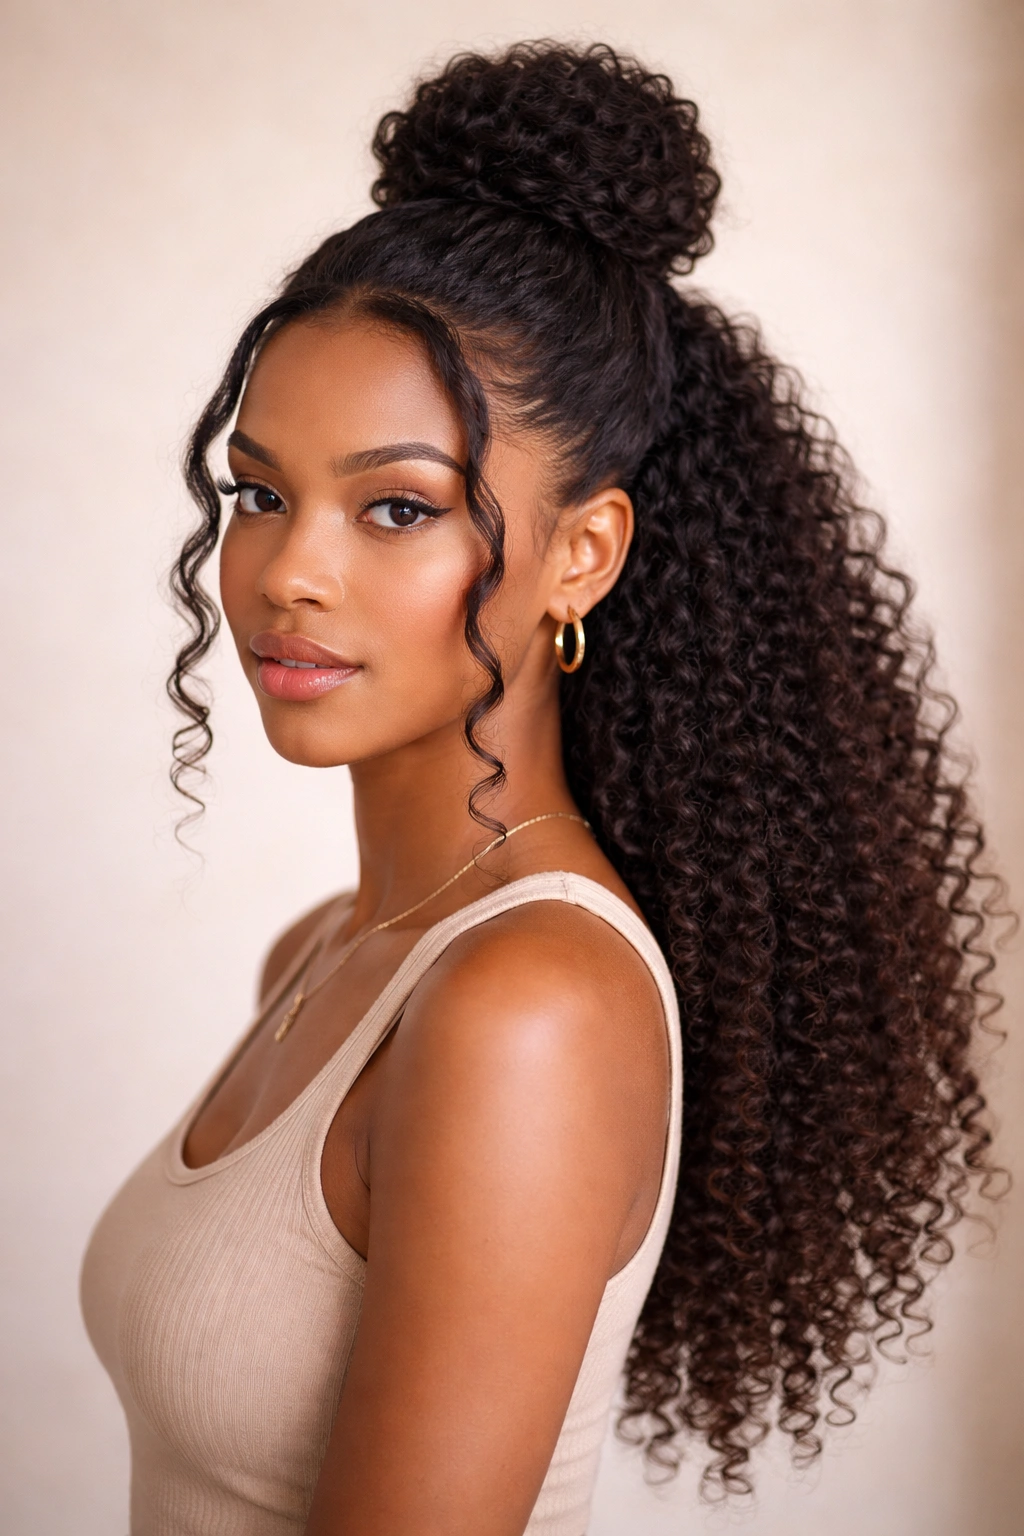
9. Pineapple Updo with Cascading Coils
A pineapple is typically a nighttime protective style — you gather your coils into a high ponytail on top of your head to prevent them from getting crushed while you sleep. But styled intentionally as a daytime look, a pineapple updo (with some coils deliberately left out and cascading down your back) becomes a striking style that combines the protective function with intentional glamour.
Styling the Pineapple for Daytime Wear
Gather most of your hair into a high, centered ponytail — this is your “pineapple.” Don’t make it tight enough to create tension at your hairline; you’re not trying to protect your edges aggressively like you would at night. Instead, create a ponytail that feels secure but comfortable. Now, here’s where it becomes intentional styling: carefully separate out 3-5 coil sections from the sides of your face and from the lower sides of your head, leaving them out to cascade down and frame the updo. These face-framing pieces should curl naturally downward, creating a layered effect.
Why Cascading Coils Elevate This Style
- The combination of gathered and loose hair creates visual lightness — it doesn’t feel like you’ve just piled all your hair on top of your head
- Longer coils have weight; by securing the bulk and letting only select coils frame your face and shoulders, you create intentional drama without overwhelm
- This style is genuinely protective (your gathered coils are tucked away, less exposed to friction and breakage) while still looking like you got dressed on purpose
- On longer hair, the cascade of coils down your back creates an elegant line that makes the style feel dressy enough for events
Worth knowing: This style lasts for days if you refresh the cascading pieces each morning. You can re-separate them and adjust them without touching the main pineapple ponytail.
10. Long Coils with Side-Parted Bob Shape
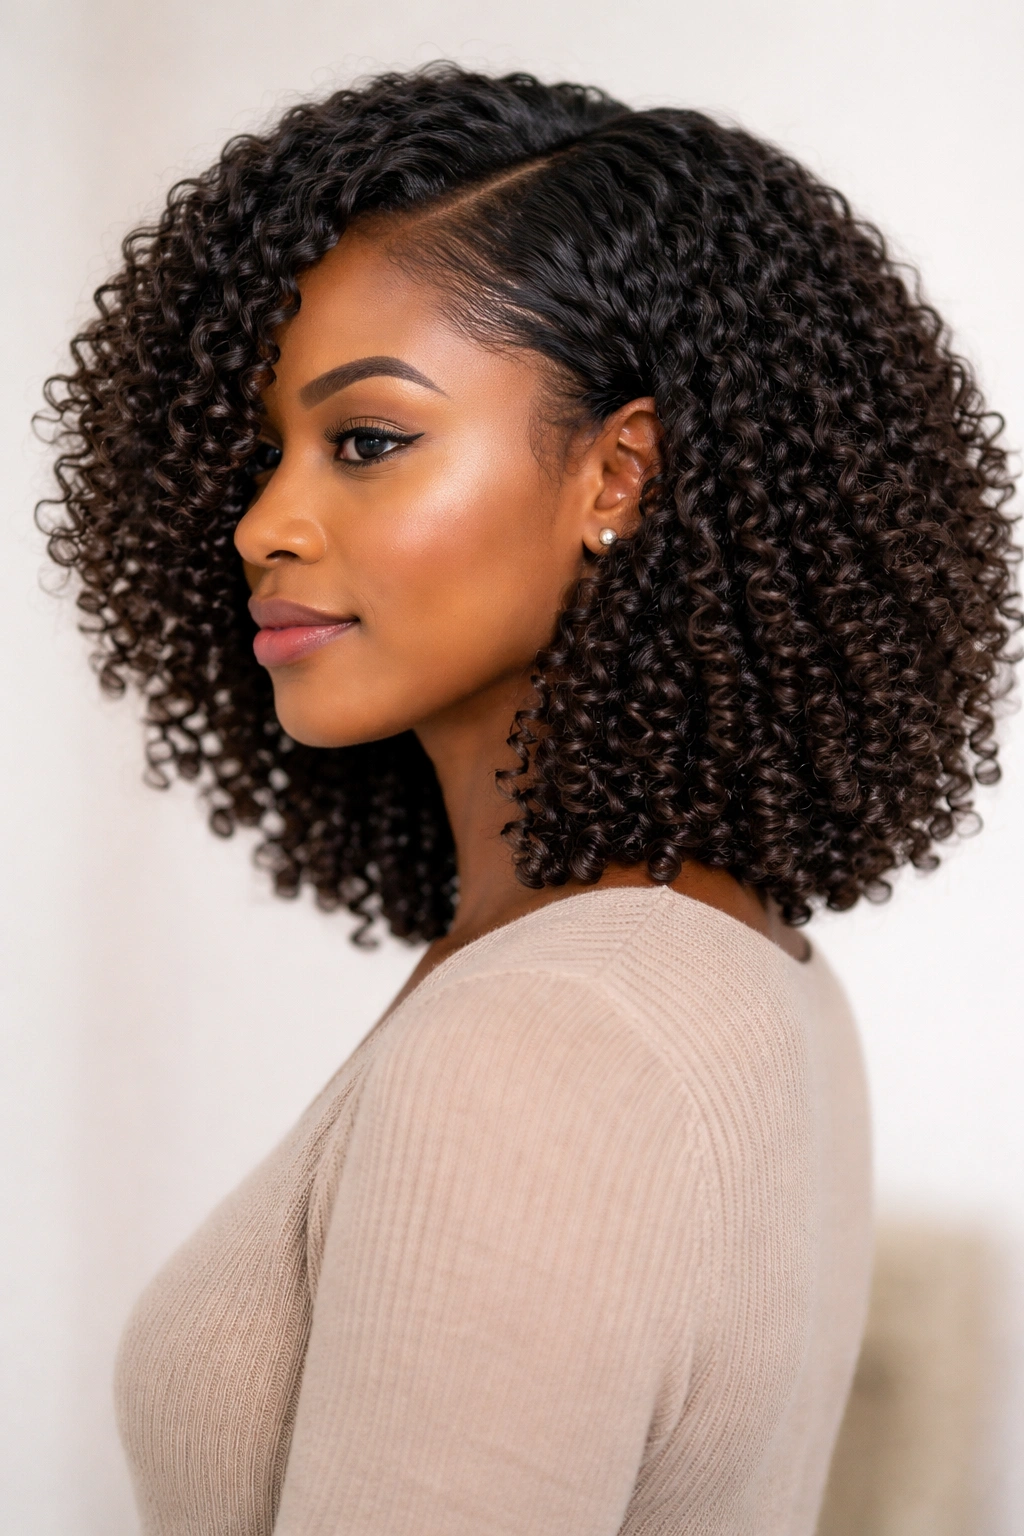
This is a cut-and-style combination: a longer coily cut shaped into a bob silhouette (shorter in the front, longer in the back, with a deep side part) that creates the illusion of a styled bob while your hair is actually longer overall. On coily hair, this shape is revolutionary because it uses your natural shrinkage and texture to create dimension that a straight-haired bob requires careful blow-drying to achieve.
How Coily Hair Creates the Bob Shape Naturally
Ask your stylist for a longer haircut with graduated layers and a deep side part. When you wear this cut with your natural coils (not stretched), the layers and natural shrinkage create a bob shape — your coils appear shorter and fuller in the front, then lengthen as you move back. The deep side part emphasizes the shape, making one side appear even shorter while the other side showcases length. Style this cut with your natural coil pattern; use a coil-defining product and allow your hair to air-dry or diffuse. The shape does the work for you.
Why This Cut Excels on Longer Coily Hair
- You’re using your hair’s natural texture and shrinkage to create a sophisticated silhouette without heat-styling or straightening
- A coily bob shape feels modern and intentional because it’s such a clear contrast to the “just let it grow” approach many natural-hair folks take
- The graduated layers make longer hair feel less heavy by distributing volume, while the bob shape makes the length feel deliberate and styled
- This cut gives you styling versatility: wear it in coil form for a bob shape, stretch the coils for a longer, straighter look, or style in twists or braids and the underlying cut still creates flattering shape
Real talk: This cut requires a stylist experienced with coily hair who understands how texture affects shape. A stylist who only cuts straight hair will likely overcut trying to create a bob shape, leaving you shorter than intended when your coils shrink.
Wrapping Up
Long coily hair isn’t a limitation — it’s an asset if you’re choosing styles that work with your hair’s length and texture instead of against it. Whether you’re going for high-definition coils, stretched waves, protective twists, or intentionally shaped cuts, every style on this list is designed specifically for the unique dynamics of longer coily hair. The key is choosing based on your coil pattern, your styling time commitment, how long you want the style to last, and your hair’s moisture needs.
Your length is your greatest advantage. Styles that might look cute at shoulder-length become genuinely striking at mid-back or waist-length. The coils you’ve grown catch light differently, create shadow and dimension more dramatically, and give you the ability to show real range — from minimal styling to elaborate manipulation. Invest in products that truly hydrate your longer length, protect your ends regularly, and don’t be afraid to experiment. Your coils have been growing for a reason — make sure the styles you choose honor that investment and make you feel genuinely beautiful.