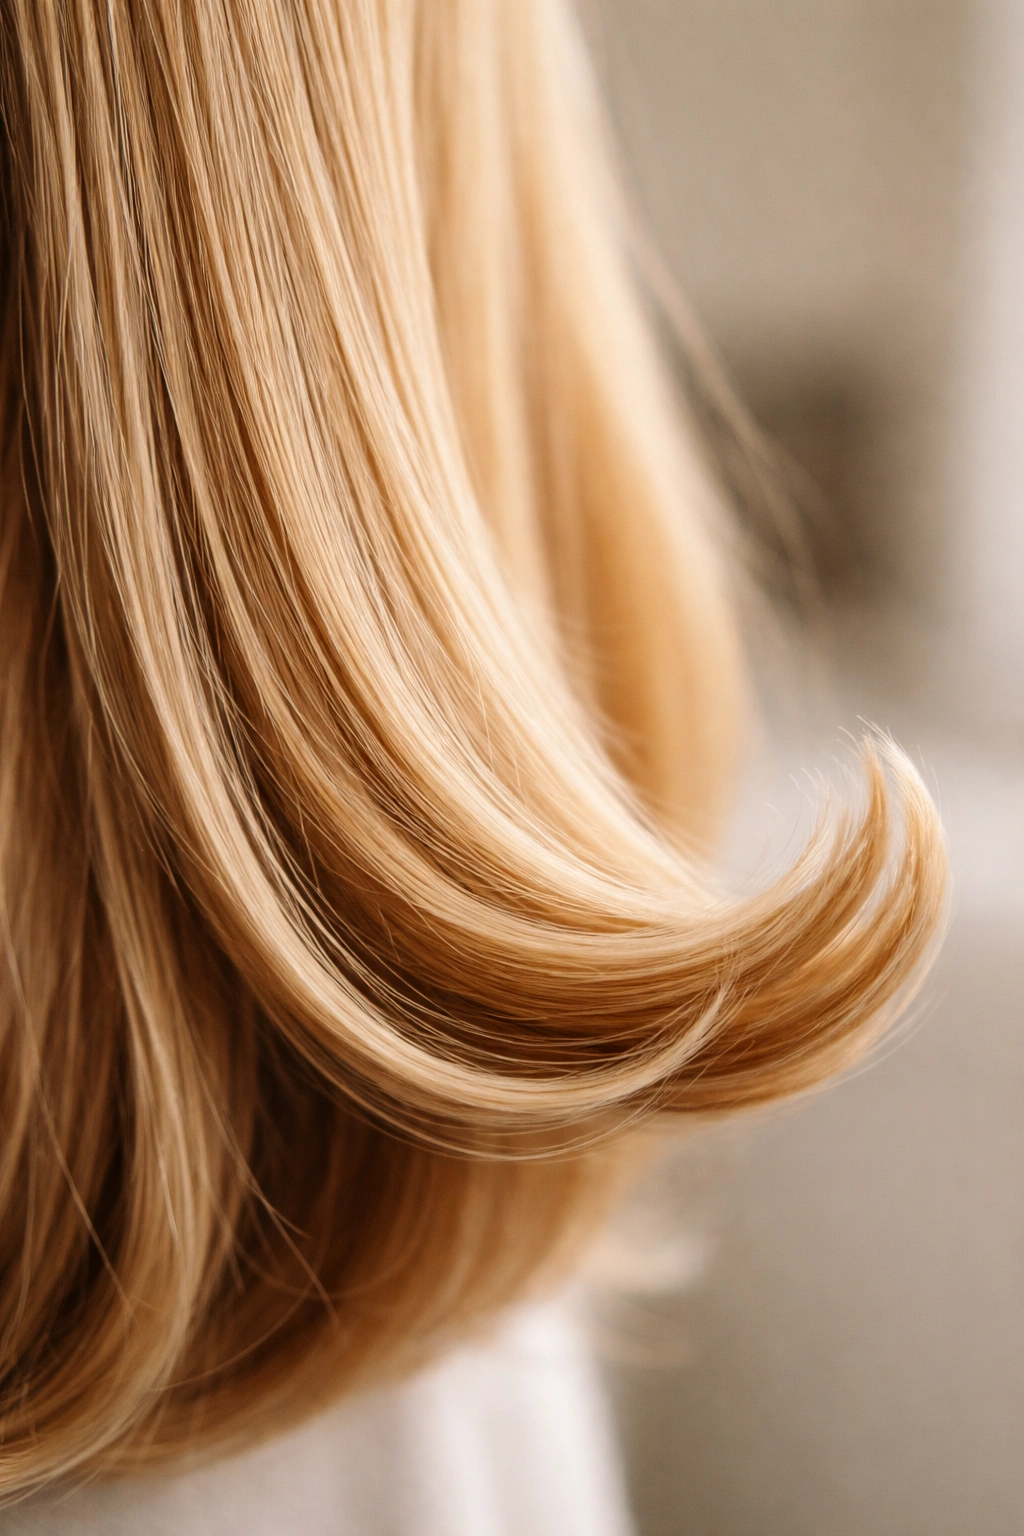
Straight hair has a deserved reputation for being sleek and polished, but it can sometimes feel one-note. The good news? Adding curled or flipped ends—sometimes called “curtain curl,” “bixie,” or simply “flicked ends”—instantly transforms the look without requiring you to commit to full waves or curls. It’s a subtle shift in volume and movement that catches light differently, frames the face beautifully, and works across virtually every hair length and texture.
The magic of curled ends lies in their versatility. Whether you’re aiming for a effortless, undone vibe or something more intentional and polished, the curl placement and intensity can adapt to your style. You can create curved ends with heat tools in minutes, build them into your regular styling routine, or even train your hair to hold the shape semi-permanently. For people with straight hair, this technique is particularly effective because the contrast between straight roots and curved ends creates visual dimension and movement that would be harder to achieve with naturally wavy hair.
What makes this trend so enduring is that it works on virtually anyone—regardless of hair length, face shape, or personal style. A simple curl at the ends can soften a blunt bob, add dimension to a long cut, create texture on fine hair, or simply give you something to do with your straight strands when you’re tired of the flat, linear look. You’re not fighting your hair texture; you’re enhancing it strategically.
How to Create Curled Ends on Straight Hair
The technique for creating curled ends depends entirely on your preferred method and how long you want the style to last. The most common approaches use heat tools—a curling iron, flat iron, or wand—to create the bend, though you can also use curlers or overnight braiding for a heat-free option that takes more time but is gentler on hair.
When using heat tools, the core principle is the same regardless of the tool: you’re wrapping a section of hair around the hot barrel, holding it there long enough for the shape to set, then releasing. The tighter you wrap and the longer you hold, the more defined the curl. For a loose, relaxed wave at just the ends, you typically only curl the last 2-3 inches of each section rather than the entire length. Temperature matters too—fine, fragile, or previously damaged hair does better at lower heat settings (around 300°F / 150°C), while thicker, coarser hair can often handle higher temperatures for faster, more defined results.
Protect your hair before applying heat by using a heat protectant spray or serum. This creates an invisible barrier that reduces moisture loss and heat damage. Apply it to damp hair, allow it to dry, and then style. If your straight hair is prone to flyaways or frizz, using a smoothing cream or anti-frizz serum after styling helps lock in the curl shape and keeps stray hairs in place.
The Best Tools for Achieving Curled Ends
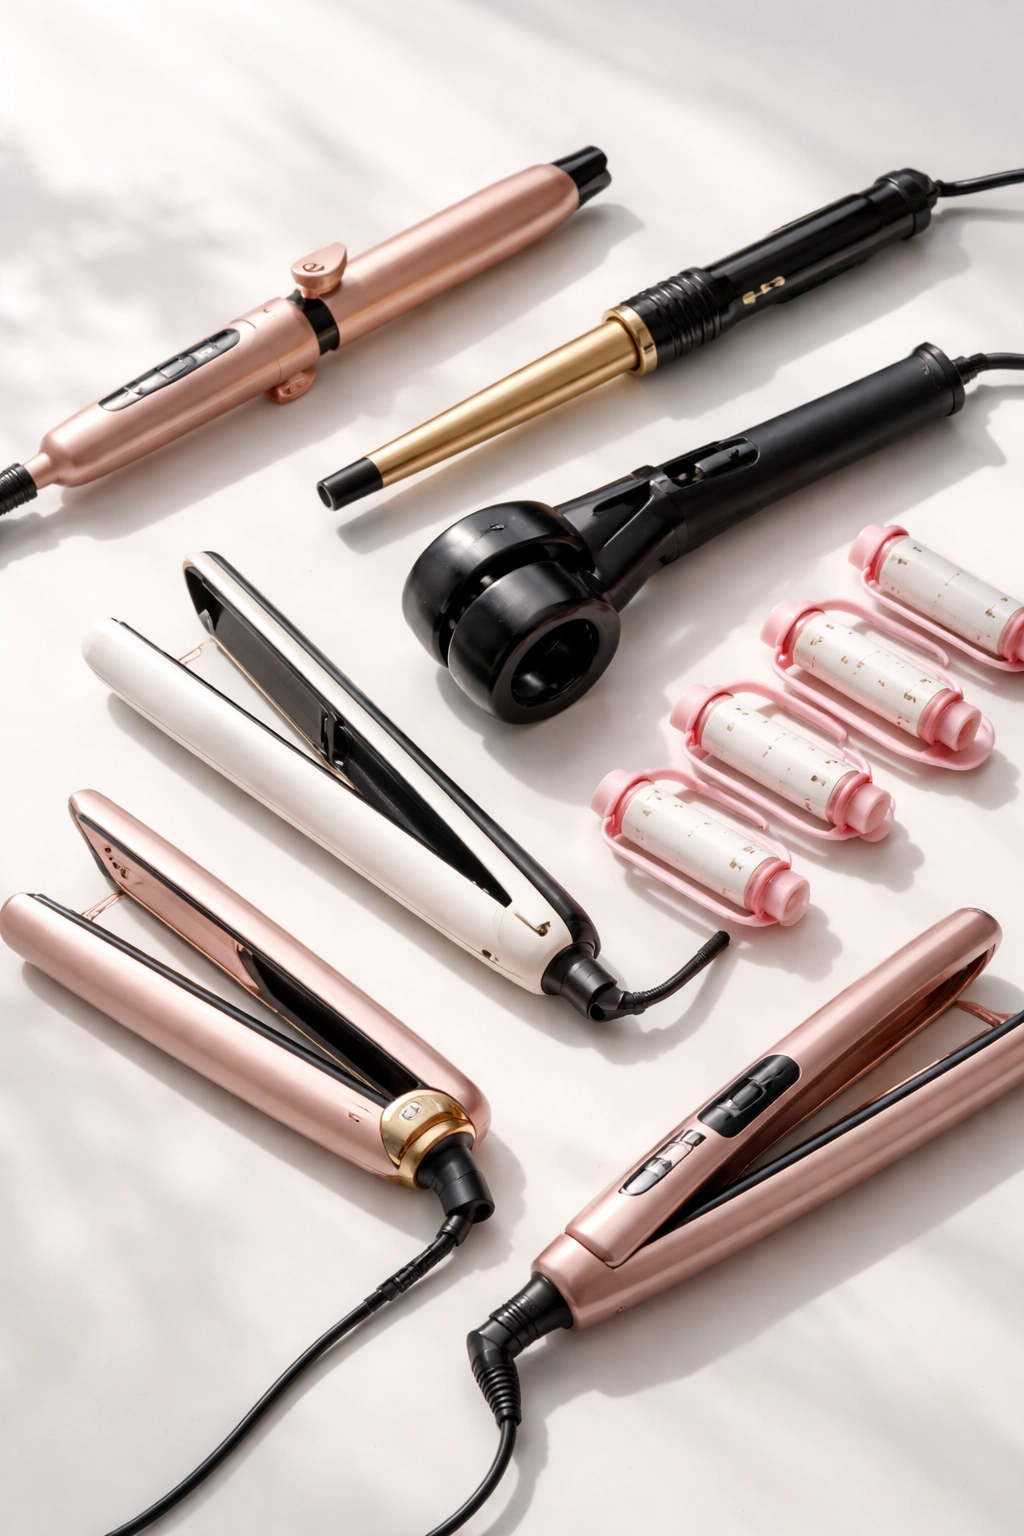
Different tools create slightly different curl characteristics. A curling iron (whether ceramic barrel or titanium) gives you the most control and creates the most defined, consistent curl. A flat iron or straightener is surprisingly effective for creating curved ends—it’s actually easier to control the bend than many people realize, and it often creates a softer, more natural-looking wave. A curling wand (barrel without a clamp) is ideal if you prefer loose, undone waves and want the flexibility to change the wrap angle slightly between sections. A rotating barrel curler does some of the work for you and is worth trying if you find manual techniques frustrating.
Curlers—whether ceramic, velcro, or Flexi-rods—can also create curled ends, though they require more time to develop the shape (typically 20-30 minutes under heat or overnight). Velcro curlers tend to create looser waves, while smaller ceramic barrels create tighter curls. An overnight braid or twist creates a wave pattern without any heat whatsoever, though the results are less predictable on straight hair.
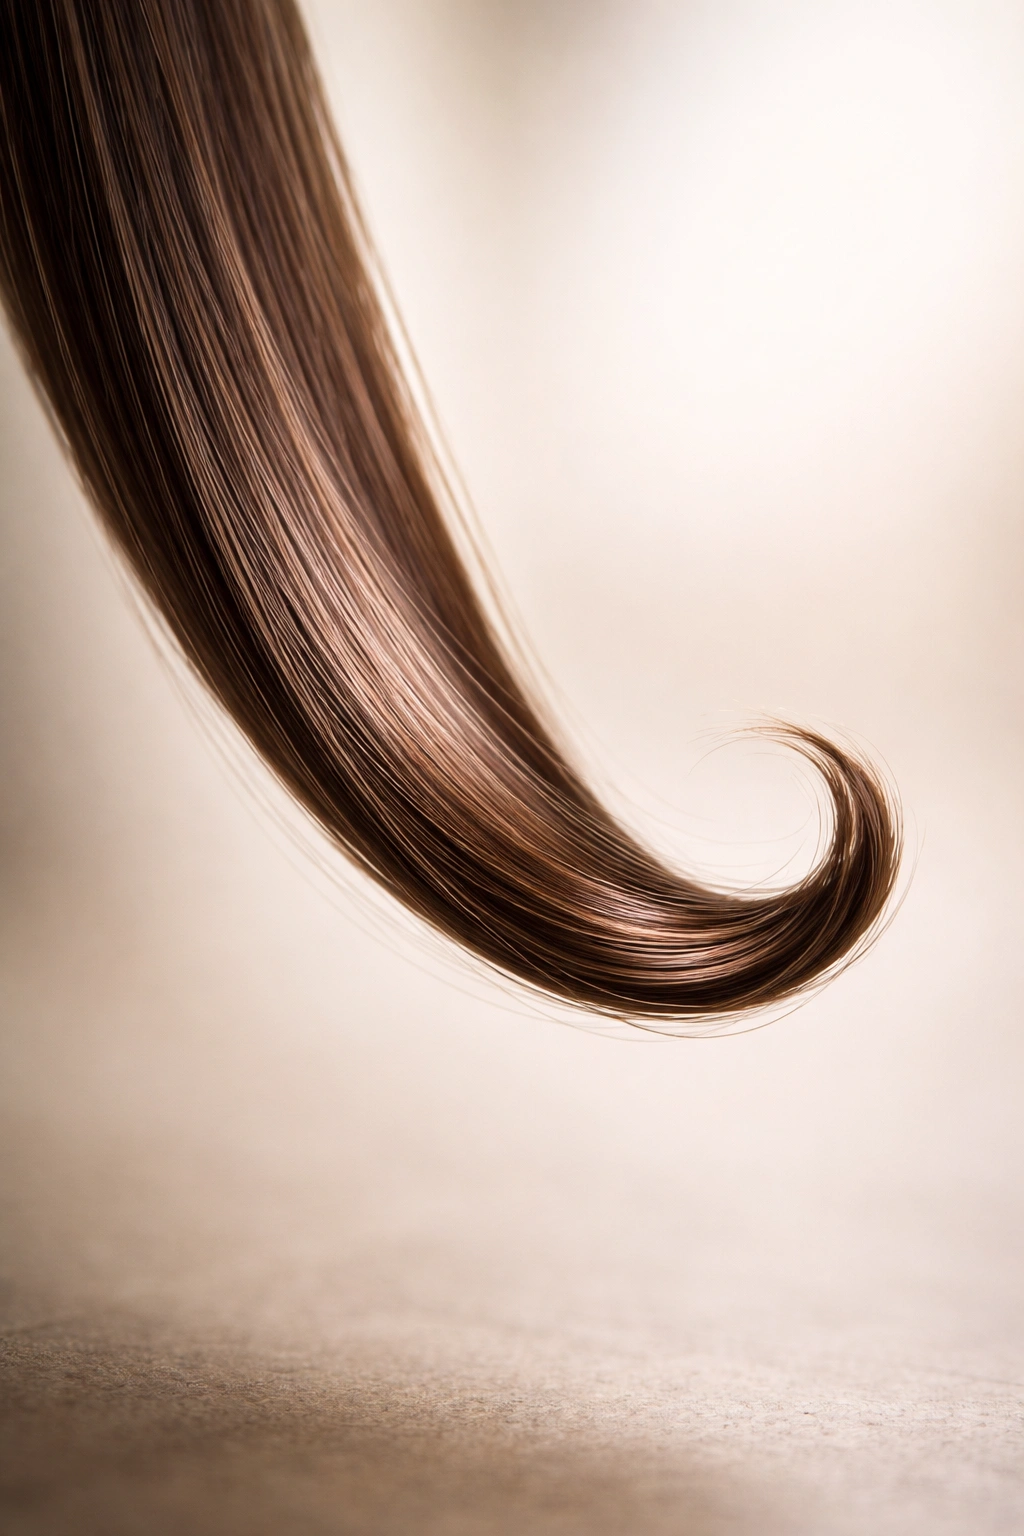
1. Classic Blow-Dry Curl
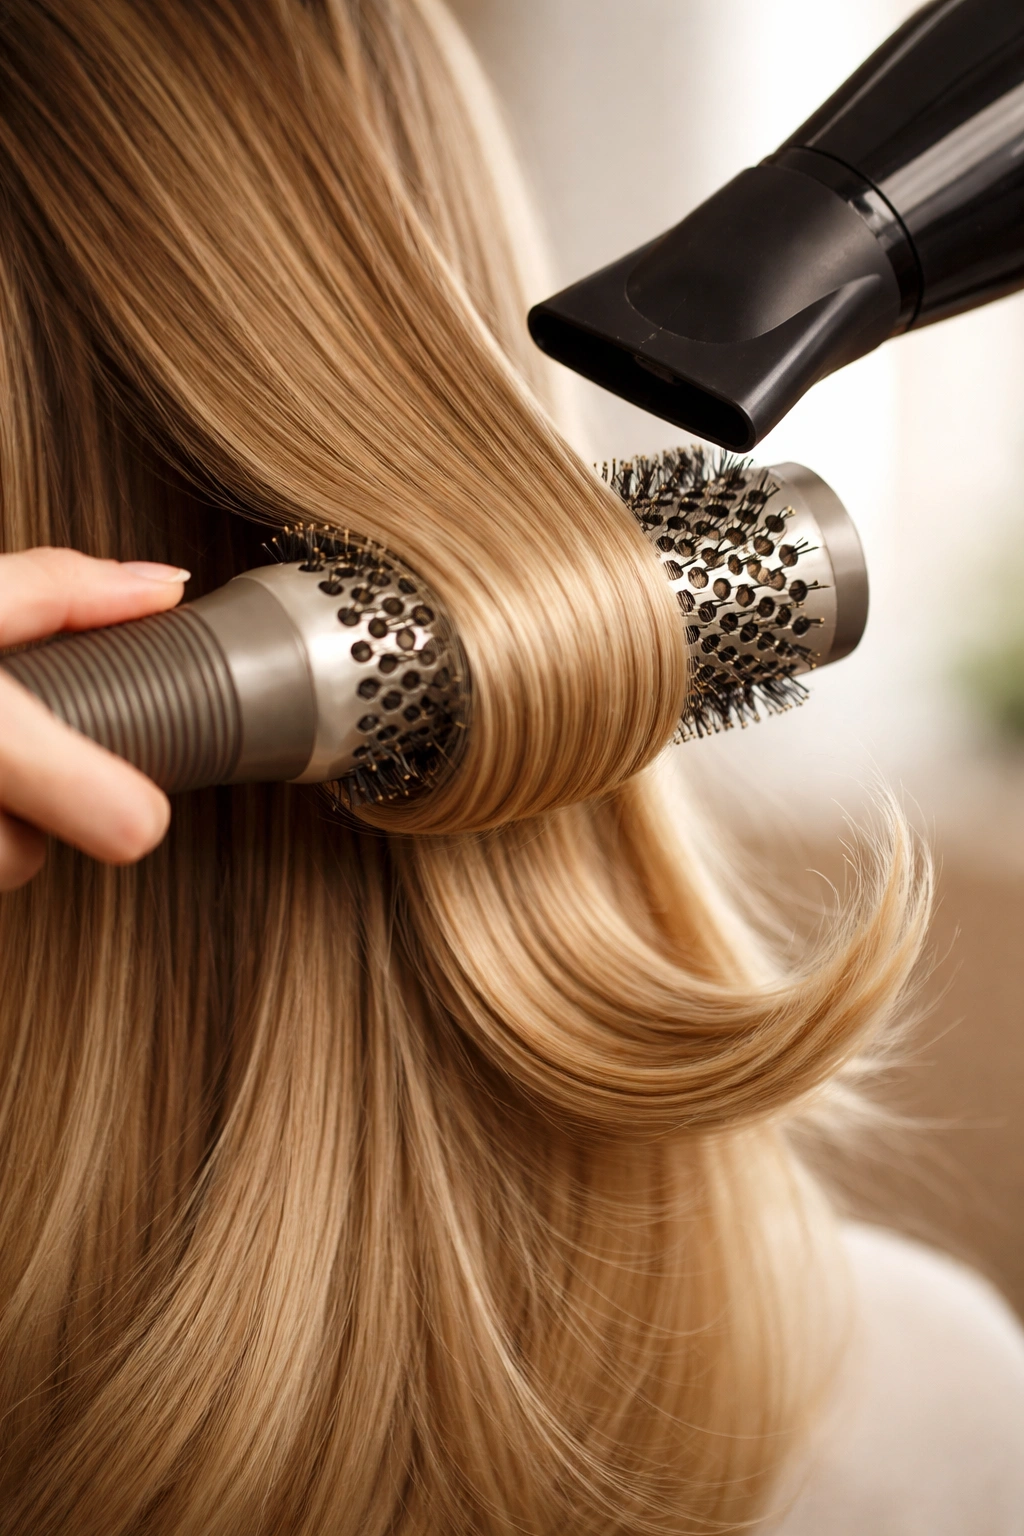
The classic blow-dry curl is the foundation of most curled-ends styles. It’s created by wrapping dry hair around a round brush and applying heat while rolling the brush away from the face. The result is a soft, bouncy curve at the ends that feels effortless but polished.
Why It Works for Straight Hair
Straight hair holds heat-set curls beautifully because there’s no competing wave pattern fighting against the new shape. The curl stays defined longer and looks intentional rather than fighting against your natural texture. You can adjust the tightness of the curl by controlling how tightly you wrap the brush and how long you hold the heat against the barrel.
How to Create This Style
- Blow-dry your hair smooth and straight first, then go back and wrap sections around a large round brush
- Hold the brush at the ends of each section, apply heat for 10-15 seconds, then rotate the brush away from your face as the hair dries
- Let the brush cool completely before unwinding the hair—this allows the curl to set properly
- Use a smoothing serum on the ends to prevent frizz and keep the curl defined
- Light hairspray keeps the shape in place for several hours
Pro tip: The larger your brush, the looser and more relaxed the curl will be. For dramatic, defined curls, use a smaller barrel.
2. Soft Wave Using a Curling Wand
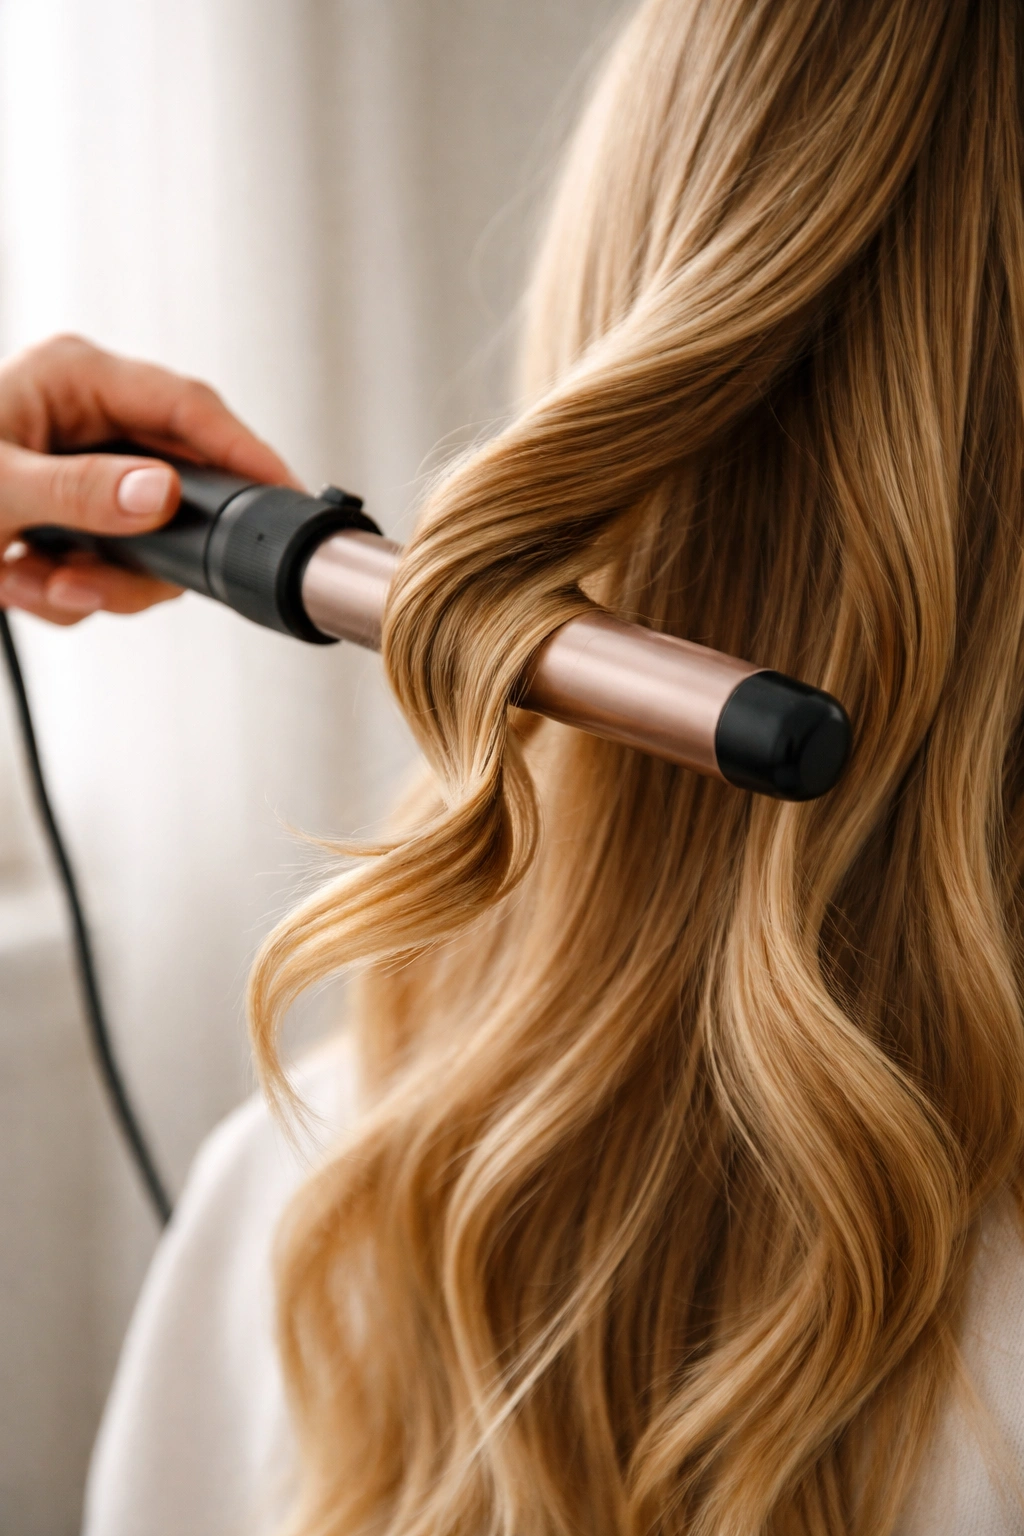
A curling wand creates waves that look naturally tousled rather than tightly coiled. The lack of a clamp means you have full control over the wrap angle, which lets you create slightly different wave shapes as you move through your hair—this variation makes the style look less uniform and more effortless.
The Technique for Loose, Touchable Waves
Divide your hair into sections about 1-2 inches wide. Take a section, wrap it around the barrel away from your face, hold for 8-10 seconds, then slide the barrel out from underneath. The direction you wrap—forward or backward, above or below the barrel—changes the wave direction slightly. For a soft, undone look, don’t be perfectly consistent with your wrap direction; let some waves face forward and others backward.
What Makes Wand Waves Different
The softness of wand waves comes from the fact that the barrel doesn’t clamp the hair, so the curve is gentler. You’re not pressing hair into a tight coil; you’re creating a flowing bend. This is ideal if you want curled ends that still feel loose and moveable rather than structured.
Worth knowing: Start with a medium-sized wand (1 to 1.25 inches) if you’re new to this technique. Larger barrels (1.5 inches) create very soft waves; smaller barrels (0.75 inches) create more spiral curls.
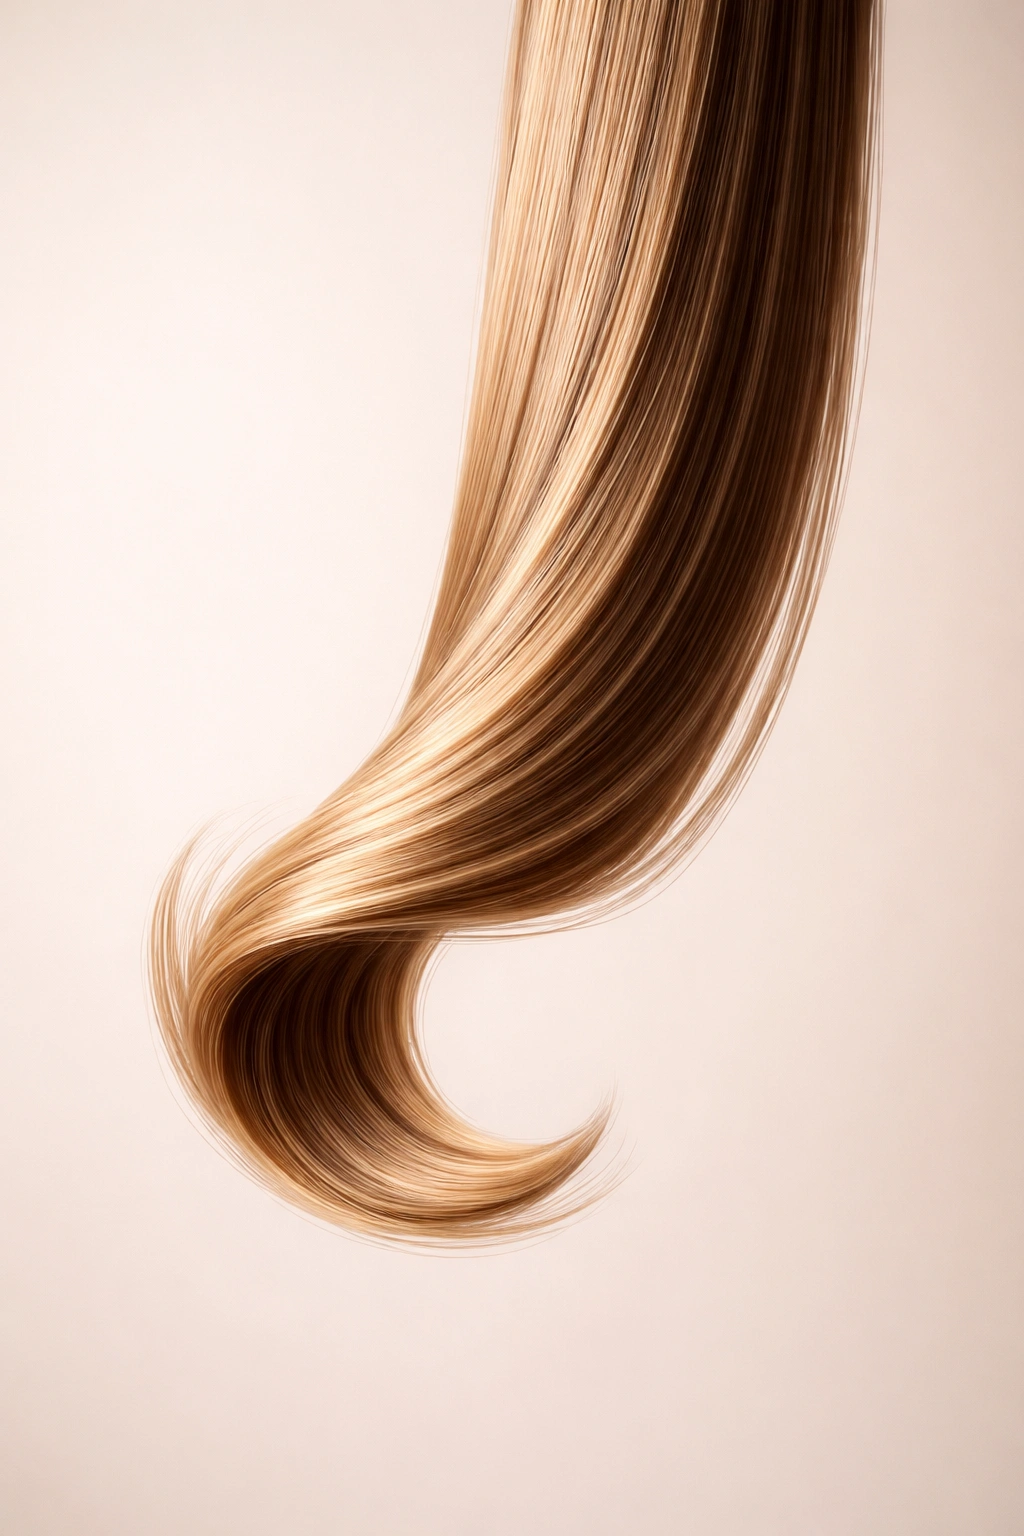
3. Romantic Spiral Curls
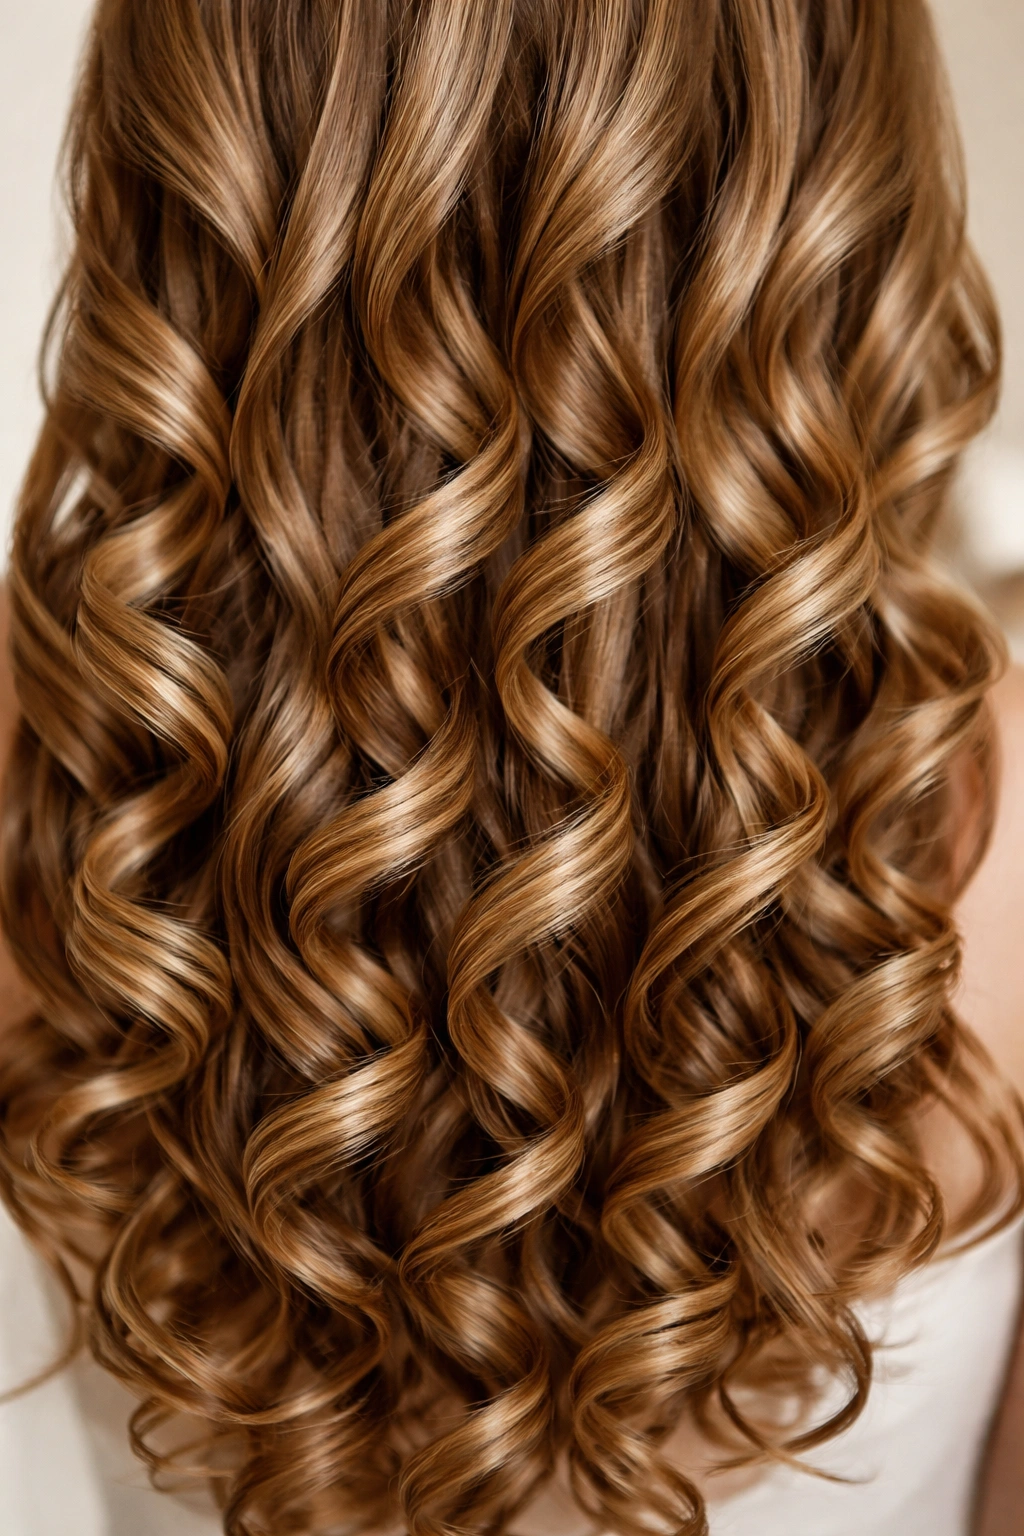
Spiral curls are tightly wound and polished, creating an old-Hollywood or romantic vibe. They’re created by wrapping hair tightly around a curling iron or wand barrel, holding the heat longer, and allowing the curl to cool completely before releasing.
Creating Defined, Long-Lasting Spirals
Use a smaller barrel (0.75 to 1 inch) and divide hair into smaller sections (about 1 inch wide). Wrap each section tightly around the barrel, making sure the wrap is compact with no gaps. Apply heat for 15-20 seconds on medium-high heat. The tighter the wrap, the tighter the resulting curl. Let the curl cool completely—you can even dip each section briefly into cool water to help set the shape before releasing from the barrel.
Best Hair Types for This Style
Spiral curls show up beautifully on straight hair because there’s no competing texture. They work especially well on medium to thick hair; fine hair can look overwhelmed by tight spirals. If you have fine hair, try creating spirals only on the bottom third of your length, leaving the roots and mid-lengths straighter.
Quick facts:
- Smaller barrels create tighter spirals; larger barrels create looser ones
- Hair held in cool air longer holds the curl shape better
- Finishing spray should be flexible (not stiff) so the curls move naturally
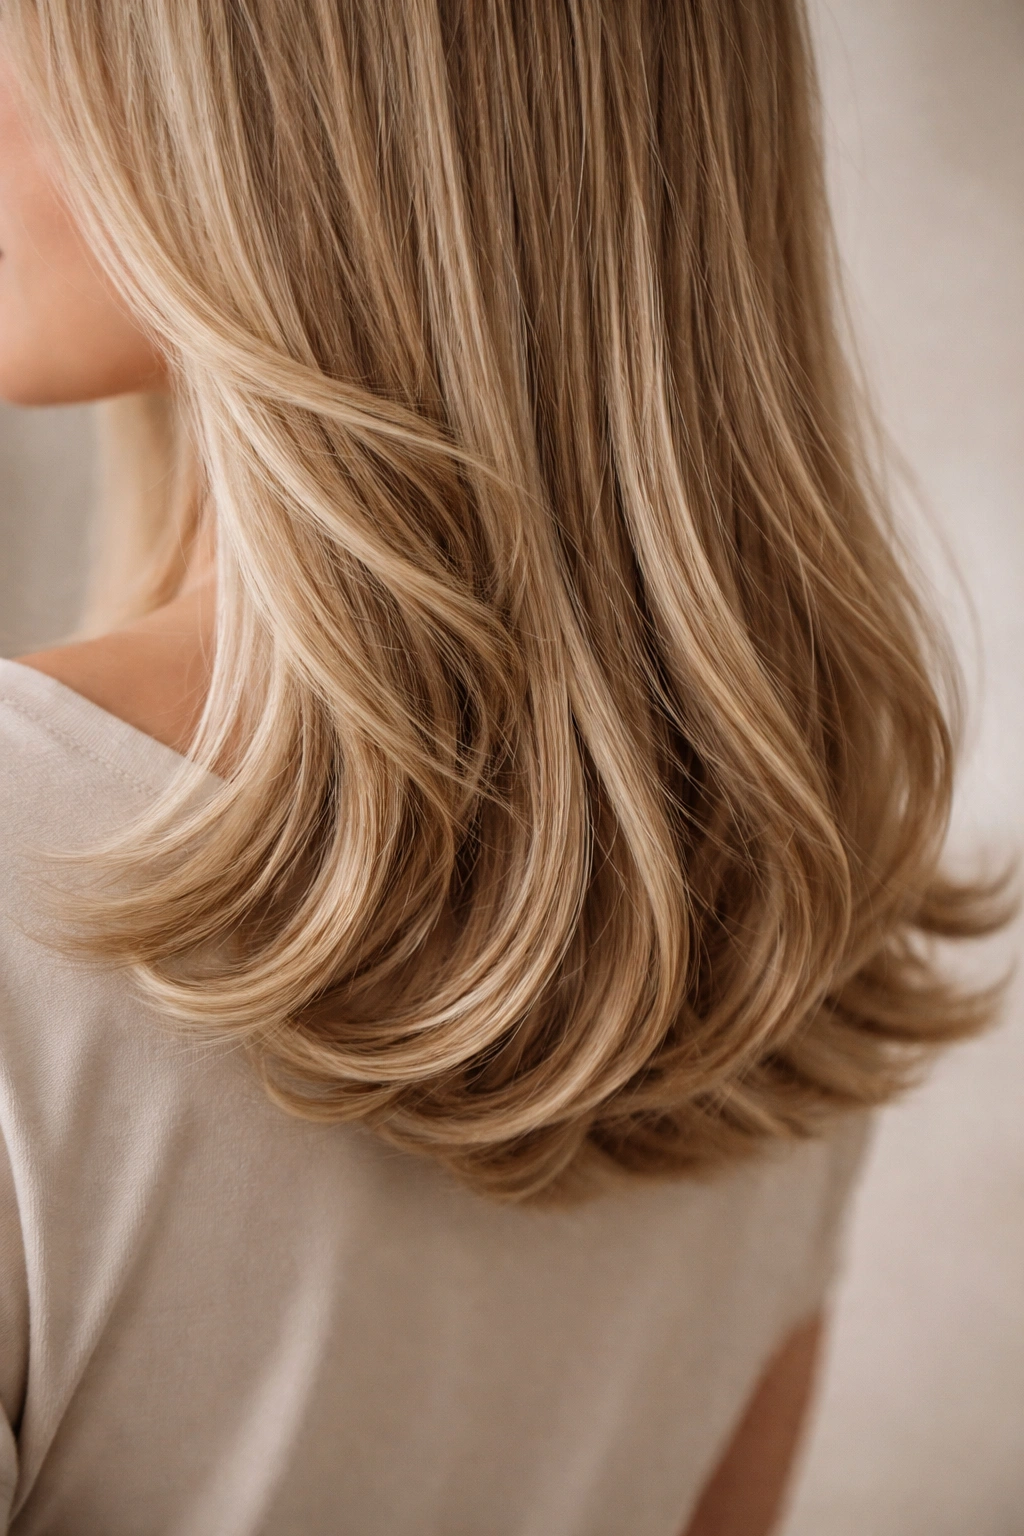
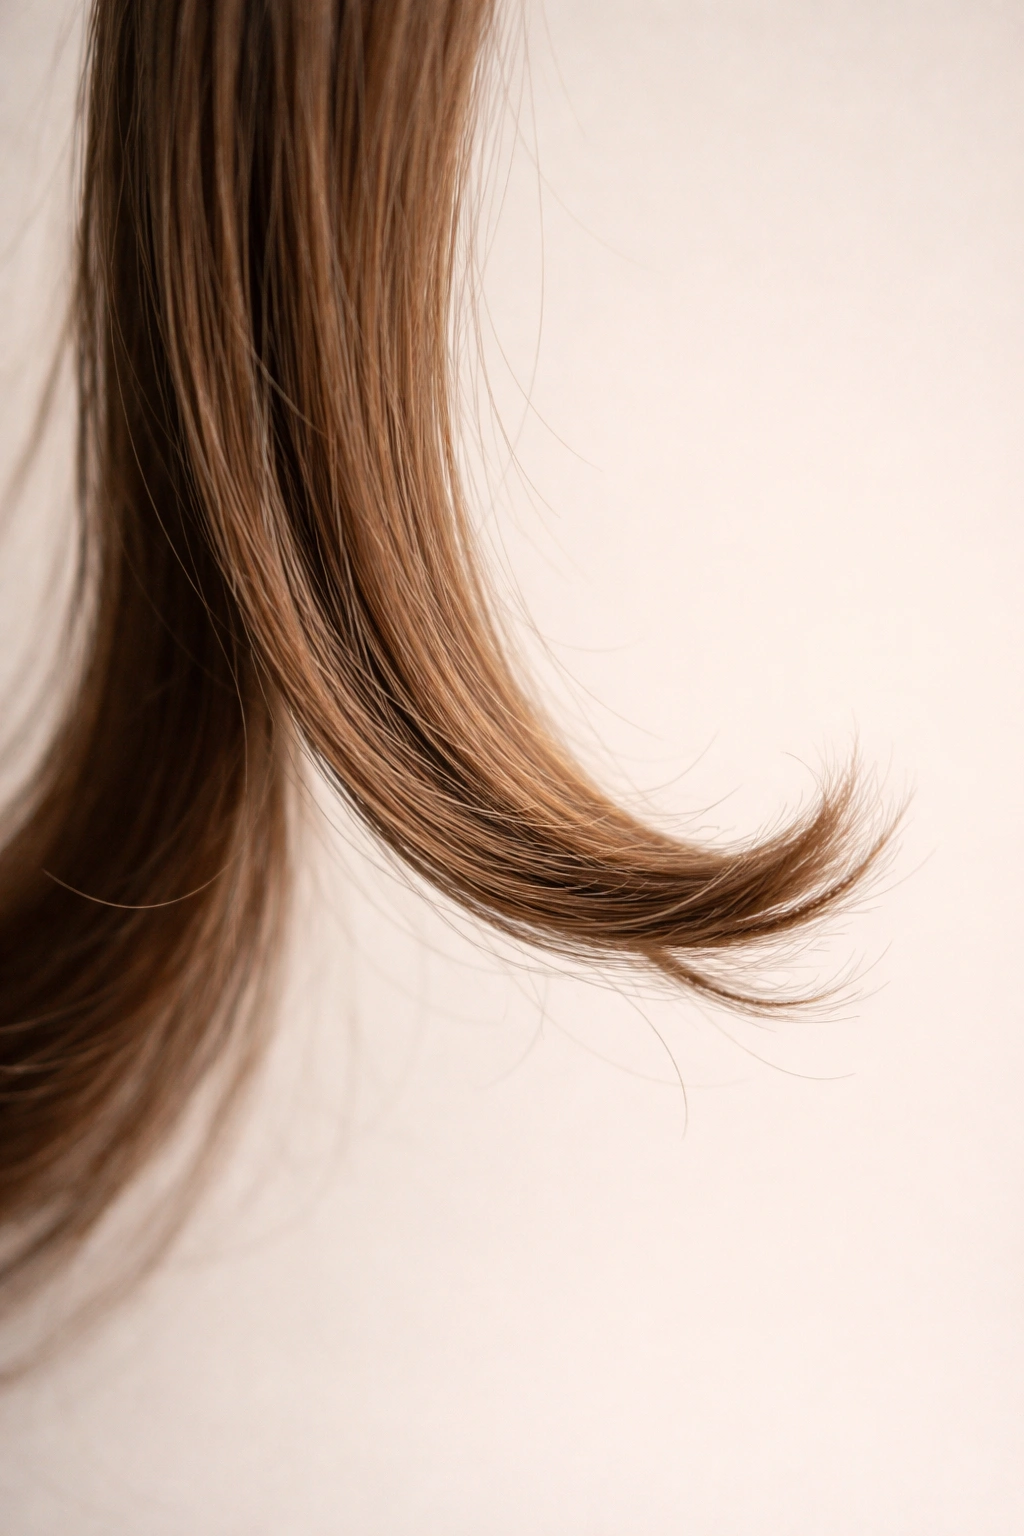
4. Beachy Waves with Salt Spray
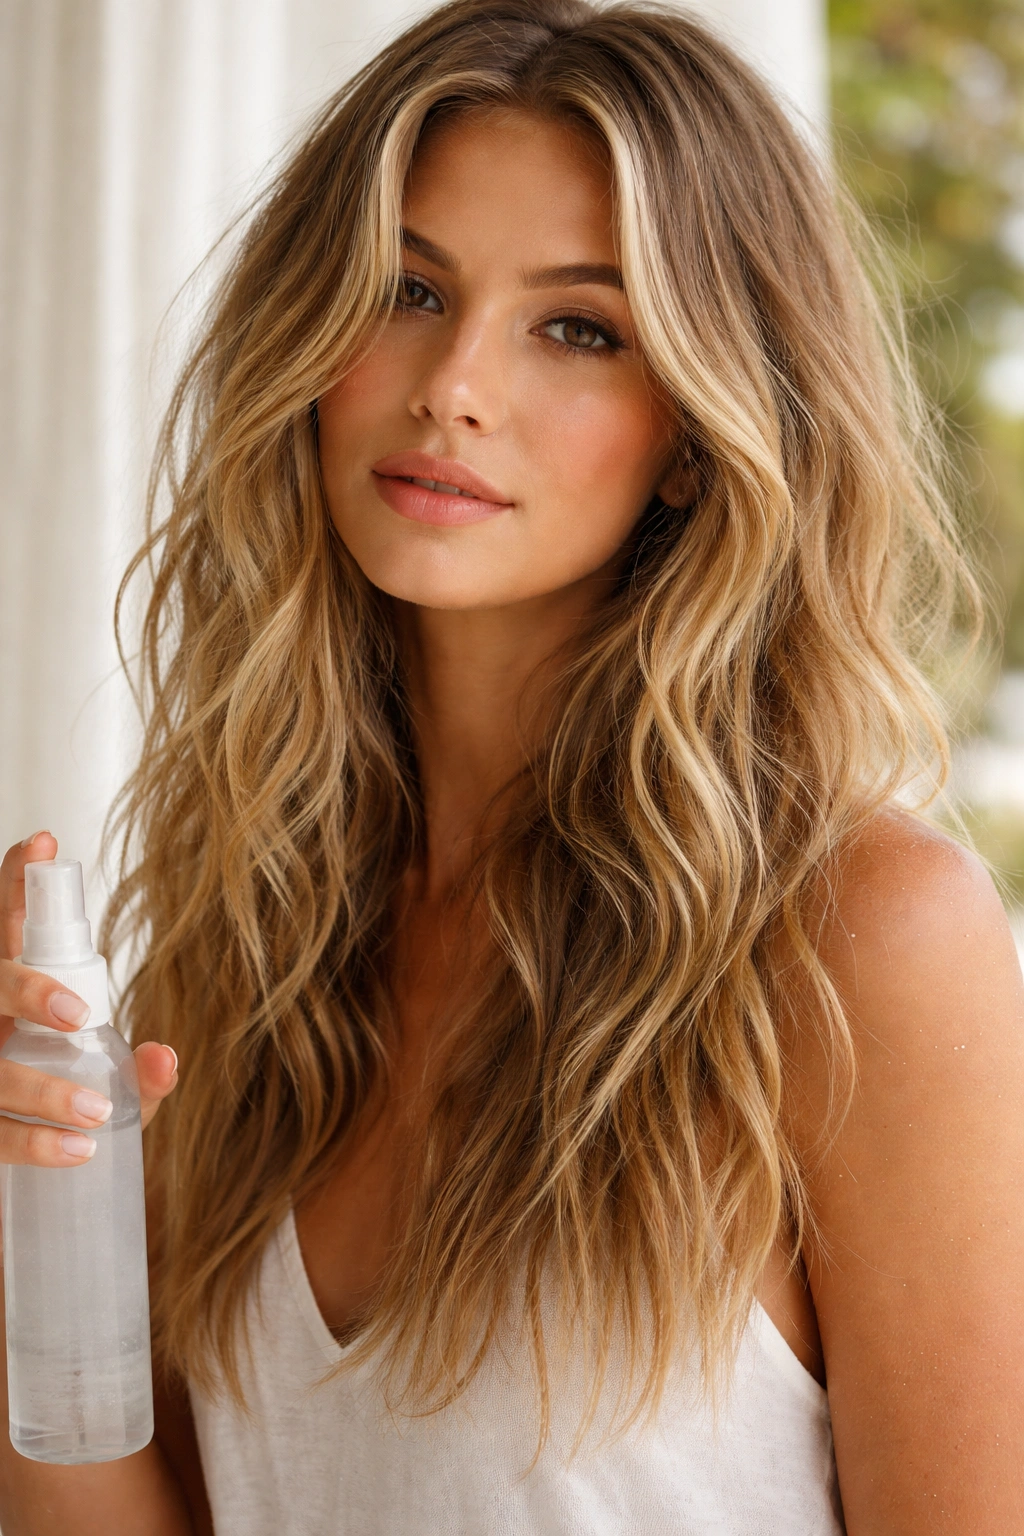
Beachy waves look effortlessly undone, as though you’ve just come from the ocean. The key is creating irregular, soft waves with varying textures—some tighter, some looser—and using products that enhance that lived-in feel.
Building the Beachy Texture
Start with a curling wand or flat iron to create loose, informal waves throughout your hair, focusing on the ends. Don’t aim for uniformity; let some sections be wavier than others. Once the waves are set, spray sea salt spray (or DIY by mixing sea salt with water and a bit of texture spray) throughout your hair to add grip and definition to the waves.
Why It Works for Straight Hair
Straight hair tends to look smoother and more formal, so adding beachy texture—which is intentionally rough and irregular—creates visual interest and breaks up flatness. The salt spray also adds texture to the surface of the hair strand, making individual waves more visible.
Pro tip: Apply sea salt spray to damp hair before blow-drying, then add curls afterward. The salt creates texture that holds the curves better than perfectly smooth hair can.
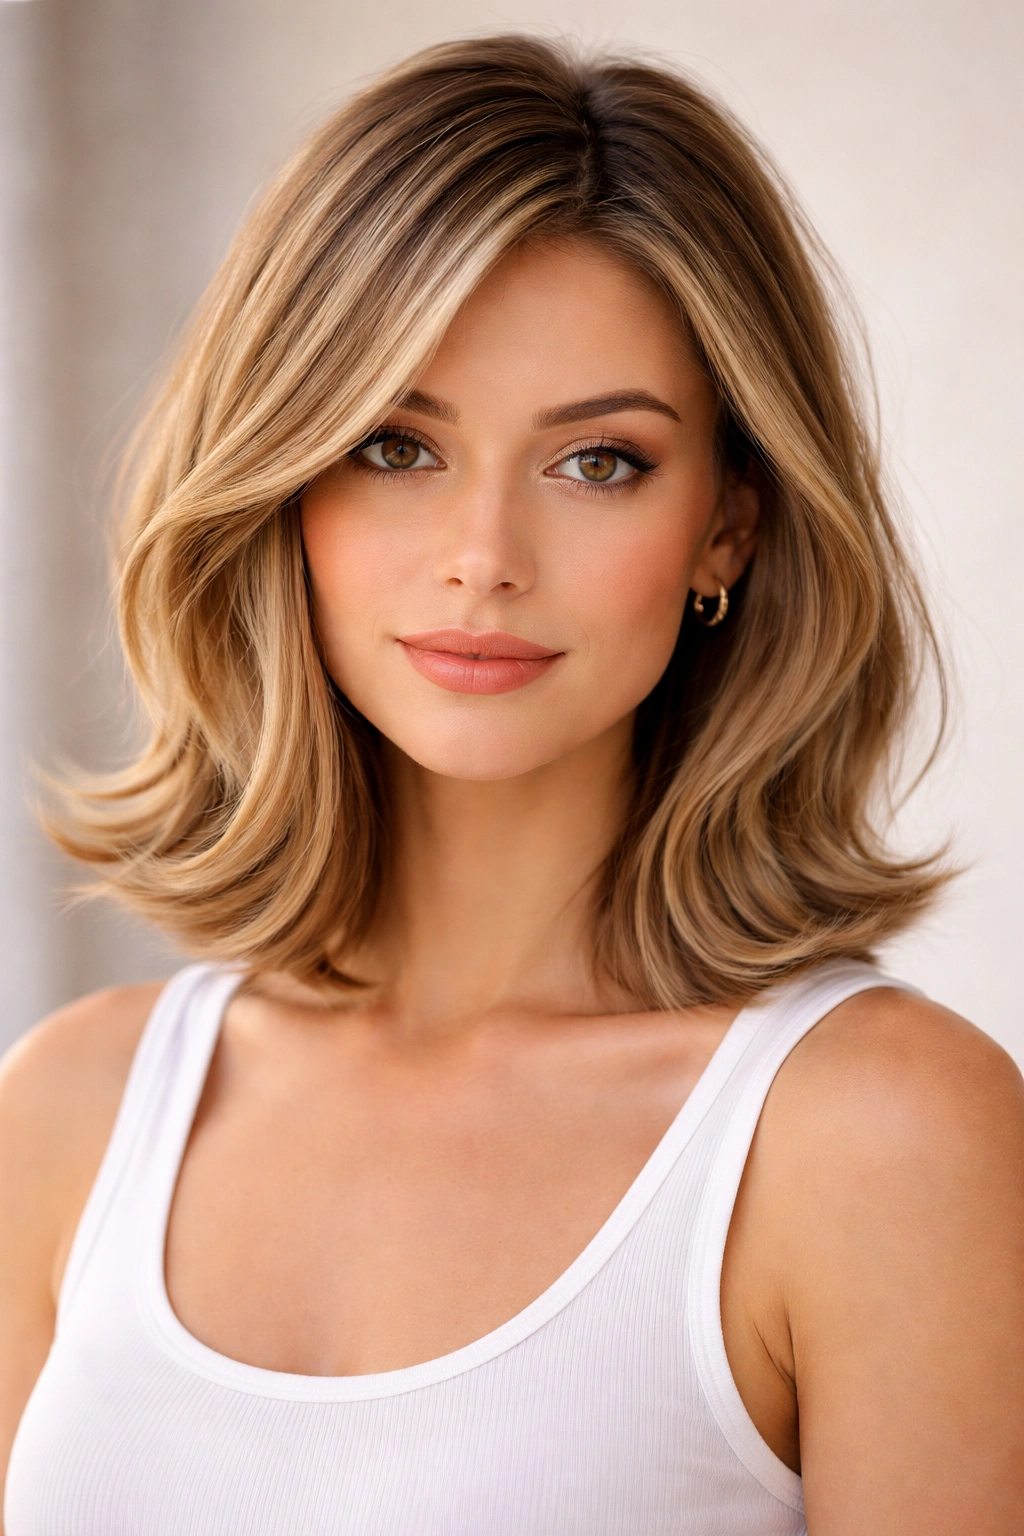
5. The Bixie: Blunt Bob with Curved Ends
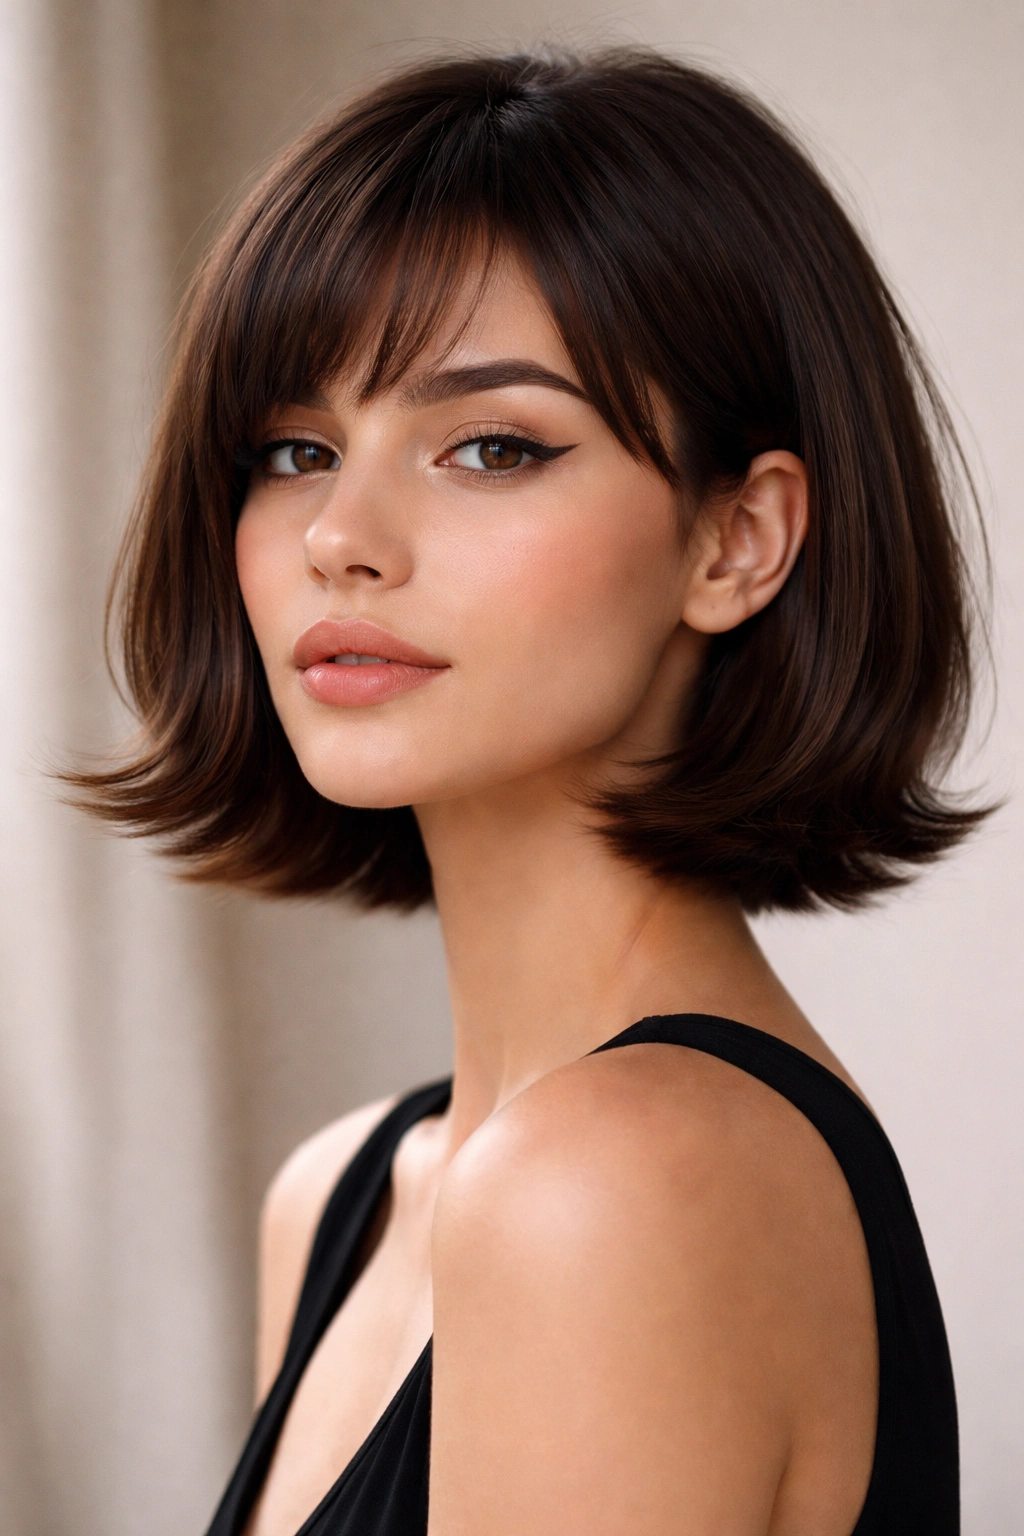
A bixie is a hybrid between a blunt bob and a pixie cut, and when paired with curved or flipped ends, it becomes a chic, modern style. The curled ends soften the otherwise geometric cut and add movement that a straight bob lacks.
Styling a Bixie with Curled Ends
The bixie typically hits right at the jaw or slightly shorter. Use a curling iron or flat iron to curl the ends outward (away from the face) or inward (toward the face)—either direction works, but outward-flipped ends create a modern, almost retro feel. The curl should start about 2 inches from the ends.
Why Curves Matter on a Blunt Cut
A blunt, straight edge can look severe or rigid, especially if you have a delicate or rounded face. Adding curved ends softens those hard lines while maintaining the chic, structured feel of the cut. The movement also prevents the style from looking flat against your head.
Quick facts:
- Outward flips create a ’90s-inspired, editorial look
- Inward curls create a softer, more traditional face-framing effect
- The blunt line below the curl looks sharp and intentional
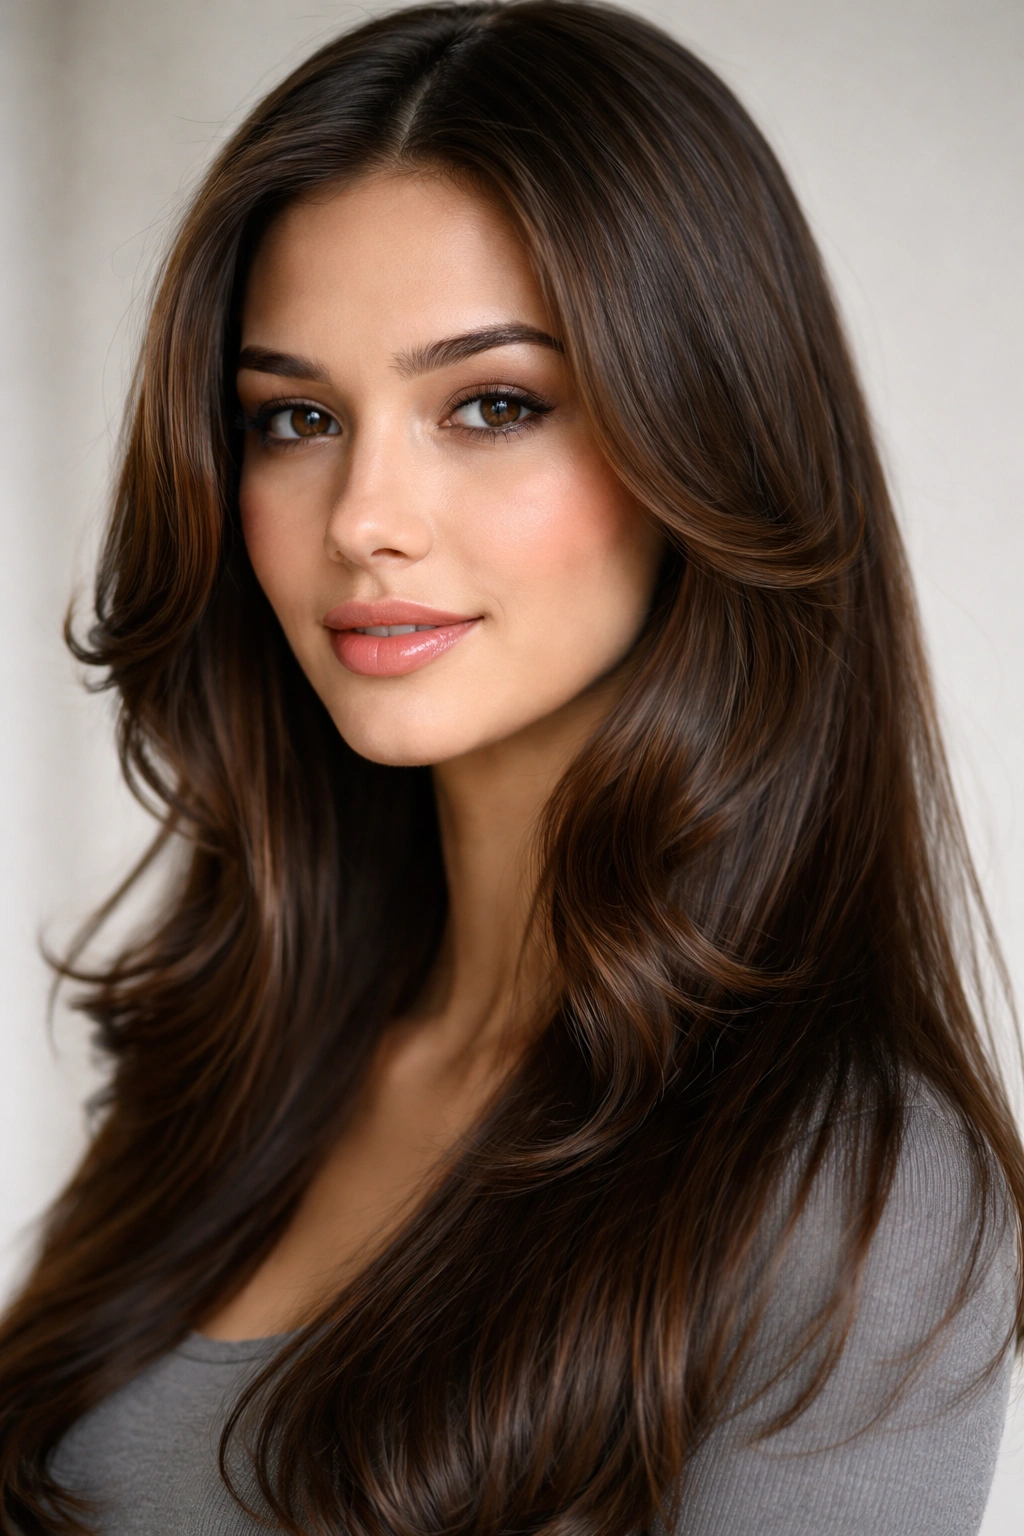
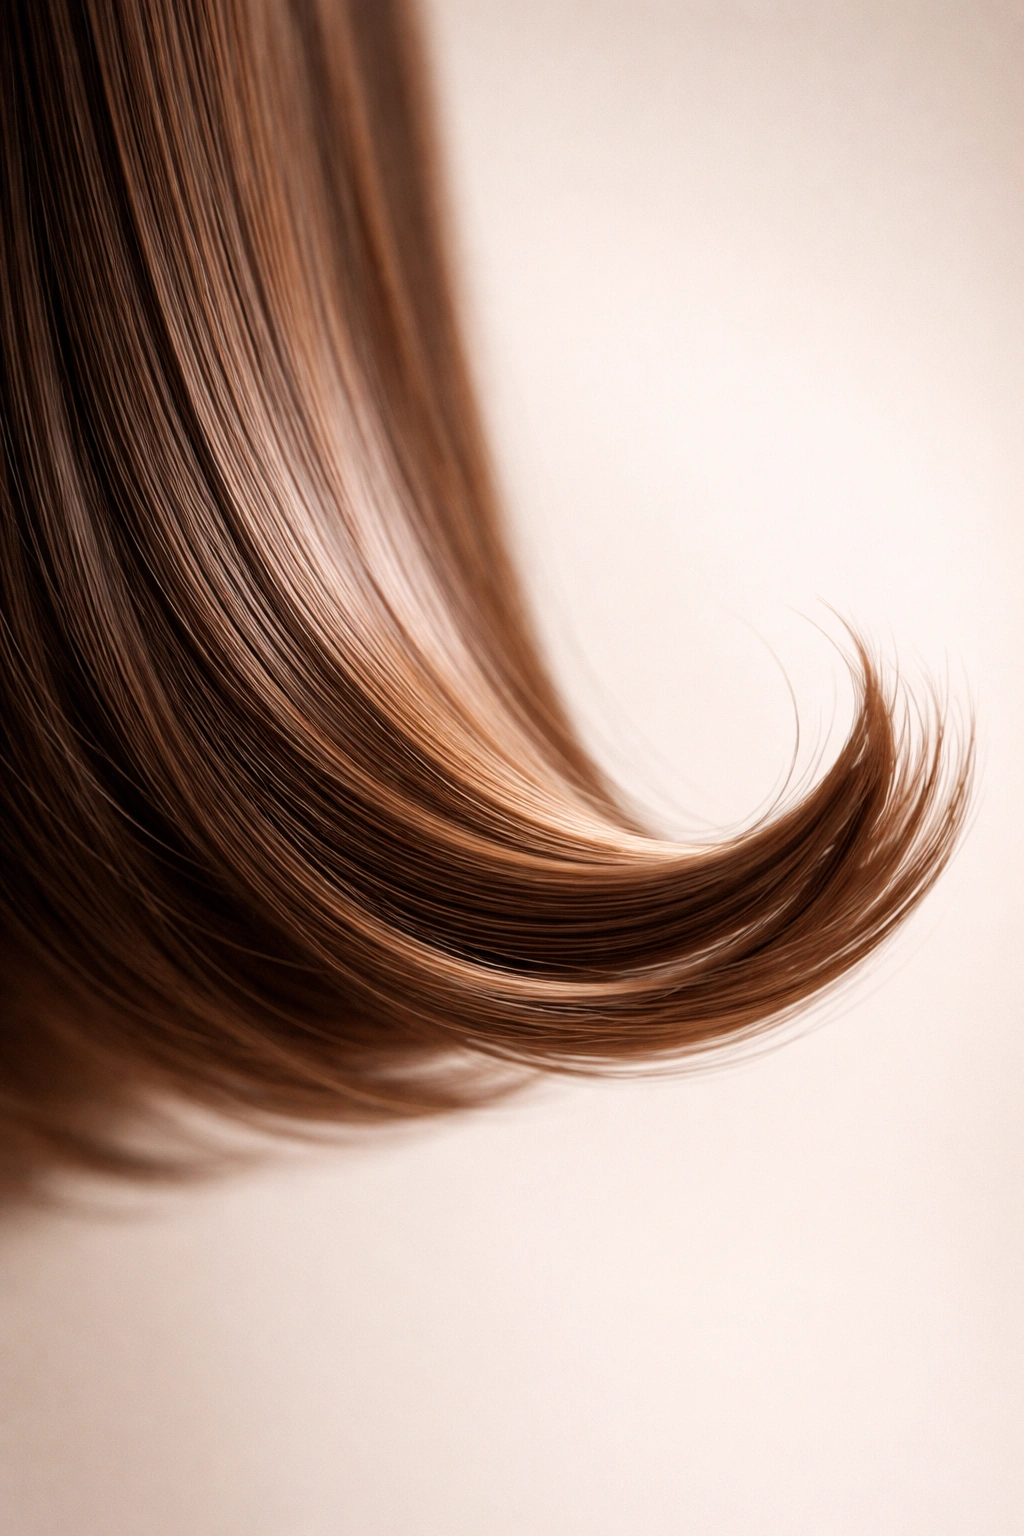
6. Long Hair with Bottom Waves
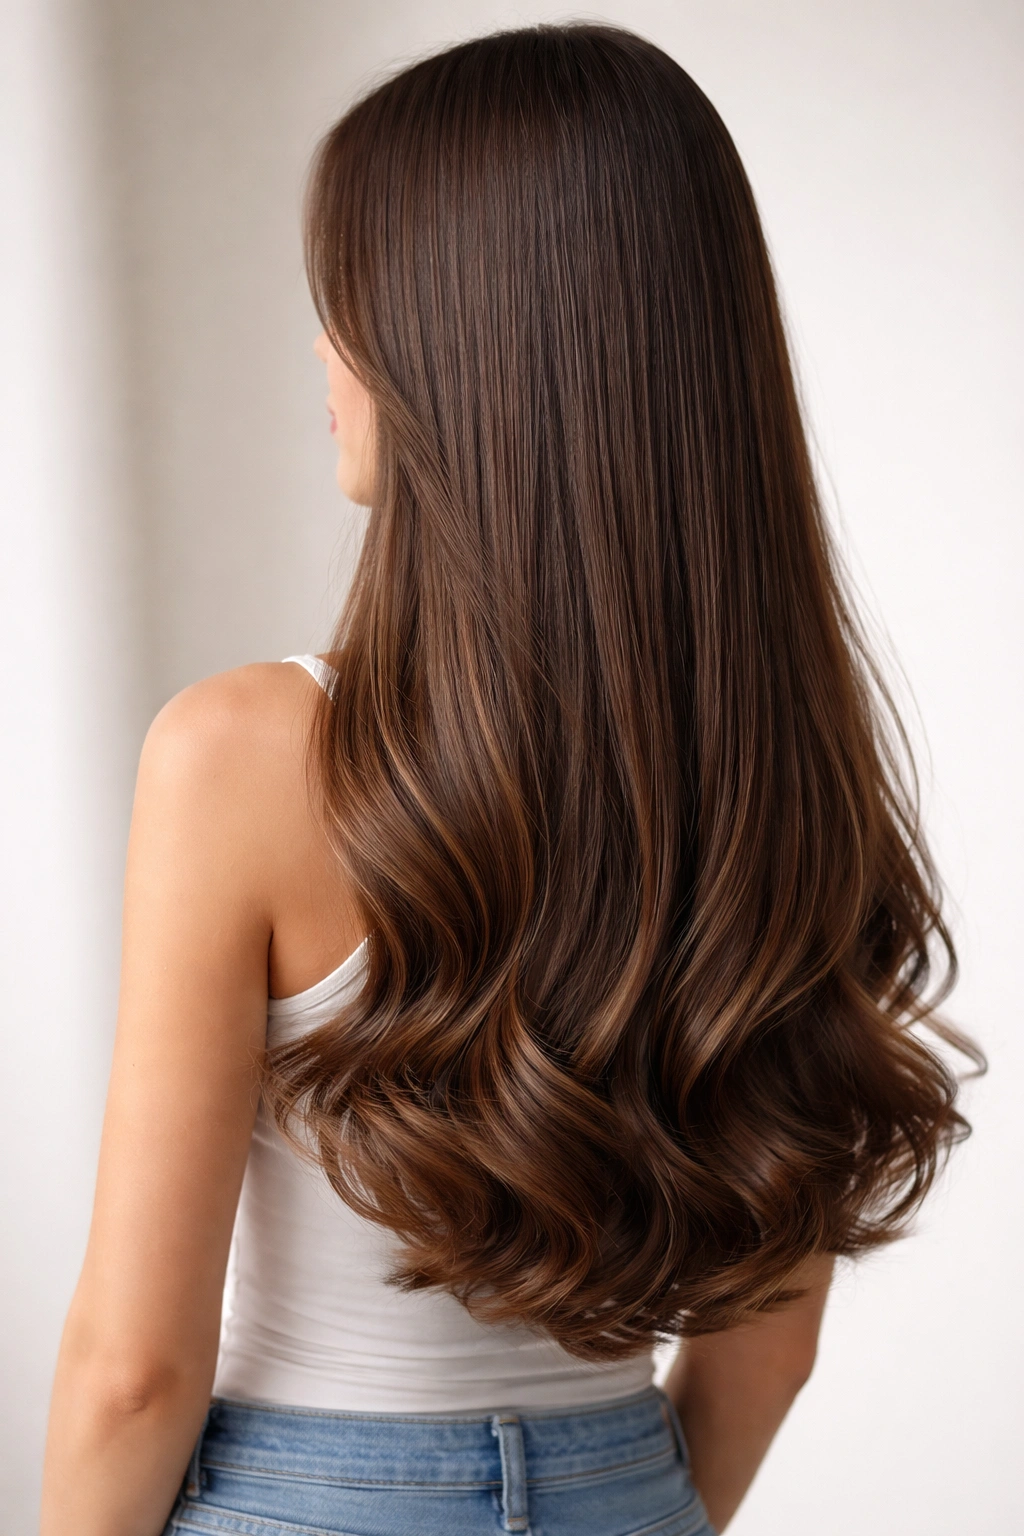
For longer hair, you don’t need to curl all the way up the length. The most impactful technique is to create waves only in the bottom third or last 4-6 inches, leaving the bulk of the hair straight. This creates dramatic movement without overwhelming the length.
Creating Dimension Without Overdoing It
Use a large barrel (1.5 inches or wider) and create loose, soft waves using a curling wand. Start curling only at about the 4-6 inch mark from your ends. This approach also requires less time than curling your entire length and is gentler on hair, as you’re concentrating heat on a smaller amount of hair.
The Visual Effect
The contrast between straight roots and waved ends creates the appearance of more dimension and volume than you actually have. The straight portion appears sleeker, and the curved ends catch light and create visible movement. It’s especially striking on very long hair, where the waves can be quite dramatic.
Worth knowing: This style works beautifully whether you style it daily or let the waves fall out naturally over a few days. The waviness becomes softer and more relaxed as it sets in, which adds to the effortless appeal.
7. Flat-Iron Waves for a Sleek Look
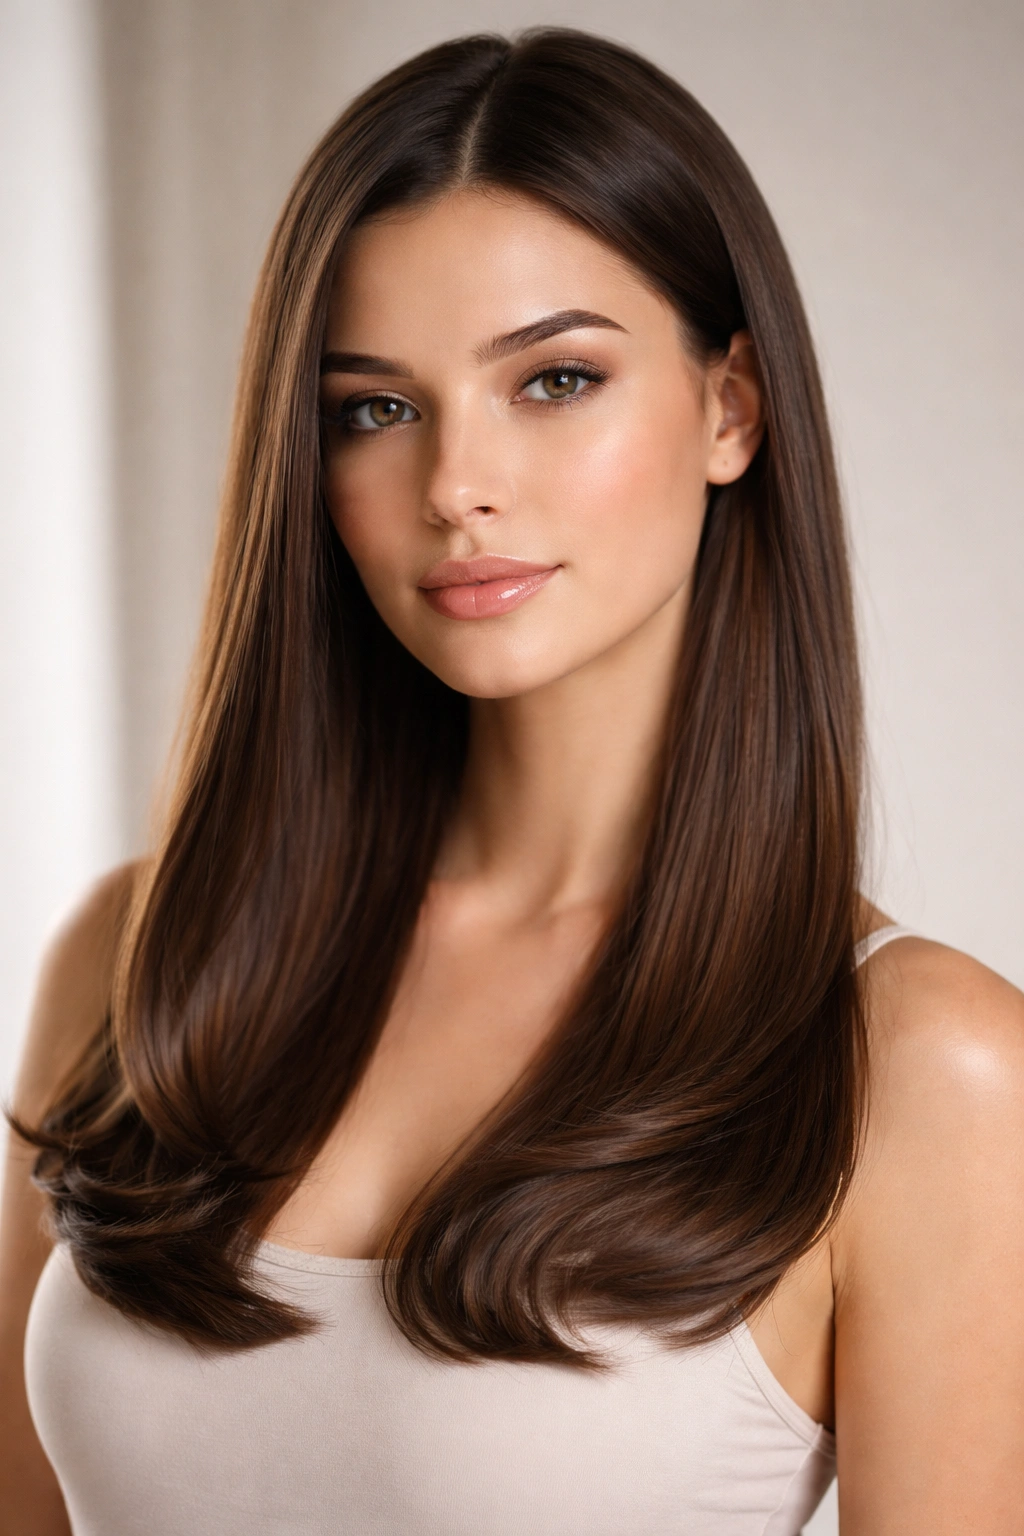
Using a flat iron to create curled ends might seem counterintuitive, but it’s one of the most underrated techniques. A flat iron creates softer, flatter waves than a curling iron and has the advantage of also smoothing and polishing the entire length simultaneously.
The Flat-Iron Wave Technique
Close the flat iron over a section of hair at the ends, then slowly rotate the iron away from the face while gliding it down the length of that section. The rotation creates the wave. You can do this in one smooth motion or hold and release at different points along the section for more texture. The motion is gentler than wrapping around a barrel and creates a more natural, lived-in wave shape.
Why Straight Hair Benefits
Flat-iron waves keep the hair looking polished and smooth while adding subtle movement. There’s no frizz or fluffiness; the waves sit close to the hair shaft and look sleek. This is ideal if you want curled ends that still feel refined and controlled rather than textured and undone.
Quick facts:
- Use medium to medium-high heat (around 350°F / 175°C)
- The slower you glide, the more gradual the wave
- This technique is especially flattering on thick or coarse hair
8. Face-Framing Curls
Face-framing curls are shorter, tighter curls positioned specifically around your face to highlight your features. They’re created by curling only the front sections of hair while leaving the back straighter.
Positioning for Maximum Impact
Take sections from around your face (roughly where your ears are, or slightly in front) and curl them tightly using a small-barrel curling iron. These curls should be tighter and more defined than any back sections. The curls frame your face and draw attention upward, which is flattering for most face shapes.
Why This Works
Face-framing curls work especially well for straight hair because they create asymmetry and focus. Instead of a uniform wave pattern all over, you’re strategically placing dimension exactly where it flatters you most. This is a great option if you want some texture but don’t want to curl your entire head.
Pro tip: Curl face-framing sections in opposite directions—one section away from your face, the other toward it—to create a balanced frame.
9. Faux Lob with Flipped Ends
A faux lob is long hair that’s styled to look like a lob (long bob) through strategic curling. By curling only the bottom section and adding volume at the crown, you can create the illusion of a shorter, choppier cut without actually cutting your hair.
Creating the Illusion
Blow-dry your roots with volume, then use a curling iron to create tight curls (or waves, depending on your preference) from about mid-length down. The curl shrinkage makes that section appear shorter, and combined with the crown volume, the overall silhouette resembles a textured lob.
Benefits for Straight Hair
Straight hair is perfect for this technique because you can create very defined, visible texture that wouldn’t show up on naturally wavy hair. The crisp contrast between straight mid-lengths and curled ends is dramatic and visually striking.
Quick facts:
- Works best on hair at least shoulder-length or longer
- Curls created this way typically last 2-3 days if you sleep on them carefully
- Adding a light texturizing spray helps the curls last longer
10. Textured Ends with Curl-Defining Cream
This is less of a specific curl style and more of a finish technique that enhances any curled-end style. Using a curl-defining cream or gel on your ends after curling adds texture, definition, and longevity to whatever curl pattern you’ve created.
Building Texture with Products
After creating your curled ends (using whatever method), apply a small amount of curl-defining cream or lightweight gel to the ends while they’re still slightly warm. This helps set the shape and adds visible texture and definition to individual waves or curls. The product fills in small gaps and makes each curl more defined and three-dimensional.
Why This Matters
On straight hair, this final step is often what’s missing. The curl looks pretty for an hour but then relaxes without product support. A curl-defining product isn’t heavy—light formulas add shine and definition without making hair look wet or sticky.
Worth knowing: The key is using a light product, not a heavy gel that flattens curls or makes them crunchy. Look for creams labeled “lightweight,” “flexible hold,” or “curl-enhancing” rather than maximum-hold styling products.
How Long Curled Ends Last on Straight Hair
The longevity of curled ends depends on several factors: your hair type, the technique you used, product support, and how you sleep. Heat-set curls on straight hair typically last 1-3 days before they start to relax and fall out, which is actually longer than on naturally curvy hair because there’s no competing wave pattern to interfere.
Fine hair tends to lose curls faster than thick hair, simply because there’s less structure to hold the shape. If your curls are dropping by the second day, you might benefit from using a firmer hold hairspray or styling with smaller sections (which creates tighter, more resilient curls). Sleeping on your curls in braids or with a silk pillowcase helps preserve them overnight by reducing friction.
Tips for Making Curled Ends Last Longer
The most important step is using a heat protectant before styling. This isn’t optional—it reduces moisture loss and heat damage that causes hair to become brittle and unable to hold curls. Apply it generously to damp hair before blow-drying or curling.
After styling, use a flexible-hold hairspray (not a stiff, crunchy one) to lock the shape in place. The spray should feel natural and moveable, not crunchy or sticky. Allow the spray to dry completely before touching your hair, which allows the setting agents to work properly.
Avoid touching, twisting, or playing with your curls once they’re set—the more you handle them, the faster they fall out. If you sleep on wet or damp curls, they’ll relax as they dry. Instead, curl or style your hair several hours before bed to allow the shape to set completely.
The Best Hair Products for Curled Ends
A heat protectant spray is non-negotiable. Apply it to damp hair before any heat styling. Look for formulas that contain silicone or keratin, which create a protective barrier without making hair greasy.
A flexible-hold hairspray keeps curls in place without stiffness. Medium-hold formulas tend to work better than maximum-hold; they provide support while still allowing natural movement. Avoid super-heavy, crunchy sprays that make curls feel cardboard-like.
A curl-defining cream adds texture and definition to finished curls. This product isn’t essential, but it’s the difference between curls that look okay and curls that look intentionally textured and polished. Use it sparingly—a dime-sized amount is usually enough for your entire head.
Common Mistakes That Ruin Curled Ends
The most common mistake is not using enough heat. If your curls are falling out within an hour, your heat setting is probably too low or you’re not holding the curl long enough for the shape to set. Try increasing the temperature by 25-50°F or extending your hold time by 5 seconds.
Another frequent error is curling damp or overly moist hair. Curls set best when hair is completely dry. If you’ve just blow-dried, give your hair a few minutes to cool before curling; warm hair doesn’t hold shape as effectively as cool hair.
Not using any product support is another culprit. Even the best heat-set curl will relax without some product to hold it. A light hairspray makes an enormous difference in curl longevity, especially on fine hair.
Wrapping hair too loosely around the barrel is surprisingly common. The tighter the wrap, the tighter and more defined the curl. If your curls are too loose or barely visible, try wrapping more sections more tightly and holding for longer.
Final Thoughts
Curled ends transform straight hair from linear and flat into dimensional and dynamic. Whether you prefer soft beach waves, romantic spirals, or sleek flat-iron waves, the technique is straightforward and takes just minutes to execute. The beauty of this approach is its flexibility—you can change your style daily without any damage or commitment, adapting the curl type and intensity to match your mood and the occasion.
The most important realization is that curled ends aren’t complicated or time-consuming. Once you’ve tried a few methods and found the one that feels natural to you, the technique becomes almost automatic. Your straight hair is actually an advantage here; it holds whatever shape you create longer than wavy hair would, making your curls look more intentional and polished. Experiment with different barrel sizes, heat settings, and products to find your favorite combination—then enjoy the instant dimension and movement that curled ends bring to your everyday look.