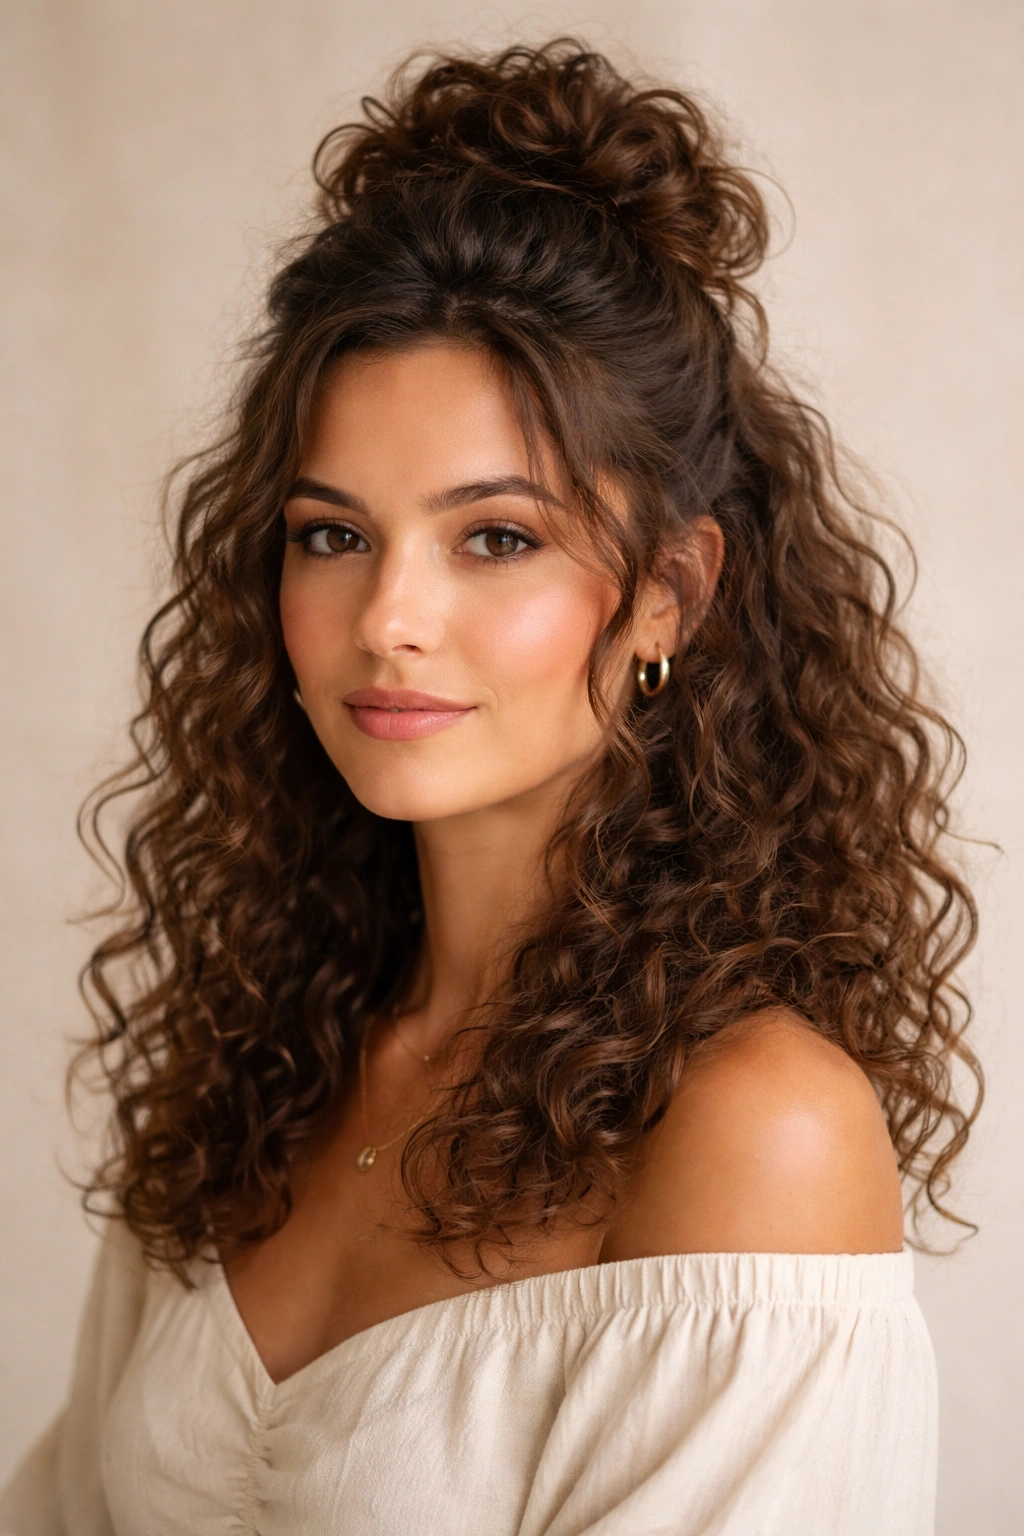
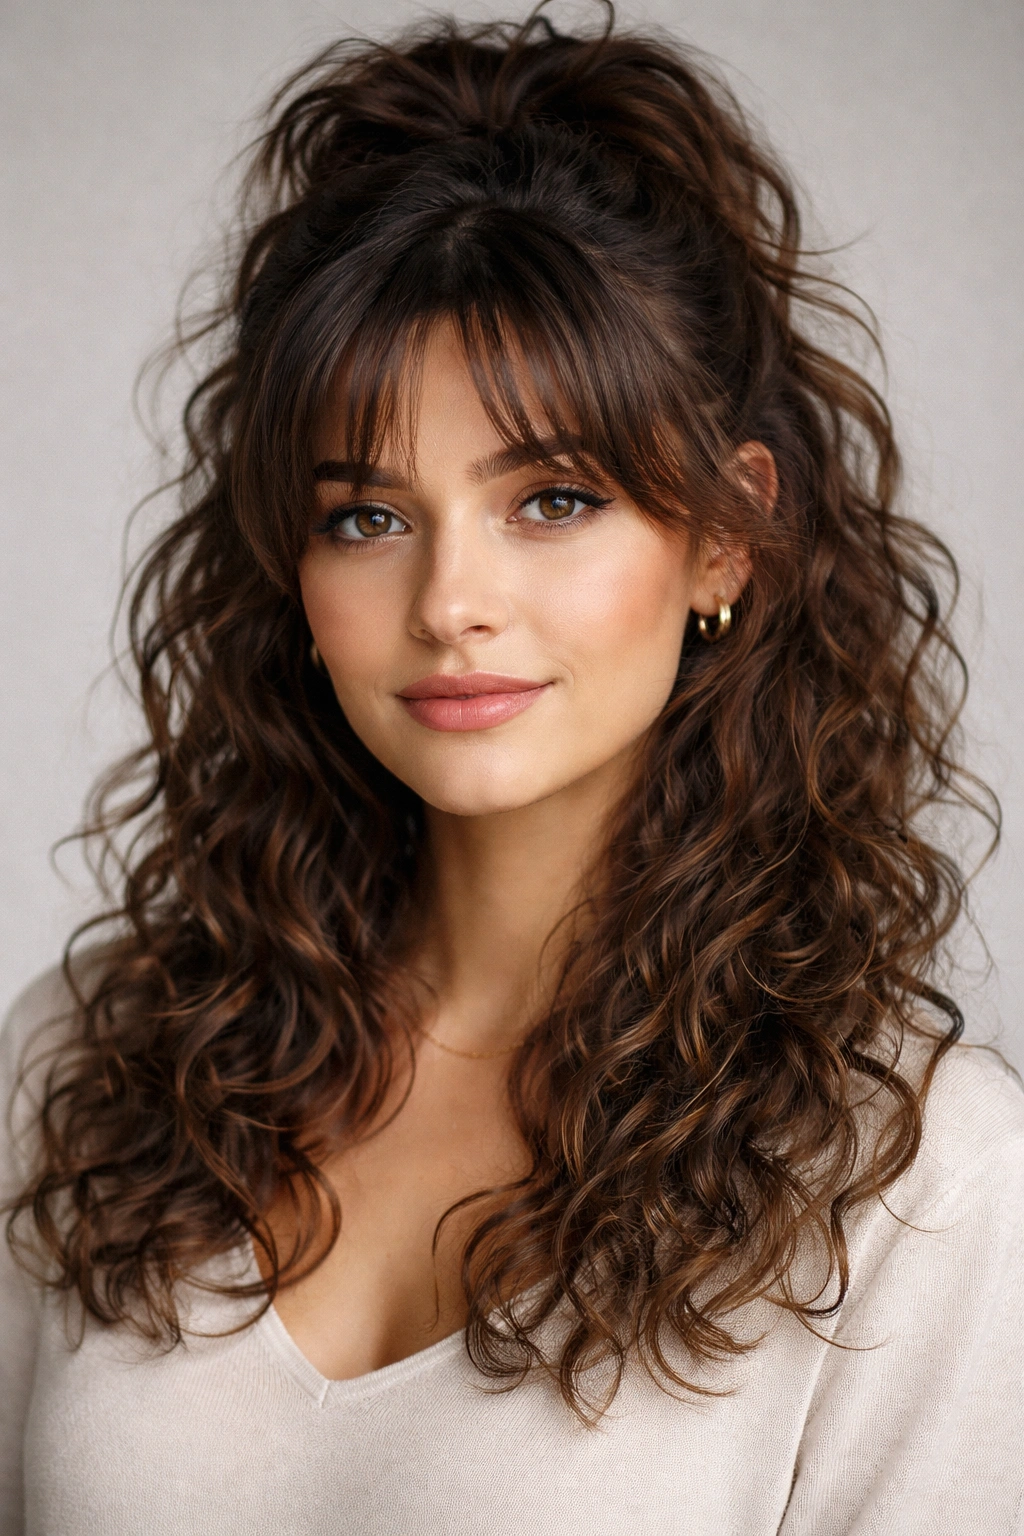
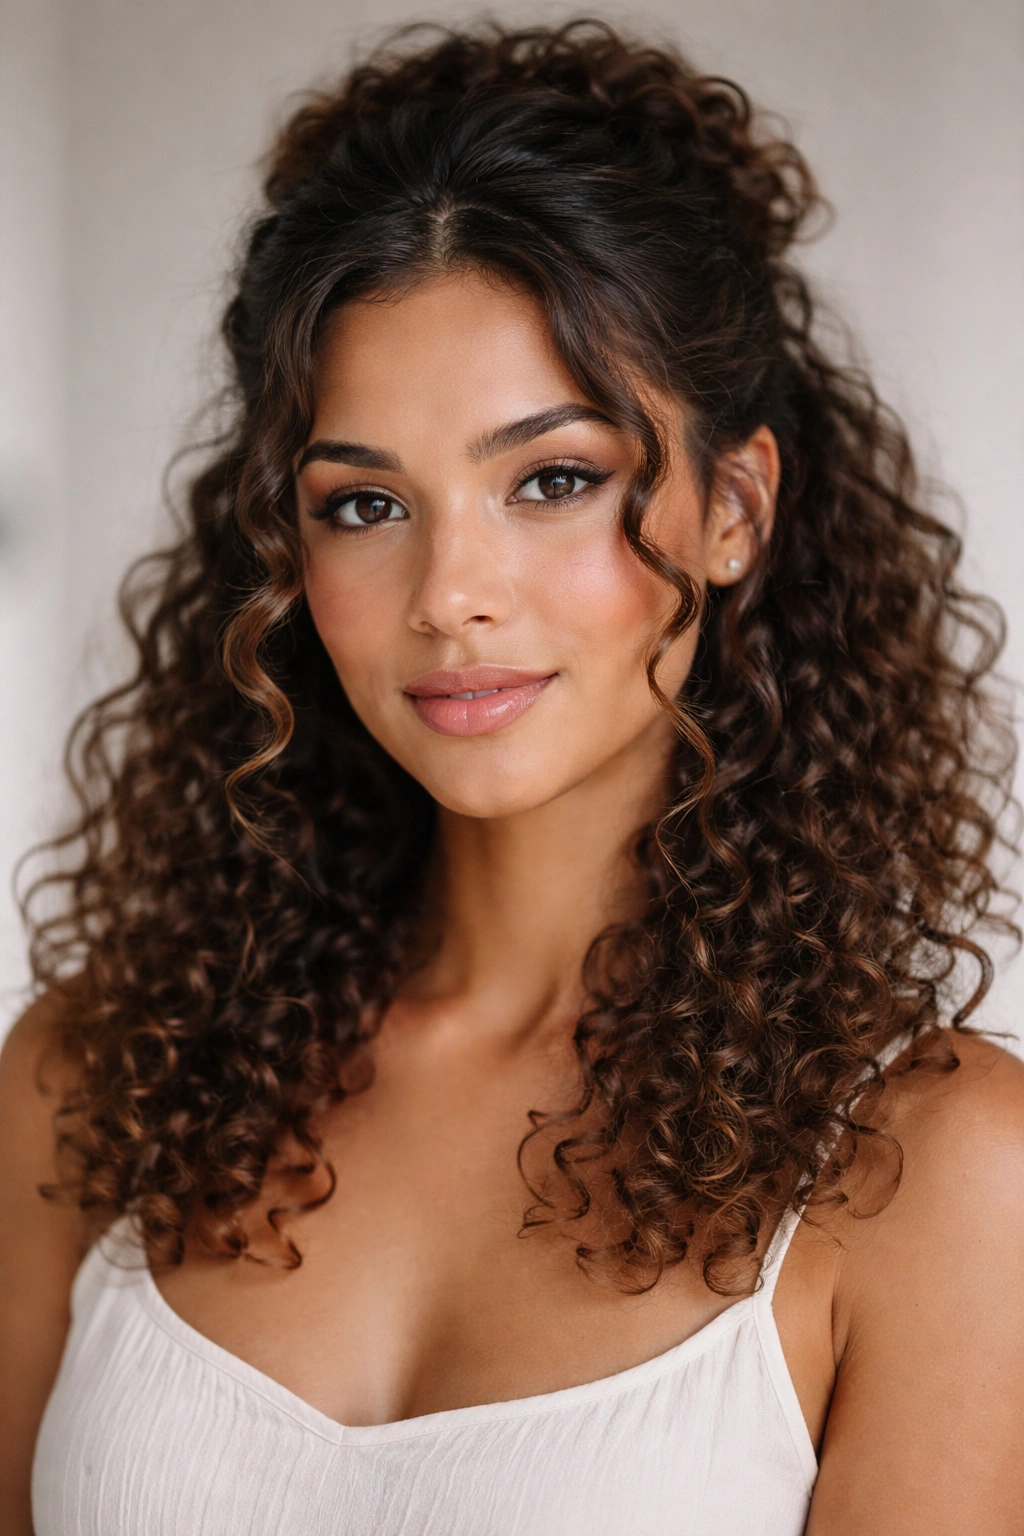
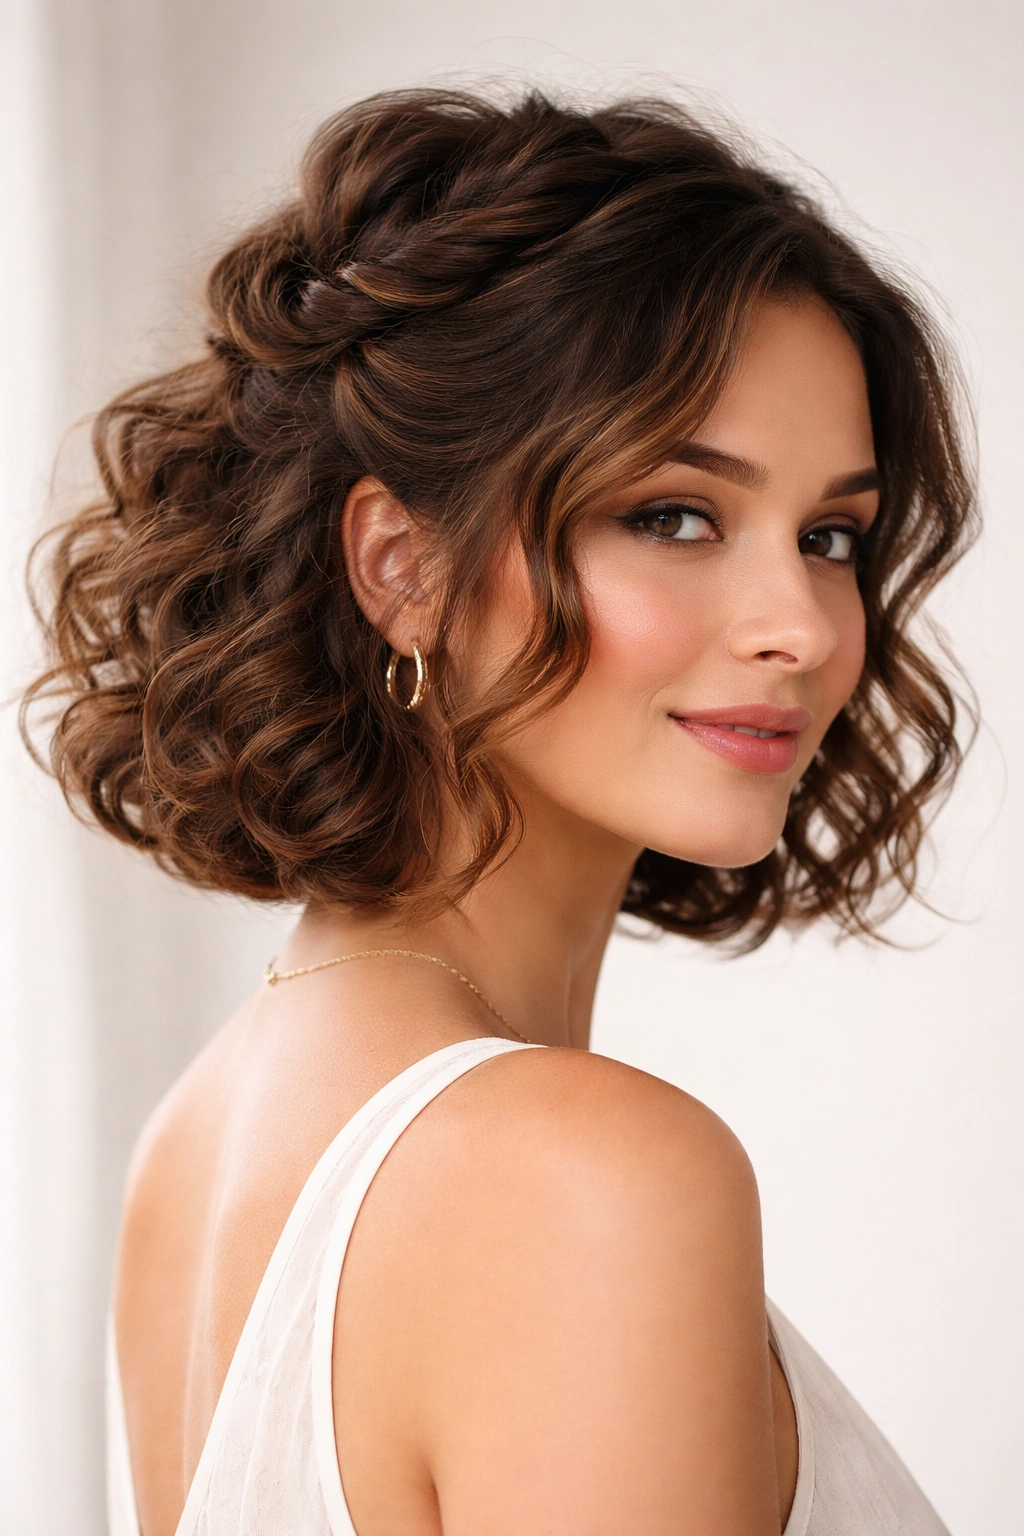
Curly hair has this incredible natural texture that begs to be shown off, but sometimes you need to get at least some of it off your face without committing to a full updo. That’s where half up half down styles come in — they’re the goldilocks of hairstyles, giving you the best of both worlds. The half up half down look works especially well with medium curly hair because it lets you highlight your curl pattern while still keeping everything in control and preventing that annoying hair-in-face situation. Whether you’re heading to work, getting ready for a night out, or just wanting to freshen up your everyday look, there’s a half up half down style that’ll work perfectly for your curls.
The beauty of these styles is that they’re more forgiving than they might look. Curly hair is naturally textured, which means imperfect sections, flyaways, and undone edges actually add to the charm rather than detracting from it. A half up half down style that would look sloppy in straight hair often looks intentionally relaxed and effortless in curls. Plus, these styles protect some of your hair from daily manipulation and friction, which is always a win for curl health. Let’s explore 20 ways to style your medium curly hair with the half up half down technique, from romantic and soft to sleek and polished.
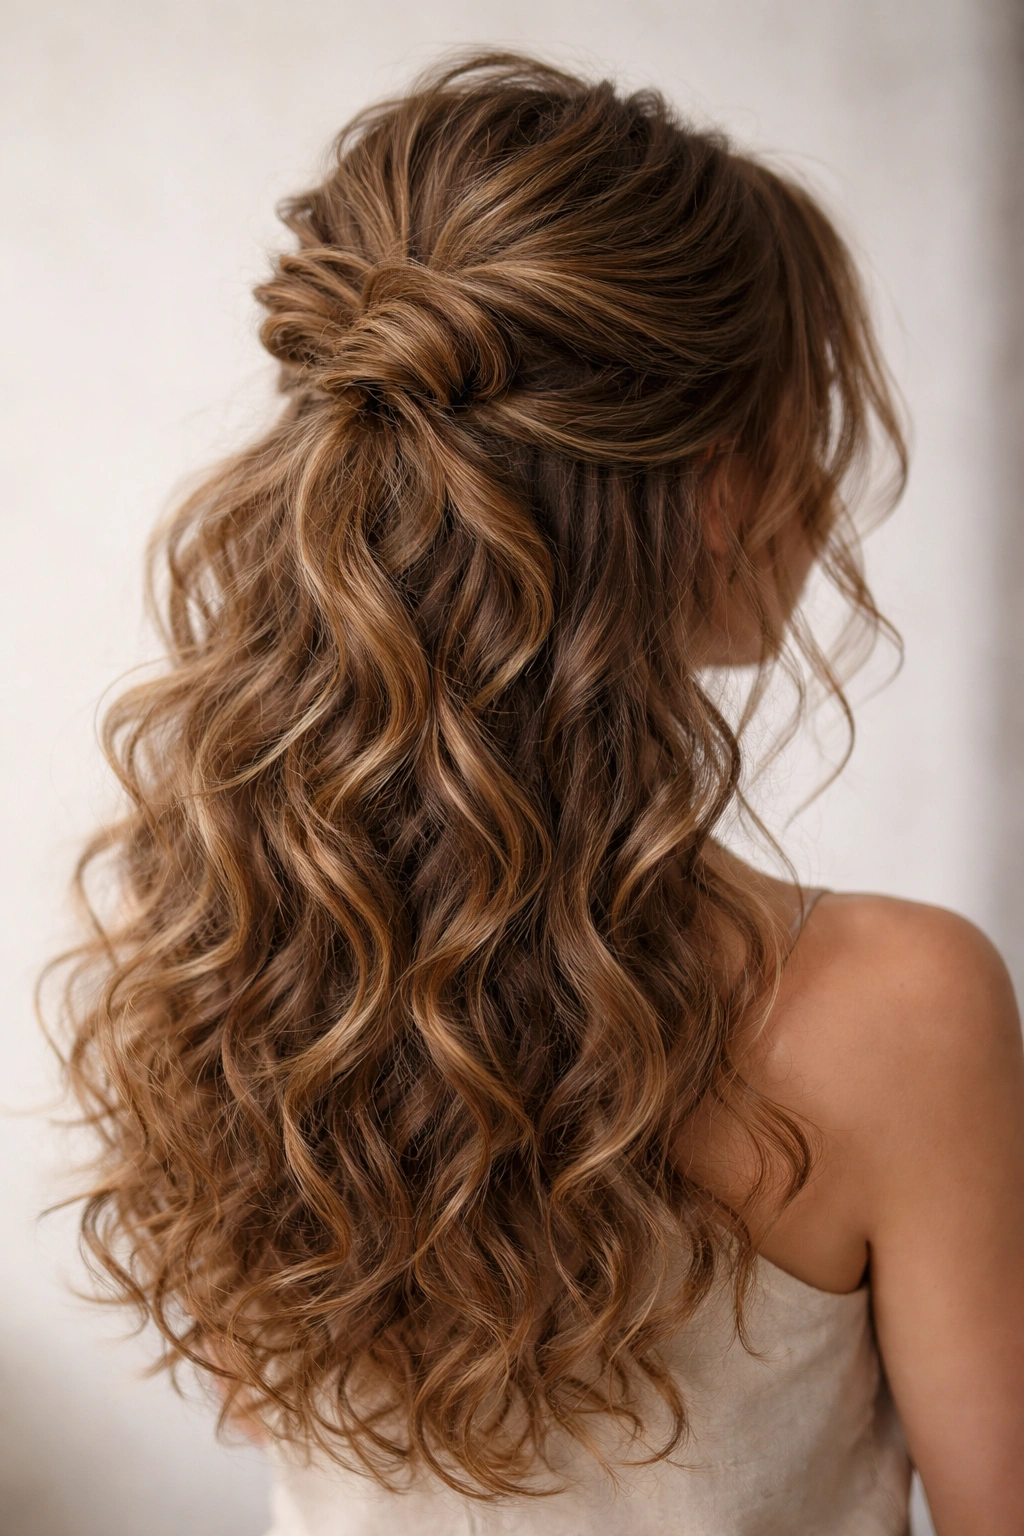
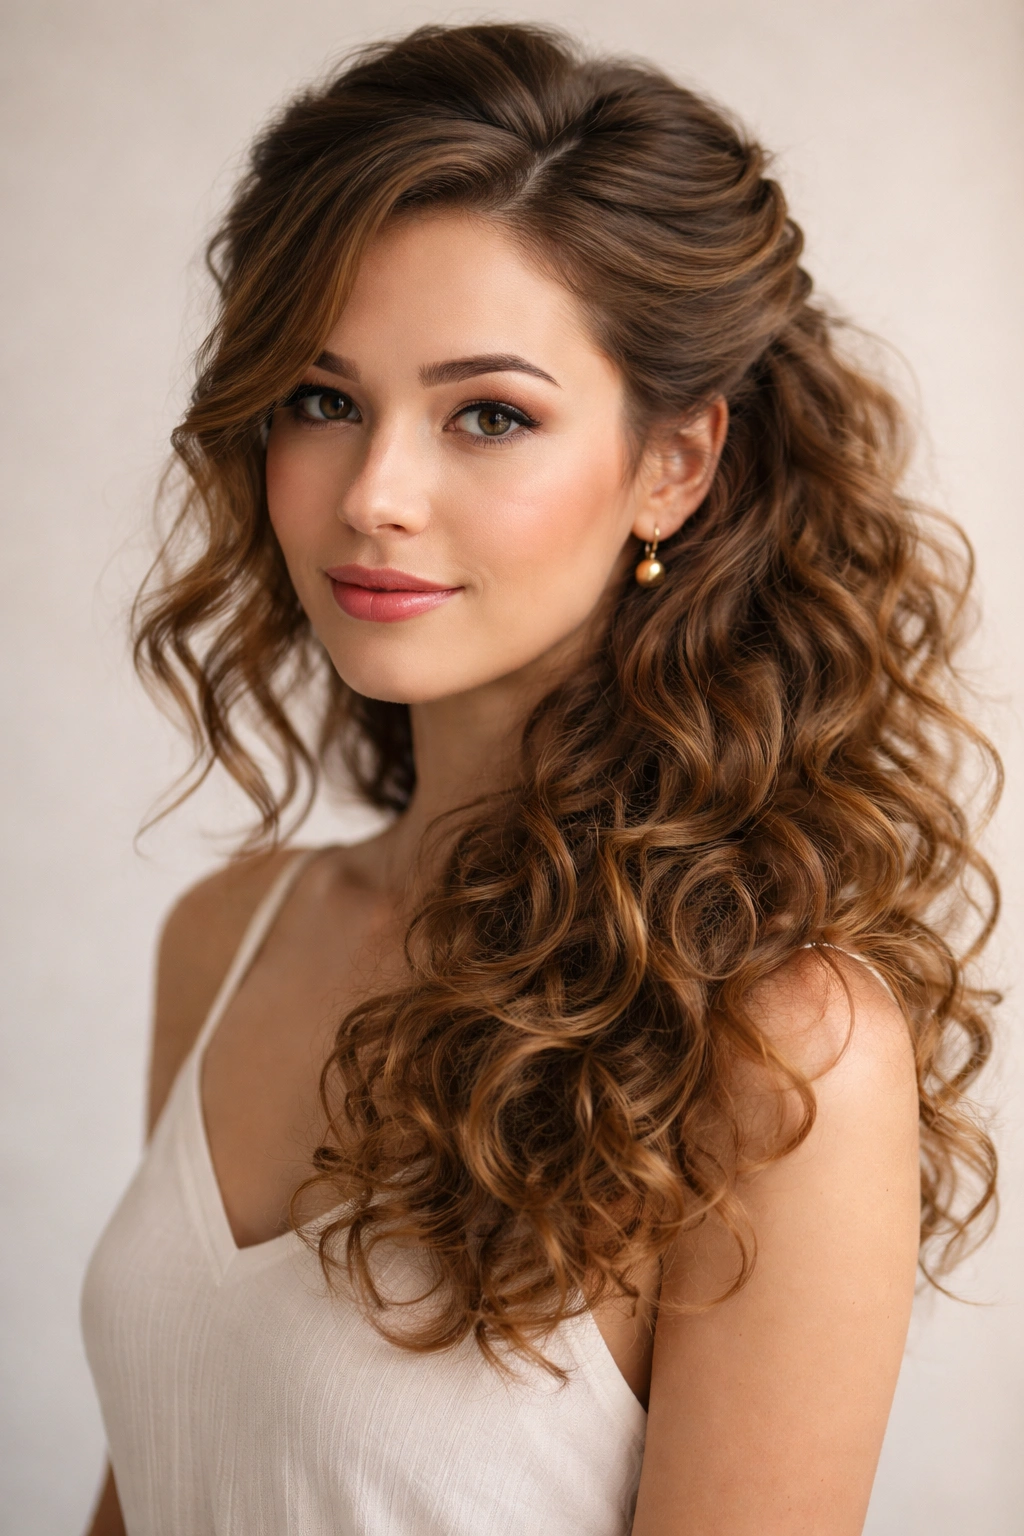
1. Twisted Half Up Half Down
This is the starter pack of half up half down styles, and for good reason — it works on basically everyone. Start by taking two sections from either side of your face at about temple level, then gently twist each section back toward the crown. The key with curly hair is to twist loosely and let the curls do their thing; you’re not aiming for a perfectly tight spiral. Once you reach the crown, secure both twisted sections together with a small elastic or bobby pin, and let the rest of your curls hang loose and full below.
Why It Works for Curly Hair
Twisting actually enhances your curl pattern rather than fighting against it. As you twist, you’re slightly stretching and manipulating the curl, which can make each coil more defined when it bounces back. The finished look feels polished enough for professional settings but still totally casual and approachable. The texture of the twist blends beautifully with the loose curls below, creating a cohesive hairstyle that feels intentional but effortless.
How to Perfect the Technique
- Start twisting about two inches from your hairline, taking a section that’s about an inch wide from each side
- Twist slowly and evenly all the way back, stopping just before you reach the crown
- Keep the twist slightly loose — curly hair actually grips better when there’s some give in the twist
- Secure with a small elastic at the crown, or use bobby pins hidden within your hair for an invisible hold
- Gently tug sections of the twisted portion to create texture and loosen the twist slightly if it feels too formal
Pro tip: Do this style right after your curls have dried and are most defined, not after they’ve been sitting all day and have potentially fallen a bit flat.
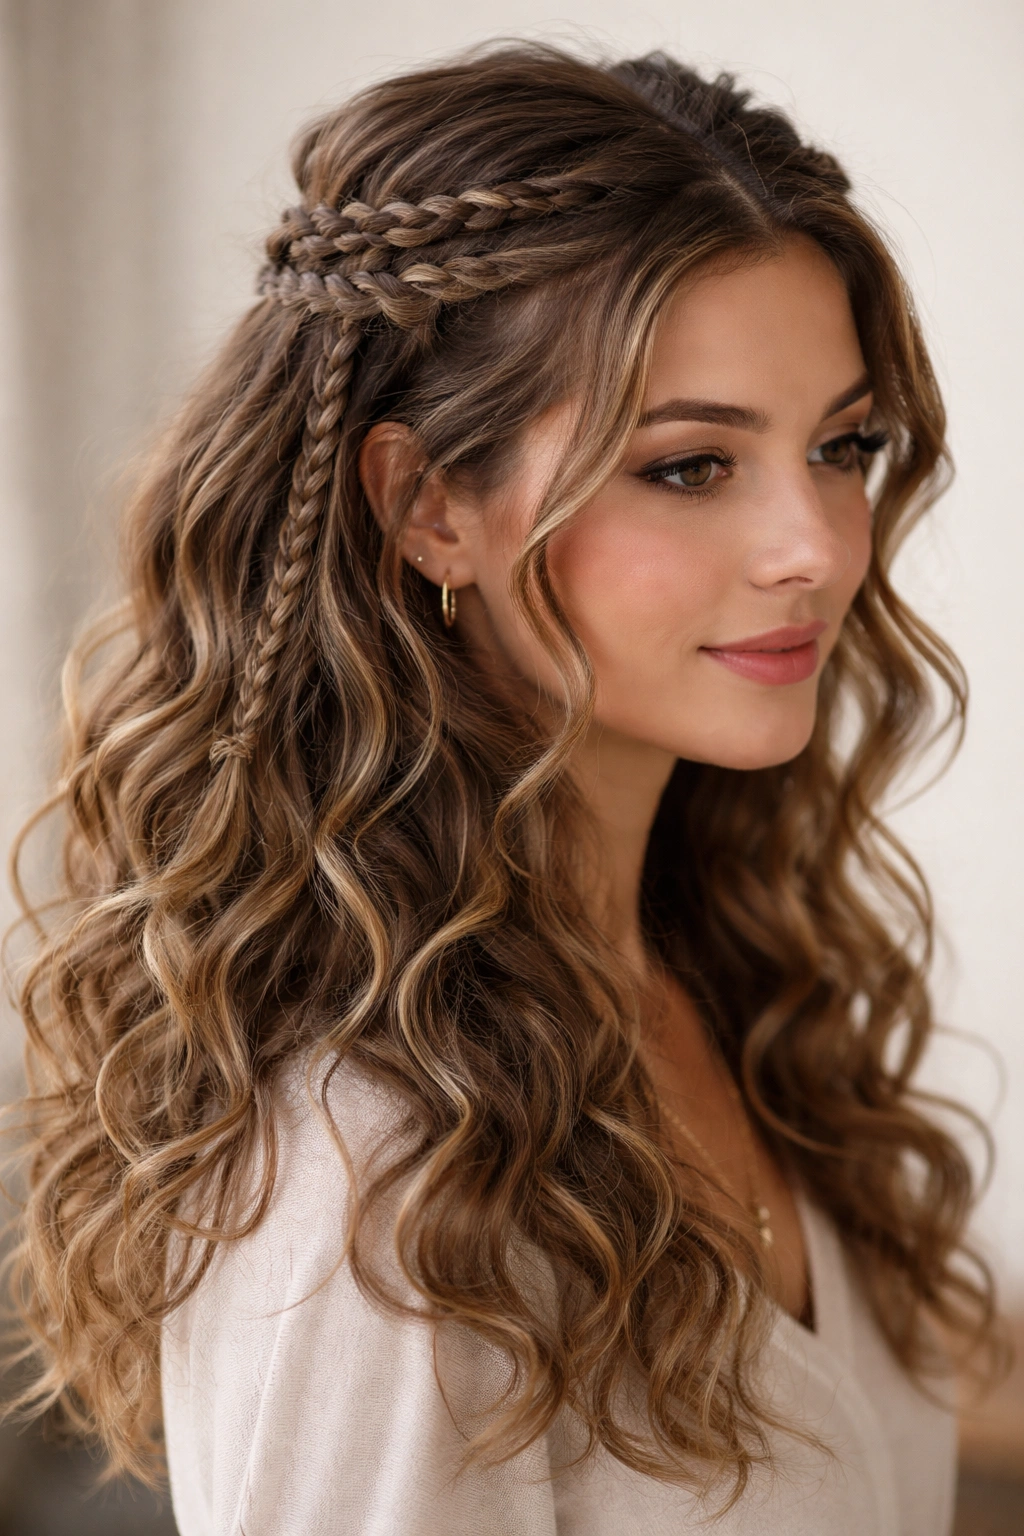
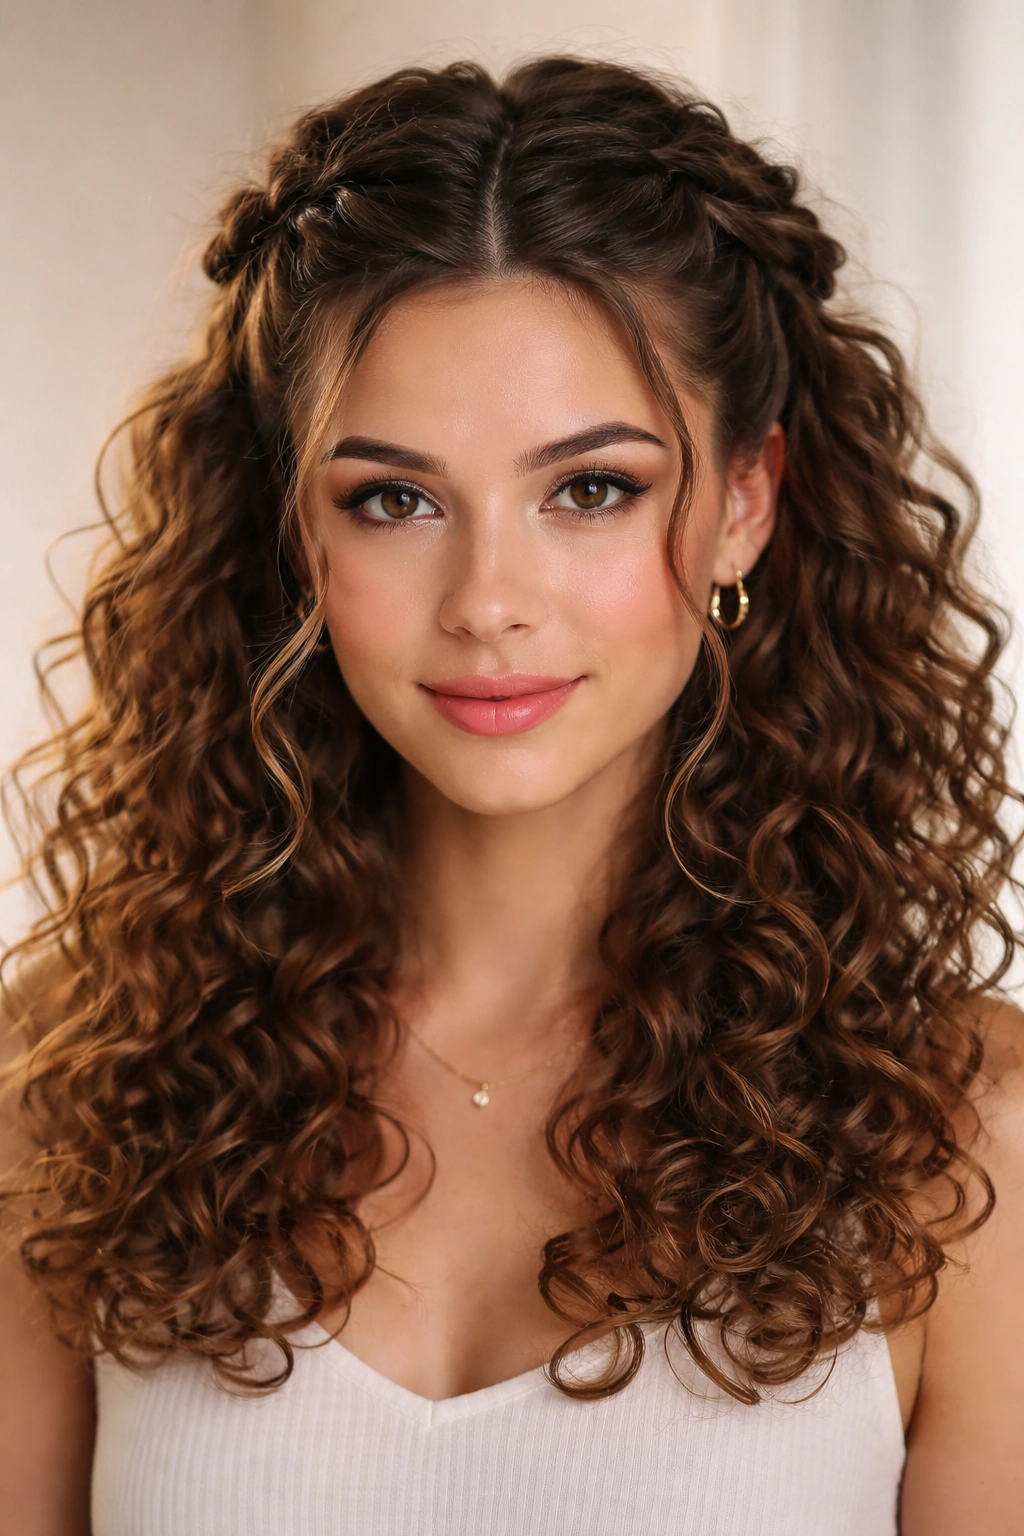
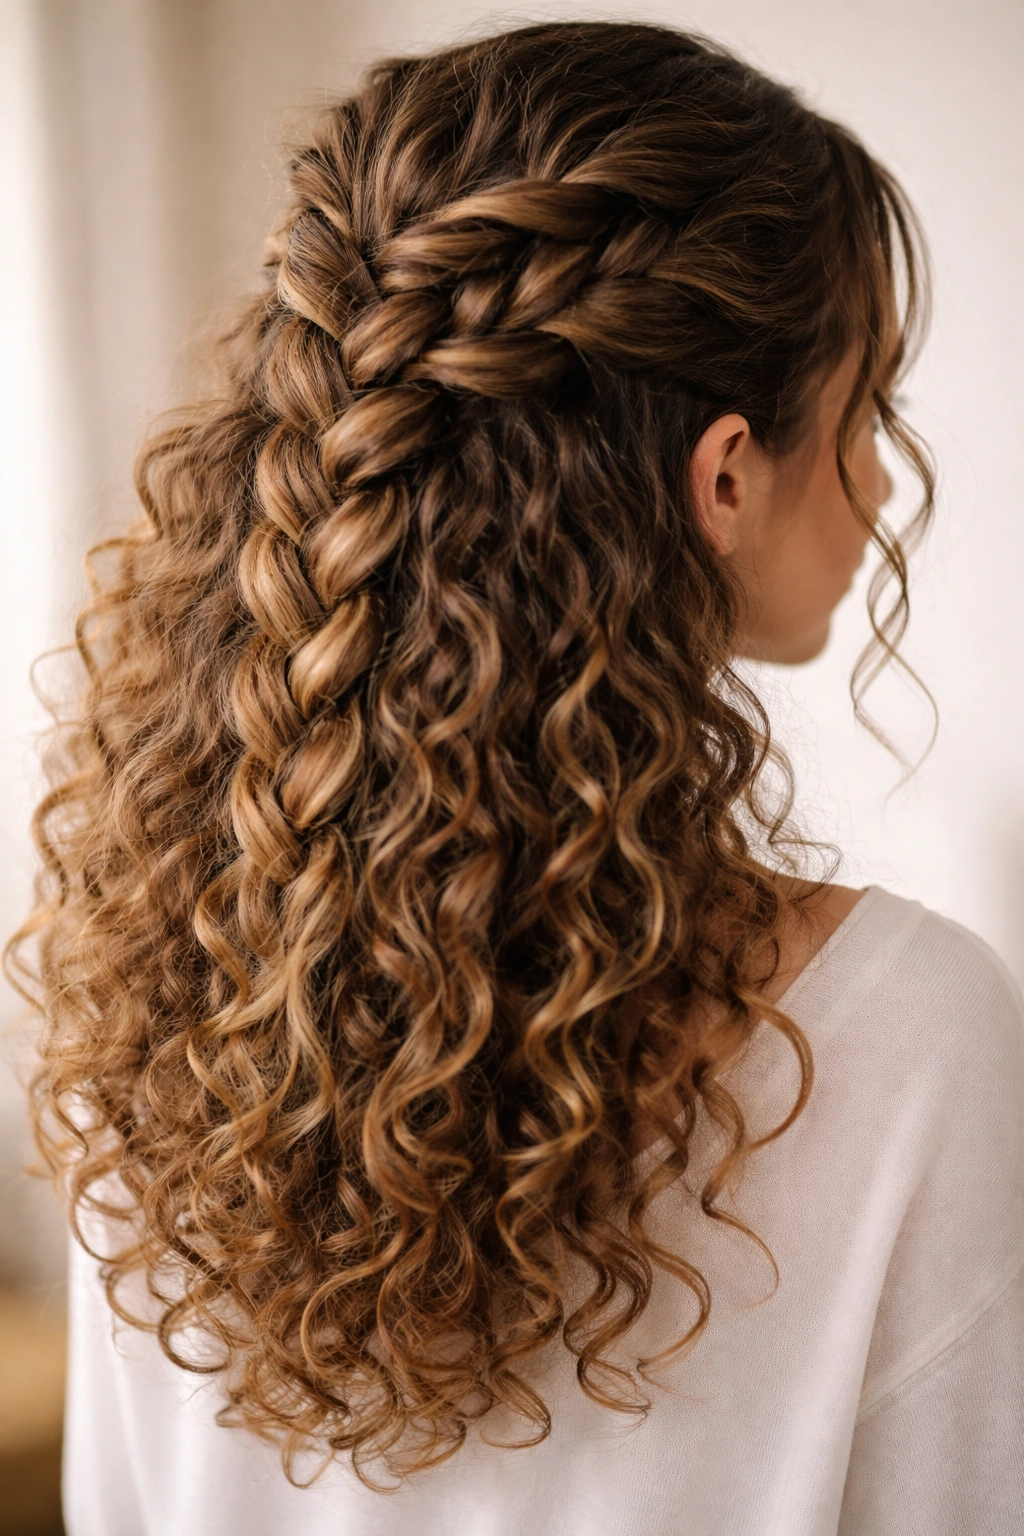
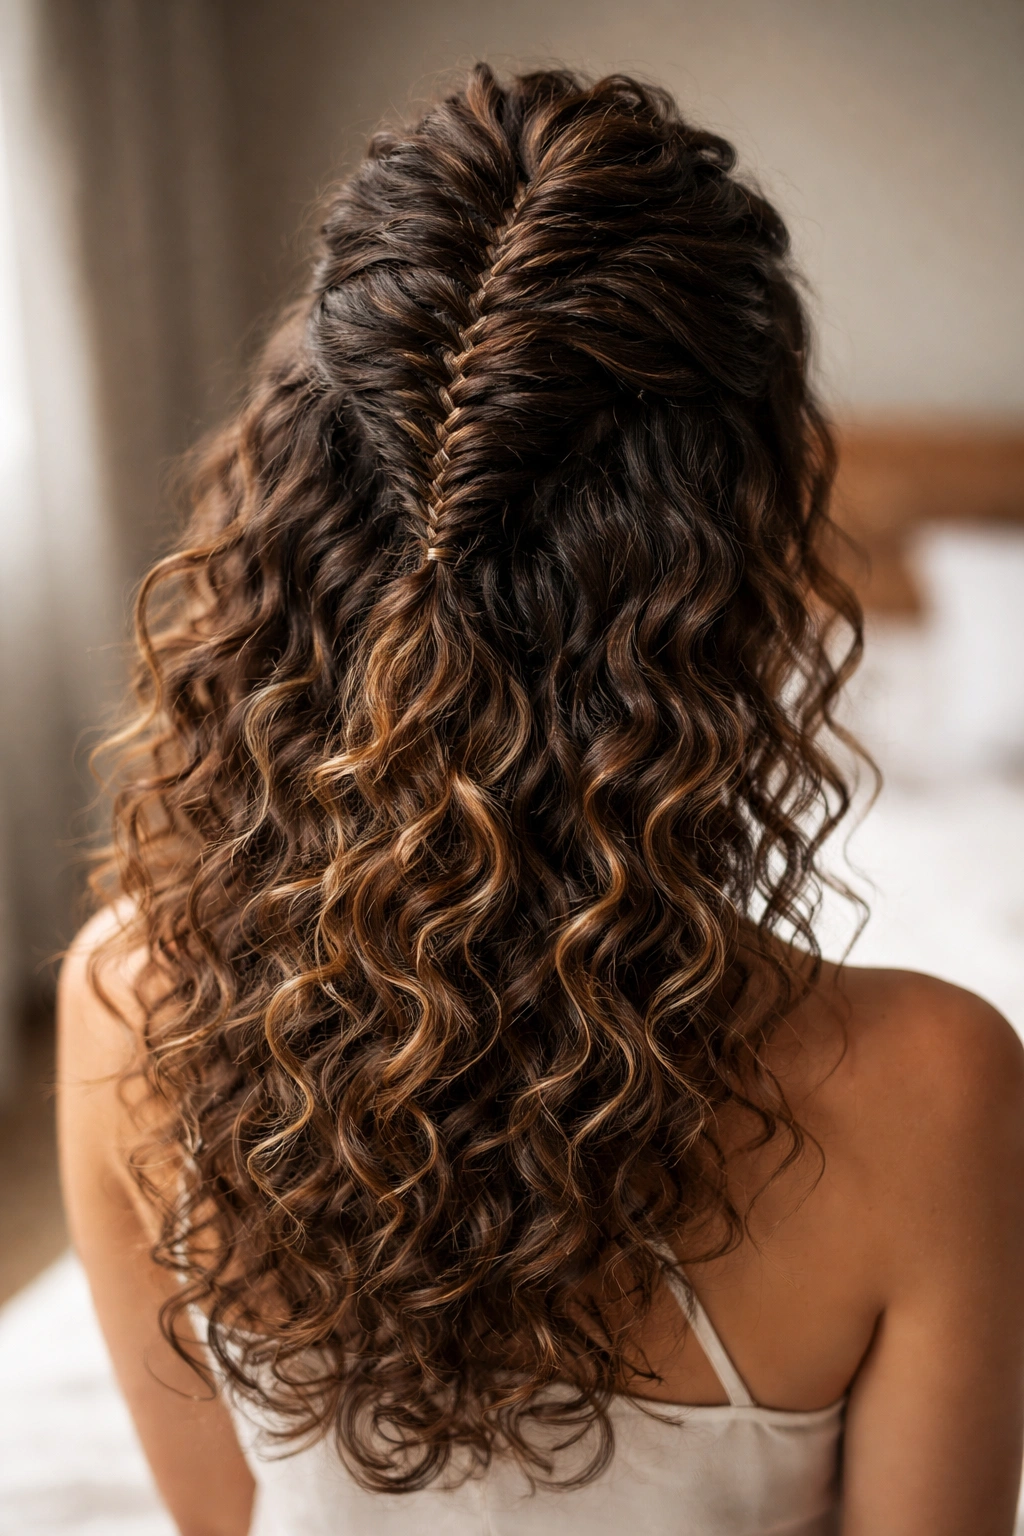
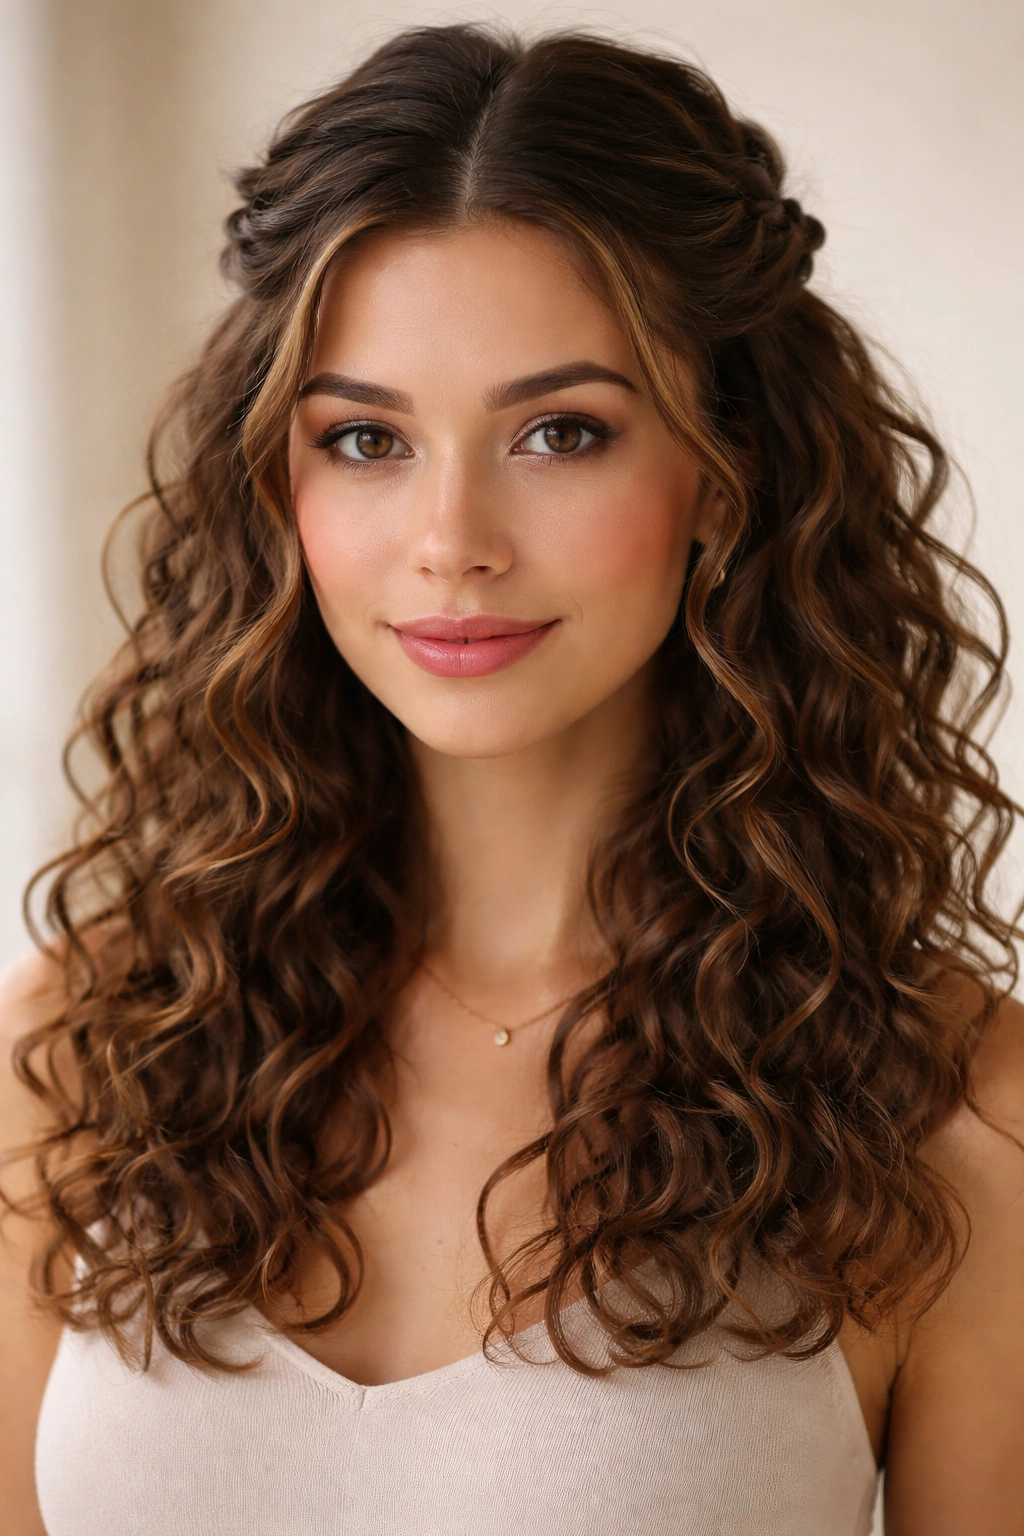
2. Braided Crown Half Up
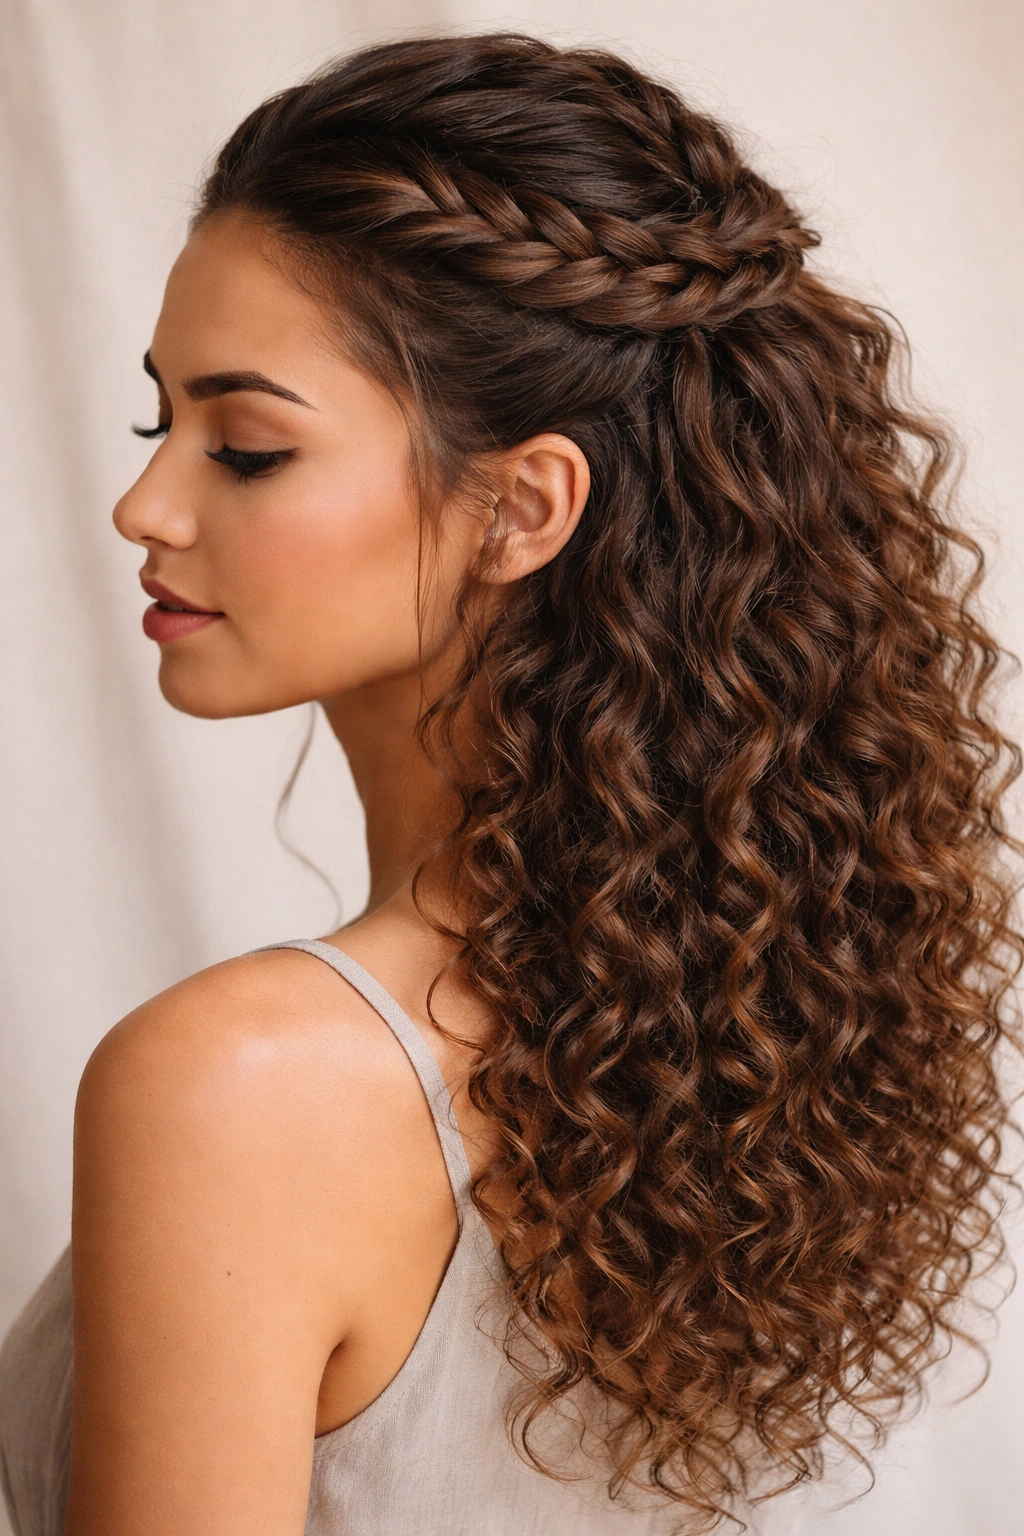
This style is perfect when you want something that looks more intentional and polished than a simple twist. Instead of twisting, you’ll create a braid that curves from one side of your head to the other, following the crown line. The braid acts as a crown that sections off the top half of your hair while letting the bottom half hang in a cascade of loose curls.
What Makes This Look Special
A braid immediately reads as more “done” than a twist, even though it’s not actually that much more difficult. For curly hair, braiding works because your curls naturally grip and hold the braid structure, meaning you don’t need to pull it super tight like you might with straight hair. The braided crown creates beautiful dimension and movement across the top of your head while keeping hair off your face and neck.
Steps to Create This Look
- Part your hair down the middle or to the side, depending on your preference and face shape
- Starting at one temple area, begin a Dutch braid or French braid heading toward the back of your head
- Braid all the way to the opposite side, following the natural curve of your head
- Secure the end of the braid with a small elastic, and tuck it into the hair at the nape of your neck or at the crown
- Gently pull and fluff the braid to create texture and loosen it so your curls still shine through
- Let the bottom half of your hair fall in loose, defined curls
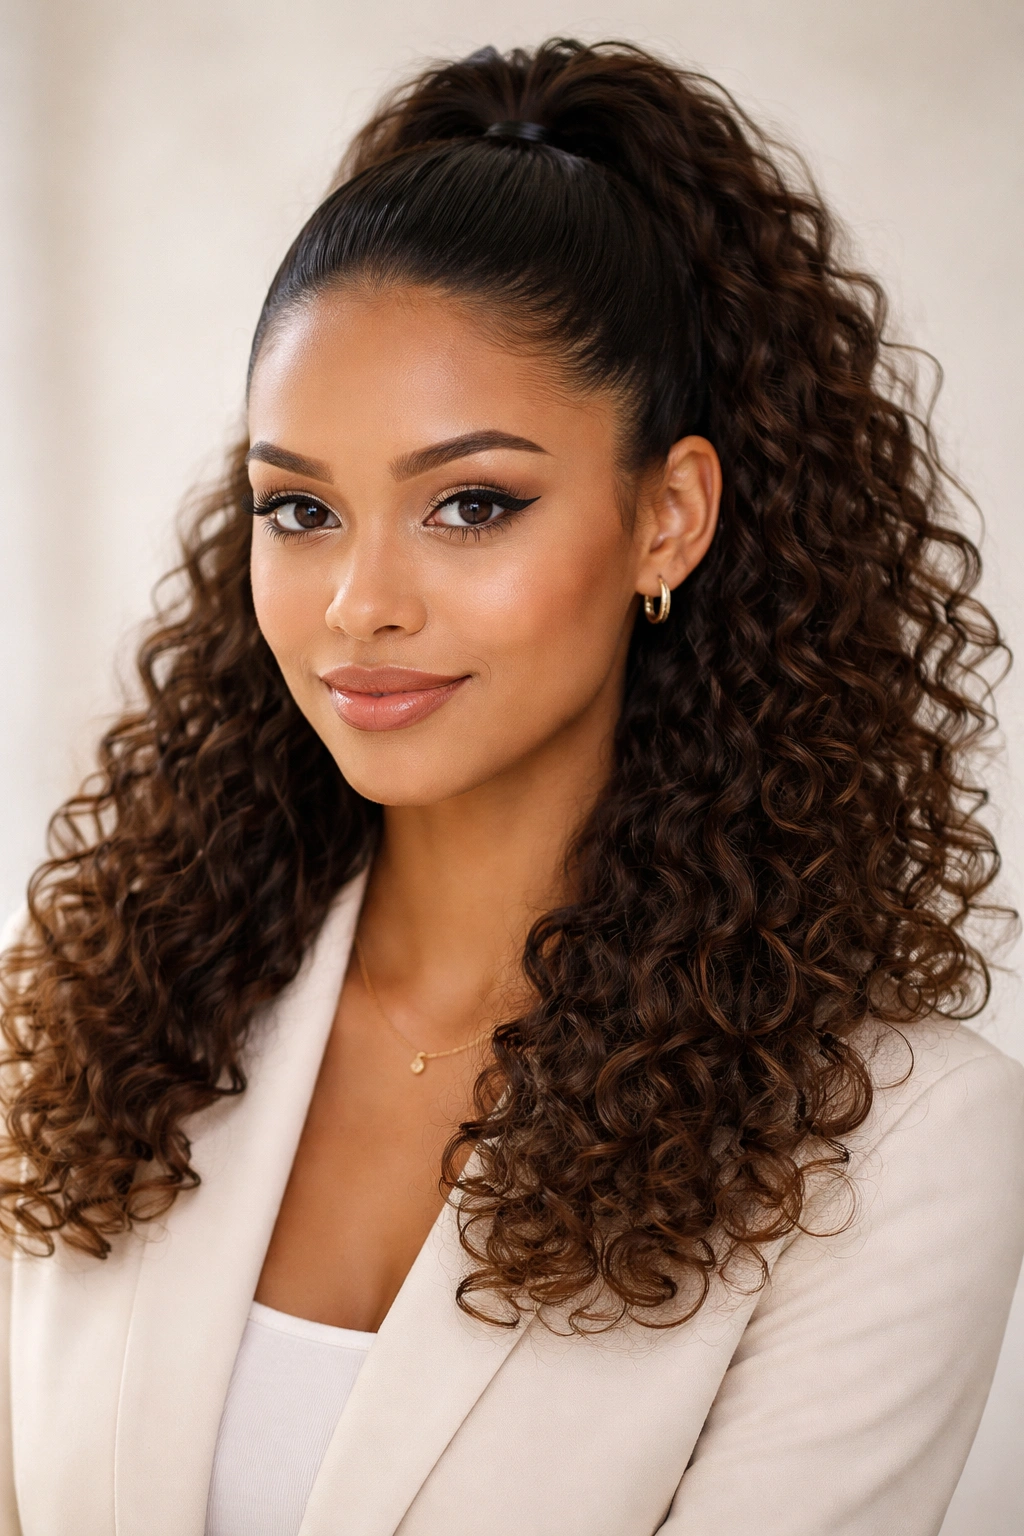
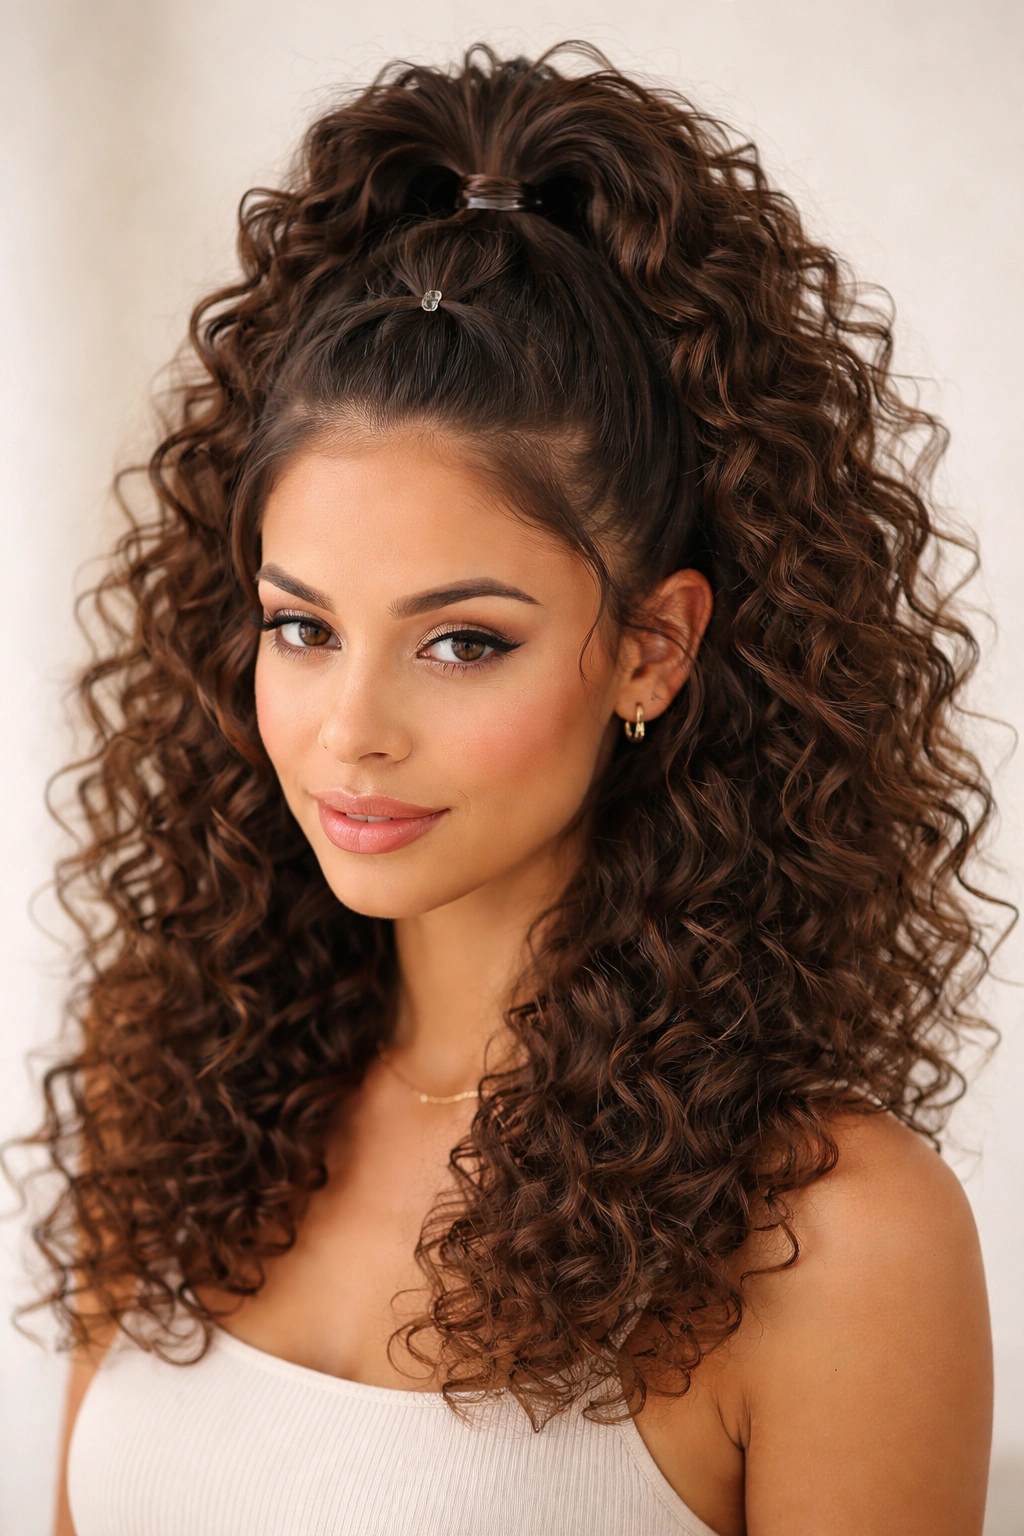
3. Voluminous Pony with Loose Curls
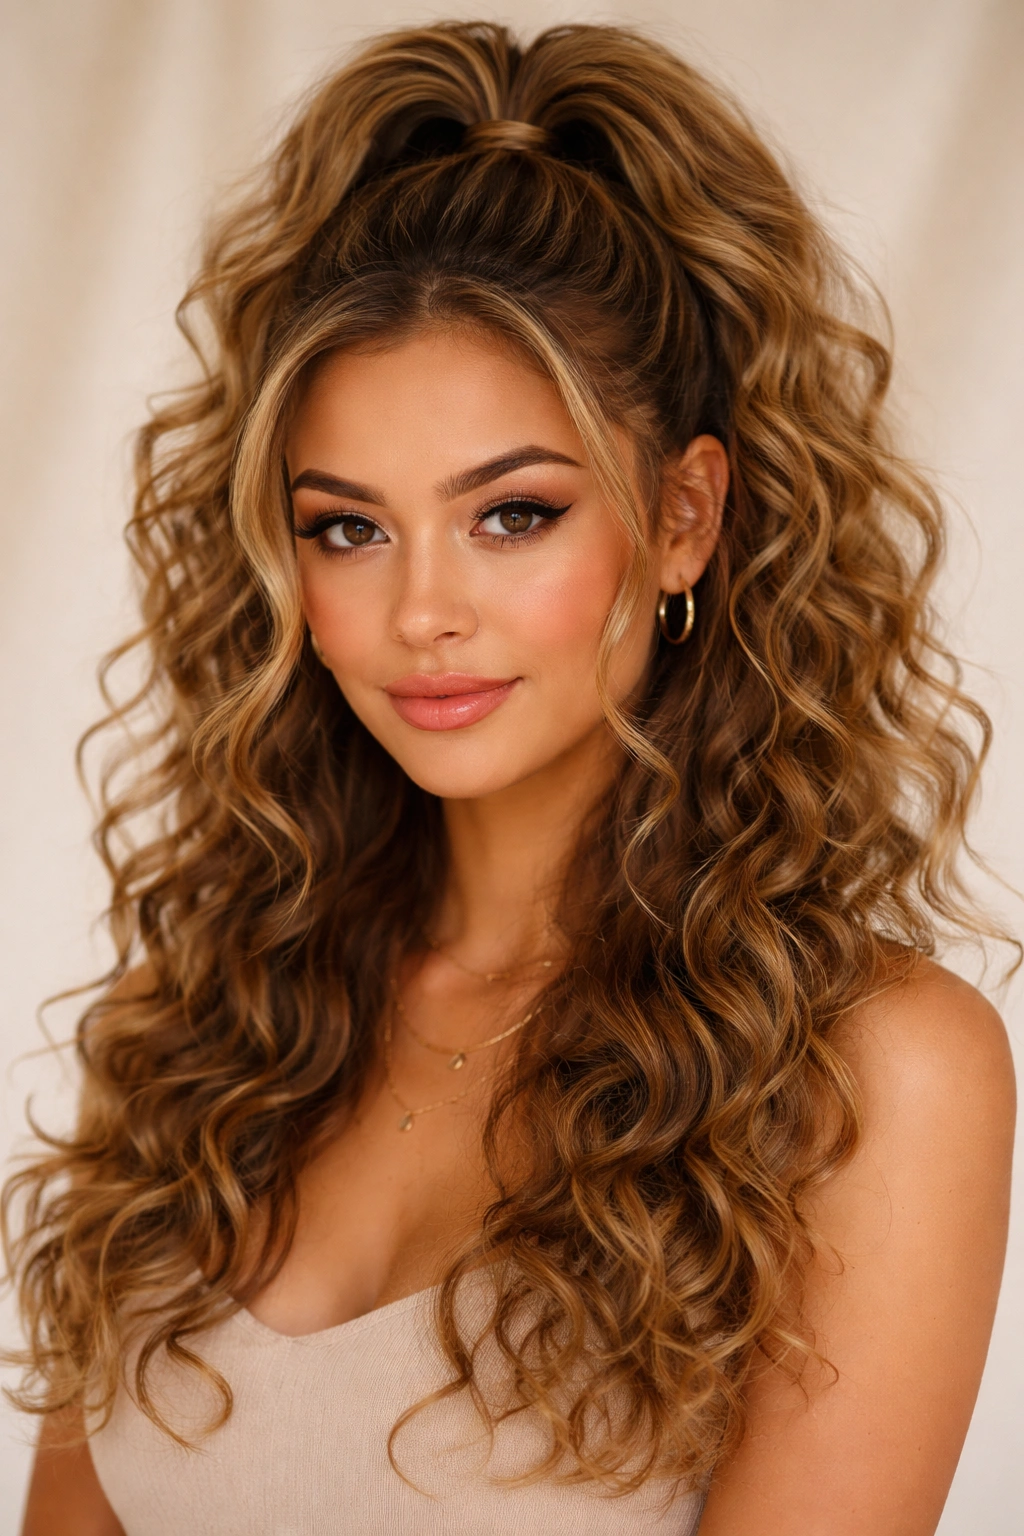
This style is exactly what it sounds like — you’re pulling the top half of your hair into a ponytail while leaving the bottom loose, but you’re doing it in a way that creates maximum volume and movement. The key is placement and technique; you want the ponytail to sit high enough that it creates that half up half down silhouette, but you’re securing it in a way that keeps your curls bouncy and full.
Why This Creates Such Impactful Volume
When you pull your hair into a high ponytail, you’re gathering the most textured, voluminous part of your curly hair (usually the top) into one concentrated point. This naturally makes that section look fuller and more dramatic. For medium curly hair, a high ponytail can look especially striking because the length and density of your curls create incredible movement and bounce even when partially gathered.
How to Build Maximum Volume
- Flip your head upside down and gather the top half of your hair at what would normally be crown level
- While upside down, secure with an elastic
- Flip your head back up and adjust the ponytail position if needed
- Use your fingers to gently pull and tease the crown area beneath the ponytail to create even more lift
- Loosen the elastic slightly so the ponytail feels voluminous rather than sleek
- Let the bottom half of your curls fall naturally, creating beautiful contrast
Worth knowing: The messier and more textured your bottom curls look, the better this style works — it shouldn’t look perfect.
4. Textured Knot Half Up
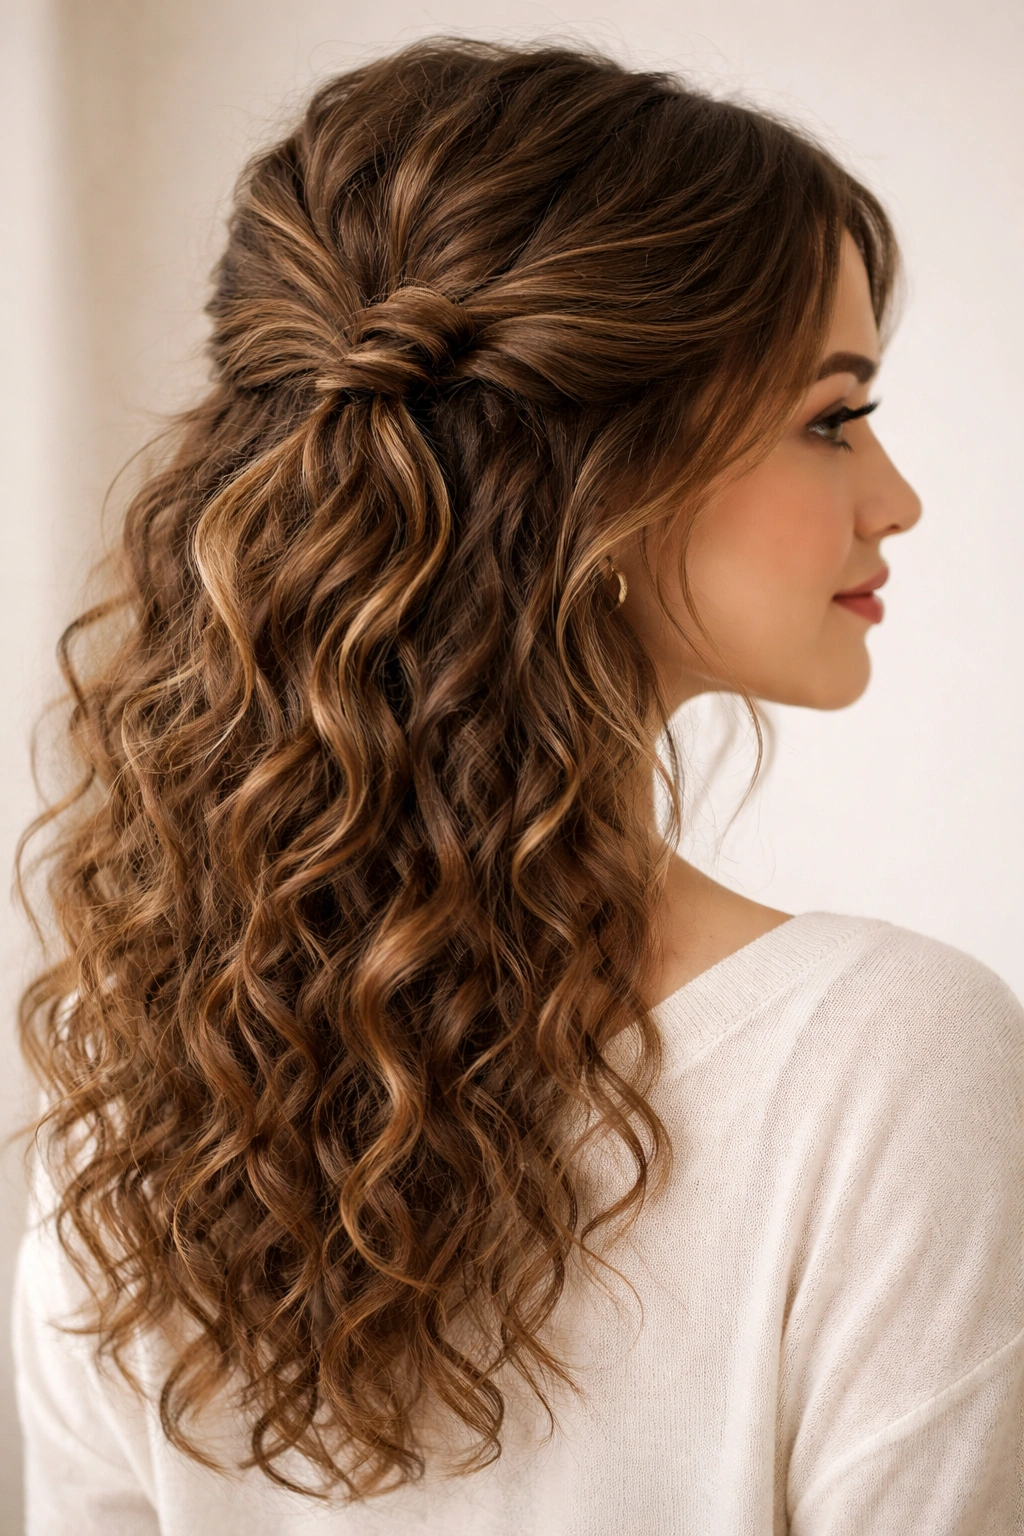
Instead of a braid or twist, this style uses a simple knot to secure the top half of your hair. Take two sections from either side of your head, bring them together at the crown, tie them in a basic overhand knot (like you’re starting to tie your shoes), and then secure the knot with a bobby pin or elastic. The result is a playful, modern-looking style that’s surprisingly easy to execute.
What Makes This Different From Other Styles
A knot style has a very specific aesthetic — it’s playful and youthful while still looking intentional and styled. For curly hair, knots work particularly well because the texture naturally prevents the knot from looking too geometric or tight. The curls integrate into and soften the knot, making it feel organic rather than architectural.
Instructions for a Perfect Textured Knot
- Section off about an inch-wide section from each side of your head at temple level
- Bring both sections to meet at the crown
- Tie them in a single, loose knot — you want the knot to sit on top of your head, not tight against your scalp
- Tuck the ends under and secure with bobby pins, or let them fall naturally and secure with an elastic
- Gently fluff and texture the knot area so it looks a bit undone and playful
- Leave the rest of your curls completely loose for maximum impact
5. Clipped Half Up with Wispy Tendrils
This approach uses a decorative clip or claw to gather the top half of your hair, creating a sleek, modern look that instantly elevates your style. Instead of an elastic, you’re using a hair clip — this means you can easily remove it and change your look, and the clip itself becomes a design element of the hairstyle. For curly hair, a clip works beautifully because you can create volume around the clip while keeping the gathered section clean and defined.
How a Clip Changes the Aesthetic
Clips have come way back in fashion, and for good reason — they’re functional, they look intentional, and they come in SO many styles. A tortoiseshell clip, a metallic clip, or even a sleek black clip completely changes the vibe of your half up half down look compared to using an elastic. The clip creates a more polished, put-together appearance while still keeping that casual, textured feel of your curly hair.
How to Style With a Clip
- Gather the top half of your hair as you normally would, either with a twist, braid, or simple section
- Instead of securing with an elastic, slide a claw clip or hair clip over the gathered section
- Position the clip so it’s visible and becomes part of the design
- Pull and adjust the hair around the clip so you have some softness and texture, not a super sleek look
- Leave wispy tendrils falling around your face from the sections you gathered
- Let your bottom curls fall freely and fully
Pro tip: This style works best when you don’t gather your hair too tightly — you want some volume and texture visible above the clip for maximum visual interest.
6. Layered Braids Half Up
Instead of one braid, create two or three thinner braids on each side of your head and then gather them together at the crown. This creates incredible visual interest and texture while still maintaining that half up half down silhouette. Each braid can be a different thickness or tightness, which adds to the dynamic, lived-in feel of the style.
Why Layered Braids Work on Curly Hair
Curly hair naturally has texture and dimension, so adding multiple braids amplifies that quality. Each braid catches light differently, and the combination of braids plus loose curls creates a hairstyle with serious visual depth. This style also distributes the weight across your head differently than a single braid, which can actually be more comfortable if you have a lot of hair.
How to Execute Layered Braids
- Create one thin Dutch or French braid on each side of your head, starting at the temple area
- You can also create a very thin braid down the center back if you want three total
- Braid each section all the way back, gathering them at the crown
- Secure all the braids together with one elastic, or pin them separately for a more organic look
- Gently pull and fluff each braid to create texture and softness
- Leave the bottom half of your hair completely loose and curly
7. Sleek Top Half Up
If you want a more polished, professional look, a sleek top half up style is your answer. This involves smoothing the top section of your hair and pulling it back cleanly, creating a sharp contrast between the sleek gathered section and the soft, textured curls below. You’ll want to use a styling cream or gel on the top section to smooth it out, which works beautifully on curly hair because the product creates definition while keeping everything neat.
When to Wear This Style
The sleek top half up works beautifully for professional settings, formal occasions, or when you want your style to feel more put-together and intentional. The contrast between the smooth top and the curly bottom is striking and modern. This style also works great if your curls aren’t cooperating on a particular day — you can tame the top and let the bottom do its thing.
Steps for a Smooth, Professional Look
- Apply a smoothing cream, gel, or edge control to the top half of your hair
- Use a brush or comb to smooth the top section back toward your crown, creating a sleek appearance
- Secure at the crown with an elastic, making the line as neat as you want
- You can tease the underneath slightly to create volume beneath the sleek layer
- Let the bottom half of your curls hang loosely and naturally
- Use a light hairspray to keep the sleek section in place throughout the day
8. Curly Bun Half Up
This style takes the half up half down concept and adds a bun to the gathered section, creating extra volume and visual interest. Instead of just securing your hair with an elastic, you’re twisting, braiding, or coiling the gathered section into a small bun at the crown. This creates a more dramatic look while still showing off your loose curls below.
What Makes a Bun Work With Curly Hair
Buns on curly hair look naturally textured and full because of the curl pattern — even a tight bun gets softness from the individual curls. A half up bun is the perfect way to show this off because you’re not smoothing your entire head into one bun; you’re just creating a small bun from the top section, which means the curls can be as textured and relaxed as you want them to be.
How to Create a Textured Half Up Bun
- Gather the top half of your hair at your crown, as you normally would
- Twist the gathered section loosely, then wrap it around itself to create a small bun
- Secure the bun with bobby pins, letting some curls escape for a relaxed feel
- Alternatively, braid the gathered section and then coil the braid into a bun
- Gently pull and tug the bun to create texture and make it look intentionally undone
- Leave the bottom half of your curls completely loose
9. Rope Twist Half Up Half Down
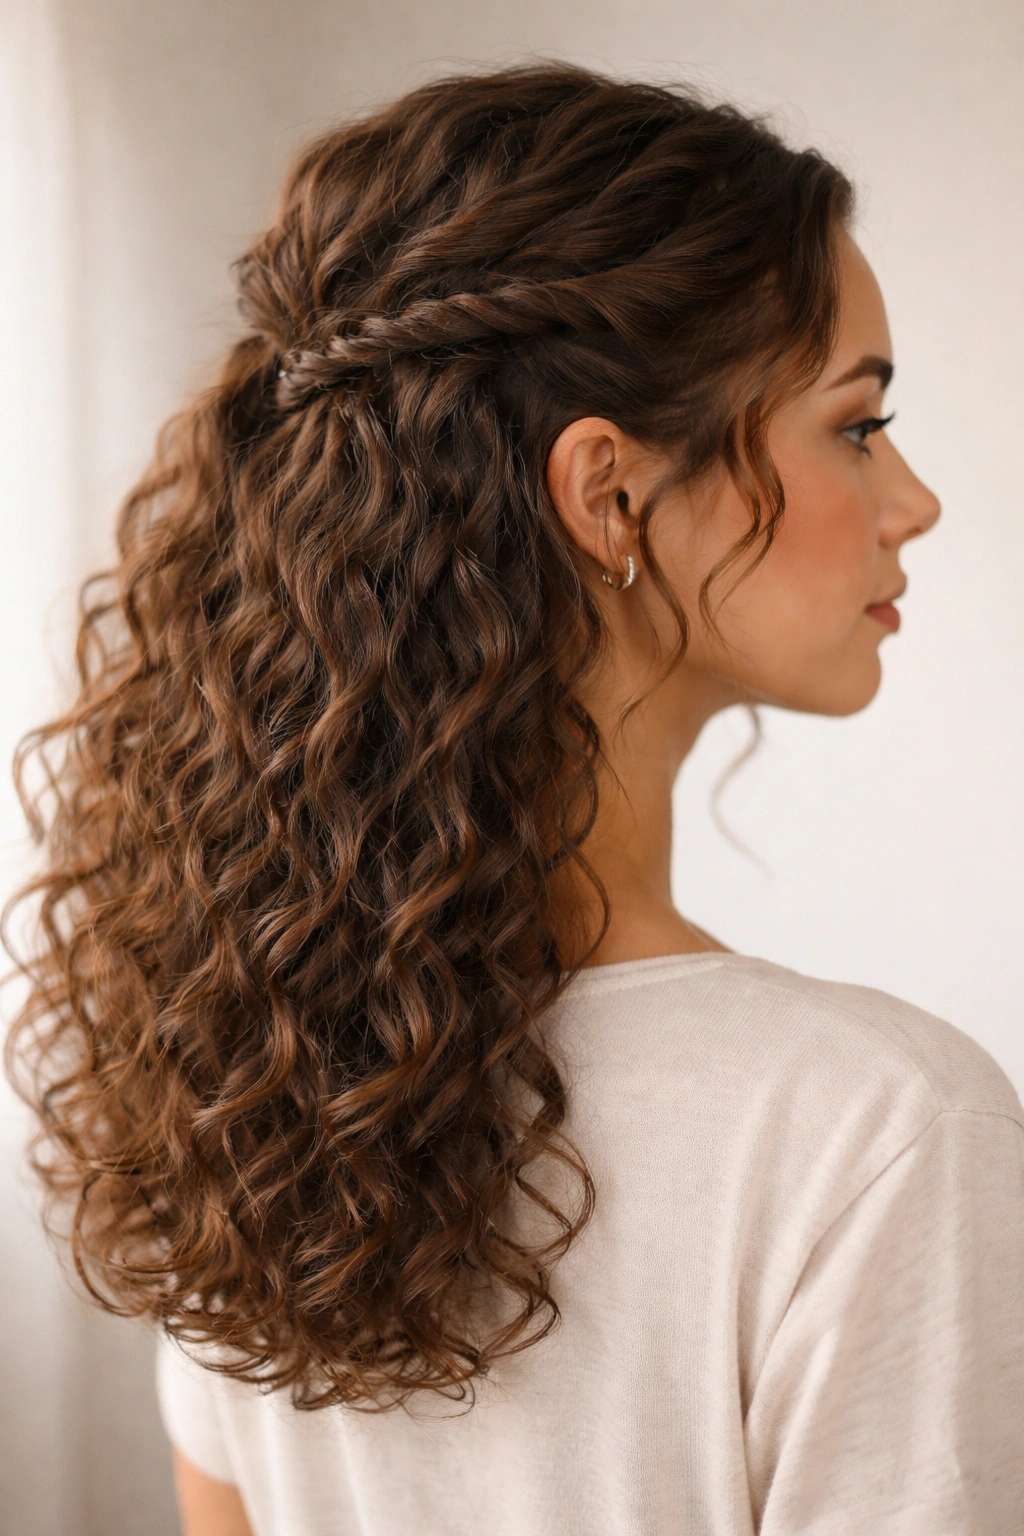
A rope twist is similar to a regular twist, but you’re creating a slightly tighter, more defined line by wrapping two small sections around each other in a rope-like pattern. This creates a more structured look than a simple twist while still being incredibly easy to do. For medium curly hair, a rope twist creates beautiful definition without requiring you to do anything complicated.
The Difference Between a Twist and a Rope Twist
A rope twist involves taking two small sections of hair and wrapping them around each other, rather than twisting a single section. This creates more visual interest and a slightly more polished appearance. The double-wrapping also tends to hold better throughout the day, which is helpful if you’re doing this style on your way out the door.
How to Create Perfect Rope Twists
- Take a small section of hair from one side of your head at temple level
- Take another small section from the opposite side
- Wrap these two sections around each other (around and around, like twisting two ropes together) all the way back to the crown
- Continue wrapping until you reach the back, then secure with an elastic or bobby pin
- Gently loosen the rope twist by pulling sections outward to create texture
- Leave your bottom curls completely loose and bouncy
10. Curly Shag Half Up
A shag half up style works beautifully if you have layers in your hair — which many people with curly hair do, either intentionally or naturally. This style involves gathering just the top layer of your hair (not all the way down to your roots, just the shorter layers) into a half up style, while leaving the longer, bottom layers completely loose. This creates incredible movement and dimension because you’re working with the existing texture of your cut.
Why Layers Make This Style Shine
If your hair has layers, you already have built-in texture and movement. A shag half up style takes advantage of that by gathering only what needs gathering. This approach naturally looks more modern and intentional than gathering all your hair, and it creates a shape that’s really flattering on most face shapes.
How to Style a Shag Half Up
- Identify where your layers start — usually around mid-crown or slightly below
- Gather just the hair above that point into your half up style (twist, braid, or bun)
- Leave all the longer, bottom layers completely loose
- The contrast between the gathered top and loose bottom creates the “shag” effect
- Scrunch and define your bottom curls separately if needed
- Use products sparingly so the layers can move and shift naturally throughout the day
11. Pinned Half Up with Face-Framing Curls
This style is all about creating intentional softness around your face while still pulling the top half of your hair back. You gather and secure the top half as usual, but you leave two or three small sections unclipped around your face. These face-framing sections fall loose and create the perfect frame for your features, plus they add movement and softness to the overall look.
Why Face-Framing Curls Matter
Face-framing elements are psychologically powerful in hairstyling — they soften the overall look and draw attention to your eyes and facial features. By intentionally leaving these sections loose while gathering everything else, you’re creating a style that’s both practical (hair’s off your neck and shoulders) and flattering (soft curl around your face).
How to Create Intentional Face-Framing
- Before gathering your half up section, identify where you want your face-frame to be
- Usually, you’ll want one curl-section on each side of your face, starting from around temple level
- Gather the rest of your hair (skipping those face-frame sections) and secure at the crown
- Use bobby pins to secure just the gathered section, leaving those face-frame pieces completely loose
- Let the face-frame curls fall naturally around your cheeks and temples
- Arrange them so they create the frame you want
Worth knowing: Your face-frame pieces should be small enough that they don’t fall into your face constantly, but loose enough that they create visible softness.
12. Double Twist Half Up
This style takes the simple twist concept and doubles it for extra impact. Create two separate twists on each side of your head, then bring them together and secure them at the crown. This creates incredible visual interest because you’re working with multiple lines and textures. For medium curly hair, double twists create a really modern, intentional look that still feels effortless.
What Makes Double Twists Stand Out
Two twists automatically look more intentional and styled than one. They also distribute weight differently across your head, which some people find more comfortable. The double twist creates a slightly fuller, more dramatic look at the crown while still maintaining that half up half down silhouette.
Steps to Create Double Twists
- Take a section from one side of your head and create a twist heading back toward your crown
- Simultaneously (or immediately after), create a second twist on the opposite side
- Bring both twists together at the crown and secure with one elastic
- You can leave the twist sections separate (pinning each one individually) or combine them
- Gently pull and fluff both twists to create texture and make them look relaxed
- Let your bottom curls fall in loose, defined waves
13. Bubble Ponytail Half Up
A bubble ponytail is made by creating a high ponytail and then securing the ponytail at intervals with small elastics, creating the visual effect of bubbles or separated sections. For a half up half down version, you create your half up ponytail as usual, then add two or three elastic bands down the length of the ponytail, creating that bubble effect. This adds visual interest and movement while keeping your style secure.
Why Bubble Ponytails Work on Curly Hair
Curly hair already has natural texture and separation, so the bubble ponytail amplifies that quality. Each “bubble” shows off your curl pattern, and the elastics create dimension and visual interest. This style is also incredibly practical if you’re doing an activity where you need your hair really secure.
How to Create a Bubble Ponytail Half Up
- Create your high half up ponytail as usual (twisted, braided, or simple)
- Starting about two inches below the elastic, place a small elastic around the ponytail
- Continue placing elastics every two to three inches down the length of the ponytail
- After placing each elastic, gently pull and fluff the section above it to create the bubble shape
- The bubbles should look textured and full, not tight and defined
- Your bottom curls remain loose and fully visible below the lowest elastic
14. Faux Bob Half Up
A faux bob is created by tucking your longer hair under itself to create the visual appearance of a shorter bob, usually while leaving some face-framing pieces loose. For a half up version, you’re creating that faux bob effect with your half up section, which is clever and fun. Your top section gets twisted or braided, then the bottom is loosely tucked or pinned to create the illusion of a shorter style, while actually still having all your hair.
When to Wear a Faux Bob Look
A faux bob half up is perfect when you love the way a bob looks but you’re committed to keeping your length. It’s also great for days when you want to try something different without actually getting a cut. The style photographs beautifully and creates a totally different silhouette than your usual long curly hair look.
How to Create a Faux Bob Effect
- Create your half up section as usual (twisted, braided, or simple)
- Gather the loose bottom half of your hair
- Tuck and pin the loose section upward and under itself, creating the appearance of a shorter length
- Secure with bobby pins, letting a few strands escape around your face
- Adjust until the silhouette looks like the bob you’re trying to recreate
- You can leave some longer pieces loosely pinned for movement
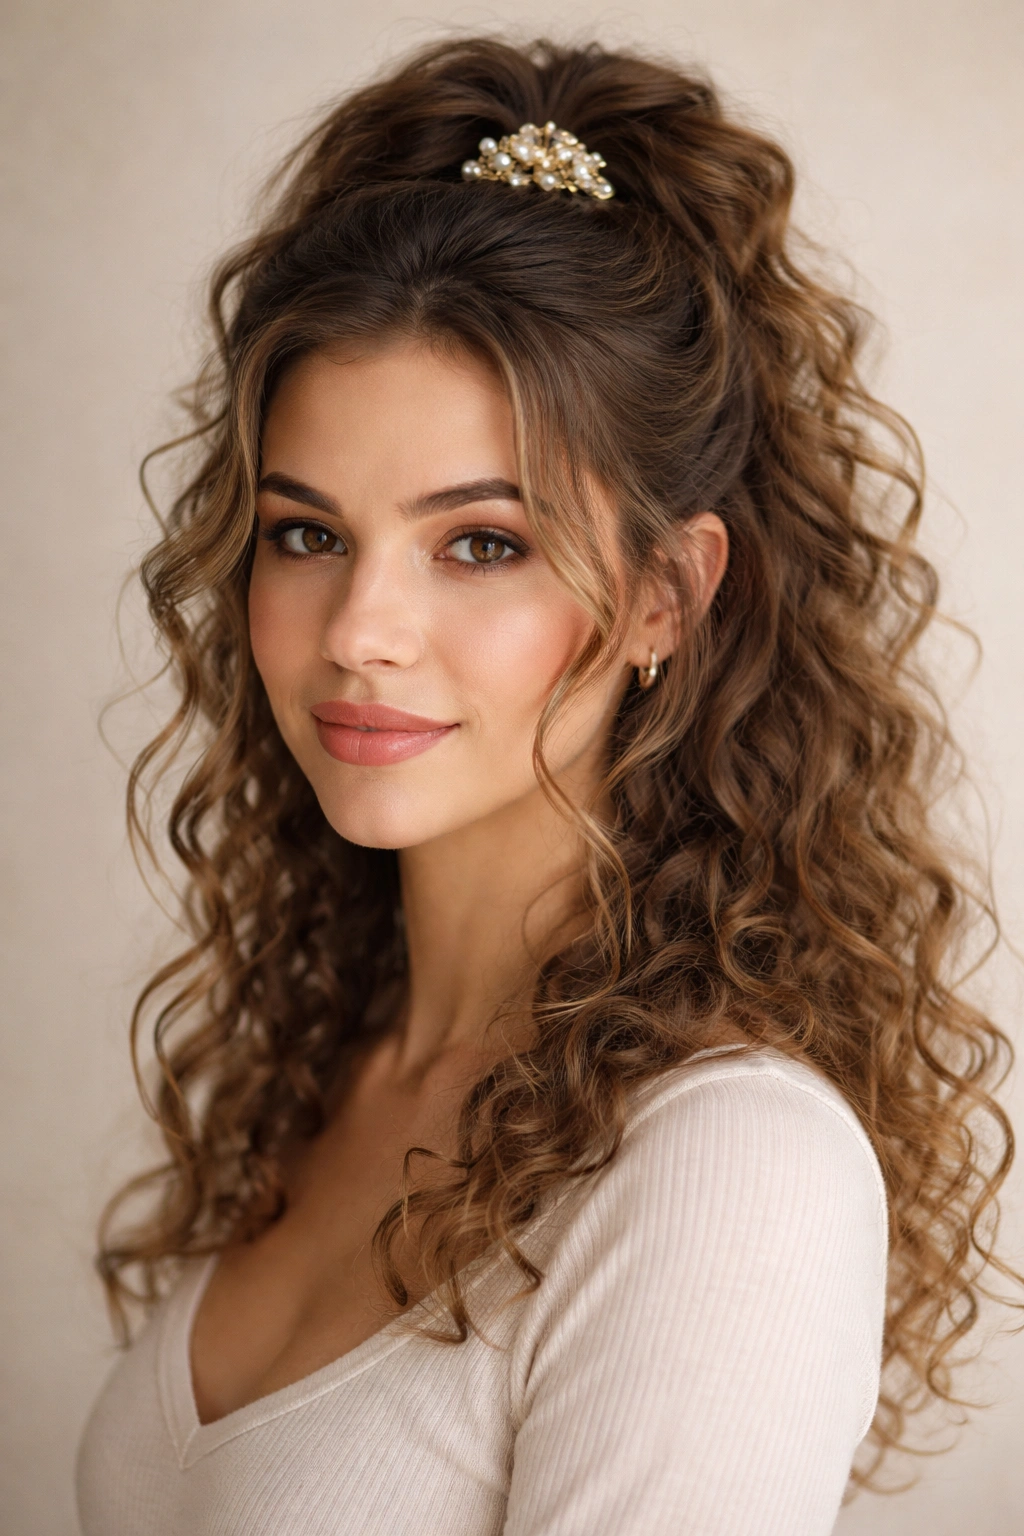
15. Wispy Half Up with Decorative Clips
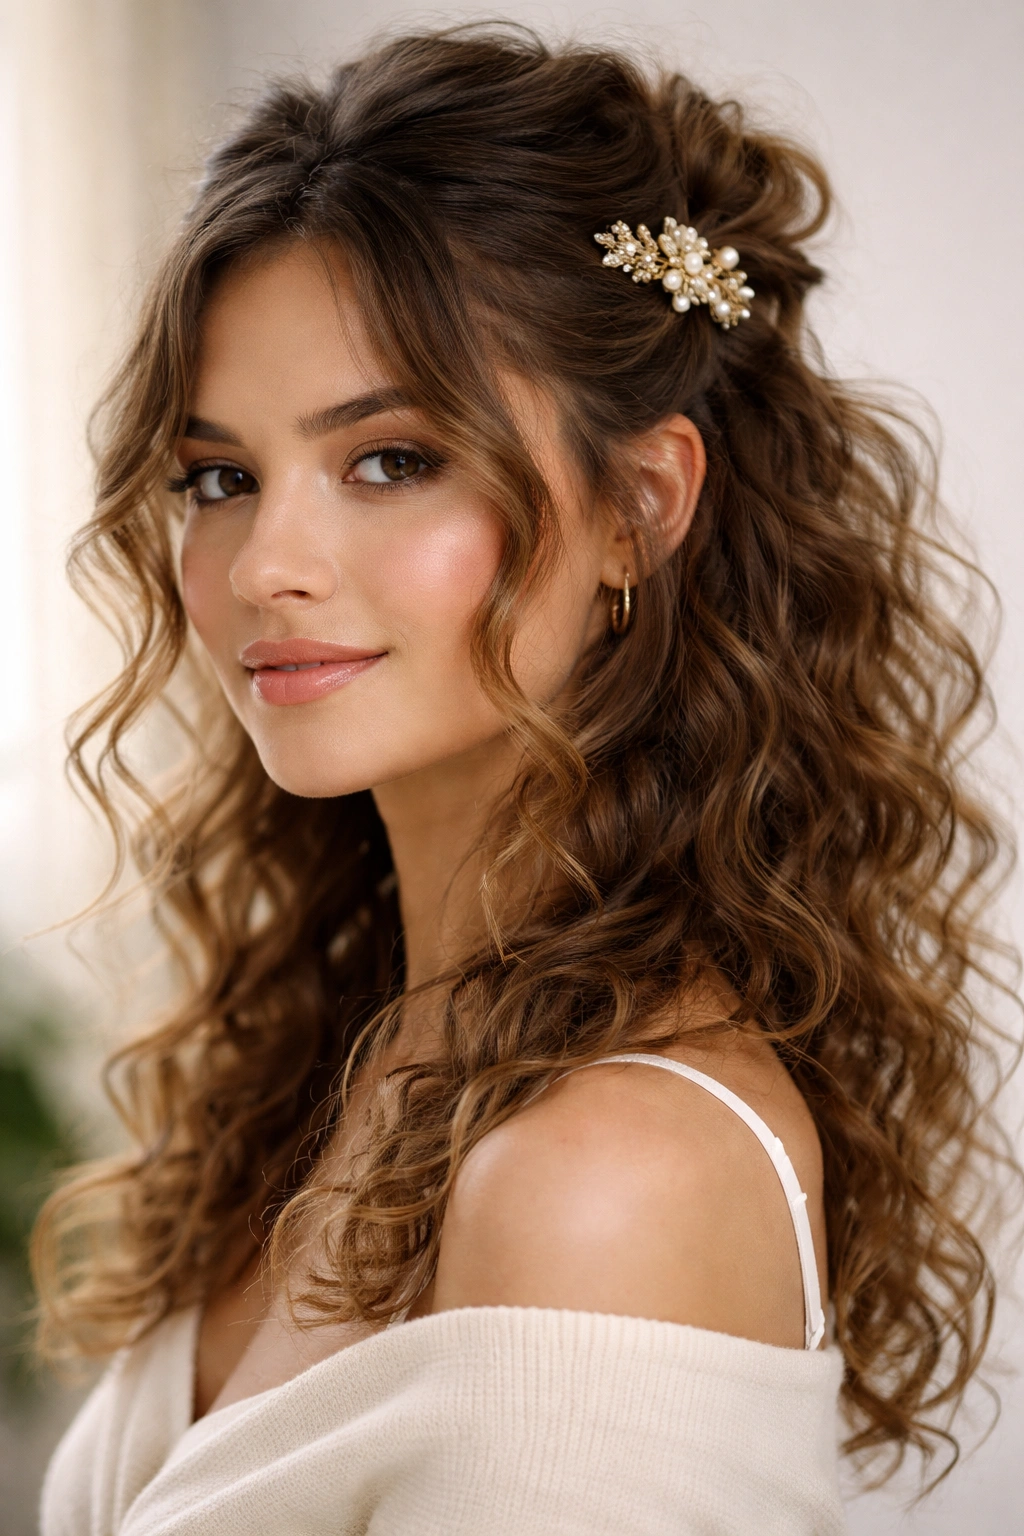
This style is all about using decorative elements to amplify the visual impact of your half up half down look. Instead of a basic elastic, you’re using decorative clips, barrettes, or other hair jewelry to secure your gathered section. These accessories become design elements that completely change the vibe and sophistication of the style. For curly hair, decorative clips look especially impactful because the texture showcases the jewelry beautifully.
How Accessories Transform a Basic Style
A simple half up style secured with a basic elastic is one thing; the same style secured with a beautiful clip or barrette is completely different. Accessories draw the eye and signal that you’ve put thought into your styling. They’re also incredibly practical because they make the style easy to undo whenever you want.
How to Use Accessories Effectively
- Create your half up section (twist, braid, or simple gathering)
- Instead of an elastic, use a decorative clip, barrette, or hair stick to secure the section
- Position the accessory so it’s visible and part of the design
- Leave wispy sections around your face and at the crown for softness
- Choose an accessory that complements your outfit or jewelry for extra cohesion
- The accessory should feel intentional, not like an afterthought
Pro tip: Tortoiseshell, pearl, and metallic clips look especially beautiful against curly hair texture because the light catches the curls and the clip differently.
16. Thick Braid Half Up
While a thin braid creates delicacy, a thick braid creates drama and visual impact. For this style, you’re creating a chunky, substantial braid (or sometimes two thick braids) to gather your top half. Thick braids work beautifully on medium curly hair because your hair already has volume, and a thick braid takes full advantage of that natural density.
Why Thick Braids Look Amazing on Curly Hair
Curly hair has inherent volume and texture, so when you braid it, you get a braid that’s automatically full and dimensional. A thick braid on curly hair catches light differently than a thin braid, and the individual curls create texture within the braid itself. This style is bold and intentional-looking without being difficult to achieve.
How to Create a Thick Braid
- Take a substantial section of hair from one side of your head (about two inches wide)
- Begin a Dutch or French braid with that thick section
- Braid all the way to the crown or to the opposite side of your head, depending on the effect you want
- You can create one thick braid down the center, or two thick braids from each side brought together at the crown
- Gently pull the braid to loosen it and create texture
- Leave all your bottom curls completely loose for maximum contrast
17. Mohawk Half Up
A mohawk half up is a bold, edgy take on the traditional half up style. You’re gathering hair from both sides of your head and bringing it all together to create a line of gathered hair down the center of your head, like a subtle mohawk. This creates incredible visual impact while still maintaining the half up half down silhouette, and it’s actually much easier to wear in everyday life than a traditional mohawk.
What Makes a Mohawk Style Work
A mohawk immediately reads as statement-making and intentional. For curly hair, a half up mohawk works because your texture naturally creates movement and softness that prevents the style from looking too harsh. You get the visual interest of a mohawk without the commitment or difficulty of doing a true mohawk.
How to Create a Half Up Mohawk
- Take sections from both sides of your head at temple level
- Bring them both toward the center crown, creating two sections that will meet in the middle
- Twist or braid each section separately, then bring them together at the crown
- Alternatively, gather both sections loosely and secure them together at the crown with an elastic
- Gently pull and fluff the gathered sections to create volume and texture
- Leave the entire rest of your hair loose and curly below
18. Textured Updo Half Style
This style blurs the line between a half up half down and a partial updo. You’re gathering and styling the top portion of your hair into a loose, textured updo (think: undone bun, twisted shape, or coiled effect), while leaving a substantial amount of hair loose below. This creates a look that’s more styled than a typical half up, but not quite a full updo.
When This Level of Styling Works
A textured updo half style is perfect for dates, events, or special occasions when you want to look more dressed up without doing a full formal updo. The style is also great for days when you want to show off both the texture of an updo and the length of your loose curls.
How to Build a Textured Updo Half
- Gather the top two-thirds of your hair (or however much you want gathered)
- Create a loose, intentionally undone updo from the gathered section: twist it, coil it, or loosely braid it into a shape at the crown or slightly lower
- Secure with bobby pins, letting texture and curls escape everywhere
- Leave the bottom third of your hair completely loose
- Gently pull and adjust the updo section until it looks artfully undone, not perfectly polished
- A few flyaways and loose pieces actually improve this style
19. Side-Swept Half Up Half Down
Instead of gathering your hair at the center crown, this style sweeps one side of your hair back and secures it to the opposite side, creating an asymmetrical, romantic look. Your hair flows from one side to the other, and the gathered section sits off-center. This works beautifully for medium curly hair because the asymmetry adds visual interest and the curls create movement and softness.
Why Side-Swept Styles Feel Romantic
There’s something inherently romantic and soft about an off-center, asymmetrical hairstyle. Side-swept styles feel more elegant and less everyday than a centered half up, making them perfect for dates or special occasions. For curly hair, the asymmetry also shows off how your curls move and flow naturally.
How to Create a Side-Swept Half Up
- Instead of gathering at your center crown, twist or braid your hair starting from one side
- Bring the twist or braid across the back of your head to the opposite side
- Secure at the side or back, depending on how dramatic you want the sweep to be
- The gathered section should create a curved line across the back of your head, not a straight line
- Leave all the hair below the gathered section completely loose and curly
- Arrange face-framing pieces to fall naturally
20. Romantic Waves Half Up Half Down

This final style is all about emphasizing the romantic, soft quality of your natural curls while still keeping some hair pulled back. You’re creating your half up section as usual (twist, braid, or simple gathering), but you’re doing it in a way that celebrates softness, movement, and that effortless romantic vibe. This means looser twists, textured elements, and plenty of face-framing pieces left loose.
What Makes This Style Romantic
The romantic half up is defined by its emphasis on softness, movement, and natural texture. Instead of aiming for a polished or structured look, you’re deliberately creating a style that looks like your hair just naturally fell this way. For curly hair, this is almost effortless because your natural curl pattern already reads as romantic and soft.
How to Maximize Romance
- Create a very loose, relaxed twist or braid from your top section — don’t pull it tight
- Deliberately leave multiple face-framing pieces completely loose
- Secure your gathered section with a soft elastic or silk elastic that doesn’t create a harsh line
- Gently tug and loosen every section of your twist or braid
- Use a light curl cream or leave-in conditioner to enhance your natural waves
- The goal is to look like you just woke up beautifully, not like you spent an hour styling
Insider note: Silk elastics don’t create creases in your hair like regular elastics do, which helps the whole look stay soft and romantic rather than structured.
Final Thoughts
Half up half down styles are genuinely one of the best options for medium curly hair because they work with your natural texture instead of against it. Whether you choose something soft and romantic, bold and edgy, or polished and professional, the key is keeping your approach relaxed enough that your curls can still shine. The most beautiful thing about styling curly hair is that slightly imperfect, undone feeling actually looks intentional and gorgeous — embrace the texture, don’t fight it.
The styles covered here range from super simple (a basic twist or braid) to more involved (decorative clips or layered elements), so you’ve got options depending on how much time you have and what kind of look you’re going for. The wonderful thing is that you can literally do any of these styles in under five minutes once you’ve done it a couple of times. Start with whichever style speaks to you, practice it a few times to get the feel of how your specific curls work, and then branch out to others. Each time you try a different variation, you’re training your hair and your skills to work better together.