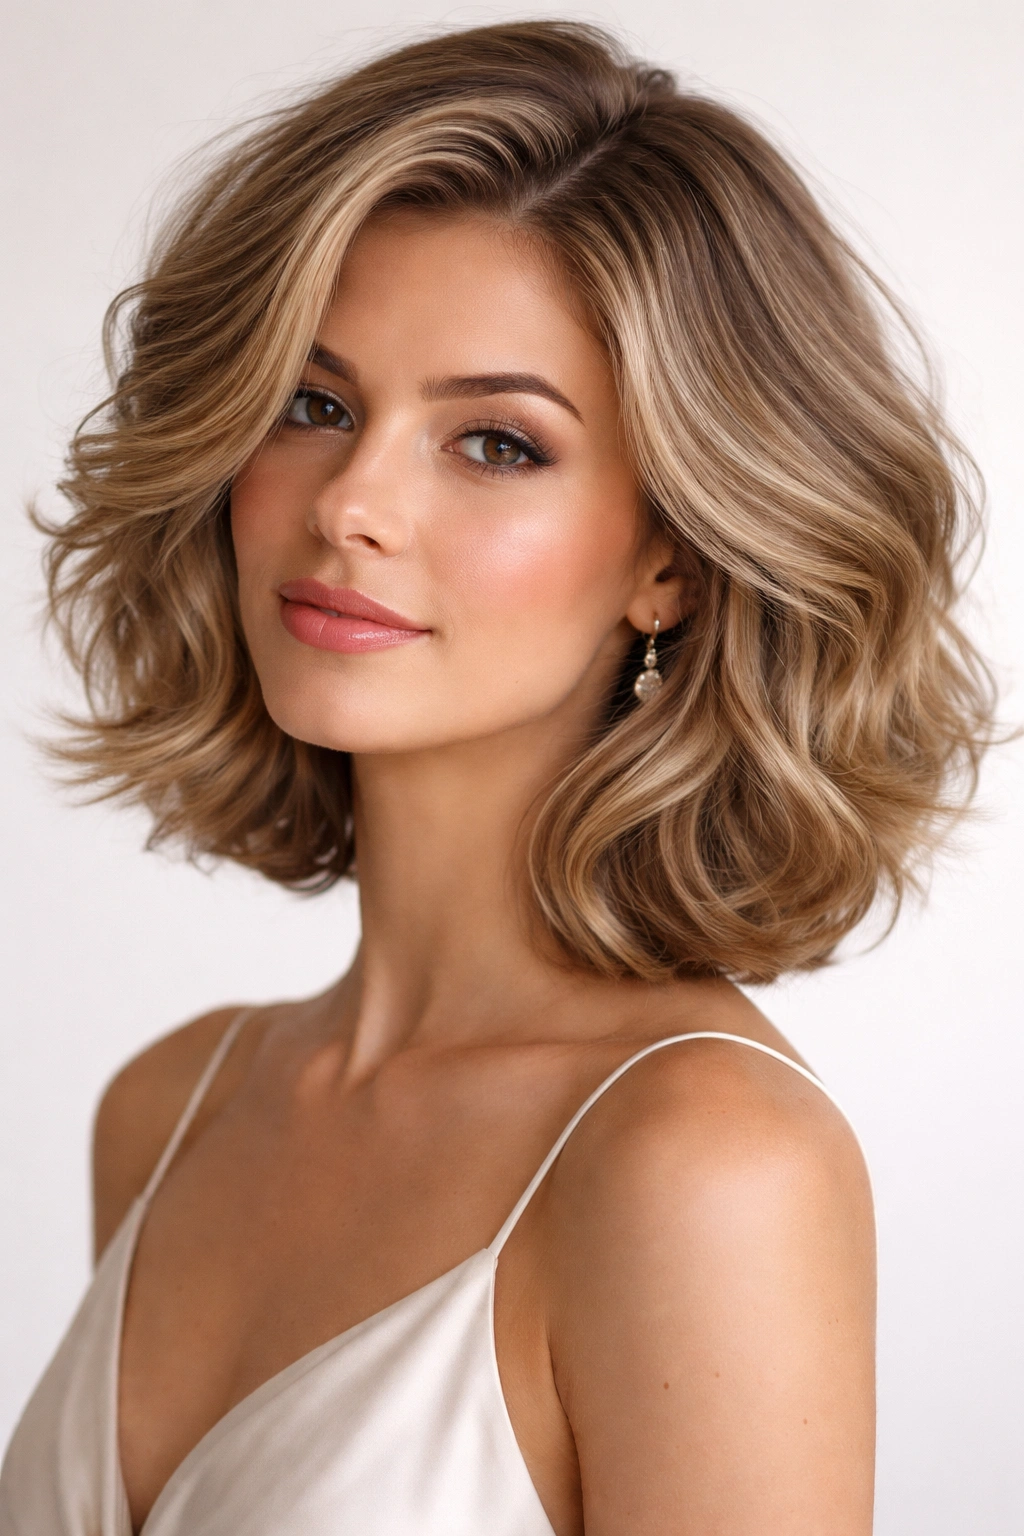
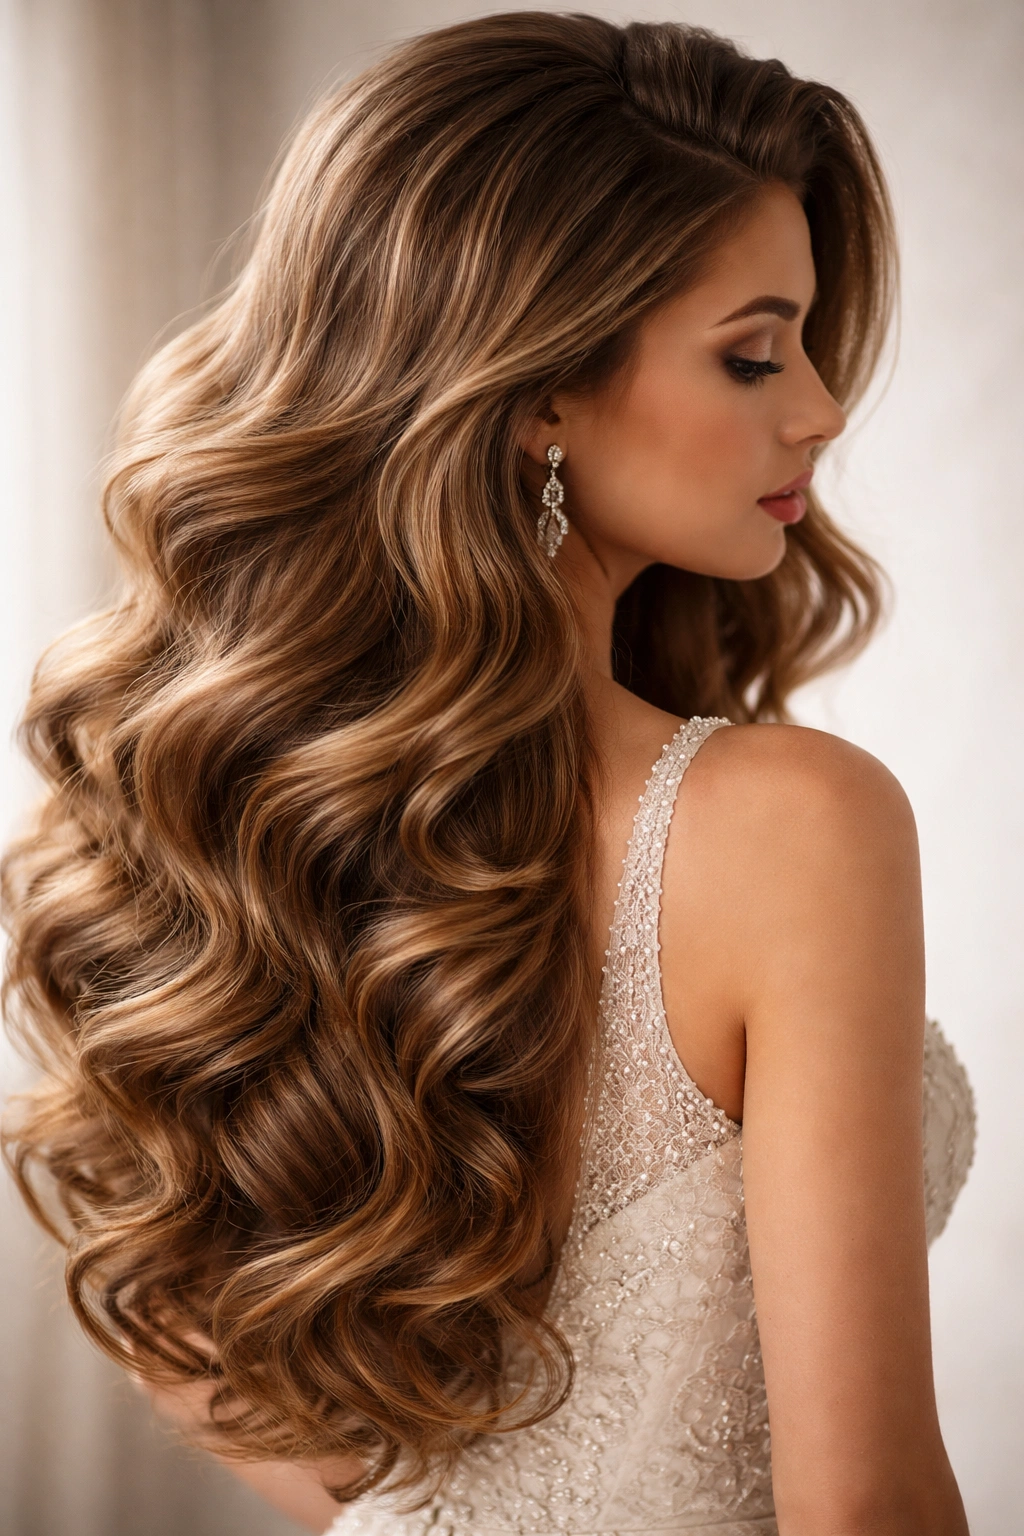
Choosing the right bridesmaid hairstyle is more important than most people realize. Your hair needs to complement the dress, work with the wedding’s aesthetic, survive the ceremony and reception, and make you feel confident and beautiful in every photo. Long wavy hairstyles are genuinely one of the most versatile options — they photograph incredibly well, they flatter almost every face shape, and they strike that perfect balance between polished and romantic that works for everything from classic garden weddings to modern celebrations.
The challenge is that “wavy hair” can mean a lot of different things, and what looks stunning in a single photo might not hold up through hours of dancing, humidity, and celebration. That’s why we’ve put together this comprehensive collection of long wavy hairstyles specifically designed for bridesmaids. Each of these styles has been chosen for its durability, versatility, and the way it photographs under the kind of varied lighting and motion that happens at weddings.
Whether you’re looking for something romantic and ethereal, sleek and sophisticated, or playfully undone, you’ll find options that work with different hair textures, different dress styles, and different wedding vibes. The right hairstyle can actually make you feel more confident and more present on the day, knowing your hair is going to look great from ceremony photos to the last dance.
1. Soft Waves with Braided Accent
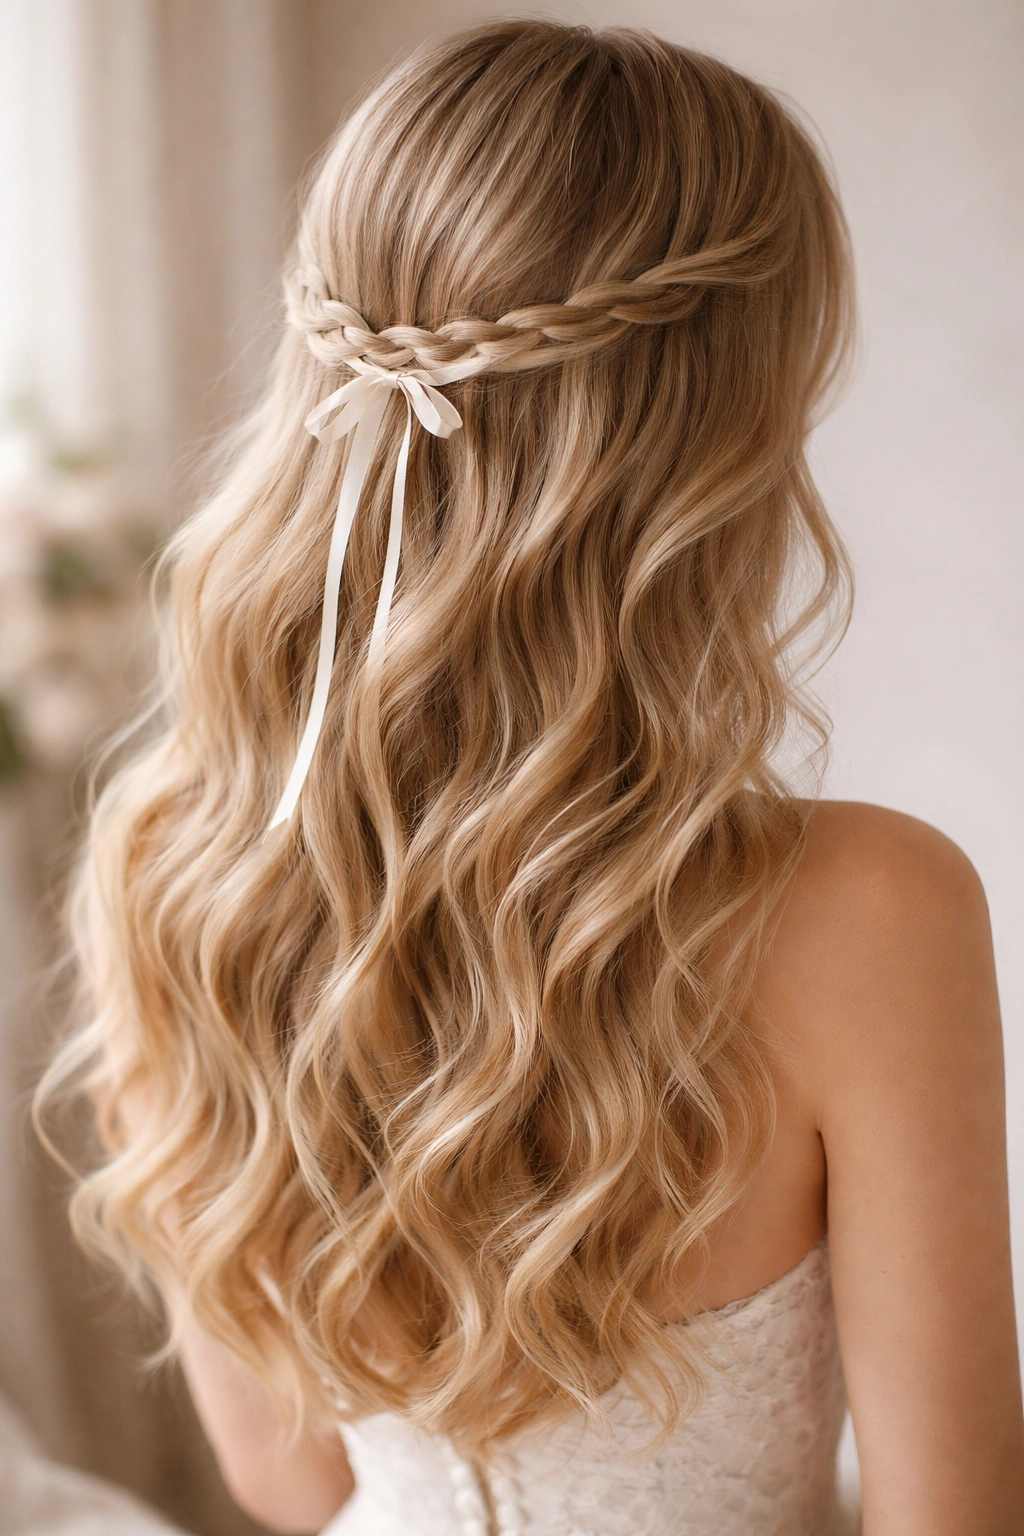
This style combines delicate waves with an understated braided detail that adds visual interest without screaming “complicated.” The beauty of this approach is that it feels special and intentional while remaining relatively easy to achieve and maintain throughout the day.
Why Bridesmaids Love It
The braided accent creates a focal point that draws attention upward and frames the face beautifully. Because the waves are soft rather than tightly curled, this style works well with nearly every dress neckline and works across different hair types and textures. The braid also helps anchor the style, keeping flyaways in check even in outdoor conditions.
How to Execute It
- Start with prepped hair: Apply texturizing spray or mousse to damp roots for grip
- Blow-dry your hair straight, then use a large barrel curling iron to create loose waves
- Once waves are set, take a small section from one side and create a thin three-strand braid
- Secure the braid with a tiny elastic and gently pull it across the back of the head, bobby-pinning it into place
- Mist everything with lightweight hairspray to hold without weighing waves down
Pro tip: Weave a delicate ribbon or thin metallic thread through the braid for a subtle touch of sparkle that catches light in photos.
2. Half-Up Half-Down Wavy Curls
The half-up style remains a bridesmaid favorite for good reason — it keeps hair away from your face while showcasing length, and it sits right in that sweet spot between casual and polished. Add waves to the equation and you’ve got something that works for nearly every wedding style imaginable.
Why This Works for Bridesmaids
Hair swept away from the face looks cleaner and more intentional in photos, while the wavy length creates movement and romance. This style holds up well throughout the day without looking limp by evening, and it gives you options for where to place a flower comb, clip, or ribbon without it competing for space.
How to Execute It
- Create waves throughout the entire length of your hair using a 1.25-inch curling iron
- Gently brush through waves with your fingers to make them soft and tousled rather than tight curls
- Take a section from above each ear and twist it slightly, bringing both sections toward the back
- Secure with bobby pins and one decorative clip
- Gently tug the twisted sections and waves to create volume and texture
- Set with flexible hairspray that holds without becoming crunchy
Worth knowing: This style looks best when you leave some longer face-framing pieces loose rather than smoothing everything back tightly.
3. Side-Swept Romantic Waves

There’s something inherently romantic about a deep side part paired with waves that fall gracefully over the shoulder. This style feels effortlessly elegant and photographs beautifully from almost any angle, especially when you’re standing beside the bride for formal photos.
Why Bridesmaids Choose It
The asymmetry is flattering to most face shapes, and the waves create beautiful dimension in photographs. The side-swept approach feels intentional without looking overdone, and it works equally well with strapless, one-shoulder, or traditional necklines.
How to Execute It
- Create a deep, dramatic side part — this is the foundation of the entire look
- Use a large barrel curling iron to curl hair in alternating directions
- Curl the side with less hair more loosely; curl the side with more hair slightly tighter for balance
- Gently brush waves to soften them and create movement
- If desired, pin a small section from the fuller side behind the ear with a decorative comb
- Secure with light-hold hairspray that allows movement
Insider note: Tease the roots at your crown for subtle volume that reads beautifully in side-angled photos.
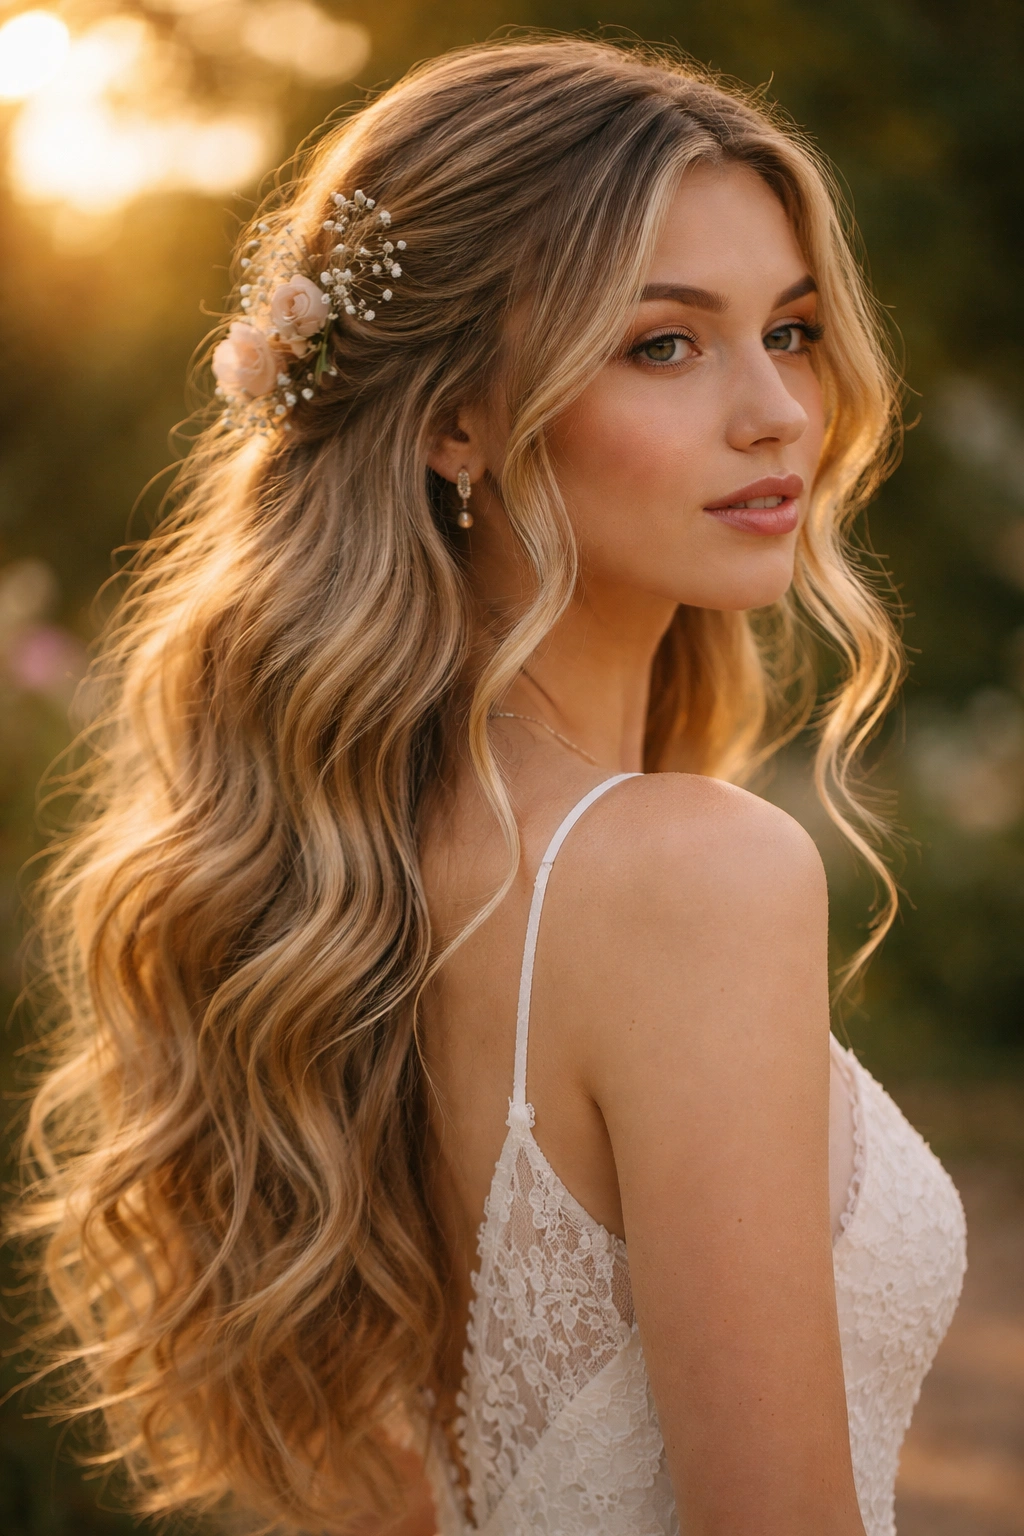
4. Textured Waves with Floral Crown
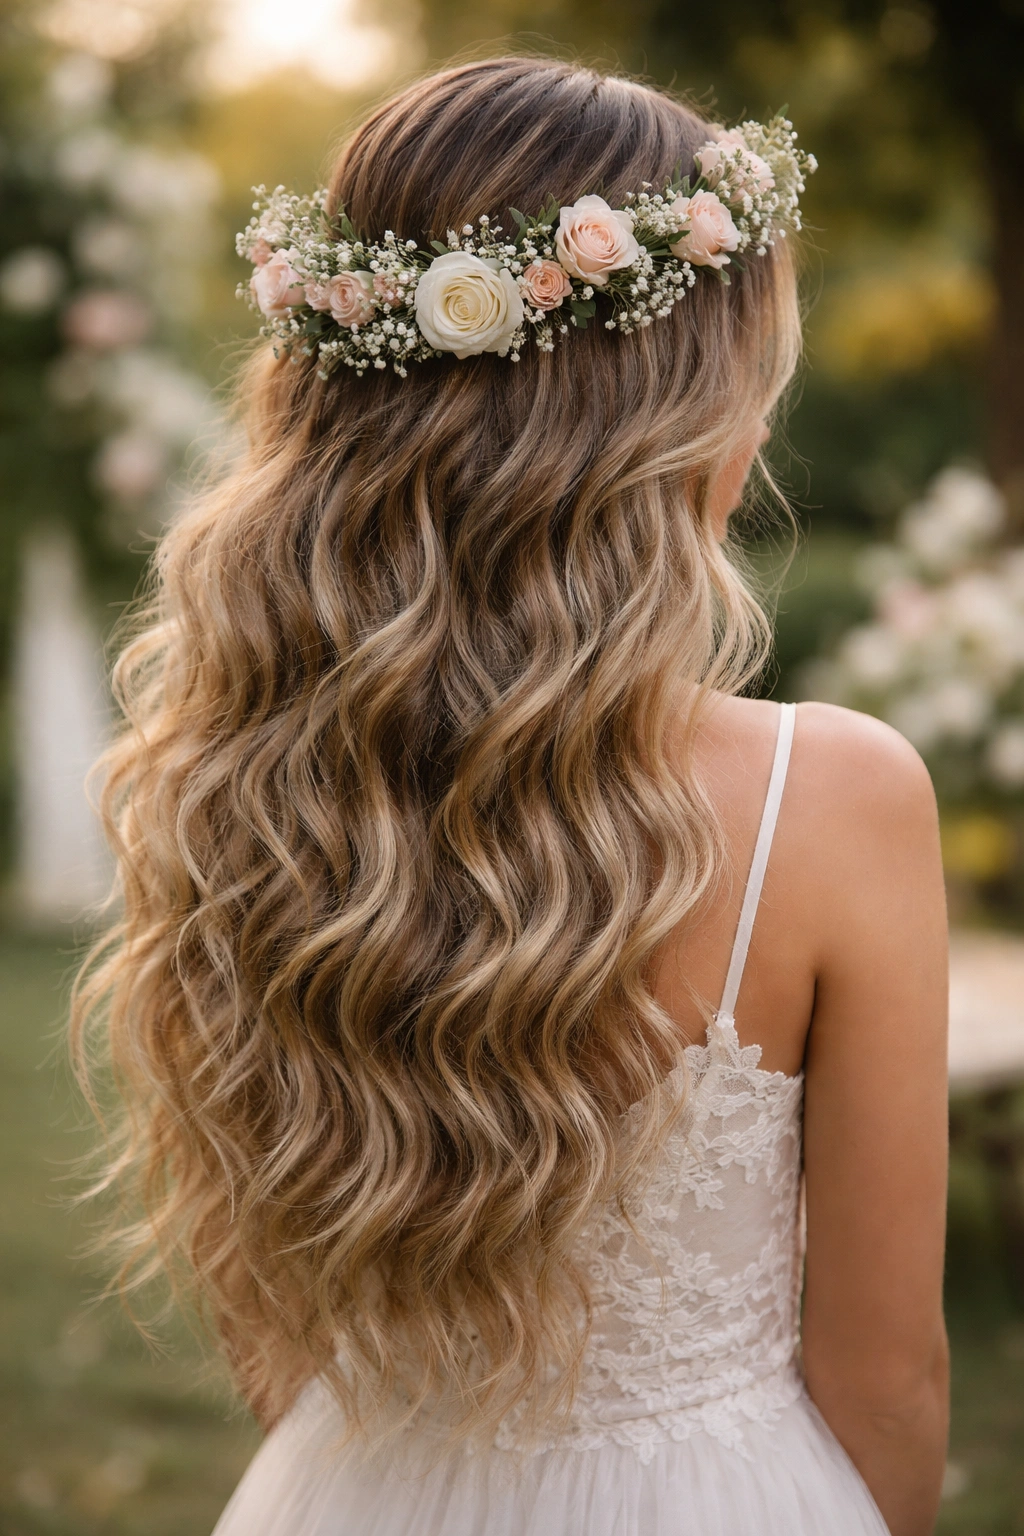
A floral crown elevates any wavy hairstyle from pretty to unforgettable, especially for outdoor weddings or bohemian celebrations. The key is making sure your waves have enough texture to support the crown and creating a style that feels intentional rather than like the flowers are just sitting on top of your head.
Why It’s Perfect for Garden and Outdoor Weddings
Flowers coordinate naturally with outdoor surroundings and create a soft, ethereal aesthetic. The textured waves provide a supportive base that keeps the crown secure while adding volume and interest. This combination reads beautifully in photographs, especially in natural light.
How to Execute It
- Apply a texturizing spray to damp hair and blow-dry for grip
- Use a 1.5-inch curling iron to create waves, curling away from your face
- Don’t brush the waves smooth; instead, tousle them with your fingers for texture
- Tease gently at the crown for height and to create a more secure base for the crown
- Position the floral crown at the crown of your head, securing with bobby pins tucked into the texture
- Allow some waves to fall around your face and soften the look
Pro tip: Mist the floral crown lightly with hairspray to help it hold throughout the day, and position it so the heaviest flowers sit at the crown rather than toward the back.
5. Beach-Inspired Tousled Waves
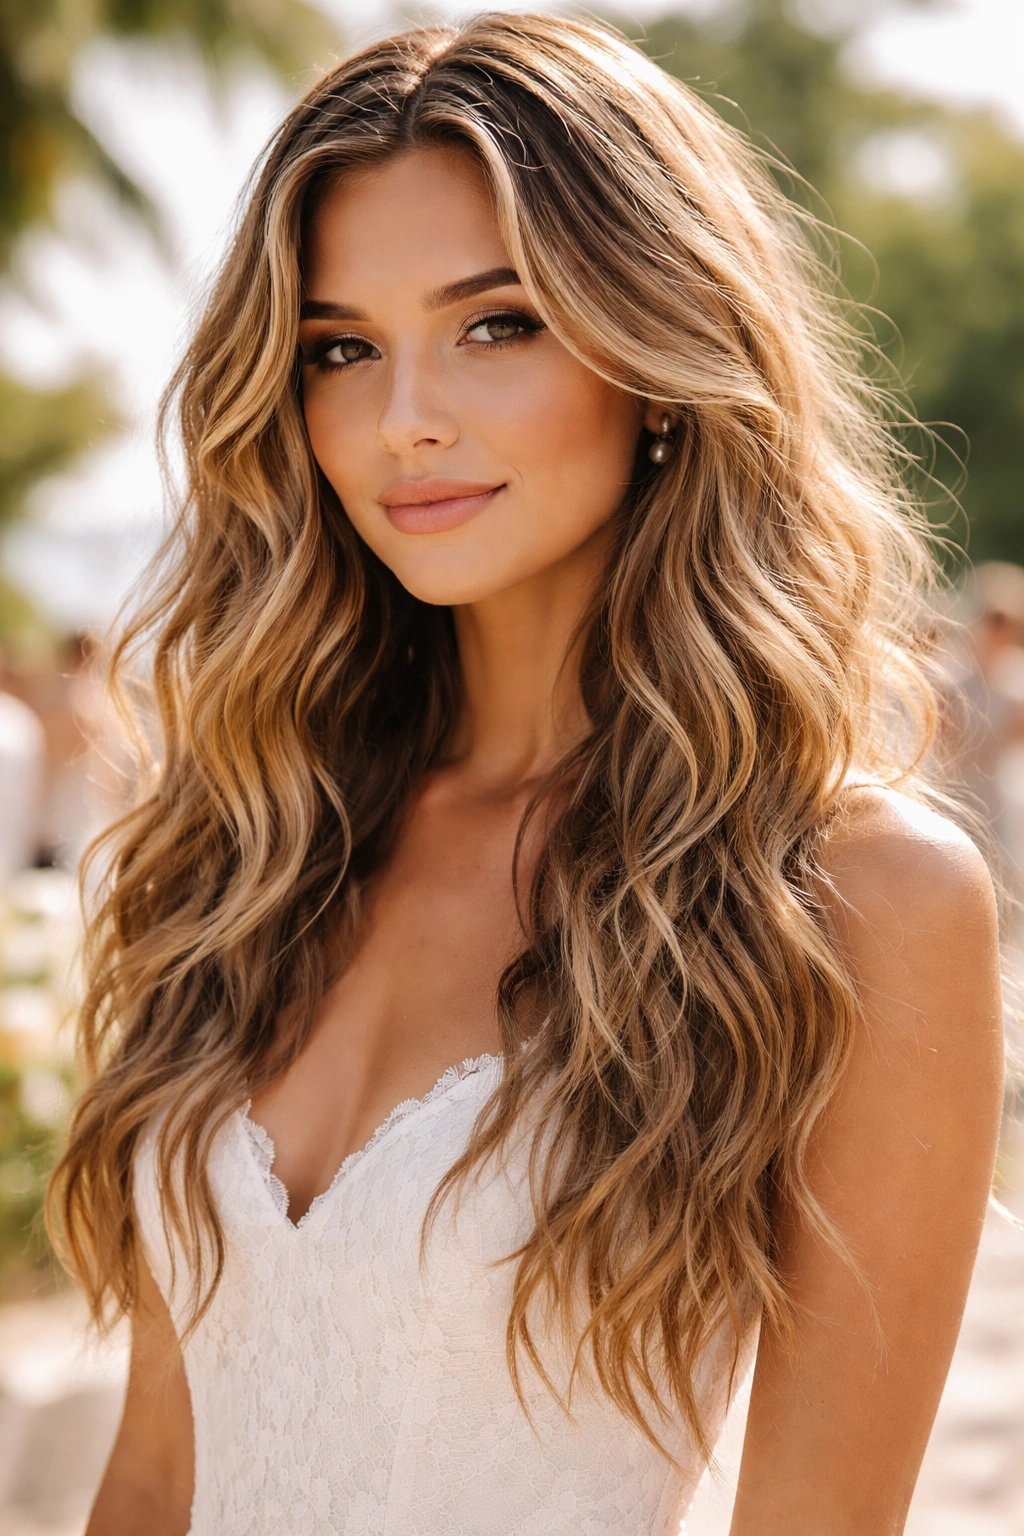
Not every wedding calls for rigid formality, and the tousled, undone wave aesthetic has become increasingly popular for celebrations with a relaxed vibe. This style looks effortlessly beautiful and honestly tends to get better as the day goes on because it’s designed to look a little imperfect from the start.
Why Bridesmaids Love the Casual Elegance
Beach waves feel accessible and wearable — you don’t look like you spent three hours on your hair. The tousled texture photograph beautifully and creates a sense of movement and youth. This works particularly well for daytime weddings, outdoor celebrations, and any event where the aesthetic skews toward relaxed elegance rather than black-tie formality.
How to Execute It
- Start with sea salt spray applied to damp hair
- Blow-dry using a diffuser attachment to create natural-looking texture
- Use a 1.5-inch waving iron or curling iron to create loose waves
- Deliberately leave some sections wavier than others for an undone effect
- Run your fingers through waves to break them up and avoid ringlets
- Use a dry texture spray rather than wet-looking gel or serum
Worth knowing: Tousled waves often look best when your hair has been up in a braid the night before — the slight bend from the braid adds to the natural-looking texture.
6. Sleek Waves with Deep Side Part
When you want waves but need them to feel refined and put-together, sleek waves paired with a deep side part deliver sophisticated elegance. The waves provide visual interest and movement while the sleek finish keeps everything polished and intentional.
Why This Style Photographs Beautifully
The side part creates a clean line that’s flattering in close-up and angled photos. Sleek waves catch light and create dimension without looking fluffy or big. This style pairs perfectly with modern, minimalist weddings and works beautifully with jeweled hair clips or understated accessories.
How to Execute It
- Apply a smoothing serum or lightweight oil to damp hair
- Blow-dry hair straight and smooth using a paddle brush and a concentrator nozzle
- Create a deep, clean side part using the edge of your comb
- Use a 1.25-inch curling iron to create waves, starting with the side with less hair
- Smooth each wave gently with the flat side of the iron as you go
- Apply a light hairspray that adds shine without creating texture
Pro tip: A tiny drop of argan oil on your fingertips, gently skimmed over the surface of waves, adds polish and catches light in photos.
7. Vintage Hollywood Waves
Old Hollywood glamour never goes out of style, and vintage-inspired waves are having a genuine moment in bridesmaid fashion. This style says “timeless elegance” and photographs beautifully, especially in formal wedding settings or any celebration with a classic aesthetic.
Why Bridesmaids Choose This Approach
Vintage waves are inherently flattering to every face shape and age, and they look equally stunning in black and white photos and in color. The style feels special and intentional without being trendy in a way that might feel dated in a few years. The waves are voluminous enough to look beautiful from the back while the front remains elegant and face-framing.
How to Execute It
- Apply volumizing mousse to damp roots
- Blow-dry hair with a round brush, curving the brush at the ends to create a wave-ready base
- Use a 1.5-inch curling iron to create uniform waves, holding each curl in place until cool
- Once all curls are completely set, gently brush waves together to create the signature ripple pattern
- Avoid breaking the waves as you brush; instead, use long, gentle strokes to blend them
- Pin waves in place with bobby pins that match your hair color, hidden in the wave valleys
Insider note: Set each curl with lightweight hairspray before brushing for waves that hold through the entire event.
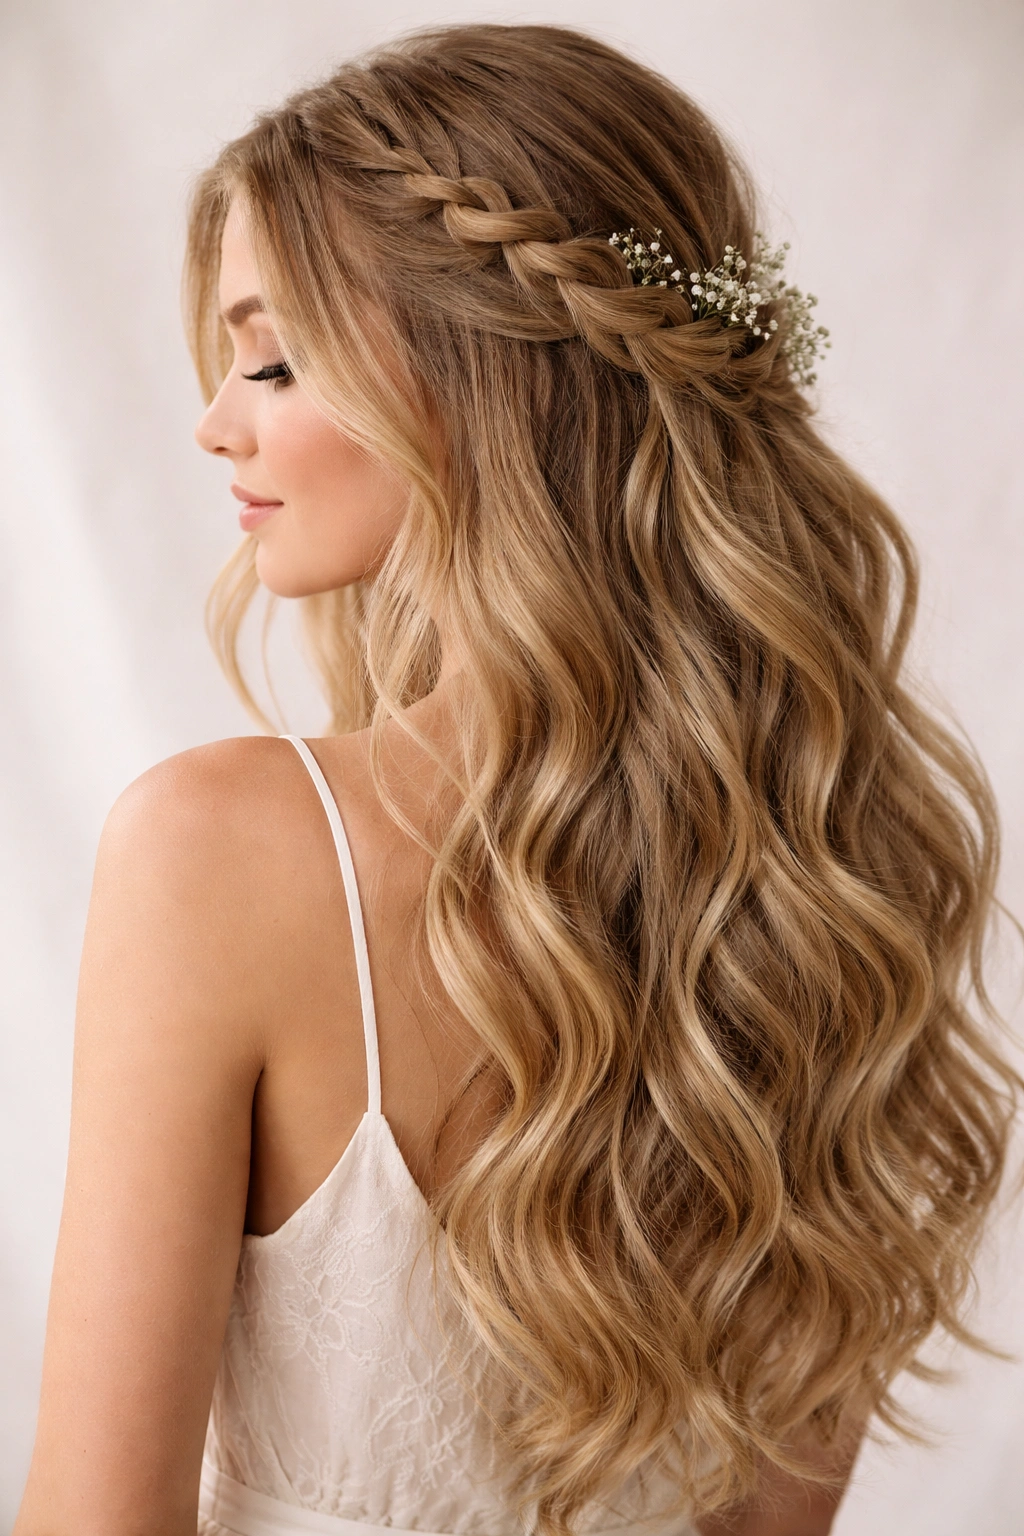
8. Boho Waves with Delicate Tendrils
Bohemian style embraces softness and movement, and this approach to wavy hair creates that effortlessly romantic look while keeping everything secure and put-together. The delicate face-framing pieces add a touch of whimsy without sacrificing polish.
Why It Works for Bohemian Celebrations
Boho waves feel loose and natural while still being intentional and elegant. The face-framing pieces soften the style and create a dreamy quality that photographs beautifully, especially in soft, golden-hour light. This works across different dress styles and complements both outdoor and indoor bohemian weddings.
How to Execute It
- Apply a texturizing product to damp hair
- Blow-dry using a diffuser to create natural wave texture
- Use a 1.5-inch curling iron to enhance and define waves throughout the length
- Pull your hair into a very loose, low ponytail as a base structure
- Release the ponytail but leave a few baby pieces loose around your face and ears
- Secure everything with bobby pins hidden in the waves
- Mist with flexible hairspray that allows movement
Worth knowing: This style improves throughout the day as gravity helps the waves settle and the loose pieces become more relaxed and romantic.
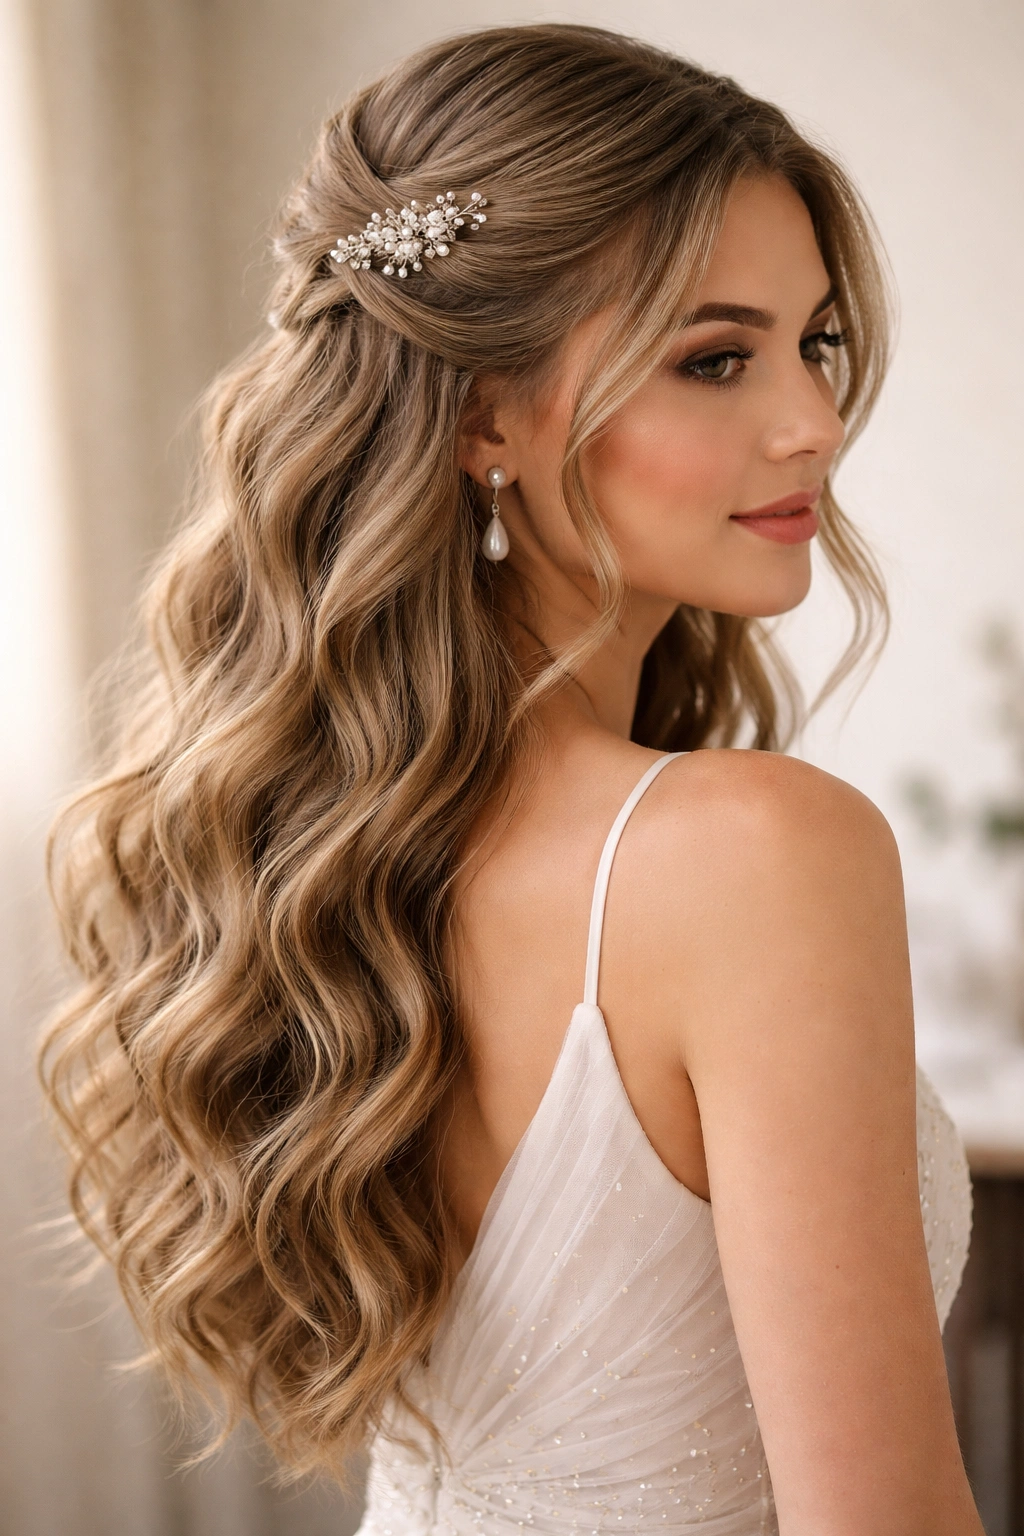
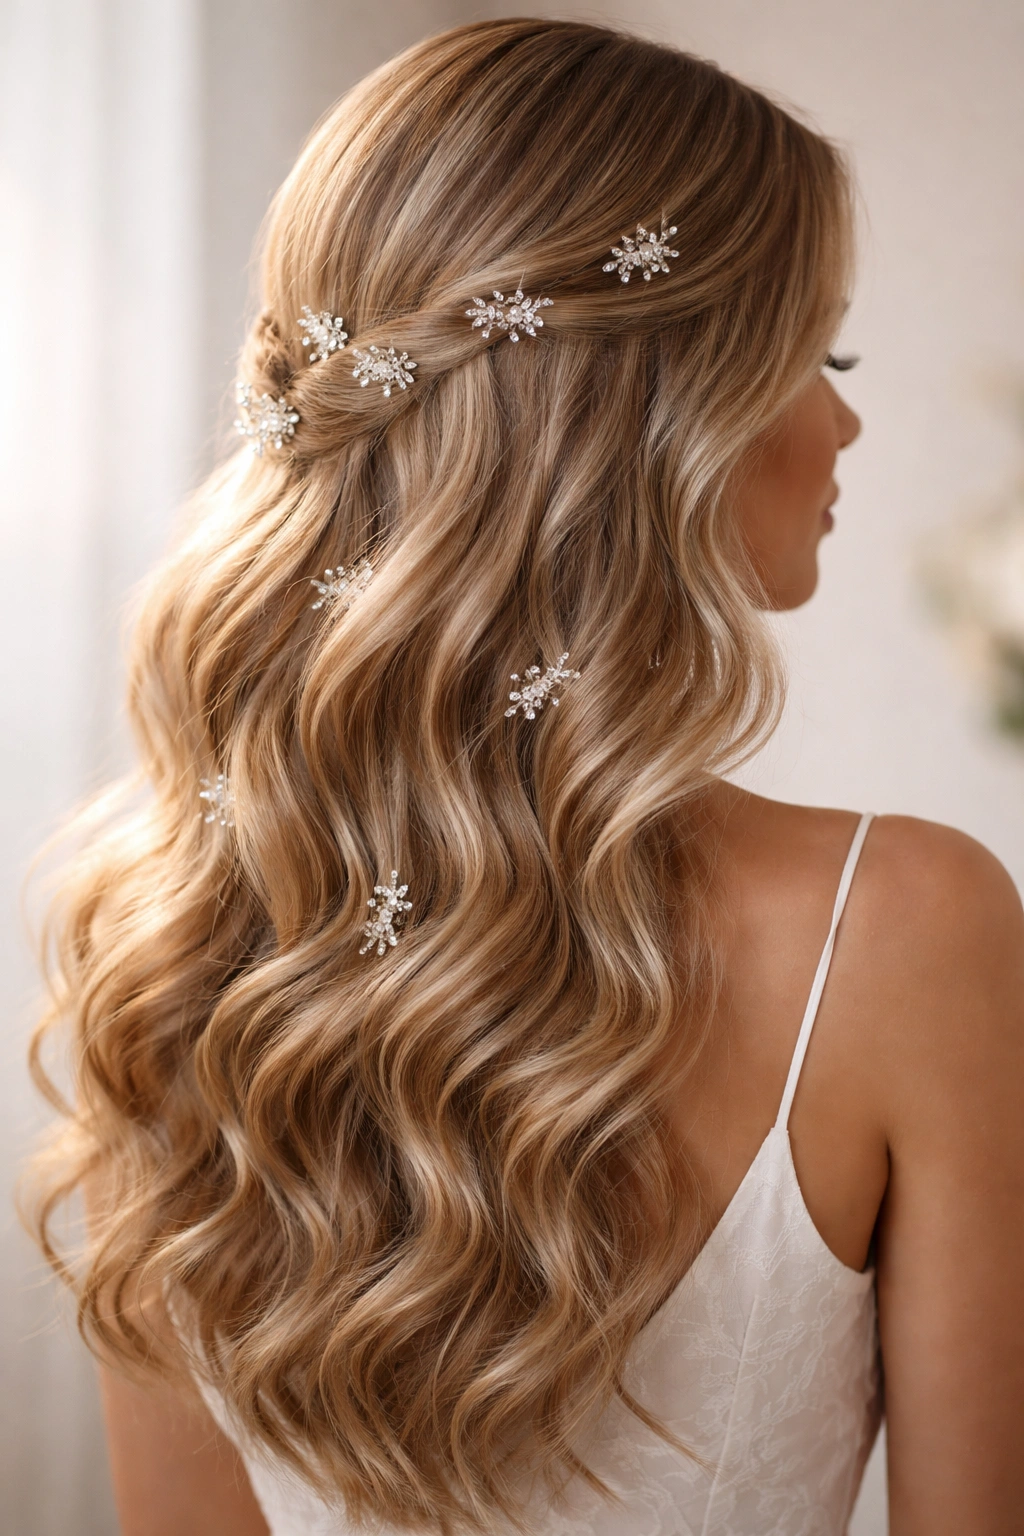
9. Loose Waves with Pearl Hair Pins
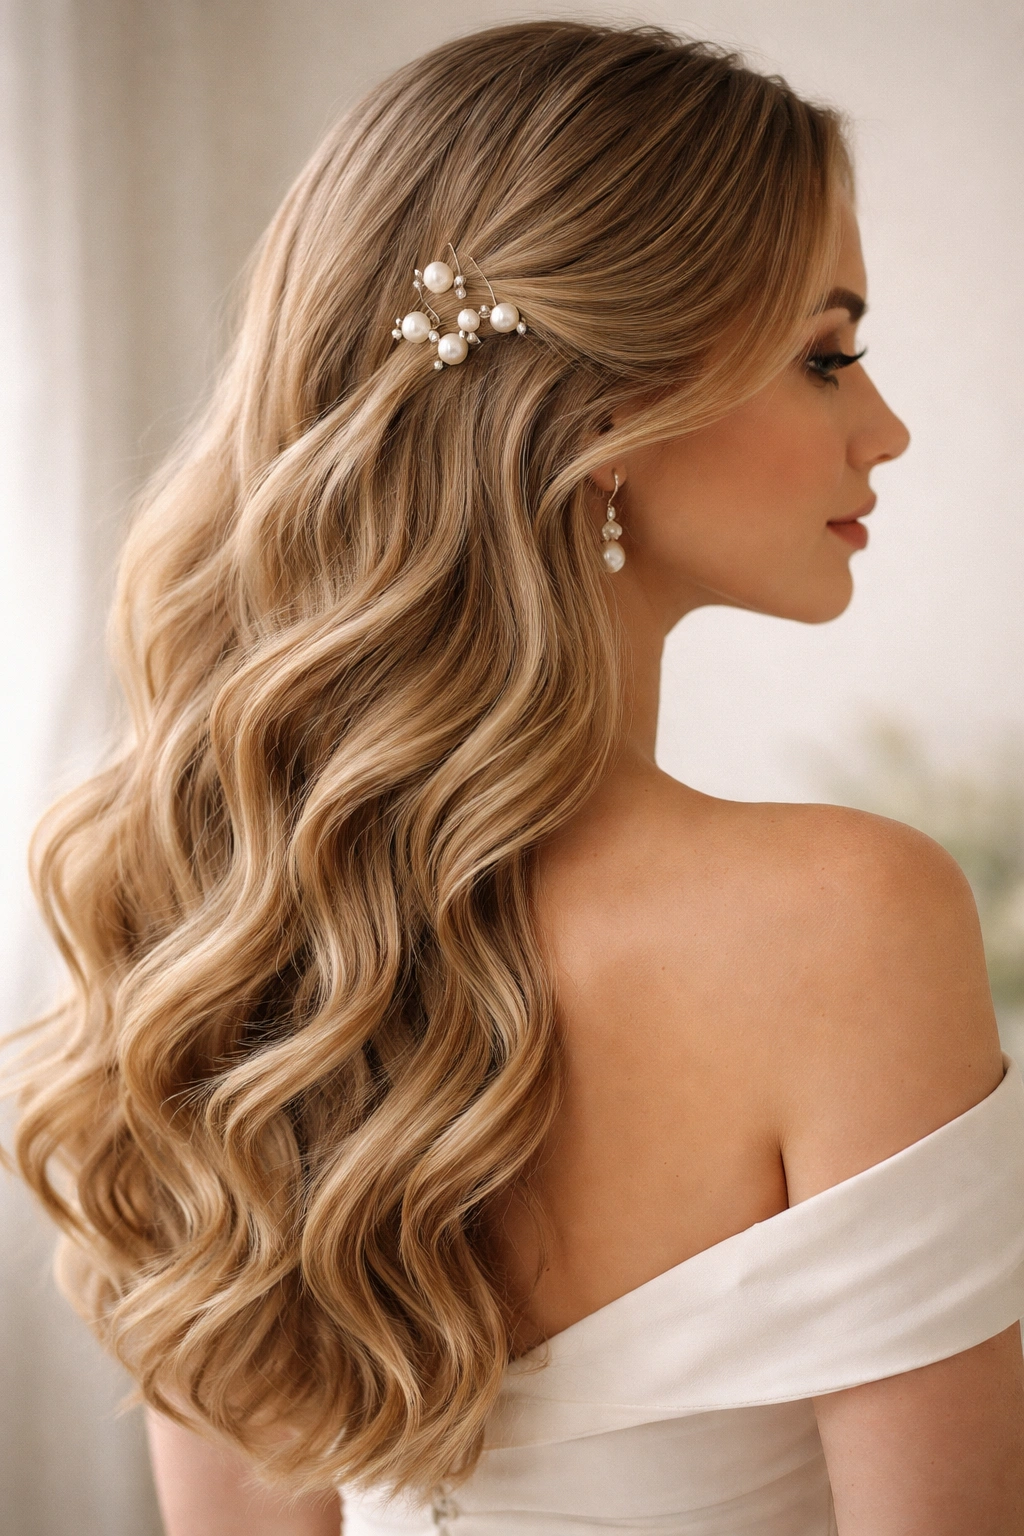
Adding pearl hair pins or clips transforms simple waves into something that feels special and intentional. Pearls pair beautifully with waves because they catch light and add elegance without overwhelming the softness of the hairstyle.
Why This Detail Matters
Pearl accessories add a touch of bridal elegance to bridesmaid hair without making it look like you’re trying to outshine the bride. The pins create focal points and visual interest in photographs, and they’re functional — they actually help secure the waves while looking intentionally decorative.
How to Execute It
- Create loose waves throughout your entire head using a 1.5-inch curling iron
- Gently brush waves with your fingers to soften them and create movement
- Strategically place pearl pins throughout the waves, securing loose pieces and creating visual interest
- Focus pin placement on one side or a specific area rather than scattering them randomly
- Make sure pins are truly functional, not just perched on top — they should anchor pieces
- Set with lightweight hairspray that holds without creating visible product buildup
Pro tip: Space pins in a triangular or diagonal pattern for a more intentional look than scattered placement.
10. Layered Wavy Bob with Volume
Not every bridesmaid wants hair down past her shoulders, and a longer, layered wavy bob offers that perfect middle ground between manageable and glamorous. The layers create movement while the length stays sophisticated and modern.
Why Bobs Work for Weddings
A good bob works for nearly every dress style, sits beautifully for ceremony photos, and moves naturally without requiring constant adjustment. Waves add texture and movement that make the style feel more festive and special than a straight bob. Layers prevent the style from feeling blunt or severe.
How to Execute It
- Start with a well-cut, layered bob at least shoulder length (longer bobs work best for waves)
- Apply volumizing mousse to damp roots
- Blow-dry using a round brush to add shape and movement
- Use a 1.25-inch curling iron to create waves, curling each layer separately
- Tousle waves gently with your fingers once they’re completely cool
- Tease slightly at the crown for volume
- Set with flexible hairspray
Worth knowing: Ask your stylist to cut your bob with longer layers in the front so face-framing pieces have enough length to wave attractively.
11. Mermaid-Inspired Waves with Accessories
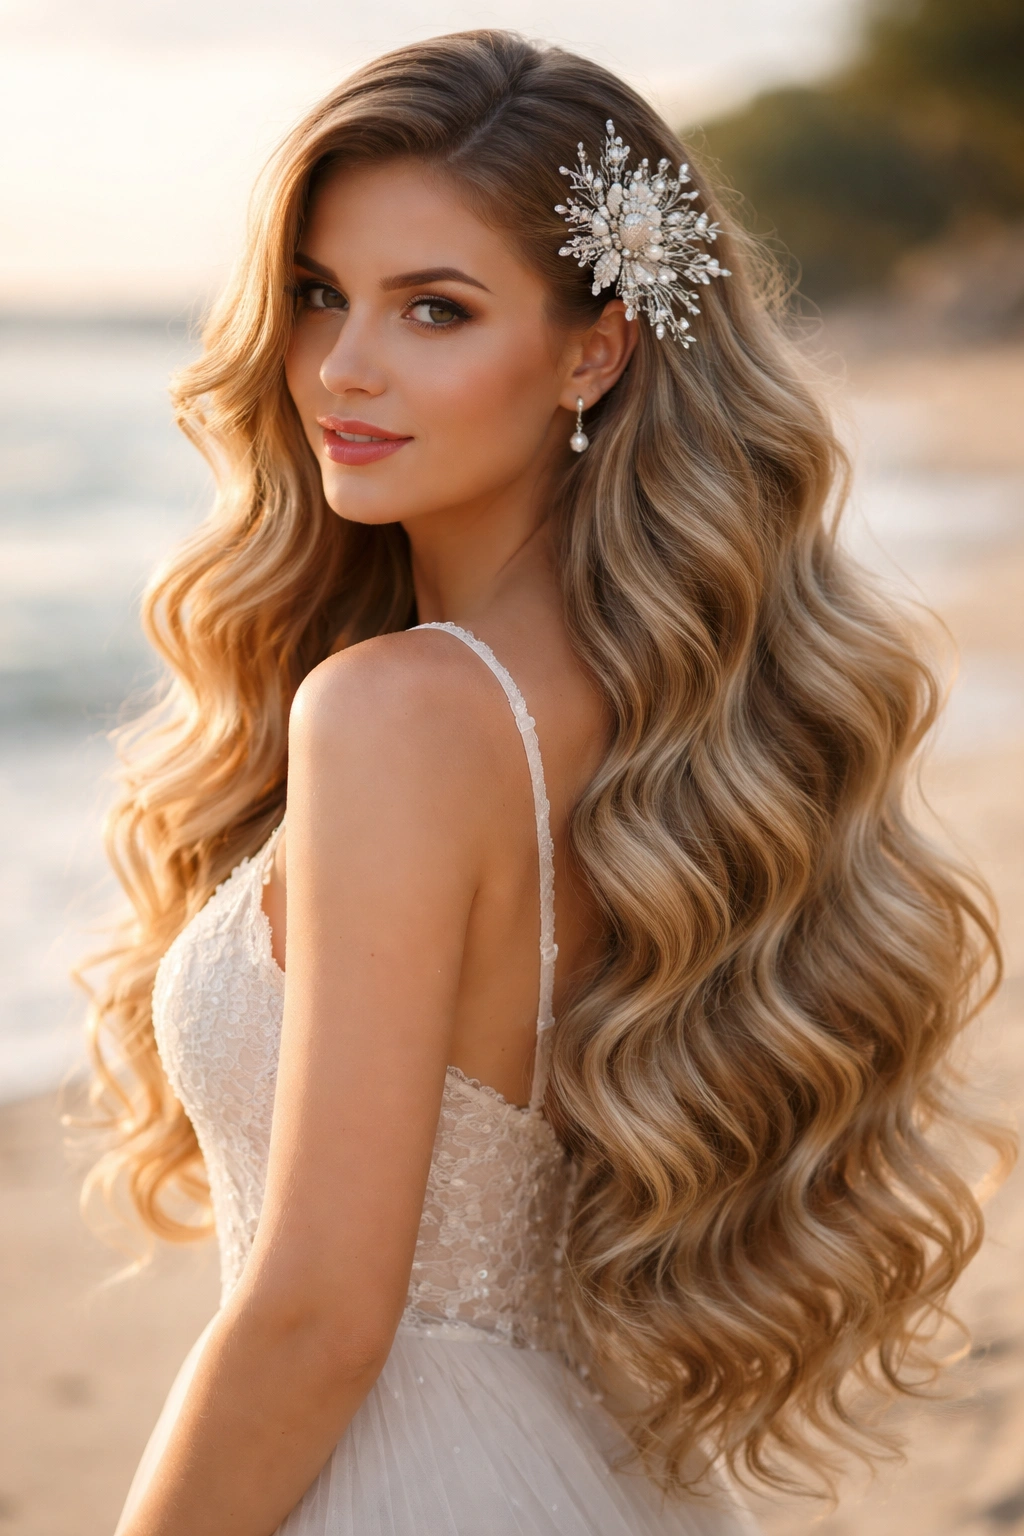
Mermaid waves — those long, undulating cascades that look almost impossible to achieve but somehow seem natural — create a magical, fantasy-inspired aesthetic. Add coordinating accessories and you’ve got something truly show-stopping.
Why This Style Feels Special
Mermaid waves are inherently dramatic and beautiful without looking like you’re trying too hard. The deep, consistent wave pattern photographs beautifully and works particularly well for evening weddings, beach celebrations, and any aesthetic that leans toward modern glamour. The waves create natural movement that looks great from every angle.
How to Execute It
- Start with a good texturizing product applied to damp hair
- Blow-dry your hair straight and smooth as a foundation
- Use a 1.5-inch curling iron to create waves, being very intentional about the direction and depth of each wave
- Allow curls to cool completely before moving to the next section
- Once all waves are set, gently brush through with a soft paddle brush to create the signature undulating pattern
- Add a decorative comb, clip, or vine-style accessory on one side
- Secure with holding hairspray
Insider note: Waves hold best when you use a fine-tooth comb or a texturizing spray between sections — it gives the iron something to grip.
12. Sophisticated Waves with Low Ponytail
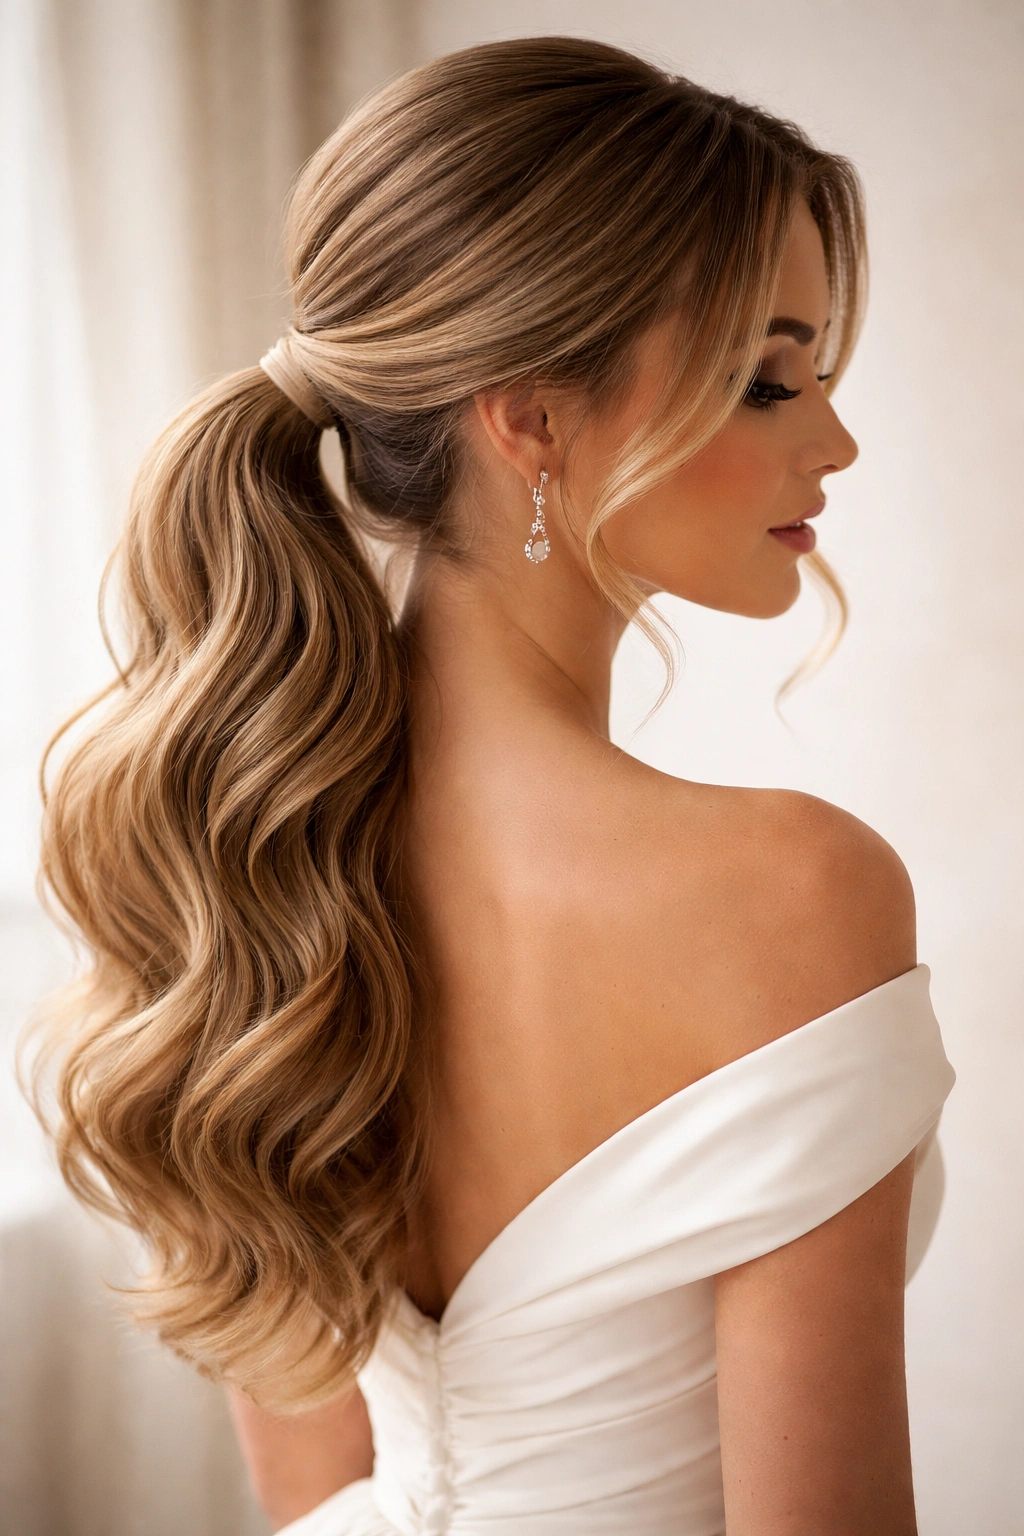
Combining waves with a low ponytail gives you movement and length while creating a polished, intentional silhouette. This works beautifully for more formal weddings and creates a clean line in ceremony photos.
Why Bridesmaids Choose This Combination
The low ponytail keeps hair neatly gathered while the waves add softness and movement. This style reads as sophisticated and intentional in formal settings, yet the waves keep it from feeling too severe or corporate. The look is modern and elegant without trying too hard.
How to Execute It
- Create soft waves throughout your entire head
- Brush waves gently to soften them and create movement
- Gather hair into a very low ponytail at the nape of your neck
- Leave a few face-framing pieces down on either side
- Secure with a small elastic and wrap a small section of hair around the base to hide the elastic
- Tease the ponytail gently to create texture and volume
- Set with lightweight hairspray
Pro tip: Create the waves first, then gather them into the ponytail — this gives you the best of both styles without either element competing.
13. Undone Waves with Ribbon Detail
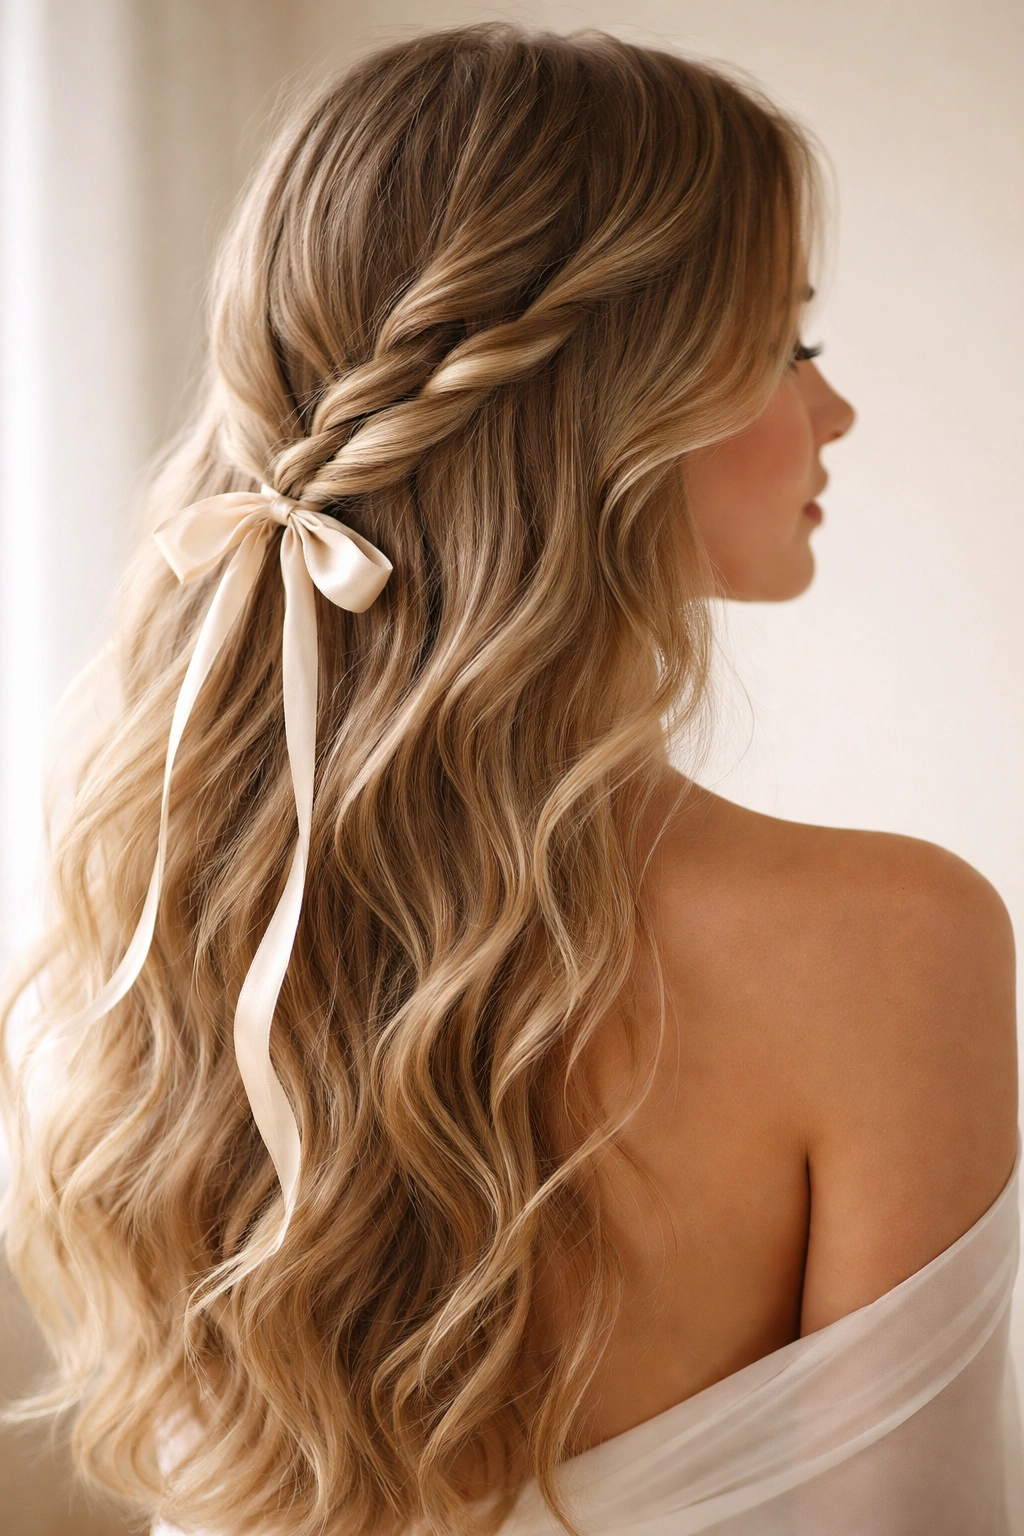
Adding a ribbon to wavy hair creates a whimsical, romantic element that feels modern and intentional. The ribbon can be woven through waves, threaded through a braid, or simply tied as an accent, depending on your aesthetic preferences.
Why This Detail Works
Ribbons add color and personality to hair while being practical — they help anchor waves and create visual interest. A ribbon works for weddings across the formality spectrum, from casual garden events to more elegant celebrations. The detail photographs beautifully and adds dimension that reads well in photos.
How to Execute It
- Create soft, tousled waves throughout your hair
- Brush waves gently with your fingers to create an undone appearance
- Thread a ribbon through waves on one side of your head, or create a thin braid and weave the ribbon through it
- Secure the ribbon with bobby pins that match your hair color
- Allow some waves to fall freely while others frame the face
- Use flexible hairspray that holds waves without making them look stiff
Worth knowing: Choose ribbon colors that complement your dress and the wedding’s color palette — metallic, pastels, or jewel tones all work beautifully with waves.
14. Voluminous Curled Waves
When you want maximum drama and glamour, voluminous curled waves deliver impact. This style works beautifully for evening weddings and celebrations where you want your hair to make a genuine statement.
Why Volume Matters
Voluminous waves create presence and look stunning from the back view in ceremony photos. The style feels celebratory and special without looking costume-y. The volume photographs beautifully and creates dimension that reads well even in casual photos throughout the day.
How to Execute It
- Apply volumizing mousse to damp roots and blow-dry for foundation volume
- Use a 1.25-inch curling iron to create tighter waves throughout
- Curl each section away from the face for a flattering shape
- Allow curls to cool completely before moving your head or touching them
- Once completely set, gently brush through curls to blend them slightly
- Tease at the crown to create lift and emphasize volume
- Set with strong-hold hairspray
Insider note: For maximum volume, wrap curls around the barrel of a larger barrel and use a smaller iron to create definition at the roots.
15. Waves with Diamond Hair Clips
Diamond or crystal hair clips add sparkle and sophistication to waves, working beautifully for elegant, formal weddings. The clips catch light and create visual interest without being flashy or costume-y.
Why Crystal Accessories Elevate Waves
Diamond or crystal clips add the kind of polish and sparkle that reads beautifully in photographs without competing with the bride. They’re functional — they can anchor pieces and create style structure while looking purely decorative. Multiple small clips create a more sophisticated look than one large statement clip.
How to Execute It
- Create soft, romantic waves throughout your entire head
- Gently brush waves to create movement
- Place small diamond clips strategically throughout, focusing on one area (like the left side) for intention
- Use clips to anchor any pieces that want to fall forward
- Space clips in a line or cluster rather than scattering randomly
- Secure everything with lightweight hairspray
Pro tip: Coordinate clip placement with your dress — if your dress has beading on one shoulder, place most clips on the opposite side to balance.
16. Effortless Waves with Loose Braid
Combining effortless-looking waves with a loose braid creates a style that feels modern, romantic, and genuinely beautiful. The braid adds structure while the waves maintain the soft, romantic vibe that works for nearly every wedding aesthetic.
Why This Combination Works
Loose braids anchor waves while maintaining the romantic aesthetic. The braid adds visual interest and texture without the style feeling overly done. This approach works beautifully across different wedding styles and dress options, and it’s one of the most durable hairstyles for full-day wear.
How to Execute It
- Create soft waves throughout your entire head using a 1.5-inch curling iron
- Gently brush waves to create movement and softness
- Take a section from one side or from the crown and create a loose three-strand or four-strand braid
- Weave the braid through waves as you go, allowing waves to fall out slightly rather than keeping the braid tight
- Secure the braid with a small elastic that matches your hair color
- Tousle the braid gently to make it look more relaxed
- Set with flexible hairspray that maintains movement
Worth knowing: A four-strand braid photographed beautifully and holds better than a three-strand without looking tighter or more formal.
Final Thoughts
Choosing a bridesmaid hairstyle is about finding something that makes you feel confident and beautiful while complementing the bride and the overall wedding aesthetic. These sixteen options offer real variety — from romantic and bohemian to sleek and sophisticated — and each one is designed to last through ceremony, photos, dancing, and celebration.
The most important thing is communicating with your stylist early. Bring photos of styles that appeal to you, discuss your hair texture and what it naturally does, and be honest about what you’re comfortable with. A good stylist will work within the bride’s vision while helping you look and feel your absolute best.
Remember that the “right” hairstyle is the one that makes you feel like yourself, just elevated and polished for the occasion. Whether you choose soft and romantic, sleek and modern, or playfully undone, you’re going to look beautiful. The goal is for you to feel confident and present rather than worrying about whether your hair is going to hold up — and any of these styles, executed by a skilled stylist, will do exactly that.