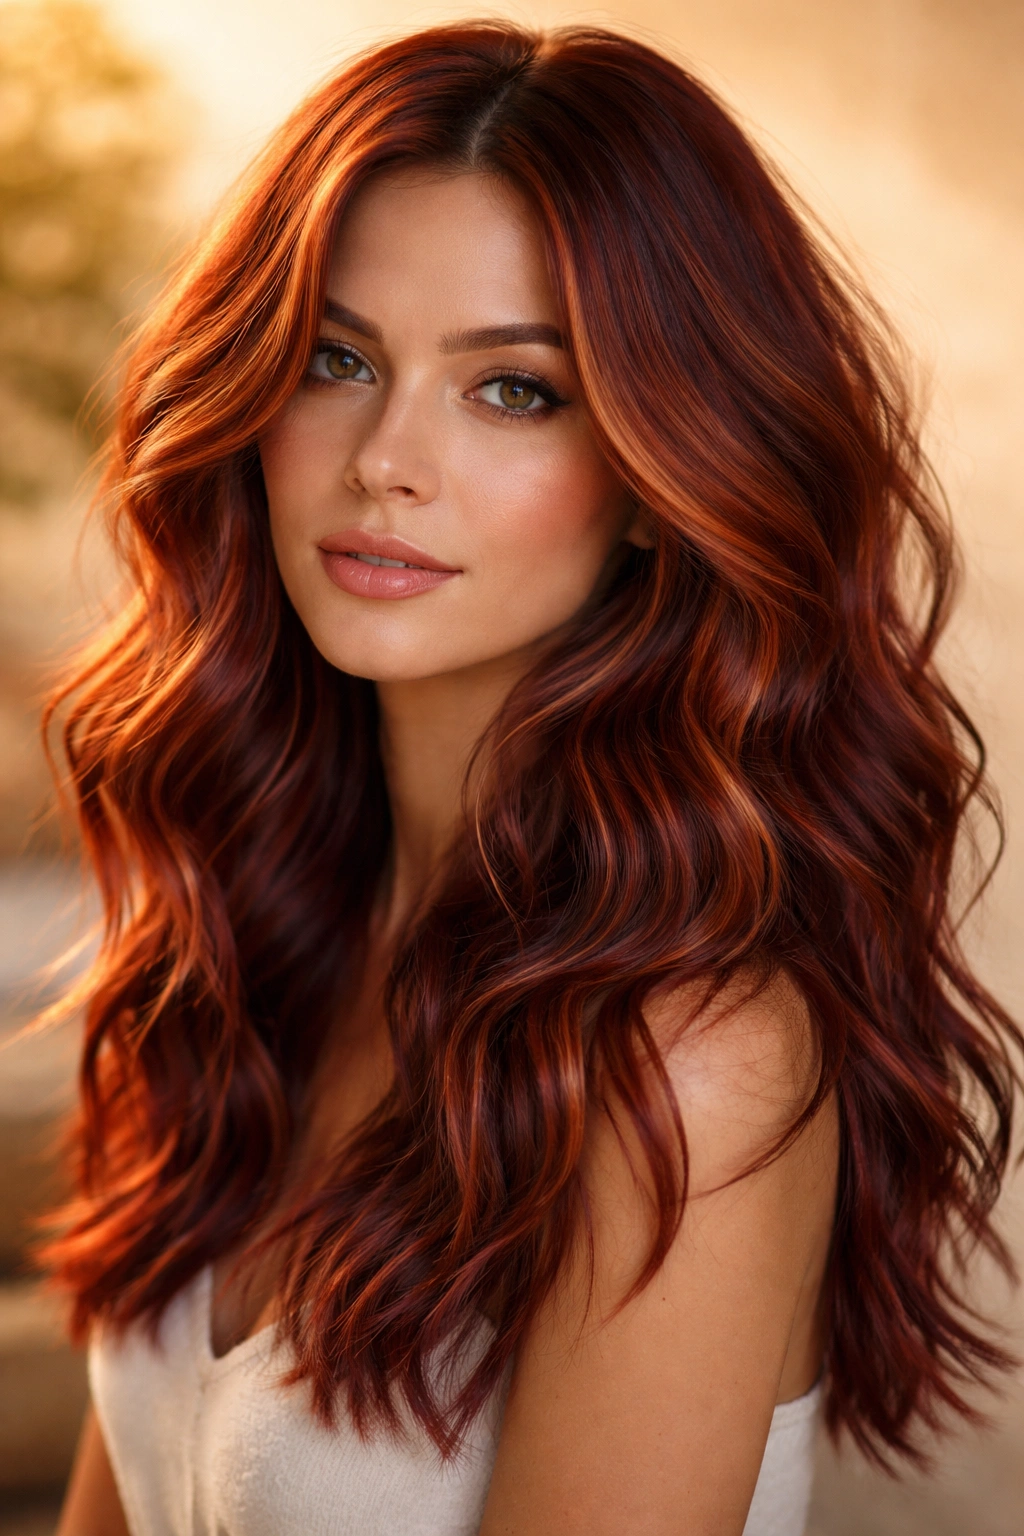
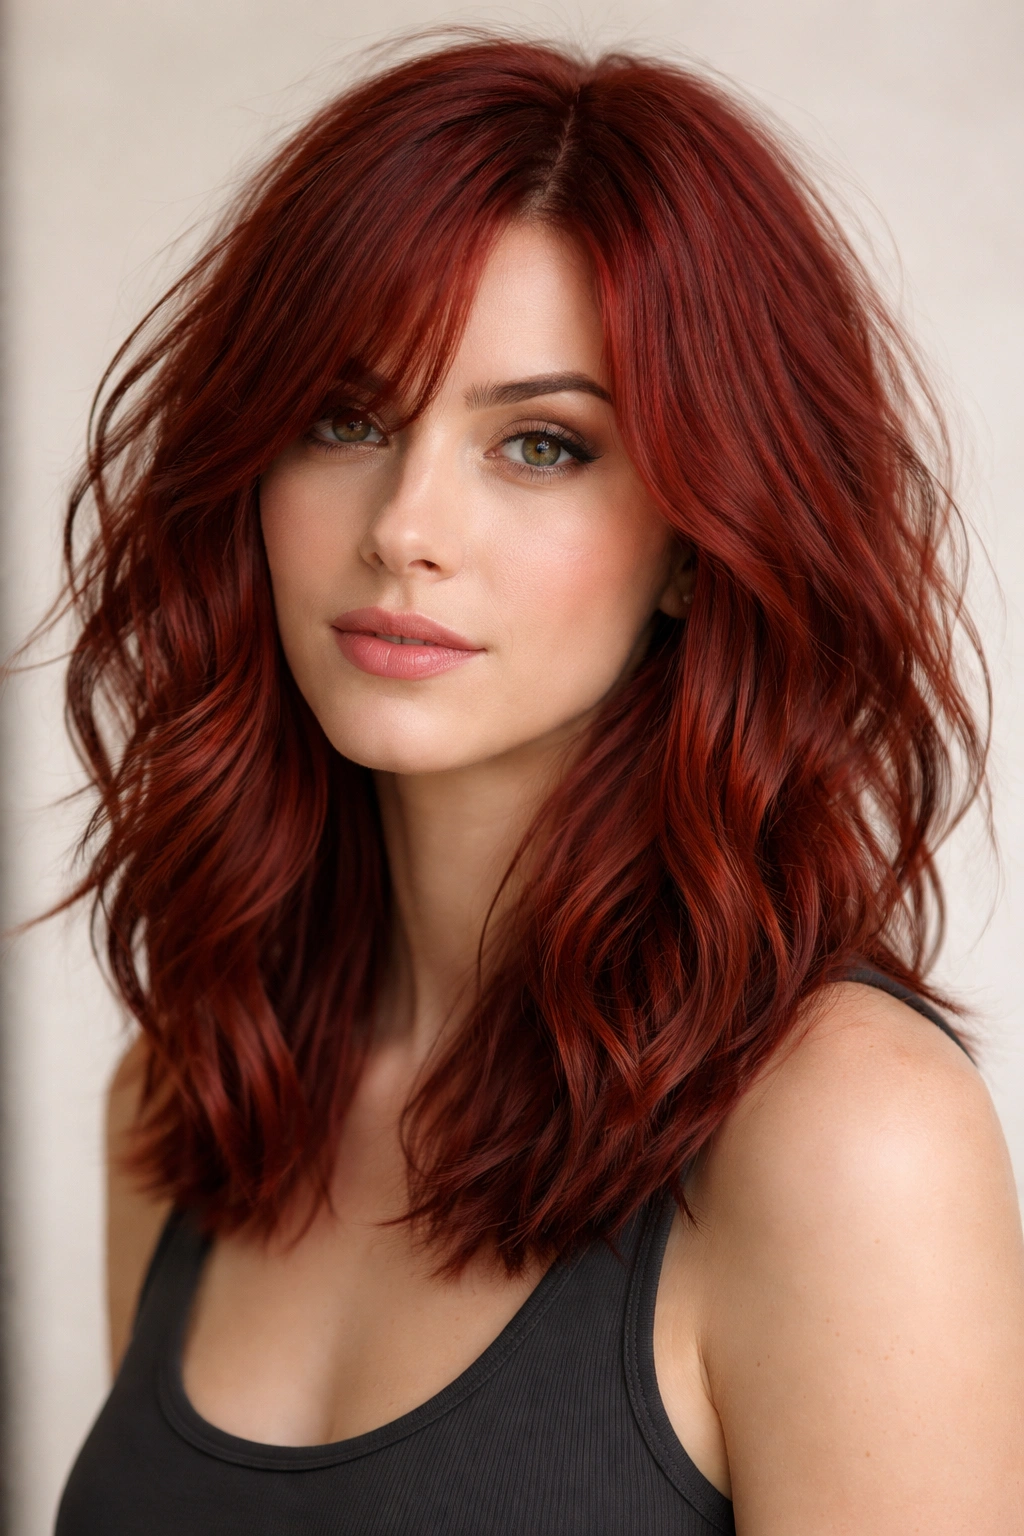
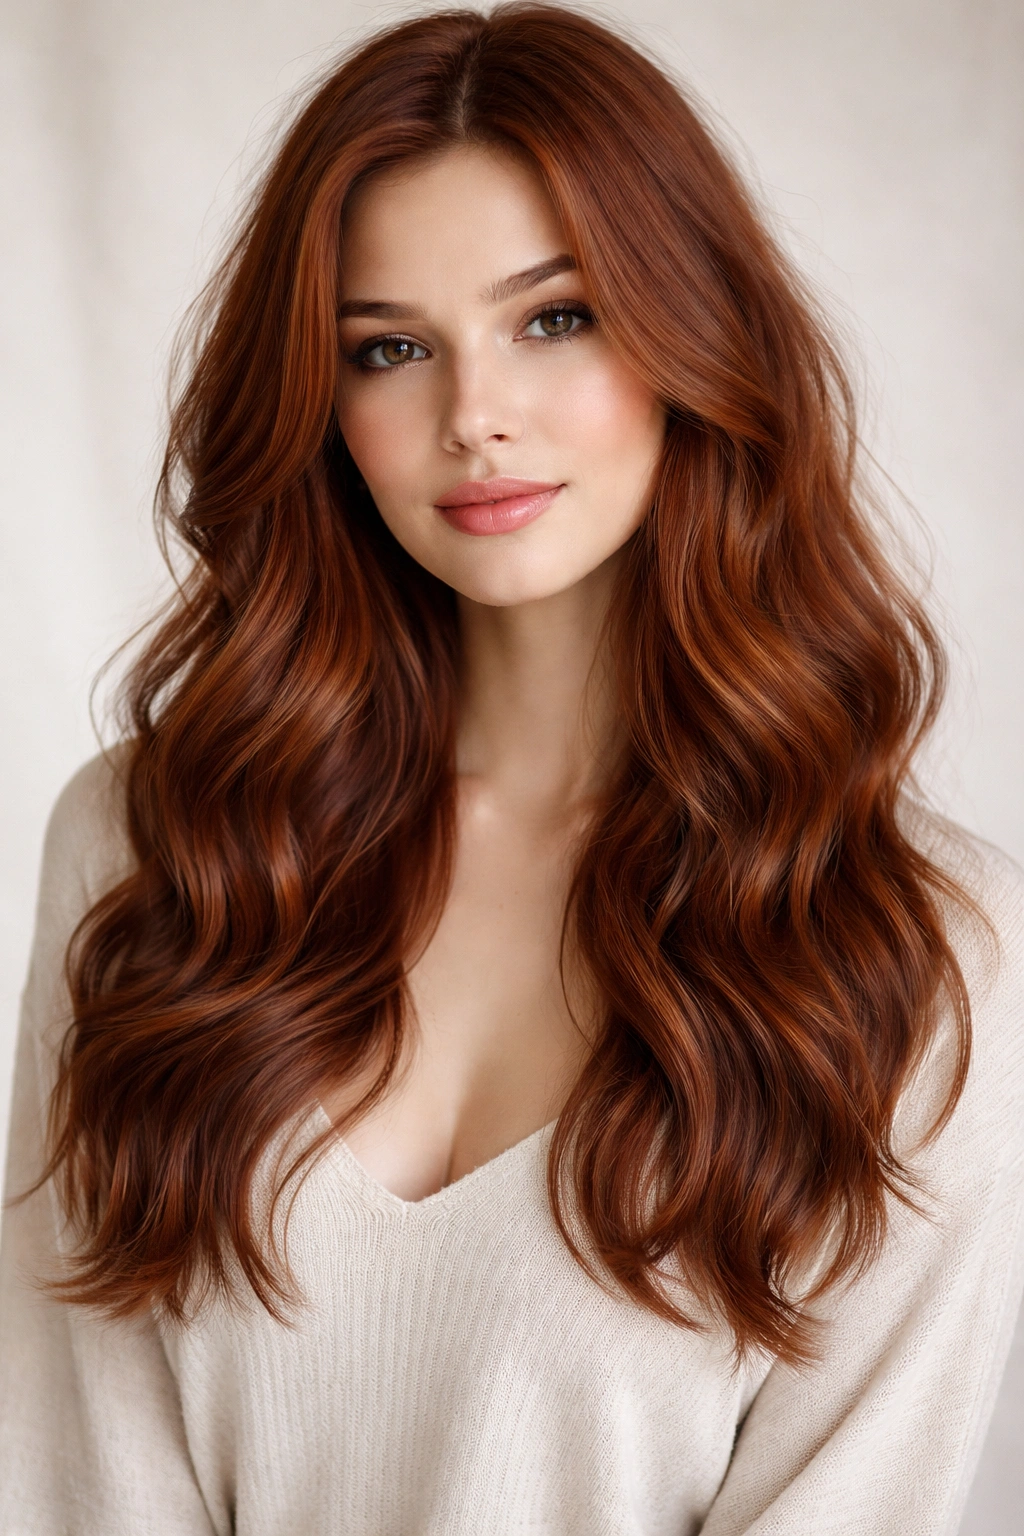
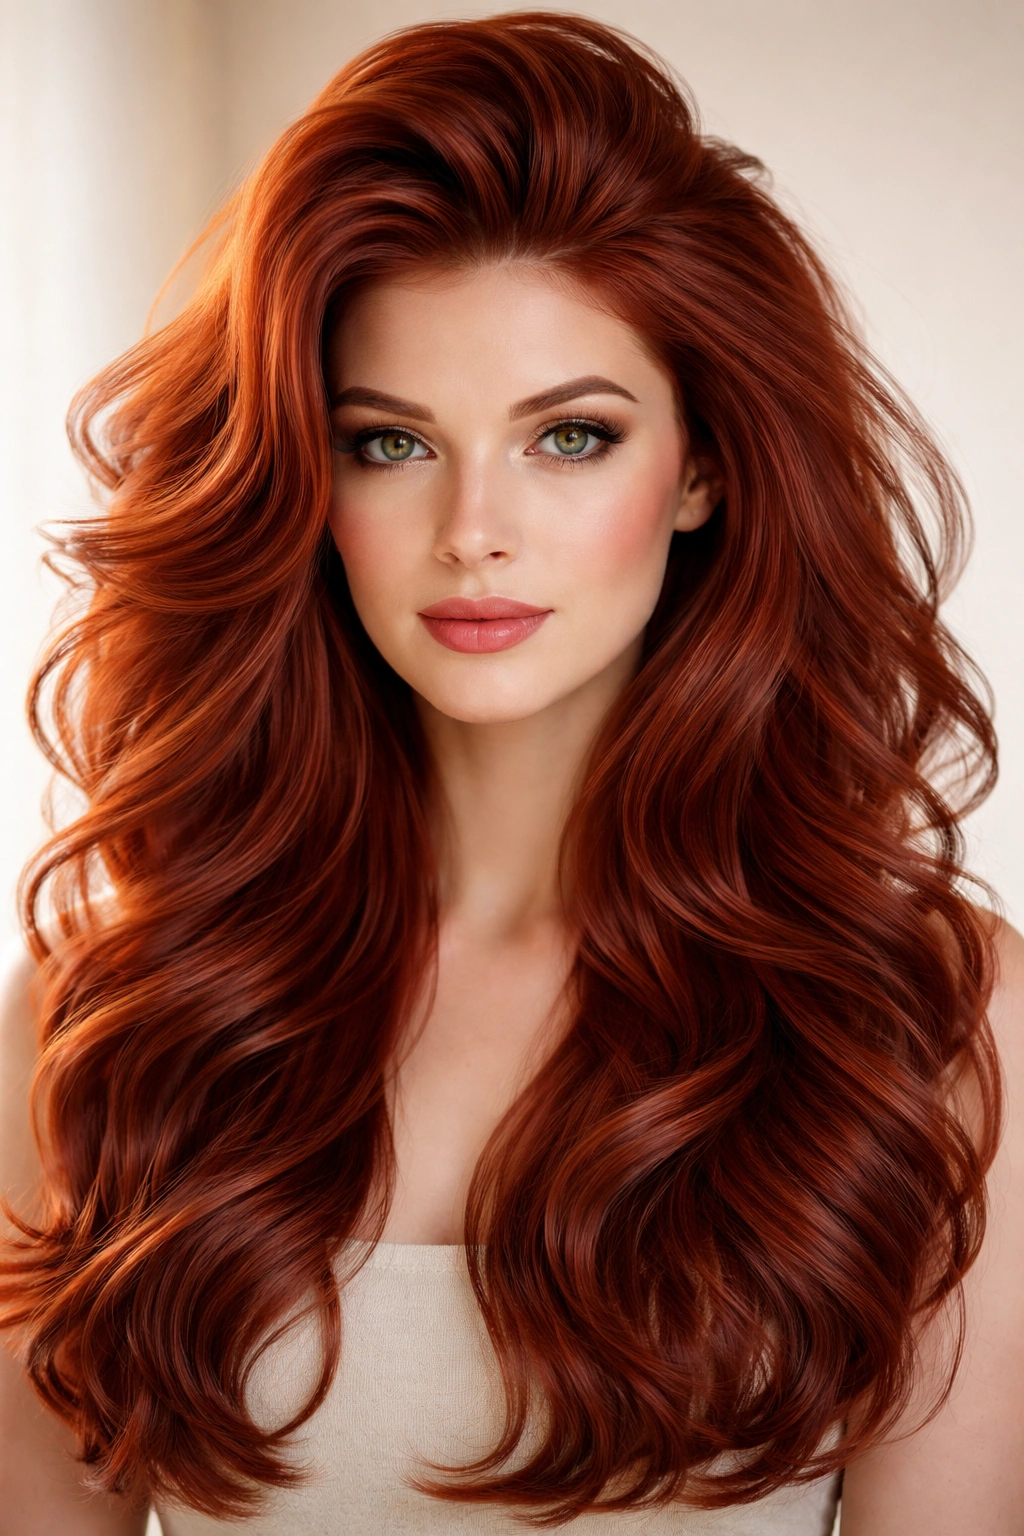
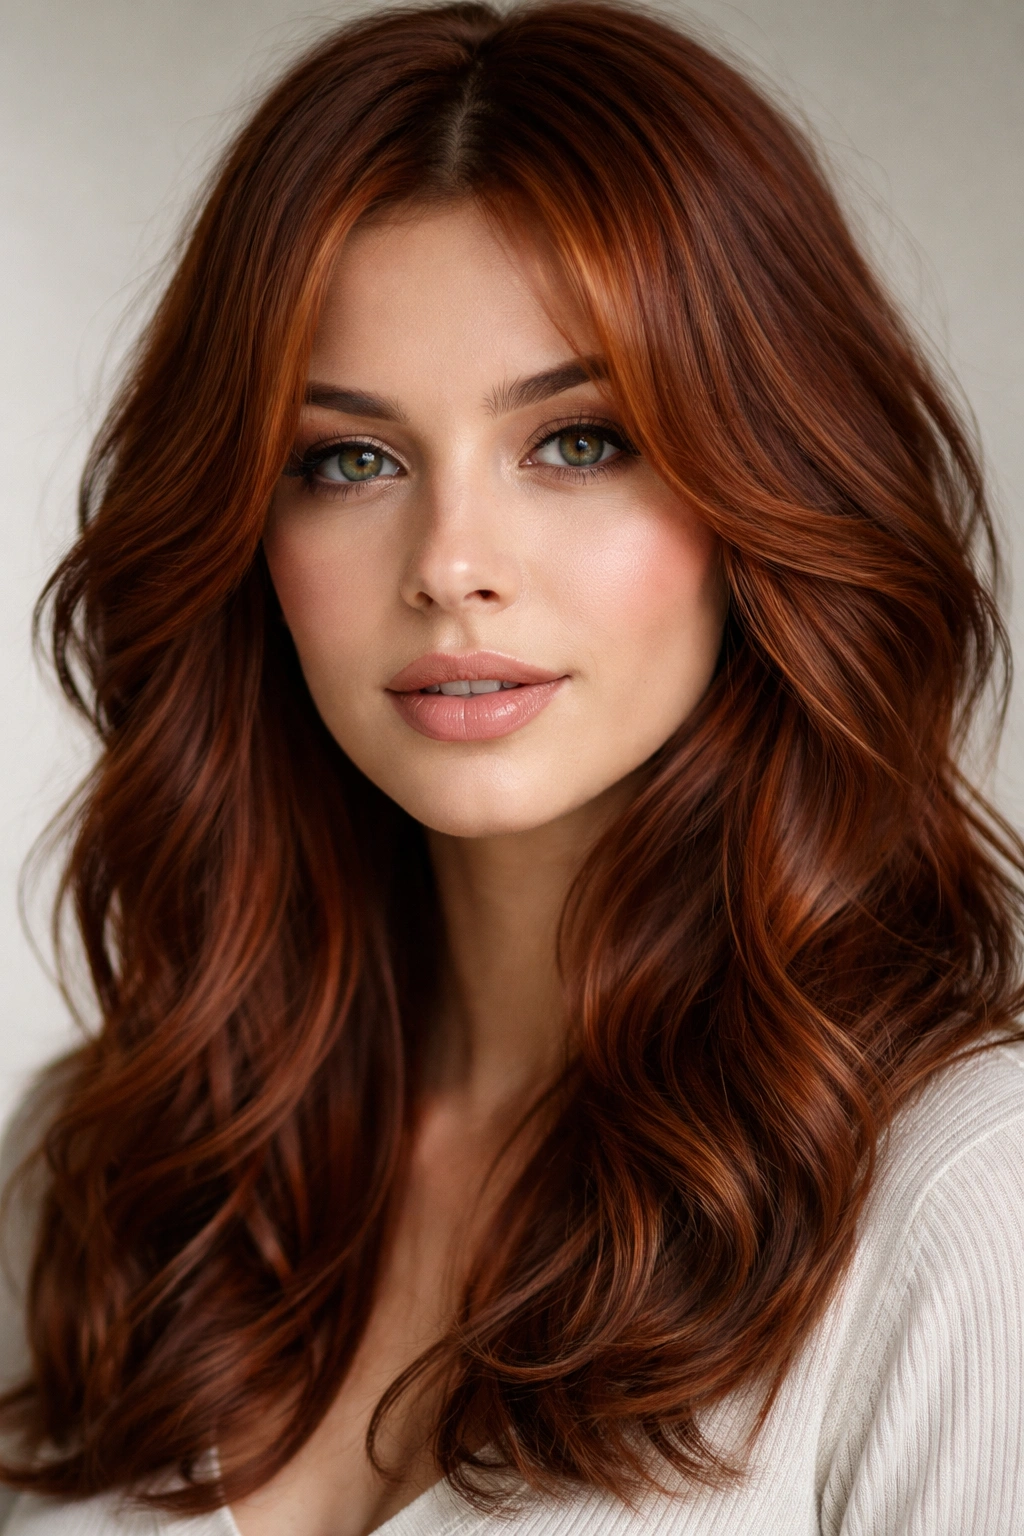
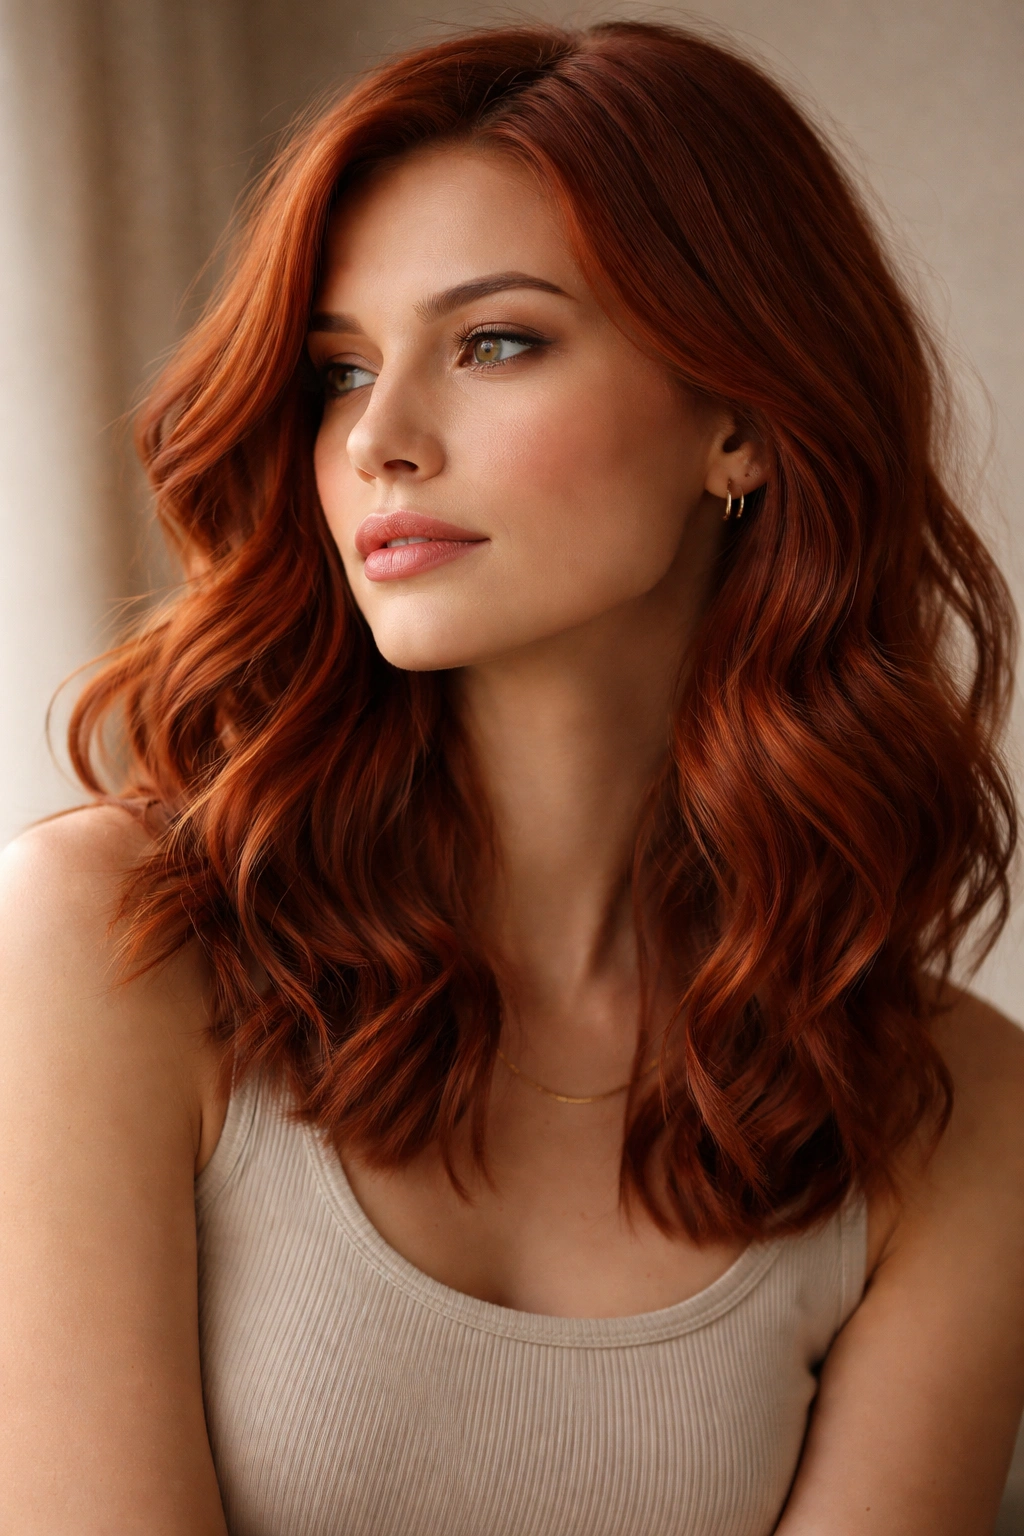
There’s something irresistible about the combination of rich red hair and effortless waves—it’s a look that commands attention without demanding constant perfection. Red tones have a natural affinity for movement and texture; the way light plays across wavy strands in shades of burgundy, cherry, copper, and auburn creates dimension that straight hair simply can’t match. Whether you’re drawn to the warmth of a true red, the sophistication of a deep crimson, or the subtle richness of mahogany, medium-length wavy styles offer the ideal canvas for this stunning color.
Medium length is arguably the sweet spot for wavy hairstyles. It’s long enough to showcase genuine wave patterns and movement without the weight that pulls longer hair straight, yet short enough to style quickly and maintain easily. This length also works beautifully across different face shapes and hair textures, making it accessible for anyone considering a bold color change.
What makes red hair with waves particularly striking is how the color interacts with dimension and shadow. Wavy texture naturally creates pockets of lighter and darker tones, amplifying the richness of red. A medium wavy cut gives you room to play with layering, face-framing, and styling variations that keep the look fresh and prevent it from feeling flat or one-dimensional.
If you’ve been thinking about making the leap to red hair, or you’re already rocking the color and looking to refresh your cut and style, these ten medium wavy hairstyles offer everything from classic elegance to playful modern movement. Each style is designed to work with red’s natural strengths and can be adapted to suit your specific hair texture, lifestyle, and personal style.
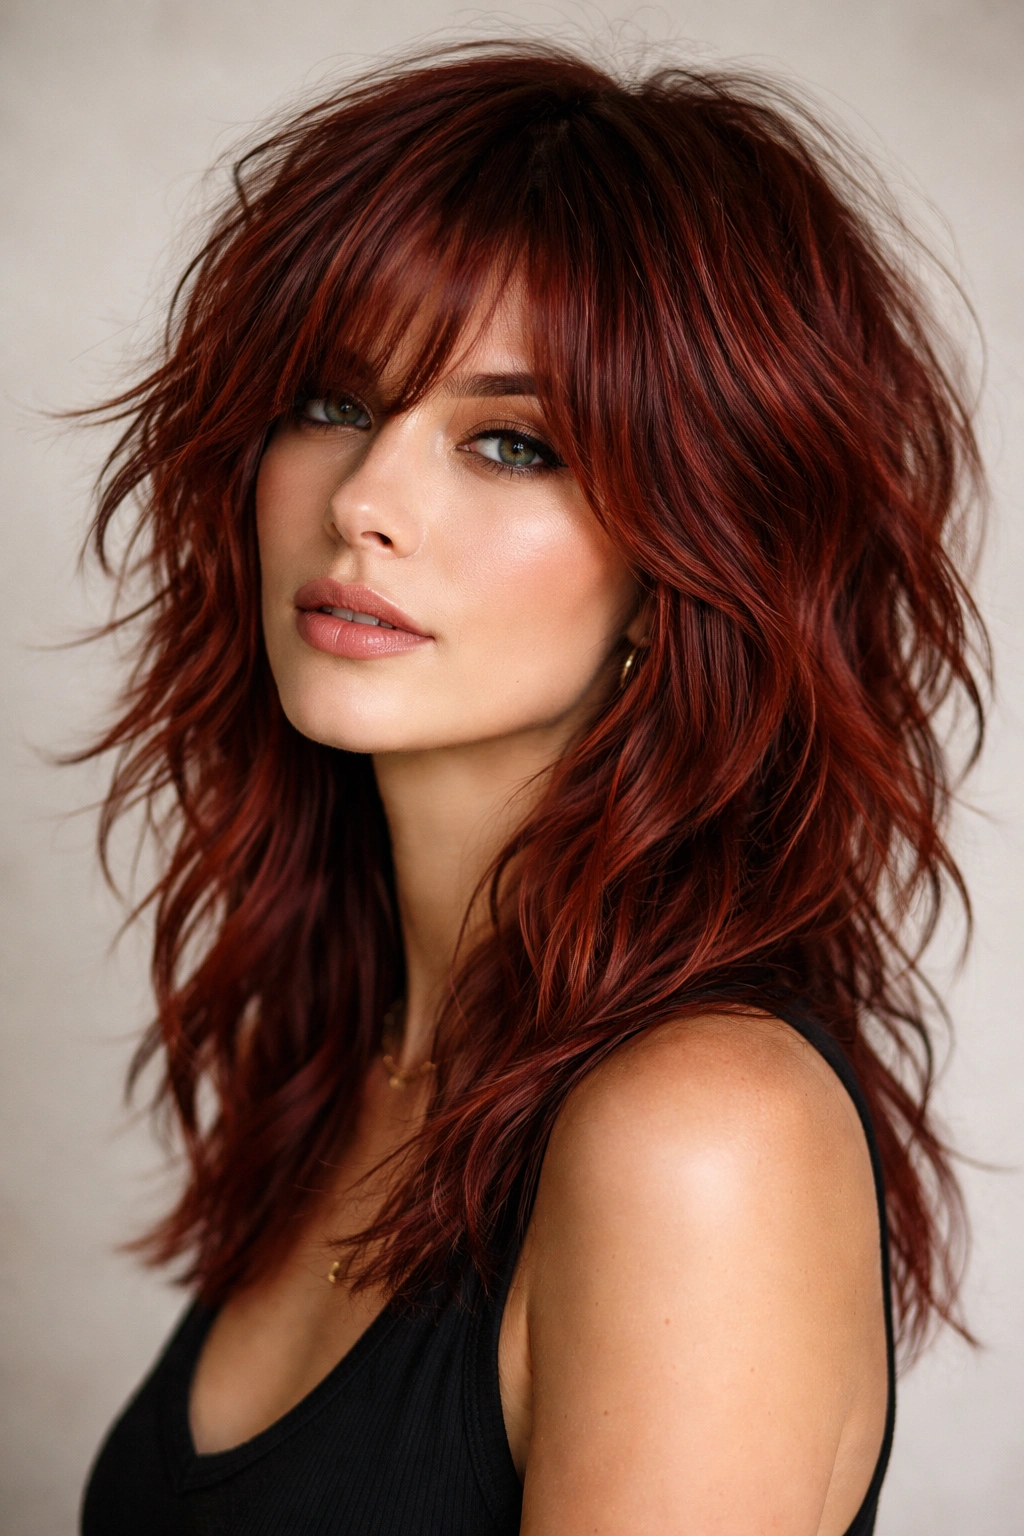
1. Shaggy Wavy Layers with Movement
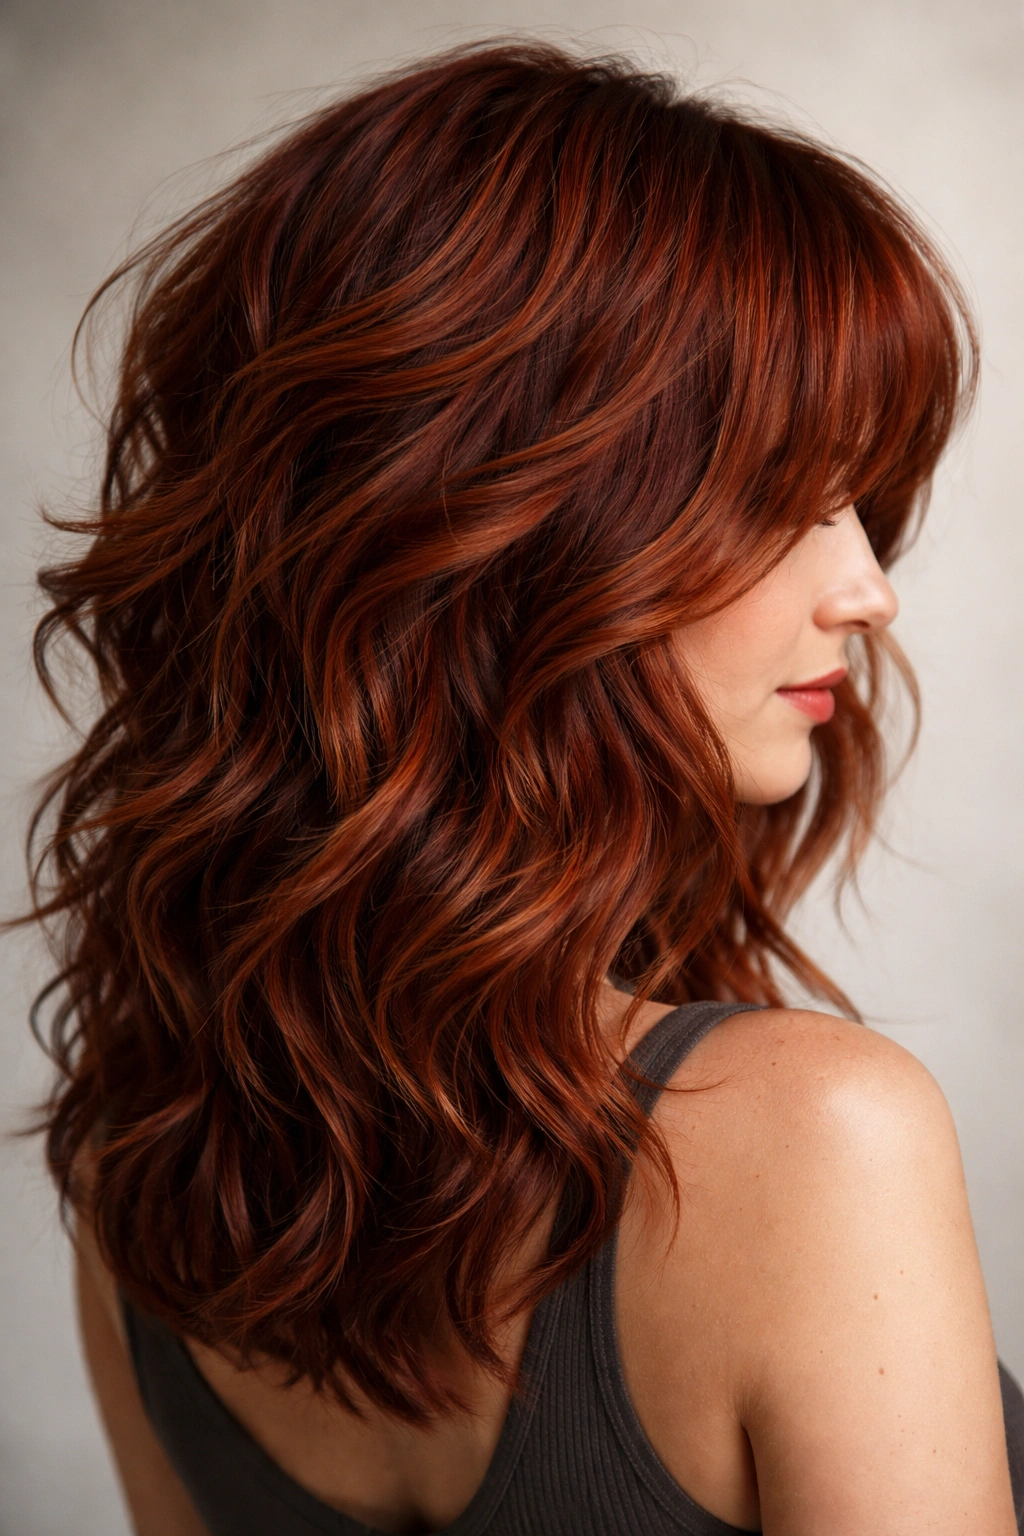
Shaggy layers bring an undeniable rock-and-roll edge to medium red hair, and when combined with natural waves, the effect is both textured and surprisingly wearable. This style features shorter, choppy layers throughout the crown and sides, with longer pieces toward the bottom, creating a shape that moves independently rather than as one solid block. The key to making this work with red hair is ensuring the layers create pockets of color variation—lighter waves catch the light while deeper shadows emphasize the texture underneath.
Why This Cut Enhances Red Hair
Shaggy layers work exceptionally well with red because the shorter pieces throughout the head let color shine from multiple angles simultaneously. As waves form naturally through these layers, you get constant visual interest and movement that prevents the color from feeling static or heavy. The texture also makes the red appear richer and more dimensional, especially if you have any subtle highlights or balayage work mixed into your base color.
How to Wear and Style It
- This style benefits from a texturizing mousse applied to damp roots and mid-lengths, which encourages waves to form naturally without looking overly styled or processed
- Use a blow-dryer with a diffuser attachment on medium heat, scrunching the mousse through your hair to define the wave pattern
- Sea salt spray adds grip and separation to individual wave sections, preventing the shag from clumping together
- Sleeping in loose braids or a silk pillowcase preserves wave definition overnight, allowing you to refresh the style with minimal effort the next morning
- The shag works best with subtle, effortless styling—overstyling can make it look costume-like rather than intentional
Pro tip: This cut requires a skilled colorist and stylist who understand how layers interact with both color and wave pattern. If you’re transitioning to red for the first time, work with someone experienced in dimensional red tones, as the layered structure will show any patchy color application.
2. Textured Beach Waves with Dimensional Red
Beach waves evoke an air of casual sophistication, and when executed in dimensional red, they create a look that’s simultaneously relaxed and undeniably polished. This style maintains a more blunt baseline length at the ends while building texture and movement throughout, achieved through either layering or styling technique. The “dimensional” aspect is crucial—varying depths of red (from bright copper at the surface to deeper burgundy underneath) make the waves appear more voluminous and alive.
The Dimensional Color Element
True dimensional red for beach waves involves strategic color placement: brighter red or copper tones on the surface and upper layers catch light and movement, while deeper burgundy or mahogany tones underneath add richness and prevent the style from looking flat. This dimensional approach is what makes beach waves in red different from the same style in a single-tone color. When waves move and shift throughout the day, both colors are revealed, creating constant visual interest.
Styling Beach Waves Into Submission
- Create waves using either a 1.25-inch curling iron (wrapping sections away from the face) or by braiding damp hair and leaving braids in for several hours or overnight
- Spray sea salt texturizer into damp hair before styling to create grip and help waves hold their shape longer
- Alternate the direction you curl each section—this prevents the style from looking too uniform and creates a more natural, undone wave pattern
- Use a light finishing spray rather than a heavy hold product, which can make waves look stiff or separated
- Finger-comb waves gently after they’ve cooled to break them up and create that coveted lived-in texture
Worth knowing: Beach waves with dimensional red require regular touch-ups to maintain color depth and vibrancy. Plan for root touch-ups every 4-6 weeks and gloss treatments every 8 weeks to keep the dimensional effect looking intentional rather than grown-out.
3. Tousled Wavy Bob with Textured Ends
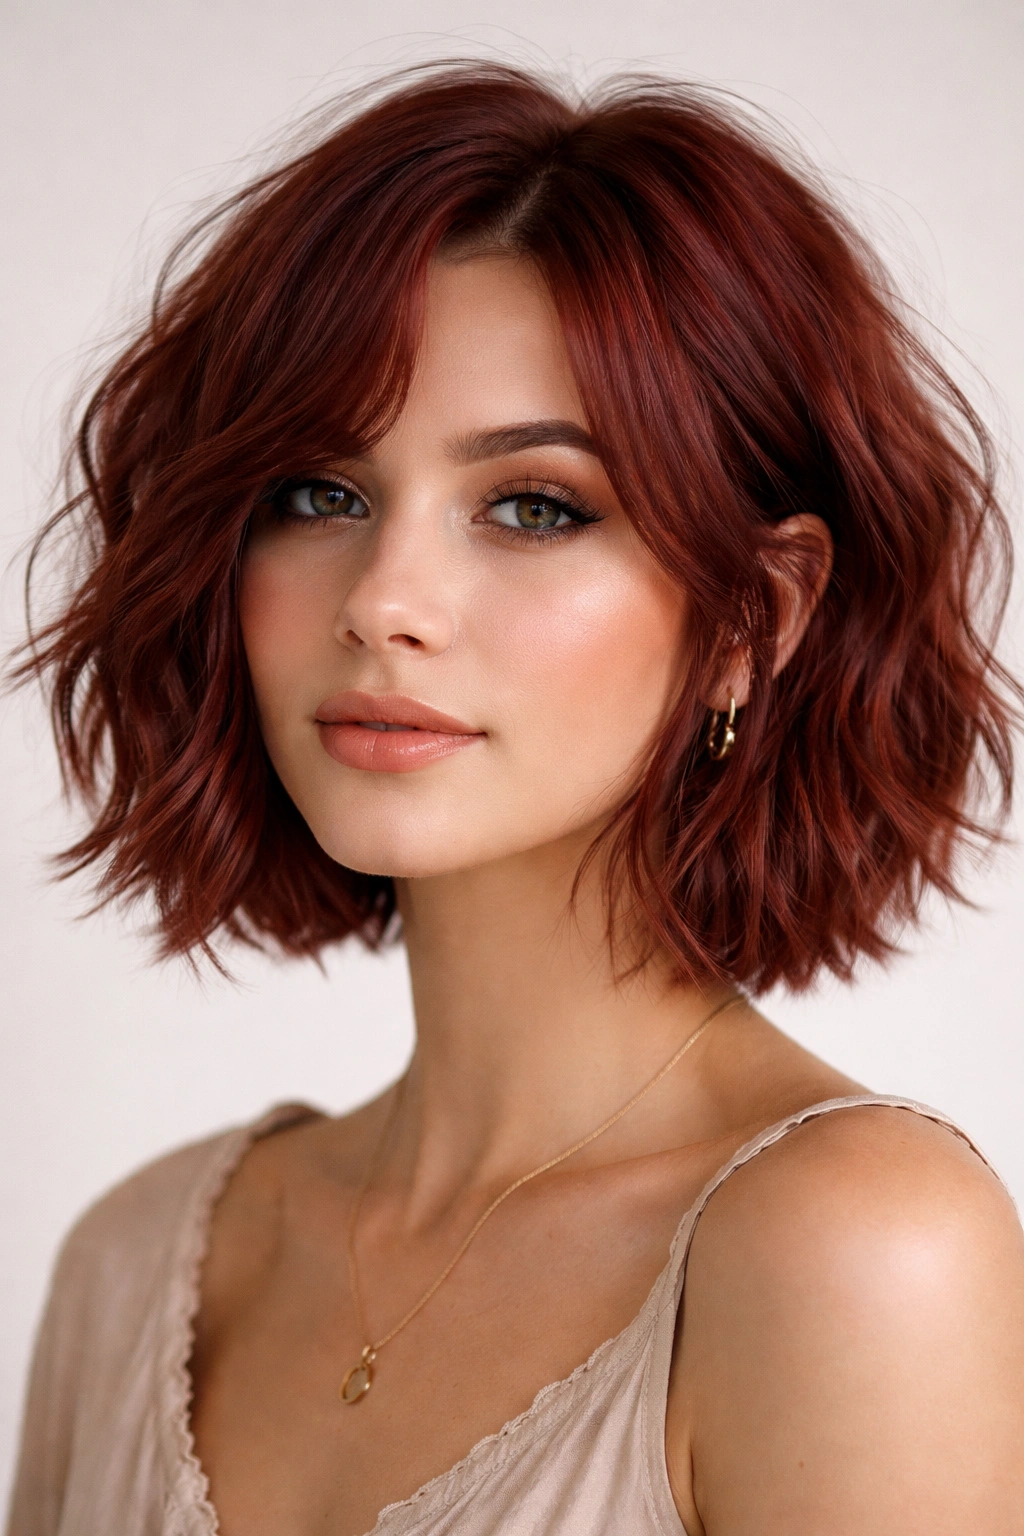
The tousled wavy bob sits right at chin length, giving red hair a flattering frame that emphasizes face shape while maintaining enough length for genuine wave definition. This cut features slightly shorter layers in the crown for movement, with longer pieces in front that gently wave inward, creating a shape that feels both modern and timelessly chic. The “tousled” aspect means the style looks intentionally undone—like you woke up with perfect waves rather than spending time styling.
Creating the Textured End Detail
The most important element of this cut is the textured, choppy end detail. Rather than blunt or rounded ends, a tousled bob features point-cut or razor-cut ends that create individual pieciness. When you style this bob with waves, these textured ends flip and move independently rather than moving as a single unit. In red hair, this texture catches light beautifully and prevents the style from appearing heavy or dark.
Daily Styling and Maintenance
- Apply a lightweight wave-enhancing cream to damp hair, focusing on mid-lengths and ends
- Rough-dry your hair with your fingers (rather than a brush) to encourage texture and prevent smoothing the wave pattern
- Once mostly dry, use a 1-inch curling iron on just the ends and mid-lengths, curling away from the face on one side and toward the face on the other side for balance
- Tousle the waves apart gently with your fingers once they’ve cooled, avoiding a brush which would smooth them into uniformity
- Refresh waves on day two with a light texturizing spray and finger-tousling—most people find this bob actually looks better on day two than day one
Quick facts:
- This cut works best on straight to wavy hair texture; if you have naturally curly hair, the waves may read as frizz rather than intentional texture
- The style requires professional styling every 4-6 weeks to maintain the choppy end texture
- Red color shows regrowth more visibly in short styles, so plan for root touch-ups every 3-4 weeks for the crispest appearance
- This bob is particularly flattering for oval, heart, and square face shapes
4. Soft Side-Parted Waves with Volume

Side-parted waves create an inherently romantic, sophisticated silhouette—especially in red. This style features longer layers throughout (with the longest pieces grazing the collarbone), a natural side part that adds dimension to the face, and waves that begin roughly at ear level and continue down the length. The softness comes from avoiding rigid curl patterns; instead, the waves should flow and merge into one another, creating a continuous movement rather than distinct ringlets.
Face-Framing Through Side-Parted Placement
The power of side-parted waves comes from how the part itself becomes a styling tool. By placing your part off-center (roughly where your natural part wants to sit), you create an asymmetrical frame that’s inherently more flattering than center-parted styles. The longer front pieces on the side of the part create a slimming effect, while the lifted volume on the opposite side balances the face and adds dimension. This is particularly effective with red color, where the depth and tone variations in your hair become even more apparent with strategic placement.
Achieving Soft, Flowing Waves
- Start with damp hair and apply a smoothing serum or wave cream throughout, paying extra attention to mid-lengths and ends
- Use a large-barrel curling iron (1.5 inches or wider) to create loose, gentle waves—the larger barrel creates softer curves than smaller irons
- Curl larger sections of hair rather than thin pieces, which prevents the style from looking too “set” or permed
- Allow curls to cool completely before running your fingers through them, which helps them last longer and blend together more naturally
- Create your side part once the waves are fully cooled, combing gently on the smaller side and smoothing slightly on the larger side
Insider note: This style pairs beautifully with a middle-part as an alternative if you prefer balance. However, the side-part version is particularly effective if you’re aiming for a more vintage-inspired or romantic aesthetic with your red hair.
5. Piece-y Wavy Lob with Choppy Layers
A lob (long bob) in the 16-18 inch range is long enough to feel feminine and flowing, yet short enough to avoid the weight that flattens waves. The “piece-y” element comes from strategic point-cutting throughout the layers, creating individual pieces of hair that move independently rather than as a solid block. This cut is particularly effective in red because the choppy layers create multiple surfaces for light to play across, amplifying color dimension and preventing the style from looking flat or heavy.
The Piece-y Layer Structure
Unlike a simple layered lob, a piece-y lob has intentionally choppy, textured layers that don’t blend seamlessly into one another. Instead, you see individual pieces—some slightly shorter, some slightly longer—creating a deliberate shaggy texture. When waves form in this cut, these pieces flip and move in different directions, creating constant visual interest. This structure is what transforms a basic lob into a modern, fashion-forward style that feels fresh rather than dated.
Styling Your Piece-y Lob Waves
- Use a volumizing mousse on damp roots and mid-lengths to encourage waves to form with height rather than lying flat
- Blow-dry with a diffuser attachment, scrunching and lifting sections to build volume as you dry
- Once mostly dry, use a 1.25-inch curling iron to define waves in the lengths, curling away from the face on one side
- Spray with a flexible-hold texturizing spray, which will separate the pieces and emphasize the choppy layer structure
- Use your fingers to break apart any waves that look too uniform or ringlet-like
- This style benefits from air-drying the next day with just texturizing spray—the natural wave pattern that forms often looks better than heat-styled waves
Pro tip: Ask your stylist to point-cut the ends at a specific angle (typically 45 degrees) rather than blunt-cutting them. This angled cutting technique is what creates true “piece-y” texture rather than a standard choppy look.
6. Bouncy Spiral Waves with Defined Curls

For those with naturally textured or curly hair, bouncy spiral waves showcase red color in a way that straight hair simply cannot. This style works with your natural curl pattern rather than fighting it, creating defined, springy waves that frame the face and move with energy. Medium length is perfect for this style—long enough that curls don’t shrink too far up (length helps define curl pattern), yet short enough that the weight doesn’t pull curls out or create frizz.
Working With Your Natural Texture
Bouncy spiral waves aren’t created with heat tools; instead, they enhance and define your hair’s natural curl pattern. This approach saves significant styling time and damage compared to heat-styling alternatives. Red color looks exceptionally vibrant in tightly-defined curl patterns because the curls themselves create shadow and depth—what would appear flat and one-dimensional in straight hair becomes rich and multi-dimensional in curls. The spiral structure of individual curls means light hits at multiple angles simultaneously.
Defining and Maintaining Spiral Waves
- Apply curl cream or curl gel to damp hair, using the praying hands method (smoothing the product between your palms first, then pressing it through your hair) to avoid disrupting curl pattern
- Avoid touching or picking at curls while they dry—this breaks up the spiral formation and causes frizz
- Diffuse-dry on medium heat, holding the diffuser steady on each section for 10-15 seconds without moving it around
- Alternatively, allow curls to air-dry completely (this often creates the most defined, frizz-free result)
- Once fully dry, gently separate curl clumps with your fingers if desired, but avoid brushing, which disrupts the spiral structure
- Refresh curls on day two and beyond with a curl revitalizer spray and palm-scrunching
Quick facts:
- Bouncy spiral waves look best on hair with natural wave or curl texture—if your hair is naturally straight, this style would require permanent waves or consistent heat-styling
- Red color fades faster in curly hair due to increased surface area; use sulfate-free products and color-safe leave-in conditioners
- Regular deep conditioning treatments (weekly) are essential for maintaining curl definition and preventing dryness
- This style typically looks best with minimal layers, as heavy layering can compromise curl definition
7. Undone Romantic Waves with Soft Edges
Romantic waves evoke femininity and softness—think old-Hollywood glamour with a modern, effortless edge. This style features longer lengths (grazing the shoulders or just past), gentle waves throughout, and a softer overall aesthetic compared to choppy or textured alternatives. The “undone” aspect is crucial; these waves should look like they formed naturally rather than through careful styling. In red hair, this creates a dreamy, ethereal quality that’s both striking and approachable.
Creating the Effortless Appearance
The paradox of undone waves is that they actually require more precision than obviously styled waves. Romantic waves need to be loose enough to look natural, sized large enough to read as intentional movement rather than frizz, and sized uniformly enough to feel cohesive. The wave pattern should be consistent throughout the length (not wavy at the ends but straight at the roots), and the overall shape should feel balanced and intentional, even if the styling itself appears effortless.
Styling Romantic Waves for Maximum Impact
- Apply a smoothing serum or lightweight styling cream to damp hair, distributing it evenly from roots to ends
- Use a 1.5-inch barrel curling iron to create large, loose waves, wrapping sections around the iron and holding for 8-10 seconds
- For the most romantic effect, curl all sections in the same direction (away from the face) for a continuous, flowing wave pattern
- Allow waves to cool completely before releasing them from the iron
- Once cool, run your fingers through the waves to break them apart and create a softer, less uniform appearance
- Finish with a lightweight hairspray that provides hold without stiffness
Worth knowing: This style photographs beautifully and works well for special occasions (weddings, date nights, formal events), but it’s also wearable for everyday. The key is using a lightweight product that doesn’t make hair feel stiff or look artificially styled.
8. Voluminous Wavy Waves with Crown Height
Voluminous waves are designed to maximize thickness and create presence—particularly flattering if you have fine or thin hair, or if you simply love dramatic, statement-making style. This approach involves strategic layering throughout the crown to create lift, combined with larger waves throughout the length. The volume isn’t created through backcombing or teasing (which damages hair), but rather through cutting technique, blow-drying method, and wave creation at the roots.
Building Volume Into Your Cut
The foundation for voluminous waves starts with the haircut itself. Layers in the crown (shorter pieces on top, longer underneath) create natural lift without requiring teasing. Side-swept bangs or longer front pieces add face-framing volume. The longest pieces (typically at the ends) should be long enough to ground the style and prevent it from looking ethereal or wispy. In red hair, volume is particularly important—the fuller the style, the richer the color appears.
Blow-Drying for Maximum Volume
- Begin with volumizing mousse applied to damp roots and the crown area
- Flip your head upside down and blow-dry the roots while scrunching upward with your fingers, encouraging maximum lift
- Once roots are mostly dry, flip your head back up and continue drying the mid-lengths and ends
- Use a round brush on the crown and sides, rolling upward to create volume that sticks
- Once the base is fully dry and voluminous, create waves using a curling iron or by styling with sea salt spray
Quick facts:
- Voluminous styles require regular trims (every 4-6 weeks) to maintain shape and prevent the style from collapsing
- This style is particularly effective on straight to gently wavy hair; very curly hair may naturally resist the smooth, voluminous aesthetic
- Red color looks deeper and richer when held in a voluminous style rather than hanging flat
- This style requires lightweight products at the roots and mid-lengths; heavier products will flatten volume rather than enhance it
9. Face-Framing Wavy Layers with Subtle Highlights
Face-framing layers are strategically shorter pieces around the face that create definition and draw attention to your best features. Combined with wavy texture, these layers create movement right where you want it—softening the jawline, emphasizing cheekbones, and framing the eyes. The addition of subtle highlights (lighter pieces throughout) amplifies the face-framing effect and creates the illusion of even more dimension and movement.
Strategic Face-Framing Placement
The most effective face-framing layers don’t just sit around your face—they interact with your wave pattern to create movement. Shorter pieces around the face wave naturally toward or away from the face, adding dimension and softness. The length of face-framing pieces should be determined by your face shape: for round faces, slightly longer pieces that angle downward flatter most; for square or angular faces, shorter pieces that sit at the cheekbone create balance; for oval faces, pieces at roughly jaw length work beautifully.
Integrating Subtle Highlights Into Your Red
Subtle highlights in a face-framing style don’t mean going brassy or completely changing your base color. Instead, slightly lighter pieces (perhaps a warmer, more copper-toned red against a deeper burgundy base) are strategically placed to enhance the face-framing effect. These lighter pieces catch light and movement, making the waves appear more dynamic and the face-framing more effective. Place highlights primarily in the face-frame pieces and sprinkled throughout the lengths, while keeping the roots and base color deep and rich.
Styling for Maximum Face-Framing Impact
- Apply texturizing cream or mousse to damp hair, paying extra attention to the face-framing pieces
- Blow-dry face-frame pieces away from your face using a round brush, creating subtle lift and curve
- Once mostly dry, curl the face-frame pieces using a 1-inch curling iron, curling away from the face
- Style remaining length with larger waves using a 1.5-inch iron
- Use your fingers to arrange face-framing pieces so they frame your face without falling completely flat against it
Pro tip: This style works beautifully with a side part, which naturally emphasizes the face-frame on one side. If you prefer a center part, ensure your face-framing pieces are balanced on both sides.
10. Tousled Wavy Shag with Choppy Texture
The modern shag brings rock-and-roll attitude to red hair while remaining wearable and flattering across different face shapes and ages. A shag differs from a standard layered cut in its intentional choppiness—layers don’t blend into one another but instead create distinct texture and pieciness throughout. When combined with waves, a shag in red becomes a powerful statement style that’s casual yet undeniably fashionable.
Understanding Modern Shag Structure
A contemporary shag balances length (longer pieces for movement and femininity) with texture (shorter pieces for volume and edge). The overall shape is usually longer in front and shorter in the back, with layers throughout. This creates a silhouette that’s directional and intentional rather than accidentally shaggy. The choppy texture is what prevents the style from looking dated—modern shags feature precise, controlled choppiness rather than the haphazard cutting of vintage shags.
Styling Your Shag Waves for Impact
- Apply sea salt spray or texturizing mousse to damp hair, focusing on the crown and mid-lengths
- Blow-dry using your fingers (not a brush) to avoid smoothing the texture, scrunching upward as you dry
- Use a diffuser attachment on medium heat to encourage wave formation while maintaining texture
- Once mostly dry, use a 1.25-inch curling iron on just the lengths, curling away from the face
- Tousle the waves apart with your fingers once fully cool, breaking up any curl pattern that looks too uniform
- Use texturizing spray as a finishing product rather than smoothing serum, which would flatten texture
Quick facts:
- A shag requires professional styling every 4-6 weeks to maintain the choppy structure and prevent it from growing out shapeless
- This style works particularly well on straight to wavy hair; very curly hair may read as unintentionally frizzy rather than intentionally choppy
- Red color in a shag should ideally be multi-dimensional—a single-tone red can sometimes look flat or brassy in highly textured styles
- The shag works across ages and face shapes, though it’s particularly flattering for those who want to project confidence and edge
Final Thoughts
Red hair in medium wavy styles offers something special: the color brings drama and richness, while the wave pattern and medium length keep the look wearable and approachable. Whether you gravitate toward romantic softness, textured edge, or voluminous glamour, there’s a wavy red style suited to your personality and lifestyle. The key to making any of these styles work is understanding how wave pattern, length, layering, and color work together—each element amplifies the others, creating a look that’s greater than the sum of its parts.
The commitment to red hair is real, from root maintenance every 3-5 weeks to color-safe products and regular deep conditioning. But for those willing to invest in their hair, the payoff is a stunning, head-turning style that feels completely yours. Start with a consultation with a skilled stylist who has experience working with both red color and wavy texture—they’ll help you choose the cut and style that best complements your face shape, hair texture, and personal style. Once you find your perfect medium wavy red style, embrace the movement, lean into the texture, and enjoy the countless compliments that come with rocking this bold, beautiful look.