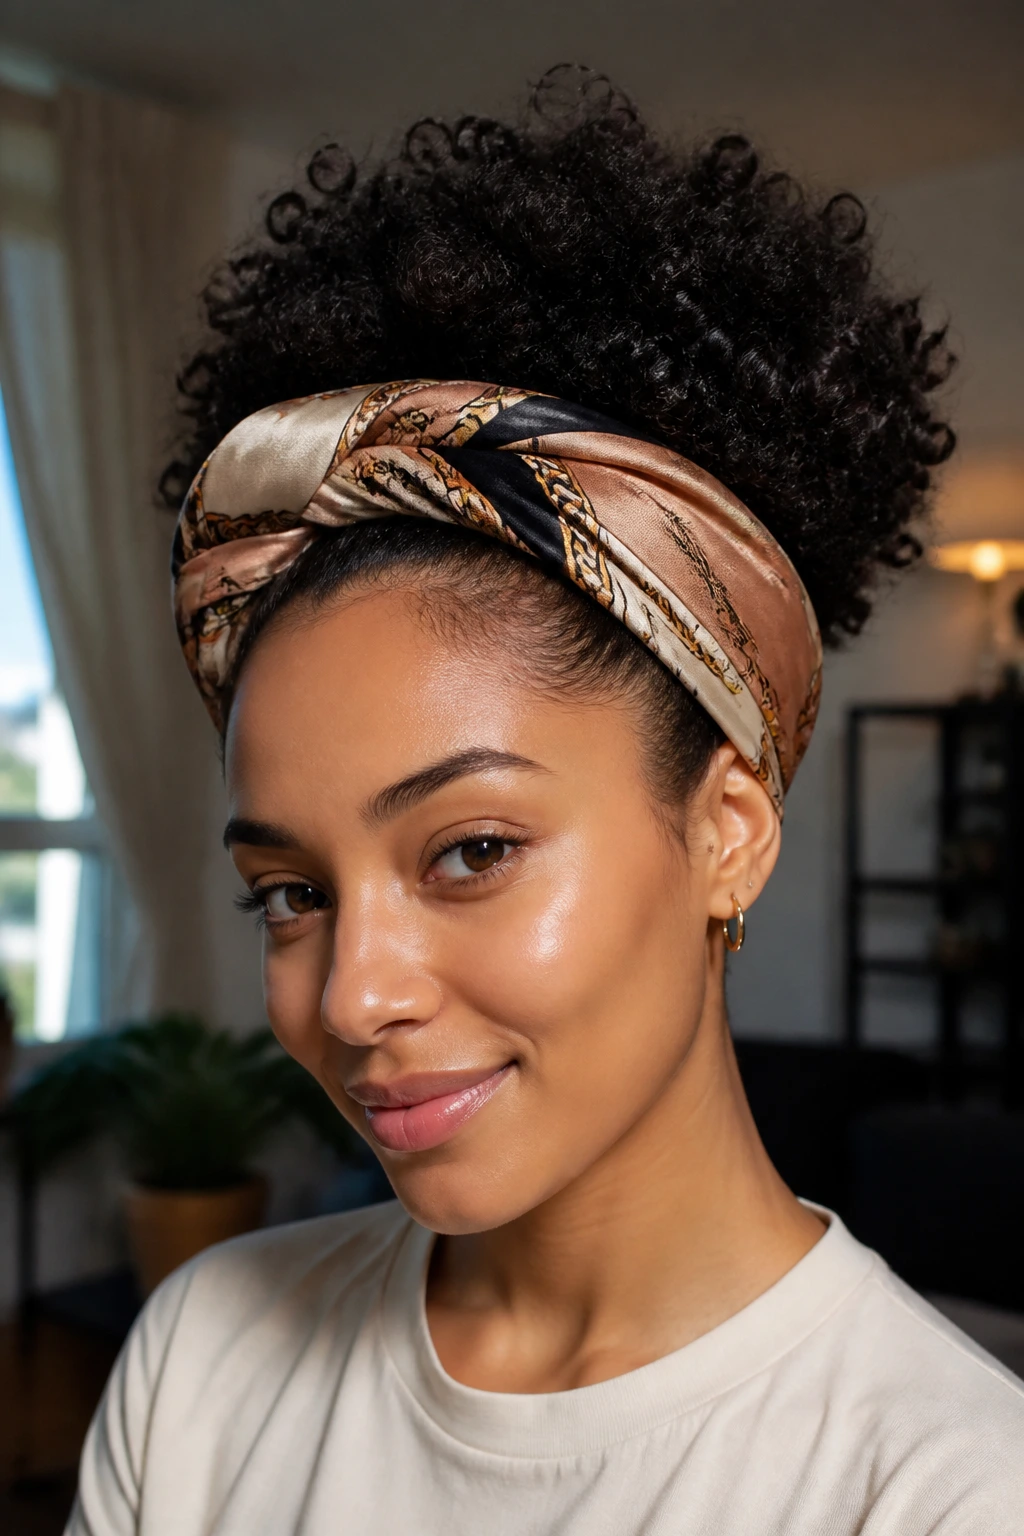
The hardest part of a wash-and-go is not wash day. It is the next morning, when one side is flat, the crown is a bit puffed out, and the curls at the nape have started doing their own thing. Good second day curl styles for natural hair fix that mess without dragging you back into a full wash, full detangle, full reset.
And day-two hair is not bad hair. I will argue that point every time. Fresh curls can look glossy and neat, sure, but second-day curls often have better volume, more grip at the roots, and a softer shape that makes styling easier. A wash-and-go, twist-out, braid-out, or rod set that feels slightly lived in can be easier to pin, puff, twist, and shape than hair that is still slippery from the first day.
There is also a small technical detail that matters more than people think: if your curls still spring back when you tug one coil and let go, the pattern is still there. You do not need to drench your whole head. Hair fiber swells when it gets soaked, and repeated swelling can wear on dry strands over time, especially at the ends. Day-two styling works better when you refresh only the parts that collapsed.
That is the sweet spot—enough moisture to wake the curls up, not enough to restart the whole style. Once you get that part right, you can stretch one wash day into a string of good hair days without your hairline paying the price.
How to Refresh Second-Day Curl Styles for Natural Hair
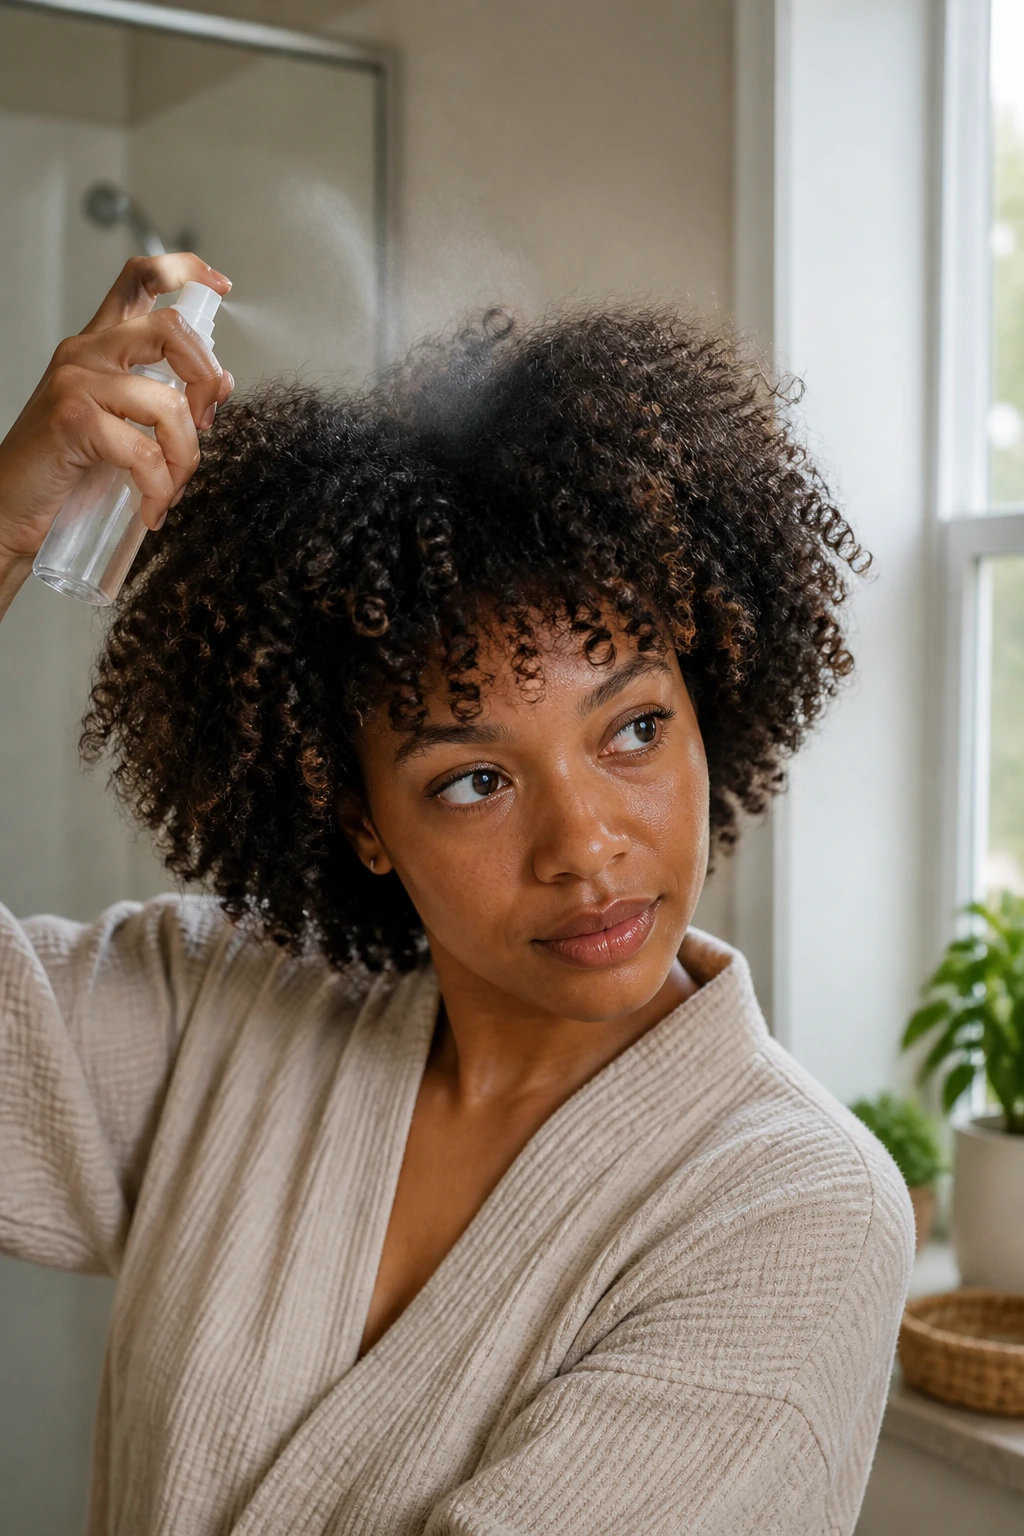
Do not reach for the spray bottle and soak everything at once. A light, targeted refresh gives you more control, and it keeps your curls from shrinking back before you even choose a style.
Mist the spots that lost shape first
Start with the areas that usually take the hardest hit overnight: the crown, the side you slept on, the nape, and the front edges. Hold the bottle 8 to 10 inches away and spray 6 to 12 light mists total, not 30. You want the hair to feel cool and slightly damp, not wet enough to drip on your shoulders.
Then pause for 30 to 60 seconds. Let the water sit. Curls often plump back up on their own during that short wait, and that tells you how much more product—if any—you need.
Use one styler, not a stack
Most second-day styles need one light product, not three. A palmful of mousse works well when you want lift and soft hold. A pea-size amount of leave-in rubbed between wet palms helps when the ends feel dry. If you need sleek roots for a puff or bun, use a rice-grain amount of edge control on the hairline and the surface only.
Heavy butter is where people get into trouble. It can flatten the roots, cloud up definition, and leave day-three hair feeling coated. Save rich creams for a full styling session.
Your fingers matter too. If you rake through a dry section with force, you will pull frizz through the whole curl clump. Smooth downward with your palms, shake the section once or twice, and let the curl pattern settle back where it wants to live.
Tools That Make Second-Day Curl Styles for Natural Hair Easier
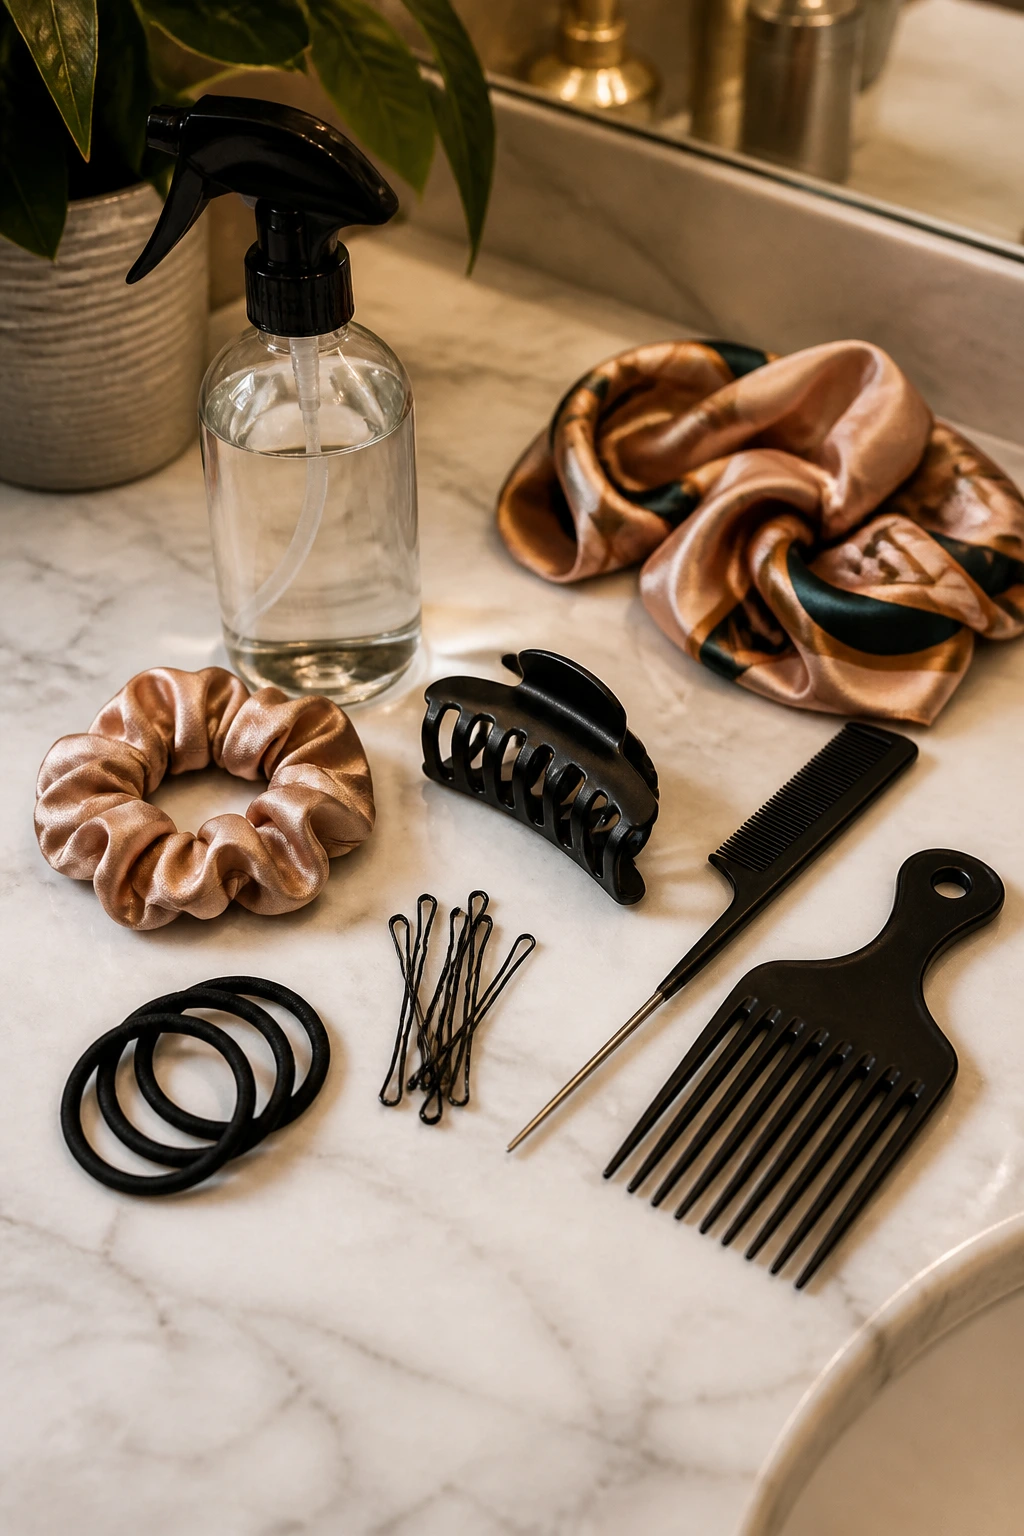
Most day-two styling trouble starts with the wrong tools. The style itself is often easy. The snagging elastic, rough edge brush, or tiny claw clip is what throws the whole thing off.
You do not need a full drawer of gadgets. You need a short, dependable lineup that will not break hair in the process:
- A fine-mist spray bottle that lays down a soft cloud instead of large droplets
- One satin scrunchie for pineapple styles and loose puffs
- 2 to 4 snag-free ponytail bands for sectioned styles like faux hawks or double puffs
- 6 to 10 bobby pins with coated tips that do not scrape the scalp
- A medium claw clip or jumbo clip for quick updos
- A rat-tail comb for clean parts when you want a polished look
- A soft edge brush or small boar-bristle brush for smoothing only the surface
- A silk or satin scarf about 30 to 36 inches square for scarf styles and edge setting
- A hair pick for lifting roots without tearing apart the ends
One more thing. The American Academy of Dermatology has warned that tight styles worn again and again can lead to traction alopecia, which is hair loss caused by repeated pulling. If a style makes your scalp feel sore, looks shiny near the temples, or leaves a throbbing feeling after ten minutes, loosen it.
Pain is not part of the style.
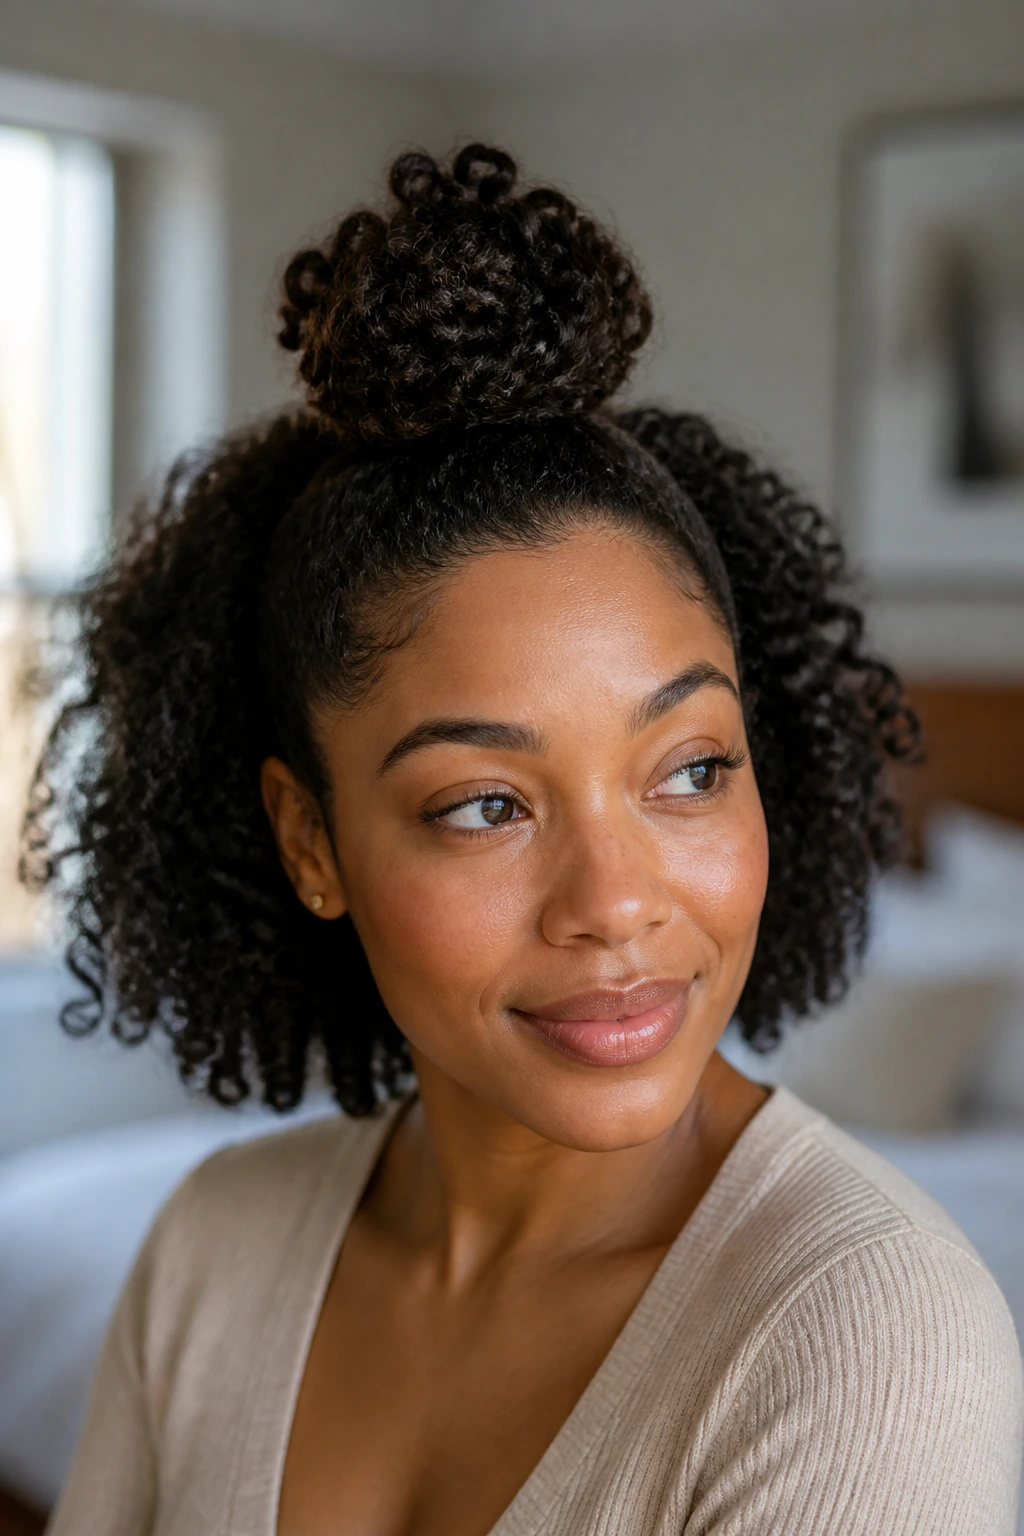
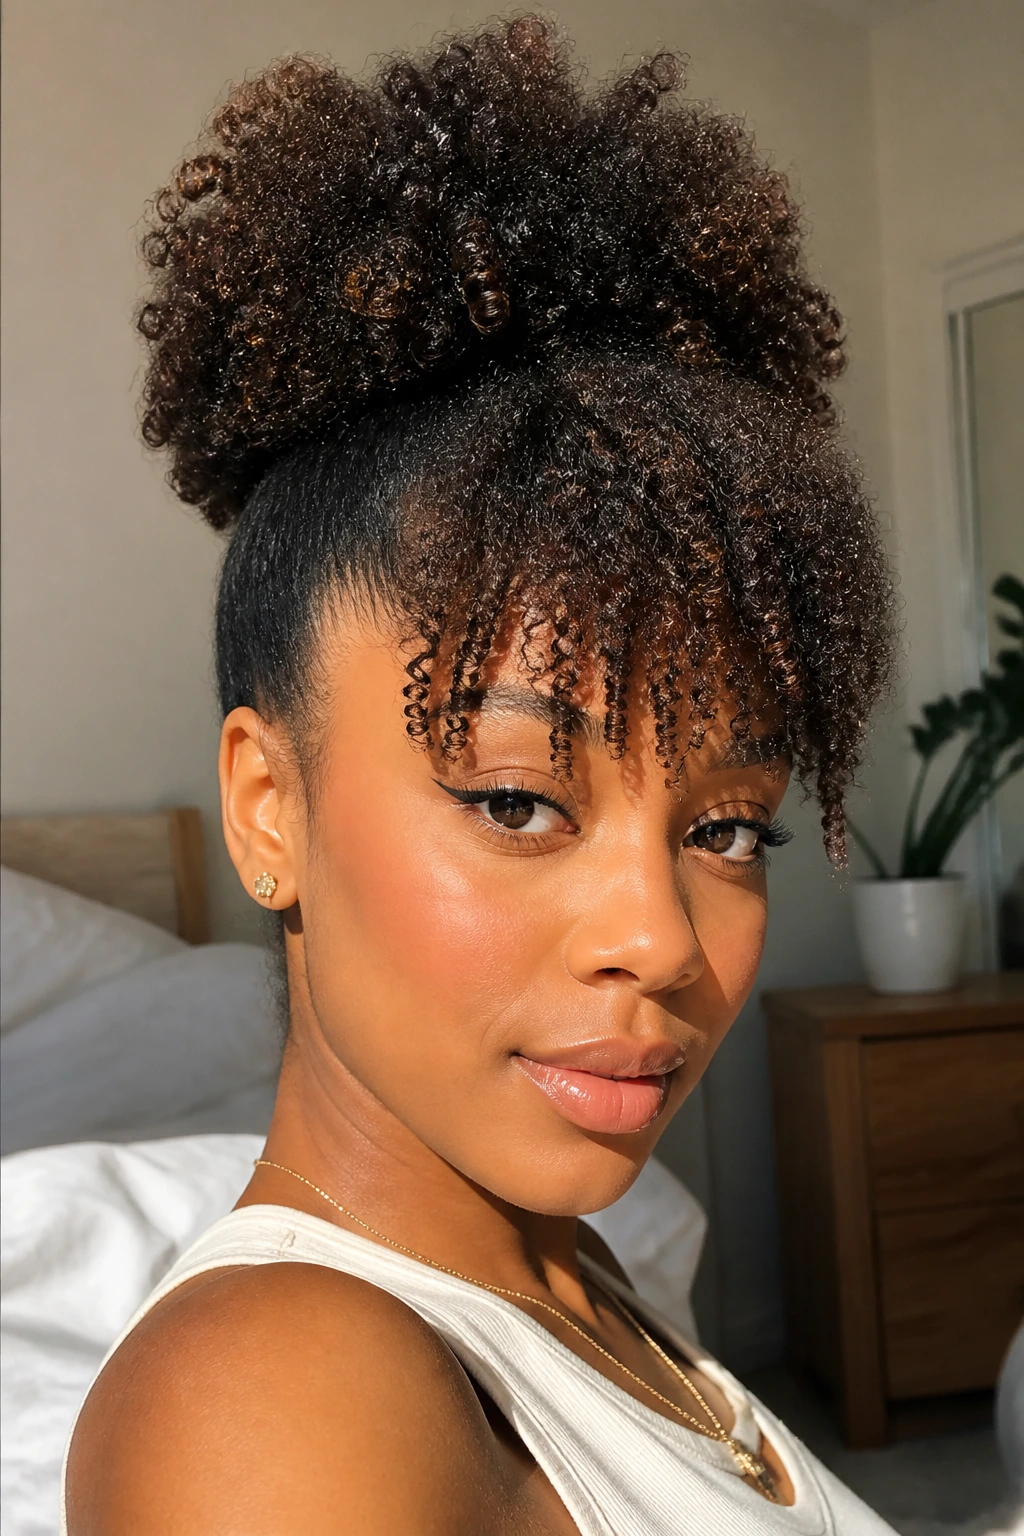
1. High Pineapple Puff
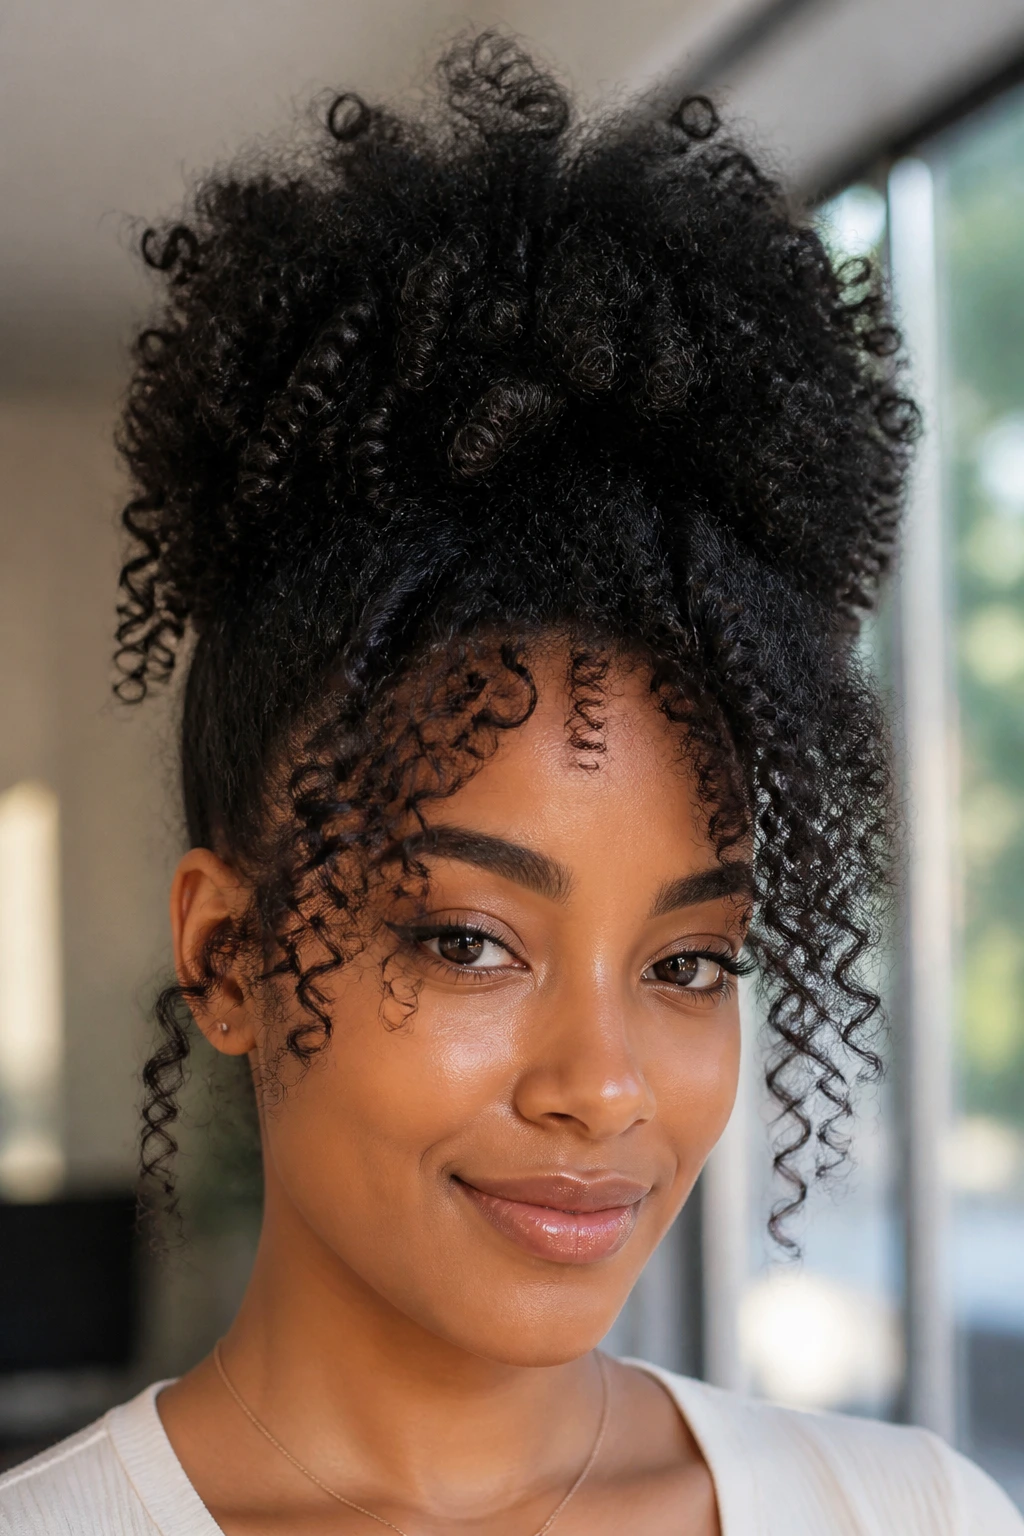
Nothing hides flat roots faster than a high pineapple puff. It lifts the hair away from the side that got crushed overnight, keeps the curl pattern visible, and works on wash-and-go curls, old twist-outs, and fluffy braid-outs alike.
Why it works so well on day-two hair
Freshly styled curls can slide out of a pineapple because the roots are still soft and loose. Day-two roots have more grip. That tiny bit of grip makes the puff sit higher and look fuller, which is why this style often looks better on the second morning than it did on the first night.
Set the puff at the highest point your length allows. On chin-length or bob-length natural hair, that may be closer to the front half of the crown than the exact top of the head. On longer hair, you can place it right at the crown peak and let the ends spill forward.
Quick setup
- Gather the hair upward with both hands, keeping the curls loose.
- Wrap a satin scrunchie once or twice—stop before the base feels tight.
- Pull 4 to 8 curls loose at the front for softness.
- Lift the roots with a pick at the base only, not through the ends.
Try this: if the puff sits too far back, the style can look like it is falling off your head. Move the band forward by 1 inch and the shape changes fast.
2. Low Puff With a Clean Center Part
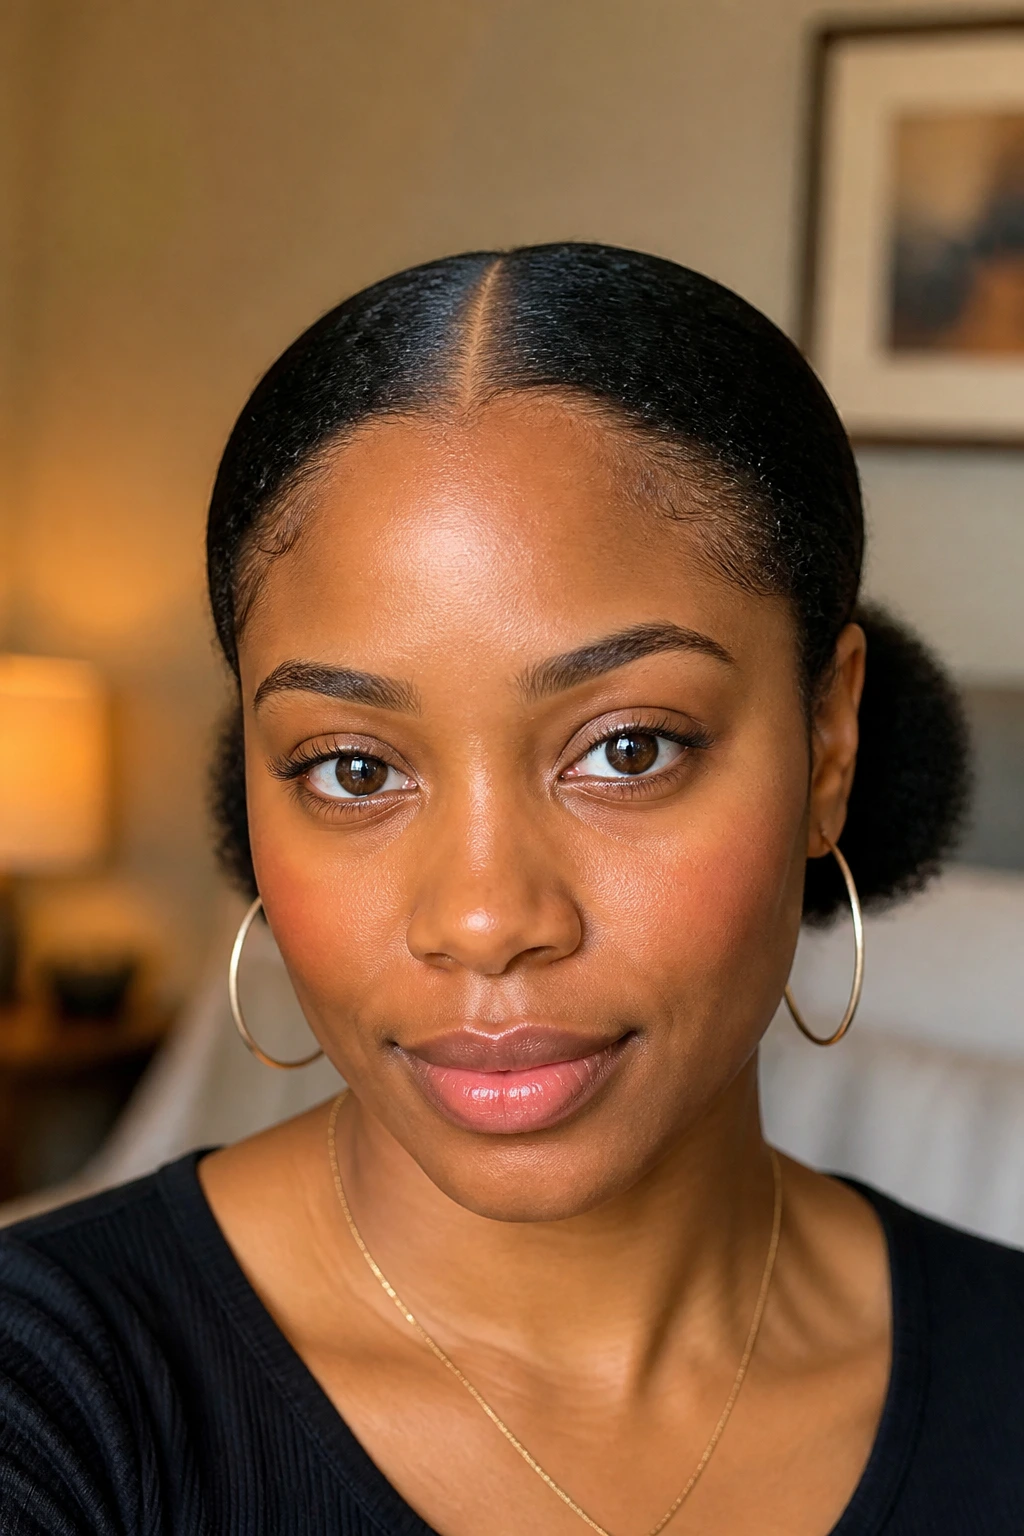
Need something polished in under five minutes? A low puff with a center part is one of the safest bets, especially when the back of your hair still has body but the top needs direction.
Use your fingers first. Then use the rat-tail comb only to sharpen the part. A fingertip dipped in water helps the comb glide without scratching your scalp or disturbing the rest of the curl pattern. I like the part to run from the forehead to the crown, not all the way to the nape, because a shorter part keeps the style softer.
Smooth the surface hair down with your palms and a small amount of mousse or gel. Keep the product on the roots and outer layer. Dragging gel through the puff makes it shrink and clump in a stiff way, which defeats the point.
Place the band at the nape, then slide it up half an inch if you want more lift. On dense 4B or 4C hair, the puff can look fuller if you gently tug the base outward after securing it. Around the face, pull out a curl or two near the ears if you want the style to feel less formal.
The part does a lot of the work here. When the line is clean, the whole style reads as intentional even if the puff itself is soft and fluffy.
3. Half-Up Curly Top Knot
When the crown is flat but the bottom half still looks good, stop fighting the bottom half. Put the top section away and let the lower curls keep doing their job.
Take a horseshoe section from arch to arch, starting about 2 inches back from the hairline. Gather that top section, twist it once, and coil it into a small knot. On medium or long hair, a satin scrunchie may be enough. On shorter layers, tuck the ends under and secure the knot with 3 or 4 bobby pins.
The reason this style works is shape. Second-day curls can get puffy near the roots while the ends still hold definition. A top knot removes the puffiest section and turns it into height. The back hangs loose, which keeps the style from looking severe.
You can wear the knot centered, slightly forward, or a little off to one side. I lean toward slightly forward on curly bobs because it gives the silhouette a bit more personality. And yes, that matters.
A tiny slicked patch around the knot can make the whole style look dated. Keep the roots soft. This one is better with texture left in.
4. Double Puffs With Soft Edges
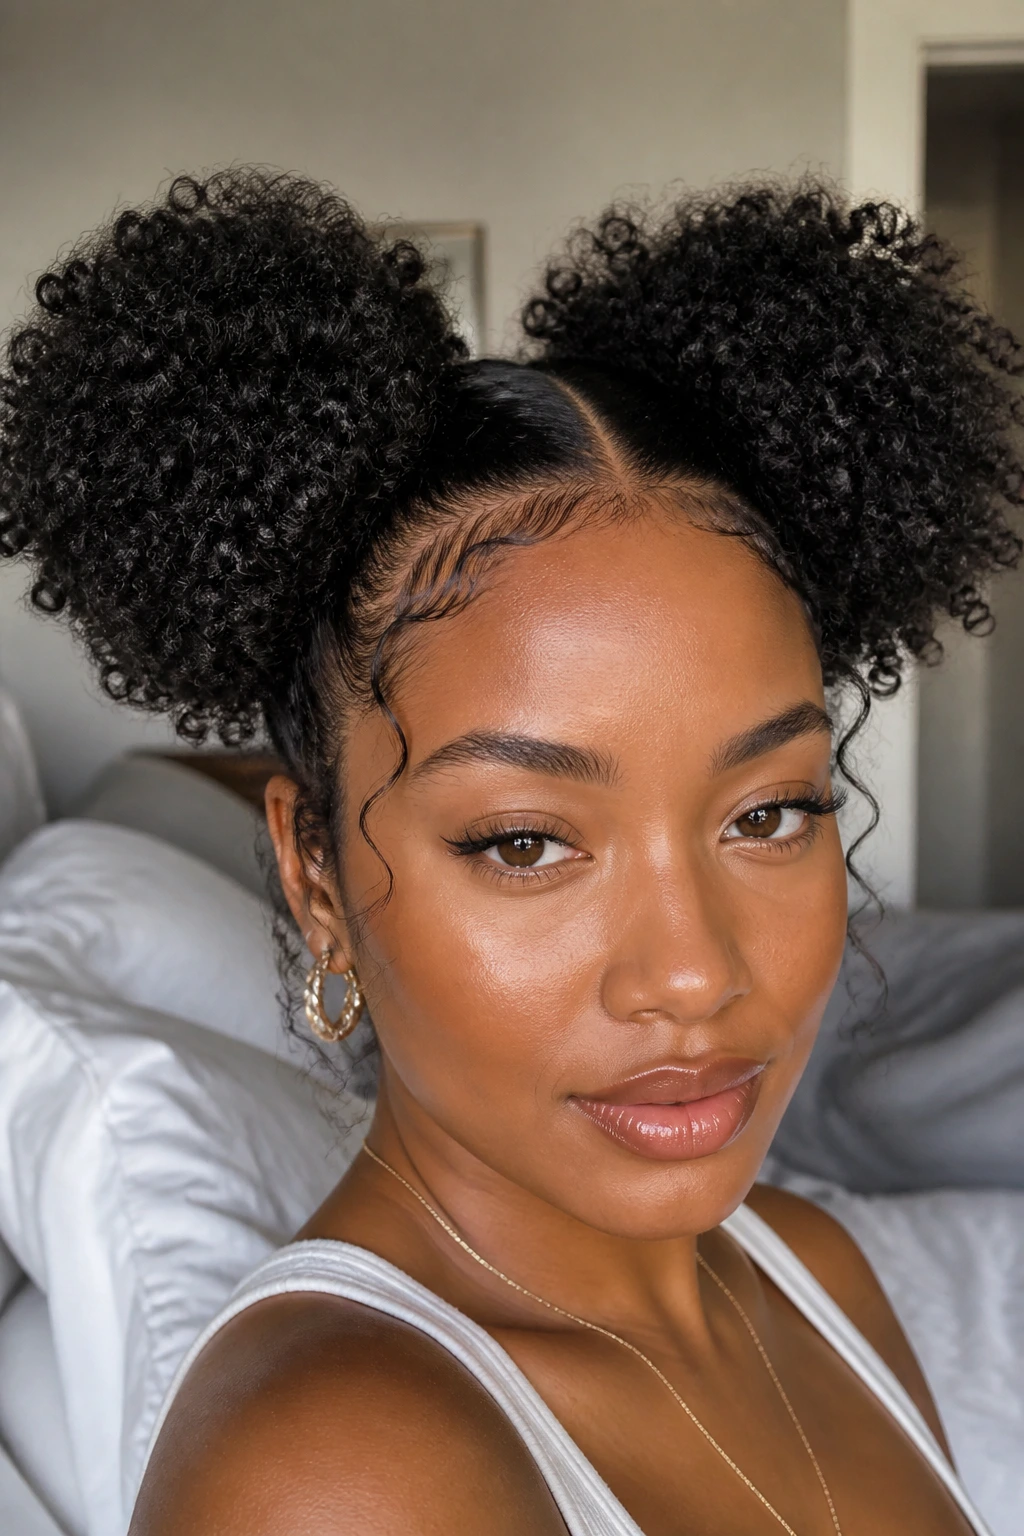
One big puff is not always the answer. On hair that is dense at the crown and lighter at the nape, a single puff can turn into a triangle fast. Double puffs spread the volume out and make uneven second-day curls look balanced.
Picture two sections, not six. Clean parts help, though finger parts can look nice too if you want a softer finish. Split the hair from forehead to nape, then place each puff slightly above the ear line instead of too low in the back.
A few details make this style sit better:
- Use two satin scrunchies or snag-free bands that can stretch without digging in
- Keep the puffs loose at the base, then fluff outward with fingers
- Smooth only the hairline and the top surface
- Leave the ends of each puff full instead of trying to pack them into a tight ball
Soft edges matter here because crisp, sculpted baby hairs can fight against the playful shape of the puffs. A touch of mousse and a small brush are enough for most hairlines.
This is one of those styles that can look grown, fun, and practical all at once. Hard combo. It pulls it off.
5. Side Puff With Volume at the Crown
A side puff has a built-in advantage on day-two hair: asymmetry hides uneven definition. If one side of your curls has gone fuzzy and the other still has shape, sweeping the hair to one side turns that mismatch into the point of the style.
Start with a diagonal part or a loose side sweep. Gather the hair above one ear, not directly on it, so the puff sits higher and feels lighter. If the band is too low, the style can drag the face downward. That sounds fussy, but you can see it right away in the mirror.
Shorter natural hair wears this style well—especially tapered cuts, layered curls, and natural bob shapes. The shorter back helps the puff look full without swallowing the whole head. On longer hair, you may want to pin the underside near the nape so the puff stays lifted.
Use your fingers to fluff the crown and the outer edge of the puff. Leave the base alone once it is secure. Messing with the base too much is how a side puff starts sliding backward by lunchtime.
A bold earring works with this style, though the hair does enough on its own.
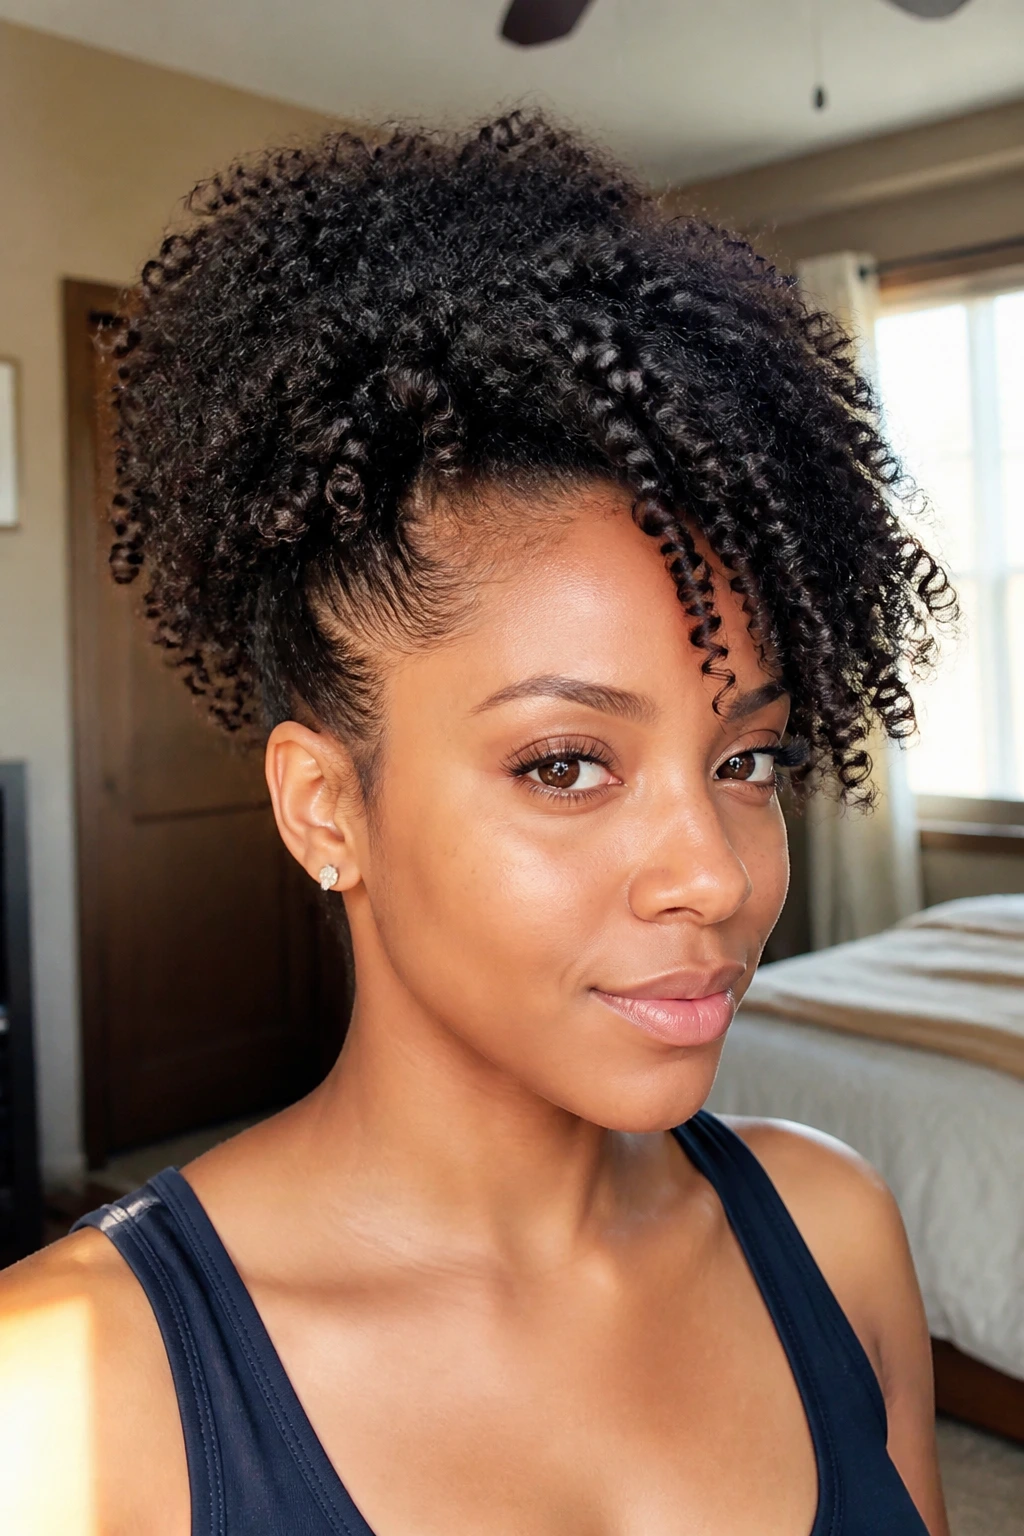
6. Faux Hawk With Four Puff Sections

You do not need stretched hair to wear a faux hawk. Day-two curls already have some body and root lift, which makes the shape easier to build than people expect.
Build the center line first
Create four sections from front to back, each about 1.5 to 2 inches wide. Secure each section with a small band, keeping the bands loose enough that you can slide a finger under them. Then pinch and fluff each section so the puffs blend into one another rather than looking like four separate ponytails.
Smooth the sides without scraping them flat
Use a soft brush and a bit of gel or mousse on the side panels only. Brush upward toward the center. Then pin the sides under the puff line with 2 to 3 bobby pins per side, crossing the pins if your hair is thick or springy.
A faux hawk looks strongest when the middle line has height in front and a slightly lower profile in back. Think mohawk shape, not helmet. On short natural hair, the style can look striking with tiny puffs. On medium lengths, blend the sections by pulling a few curls from one puff into the next.
Watch the temples: if your hairline is delicate, leave half an inch of hair free at the edge and smooth around it instead of pulling every strand inward.
7. Flat-Twist Front Into a Back Puff
Want your face framed and your curls off your forehead without wearing a full updo? A flat-twist front into a back puff lands right in the middle, and that is why it earns repeat wear.
Take a front section on each side, about 1 inch wide, beginning near the temples. Add a touch of mousse or leave-in to your fingertips, then flat twist each section back toward the crown. You do not need tiny, salon-tight twists. A medium twist with clean tension is enough.
How to keep the twists neat
Start the twist slightly behind the hairline if your edges are fragile. That one move takes pressure off the front hairline and still gives you the same shape. Secure both twists where they meet the puff, then gather the remaining hair into a puff at the back or mid-crown.
This style earns its keep because it fixes two day-two problems at once. The twists hide frizz and fuzz at the front, while the puff lets the rest of your curls stay loose and visible. It also works on twist-out remnants that have lost some definition but still have volume.
If the puff looks thin, pull it apart with your fingers at the base and lift the roots with a pick. If the twists start fraying before the day is over, dab a little mousse along the rope and smooth it with the flat of your finger. No need to start over.
8. Headband Push-Back With Defined Ends
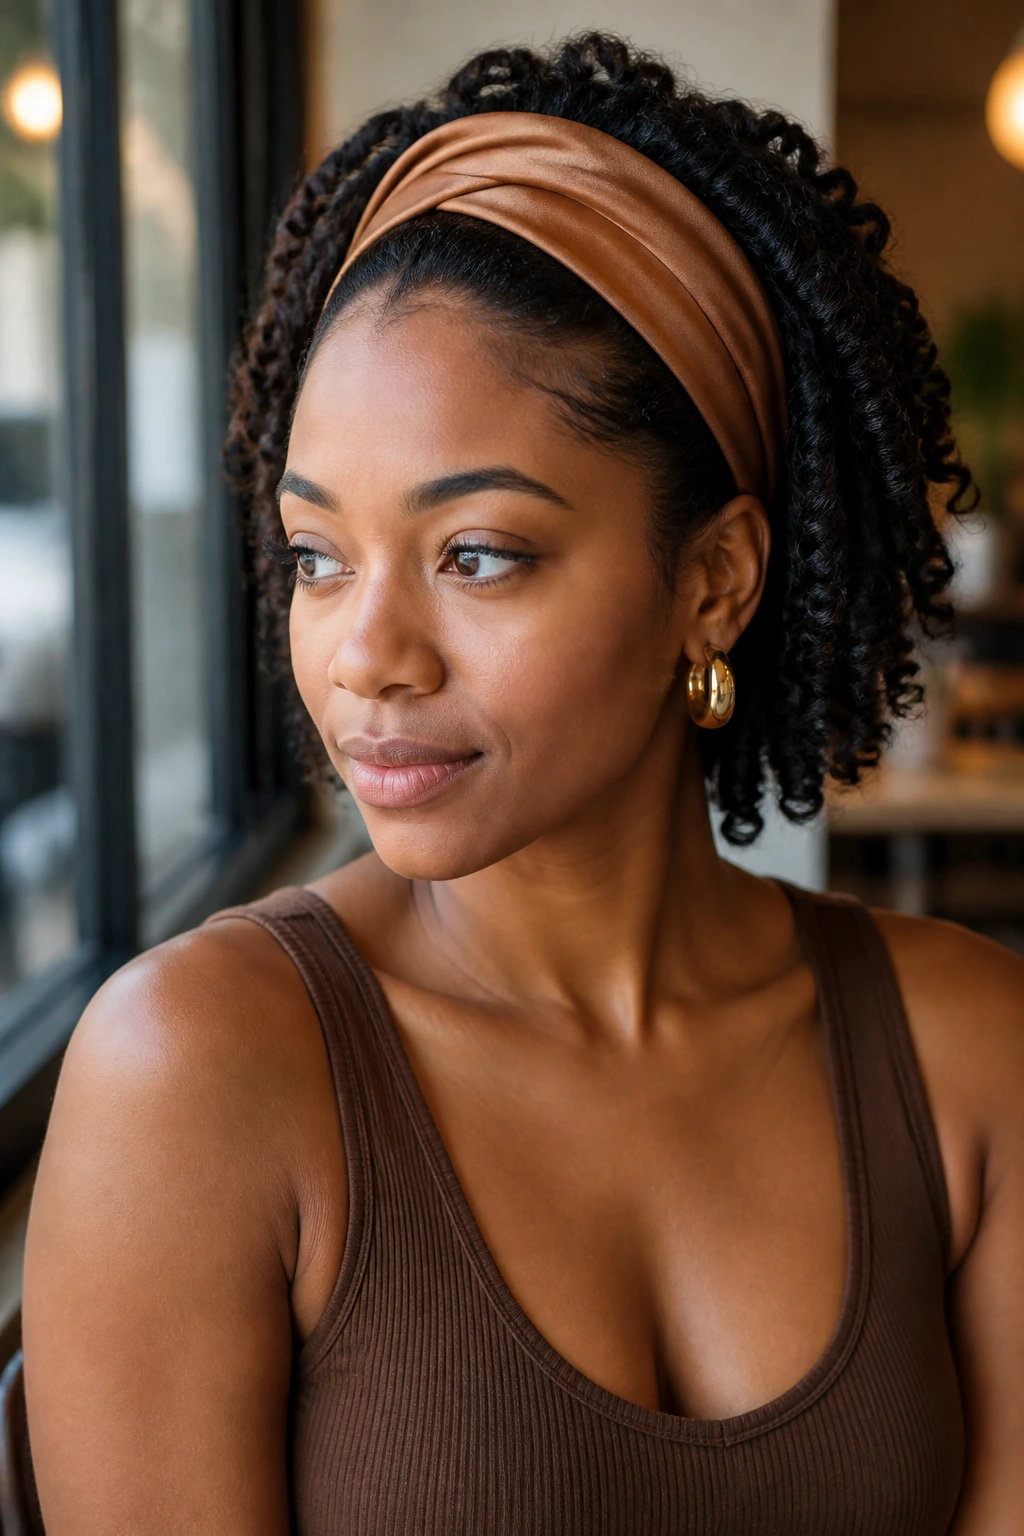
When the front of your hair looks slept on but the ends still coil nicely, a headband push-back can save the whole style in less time than it takes your coffee to cool.
A wide satin or soft stretch headband, around 1 to 2 inches wide, works better than a hard plastic comb band for natural hair. It does not rake through the curls, and it will not create those little dents that split the curl pattern. Slide it on from the forehead, then push it back to a spot that gives the crown some lift.
The headband covers the messy transition line between flattened roots and better-looking ends. That is the trick. You are not forcing every curl back into shape. You are hiding the rough patch and letting the better section stay visible.
This one is strong on short natural hair, tapered cuts, and curly bobs because it shows off the shape of the haircut. On longer hair, you can stop there or gather the back into a low puff. If you want the pushed-back section to stay airy, lift at the roots with a pick after the band is in place.
Metal bands with tiny teeth can snag. I skip them unless the inside is wrapped and smooth.
9. Faux Bangs With a High Puff
Short in front, full on top, curls falling toward the forehead. Faux bangs can make tired second-day curls look deliberate fast.
Place the puff closer to the front than you would for a standard pineapple—about 2 inches behind the hairline is a good starting point. As you secure the puff, let the front ends spill forward. Then pin a few longer curls underneath so the “bang” sits where you want it instead of dropping into your eyes.
A few details help this style look like a choice rather than an accident:
- Keep the puff loose so the curls can drape forward
- Use 2 or 3 pins hidden under the front section to support the bang
- Fluff the crown upward, not outward, for a rounded shape
- Leave the sides soft instead of slicking them flat
This style shines on layered natural hair and medium lengths. On a curly bob, the bang can look dense and chic. On longer hair, the puff may need one extra pin at the back to stop it from pulling downward under its own weight.
If your forehead runs warm and your curls tend to frizz there, tap a tiny bit of mousse over the bang with praying hands. Do not comb through it.
10. Claw-Clip Curly Updo
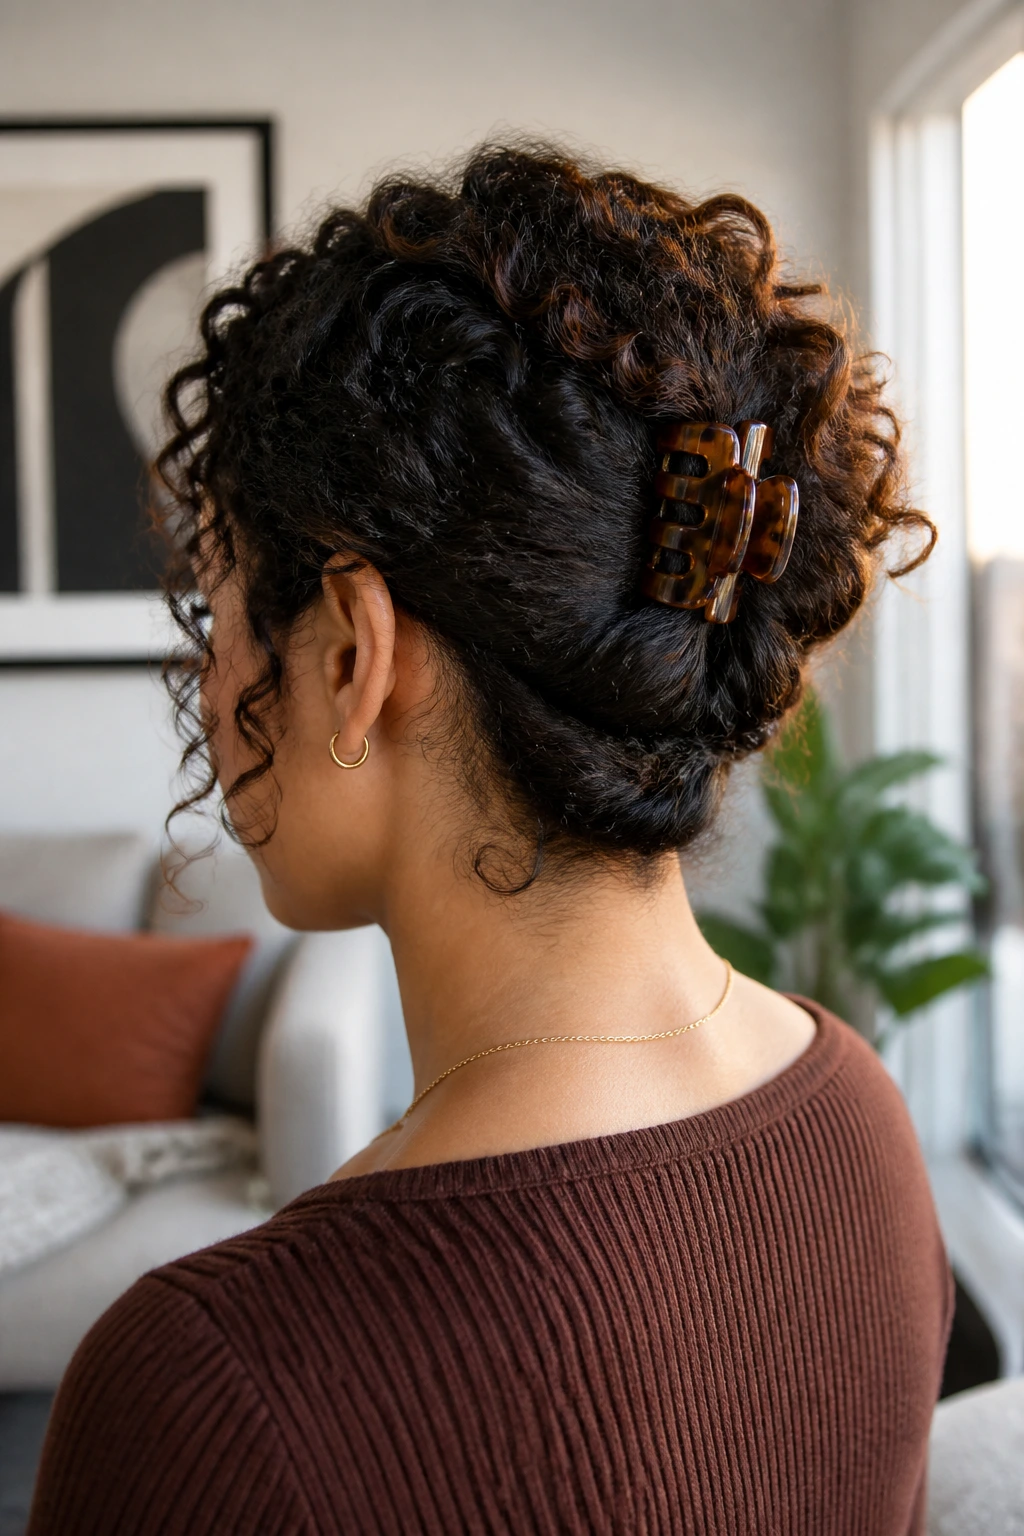
A claw-clip updo is the style I reach for when the ends look tired, the roots still have body, and I do not feel like making perfect parts. It is quick, forgiving, and kinder to the hairline than a tight ponytail.
Gather the hair at the nape as though you are making a low ponytail. Twist the length one full turn, fold it upward, and secure it with a medium or jumbo claw clip at the center back of the head. Let the ends spill out over the top or to one side. Those loose ends are part of the style, so do not tuck every curl in.
This works on second-day natural hair because it hides the sections that usually show wear first. The oldest-looking ends get folded in or scattered at the top, while the fuller mid-lengths create body around the clip. If the crown needs shape, lift it gently with your fingers before clipping.
On thick hair, one clip may not hold unless the twist is tight enough at the base. On fine or low-density curls, a smaller clip often looks better and feels more secure. And if the clip slides, place two crossed bobby pins under it before fastening.
A claw clip with smooth inner edges is worth hunting down. Cheap clips with rough seams can scrape and snap strands when you take them out.
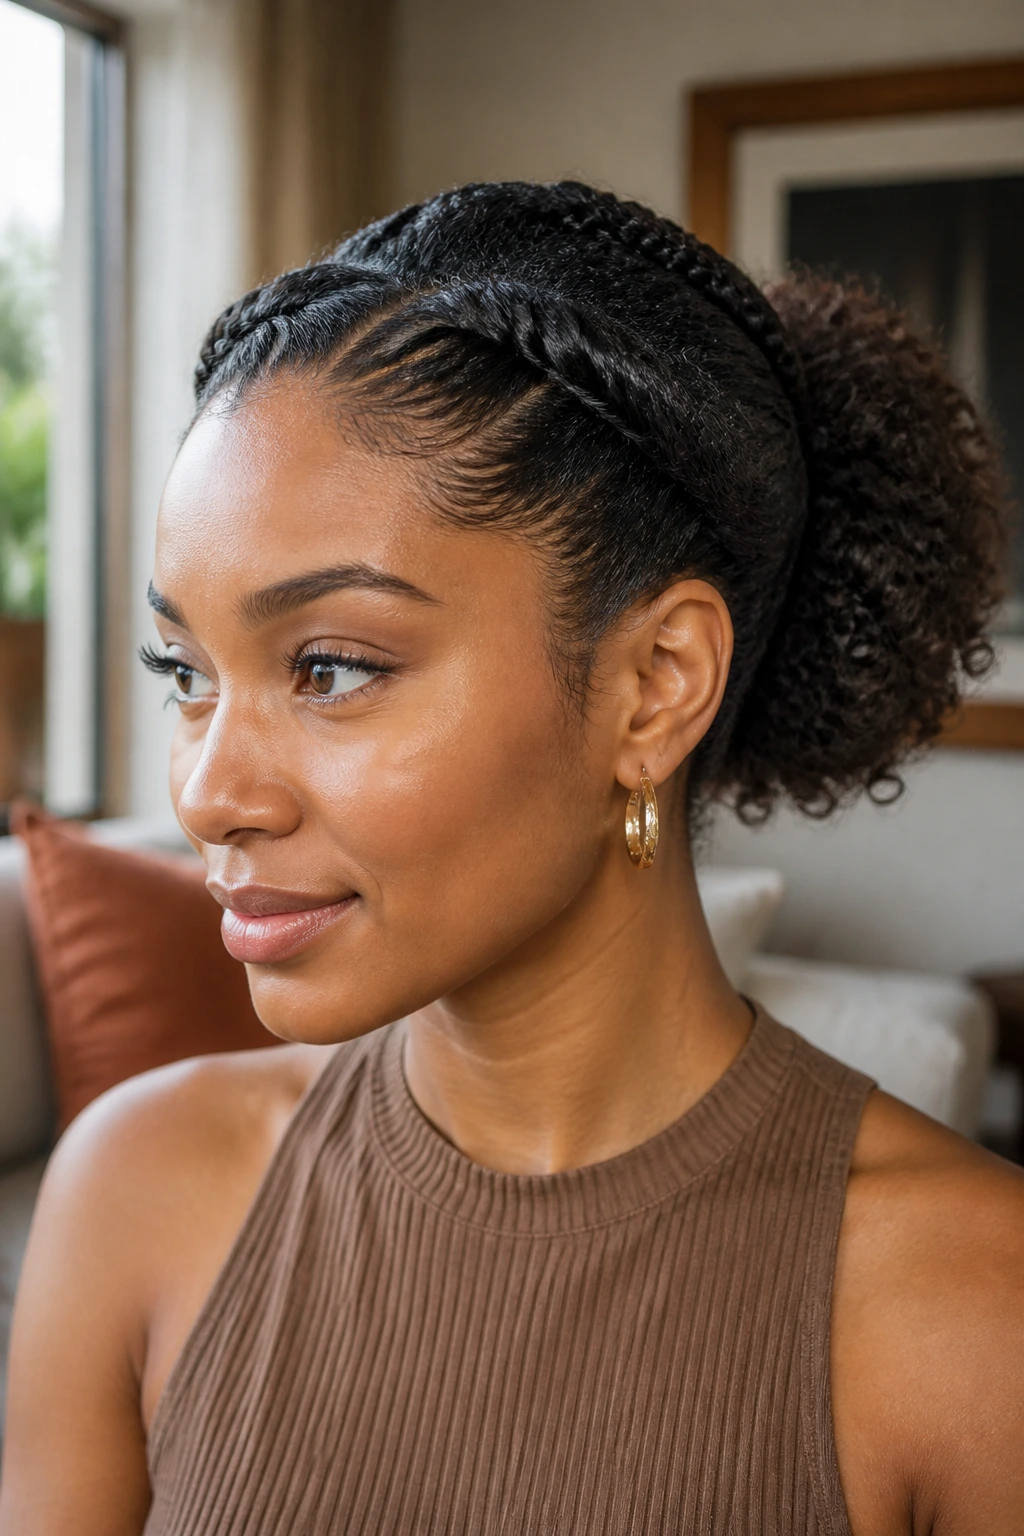
11. Two Front Flat Twists With Loose Back Curls
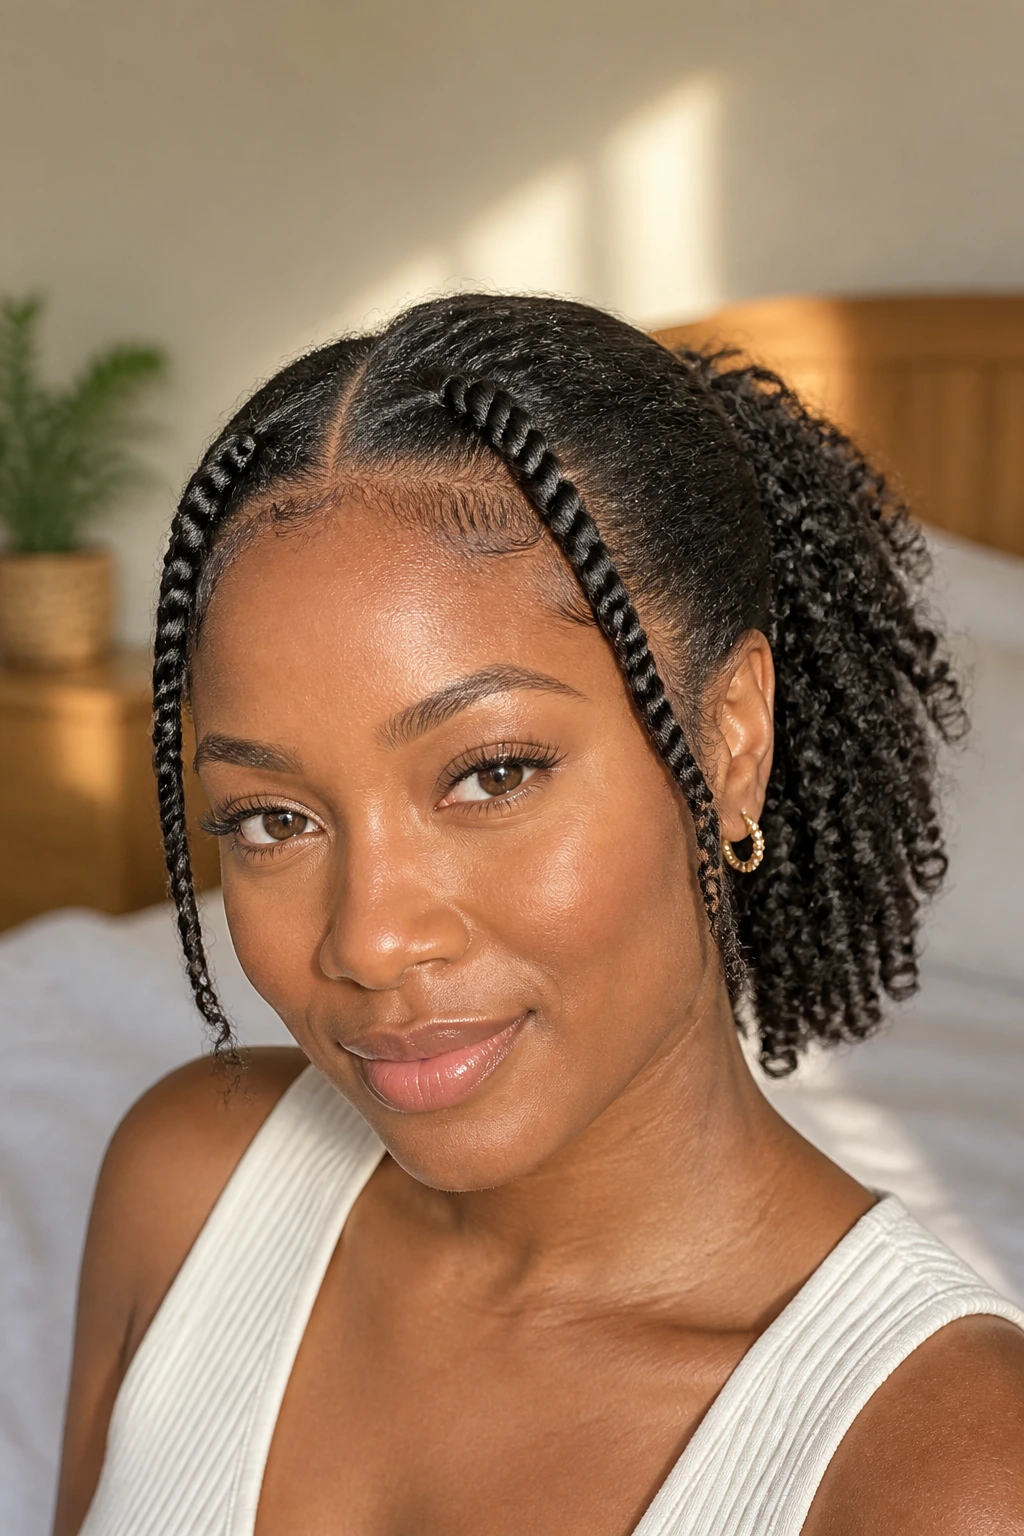
There is something clean about a pair of flat twists at the front and a cloud of curls behind them. The contrast does a lot of styling work for you.
Why this shape lasts
Two twists create structure where second-day hair tends to frizz first: around the forehead and temples. The back stays loose, which means you are not overworking curls that still look good. You get a style that feels neat from the front and soft from the side.
Part the hair where you like it, then create one twist on each front side, about 1 to 1.5 inches wide. Twist back toward the crown and pin the ends under the loose curls or merge them into a small half-up section if your hair is long enough.
Quick setup notes
- Use a dab of mousse on the fingers before twisting
- Keep the tension even from start to finish
- Stop the twists at the crown if you want more fullness around the face
- Extend them to the upper back section if you want the front tighter and cleaner
This style works on wash-and-go hair, twist-out hair, and stretched curls that have started to expand. It also buys you another day when the front has lost definition and the back still looks fresh. That front-versus-back mismatch is common. This style turns it into a plan.
12. Halo Scarf Puff
Unlike a plain headband, a halo scarf puff can cover a rough hairline, flatten a frizzy patch, and add shape at the same time. It is one of the smartest second-day styles in the lineup.
Fold a silk or satin scarf into a band about 2.5 to 3 inches wide. Place it around the head like a halo, then tie it either at the top for a playful look or at the nape for a quieter finish. Let the curls rise above and behind the scarf into a puff or loose crown of volume.
The scarf changes the balance of the style. It breaks up the line between your face and your curls, which helps when the front section looks puffy or uneven. It also makes day-two roots look intentional—especially if your curl pattern has expanded and the definition is softer than it was on day one.
This is a strong pick for humid weather, travel days, gym-to-errands transitions, or mornings when you know you do not want your hair touching your forehead. A satin-lined scarf feels better if you wear it for hours, though pure silk works beautifully too if you already own one.
Tie the knot snug, not tight. You want hold, not a headache.
13. Low Bun With Curly Tendrils

A low bun on natural hair does not need to look strict. It can be soft, textured, and a little romantic if you let some curls stay out where they belong.
Smooth the roots backward or along a side part, then gather the hair into a low ponytail at the nape. Twist the ponytail loosely and wrap it into a bun, securing it with pins rather than yanking a band around it three or four times. Pull out 4 to 6 curls around the face and nape, then reshape those curls with damp fingers if they need help.
This style tends to look better on second-day stretched curls than on shrunken first-day wash-and-go hair. A twist-out that has puffed up overnight is a strong candidate. So is a wash-and-go that you lightly banded or pineappled. The slight stretch gives the bun more length to wrap and pin.
Keep some texture in the bun itself. A tight, compact donut shape can look stiff on natural hair, while a looser bun with visible curl texture feels richer and more relaxed. If your hair is shorter, make a mini bun and let the loose ends puff around it. That hybrid shape can look lovely.
Pearl pins or a slim metal clip can dress this up fast if you need it to pull extra weight.
14. Bantu Knot Crown With Loose Back Curls
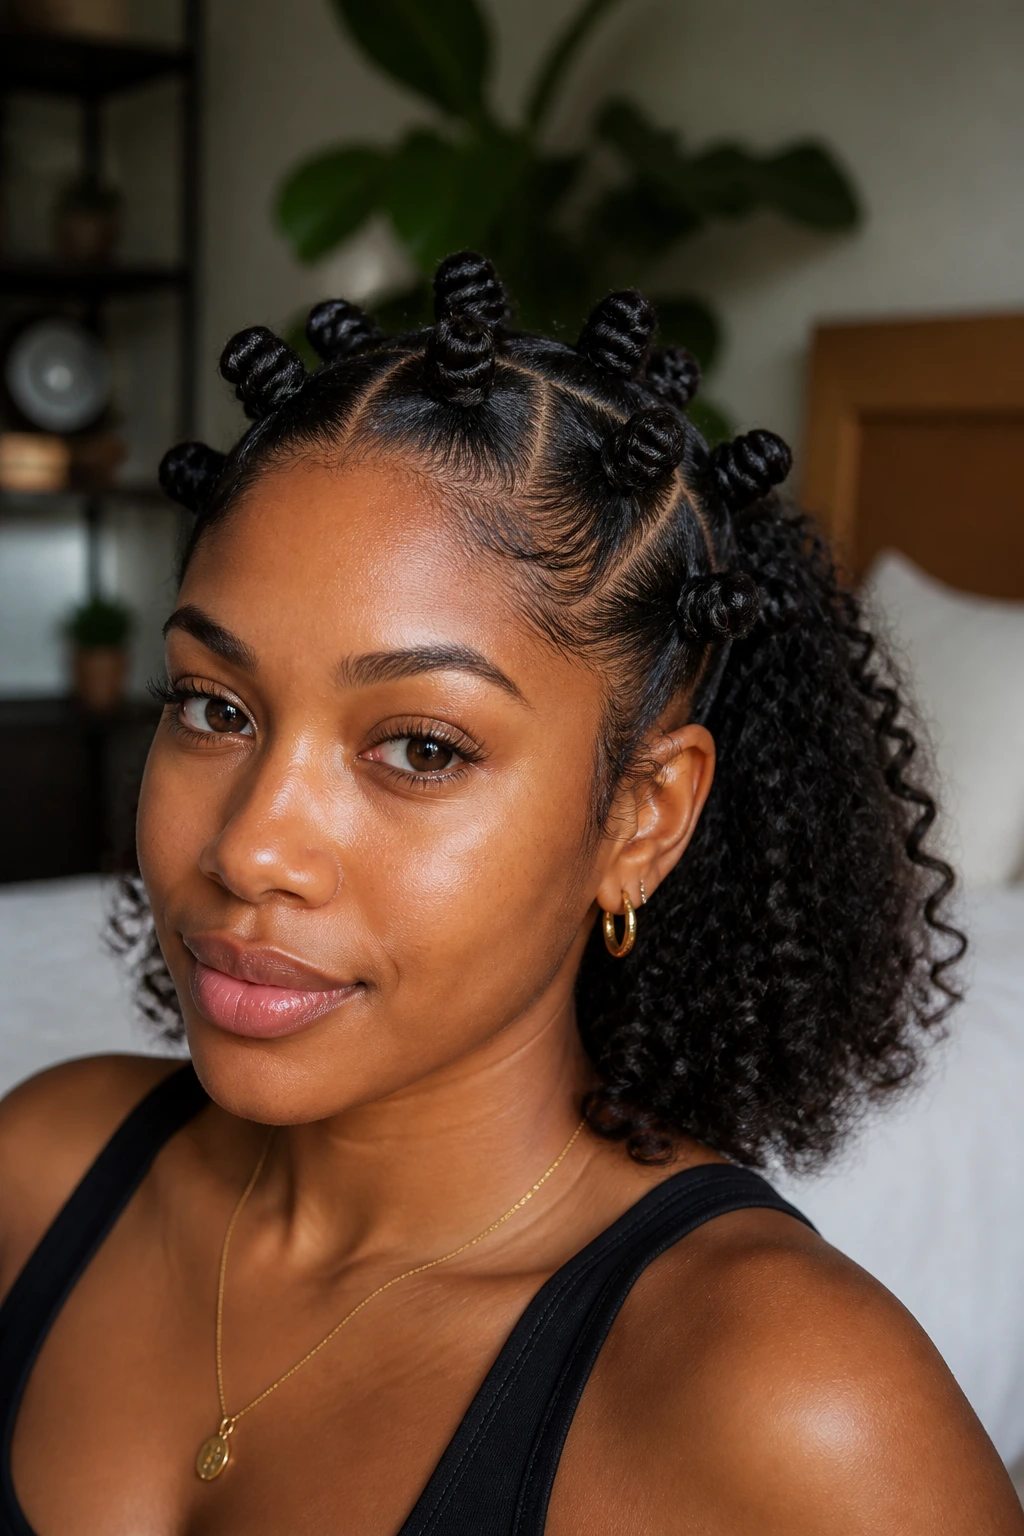
Front section gone fuzzy? Back still holding on? That is the perfect setup for a Bantu knot crown with loose curls in the back.
Split the front and crown into 2 or 3 sections, each around 2 inches wide. Add a touch of mousse, twist each section, then wrap it into a small knot and pin it flat. Leave the back section loose and fluffy. The knots create structure up top while the back keeps movement and softness.
Where to place the knots
If you want more height, place the knots across the crown. If you want more face framing, place two knots near the front corners and one at the top center. On shorter hair, smaller knots sit better and feel lighter. On longer hair, you can make them slightly larger, though oversized knots can start pulling by the end of the day.
This style works because it does not ask every section of your hair to perform the same way. The rougher front becomes the sculptural part. The stronger back becomes the texture. That division is smart styling.
And it looks like you tried harder than you did.
15. Side-Swept Pinned Curls
A side-swept pin style can rescue a wash-and-go that only looks rough on one side. No full updo, no scarf, no restart.
Create a deep side part and sweep the fuller section across the forehead or over one temple. On the opposite side, tuck the hair behind the ear and secure it with 2 crossed bobby pins or a decorative barrette. Then fluff the larger side outward and slightly upward so the shape looks balanced from front to back.
This style is strong on natural bobs, layered cuts, and medium-density curls because the side sweep shows off shape without asking for too much length. If your hair is dense, pin a small section first, then drape the outer layer over it. That hidden support keeps the sweep from collapsing.
A few things help:
- Place the pins 1 inch above the ear for a cleaner line
- Use a touch of mousse on the tucked side if flyaways keep lifting
- Pick the roots on the fuller side for height
- Leave the ends alone so the curl pattern stays visible
The finished look can read polished, soft, or a bit dramatic depending on the part depth and the accessory. Same base style. Different mood.
Final Thoughts
Second-day styling gets easier once you stop asking your curls to look exactly like they did on wash day. That is the shift. Work with the definition that survived, hide the sections that did not, and choose a style that uses volume as a strength instead of treating it like a problem.
A light refresh matters more than a long product routine. So does gentle tension. If you keep those two things in place, you can rotate between puffs, twists, pins, scarves, and updos without grinding down your edges or drying your ends out.
Pick one style for rushed mornings and one for days when you want a little more shape. That small habit can stretch a wash-and-go farther than people think—and your hair will feel better for it.