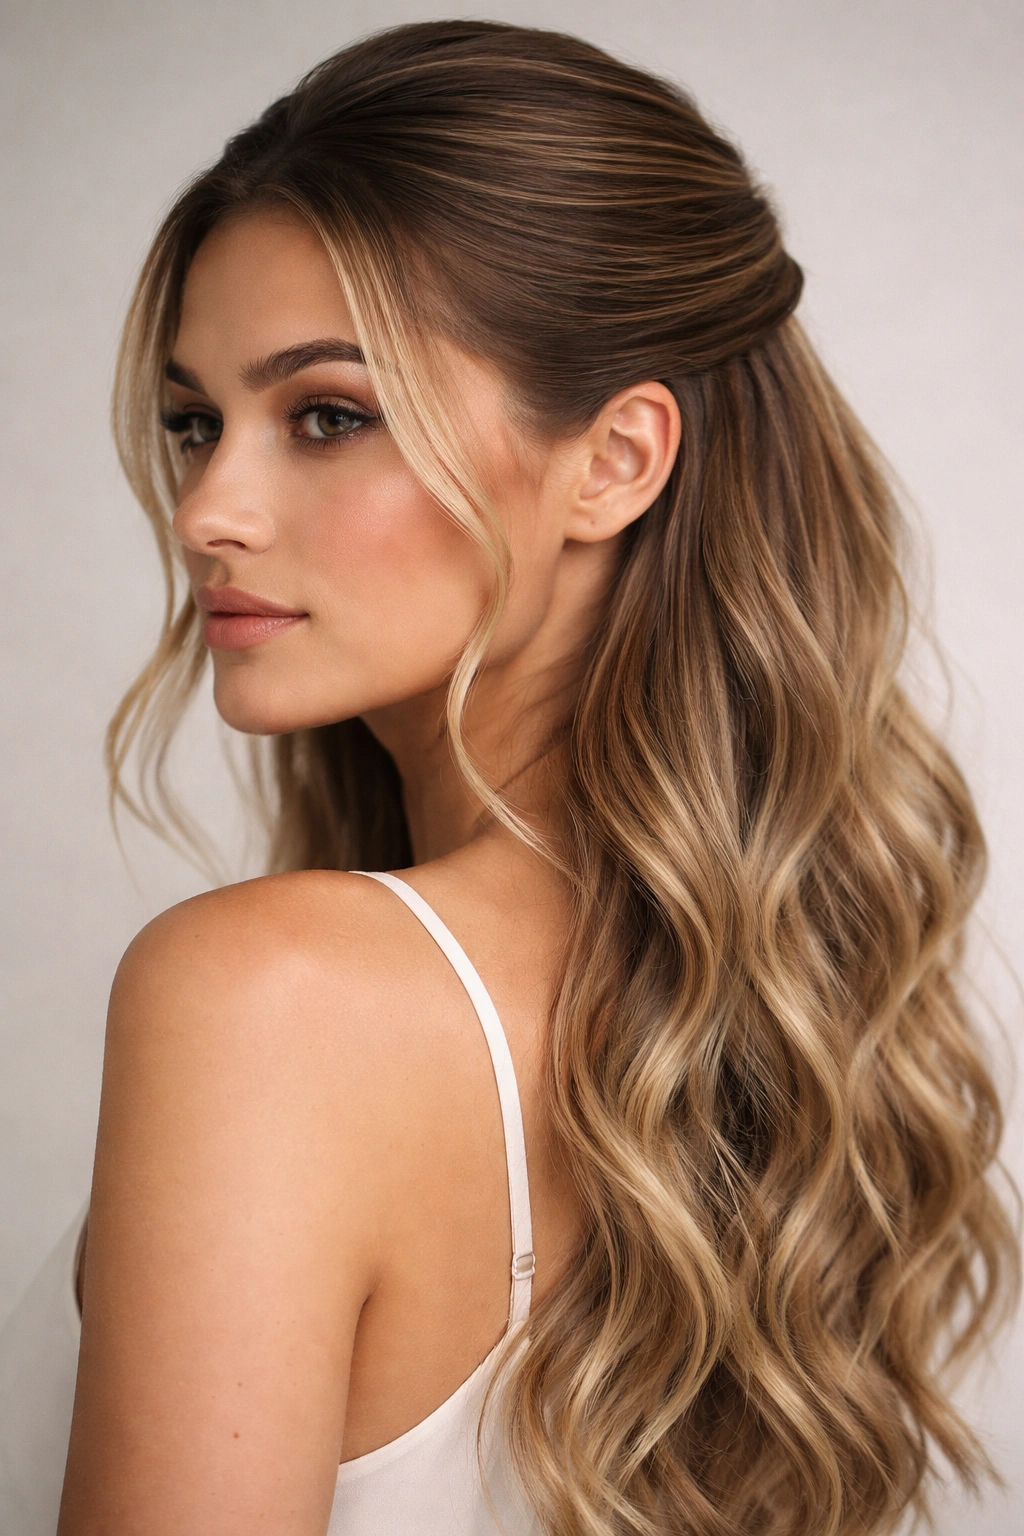
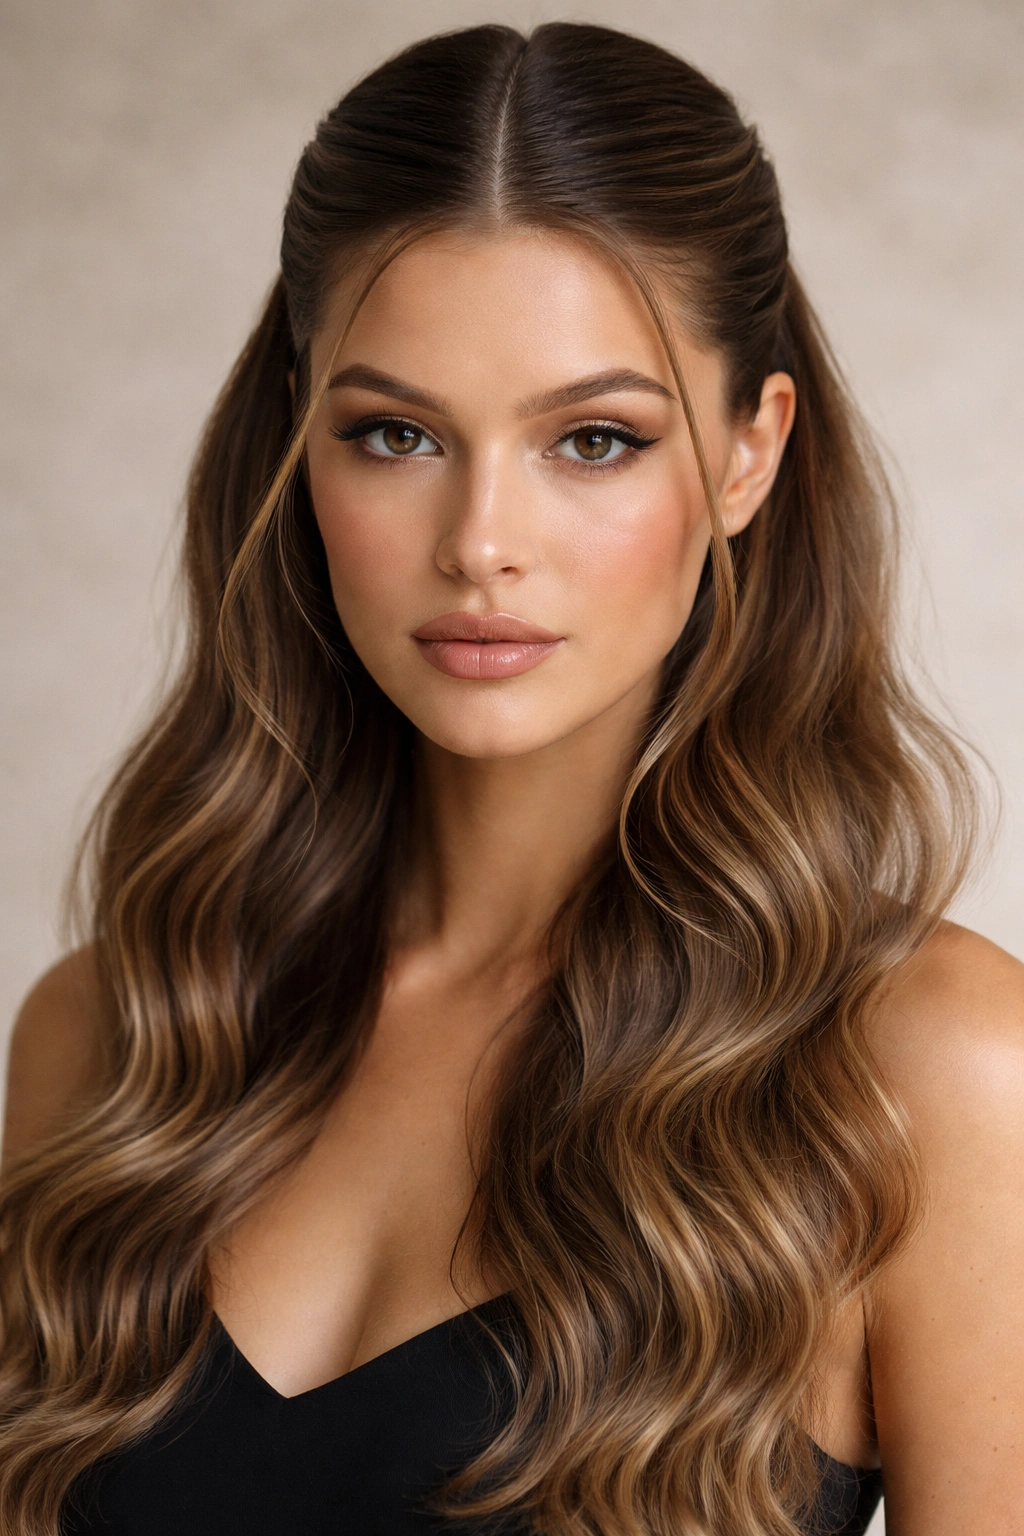
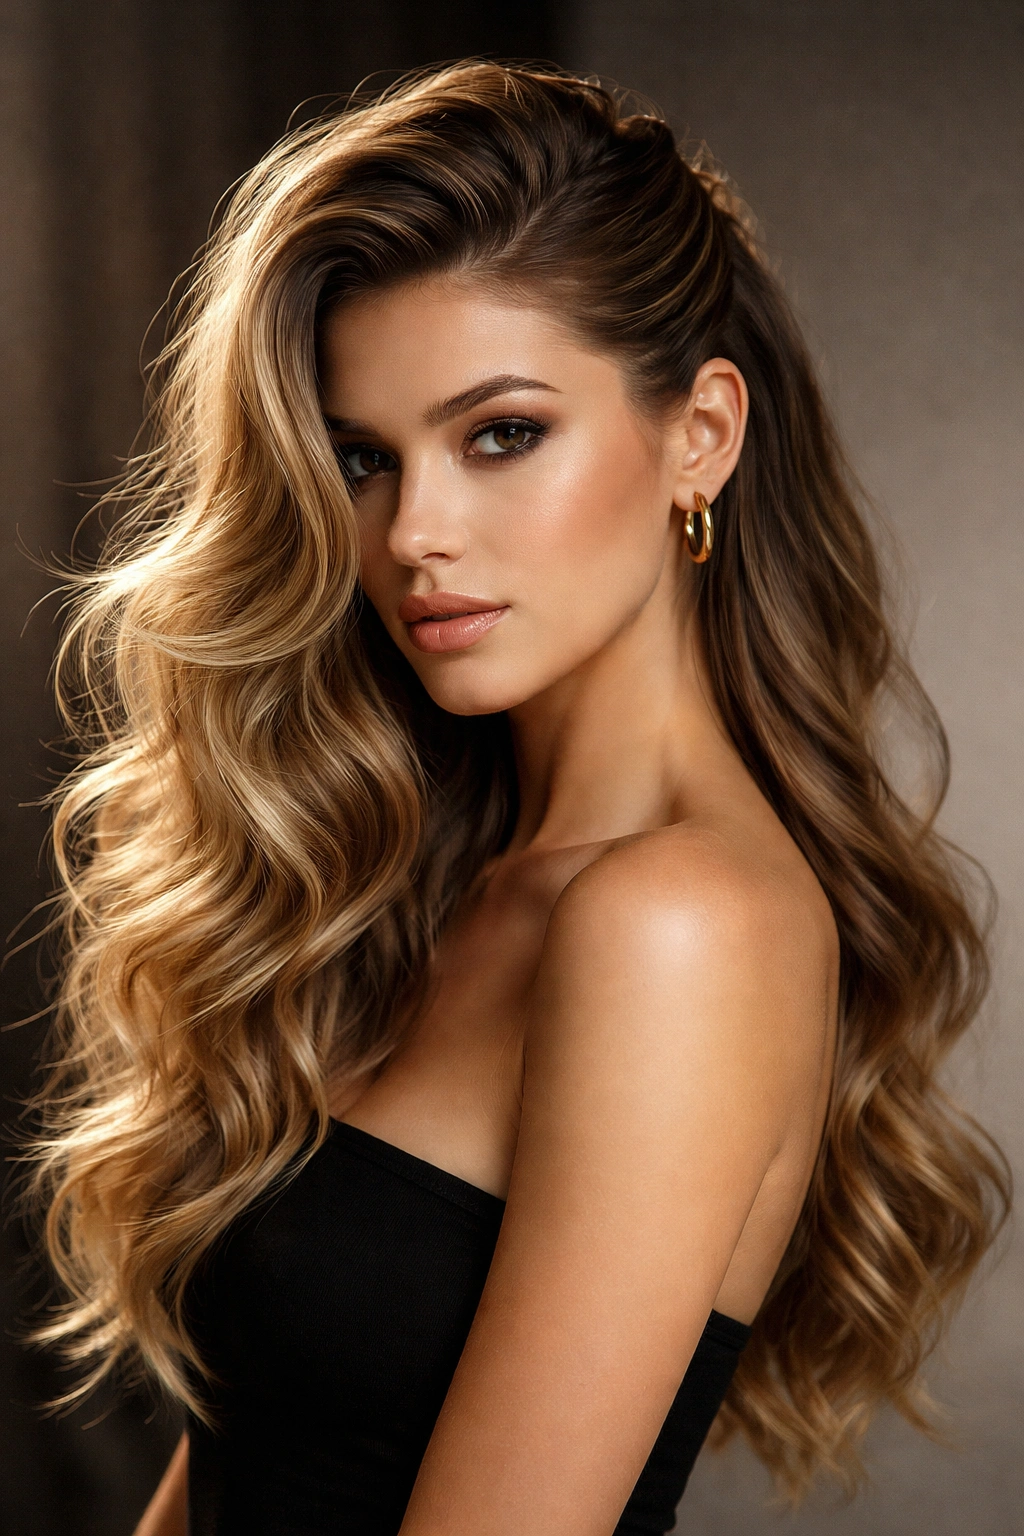
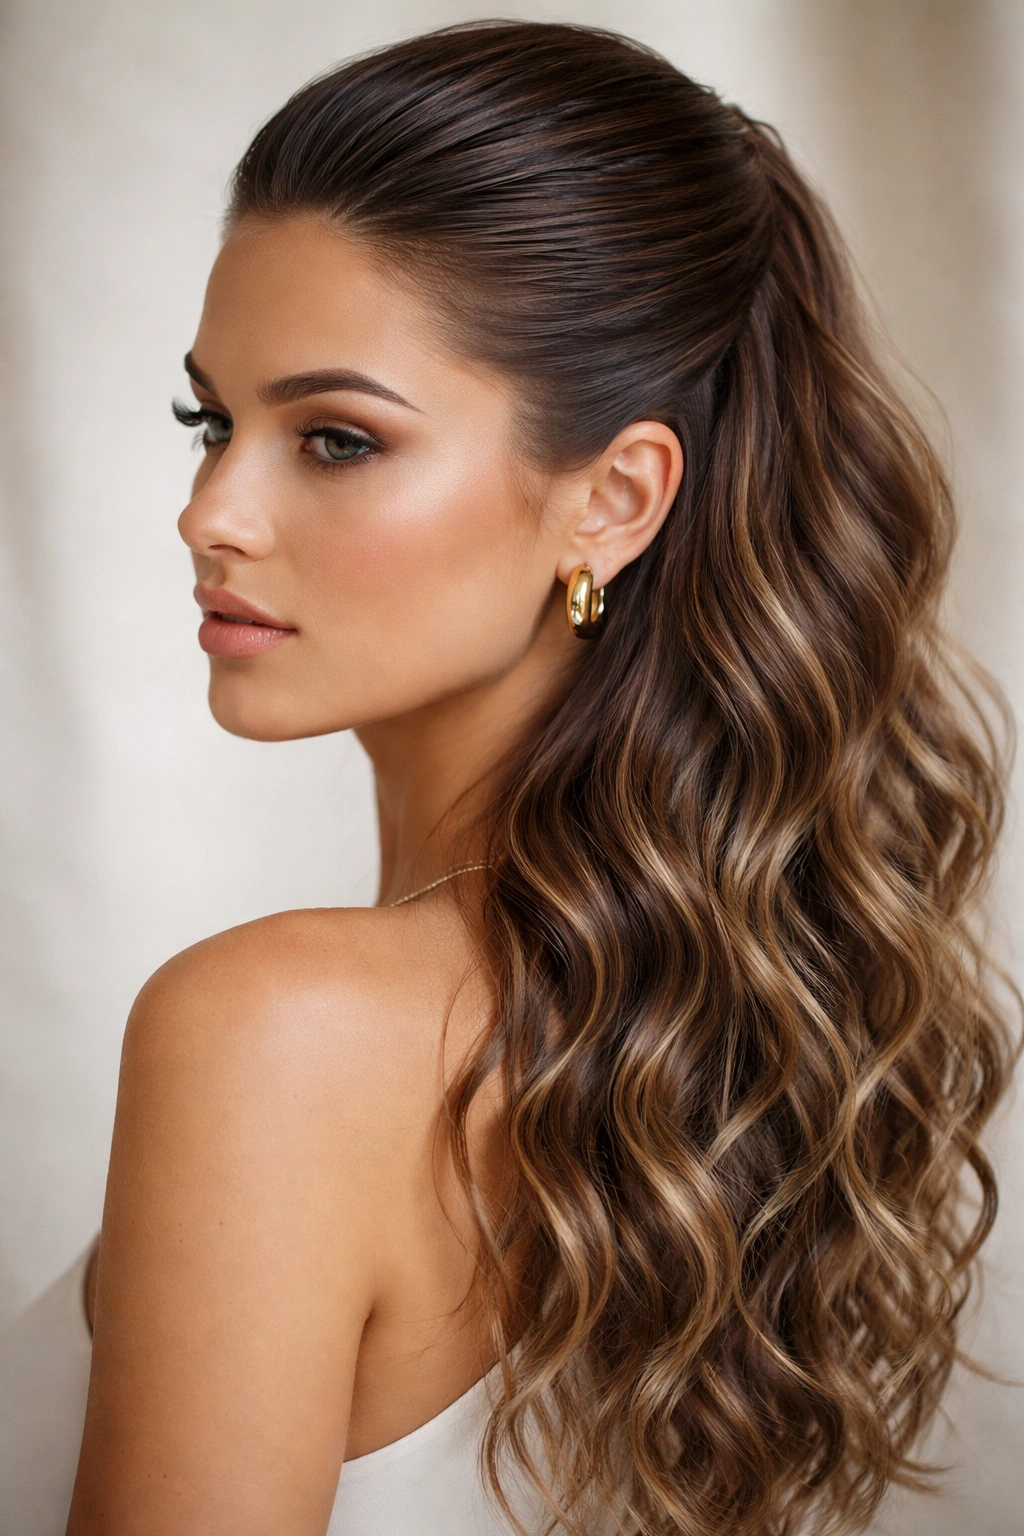
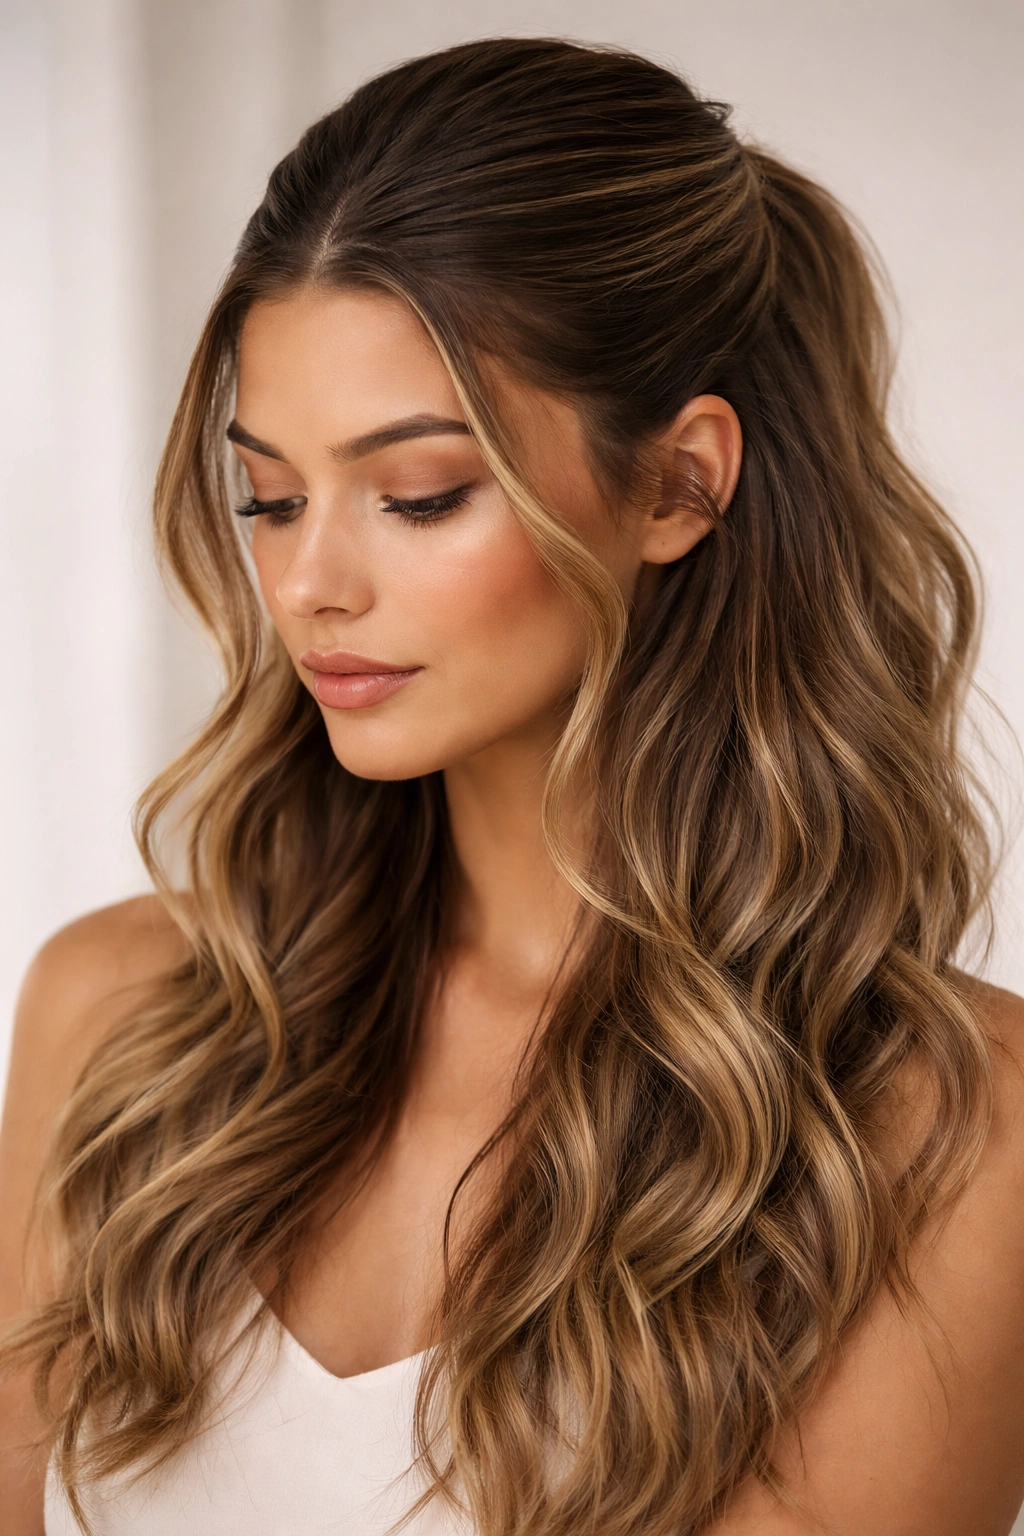
Wavy hair has a natural texture that demands a hairstyle working with it rather than against it. When you’re looking for a way to keep your hair partly up while letting the rest flow down, the half up half down style is pure genius — it tames the top layer without committing to a full updo, and the slicked-back variation takes that concept and adds serious polish and edge. The slick back element transforms a casual half-up look into something sophisticated enough for a night out, yet effortlessly cool enough for everyday wear.
The beauty of slicking back the top half of your hair before securing it is that you get control where you need it most — your crown and hairline stay neat and intentional — while the lower half of your waves gets to do what it does best: create movement and dimension. This combination flatters wavy textures because it actually enhances the wave pattern instead of fighting against it. Waves are all about texture and flow, and the contrast between the sleek, controlled top and the textured, bouncy bottom creates visual interest that reads as intentional and elevated.
What makes these styles so versatile is their range. You can dress them up or down, adapt them for thick or thin wavy hair, work with different wave patterns, and customize them to match your mood and occasion. Whether you’ve got loose beach waves, defined spiral curls, or something in between, there’s a slick back half up variation that’ll work for your hair type and lifestyle.
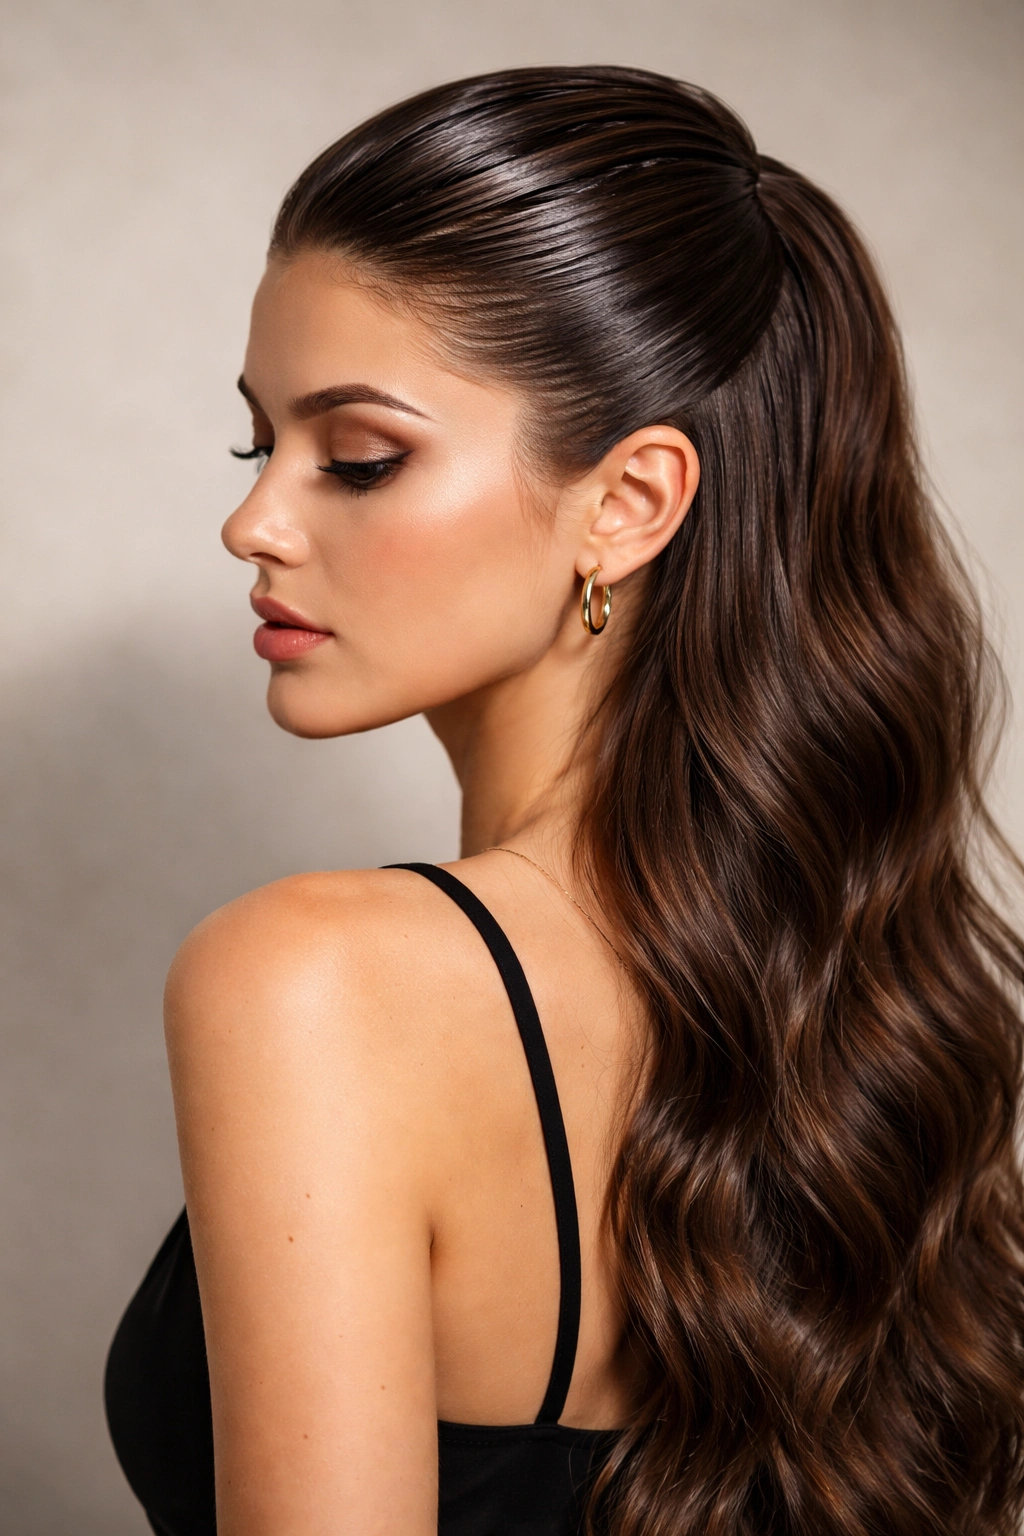
1. The Classic Slicked-Back Ponytail Top
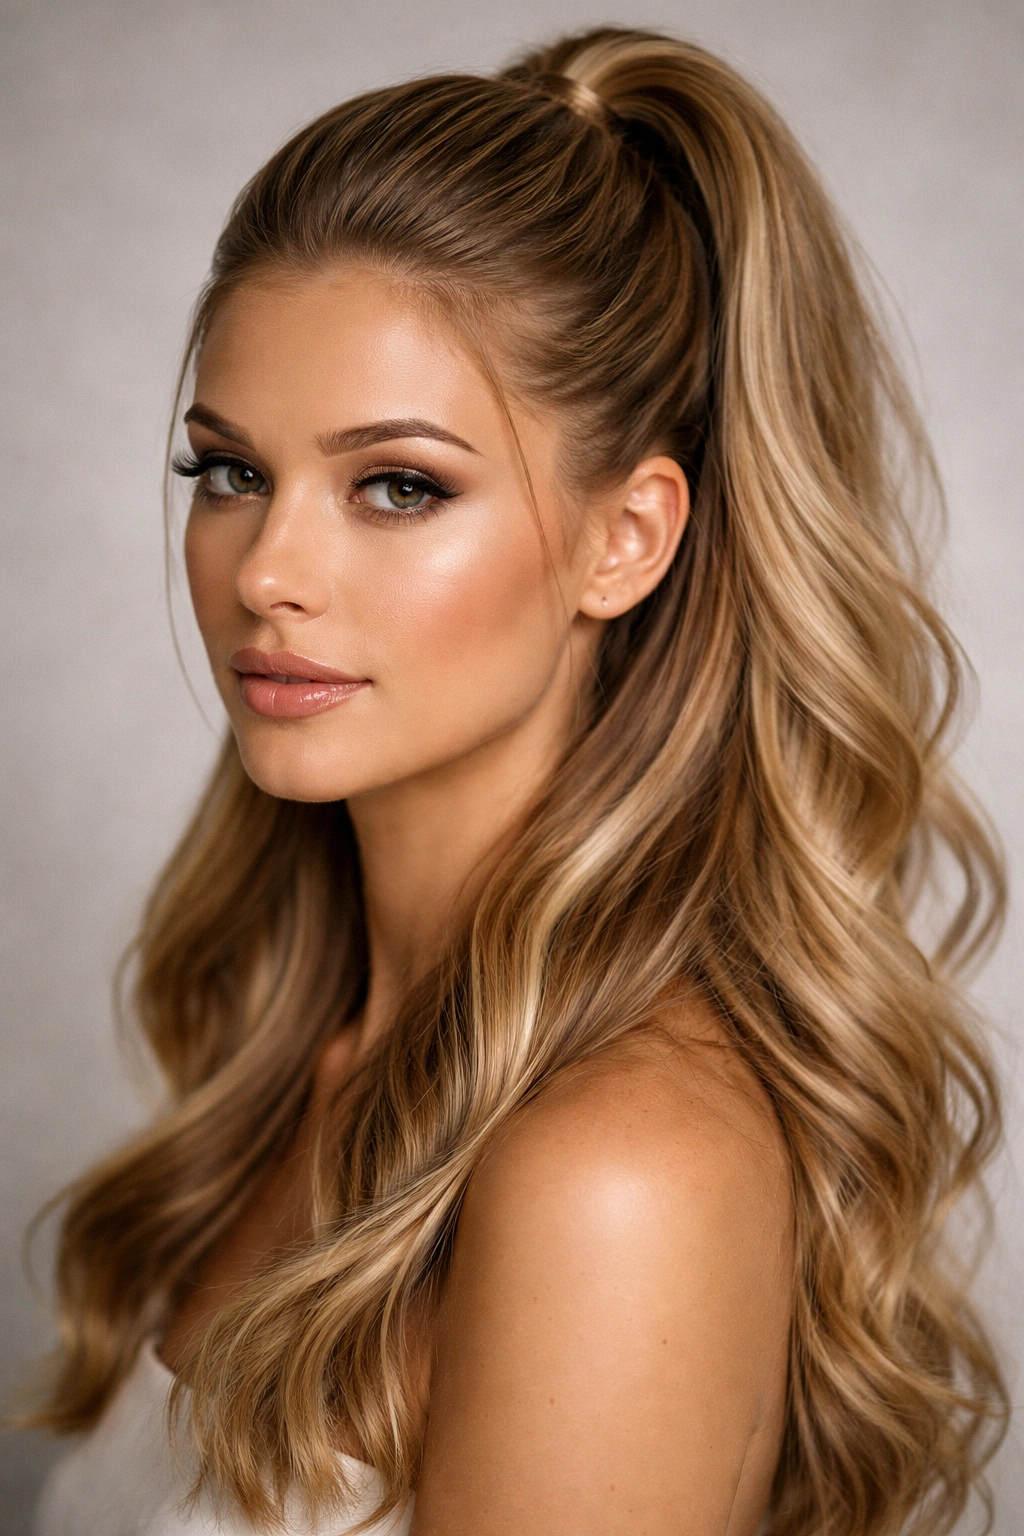
This is the foundation style — straightforward, clean, and endlessly wearable. You’re creating a standard half-up ponytail by pulling back the top section of your hair from roughly your temples to the crown, slicking it back with product and a brush or comb, and securing it with an elastic. The bottom half of your wavy hair stays loose and natural, creating instant contrast between the sleek top and the flowing waves below.
Why This Works for Wavy Hair
The slicked-back top gives your waves a frame. Instead of all that texture competing for attention around your face, you’ve created a focal point with the sleek crown, which actually makes your waves look more defined and intentional. The style also keeps hair off your face without requiring you to commit to a full updo, so you get the practical benefit of a half-up while maintaining the effortless vibe that waves naturally project.
How to Style It
- Use a lightweight smoothing cream or gel on damp hair, applied section by section to the crown area
- Take a fine-tooth comb and smooth the top section straight back, creating a neat line from forehead to crown
- Gather the smoothed section at the crown and secure with a clear elastic or a small claw clip
- Let the bottom waves air dry or enhance them with a diffuser
- Fingerprint a tiny amount of smoothing serum onto your fingertips and smooth down any flyaways along the slicked-back section
- The finished look has zero bumps or texture on top, maximum texture and movement below
Pro tip: Apply your slicking product to damp hair, not dry — it goes on more smoothly and holds better throughout the day.
2. The Braided Crown Slick-Back
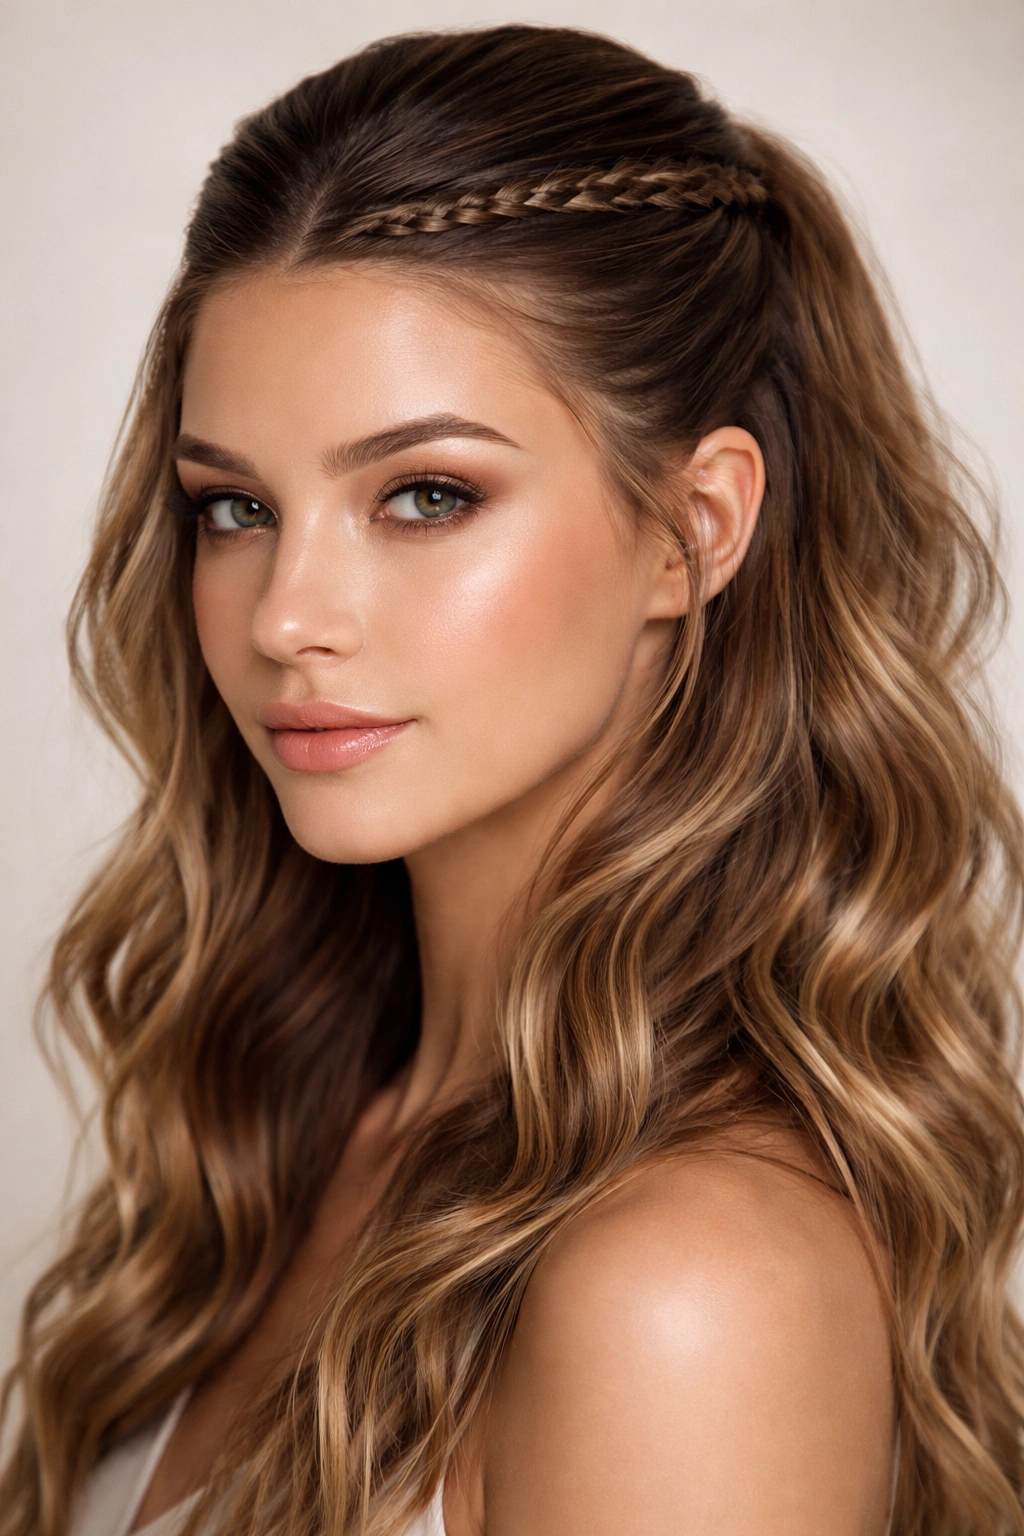
Take the classic slick back concept and add dimension by incorporating a thin braid through the slicked-back section before you secure it. Instead of a smooth, flat crown, you get subtle texture and visual interest that catches light and adds movement even to the “controlled” part of your hairstyle.
The Visual Impact
A single thin braid running through your slicked-back section creates an asymmetrical, artistic vibe. It bridges the gap between the sleekness you want on top and the textured waves on the bottom. The braid becomes a design detail, not just a functional element — it’s the kind of subtle styling choice that reads as more intentional and polished than a simple slicked-back ponytail.
Application and Styling Tips
- Smooth the top section back with product until it’s completely flat and sleek
- Before securing the ponytail, take a thin sub-section (about the thickness of a pencil) from one side of your smoothed crown
- Braid that thin section with loose, simple three-strand braids or a rope braid
- Incorporate the braided section into your half-up ponytail when you secure it with your elastic
- The braid gets partially hidden within the ponytail but still creates visible texture and dimension at the crown
- Leave a few pieces loose around your face to soften the slicked-back effect
Worth knowing: The thinner the braid, the more sophisticated the look. A chunky braid reads as casual; a thin, precise braid reads as intentional styling.
3. The Sleek Twist Half-Up
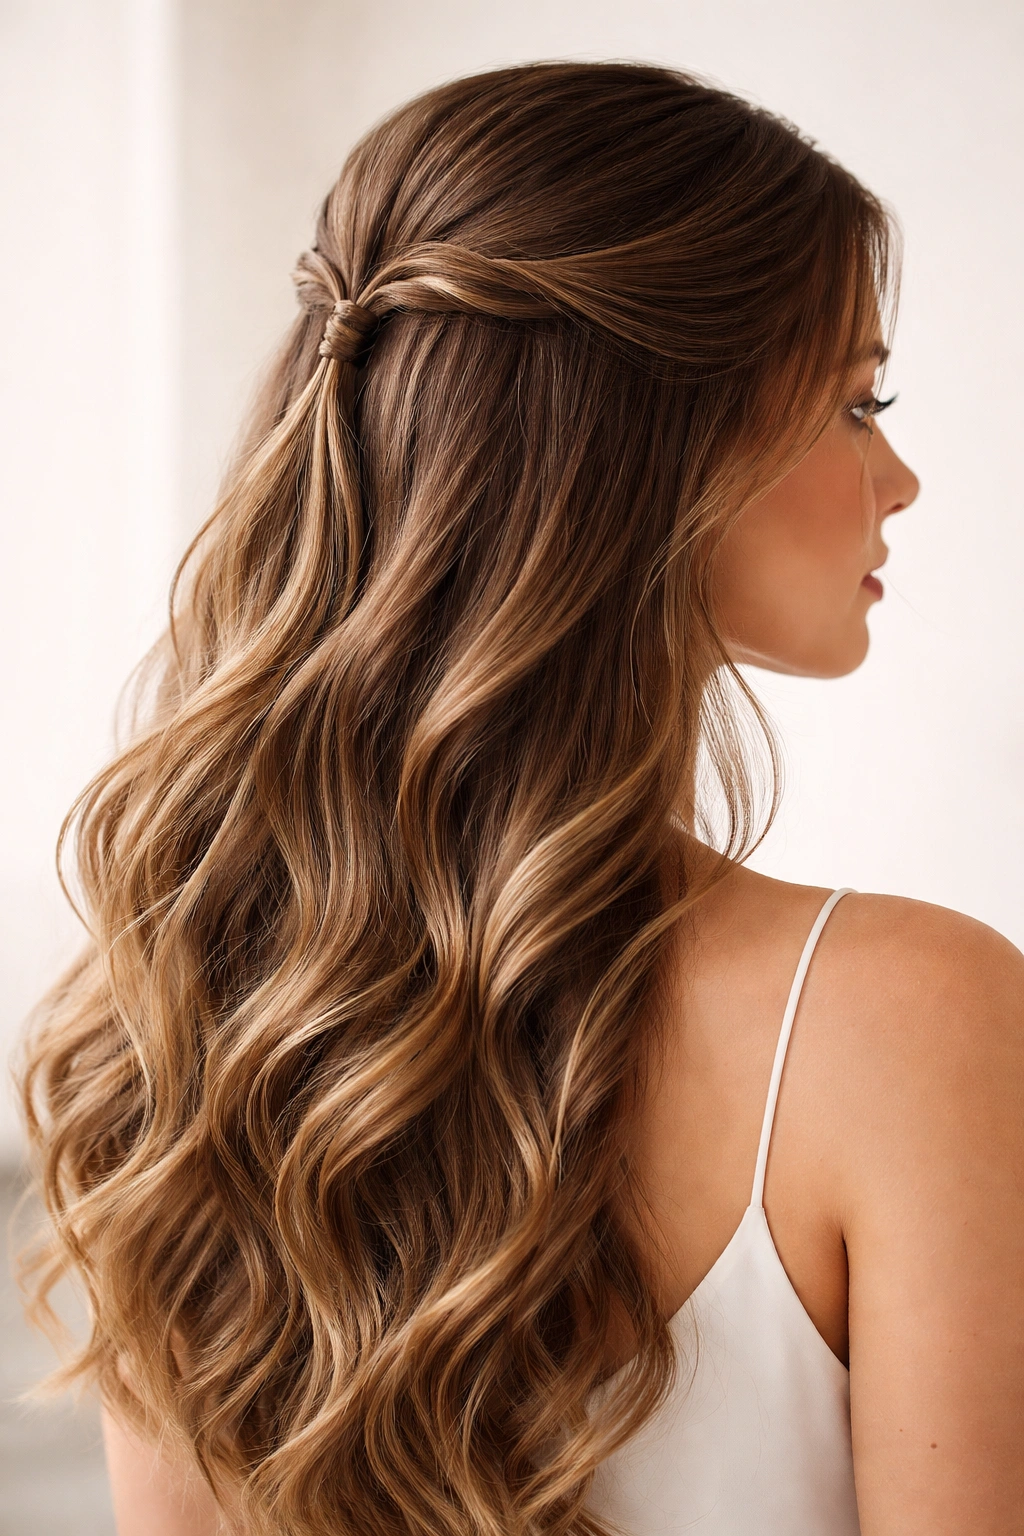
Instead of pulling hair straight back into a ponytail, create two thin sections on either side of your crown, twist each section separately with product, and spiral them back toward the center. Secure both twists together at the back with a single clip. This gives you the sleekness of a slicked-back style with more visual movement and dimension than a plain pulled-back ponytail.
Why Twists Work Better Than Straightness
Twists add a dynamic quality that pure smoothness doesn’t. Wavy hair has inherent texture, and a twist plays with that texture instead of completely suppressing it. You’re creating a pattern and movement even while keeping the crown sleek and controlled. The twisted sections catch light differently than a smooth section would, creating more depth and visual interest.
Technique for Wavy Hair
- Apply a medium-hold smoothing cream to damp hair, focusing on the crown and sides
- Divide the top section of your hair (from temple to temple, front to back) into two equal vertical sections
- Twist the left section tightly from root to the center back of your head
- Twist the right section the same way, meeting the left twist at center back
- Secure both twists together with a single small claw clip or elastic
- Leave the bottom half of your hair loose to wave and flow
- The twists should be tight and sleek, not loose or textured — product is essential here
4. The Double-Clip Half-Up

Use two small claw clips instead of one elastic to secure your slicked-back top section. Clip one on each side of the crown area, and let them sit slightly offset rather than perfectly centered. This creates an off-center, editorial look that feels more fashion-forward than a single centered ponytail.
Why Clips Instead of Elastics
Claw clips have a visual presence that elastics don’t. They become part of the design. Using two smaller clips instead of one large clip also creates a more dynamic silhouette — your crown doesn’t have a single focal point, which reads as more intentional and styled. The clips also give you flexibility if you want to adjust your style throughout the day without creating an obvious ponytail crease.
How to Execute It
- Slick the top section of your hair back with a smoothing product, same as the classic ponytail method
- Clip the left side of your slicked-back section with a small tortoiseshell or metallic claw clip, positioned about 2 inches from center
- Clip the right side with an identical clip, mirroring the placement
- The two clips should feel balanced but deliberately off-center, not perfectly symmetrical
- Allow the bottom waves to fall freely without any elastic creating a distinct line
- Optional: use two coordinating clips in different colors or finishes for even more visual interest
Pro tip: Tortoiseshell claw clips work with almost any wavy hair color and read as effortlessly cool. Metallic clips feel dressier and more intentional.
5. The Sleek Low-Hold Half-Up
This variation puts the clip or elastic lower than a traditional half-up — sitting closer to the nape of your neck rather than at the crown. You’re slicking back a larger section of hair, creating a longer sleek area on top while keeping the bottom section of waves loose. The result is a style that’s still obviously half-up, but with more dramatic contrast between the slicked section and the flowing waves.
The Proportional Advantage
By lowering the clip position, you’re creating a 60/40 or 65/35 split instead of a traditional 50/50 half-up. This is particularly flattering for wavy hair because you get maximum wave and movement in the bottom section, which is where you want the texture to shine. The extended slicked-back section on top elongates the face and keeps a larger area tidy and controlled.
Styling Steps
- Start with damp wavy hair that’s been enhanced or refreshed with your preferred wave product
- Take a larger section than you would for a standard half-up — from your temples all the way around to the back, roughly 2/3 of the way down toward your nape
- Apply smoothing cream or gel to this larger section and comb it straight back
- Secure at a lower position (closer to the nape) with an elastic or clip
- The bottom 1/3 of your hair should be completely free and wavy, creating maximum contrast
- Enhance your waves in the bottom section with a curl-defining cream or gel, scrunching gently to encourage definition
6. The Half-Up with Center Part
Add a sharp center part to your slicked-back half-up for a more symmetrical, geometric look. Instead of pulling all the top hair straight back, you’re creating a clean line down the center of your head, then slicking the hair on either side of that part back equally. This creates a different visual effect — more structured and editorial, less casual.
Visual and Styling Differences
A center part changes the entire geometry of your face and head. It’s more formal, more symmetrical, and reads as more carefully styled than a haphazard slicked-back look. For wavy hair, a center part also showcases your natural wave pattern more evenly on both sides of your head. The part line itself becomes a design detail, a sharp line that contrasts with the soft waves below.
Execution
- Create a precise center part from your forehead to the nape of your neck using a fine-tooth comb
- Smooth the right side of your hair with product, pulling it back and securing it
- Smooth the left side identically, and secure it with a second clip or let it fold into the same elastic as the right side
- The result is two symmetrical sleek sections meeting at a clean center part
- Your wavy bottom section falls evenly on both sides
- This is particularly striking if you use coordinating clips on each side or a metallic comb to hold the part
Worth knowing: The sharper and more precise your center part, the more editorial the final look. Use a rattail comb for maximum precision.
7. The Slicked-Back Bun Hybrid
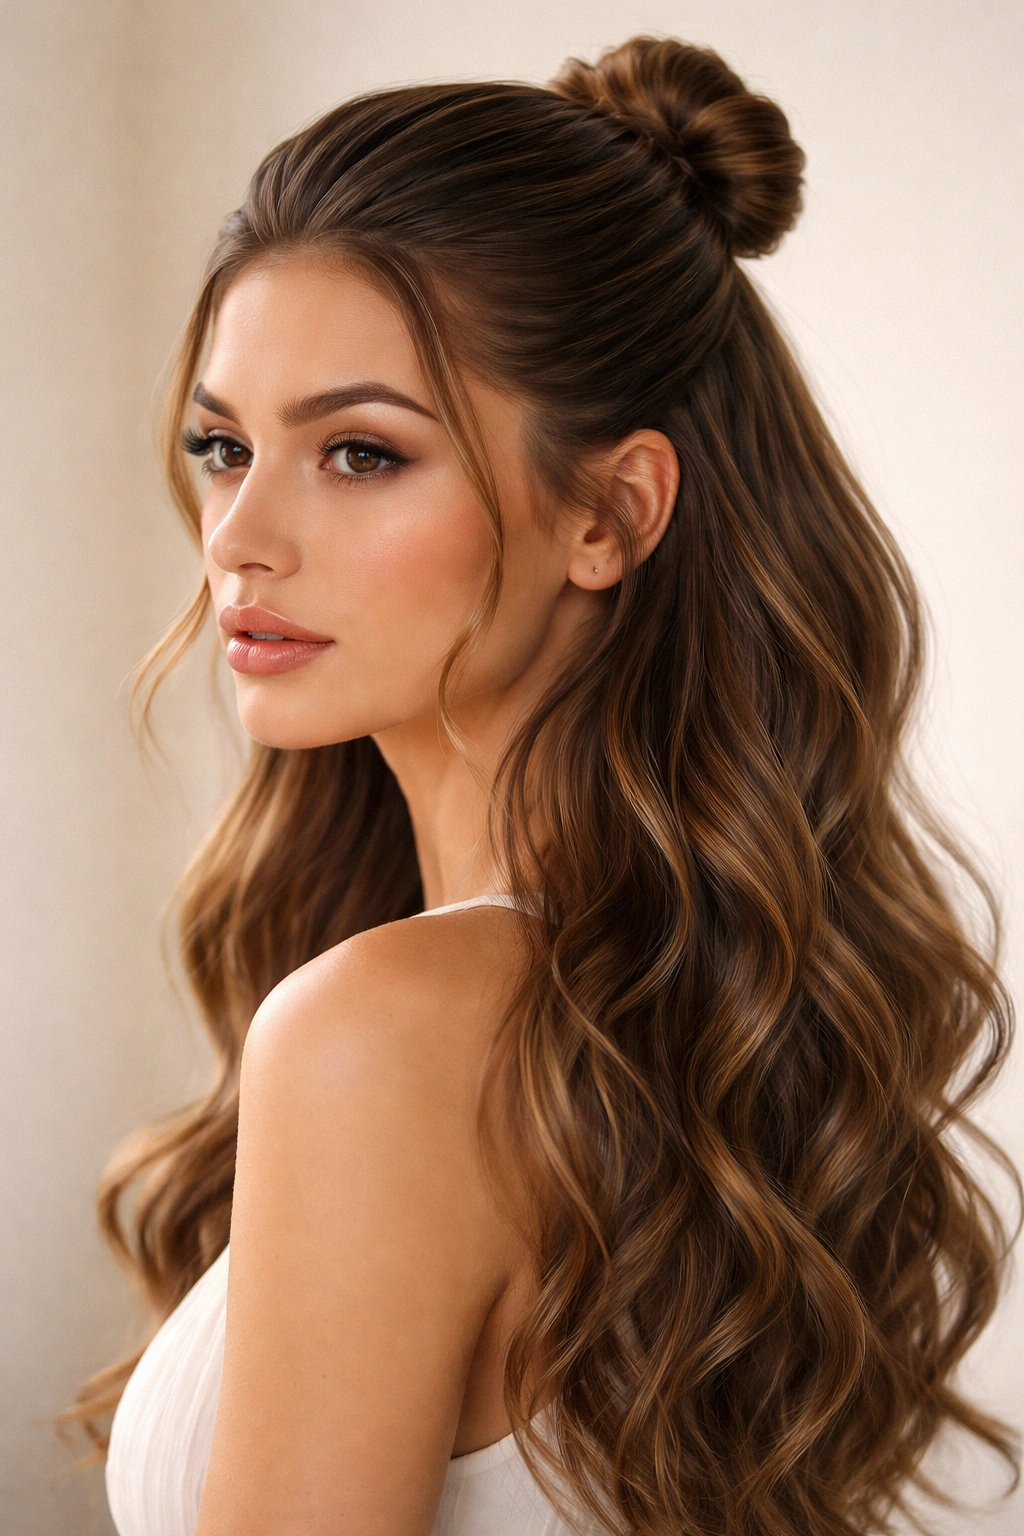
Create your slicked-back top section, but instead of leaving the hair loose at the clip, twist or loop it into a small bun or roll at the base. You’re keeping the bottom waves completely free, but the top section gets transformed into a contained, compact shape. This is the half-up silhouette with an additional layer of polish and sophistication.
When to Wear This Style
This hybrid works particularly well when you want more control and formality than a standard half-up provides, but don’t want to commit to a full updo. It’s perfect for work settings where a completely loose style might feel too casual, for dressier occasions where pure waves might feel underdone, or for days when your waves need a little more taming at the crown.
How to Build It
- Slick the top section back as you would for a classic half-up ponytail, applying product and smoothing with a comb
- Once you’ve pulled the top section to the back, instead of simply securing it, twist or gently loop it
- Coil the twisted section into a small, compact bun at the base of your crown
- Secure with bobby pins pushed into the center of the bun, then a small claw clip or clear elastic around the base
- Leave all bottom-half waves completely loose and free
- You can make the bun tighter and more formal, or slightly loose and textured, depending on your preference
8. The Side-Swept Slicked Half-Up
Instead of pulling your top section straight back toward the center of your head, sweep it dramatically to one side before securing it. You’re creating an asymmetrical silhouette where one side of your head is slicked and controlled, and the other side has more movement and texture. The bottom waves fall entirely on one side, creating maximum drama.
The Drama and Movement
A side-swept slicked-back section creates visual momentum and flow. It’s inherently more dynamic than a centered style — your eye follows the direction of the sweep. For wavy hair, this asymmetry also allows one side of your waves to fall completely free and natural, creating a beautiful contrast with the controlled side.
Styling Technique
- Determine which side you want to sweep toward — this is your dominant side
- Apply smoothing product to the top section of your hair
- Using a comb, smooth the hair at a diagonal angle from the opposite side (where you’re starting) toward the dominant side where you want it to end
- The sweep should feel dramatic and intentional, not subtle
- Secure at the base with a clip or elastic positioned slightly off-center on your dominant side
- Brush your bottom waves to emphasize the one-sided flow
- Optional: consider a deep side part to enhance the asymmetry
Pro tip: A side-swept look looks best with a deep side part. The part and the sweep should work together to create one cohesive directional movement.
9. The Bubble Half-Up

Create your slicked-back top section at the crown, secure it with an elastic, then add 2-3 additional small elastics down the length of that ponytail section, creating small “bubbles” of hair between each elastic. The bubbles add visual interest and dimension while keeping everything tidy. Your bottom waves remain completely loose, creating an interesting mixed aesthetic.
Why Bubbles Work
The bubble technique breaks up what would otherwise be a plain smooth ponytail. Each bubble creates its own little section of dimension, and the elastics become visible design elements. For wavy hair, bubbles create a playful, youthful vibe that balances the sleekness of the slicked-back crown. It’s a style that feels current and intentional without requiring advanced technique.
Step-by-Step Application
- Slick the top section back with product and secure at the crown with your first elastic
- About 2 inches below that first elastic, add a second small elastic around the same ponytail section
- This creates a small bubble of hair between the two elastics
- Add a third elastic 2 inches below the second one, creating another bubble
- You can add 2-4 bubbles depending on how long your top section is
- Gently tease or pull each bubble slightly outward to create fullness and texture
- Leave all bottom hair completely loose and wavy
- This style reads as playful and trendy without being overly precious
10. The Textured Slick-Back with Flyaways
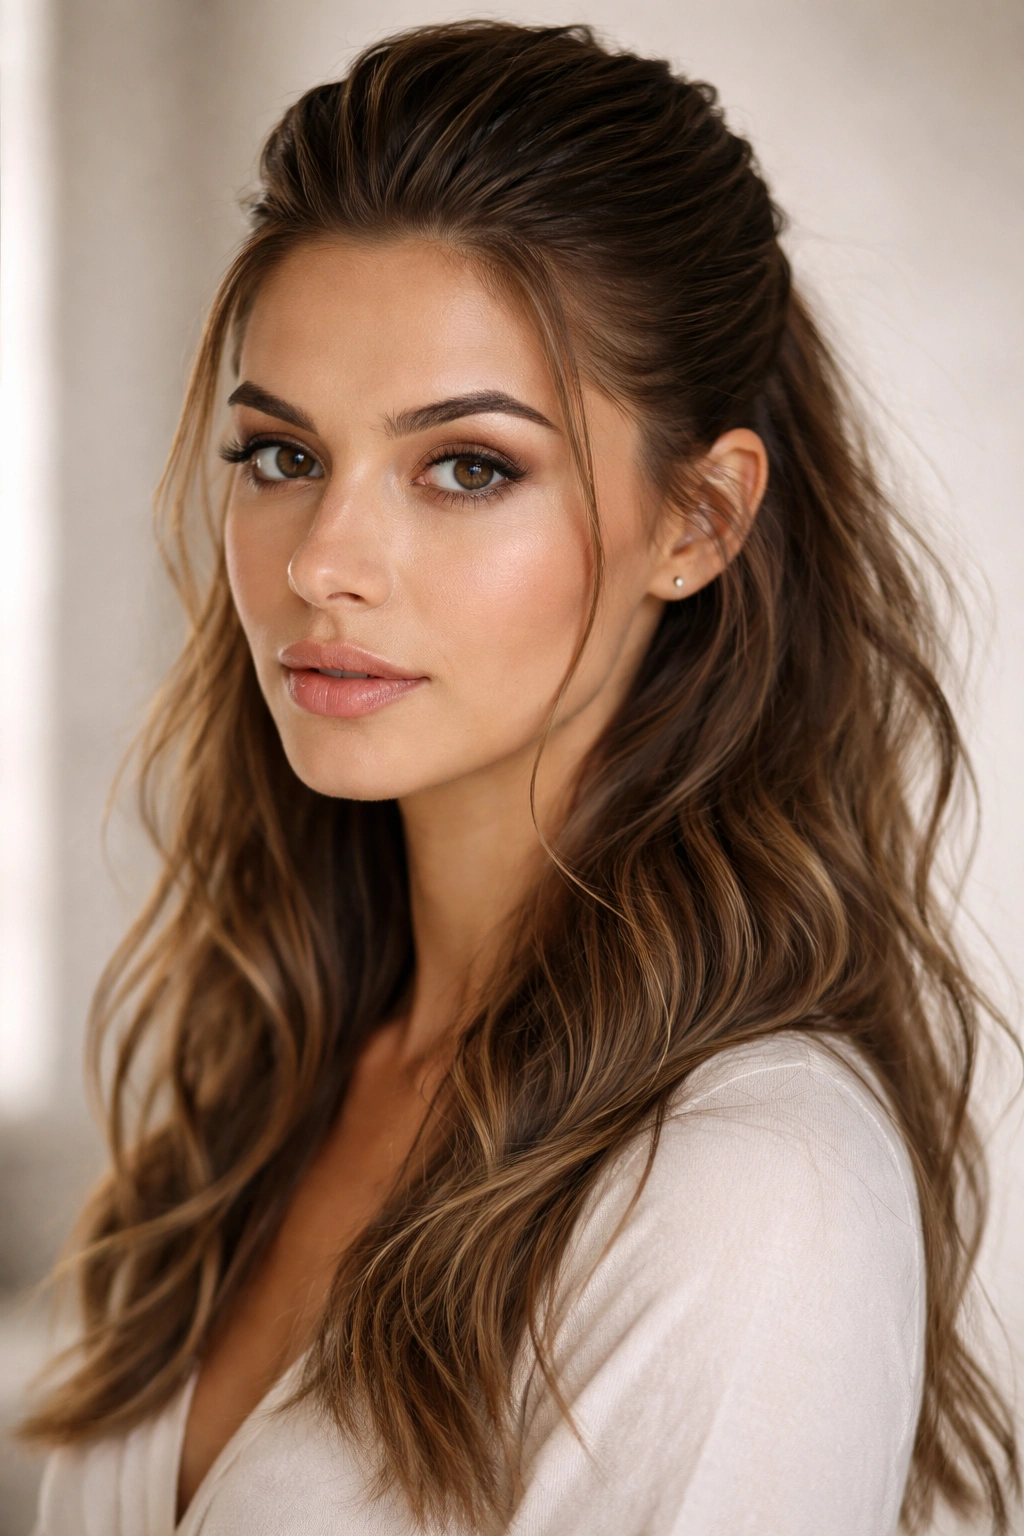
Take your slicked-back top section, but deliberately leave some strategic flyaways and face-framing pieces loose and softly wavy. Instead of creating a completely smooth crown, you’re slicking back the bulk of the top section while allowing some texture and dimension at the hairline and around the face. This softens the severity of a pure slick-back look.
Why Softness Matters
A completely slicked-back style can feel severe or overly polished for some face shapes and occasions. By leaving some softness around your face, you’re creating a style that’s still intentional and styled, but with a more approachable, human quality. The contrast between the sleek crown and the soft face-framing pieces is what makes this variation sophisticated rather than harsh.
How to Style It Intentionally
- Slick the bulk of the top section back with product, using a comb to smooth the crown area
- However, leave 2-3 small sections around your face (the temples, perhaps a section near each cheekbone) unsmoothed
- Allow these face-framing pieces to remain wavy and textured
- Secure the bulk of your slicked section at the back with a clip
- Apply a light wave-enhancing product to your loose face-framing pieces, scrunching to emphasize texture
- The goal is that your crown looks intentionally sleek, but your face is framed with natural-looking texture and softness
- A few pieces can even escape your slicked-back section and frame the face — this is intentional, not messy
Pro tip: The key is balance — you want enough softness to look approachable, but not so much that it looks accidental or undone.
11. The Sculptural Gel-Slicked Half-Up
Use a firmer-hold gel (rather than a softer smoothing cream) to create a more defined, architectural look with your slicked-back top section. The gel holds your hair in sharper lines and creates a more graphic, edgy aesthetic. Your slicked-back section becomes truly sleek and shiny, not just smooth, while your bottom waves can remain soft and natural for contrast.
The Modern Edge
Gel-slicked styles have a contemporary, fashion-forward feel. They’re more dramatic and deliberate than a cream-slicked style. For wavy hair, the contrast between a shiny, gel-slicked crown and soft, natural waves below creates an interesting mixed aesthetic — part editorial, part effortlessly textured. This is a style that photographs well and reads as intentional styling.
Application for Maximum Impact
- Choose a medium to firm-hold gel, not a light one — you need structure
- Apply the gel to damp hair, section by section, through the entire top section
- Use a fine-tooth comb to smooth the gel back, creating sleek, defined lines
- The gel should catch light and create a slight shine across the slicked-back section
- Secure at the back with a clip or elastic
- Allow the gel to dry completely — this creates the most structured, graphic look
- Your bottom waves can be completely natural or enhanced with a softer, non-shiny product for contrast
Worth knowing: Gel can feel heavy and look overdone if you use too much. Start with a small amount and add more if needed. The goal is shine and definition, not a helmet-like appearance.
12. The Textured Slick-Back with Wave Definition
In this final variation, you’re slicking back your top section as usual, but instead of leaving your bottom waves completely natural and undone, you’re actively enhancing and defining them with curl cream, mousse, or a wave product. Your top half is sleek and controlled; your bottom half is intentionally textured and voluminous. The contrast between the two is dramatic and intentional.
Building Maximum Dimension
By defining your waves instead of leaving them casual, you’re creating two distinct textures that work together rather than existing as opposite extremes. The defined waves have structure and shape, which actually makes them read as more polished and intentional, not less. This combination — controlled top, defined wavy bottom — creates a balanced, complete style that works for any occasion.
Technique for Defined Waves
- Slick your top section back and secure as usual
- For the bottom section, apply a wave-defining cream or mousse while your hair is still damp
- Use a diffuser attachment on your blow dryer, or air dry, scrunching the product into your waves to encourage definition
- You want visible, distinct waves or curls in the bottom section — not frizz, but actual defined texture
- Once dry, gently flip your hair and shake it out to distribute the waves evenly
- Optional: use a curling iron or wand to add more defined waves if your natural waves need enhancement
- The result is a polished, intentional style where both sections feel equally styled and considered
Pro tip: If your waves are fine or loose, use a lightweight wave product so you don’t weigh them down. If your waves are thick or resistant, a richer cream gives you more hold and definition.
Final Thoughts
The slicked-back half-up look is endlessly customizable because it starts from a simple foundation and then opens up to creative variations. Whether you prefer a classic, clean aesthetic or something more textured and dynamic, there’s a version of this style that works for your hair type and personal style. The key to success is using the right products — smoothing creams and gels for the slicked section, wave-enhancing products for any loose waves you want to define.
The beauty of these styles for wavy hair is that you’re not fighting your natural texture. You’re working with it by controlling the areas where you need control and letting texture shine where you want movement and dimension. With practice, you’ll find that slicking back your top section becomes quick and automatic, leaving you with a polished, intentional look that’s somehow effortless.
The most important thing to remember is that these styles should feel good to you. Some days you might want maximum sleekness; other days you might prefer softness around your face. The variations above give you options for every mood, every occasion, and every level of styling commitment you’re willing to give on any particular day.