There’s something undeniably powerful about a well-executed ponytail. It’s not just a practical way to get hair off your face—it’s a statement that says you’ve got your life together, your style dialed in, and you know exactly how to present yourself to the world. A sleek mid-length ponytail sits in that perfect sweet spot between casual and polished, high enough to feel intentional but low enough to feel effortless and wearable every single day.
The magic of a truly sleek mid ponytail lies in the details. It’s not just about pulling your hair back—it’s about creating a smooth foundation, choosing the right styling products, and understanding which technique flatters your face shape and hair texture. Whether you’re heading to the office, a networking event, or simply want to elevate your everyday look, a well-placed mid ponytail instantly communicates polish and control. The style bridges the gap between overdone and underdone, giving you room to experiment with different finishes, accessories, and styling techniques.
What makes this particular style so versatile is how easily it adapts. You can create a mirror-shine finish for maximum sophistication, add subtle twists and braids for texture and interest, incorporate decorative elements like metallic cuffs or silk ribbons, or keep it brutally simple for a minimalist aesthetic. The variations are nearly endless, which means there’s a sleek mid ponytail that works perfectly for your hair type, your daily routine, and your personal style. Let’s explore the most effective ways to create this look and the specific techniques that make each variation truly shine.
1. Classic Smooth Mid Ponytail
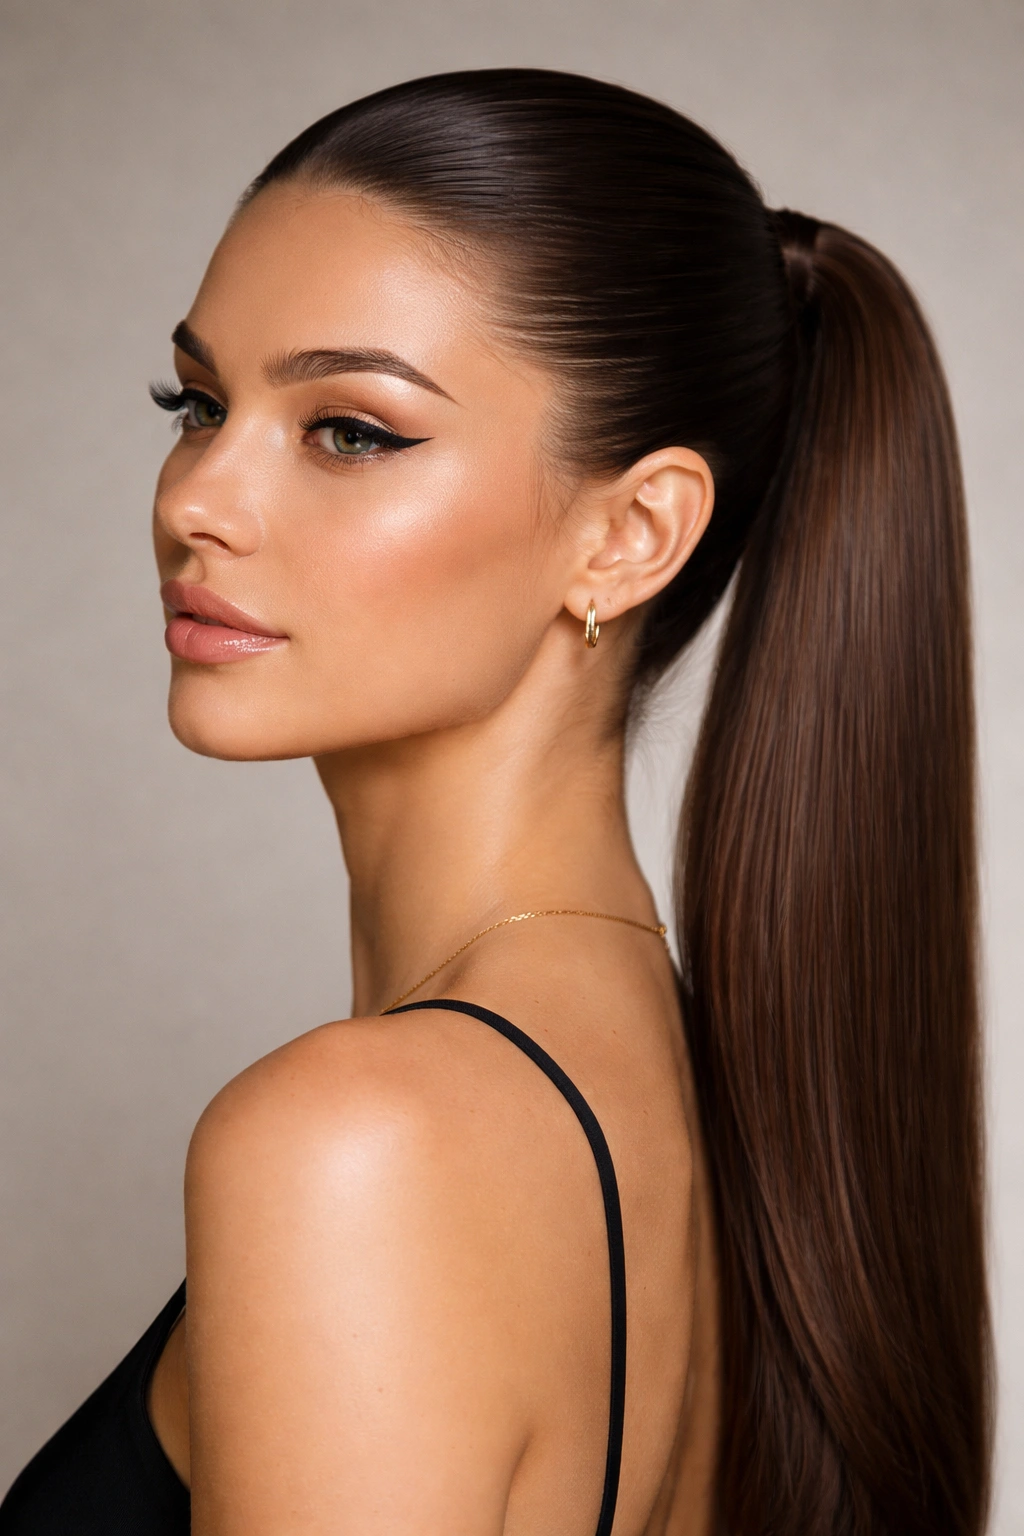
The classic smooth mid ponytail is the foundation of every other variation—master this, and you’ll have a go-to style that works for virtually any occasion. This style prioritizes a sleek, seamless finish from your hairline all the way down to the base of the ponytail. The key is creating a genuinely smooth surface with zero flyaways, no bumps, and a finish so polished it looks like you’ve just stepped out of a professional salon.
Why This Foundation Works
A smooth mid ponytail creates the illusion of a longer face and draws attention upward, making it incredibly flattering for most face shapes. The lack of texture around the face and scalp creates visual clarity and allows any features you want to highlight—your eyes, cheekbones, or jewelry—to truly shine. Because there’s nothing competing for visual attention, even minimal makeup or a simple outfit will feel elevated and intentional.
How to Build the Sleek Foundation
- Start with freshly washed or day-old hair brushed thoroughly to remove all tangles from roots to ends
- Apply a smoothing serum or lightweight gel to damp hair, combing it through from scalp to ends with a fine-tooth comb
- Use a paddle brush or slicker brush to brush hair back into position, smoothing as you go to catch any flyaways
- Gather hair at mid-back of the head (roughly where your natural part sits when you look straight ahead) and secure with a clear elastic or thin hair tie
- Smooth the secured ponytail with the brush, applying a finishing smoothing cream or edge control to any baby hairs or shorter pieces
- Optional: wrap a small section of hair around the elastic base to conceal it, pinning the wrapped section with a bobby pin
This classic version is your blank canvas. Once you master the smooth finish, you can add interest through color, length, or minimal accessories without compromising the polished effect.
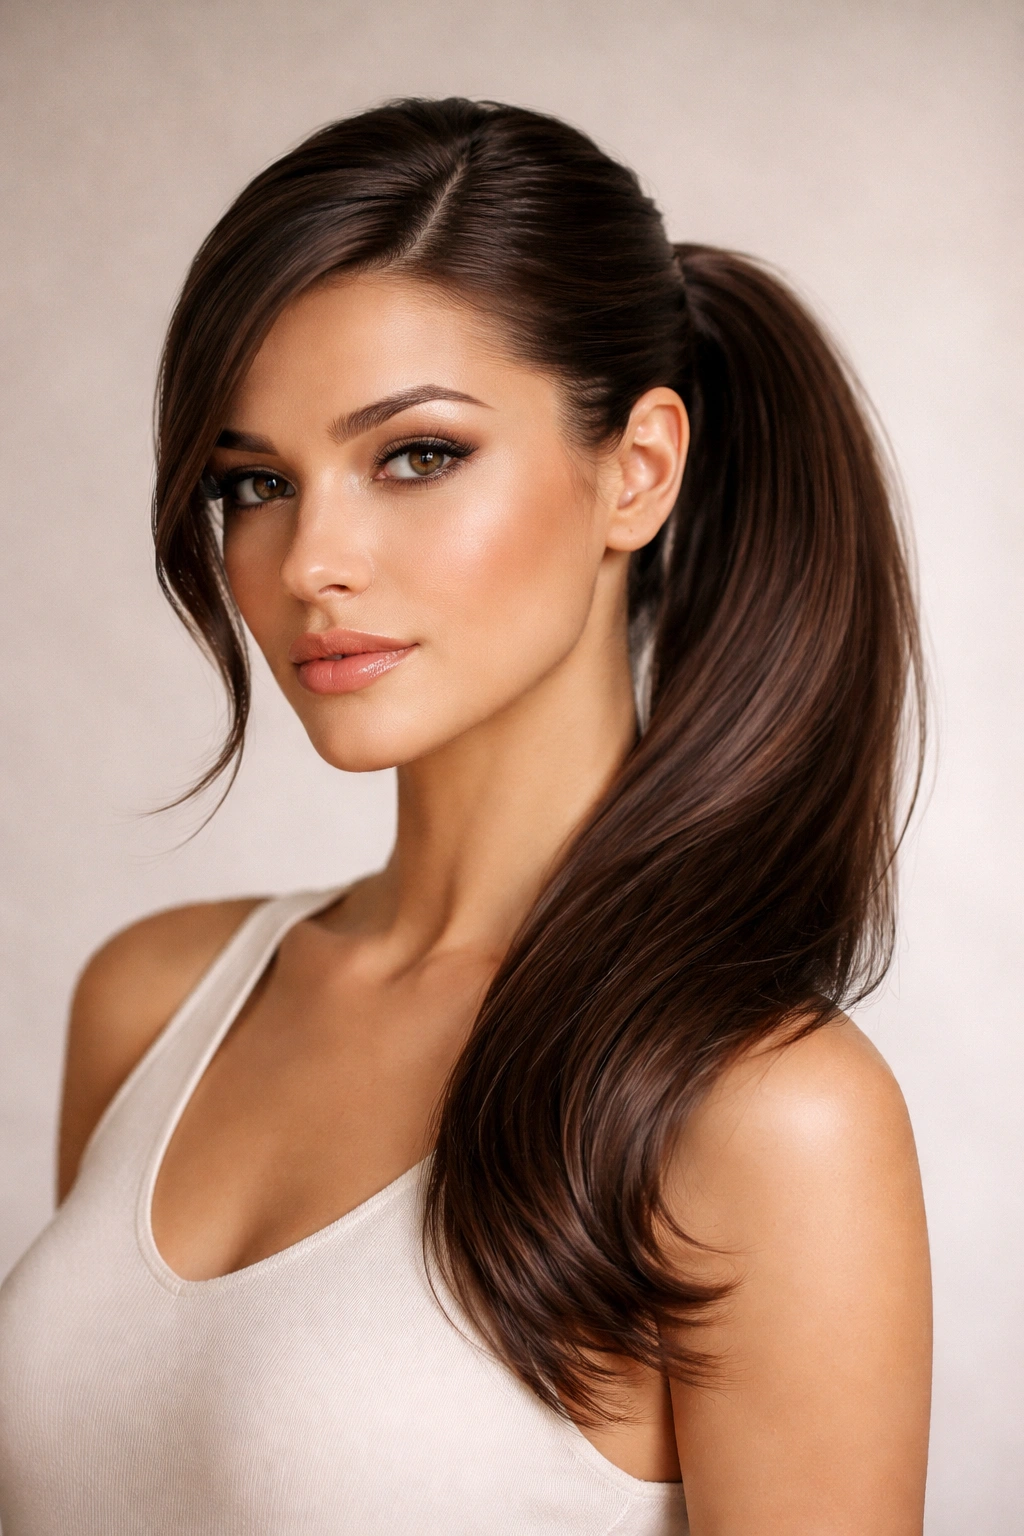
2. Sleek High-to-Mid Ponytail with Face-Framing
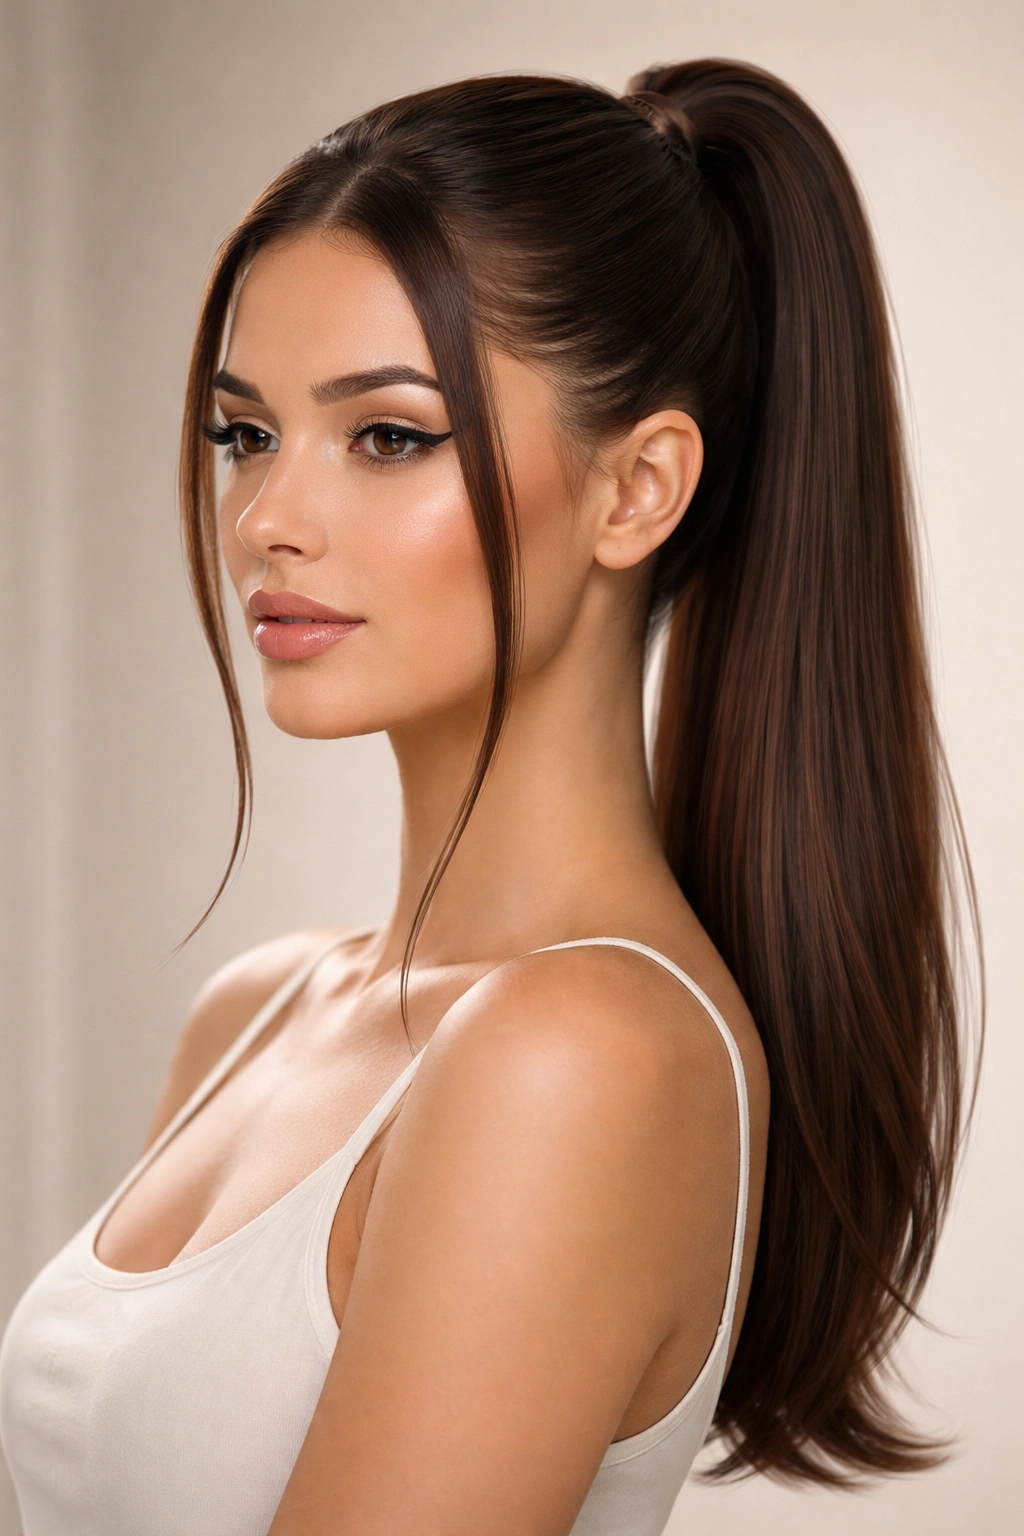
This variation keeps the body of the ponytail at mid-length while strategically releasing a few face-framing pieces that add dimension and softness. Unlike hair that falls completely loose around the face, these pieces are intentionally chosen and styled, creating a sophisticated frame that’s much more controlled than a standard half-up style.
What Makes Face-Framing So Effective
The contrast between the sleek, pulled-back majority of your hair and the few smooth pieces framing your face creates visual interest without sacrificing the polished aesthetic. This variation is particularly flattering if you want to soften a strong jawline or draw attention to your eyes and cheekbones. The face-framing pieces can be curled, waved, or kept perfectly straight depending on the occasion—each approach delivers a different level of formality.
Creating the Styled Frame
- Before pulling your ponytail, identify two small sections on either side of your face, roughly an inch thick each, and clip them away temporarily
- Create your smooth mid ponytail with the remaining hair using the classic technique described above
- Release the face-framing sections and apply smoothing serum to them
- Using a round brush and blow dryer, smooth them straight for a polished finish, or curl them away from your face with a 1-inch curling iron for subtle dimension
- Pin the framing pieces behind your ear or let them fall naturally, depending on your face shape—if you have a rounder face, pin them back; if you have an angular face, letting them fall slightly adds welcome softness
- Set everything with a light hairspray to keep pieces in place throughout the day
This style works beautifully with minimal makeup or bold lip color, as the face-framing pieces naturally guide attention toward your features.
3. Polished Mid Ponytail with Braided Wrap
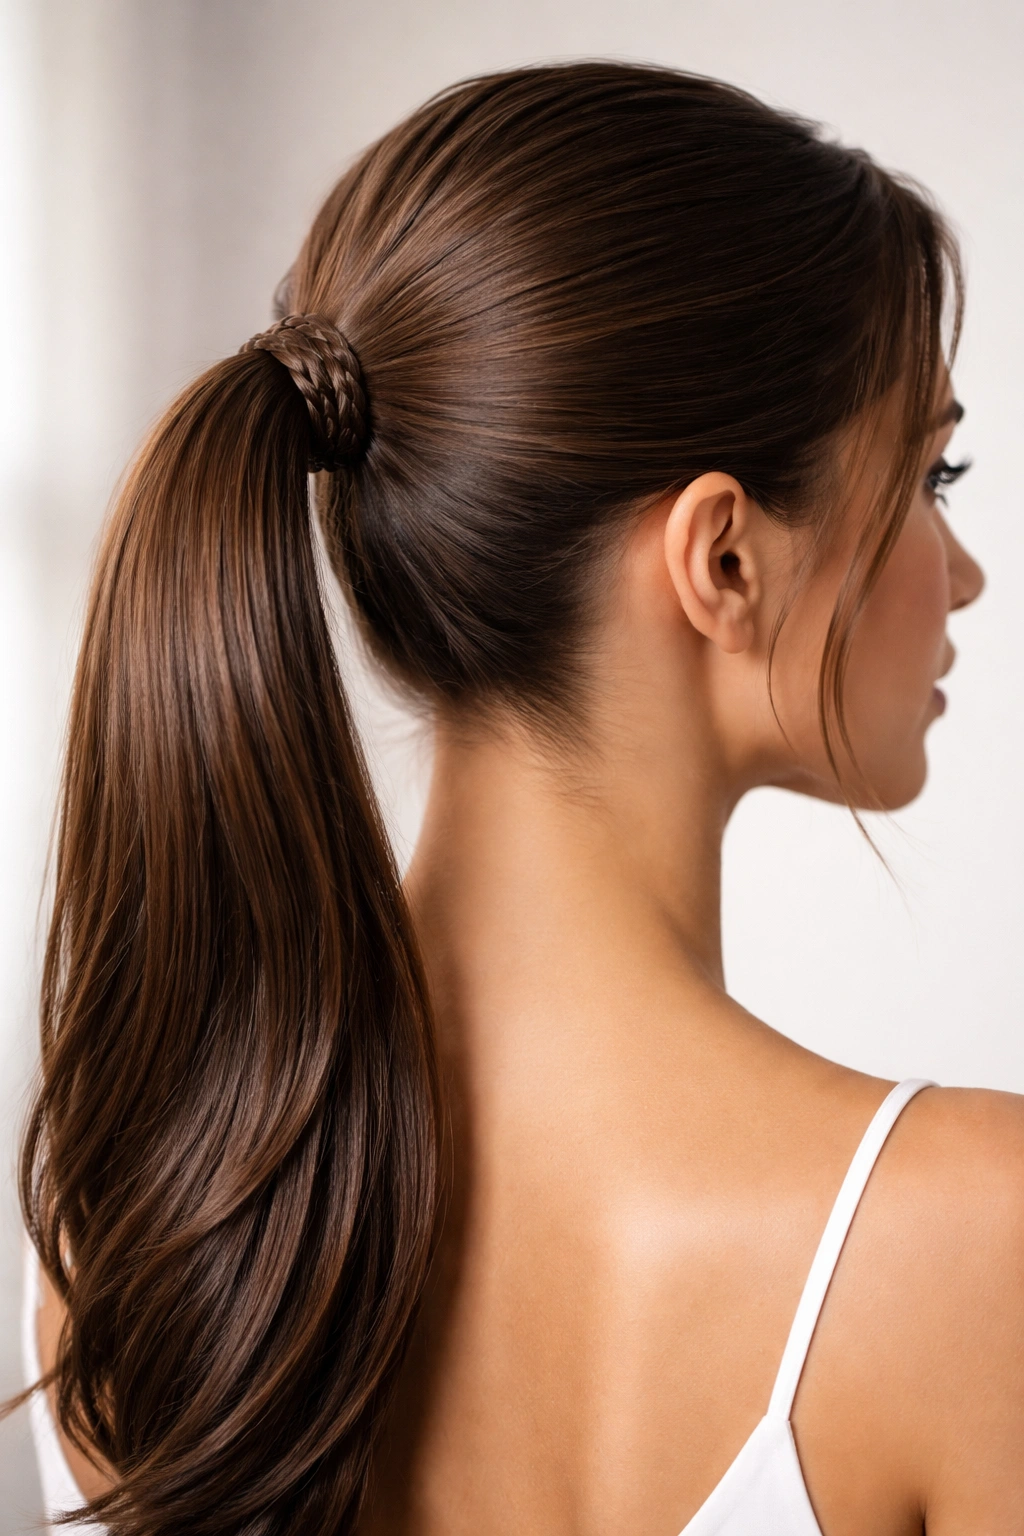
Instead of covering the elastic at the base of your ponytail with a simple wrapped section, incorporate a thin braid that winds around the elastic. This adds texture and visual interest while maintaining the overall sleek aesthetic—the braid reads as intentional artistry rather than a compensatory cover-up.
Why Braids Add Designer-Level Detail
A braided wrap transforms a basic ponytail into something that looks meticulously styled and carefully considered. The braid catches light differently than straight hair, adding subtle dimension, and the technique demonstrates a level of skill that immediately elevates the entire look. Even a simple three-strand braid creates the impression of a more complex style than you’ve actually executed.
Executing the Braided Wrap
- Create your smooth mid ponytail as described in the classic variation
- Take a thin section of hair from the side of the ponytail base and divide it into three strands
- Braid this section tightly, keeping it close to the base of the ponytail and wrapping it around the elastic as you braid
- Secure the end of the braid with a tiny clear elastic or bobby pin tucked underneath where it won’t be visible
- Use a fine-tooth comb to gently tease out the braid ever so slightly, giving it a softer, less structured appearance—this prevents it from looking too formal or overly done
- Apply smoothing serum to any flyaways and set with hairspray
The braid should be substantial enough to clearly read as intentional but not so thick that it overwhelms the ponytail. A thin, refined braid reads much more polished than a chunky one.
4. Slicked-Back Mid Ponytail with Gel
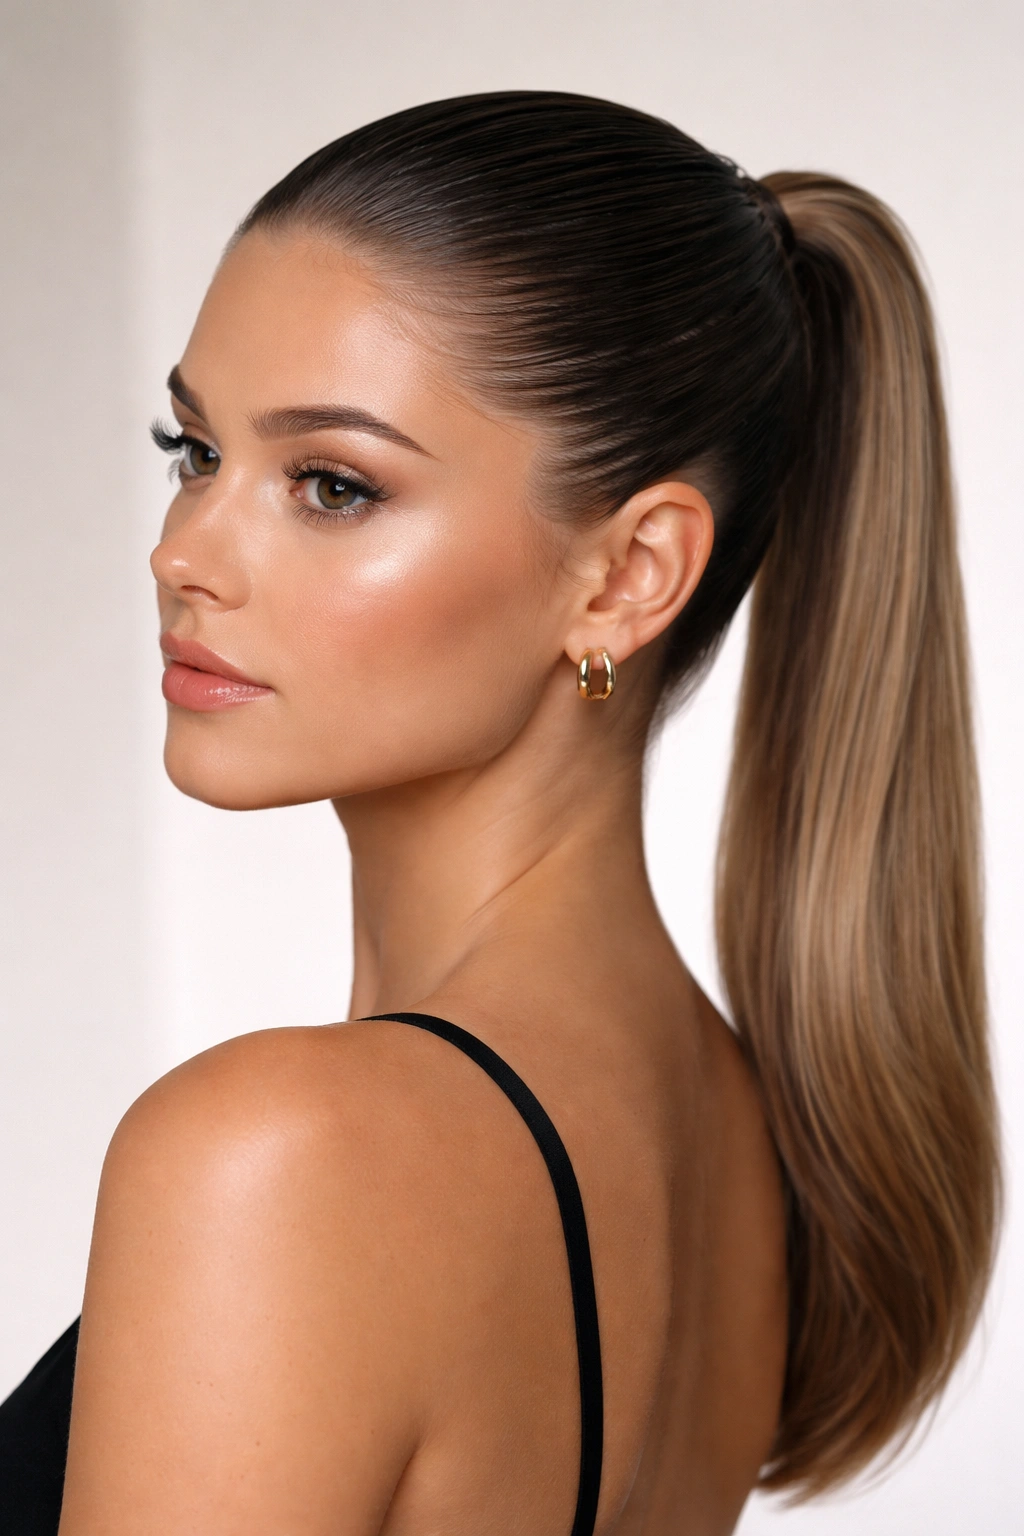
This is the most dramatic sleek option—absolutely zero texture at the scalp, hair pulled so tightly back that your face is fully visible and framed with precision. This version requires a strong-hold gel and commitment to the ultra-polished aesthetic. It’s ideal for when you want to look completely put-together or need hair entirely out of your way.
The Power of the Slicked-Back Finish
A true slicked-back style communicates absolute control and confidence. There’s nowhere for your hair to hide and nothing to soften the look, which means your bone structure, skin, and features become the focal point. This approach works beautifully if you have clear skin and defined features you want to highlight, and it’s particularly striking with bold jewelry or a statement lip.
Achieving the Gel-Slicked Look
- Apply gel or edge control cream to damp hair, working it through from your scalp downward with a fine-tooth comb
- Using the comb, brush hair straight back and slightly to one side, ensuring no bumps or ridges form at the scalp
- Gather hair at the mid-point and secure with a elastic, making sure the ponytail sits exactly where you want it—there’s no room for adjustment with this style, so get it right before tightening
- Smooth the entire gathered section with your comb and apply additional gel to catch any flyaways
- Wrap a small section of hair around the elastic base and pin it, securing any loose ends
- Let the gel dry completely before touching your hair—this sets the style and prevents it from shifting throughout the day
- Finish with a firm-hold hairspray for longevity
This style demands a quality gel that holds without flaking or leaving residue. Invest in a product specifically formulated for slicked-back styles if you wear this look regularly.
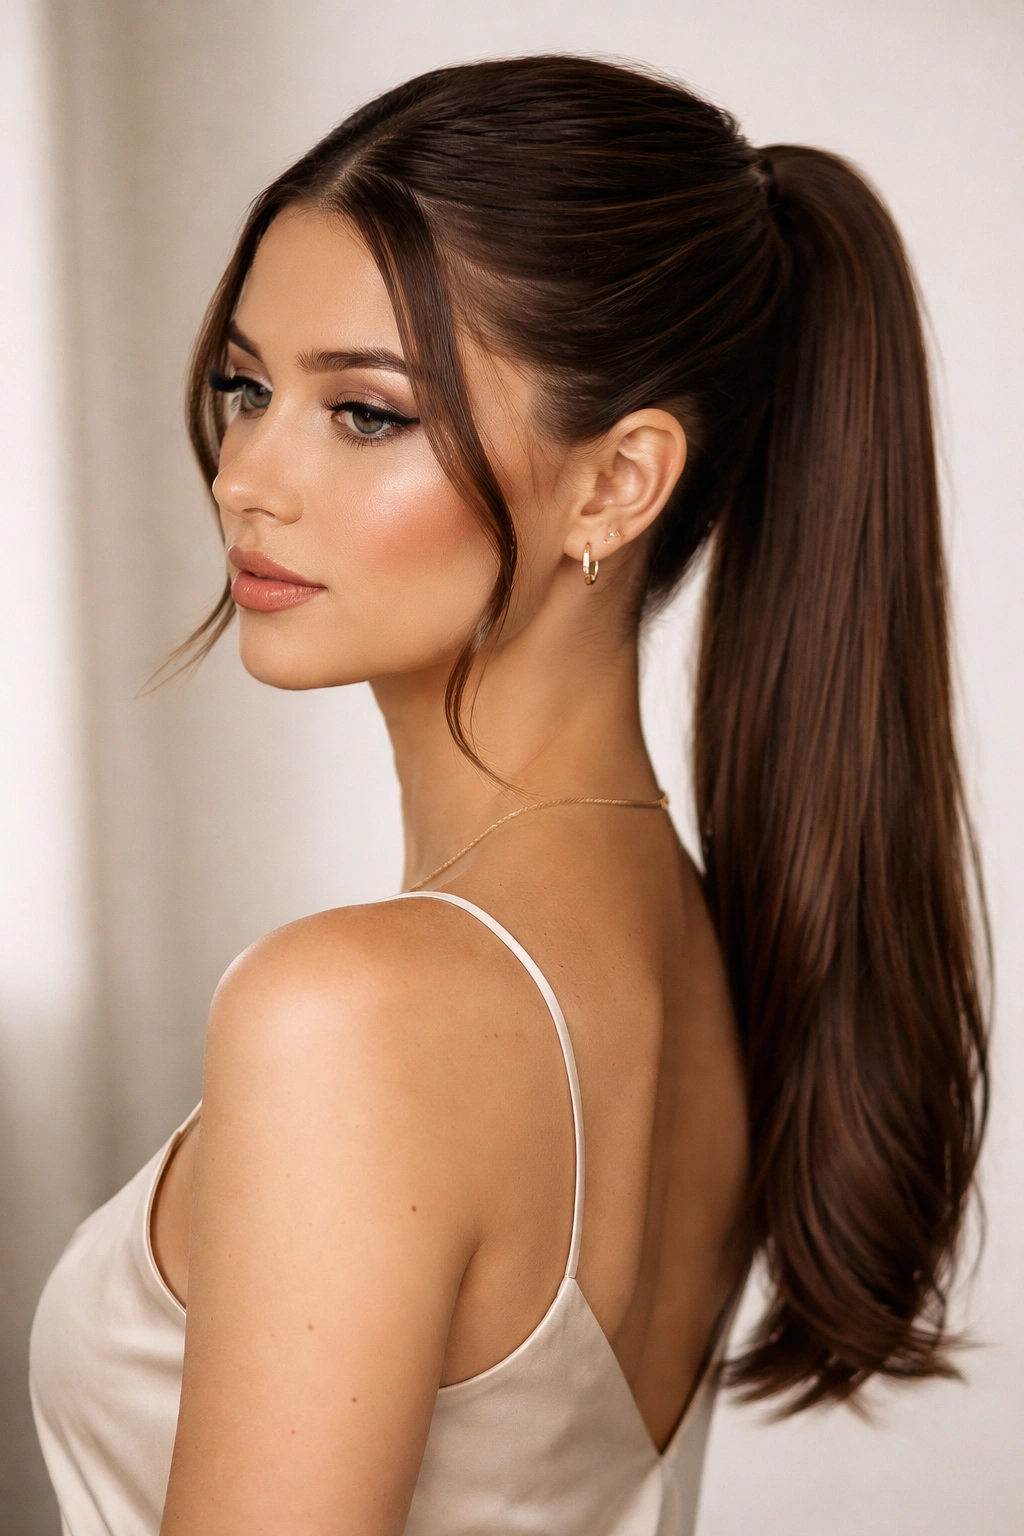
5. Side-Swept Mid Ponytail
Instead of gathering hair at the center back of your head, pull it to one side, creating an asymmetrical ponytail at mid-length. This variation is slightly more playful than a centered mid ponytail while maintaining that sleek, polished finish. The asymmetry adds a subtle edge and draws attention toward whichever side you’ve chosen.
Why Asymmetry Feels Modern and Intentional
A side-swept ponytail creates visual movement and interest without adding texture or complexity. The off-center placement instantly reads as more deliberate and fashion-forward than a centered ponytail—it signals that you’ve thought about your styling choices. This variation is particularly flattering if you want to balance facial proportions or draw attention away from one side of your face.
Positioning the Off-Center Ponytail
- Brush your hair smooth and apply a lightweight smoothing serum
- Tilt your head slightly toward the side where you’ll be pulling your ponytail, which helps you see exactly where the positioning should sit
- Gather hair at a point roughly 2-3 inches to one side of center, at mid-back of your head
- Secure with a thin elastic, making sure the ponytail sits smoothly without twisting or kinking
- Smooth the gathered hair and wrap a small section around the base to conceal the elastic
- Apply edge control to any pieces that have come loose and set with hairspray
- For extra polish, curl the ends of the ponytail softly or add a sleek, shiny product to the length for dimension
The side placement creates the perfect canvas for statement earrings on the opposite side, creating intentional balance in your overall look.
6. Mid Ponytail with Metallic Cuff
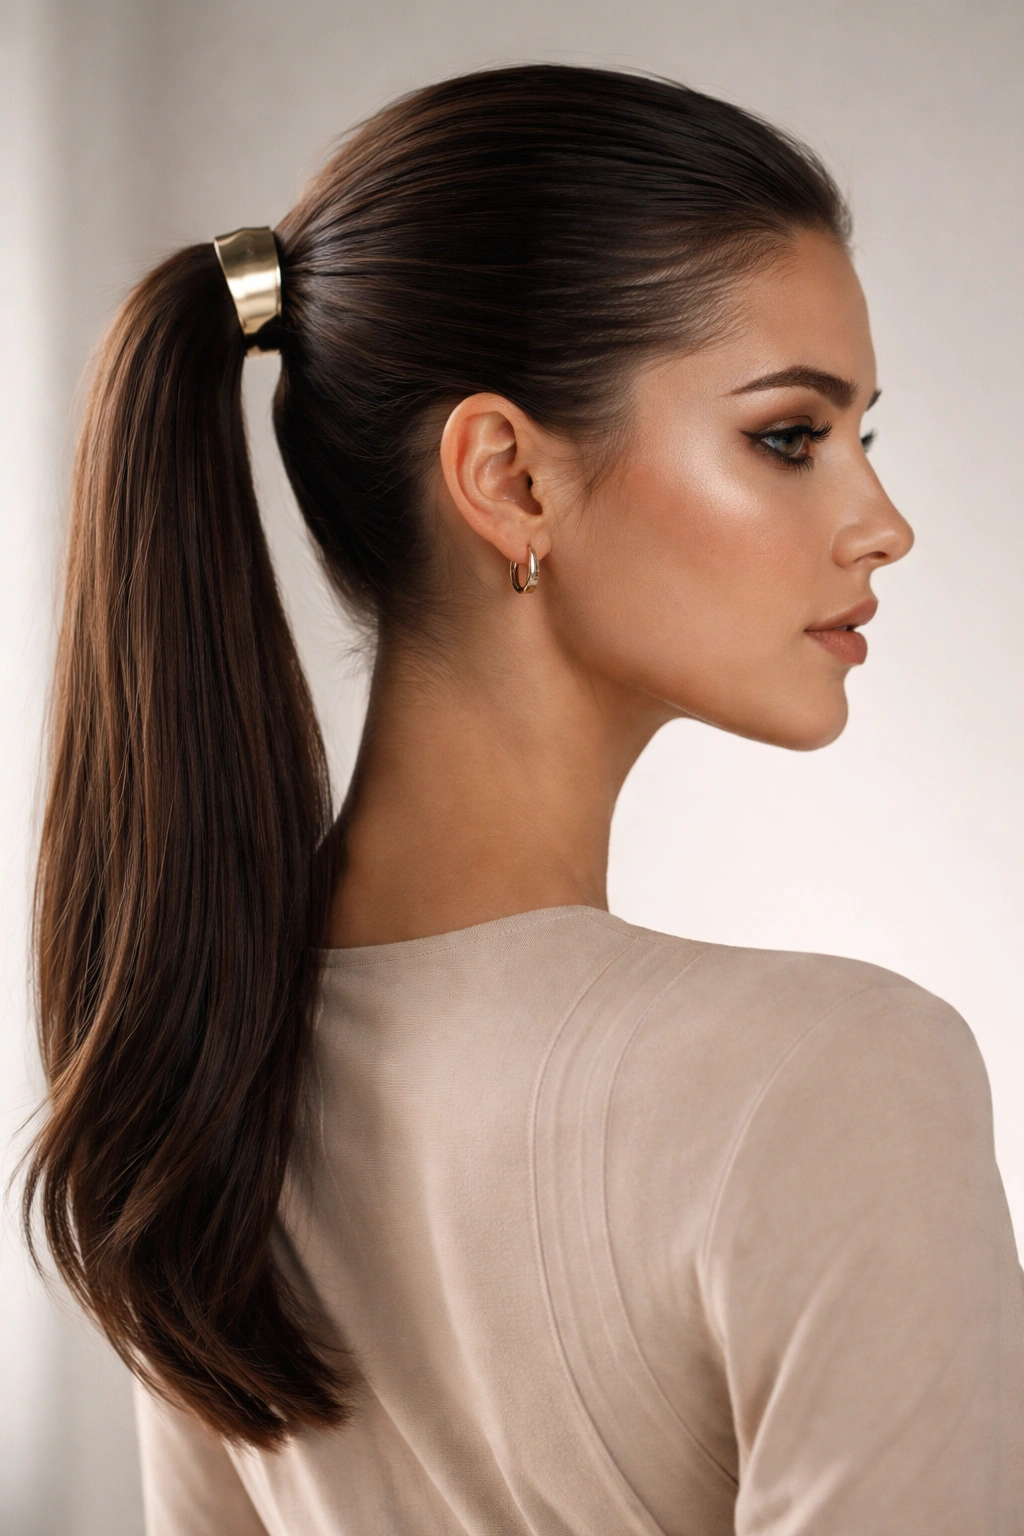
Replace your standard hair tie with a metallic cuff, clip, or decorative hair ring in gold, silver, rose gold, or even colored metal finishes. This single element transforms a basic mid ponytail into something noticeably more elevated and fashion-forward. The metal catches light and draws the eye directly to your ponytail base, making the style feel intentional and curated.
The Accessory as Finishing Touch
A metallic cuff isn’t just decorative—it’s the difference between a style that looks like you quickly pulled your hair back and one that looks carefully considered. The reflective quality of metal adds visual interest and luxury to an otherwise simple style. Depending on the finish and weight of the cuff, you can shift the entire vibe from casual to glamorous with this single element.
Incorporating Metal Accessories Effectively
- Create your classic smooth mid ponytail using a clear elastic first
- Slide a metallic cuff, claw clip, or hair ring over the elastic, positioning it so it sits flush against the base of your ponytail
- Make sure the metal piece is substantial enough to be clearly visible—delicate, tiny accessories can disappear in ponytail volume and won’t deliver the visual impact you’re aiming for
- If using a sliding cuff, adjust it so it covers the elastic completely while remaining secure
- Keep the rest of the ponytail smooth and sleek so the metal cuff becomes the obvious focal point
- Match the metal finish to your jewelry and other accessories for a cohesive, intentional look
A chunky gold cuff reads differently than delicate silver, and either can be the right choice depending on your personal style and the occasion. Choose the weight and finish based on how much visual emphasis you want the accessory to have.
7. Sleek Mid Ponytail with Twisted Front Sections
This style incorporates subtle twisted sections at the front before the hair is pulled back into the ponytail base. Unlike a braided wrap that adorns the finished ponytail, these twists are created during the initial styling phase and become part of the gathered hair. They add texture and visual interest while maintaining the polished, intentional feel.
Creating Dimension Through Twists
Twisted front sections add a layer of sophistication without requiring the skill level of intricate braiding. A simple twist is faster to execute but delivers surprising visual impact, and the texture reads as intentional styling rather than accidental waves. This variation works beautifully for people who want texture without the fullness of curls or the commitment of multiple braids.
Building the Twisted Detail
- Brush your hair smooth and apply smoothing serum throughout
- Take a 1-inch section of hair from one side of your hairline, separate it into two thin strands, and twist them together as you move toward the back of your head
- Continue twisting until you reach the mid-back of your head where your ponytail will sit
- Repeat on the opposite side, creating a matching twisted section that mirrors the first one
- Gather all your hair, including the twisted sections, at mid-back and secure with an elastic
- The twists should be visible from the front and sides, framing your face while the body of the ponytail remains sleek
- Smooth any flyaways and apply edge control for a finished look
- Gently tease the twists ever so slightly to give them more definition and dimension
The twists appear most polished when they’re tight and controlled near the hairline but slightly softer as they move toward the back—this creates visual flow and sophistication.
8. Mirror-Shine Mid Ponytail
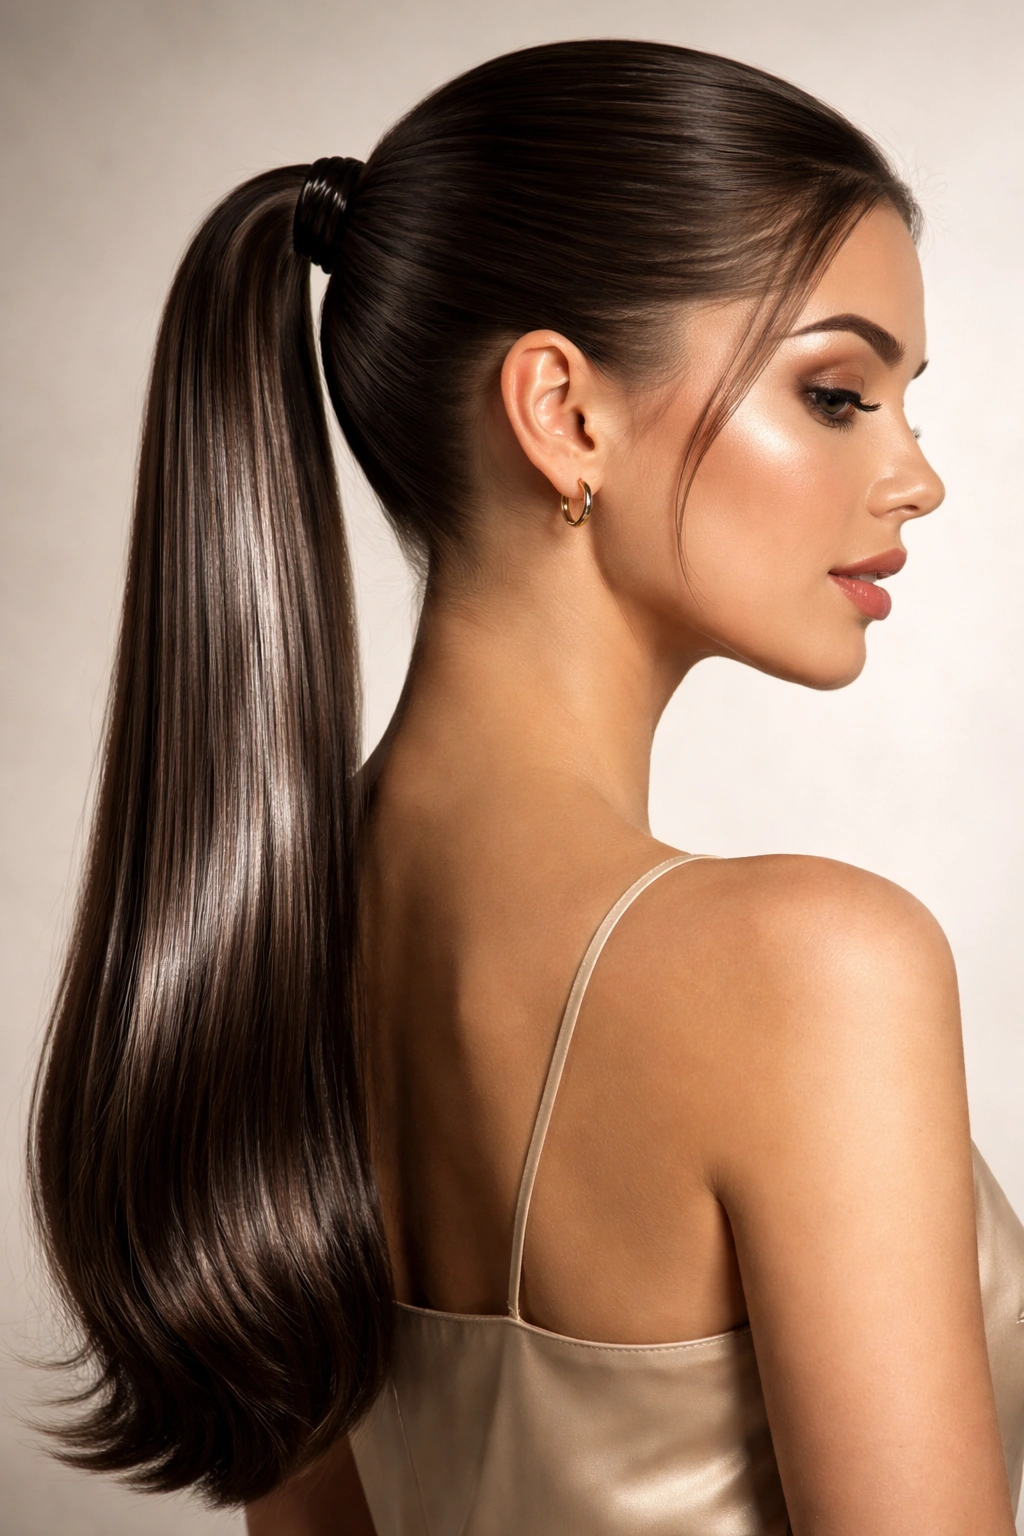
This version prioritizes an almost liquid-like shine and gloss throughout the entire length of the ponytail. Rather than a matte or natural finish, you’re using premium serums, glazing sprays, and shine-focused products to create a lustrous, healthy-looking finish that catches light and appears almost reflective. This style is pure luxury and instantly reads as high-maintenance in the best possible way.
Why Shine Equals Polish
A glossy ponytail communicates investment in quality hair care and grooming. The shine draws attention to healthy-looking hair and creates visual lightness—a shiny ponytail appears thicker and fuller than the same ponytail with a matte finish. This variation is particularly striking if you have naturally dark hair, where shine can create beautiful dimension and depth.
Building Maximum Shine
- Start with a smoothing shampoo and conditioner designed to enhance shine
- Brush wet hair smooth and apply a lightweight shine-enhancing serum from mid-length to ends
- Blow-dry using a ionic hair dryer, which reduces frizz and enhances natural shine
- Create your smooth mid ponytail using the classic technique
- Apply a gloss or shine spray specifically designed for ponytails, spraying lightly throughout the length
- For extra impact, use a smoothing cream or oil-based shine product on the mid-length to ends, being careful not to make it look greasy
- Finish with a shine-enhancing hairspray rather than a matte-finish spray
The key to looking polished rather than oily is restraint—apply products layer by layer, checking your reflection after each addition. The shine should look like your hair is simply in perfect condition, not like it’s been drenched in product.
9. Mid Ponytail with Decorative Pins
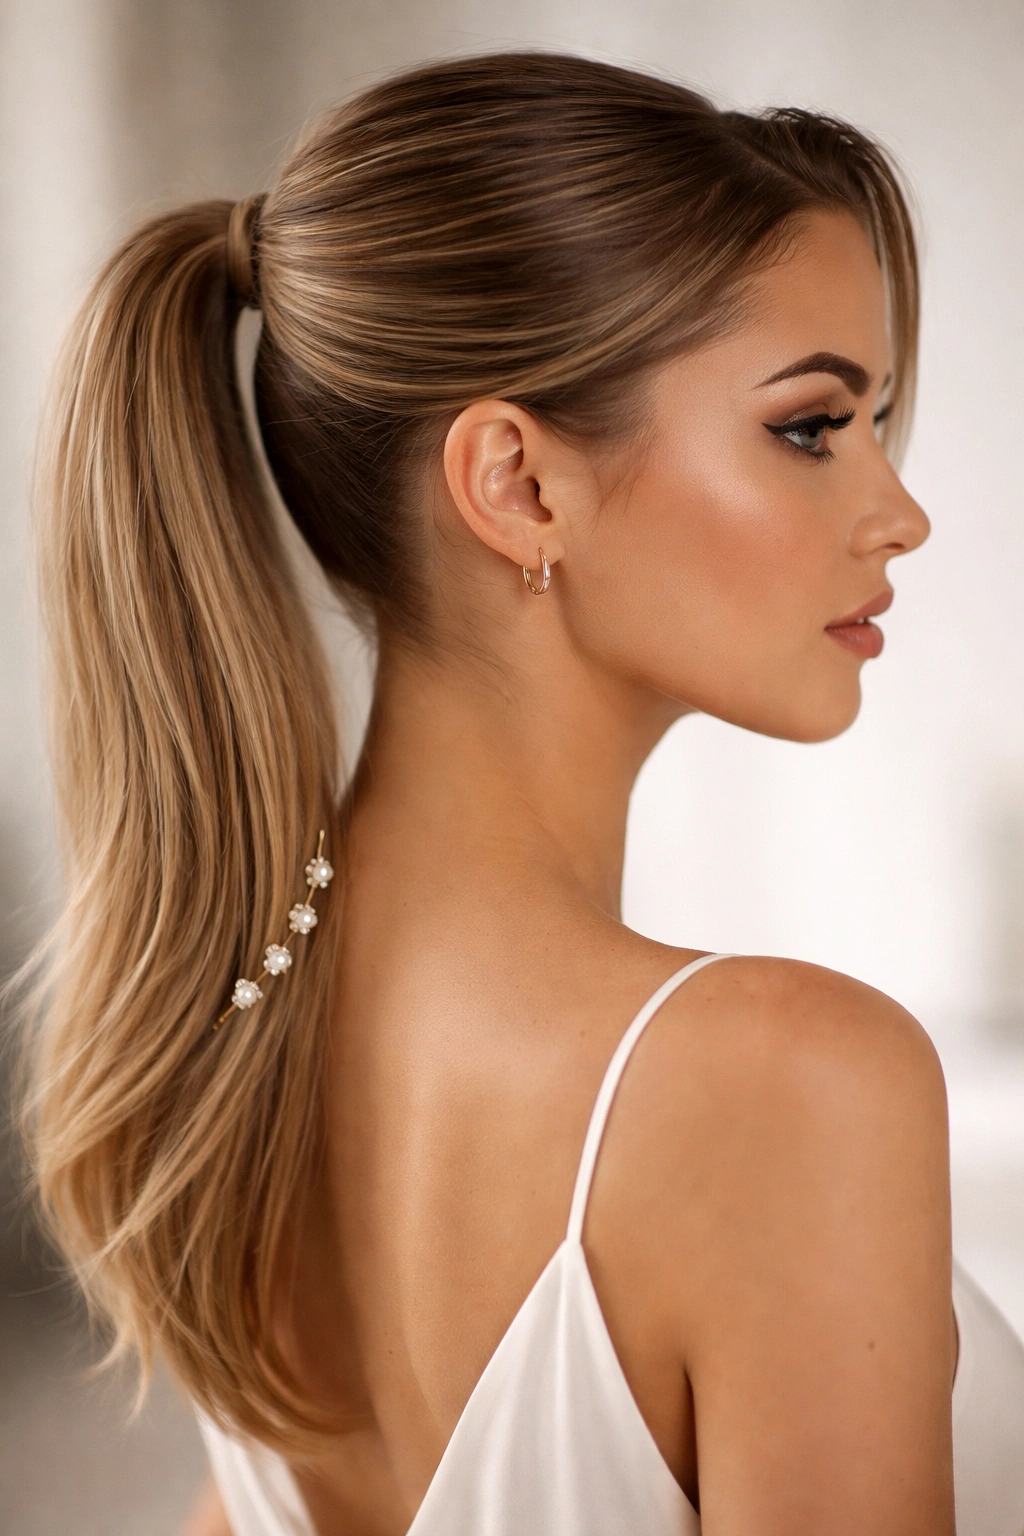
Incorporate multiple small decorative pins—bobby pins in metallic finishes, tiny claw clips, or pearl-adorned pins—along the base and sides of your mid ponytail. These create a subtle, artistic detail that elevates the style beyond basic while maintaining the overall sleek aesthetic. When chosen thoughtfully, multiple small accessories read as intentional styling rather than a fix for imperfect hair.
How Decorative Pins Add Editorial Detail
Small pins scattered along the ponytail base add a editorial, fashion-forward quality that reads instantly more sophisticated than a basic ponytail. The pins can be hidden discreetly or displayed intentionally depending on how visible you want them to be. This approach works particularly well if you’re using clips or pins that complement your hair color or coordinate with your outfit or jewelry.
Placing Pins for Maximum Effect
- Create your smooth mid ponytail as described in the classic variation
- Choose 3-5 decorative pins that coordinate with each other—they should either match exactly or create a cohesive color palette
- Place the first pin at the center of the ponytail base, running horizontally to secure any loose pieces
- Add additional pins on either side of the center pin, creating a subtle cluster effect
- If desired, add 1-2 small pins lower down the ponytail length, but keep this placement minimal to maintain the sleek aesthetic
- Make sure all pins are secured tightly and won’t shift throughout the day
- Keep the ponytail smooth around the pins so they become the obvious focal point
The most polished approach uses pins in the same metal finish as your jewelry, creating visual continuity across your entire look. Avoid mixing too many different finishes or styles, which reads chaotic rather than intentional.
10. Velvet-Ribbon Mid Ponytail
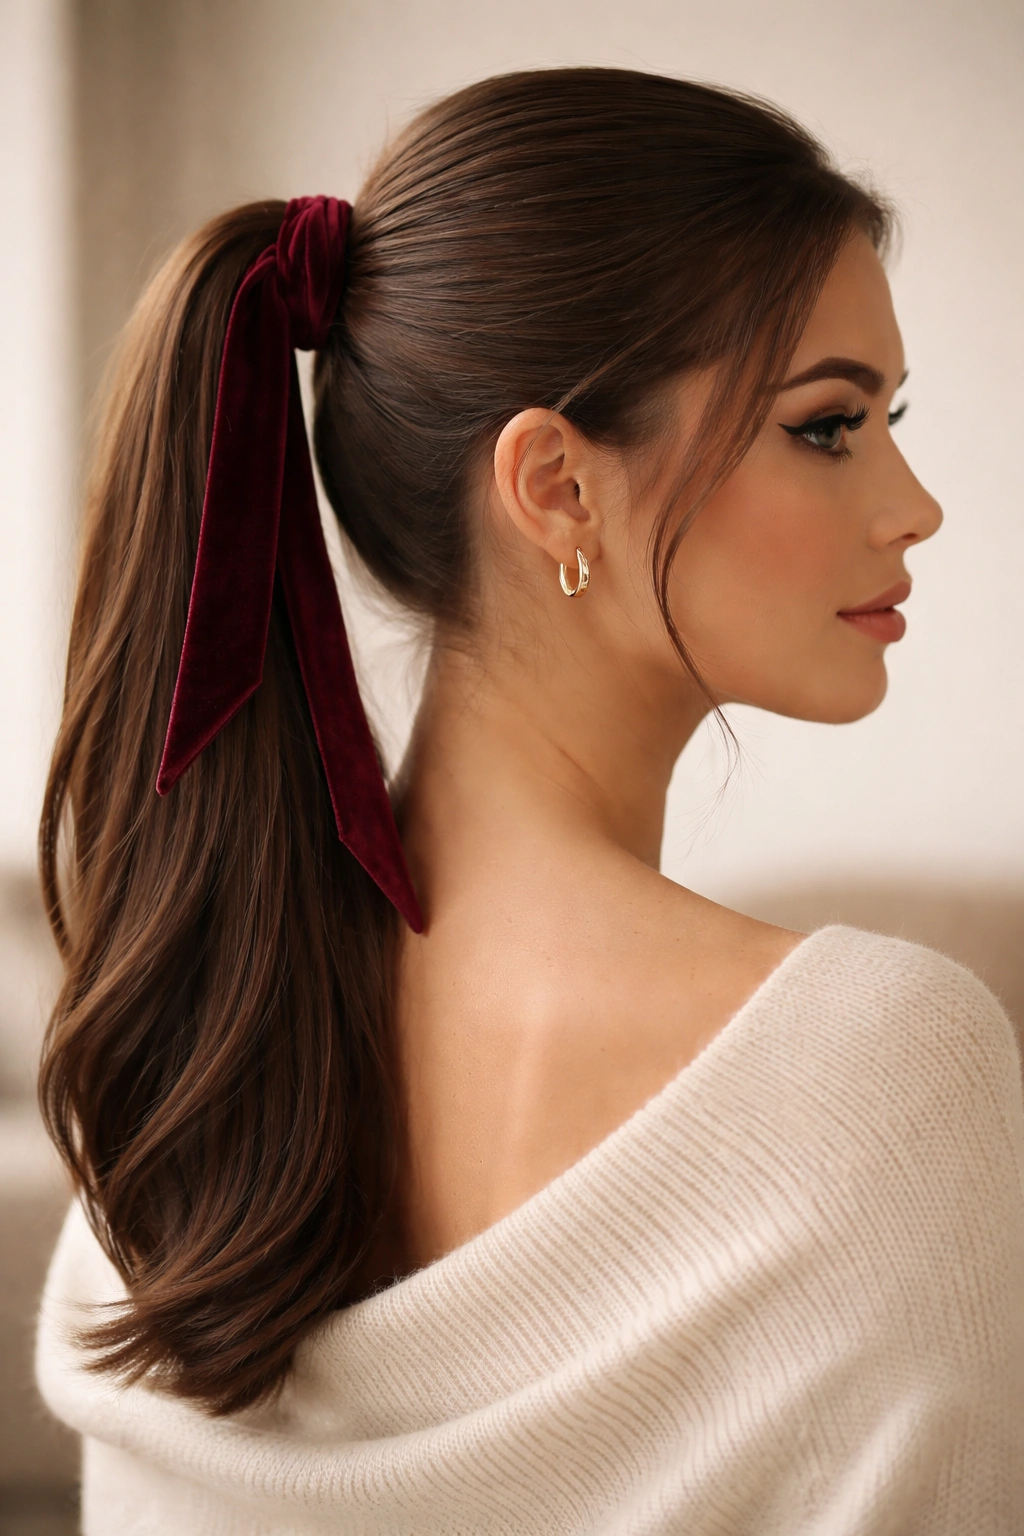
Weave a velvet ribbon through the ponytail elastic and around the base, creating a luxurious, textural accent. Unlike metallic cuffs or pins, velvet adds softness and visual warmth. The ribbon can be the same color as your hair for a subtle effect or a contrasting shade for a bolder statement. This variation is ideal if you want to add luxury without hardness.
Why Velvet Feels Elevated and Intentional
Velvet has an inherent sophistication—the soft texture contrasts beautifully with the sleekness of smooth hair and catches light differently than metal or plastic accessories. A velvet ribbon reads as intentionally chosen styling detail, the kind of flourish that elevates a basic ponytail into something that feels thoughtfully curated. This version is particularly striking in jewel tones or rich, saturated colors.
Incorporating Velvet Ribbon Correctly
- Create your basic mid ponytail and secure it with a clear elastic
- Cut a length of velvet ribbon (approximately 18-24 inches, depending on the thickness of your ponytail) in your chosen color
- Thread or wrap the ribbon around the elastic, securing the beginning of the ribbon with a bobby pin tucked underneath where it won’t be visible
- Wrap the ribbon around the base of the ponytail, creating a circle or loop effect that completely covers the elastic
- Secure the end of the ribbon by pinning it discreetly underneath
- Smooth any flyaways and apply edge control around the base
- The ribbon should sit flush against the ponytail base and not slip or shift
Choose velvet in jewel tones like emerald, burgundy, or sapphire for maximum impact, or go with black or navy for understated elegance. The ribbon should be substantial enough to be clearly visible but not so thick that it overwhelms your ponytail volume.
11. Textured Mid Ponytail with Serum Shine
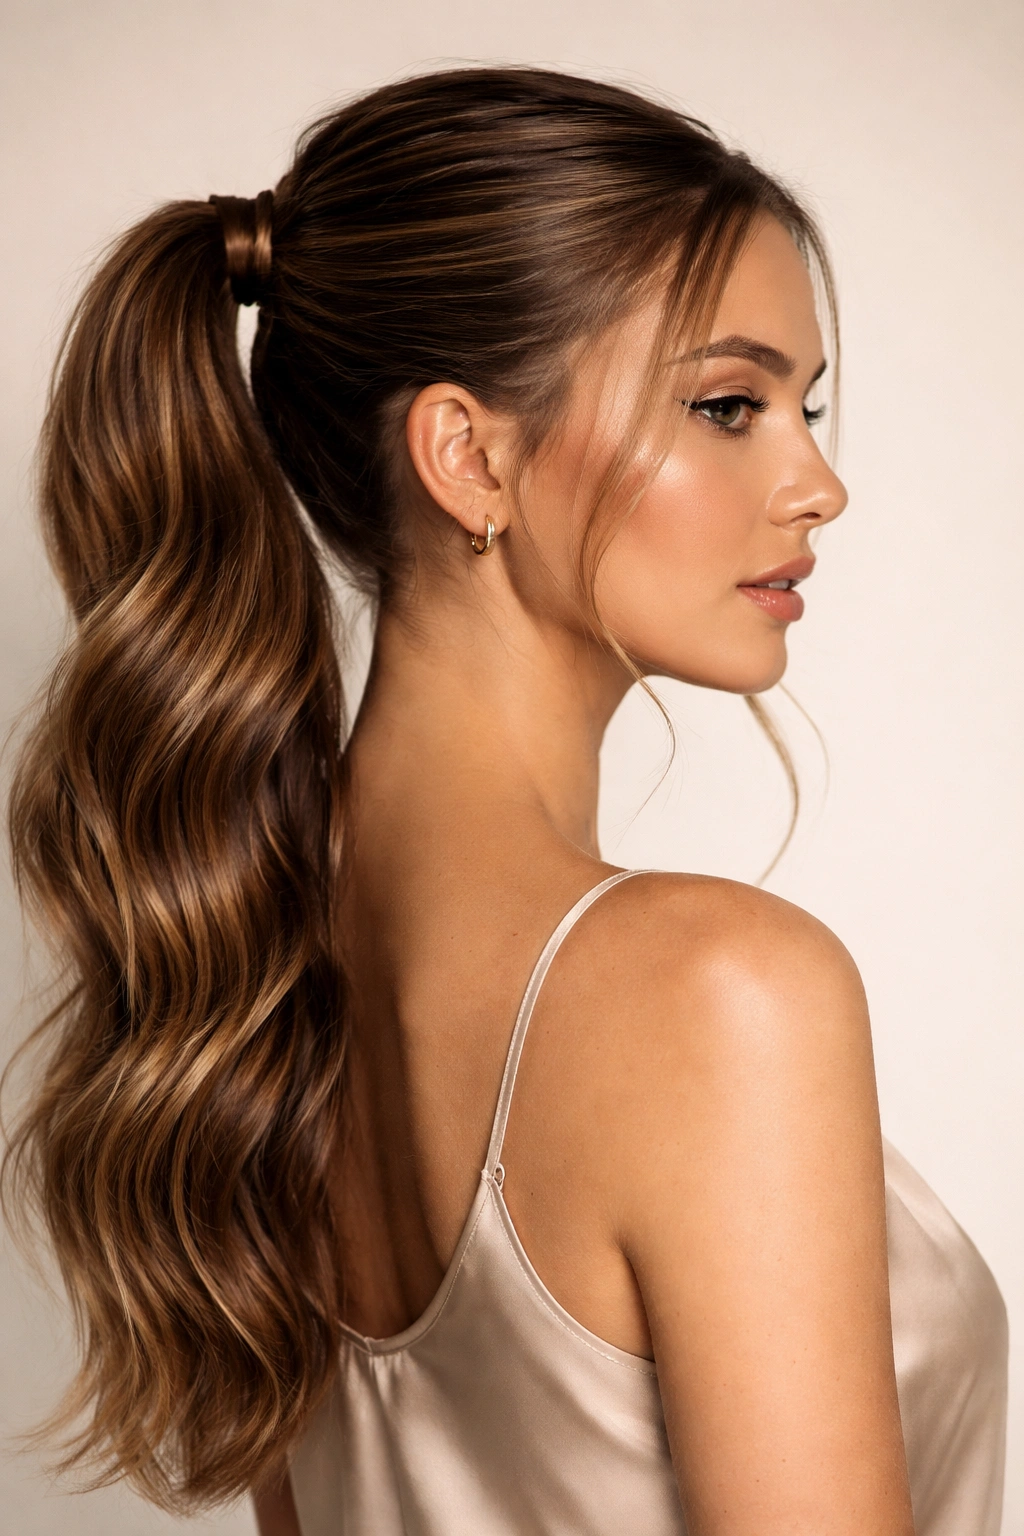
This variation combines deliberately textured hair with a high-shine finish, creating a ponytail that’s polished but not rigid. Rather than perfectly smooth from scalp to ends, this style incorporates soft waves, bends, or very subtle texture throughout the length, finished with a premium serum that makes the texture gleam. This approach works beautifully if you have naturally wavy or textured hair and want to maintain your hair’s natural patterns while still achieving a polished, intentional look.
How Texture Plus Shine Equals Sophisticated
A textured-but-shiny ponytail communicates confidence and self-acceptance—you’re not fighting your hair’s natural texture but rather enhancing it and presenting it intentionally. The shine makes the texture look deliberate rather than undone, and the combination reads as more modern and editorial than a completely smooth ponytail. This variation is ideal if you have curly, wavy, or naturally textured hair and want to honor your hair’s texture while maintaining polish.
Building Texture With Intentional Shine
- Start with hair that has natural texture or waves—either air-dried or gently styled with a diffuser
- Apply a smoothing cream to the top and sides of your hair to create a sleek foundation around your face and scalp
- Gather your hair at mid-back, incorporating the textured length into the ponytail
- Secure with an elastic, making sure the base feels smooth even though the length has texture
- Apply a premium shine serum or oil-based shine product to the textured lengths, distributing it evenly
- The serum should catch the texture and make it gleam without making your hair look wet or weighed down
- Finish with a light hairspray that won’t disrupt your texture
The key to this style is balancing a smooth, intentional base with textured, shiny length. The contrast creates visual interest and sophistication.
12. Minimalist Mid Ponytail for Work
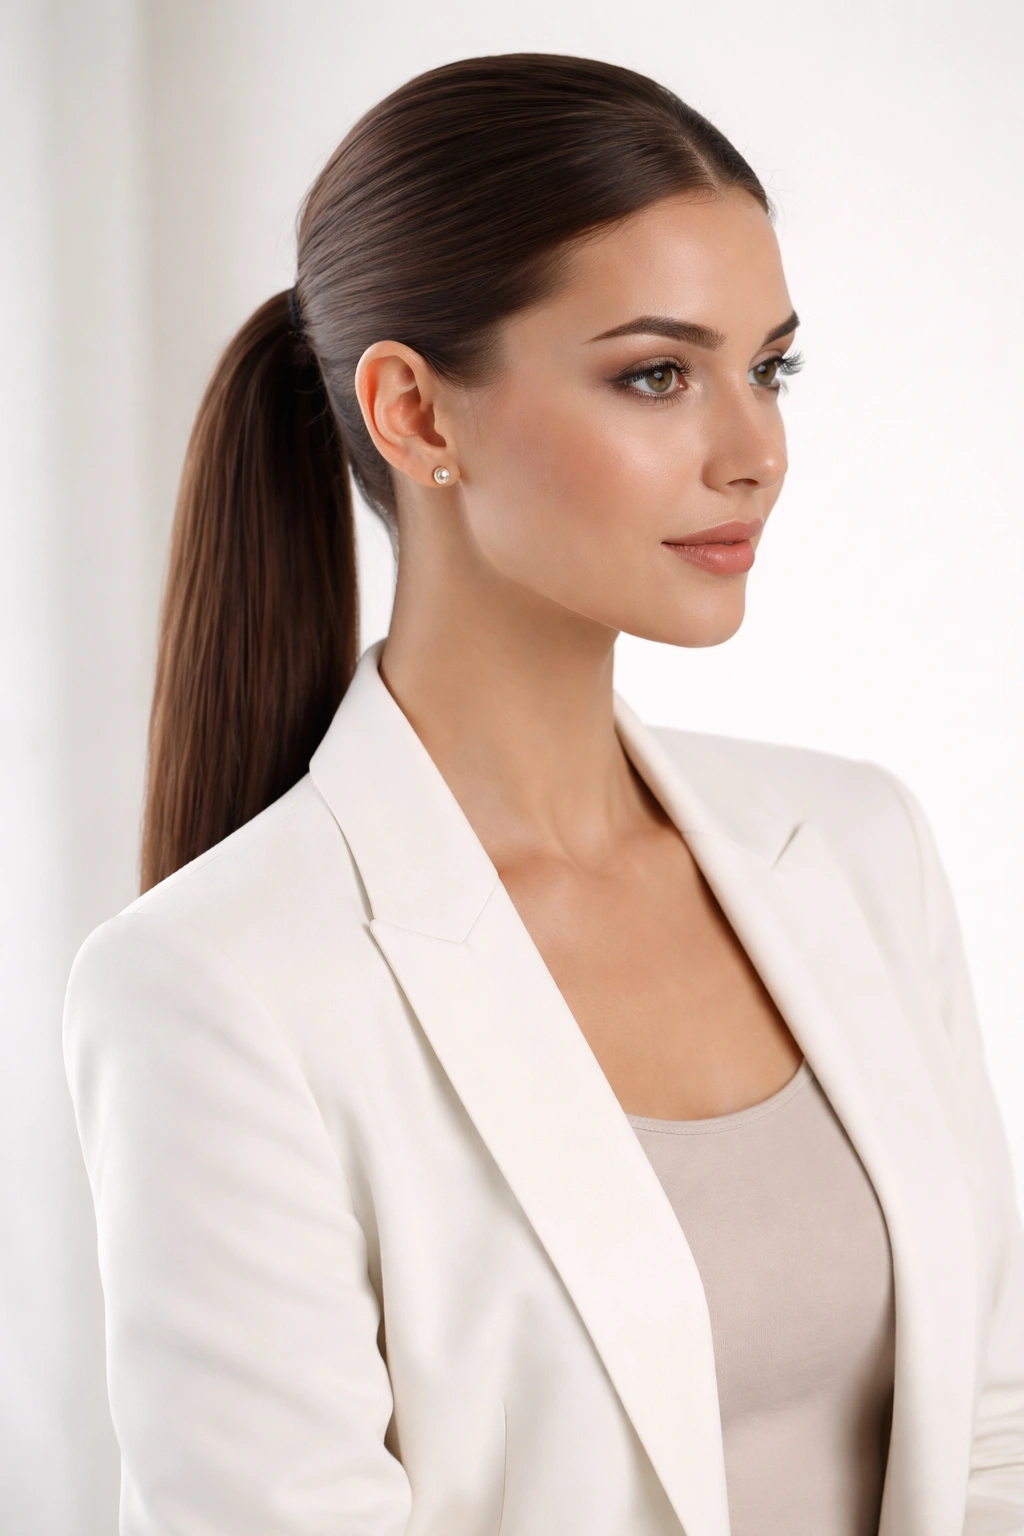
The absolute most refined version of the sleek mid ponytail strips away any additional details, texture, or accessories. This is pure simplicity—smooth hair, a basic elastic, zero embellishment. The minimalist approach is ideal for professional settings where you want your styling to be noticeable for its precision and polish rather than for decorative elements. This style communicates that you’re focused on content, not on fashion.
Why Less Is More in Professional Settings
A completely minimal mid ponytail reads as timelessly professional and sophisticated. There’s nothing to distract from your face, your expertise, or your message—the style simply frames your features and removes hair from the equation. This approach works beautifully in fields where personal branding takes a backseat to competence and authority. The minimalist ponytail says you’ve got your life organized and your priorities straight.
Perfecting the Minimal Approach
- Begin with clean hair or refresh day-old hair with a dry shampoo and light smoothing serum
- Brush thoroughly to remove all tangles and create a perfectly smooth surface
- Gather hair at the mid-back of your head, at the point where a centered part would naturally fall if you were wearing your hair down
- Secure with a matte, clear, or neutral-colored elastic that disappears into your hair
- Smooth the entire ponytail one final time with a fine-tooth comb
- Apply a light hairspray that holds without visible residue
- Check that there are no flyaways, bumps, or inconsistencies—every detail matters when the style is this minimal
- Avoid any accessories, ribbons, wraps, or additional styling elements
The polish of a minimalist style depends entirely on execution. Every hair must be in place, every angle must be precise, and the overall effect must feel effortless rather than overdone. This is the style where a single millimeter of imprecision becomes obvious.
Final Thoughts
The beauty of a sleek mid ponytail is that it requires no special talents or professional training—it’s simply a matter of understanding the fundamentals of smoothing, securing, and finishing your hair with intention. Each of these twelve variations builds on the same basic foundation: clean hair, a smoothing product, careful placement, and a secure base. What changes is how you finish the look, what accessories or textures you layer on top, and which details you choose to emphasize.
The style that works best for you depends on your hair texture, your face shape, your daily schedule, and what kind of polish you’re aiming for. If you have naturally thick, straight hair and a full face, a sleek side-swept ponytail with face-framing pieces might be your ideal. If you have finer hair and an angular face, a textured mid ponytail with subtle shine could be more flattering. If you’re in a high-stakes professional environment, the minimalist version serves you best. The point is that you now have a range of options that all communicate the same core message: intentionality, control, and polish.
Start with whichever variation calls to you, master that technique, and then experiment with the others. The more you practice these styles, the faster and easier they become, and soon you’ll be able to create a polished mid ponytail in minutes without even thinking about it. That ease and confidence—the sense that you simply threw your hair back and somehow ended up looking completely put-together—is the ultimate goal of any great hairstyle.