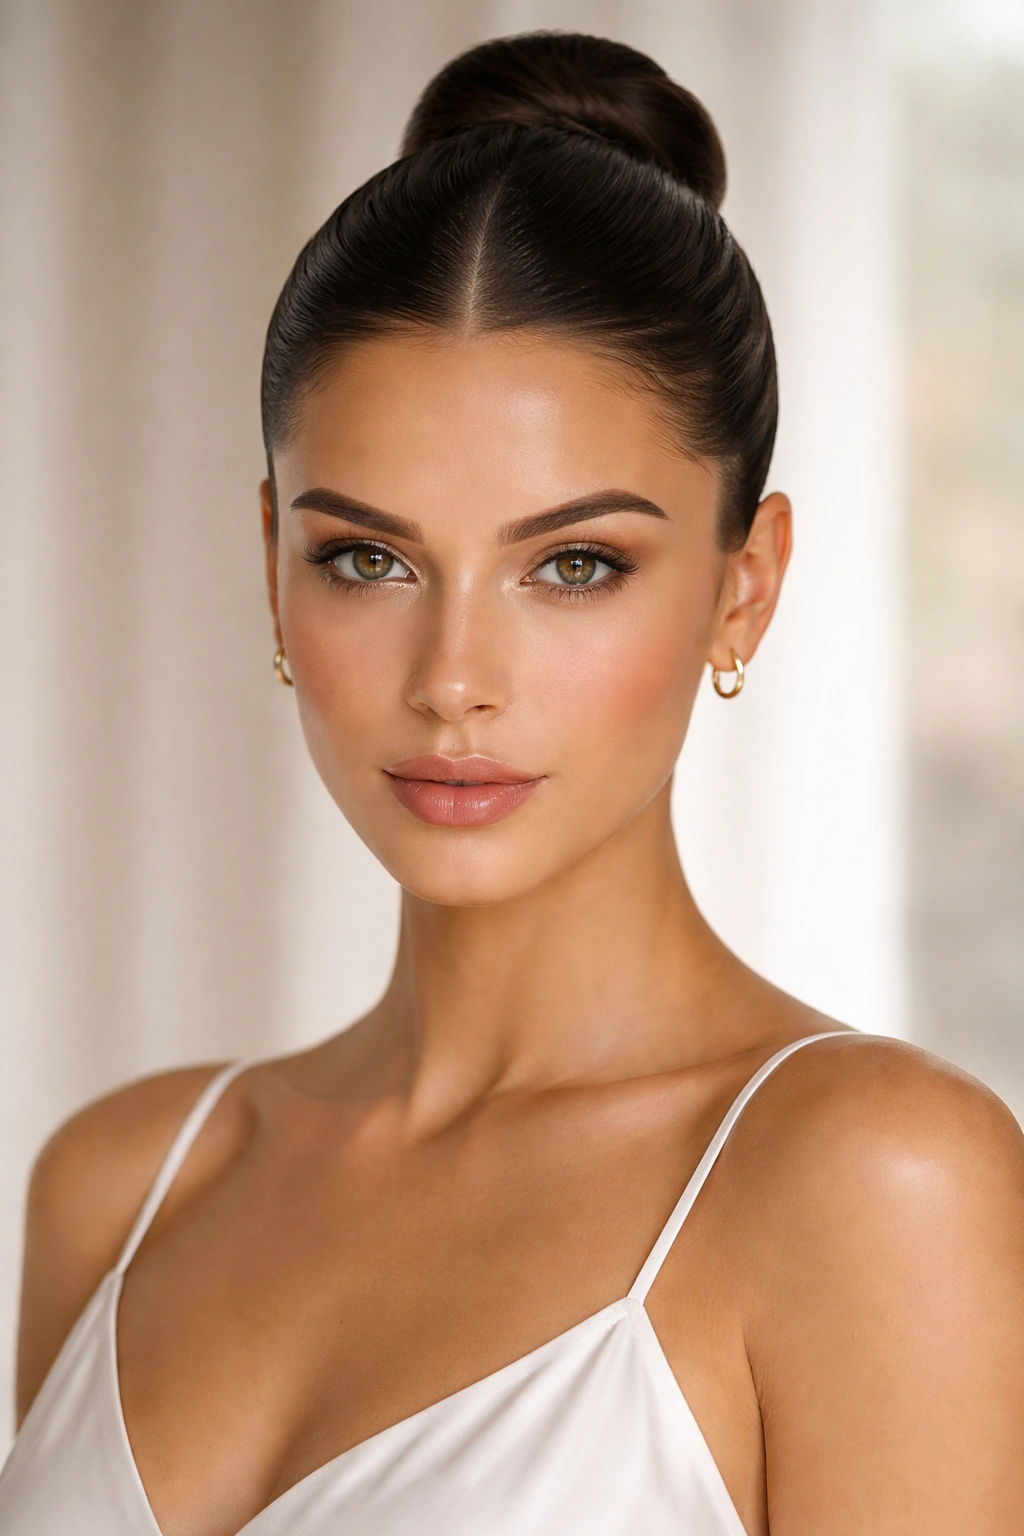
An updo ponytail sits at that sweet spot between effortless and polished — it’s the hairstyle that looks like you spent hours perfecting it, even when you actually spent fifteen minutes getting ready. The best updo ponytails create the illusion of flawless, seamless hair with no visible bumps, loose pieces, or tension. What separates a truly seamless updo from one that screams “I’m trying too hard” is technique, product choice, and understanding which style actually complements your hair texture and face shape.
The key to a seamless updo ponytail isn’t actually about having perfect hair — it’s about strategic smoothing, the right tools, and knowing how to work with your hair’s natural tendencies rather than against them. Whether you’re dealing with fine hair that slips out, thick waves that resist smoothing, or anything in between, there’s an updo ponytail style that’ll work for you. The styles that follow all share one crucial quality: they’re designed to look intentional and polished without requiring you to be a professional hairstylist.
Real talk — the difference between a seamless updo and one that looks lumpy comes down to three things: using the right smoothing products, securing sections properly so nothing falls flat, and choosing a style that matches your hair’s natural texture. You don’t need to fight your hair’s personality; you need to choose a technique that lets your hair do what it naturally wants to do, just in a more controlled way.
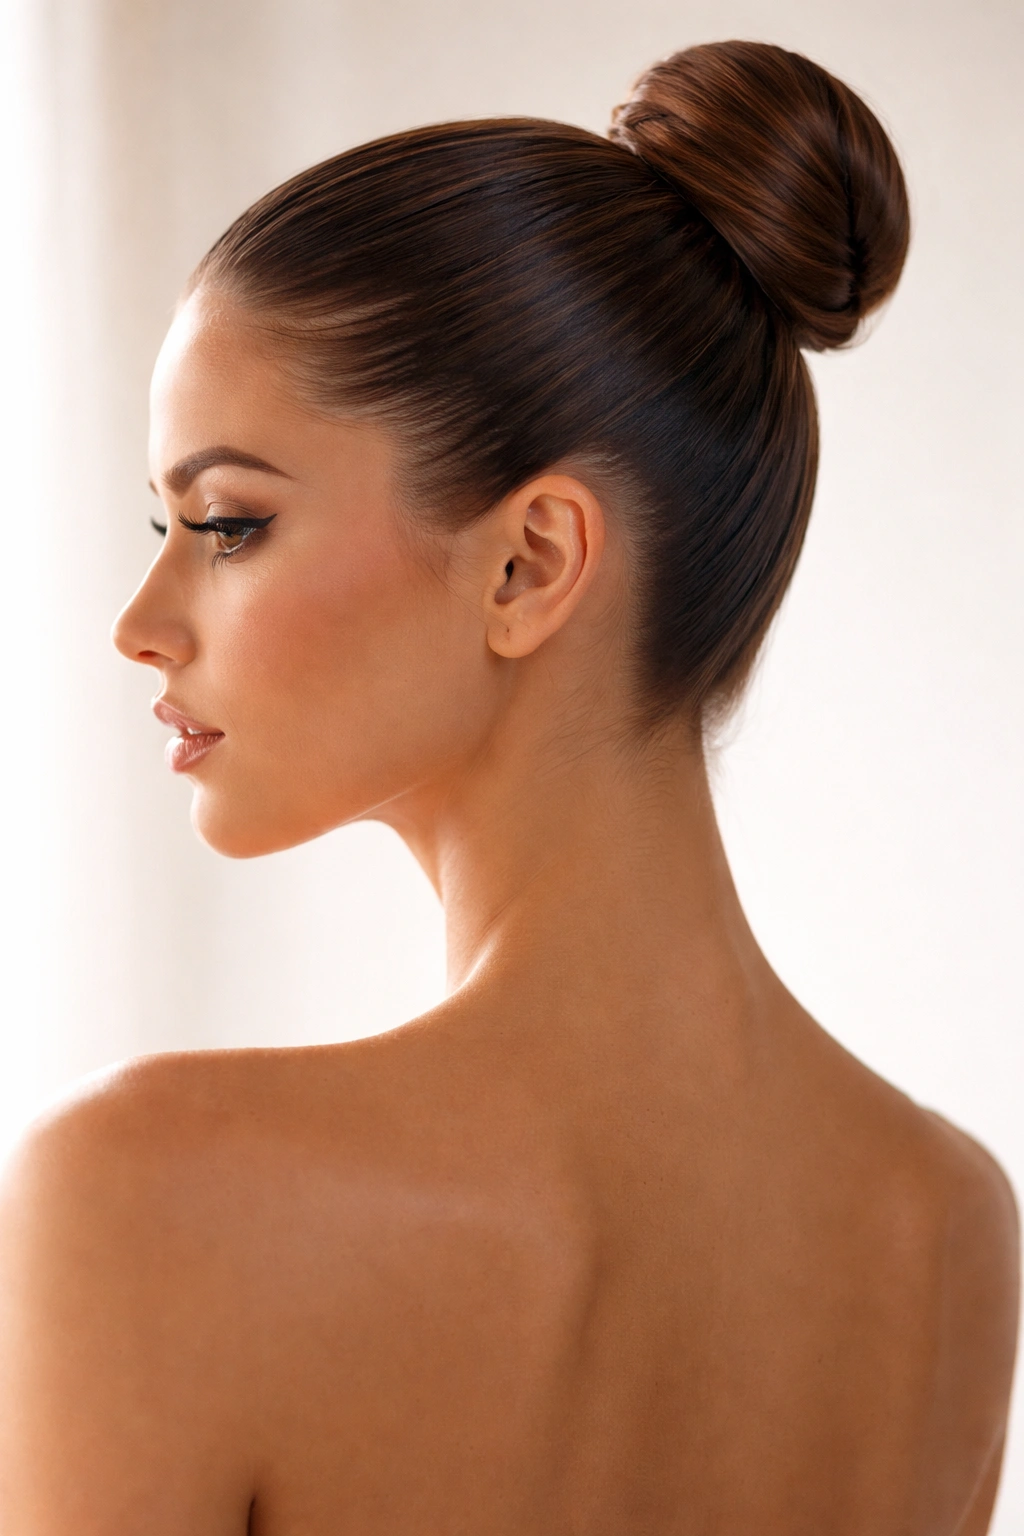
1. The Sleek High Bun Ponytail

This is the foundation style that every other updo ponytail builds from. A high bun ponytail sits at the crown of your head and requires absolutely seamless, smooth hair from roots to the base of your ponytail. The sleekness is everything here — any texture, frizz, or bumps becomes immediately visible because there’s nothing to hide behind.
Why It Works for Most Hair Types
The high position creates a flattering frame for most face shapes, and the sleek finish reads as intentional and put-together instantly. The style works whether you’re going to the office, a formal event, or just want to look like you have your life together on a casual Tuesday. What makes it seamless isn’t complicated — it’s about using a smoothing serum or gel to control flyaways and tension the hair evenly from scalp to tail.
How to Achieve That Glass-Smooth Finish
- Apply a lightweight smoothing serum to damp hair, working it through from roots to ends before blow-drying
- Blow-dry hair with a paddle brush held taut to create a smooth base, not just to dry it
- Gather hair into a high ponytail at the crown, using a fine-tooth comb to smooth any bumps
- Wrap a small section of hair around the elastic to hide it and secure with bobby pins
- Finish with a light hairspray to tame flyaways without creating crunch
Pro tip: Blow-drying your hair smooth before gathering it into a ponytail is non-negotiable for this style — it’s the foundation that makes everything else work.
2. The Braided Crown Updo Ponytail
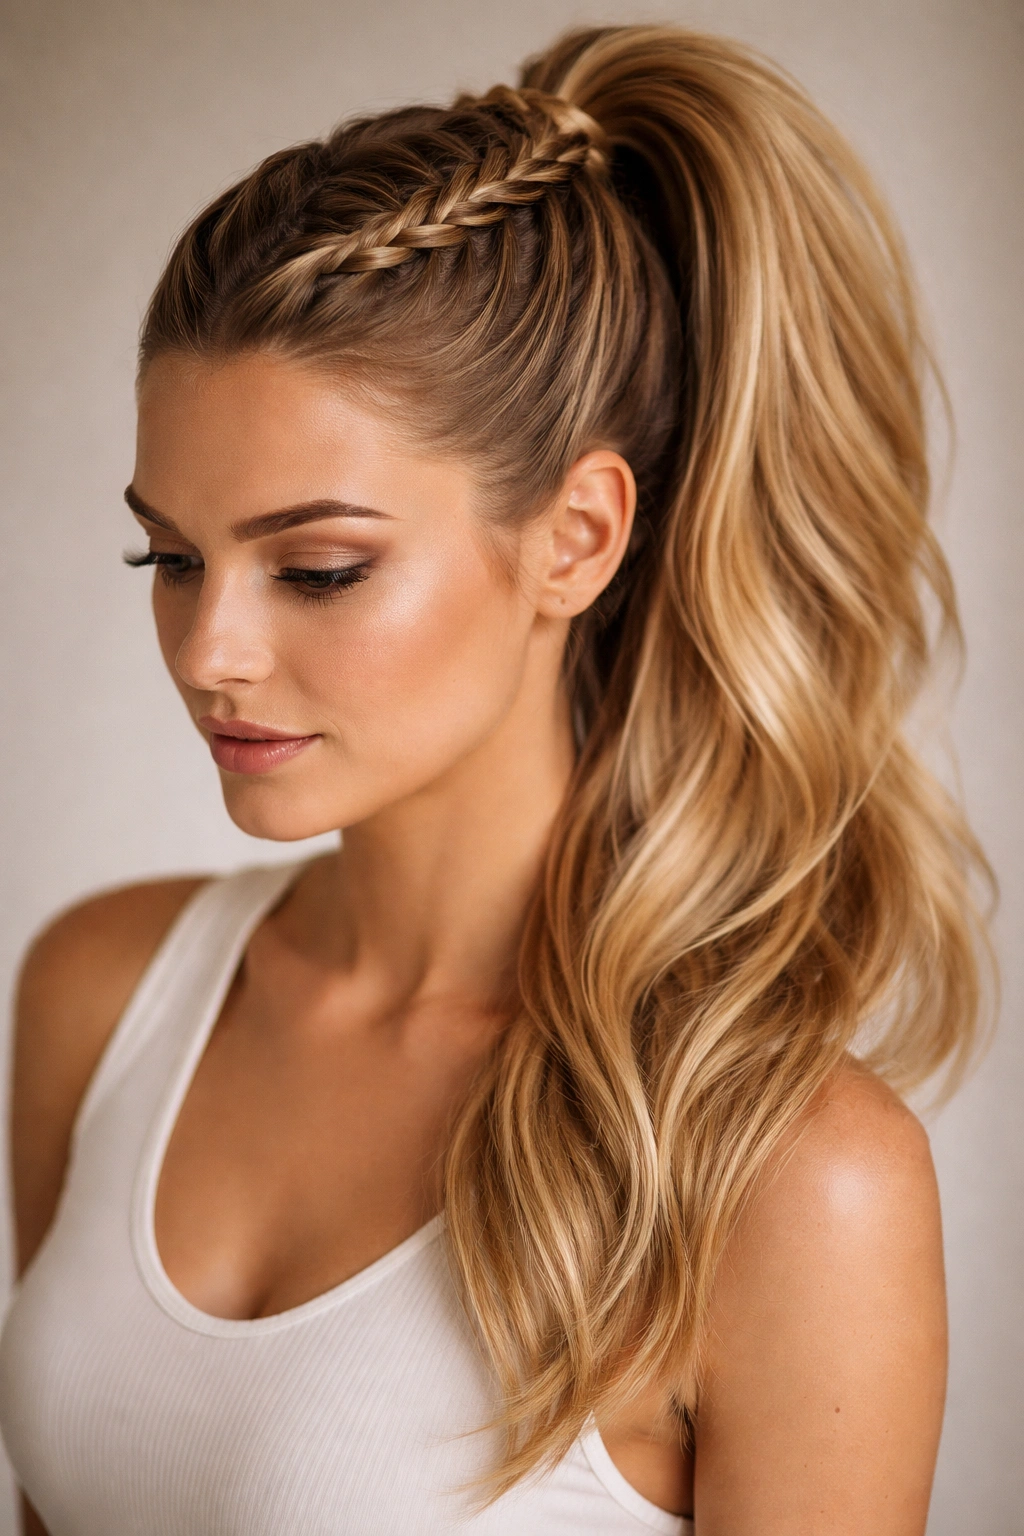
A Dutch or French braid that wraps around the head and feeds into a high or mid-height ponytail creates visual interest while maintaining that seamless quality. The braid itself becomes the “smoothing” element — it pulls everything back neatly and creates beautiful texture without looking messy.
What Makes This Style Seamless
The braid does the heavy lifting here. Because it’s woven tightly and anchors the hair in place, you don’t need the hair to be glass-smooth — a braid actually looks better with slightly textured hair that creates dimension within the braid itself. This style works beautifully on second-day hair or wavy textures that resist sleek styling.
Steps to Master the Crown Braid
- Start a Dutch braid (braiding under instead of over) at one temple, adding hair as you work backward
- Take the braid around to the other side of the head, following your hairline
- Feed the braid into a high or mid-height ponytail at the back crown
- Secure the ponytail with an elastic, wrapping a small strand around it
- Gently pull and loosen the braid slightly for a fuller, softer appearance
Worth knowing: This style looks intentional even with imperfect hair, which makes it perfect for days when you don’t want to blow-dry everything smooth.
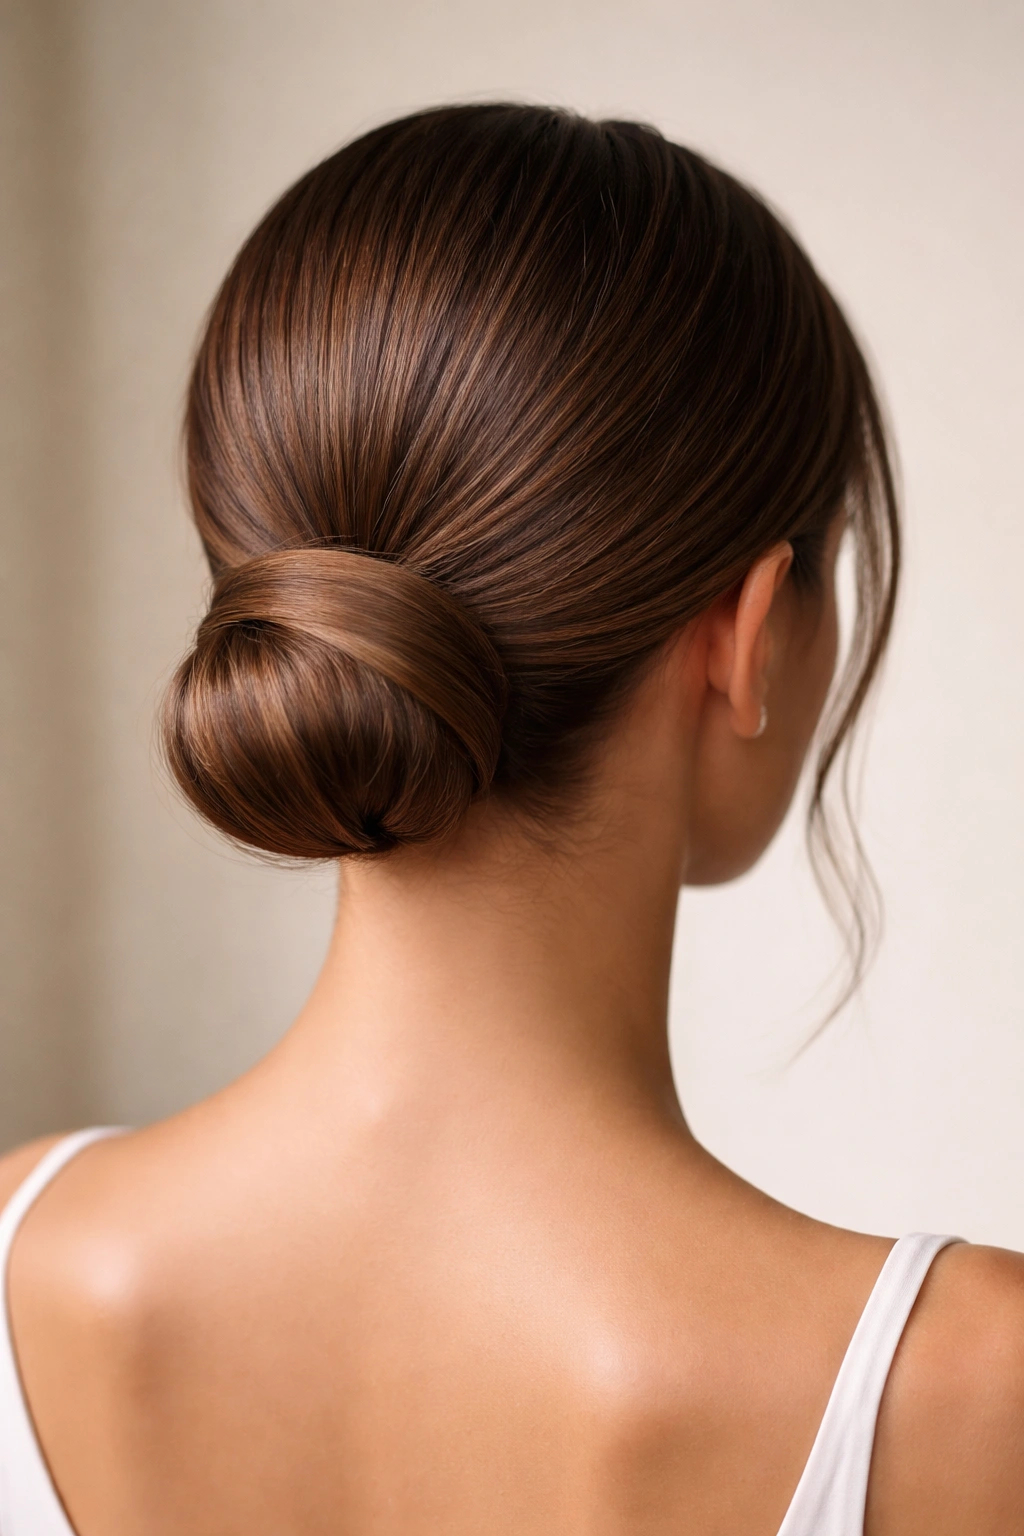
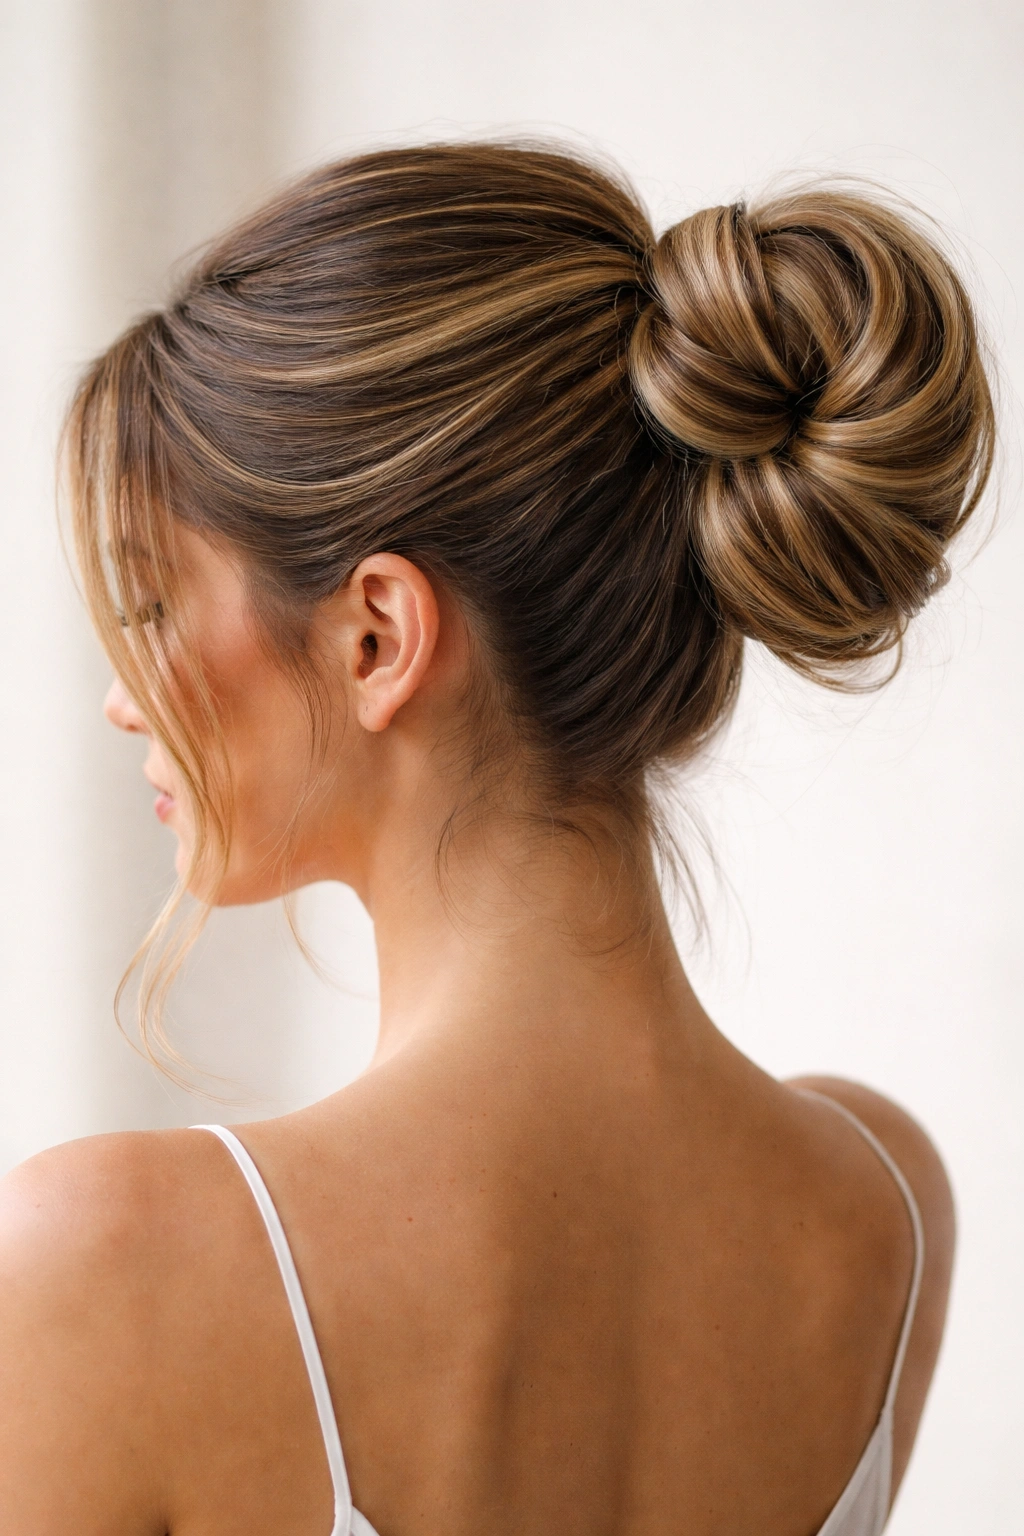
3. The Twisted Low Bun Ponytail
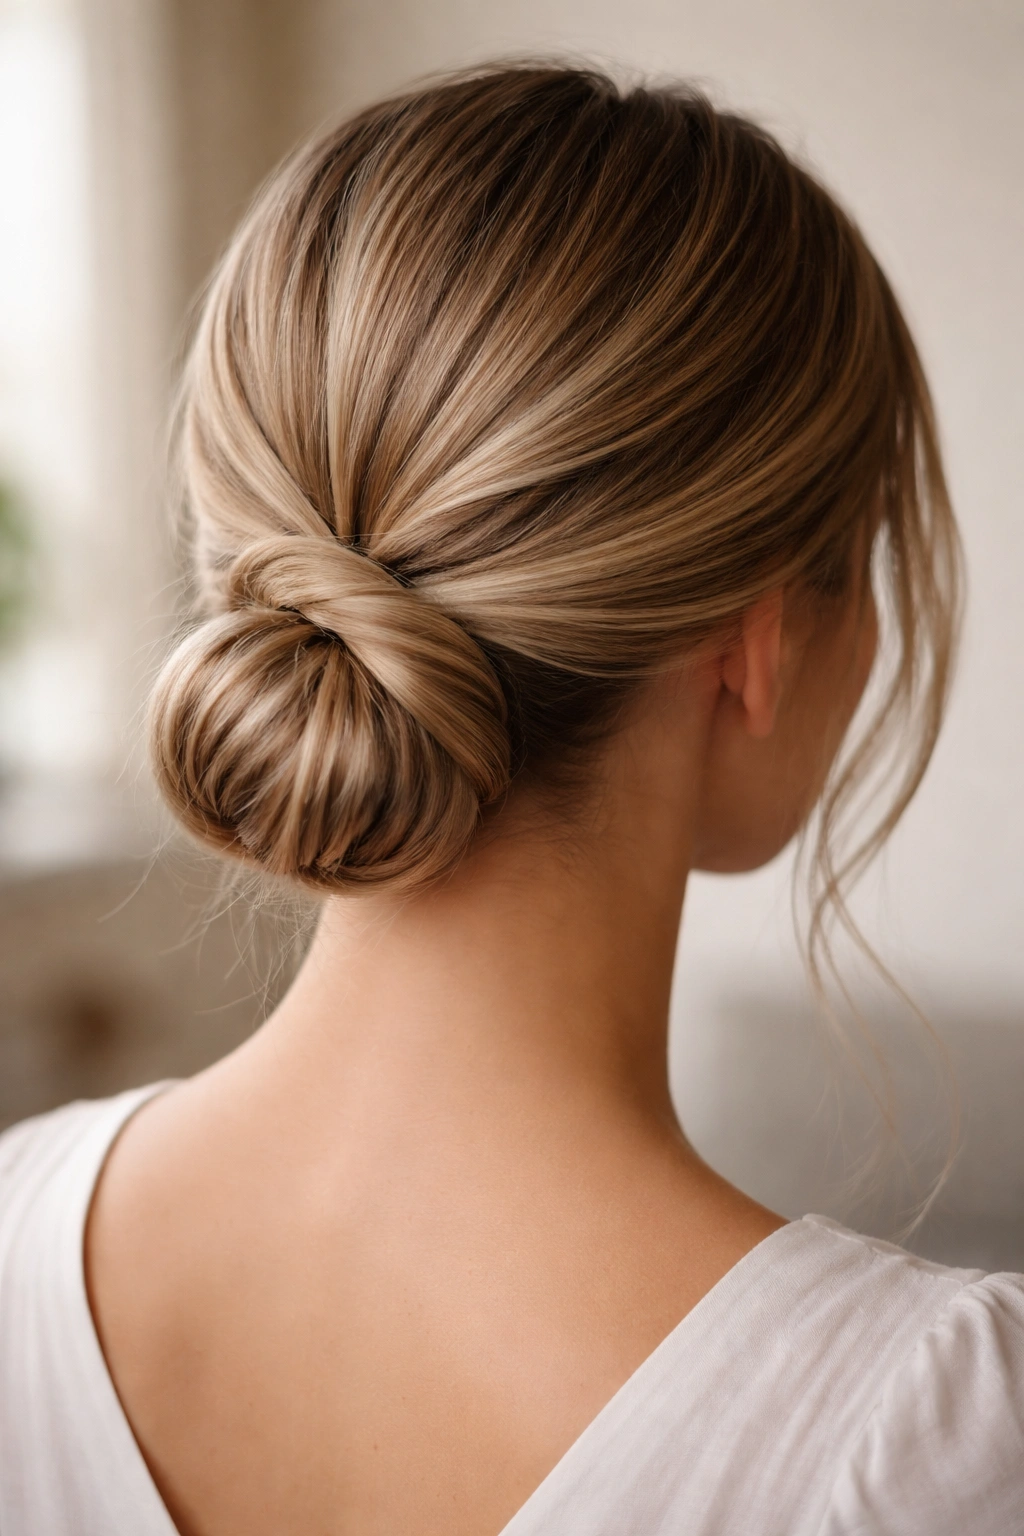
Two sections of hair twisted together and wrapped into a low bun at the nape of your neck creates a polished look that feels effortless. The twist hides minor texture or frizz because the spiral naturally catches and conceals flyaways within its structure.
Why Twists Create Seamless Definition
Unlike braids, which require three sections and more visible texture, a two-strand twist is simpler to execute and creates a sleeker visual effect. The twisted sections pull the hair smoothly away from the face while the bun at the back looks intentional and styled rather than thrown together. This works particularly well for professional settings where you want polish without obvious effort.
Building a Flawless Twisted Low Bun
- Brush hair back smoothly into a low ponytail at the nape of your neck
- Divide the ponytail into two equal sections
- Twist each section tightly in the same direction, then wrap them around each other in the opposite direction
- Coil the twisted sections into a bun shape and secure with bobby pins
- Smooth any flyaways with a fine-tooth comb and hairspray
Insider note: Twisting the individual sections tightly first, then wrapping them loosely around each other creates more visual texture and a fuller bun than other methods.
4. The French Twist Ponytail
This elegant style combines the sophistication of a French twist with the practicality of a ponytail. Your hair is twisted vertically at the back of your head (instead of the traditional diagonal), then the twisted section becomes the base of your updo. It’s a single, continuous movement that creates a seamless transition from twisted detail to ponytail.
The Appeal of This Hybrid Style
You get the polished, intentional look of a twist combined with the controllability of a ponytail. The vertical twist frames the back of your head beautifully and works on almost any hair length and texture. Because the twist is structural and holds everything in place, flyaways are less noticeable than they’d be in a flat, sleek style.
Creating a Vertical French Twist Into a Ponytail
- Brush all hair straight back from your face
- Starting at one side near your ear, begin twisting hair vertically upward toward the crown
- Continue twisting, adding hair from the side as you work upward to your crown
- Gather the twisted section along with any remaining hair into a high or mid-height ponytail
- Secure and wrap a small strand around the elastic
- Pin any loose sections of the twist to ensure they stay in place
Real talk: This style takes practice, but once you nail it, it looks incredibly sophisticated and intentional.
5. The Layered Knot Updo Ponytail
Instead of a single bun, this style creates dimension by tying your ponytail into a knot, then wrapping sections of hair around the knot to create layers. The multiple tiers make the updo look fuller and more textured while remaining completely seamless and intentional.
Why Knots Create Visual Depth
A tied knot is simpler to execute than intricate braiding, but it creates the impression of more effort and complexity. The layering trick — wrapping ponytail sections around the knot multiple times — adds texture and prevents the flat, one-dimensional look that sometimes happens with simple buns. Your hair doesn’t need to be perfectly smooth because the knot structure itself creates beautiful visual interest.
Building a Stunning Layered Knot Bun
- Gather hair into a high or mid-height ponytail and secure with an elastic
- Divide the ponytail into two equal sections and tie them together in a simple overhand knot
- Wrap one section of the remaining ponytail around the knot and pin it
- Wrap the other section in the opposite direction and pin it as well
- Tuck in any loose ends and secure with bobby pins
- Loosen the knot slightly for a softer, fuller appearance
Pro tip: Use bobby pins that match your hair color — they’re nearly invisible and won’t catch light and draw attention to your construction method.
6. The Sleek Middle Part Bun Ponytail
Parting your hair down the absolute middle and slicking it back into a high or mid-height bun creates a modern, geometric look that’s surprisingly flattering. The center part draws attention to your face, and the sleekness emphasizes bone structure and cheekbones beautifully.
The Modern Appeal of Center Parting
A center part feels more intentional and stylized than a deep side part, and it suits oval and heart-shaped faces particularly well. The sleek finish means every detail is visible, which is why flawless smoothing is crucial — but it’s also why this style reads as so polished and put-together. When executed well, it’s undeniably chic.
Executing a Seamless Center-Part Bun
- Apply a smoothing serum to damp hair and blow-dry smooth with a paddle brush
- Use a fine-tooth comb or a rattail comb to create a straight center part from your forehead to the nape of your neck
- Smooth each side separately, working from front to back
- Gather both sides into a bun at the crown or back of your head
- Secure and wrap the elastic with hair
- Use a fine-tooth comb to smooth any flyaways and finish with hairspray
Worth knowing: This style is easiest on hair that’s at least shoulder-length, as shorter hair can feel too thin pulled back so severely.
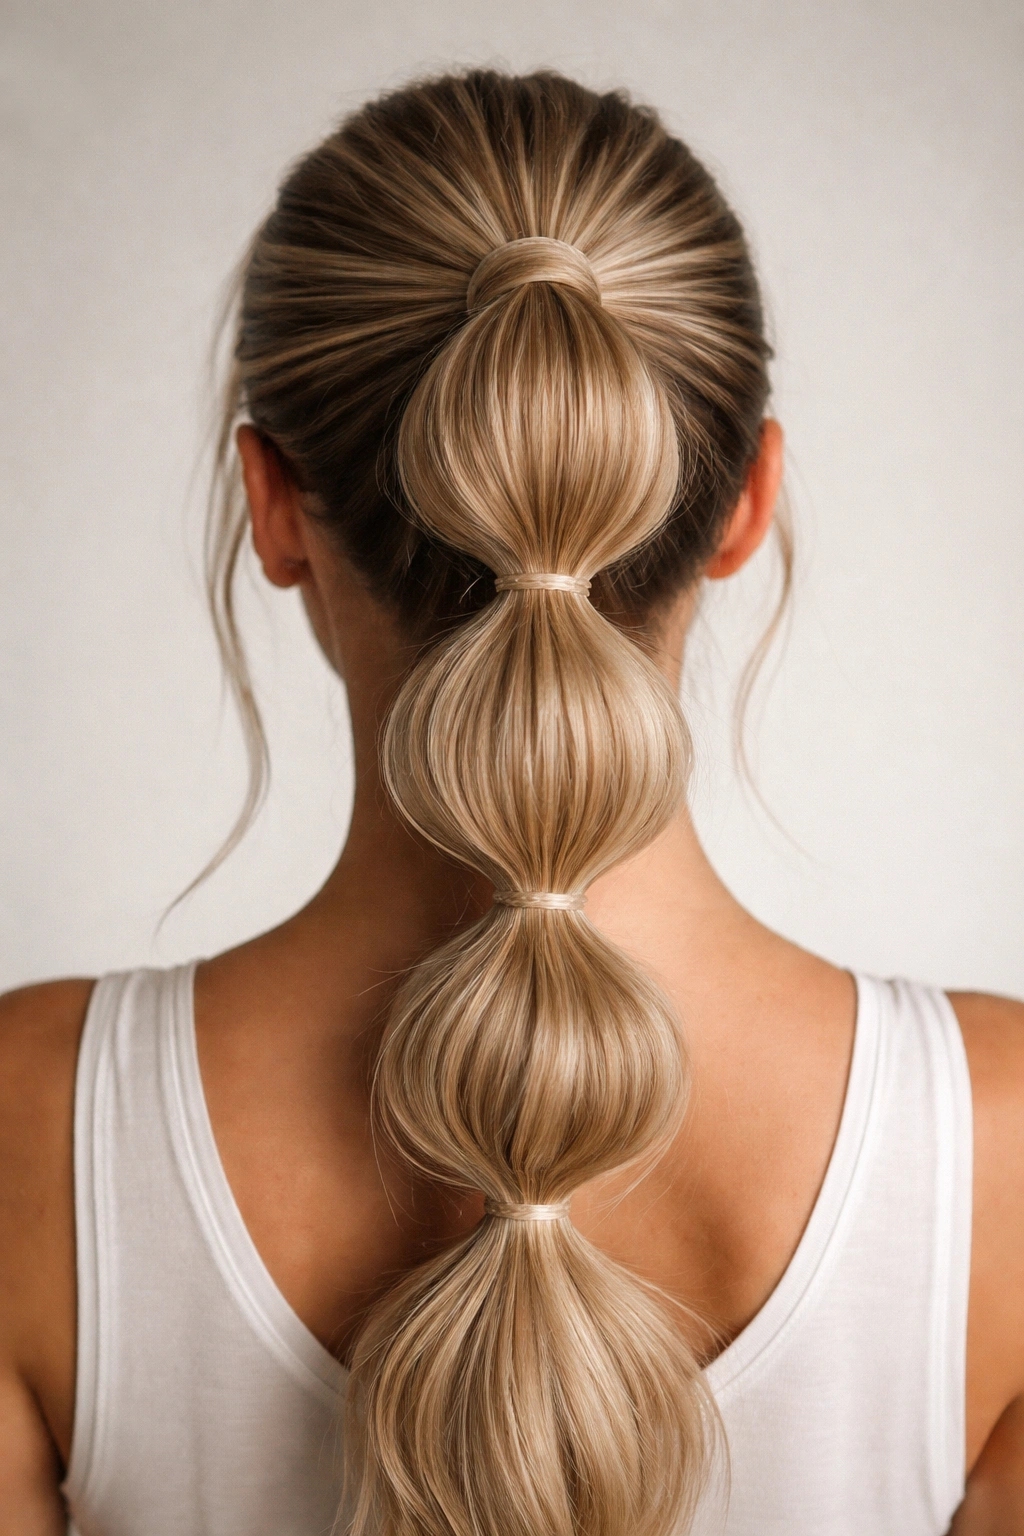
7. The Bubble Braid Ponytail
This playful style creates a stacked, segmented look that’s actually quite easy to execute. Your ponytail is divided into sections, with each section bound with a small elastic to create “bubbles” that puff out slightly between each tie. It’s modern, textured, and completely seamless because the structure is built into the style itself.
Why Bubbles Work as Seamless Design
The segmented structure is intentional and stylized — there’s no “trying to look effortless” here. The bubbles add volume and visual interest without requiring your hair to be glass-smooth. This style actually works better on hair with some texture or slight waves, because the bubbles hold their shape better and look fuller.
Creating Picture-Perfect Bubble Sections
- Gather hair into a high ponytail and secure with an elastic
- About 2 inches down from the base, place another elastic around the ponytail
- Gently pull the ponytail section between the two elastics outward to create a “bubble”
- Continue placing elastics every 2 inches down the length of your ponytail
- Pull out each bubble slightly to create fullness
- Tease the bubbles slightly with a fine comb if they feel too sleek
Insider note: This style holds up beautifully throughout the day because the elastics lock everything in place — it won’t deflate or loosen like some updos do.
8. The Sleek Low Bun With Wrap Detail
A low bun positioned at the nape of your neck becomes more interesting and intentional when you wrap a small section of hair or even a thin accessory around the base. This wrap detail creates visual complexity and makes a simple bun feel more finished and curated.
The Sophistication of Wrapped Details
The wrap transforms a basic bun into something that looks carefully styled. It’s the kind of detail that makes people think you spent time on your hair when you actually just added one extra step. Low buns with wrap details work beautifully in professional settings, formal events, and anywhere you want to look polished without appearing overdone.
Executing a Wrapped Low Bun Perfectly
- Gather hair smoothly into a low ponytail at the nape of your neck
- Twist or braid the ponytail loosely, then coil it into a bun shape
- Secure the bun with bobby pins, hiding them within the coil
- Take a small section of hair from underneath the bun
- Wrap this section around the base of the bun where the elastic sits
- Pin the wrapped section and smooth with hairspray
Pro tip: If you have very fine hair or short length, skip a second wrap and use a thin decorative wrap instead — a silk ribbon, leather cord, or metallic band creates the same finished effect.
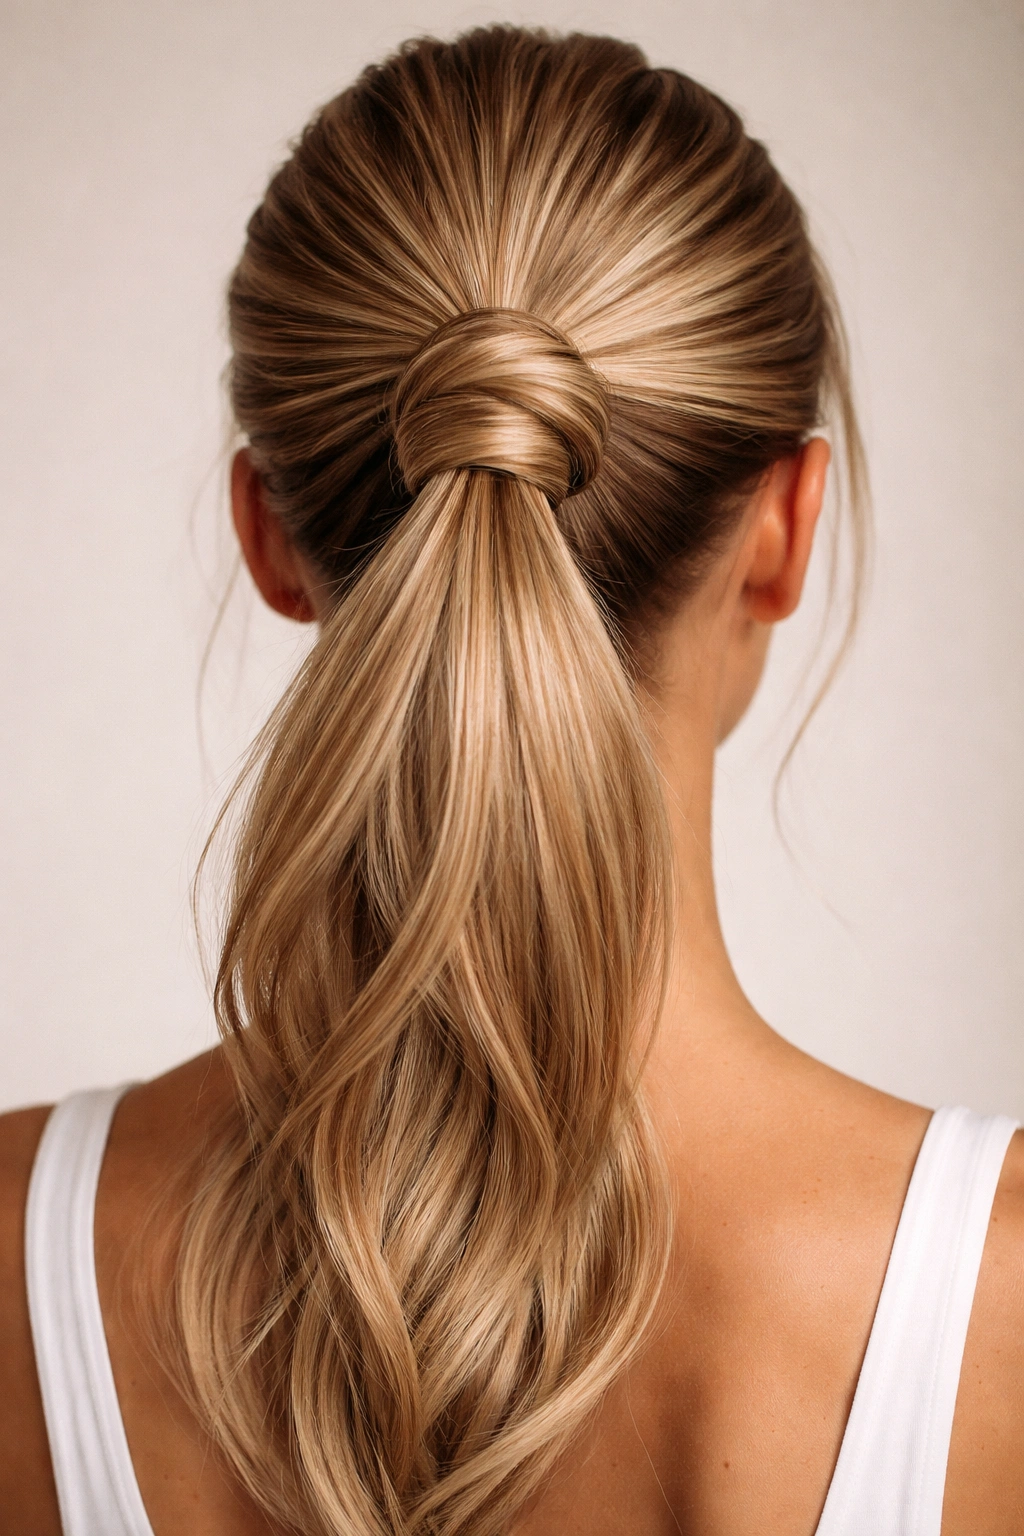
9. The Twisted High Knot Ponytail
Position your ponytail high at the crown, twist it loosely, then tie the twisted section into a knot. The result is a textured, three-dimensional updo that combines the ease of twisting with the visual impact of a knot. It’s modern, interesting, and requires far less precision than traditional braids.
Why Twists Plus Knots Equal Effortless Elegance
This style walks the line between looking intentional and looking naturally beautiful. The twist creates soft texture and movement, while the knot anchors it and prevents any drooping throughout the day. Because the structure is built into the style itself, your hair doesn’t need to be perfectly smooth — slight texture actually enhances the look.
Building a Twisted Knot High Updo
- Gather hair into a high ponytail at your crown
- Twist the entire ponytail loosely, rotating all the hair in the same direction
- Tie the twisted ponytail into a simple overhand knot
- Pin the knot securely, tucking in any ends
- Loosen the twist slightly by gently pulling at the spirals to create fullness
- Smooth flyaways and finish with hairspray
Real talk: This style is more forgiving than a sleek bun because the twist naturally hides tiny imperfections and stray pieces.
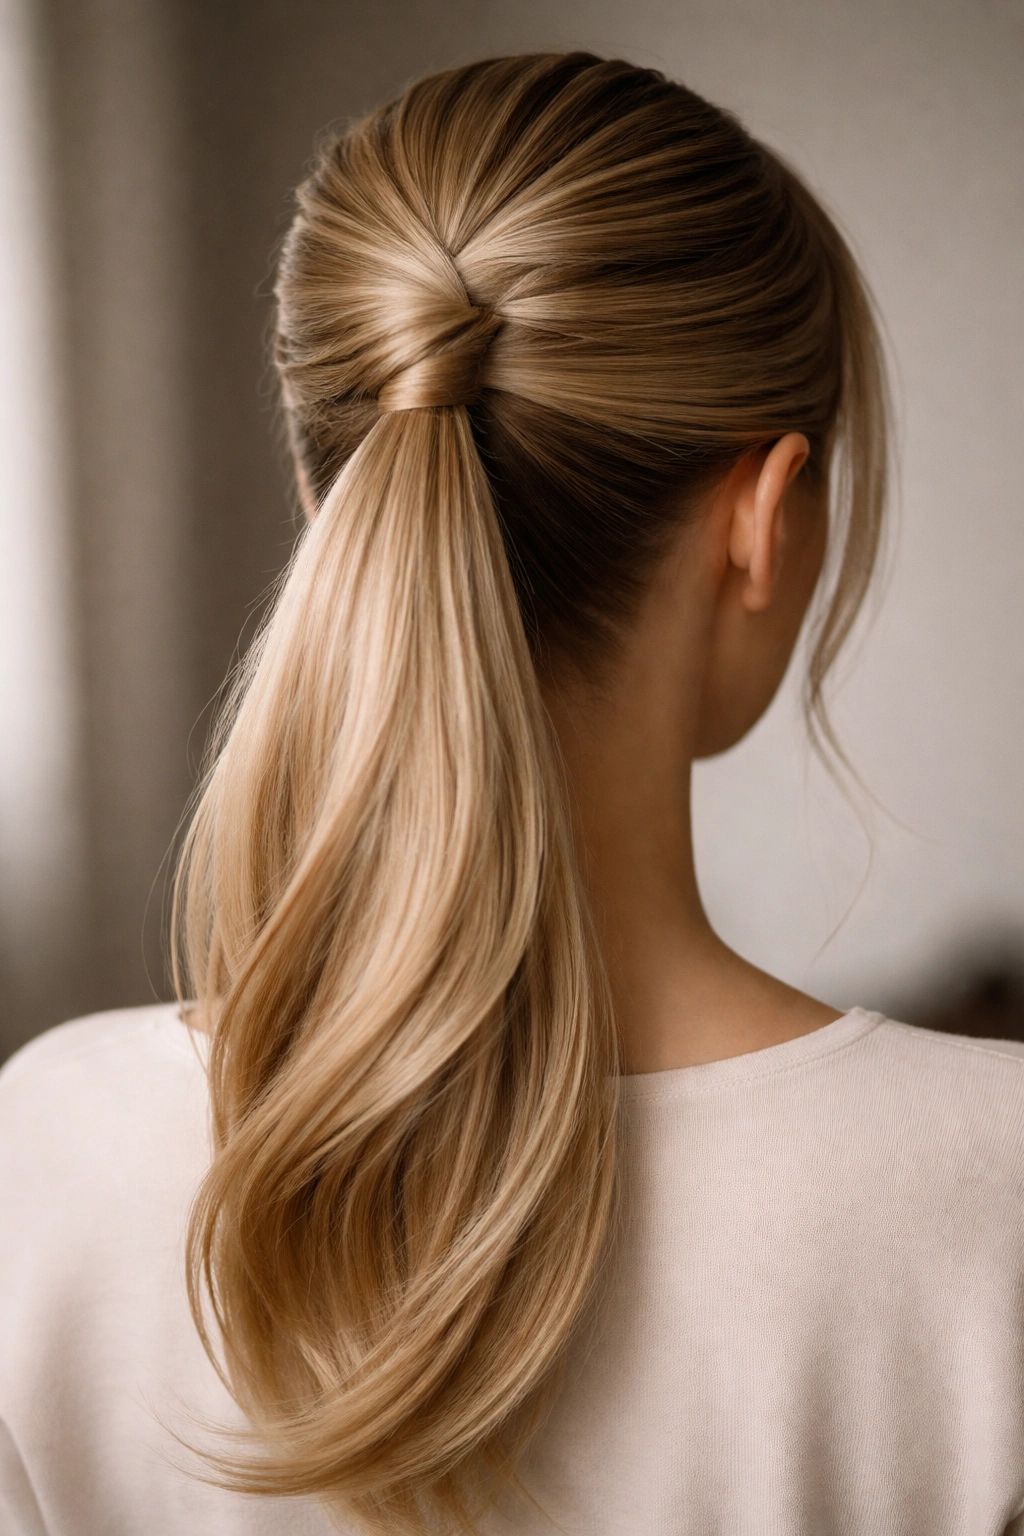
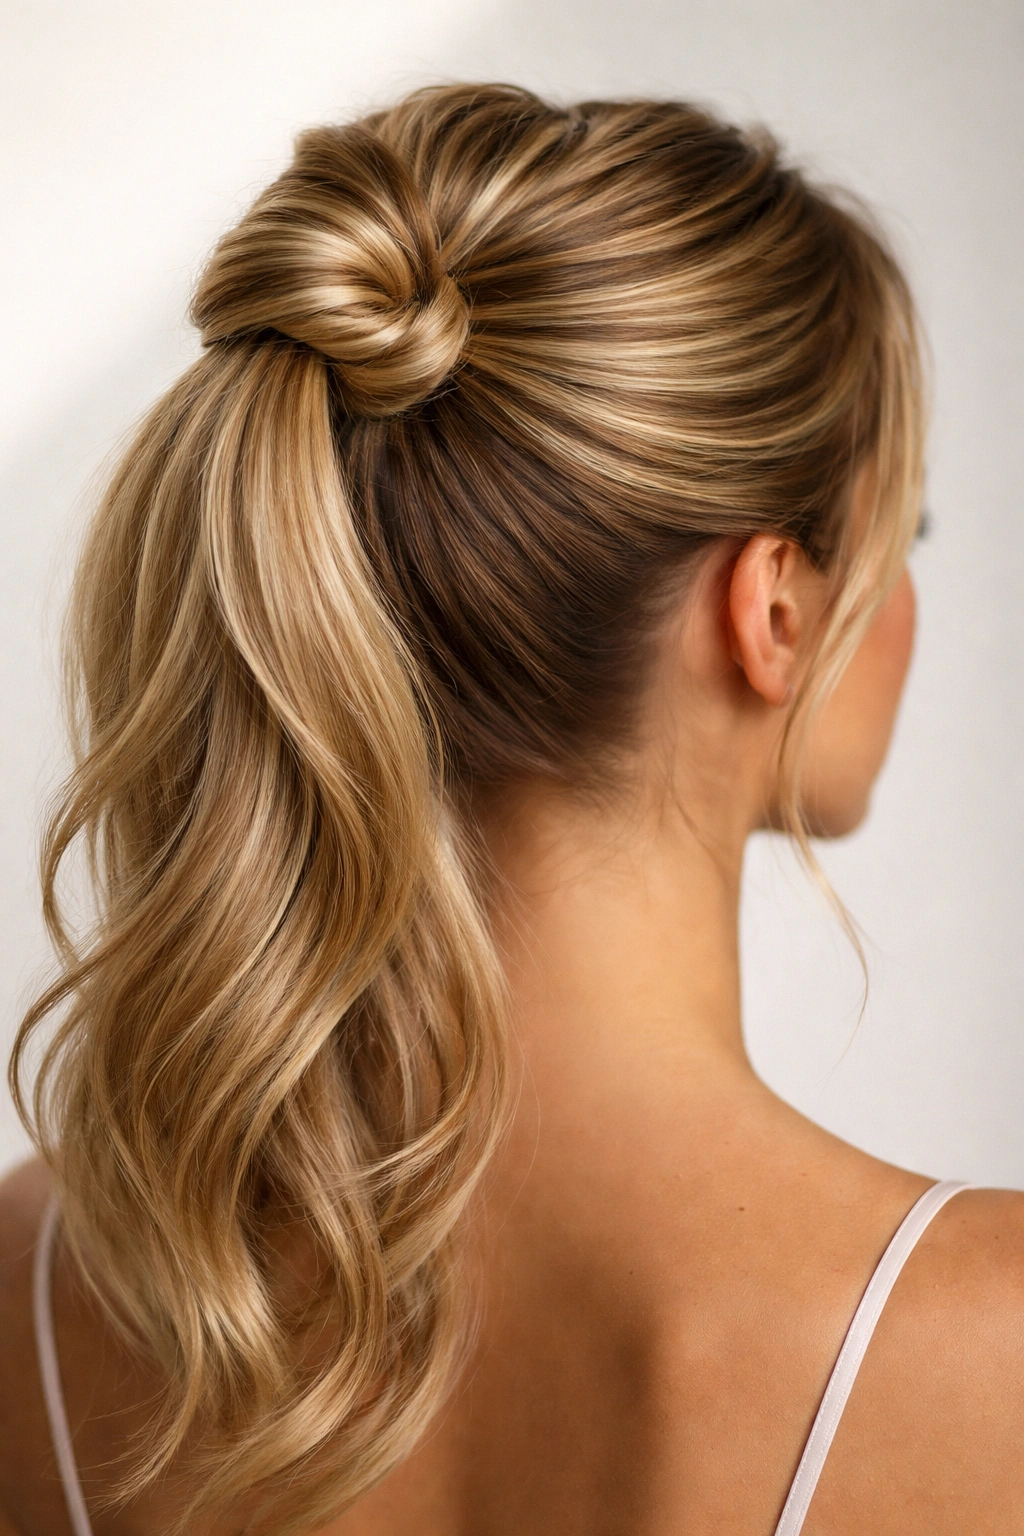
10. The Half-Up Half-Down Bun Ponytail

This hybrid style combines the elegance of an updo with the softness of down hair. Only the top half of your hair is gathered and styled into a bun, while the bottom half flows down your back. It’s the perfect compromise when you want hair off your face without committing to a full updo.
The Versatility of Half-Up Half-Down
This style suits nearly every face shape, hair texture, and occasion. It works for casual days, professional settings, and formal events depending on how you finish it. The key is creating a seamless transition between the bun at the crown and the flowing hair below — no gap between the two sections, no visible elastic.
Creating a Seamless Half-Up Half-Down Bun
- Section off the top half of your hair (from ear to ear across the crown)
- Smooth this section and gather it into a bun at the back of your crown
- Secure with an elastic and wrap a small strand around it
- Leave the bottom half of your hair down, smoothing it away from where the bun sits
- Use a fine-tooth comb to blend the bun section with the flowing hair below
- Finish with light hairspray to keep everything in place
Worth knowing: This style is particularly flattering if you tease the bun slightly so it sits fuller and the transition to the down hair looks intentional rather than sparse.
11. The Sleek Slicked-Back Ponytail Bun
Everything is smoothed severely away from your face, gathered into a high ponytail, and then the ponytail is wrapped into a compact bun at the crown. The entire effect is sleek, geometric, and modern. This style emphasizes facial features and bone structure because nothing frames or softens the face.
The Bold Impact of Extreme Smoothness
This style is confident and intentional — there’s no hiding here. It works beautifully on people with strong cheekbones, symmetrical faces, and the kind of hair that cooperates with smoothing products. If you love showing off your face and have hair that holds a sleek style, this is your signature look.
Perfecting the Sleek Slicked-Back Bun
- Apply a strong-hold gel or edge control product to damp hair
- Blow-dry hair smooth, working against your natural wave pattern if you have texture
- Use a fine-tooth comb and gel to smooth hair tightly away from your face and toward the crown
- Gather into a high ponytail at the very back of your crown
- Coil the ponytail into a compact bun and secure tightly with bobby pins
- Apply hairspray to tame any flyaways and set the style
Insider note: This style holds up better if you use a gel rather than cream products — creams can soften throughout the day and cause flyaways to escape.
12. The Scoop Bun Updo Ponytail
A scoop bun sits lower on the head and uses a specific wrapping technique that creates a fuller, rounder shape. Instead of twisting the ponytail, you wrap the ponytail around your fingers to create loops, then secure these loops into a bun. The result looks modern and intentional.
Why Scoop Buns Look More Sculptural
The round, full shape is flattering on most face shapes and the technique creates interesting texture without requiring braiding skills. The “scoop” shape means the bun sits away from your head with dimension and volume, which prevents the flat appearance that sometimes happens with simple twist-and-tuck buns. It’s a technique that looks like you know what you’re doing, even if you’ve only just learned it.
Creating a Fuller, More Sculptural Scoop Bun
- Gather hair into a mid-height ponytail at the back of your head
- Hold the ponytail and wrap it around your four fingers (excluding your thumb) to create a loop
- Slide your fingers out, leaving a ponytail loop in place
- Create a second loop by wrapping the remaining ponytail around your fingers again
- Pin both loops into a bun shape, allowing them to overlap and create fullness
- Tuck any remaining tail ends into the loops and pin securely
- Gently pull at the loops to create dimension and soften the bun
Pro tip: The scoop bun technique works beautifully on thicker hair and longer ponytails — if you have finer hair, tease the ponytail slightly before wrapping to create the illusion of more volume.
Final Thoughts
A seamless updo ponytail is all about matching the technique to your hair’s reality, not fighting against your natural texture. Whether you’re drawn to the polish of a sleek bun, the visual interest of braided or twisted details, or the modern appeal of knots and bubbles, there’s a style that’ll work with your hair rather than against it. The difference between an updo that looks intentional and one that falls flat is understanding your hair’s personality and choosing techniques that work with what you’re starting with.
The updo ponytail you choose should make you feel confident and put-together, without requiring you to wake up an hour earlier or use a bottle of product. Start with the technique that appeals to you most, practice it a couple of times so your hands learn the motion, and you’ll be surprised how quickly an updo that initially felt complicated becomes second nature. Once you nail one style, every other updo ponytail becomes easier because you understand the fundamental principles — smoothing, securing, and creating intentional structure.