If you’re tired of choosing between wearing your straight hair all down or fully up, half-up half-down weave styles are your secret weapon. These styles hit that sweet spot where you get volume, polish, and a touch of creativity without the commitment of a full protective style—and they work remarkably well with straight hair textures because weave integrates so seamlessly with the natural sleekness. The straight hair canvas actually gives you more styling flexibility than you might realize. You can create clean, graphic lines, experiment with different weave textures layered against your natural hair, and pivot from casual to elegant depending on how you detail the style.
Quick weave half-ups are also genuinely practical. They keep hair off your face while you’re working or working out, protect the ends of your hair without putting everything away, and take about 30 minutes to complete once you’ve got the technique down. Whether you’re looking for something you can wear to the office, out for a night, or to the gym, there’s a half-up configuration that’ll work. The beauty of weave with straight hair is that you can rock precision-cut geometric patterns, create super-clean twists and braids, or go for a more effortless look where the weave blends so naturally that people don’t immediately realize it’s there.
1. The Classic Side-Swept Half Weave

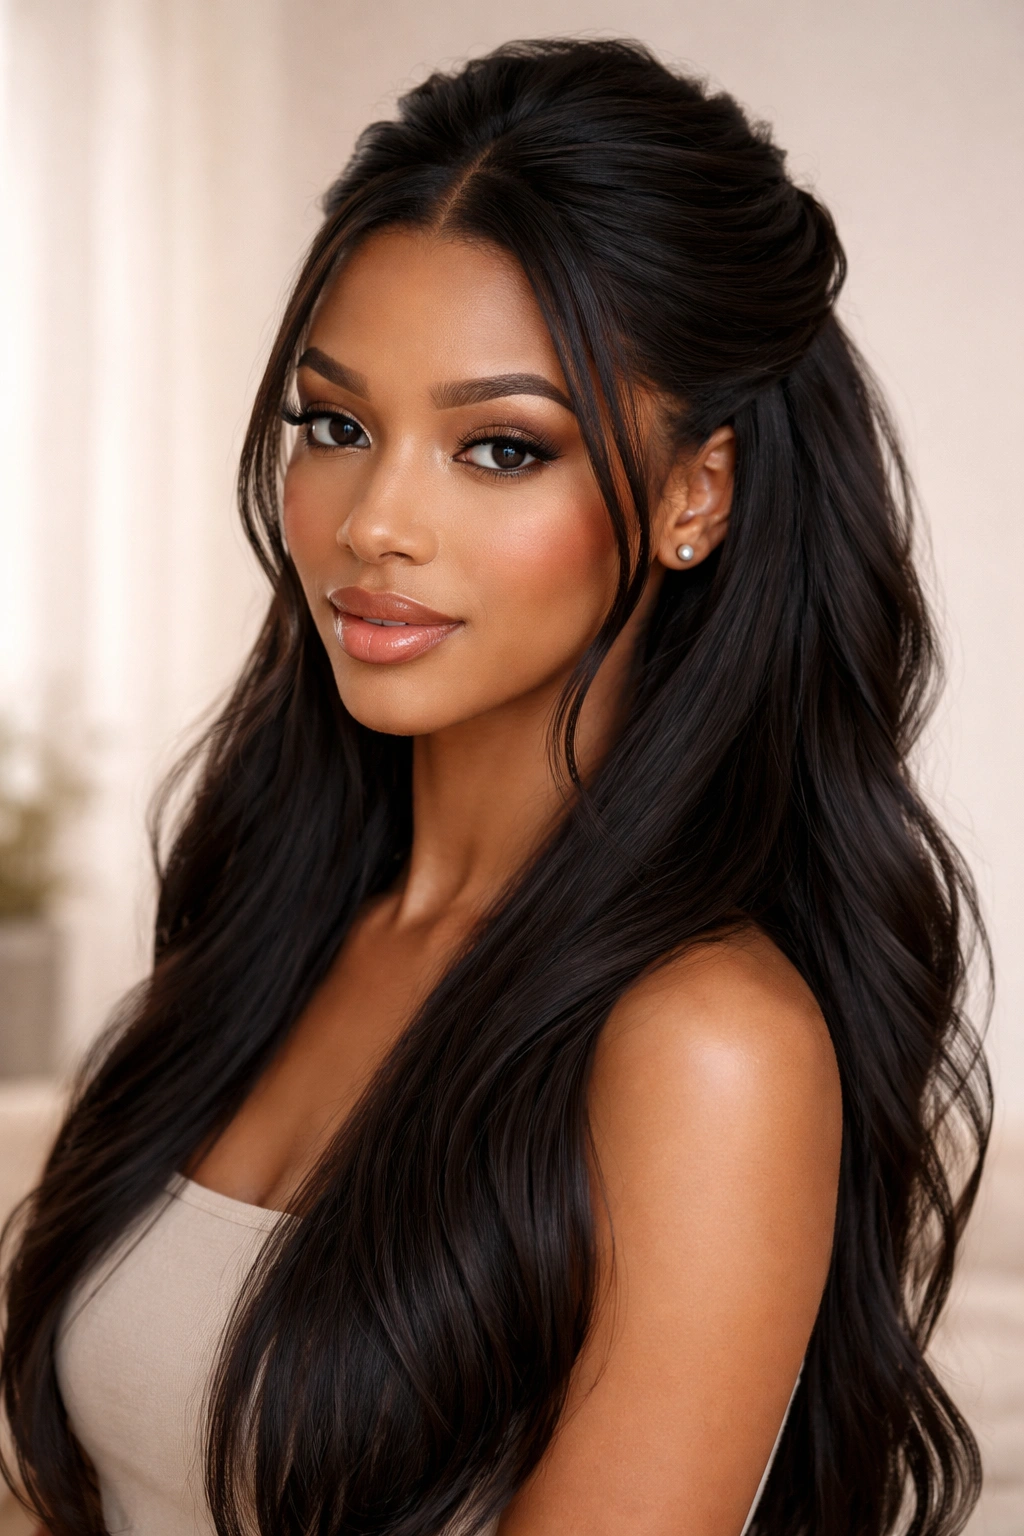
This is the foundational style that works for basically any occasion because it’s equal parts polished and approachable. You’re taking weave from roughly temple-to-temple along the sides, then sweeping it back and securing it to one side at the crown area. With straight hair, this creates an asymmetrical frame that’s incredibly flattering—the weave catches light differently than your natural hair, so you get automatic dimension even if your hair is all one color.
Why It’s a Go-To Option
The side-swept half-weave works because it’s forgiving and genuinely elegant without looking like you spent three hours getting ready. The asymmetry actually makes straight hair look fuller and more interesting than a centered style would. You’re also creating a shape that softens your face while keeping hair organized—the weave section acts as a anchor point that makes the entire style feel intentional rather than accidental.
How to Build This Style
- Start with a clean, blow-dried base of straight hair
- Create a part from the front hairline toward the crown, angling slightly toward the side you want to sweep to
- Section off weave from one temple, across the back, and to the opposite temple (creating a horseshoe-shaped section)
- Sew the weave in using small anchor braids, blending it with your straight hair for a seamless transition
- Sweep the installed weave back and toward your chosen side
- Secure with bobby pins or a small clip, and smooth down any flyaways with gel or a light pomade
Pro tip: Use a weave that’s one or two shades lighter than your natural hair—the contrast actually looks more modern and intentional with straight hair than trying to match exactly.
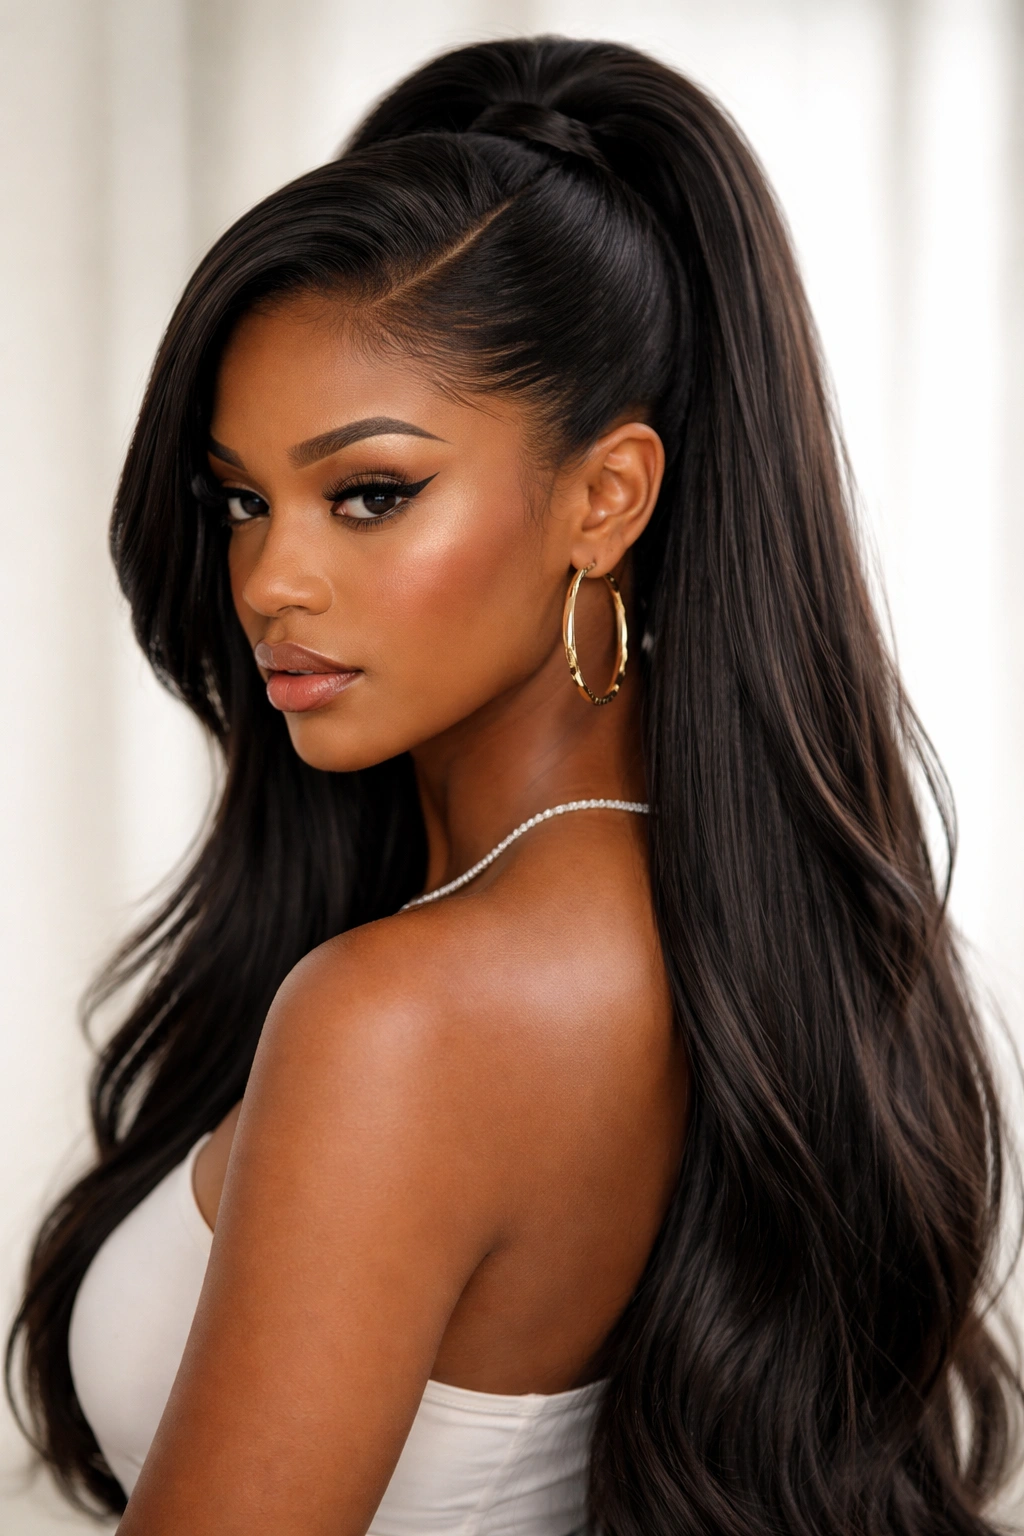
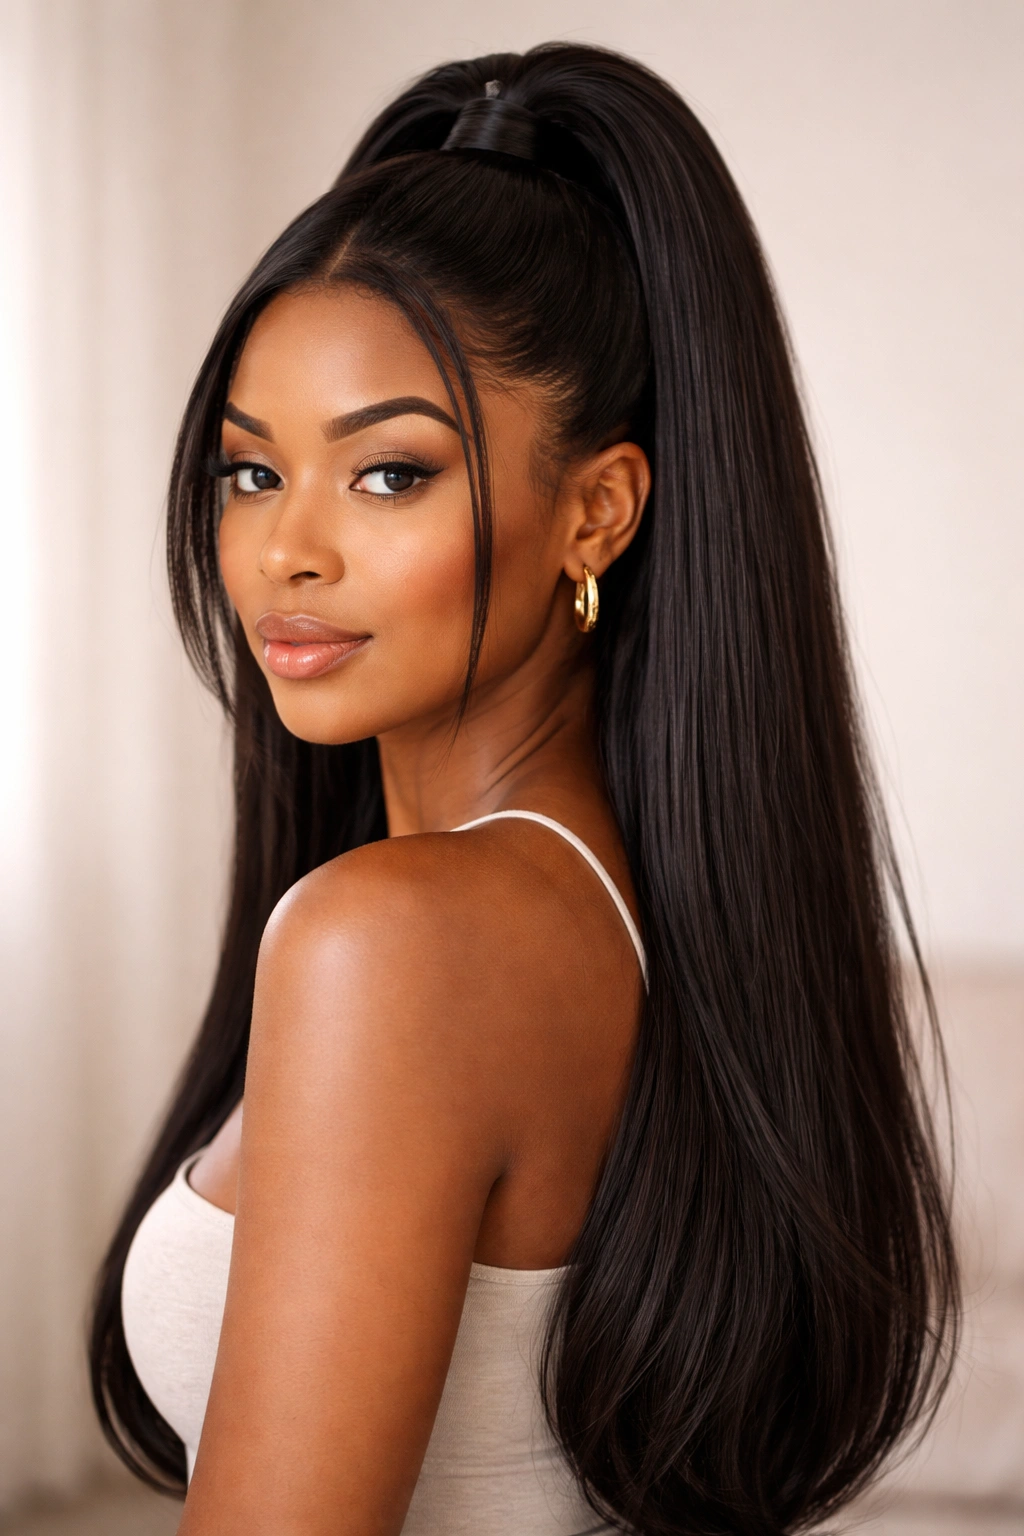
2. Sleek High Half Ponytail with Middle Part
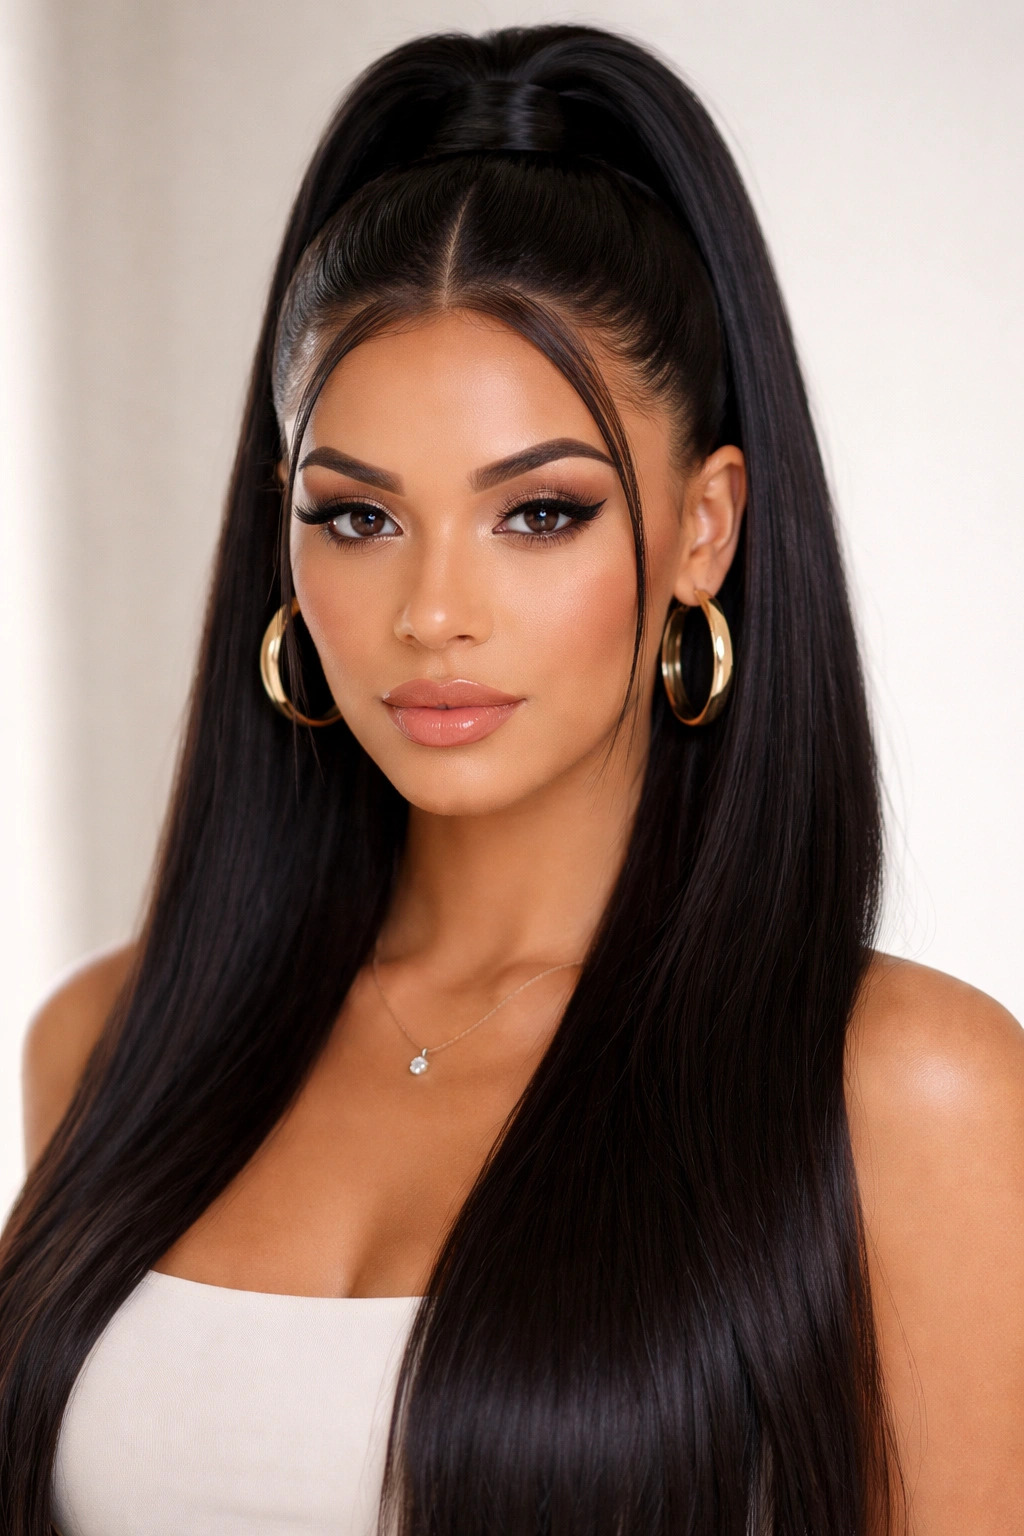
This style is all about clean lines and height, which automatically reads as more polished than a low half-ponytail. You’re taking the top two-thirds of your hair (both natural and weave combined) and gathering it into a high ponytail at the crown, leaving the bottom third of your hair down. The middle part creates that very-now symmetrical-yet-structured vibe.
What Makes This Style Pop
A high half-ponytail with weave layered in gives you incredible versatility in how you finish it. You can wrap the base with a small section of hair, add a cuff, weave decorative string through it, or leave it sleek and minimal. With straight hair providing the baseline, the weave doesn’t have to fight texture—everything sits exactly where you put it, which means the ponytail stays precise all day without re-doing it.
Step-by-Step Technique
- Apply a smooth gel or edge control to your hairline
- Create a precise middle part from forehead to nape
- Section your hair at roughly the crown line—think ear-level or slightly above
- Install lightweight weave throughout the top section, making sure it’s secure but not bulky
- Gather both your natural hair and the weave into a high ponytail, pulling it tightly toward the crown
- Smooth the sides with a brush and gel for a refined finish
- Wrap the elastic with a small section of hair or thread for a polished look
Worth knowing: This style actually looks better if you leave a few loose pieces around your face rather than pulling absolutely everything back. Those two or three pieces frame your features and add softness to an otherwise graphic style.
3. Twisted Wrap Half Weave with Face-Framing Layers
For when you want something that looks more deliberately styled and creative, this version incorporates two twisted sections that wrap around the side-swept section. You’re weaving in weave throughout, but you’re also using the straight texture of your natural hair to create defined twists that frame your face on both sides before they merge with the half-up section.
Why This Works for Straight Hair
Twists in straight hair have a clean, almost rope-like quality that’s visually striking. When you combine natural hair twists with weave twists, you get beautiful contrast and texture play without any frizz or loosening. The twists also give you a more sculpted, intentional-looking frame than a simple side-sweep because there’s movement and directionality baked into the style structure.
The Installation Process
- Start with a deep side part and blow-dried straight hair
- Create the first twist by taking a section of hair from the temple on your deep-part side and twisting it back toward the crown
- Wrap the twisted section around and secure it with bobby pins
- Create a second twist from the opposite temple, using weave blended with your natural hair
- Bring both twisted sections together at the back-crown area and secure together
- Let the remaining hair fall naturally down your back
- Smooth and set with a lightweight hairspray
Insider note: The key to making this look intentional is making sure your two twists are roughly the same thickness and tightness—mismatched twists look accidental rather than designed.
4. The Bubble-Braided Half Updo

This playful style incorporates bubble braids (sections of hair gathered with elastics, creating a separated, puffy look) into your half-up section. You’re taking weave, creating two or three sections that bubble down your back, then securing the style at the crown. It reads modern and a little edgy while still being appropriate for work or social settings.
What Makes Bubble Braids Work
Bubble braids need a clean canvas to look intentional rather than messy—and straight hair provides exactly that. The defined separation between each bubble is crisp and geometric, and when you use weave, you get thickness and visual interest without worrying about texture breaking up the design. The style also photographs incredibly well because the bubbles create natural shadow and dimension.
Building Your Bubble-Braided Style
- Section off weave for your half-up area and install securely
- Gather the weave section at the crown into a small ponytail
- Remove the elastic and divide the ponytail into two or three sections
- Place an elastic on the first section about two inches down, creating your first “bubble”
- Fluff out that section gently
- Place another elastic two inches below, creating a second bubble
- Repeat for a third bubble if your hair length allows
- Smooth any flyaways and secure the base ponytail with bobby pins
Pro tip: Use transparent or colored elastics that blend with your weave rather than contrasting ones—it makes the bubble structure read as intentional design rather than rubber bands holding hair together.
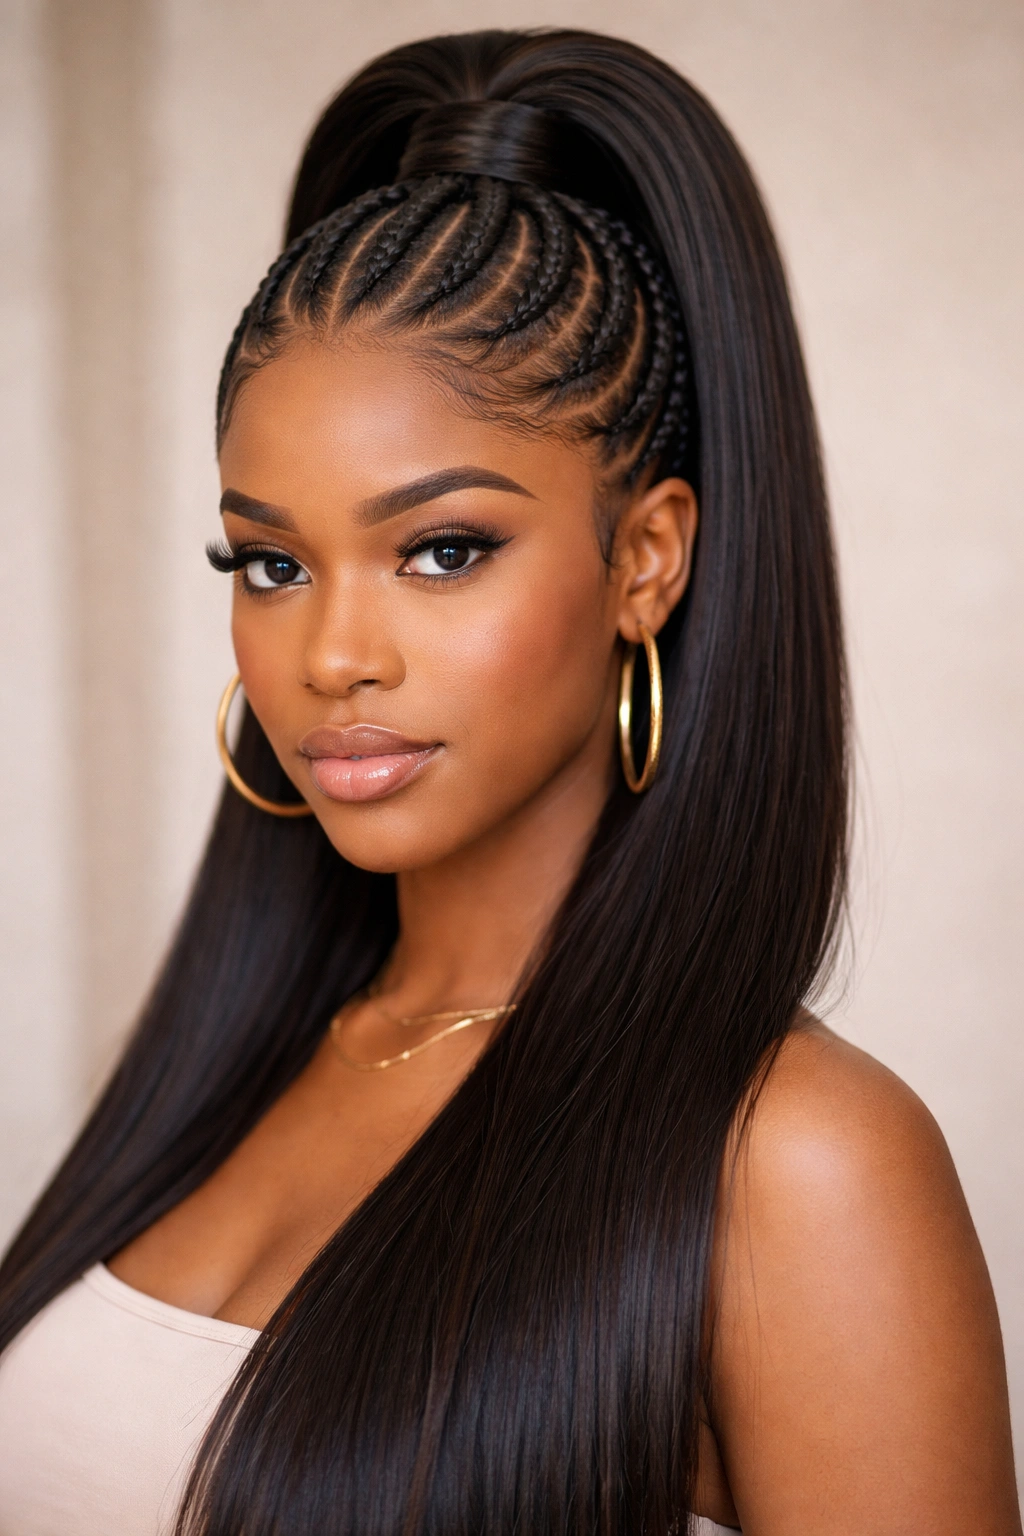
5. Slicked Back Half Weave with Geometric Lines
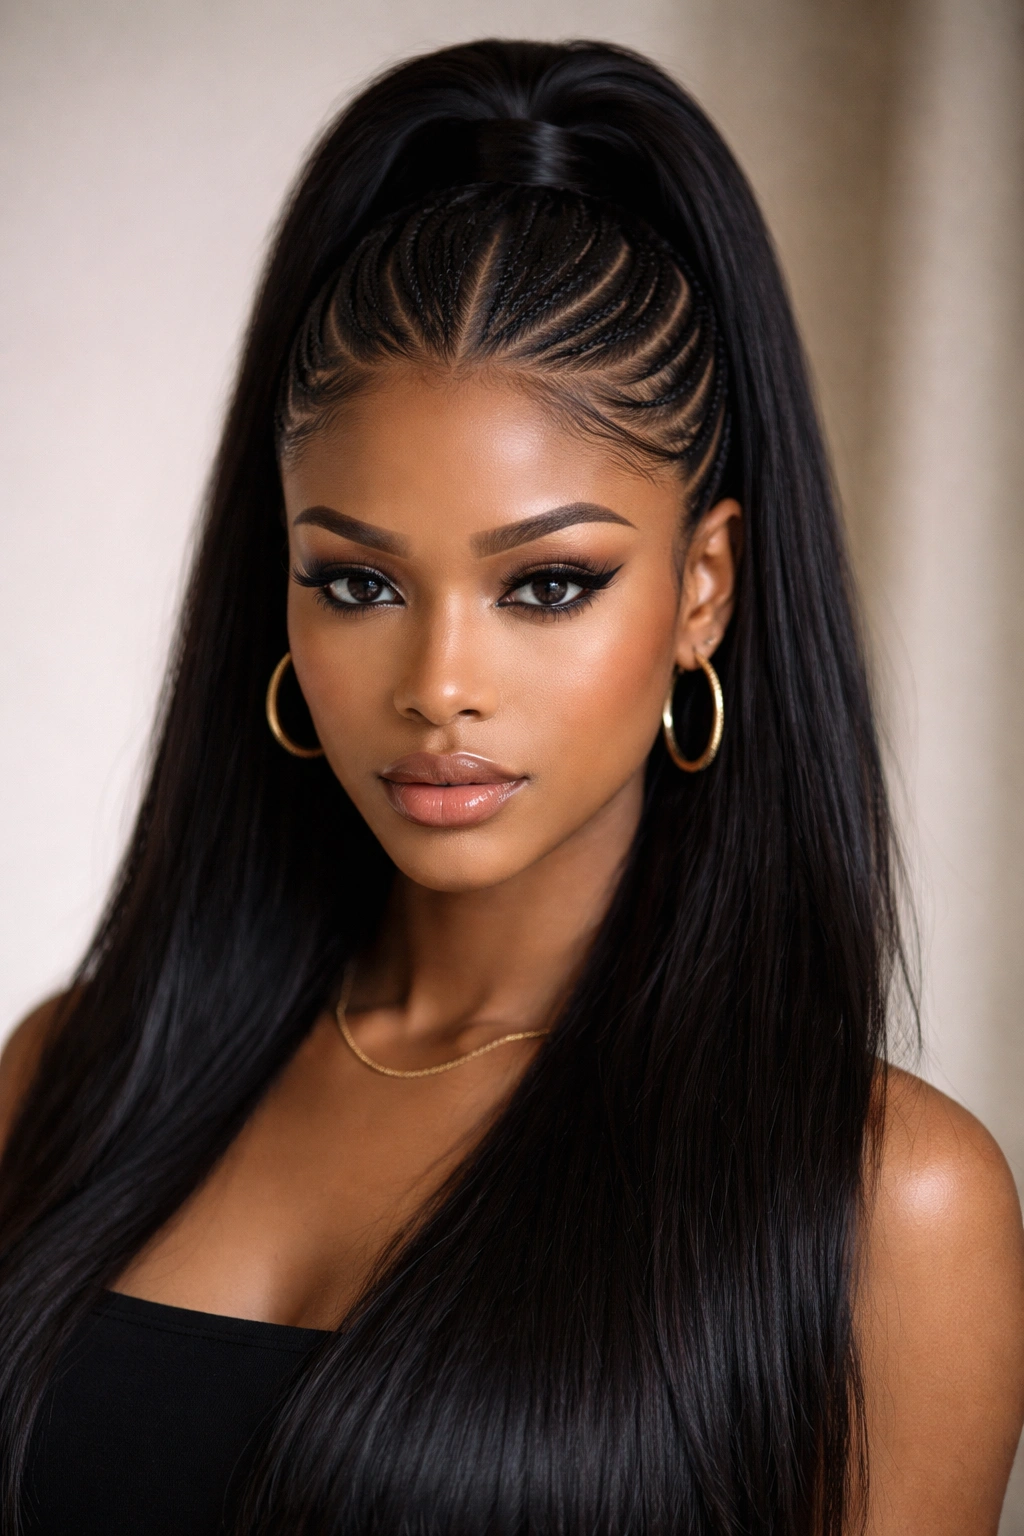
This is the minimalist option, and it’s harder to pull off than it looks. You’re using a strong hold gel or edge control to slick all your hair (natural and weave) straight back, then securing a half-up section at the crown. You might add thin, precise braids or cornrows in the slicked-back section for graphic interest. It’s very current and very sharp.
Why This Style Demands Straight Hair
A slicked-back geometric style would look choppy and unfinished if your hair had texture or curl—the appeal is in the absolute smoothness and precision. Straight hair lets you create clean lines and intentional patterns that read as deliberate artistic choice rather than fighting with your natural texture. The weave sits flush against your head, and you get that sleek, architectural quality that makes the style feel expensive and editorial.
Creating the Slicked Look
- Blow-dry your hair completely smooth
- Apply a strong-hold gel or edge control all over, working it through with a fine-tooth comb
- Brush everything straight back toward the crown
- Install thin braids or cornrows in geometric patterns if desired (optional)
- Create your half-up section by gathering everything at the crown
- Secure with a sleek clip or cuff
- Set the edges with extra gel or edge control, using a toothbrush to refine the hairline
- Let the product dry completely for maximum hold
Worth knowing: This style looks better with minimal layers or a blunt cut—layered straight hair with defined geometric lines can read a bit choppy rather than intentional.
6. The Double-Twist Half Weave
This style features two substantial twists installed side by side as your half-up section, creating a bold, sculptural look. You’re using thick weave and blending it with your natural hair to create two rope-like twists that sit at the crown, then letting the rest of your hair flow down. It’s statement-making without being overly complex.
What This Style Offers
Double twists give you immediate visual impact and sophistication. The symmetry reads as polished and intentional, and because you’re working with straight hair, the twists have that clean, defined quality. The style also photographs beautifully—those two twists frame your face and create natural lines that are flattering from almost every angle.
Installation Steps
- Divide your hair into two equal sections with a center part
- Take weave and your natural hair from one side and create a thick, consistent twist
- Repeat on the other side with matching weave
- Bring both twists together at the crown area
- Pin them securely, making sure they’re lying flat and symmetrical
- Leave the bottom portion of your hair down and straight
- Smooth and set with light hairspray to keep flyaways in place
Pro tip: Make your twists slightly looser than you think they should be—as you move throughout the day, they’ll tighten slightly, and a loose twist looks more polished and intentional than a tight, strained one.
7. Feed-In Cornrow to Half Updo Hybrid
This style combines the protective, polished qualities of cornrows with the versatility of a half-up look. You’re creating cornrows from the hairline that feed upward toward the crown, where they merge with a half-up weave section. It’s technical and visually sophisticated, and it reads as high-effort even though it’s actually quite straightforward once you understand the structure.
Why This Hybrid Approach Works
The cornrow-to-half-updo hybrid gives you the best of both worlds: the graphic, intentional look of cornrows with the versatility of leaving hair down. Cornrows with straight hair are incredibly clean and defined—there’s no texture softening the lines, so they look architectural and precise. When they feed into a weave half-up section, you get a seamless transition that looks like one intentional design rather than two separate elements.
The Process
- Create thin feed-in cornrows starting at the temples, angling them toward the crown
- Install weave throughout the cornrow as you braid (this is what makes it “feed-in”)
- Bring both cornrows together at the crown area where you’ll secure your half-up section
- Install additional weave for fullness in the crown area
- Gather everything at the top and secure with bobby pins or a clip
- Leave the bottom section down and smooth
- Finish the style with light hairspray and edge control on your natural hairline
Worth knowing: This style requires a bit more braiding skill than some of the others, but once you’ve done it once or twice, the pattern becomes intuitive.
8. The Smooth Swoosh Half Weave
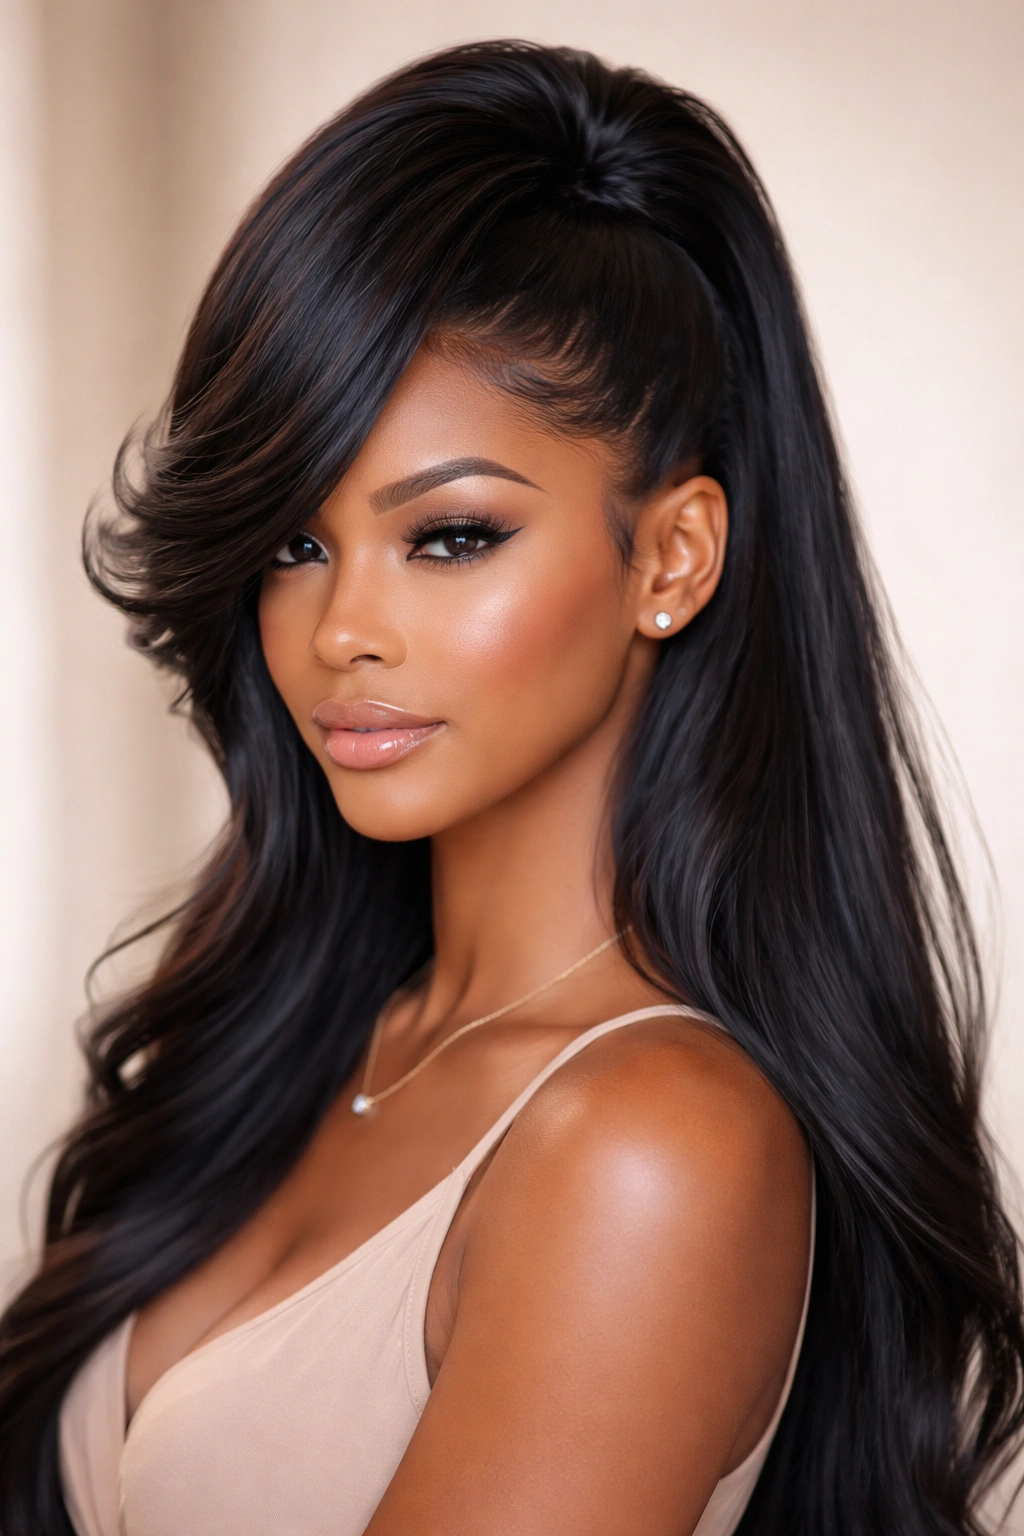
This version takes the side-sweep concept and amplifies it, creating an exaggerated swoosh that’s almost theatrical. You’re installing weave asymmetrically—much more on one side than the other—and sweeping it dramatically across the back. It’s bold and shows off the length and texture of your weave while keeping your natural hair somewhat visible.
The Appeal for Straight Hair
The smooth swoosh looks best when you can see the flowing line of it—and straight hair provides that clean canvas. Nothing interrupts the visual sweep; it’s just this beautiful curve of hair moving from one side to the other. With weave, you can go thicker and more dramatic than your natural hair would allow, which makes the swoosh more impactful.
How to Achieve This Look
- Create a deep side part on the side opposite where your swoosh will go
- Install thin microbraids or a light weave base on the deep-part side
- Install much thicker weave sections on the side where your swoosh originates
- Gather the thicker weave section and sweep it dramatically across the crown to the opposite side
- Secure it low and to the side with multiple bobby pins
- Keep the deep-part side smooth and refined
- Let the back section flow naturally, creating that signature swoosh curve
Pro tip: This style looks better if your weave has some length to it—shorter weave doesn’t swoosh as dramatically. Aim for at least 16 inches to get the full effect.
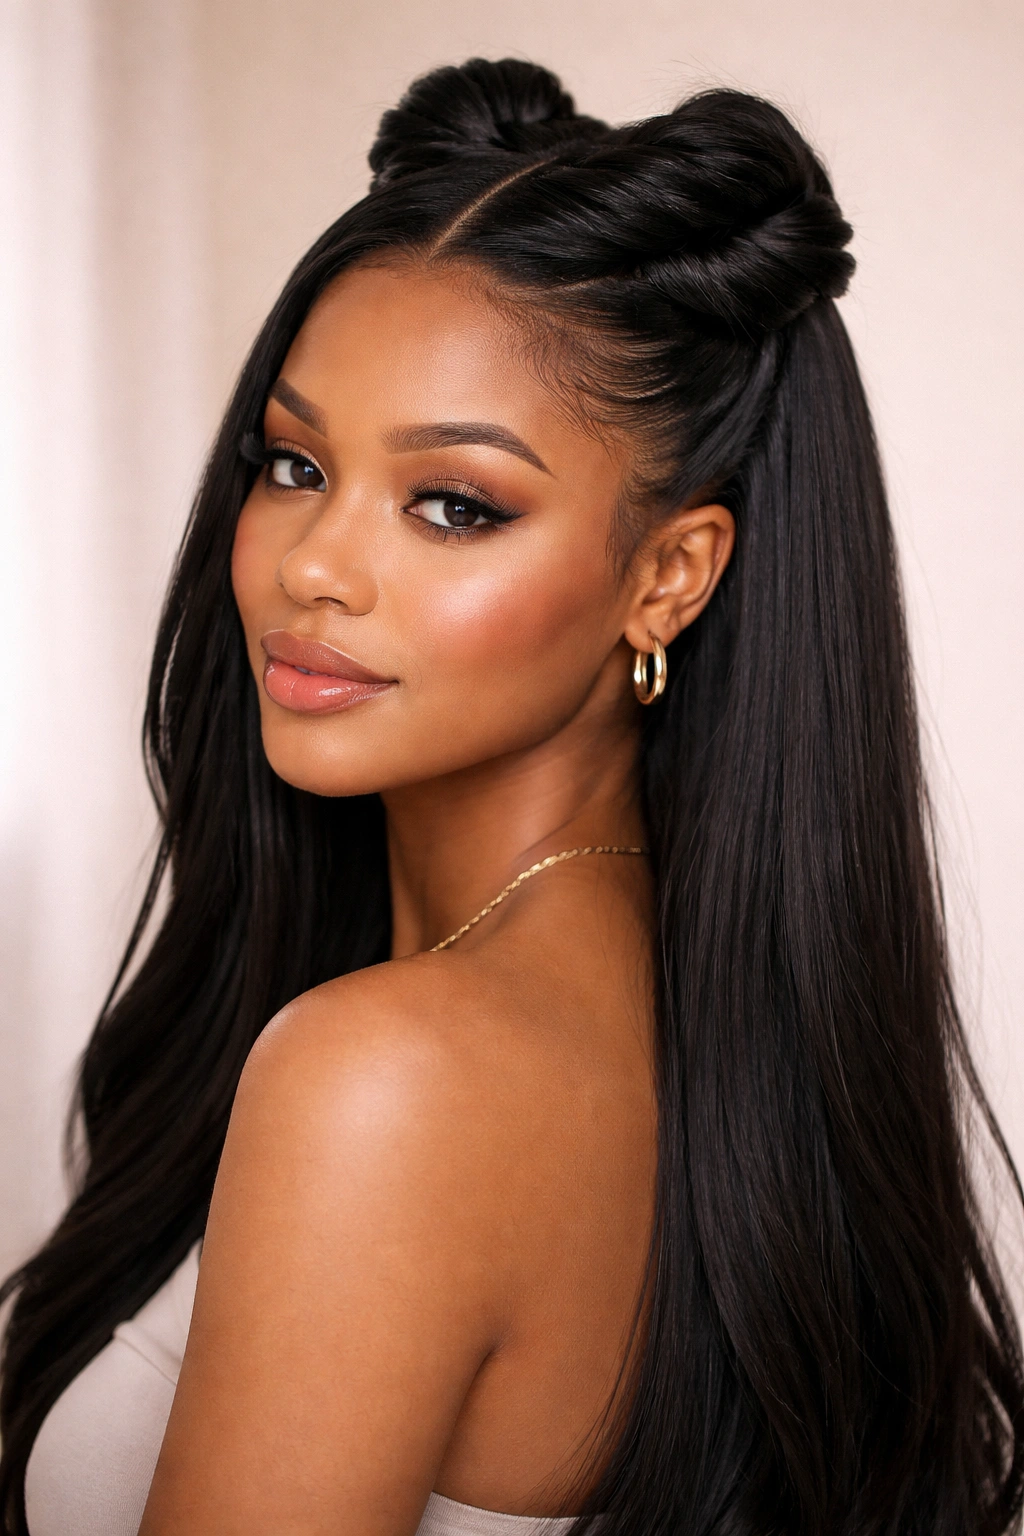
9. Low Half Weave with a Top Knot
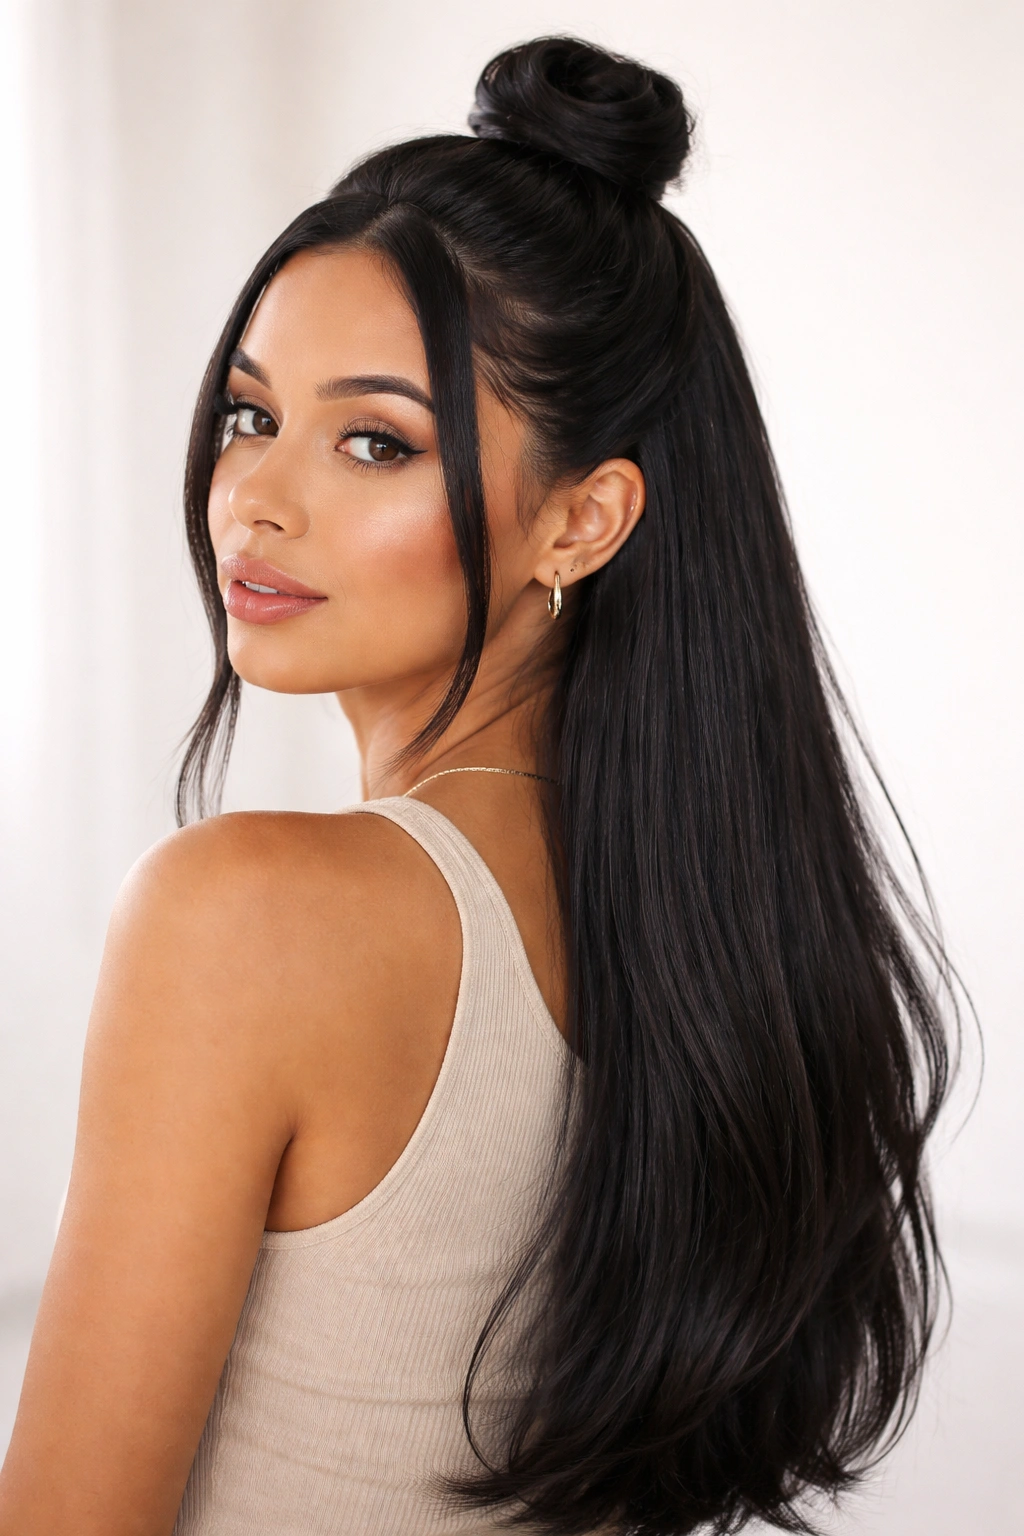
For a more relaxed, approachable vibe, this style gathers your half-up section lower—around the nape area—and secures it into a small top knot. It’s softer and less formal than the high-crown styles while still keeping hair organized. With straight hair, the knot sits compact and neat rather than poofy or diffuse.
When to Wear This Version
The low half-weave with top knot reads casual but intentional—perfect for a day when you want something that’s clearly styled but not fussy. It also works well if your hair isn’t quite long enough for a dramatic swoosh or if you want something that won’t feel heavy on your crown all day. The lower gathering point distributes weight differently, which some people find more comfortable.
Building the Low Knot Look
- Blow-dry your hair completely straight
- Create a horizontal section at approximately ear-level (or slightly below)
- Install weave throughout this section for fullness
- Gather the weave section (and any natural hair mixed in) at the low crown area, toward the nape
- Twist the gathered section and wrap it around itself to create a small knot
- Secure the knot with bobby pins and fold under any loose ends
- Leave the bottom section down and let it flow naturally
- Smooth with light product and hairspray
Worth knowing: A low knot looks better when it’s quite small and compact—a large, lumpy knot reads as accidental rather than styled.
10. The Deep Side Part Half Weave
This style emphasizes an exaggerated deep side part (sometimes starting nearly at the ear rather than at the center) and uses that dramatic part line as the foundation for your half-up section. You’re playing with proportion and geometry, creating an asymmetrical silhouette that’s visually interesting.
Why This Works Visually
The deep side part creates instant dimension and movement, especially when you layer weave over the part line. Your face appears shaped differently depending on where your part sits—a very deep side part can elongate the face and draw attention to one side. When you combine that with a half-up weave section that respects (or plays against) the part line, you get a sophisticated, fashion-forward look.
Creating the Deep Part Style
- Create your deep side part starting at or behind the temple line
- Keep the deeper side much fuller and less styled
- Keep the shallow side sleeker and more refined
- Install weave for your half-up section on the deeper side of the part
- Gather this section back and secure at the crown
- Leave the shallow side smooth and relatively untouched
- Use edge control on the shallow side to emphasize how clean and slicked it is
- Let the back section flow in a way that respects the asymmetrical part
Pro tip: This style photographs better from the side than straight-on because that’s where the dramatic asymmetry really reads.
11. Pinned-Back Waves Half Weave
This style creates soft waves in your weave section (using braids that you’ll unravel, or heat-styling the weave) and pins it back in a romantic, less-structured way. It’s softer and more textured-looking than the geometric styles, but your straight natural hair provides the clean foundation that keeps the whole look from feeling overly fussy.
The Balance This Style Creates
By combining smooth straight hair with wavy or textured weave, you get dimension without chaos. The straight hair reads as intentional and minimalist, while the waves in the pinned weave section add softness and movement. It’s a good middle ground between extremely polished and deliberately relaxed.
How to Create Pinned Waves
- Install weave throughout your half-up section
- Create loose braids in the weave and secure overnight to set waves
- Unravel the braids gently the next day, creating soft, flowing waves
- Alternatively, use a large-barrel curling iron to wave the weave section
- Gather the waved section loosely at the crown
- Pin it back with bobby pins in a way that keeps the waves visible and textured
- Let some shorter pieces or texture frame your face
- Use light hairspray to keep waves in place without flattening them
Worth knowing: The contrast between smooth straight hair and textured weave waves is actually the point of this style—you want people to see that juxtaposition of textures.
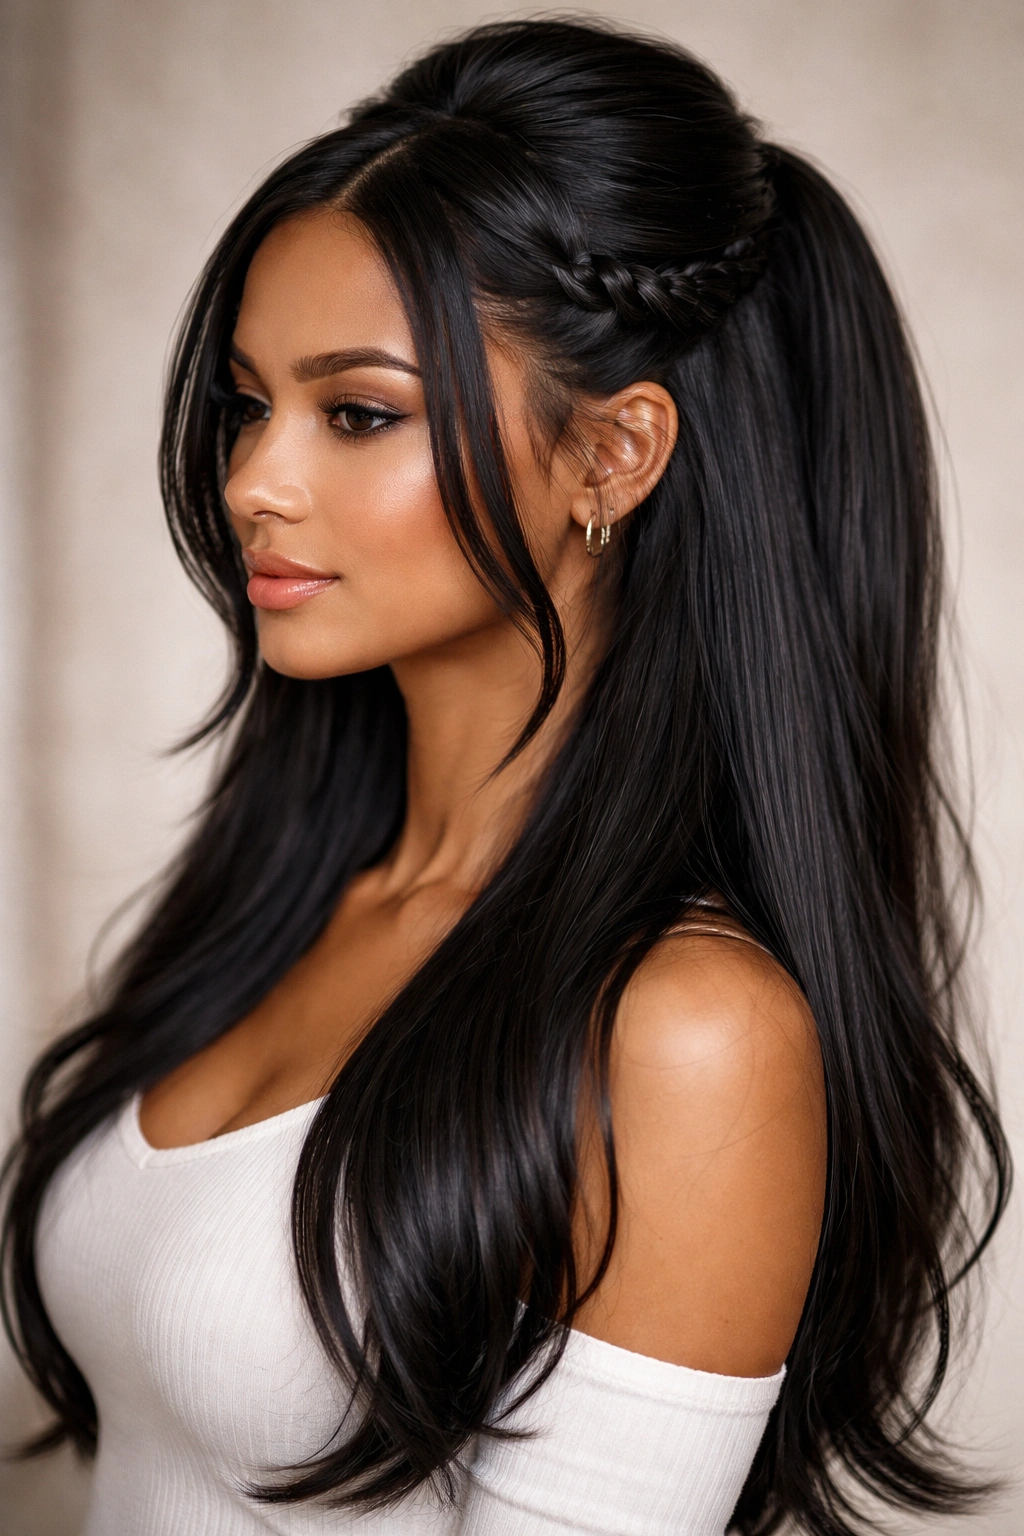
12. The Crown-Braided Half Weave
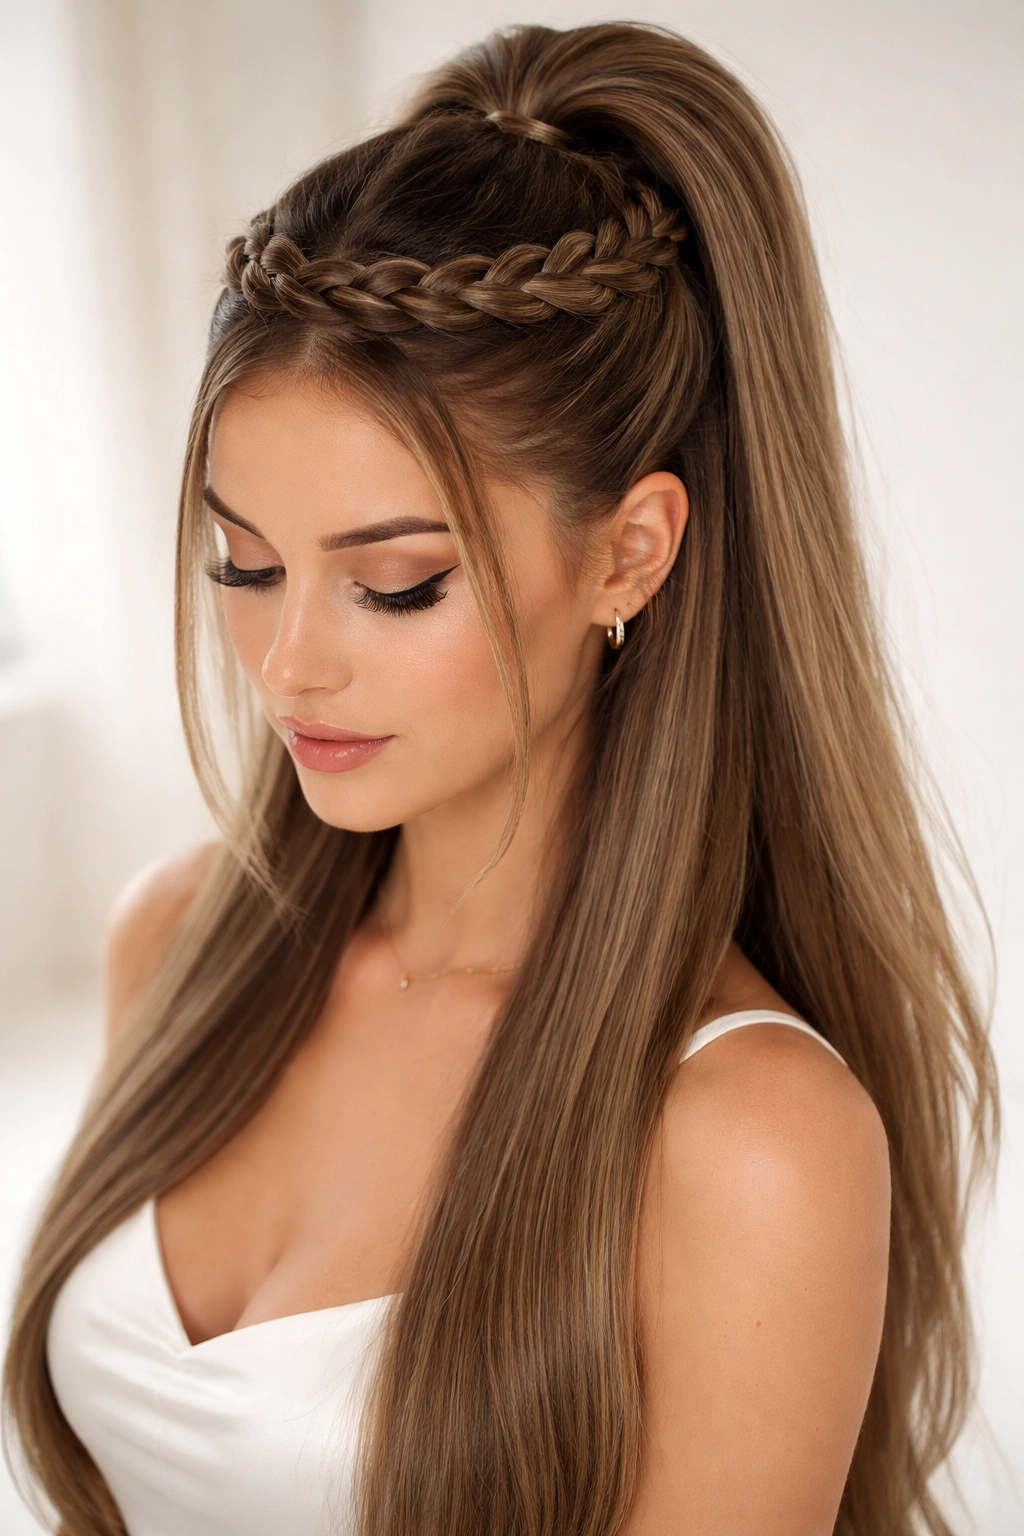
This final option incorporates a crown braid that sits atop your head, creating a halo effect. Your half-up weave section is gathered beneath this crown braid, making the overall style romantic and intricate-looking. It’s more involved than some of the other options, but the result is genuinely stunning.
Why This Reads as Special
Crown braids instantly elevate any hairstyle because they require visible skill and intention. When you combine a crown braid with a half-up weave section, you’re creating dimension and layering that reads as high-effort without actually being that difficult. The straight hair provides the clean canvas that makes both the braid and the weave section stand out distinctly.
The Crown Braid Process
- Install your weave for the half-up section first and secure it
- Gather the weave section at the crown and secure temporarily with a clip
- Take a section of natural hair from one side at ear level
- Create a three-strand braid and feed it around your head toward the opposite ear, creating a crown shape
- As you braid, you can pick up small sections of your natural hair to incorporate them (this is called a crown braid)
- Continue until you reach the opposite ear and secure the braid with bobby pins
- Now release your half-up weave section and arrange it so it sits beneath the crown braid
- Smooth any flyaways with gel
- Set everything with hairspray for hold
Pro tip: Practice this crown braid a few times on its own before trying to combine it with the half-up weave section—once you’ve got the crown braid down, adding the weave element is actually quite simple.
Final Thoughts
The beauty of quick weave half-up styles on straight hair is that you get maximum flexibility with minimum fussiness. Your straight hair provides a clean, polished foundation that makes weave integration seamless, and you can pivot from minimal and refined to textured and romantic depending on what you’re doing that day. Each of these styles can be customized based on how much volume you want, how long your weave is, and what kind of finish works for your lifestyle. Start with whichever style appeals to you most, practice it a couple of times, and you’ll quickly build the muscle memory to do it in 20 to 30 minutes flat. Half-up half-down with weave is genuinely one of the most versatile styling options available—it keeps your hair protected while letting you show off length and creativity at the same time.