Some mornings, you wake up and realize you have about five minutes before you need to leave your house. Your hair didn’t cooperate overnight, there’s no time for a full styling routine, and complicated braids are completely off the table. This is where the ponytail bun combo comes in — it’s a deceptively simple strategy that looks intentional and polished while requiring almost zero effort once you understand the basic technique.
The ponytail bun hybrid isn’t some trendy new invention; it’s been around for years because it actually solves a real problem. When you combine the simplicity of a ponytail with the elegance of a bun, you get something that works on second-day hair, disguises greasy roots, and can be dressed up or down depending on your plans. The best part? Once you nail a few versions, you can rotate through them depending on your hair type, the amount of time you have, and what you’re doing that day.
What makes these combos so lazy-day friendly is that most of them require just two things: a hair tie and maybe a bobby pin or two. No heat styling, no complicated sectioning, no skills you haven’t already mastered. Whether your hair is thick, thin, curly, straight, or somewhere in between, there’s a version here that’ll become your go-to when you’re running behind. Let’s walk through twelve of the most practical ponytail bun combinations that actually work on real hair, on real lazy mornings.
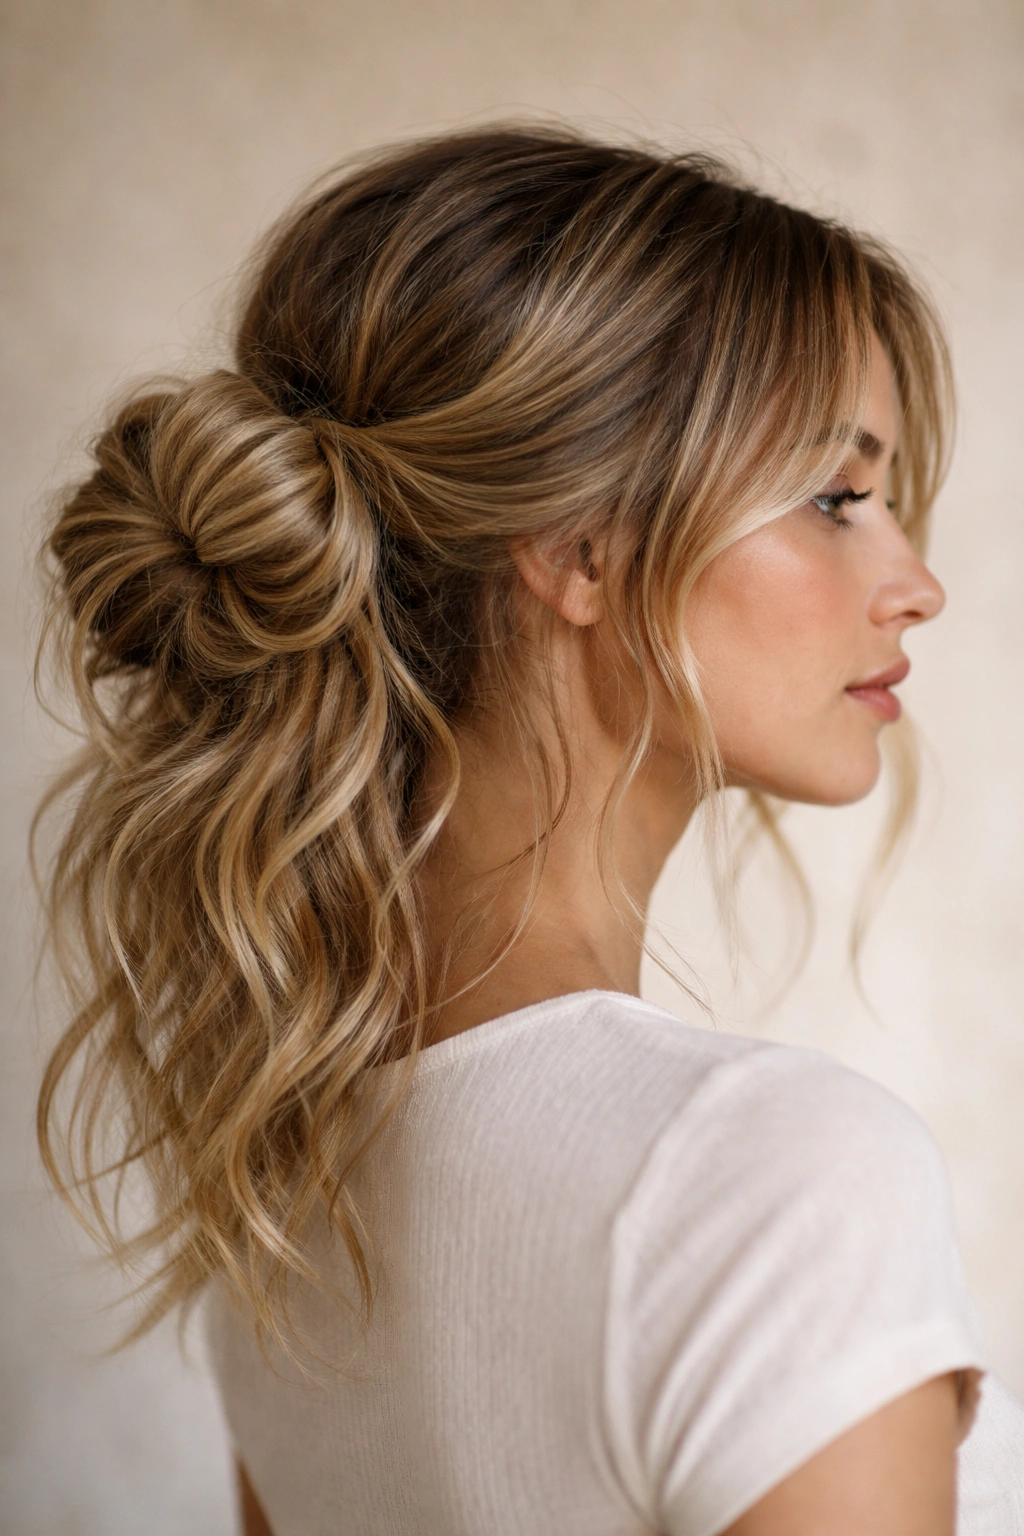
1. The Classic High Ponytail Wrap Bun
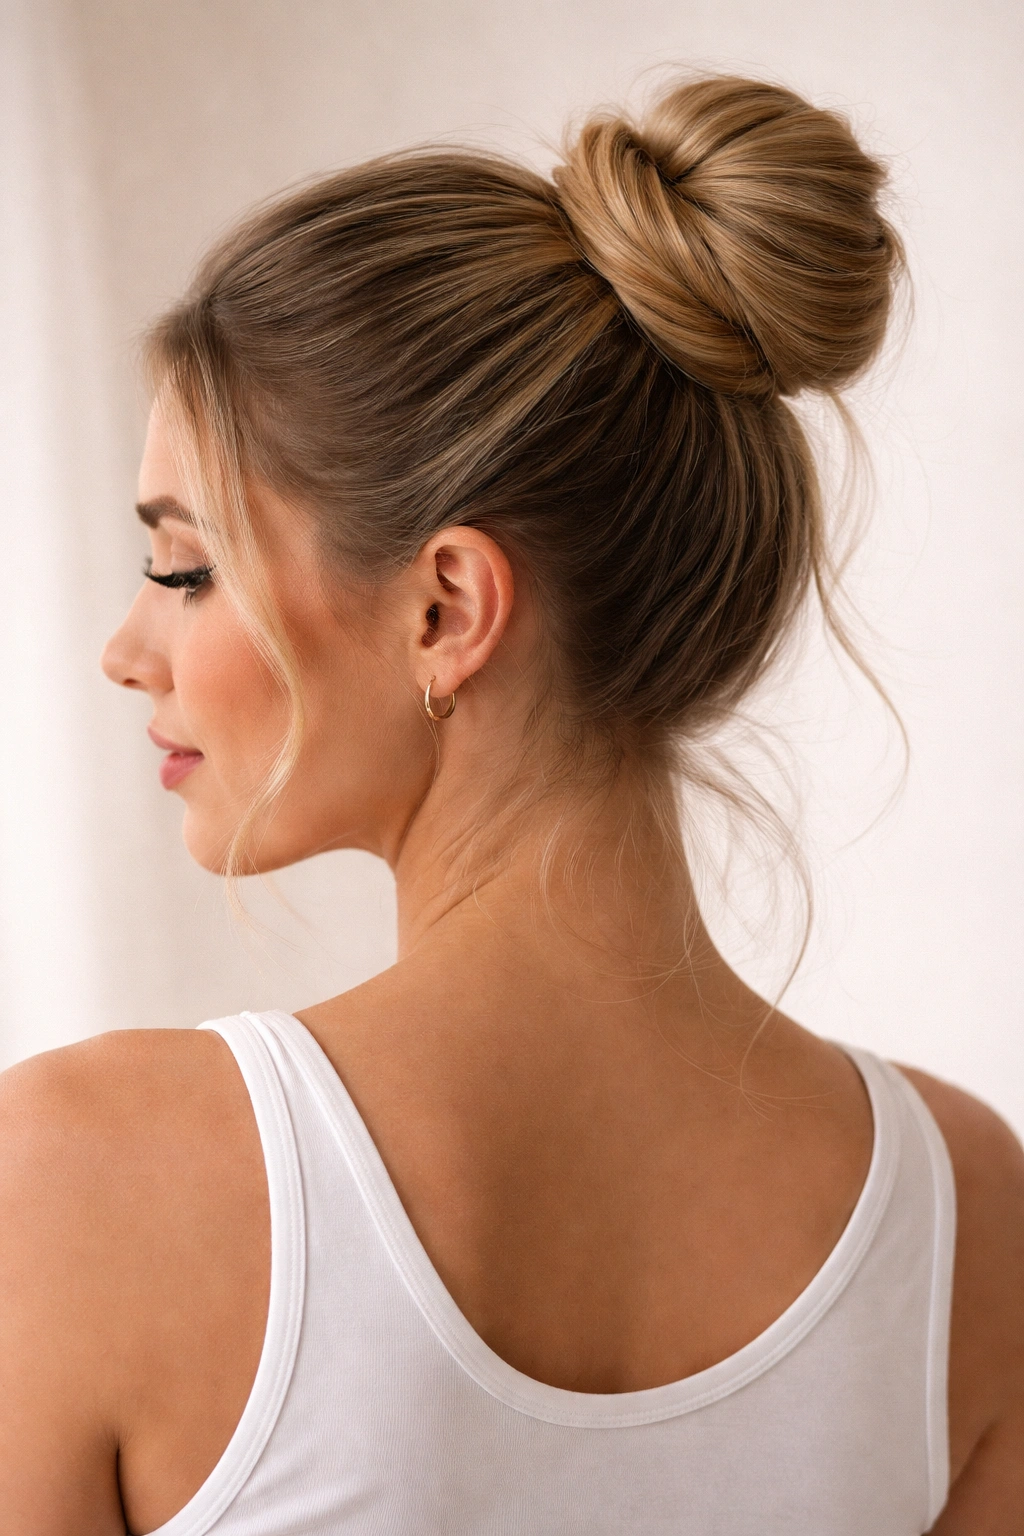
This is the foundational version that basically every other combo builds on, and it’s the one to master first. You create a high ponytail exactly like normal, then twist the tail loosely and wrap it around the base of the ponytail to form a small bun. It takes about ninety seconds once you’re used to it, and it looks far more intentional than just throwing your hair in a messy bun.
Why It’s Perfect for Lazy Mornings
The wrap technique actually helps control flyaways and keeps everything secure without needing tons of bobby pins. The tightness of your ponytail determines whether this ends up looking polished or relaxed — tight ponytail base means formal enough for work, slightly looser means casual weekend vibes. This version works equally well on day-two hair because the ponytail creates natural texture before you twist it into the bun.
How to Get It Right Every Time
- Start with your hair pulled back into a high ponytail, positioned at the crown or just slightly higher
- Twist the tail loosely (if you twist too tightly, the bun looks thin and strained)
- Wrap the twisted tail around the elastic base, tucking the ends underneath as you go
- Secure the wrapped ends with one bobby pin hidden under the twist
- Gently pull and fluff the bun so it has dimension instead of looking like a tight knot
- Use a texturizing spray or dry shampoo first if your hair is freshly washed and slippery
Pro tip: If you have fine or thin hair, don’t worry about creating a massive bun — a compact, neat version actually looks intentional and expensive rather than sparse. Spray a tiny bit of lightweight hairspray on the finished bun to keep stray pieces from falling out by noon.
2. The Messy Side Ponytail Bun
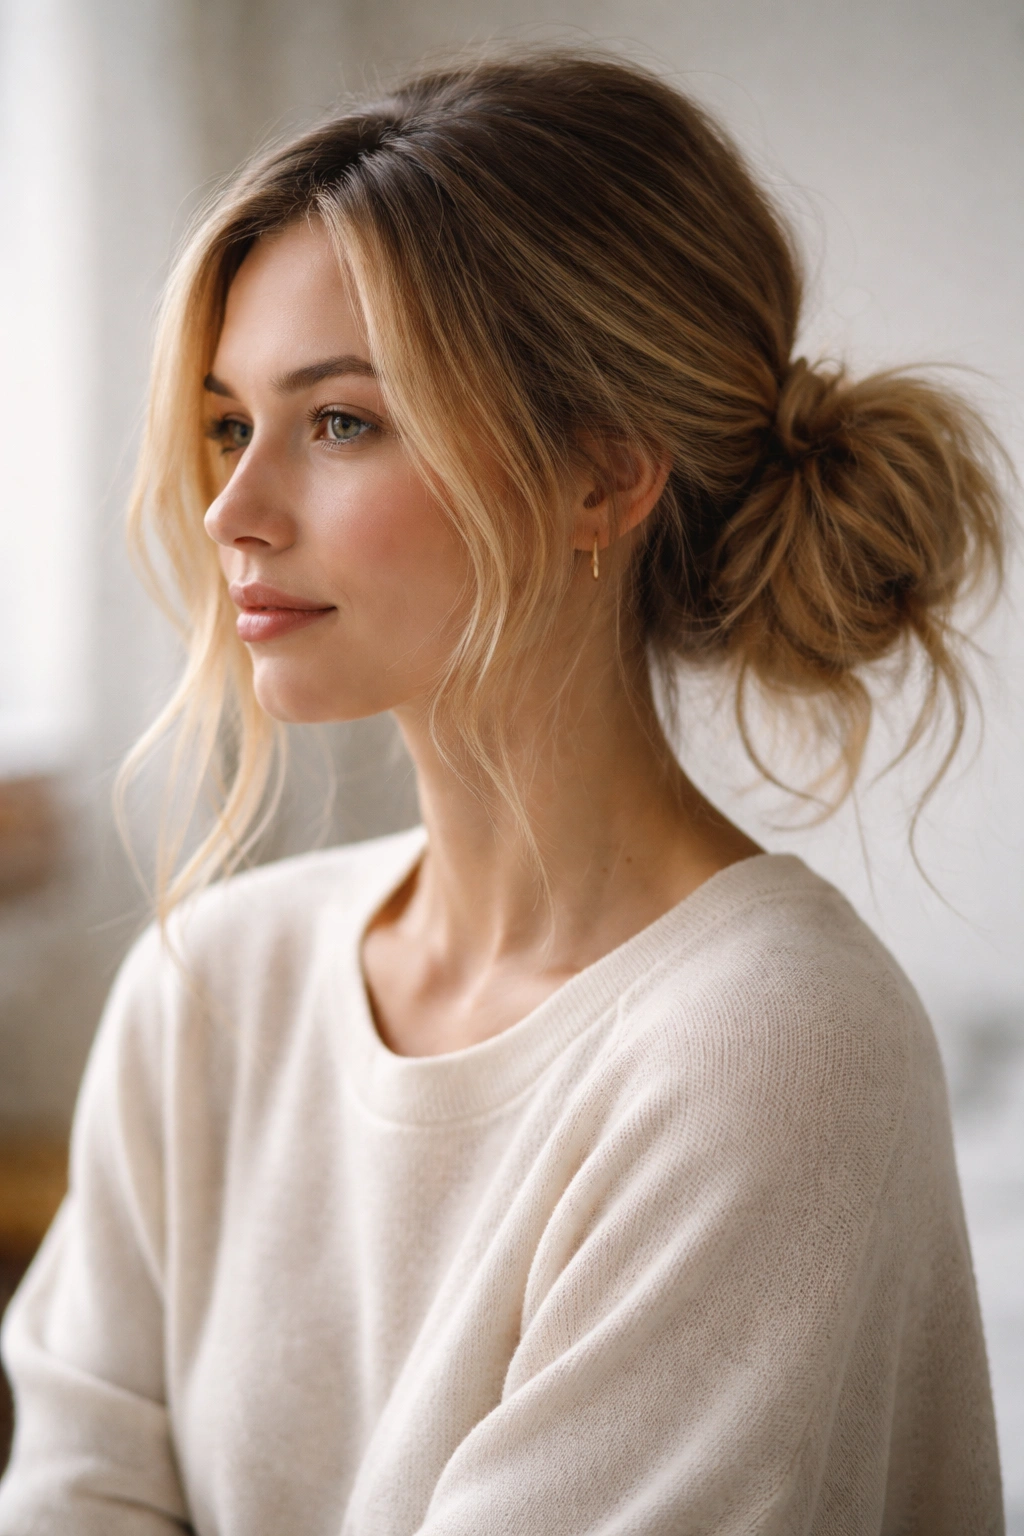
This version skews casual and works beautifully when you’re not trying too hard — which is exactly the vibe for a lazy day. You create a low, off-center ponytail on one side of your head, then loosely bunch and secure the tail into a soft bun shape. It’s the hairstyle equivalent of throwing on a vintage band tee and calling it an outfit.
Why It Works on Imperfect Hair
Side ponytails are genius for hiding texture and greasiness because the angle automatically adds dimension and movement. The slight messiness is actually intentional here, so you don’t have to fight to make things perfectly smooth. This combo works on curly, wavy, and straight hair because the side placement naturally breaks up any flatness or buildup at the roots.
How to Execute It Properly
- Sweep your hair to one side and gather it into a low ponytail at ear level, roughly where the side of your head meets the back
- Leave a few face-framing pieces loose intentionally — don’t try to pull everything back perfectly
- Take the ponytail and loosely bunch it, then coil or twist the bunch and secure with bobby pins
- Pull a few wisps free from the bun itself to keep it from looking too structured
- Use your fingers to gently tousle and separate the bun so it looks undone rather than tight
Worth knowing: This style actually looks better if you don’t wash your hair the day you wear it. The second-day texture gives you the grip you need for a secure, dimensional bun without extra effort.
3. The Double Twisted Bun
Instead of twisting once and wrapping, you divide your ponytail into two sections, twist each one separately, then wrap them both around the base. This creates a fuller, more interesting bun that has visual texture without requiring any actual styling skill. It’s deceptively chic because people assume you spent way more time than you actually did.
Why Double Twists Transform Your Bun
Two thinner twists create more surface area and dimension than one thick twist, which makes even fine hair look fuller and more textured. The technique also distributes the weight more evenly, so the bun feels less heavy and pulls less painfully on your scalp. You can keep the twists smooth and neat for a polished version, or roughen them up for something messier — same technique, totally different vibe.
The Step-by-Step Process
- Create your ponytail at whatever height feels right (high, mid, or low)
- Divide the ponytail into two equal sections — you can use your fingers or clip one section back temporarily
- Twist the first section loosely from root to tail, keeping the twist smooth rather than kinked
- Wrap that twist around the elastic base and secure with a bobby pin
- Repeat with the second section, wrapping it around the opposite side of the base
- Tuck both tail ends underneath and pin them securely
- Gently fluff and separate the bun layers so they look intentionally textured rather than smooth
Pro tip: If you have a ton of hair, divide the ponytail into three twists instead of two — this actually makes the bun easier to manage and more securely pinned than trying to force everything with two sections.
4. The Sleek Low Bun with a Tucked Ponytail
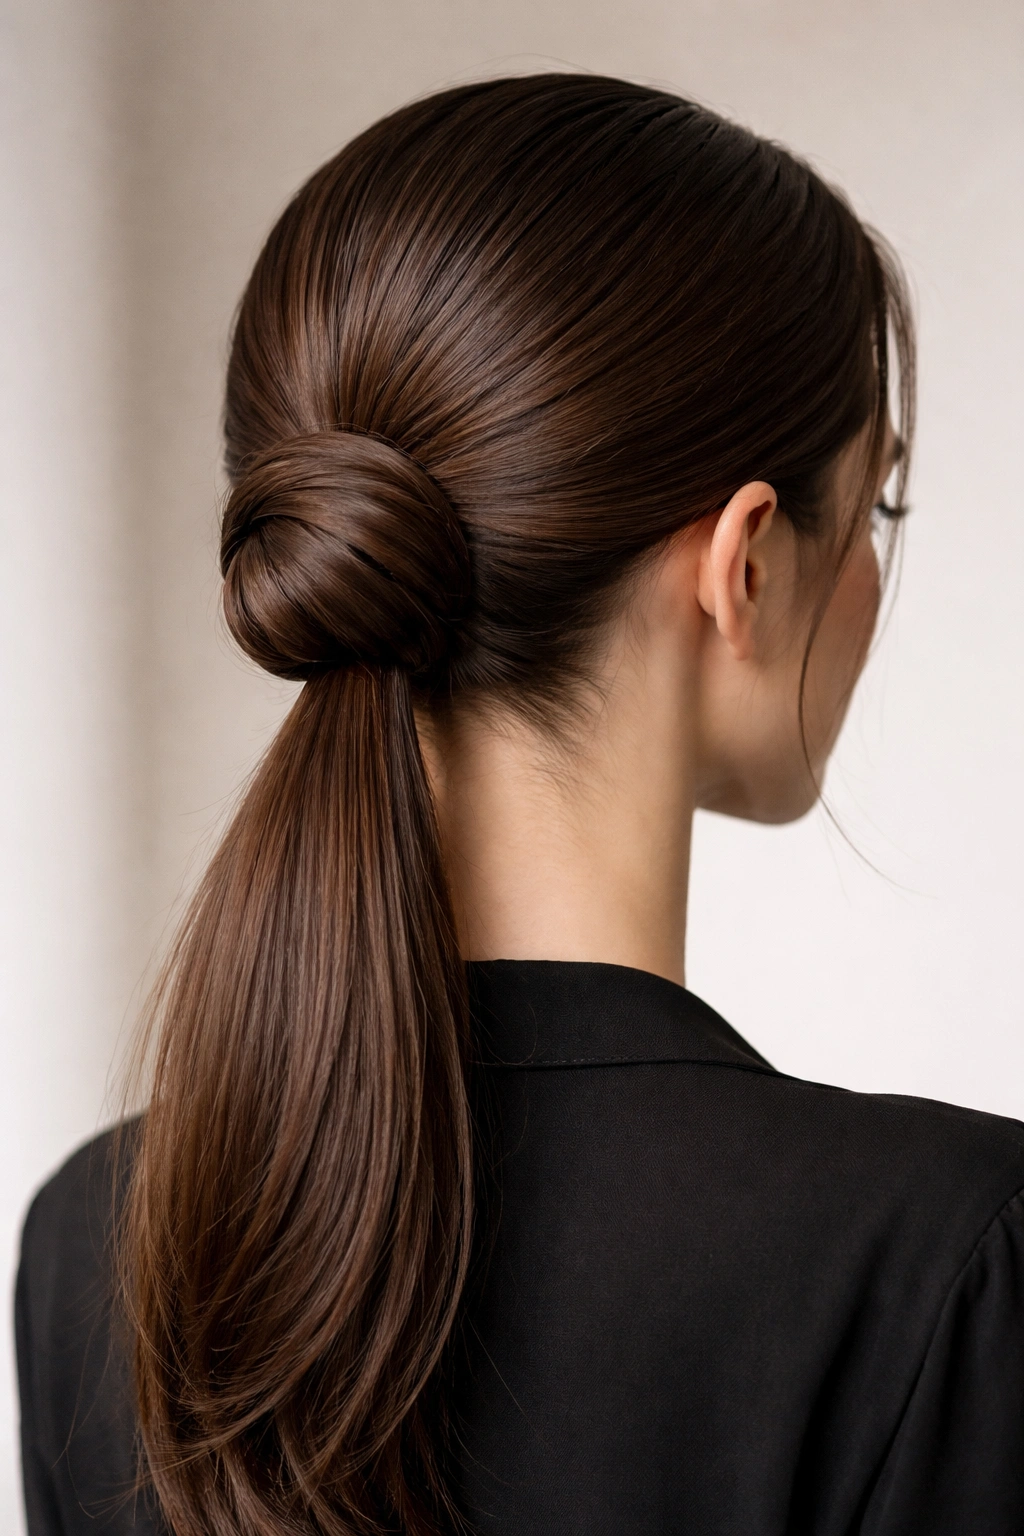
This version combines the polish of a sleek, low bun with just enough ponytail visible to look like a deliberate style choice. You create a low, tight ponytail but don’t wrap the entire tail — instead, you pin about half of it into a bun and let the bottom half fall out softly. It’s refined enough for professional settings but still completely effortless.
Why the Hybrid Structure Works
The visible ponytail portion adds movement and softness that a regular bun lacks, while the bun portion keeps everything secured and controlled. The contrast between the sleek base and the softer tail creates a more interesting silhouette than either style alone. This version translates across hair types beautifully because the sleek factor comes from the ponytail technique, not from perfectly smooth hair.
Creating the Tucked Ponytail Effect
- Start with a low, centered ponytail pulled tight against your nape
- Pin the elastic and hold the ponytail in one hand
- Divide the tail roughly in half
- Fold the top half back up toward the elastic, creating a bun shape
- Pin this folded bun portion with multiple bobby pins for security
- Let the remaining tail hang down freely — you can twist it slightly or leave it straight
- Smooth the base of the ponytail with a fine-tooth comb to eliminate bumps
Worth knowing: This style works best on hair that’s not freshly washed because you need the grip and texture to keep the bun portion stable without tons of bobby pins. If your hair is slippery, use a dry shampoo or texture spray beforehand.
5. The Braided Crown Ponytail Bun
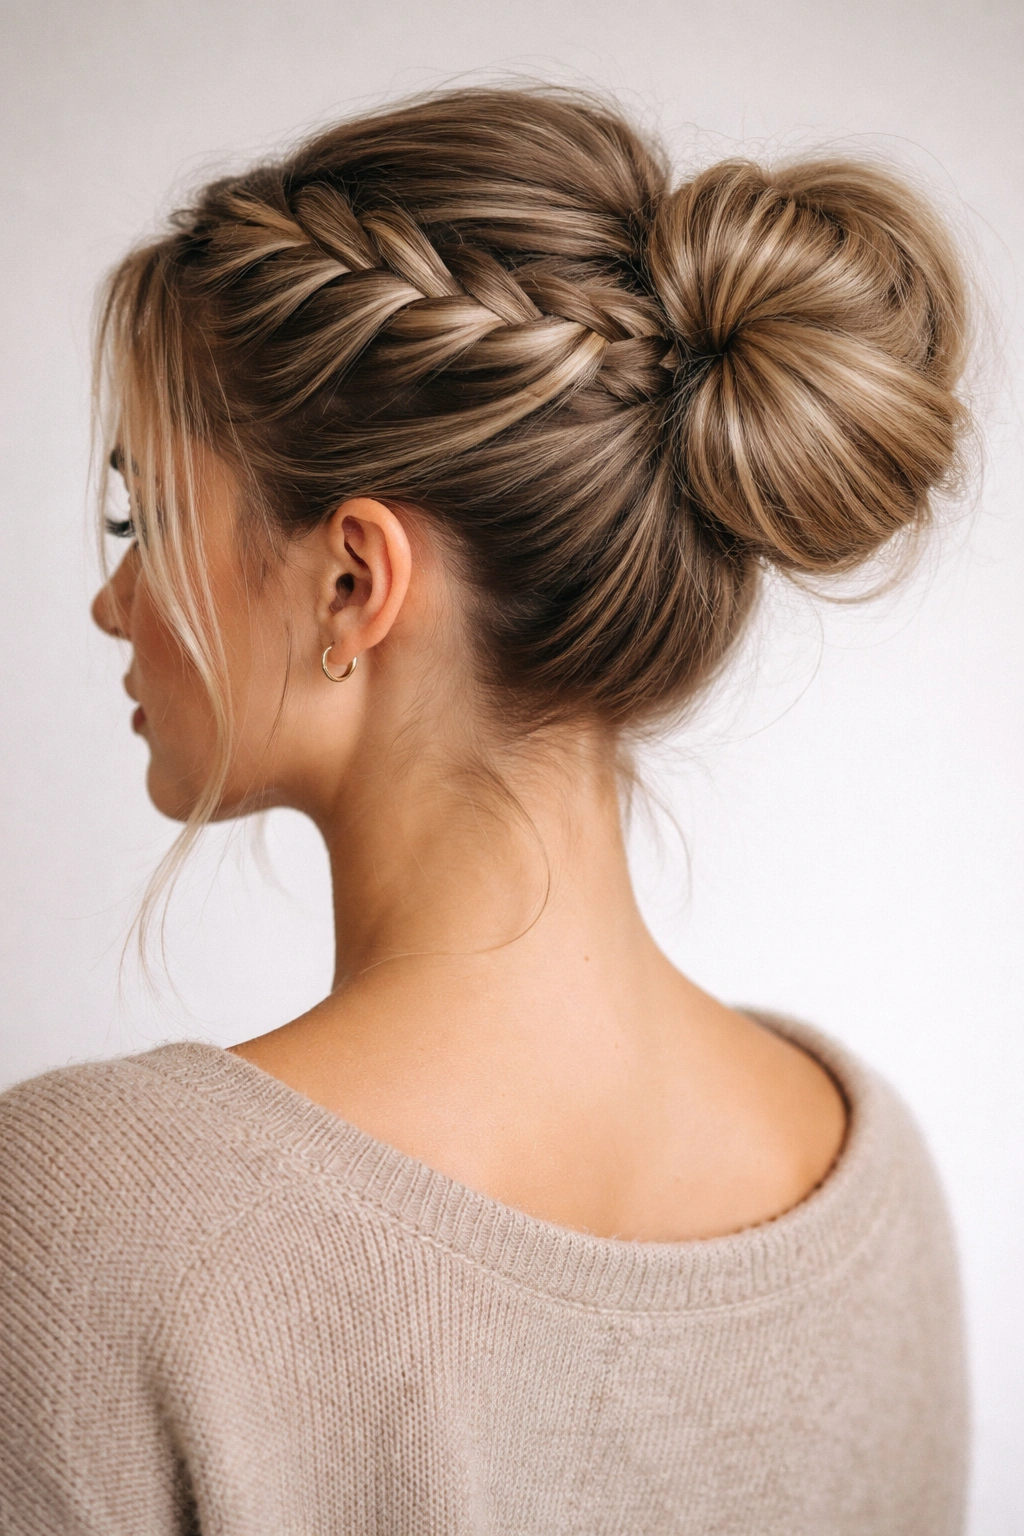
This one sounds more complicated than it is. You create one simple braid that starts at one side of your head and wraps around like a crown, then gather your hair at the back and form a bun, with the braid incorporated into the bun structure. It looks sophisticated and intentional without requiring intricate braiding skills.
Why Adding a Braid Elevates Everything
A simple braid adds visual interest and texture that makes the whole hairstyle read as more thought-out, even though the actual braiding is super basic. The braid also helps contain flyaways and unruly pieces because they’re trapped within the braid structure. This combo works especially well on second-day hair because the braid naturally grips and secures texture rather than fighting against it.
How to Execute the Crown Braid Effect
- Start with a small section of hair at one temple or ear
- Create a simple three-strand braid that runs along the side and back of your head, like a crown or headband shape
- Don’t braid too tightly — loose, relaxed braids look more modern and are easier to control
- Gather all your hair (including the braided section) at the back of your head into a ponytail
- Wrap the ponytail tail into a bun, with the braid naturally woven through the structure
- Pin everything securely, letting some braid texture peek through the bun
Pro tip: If traditional braiding stresses you out, you can even use the Dutch braid method (braid “under” instead of “over”) because any braid style works — the structure matters more than the technique.
6. The Twisted Wrap with Face-Framing Pieces
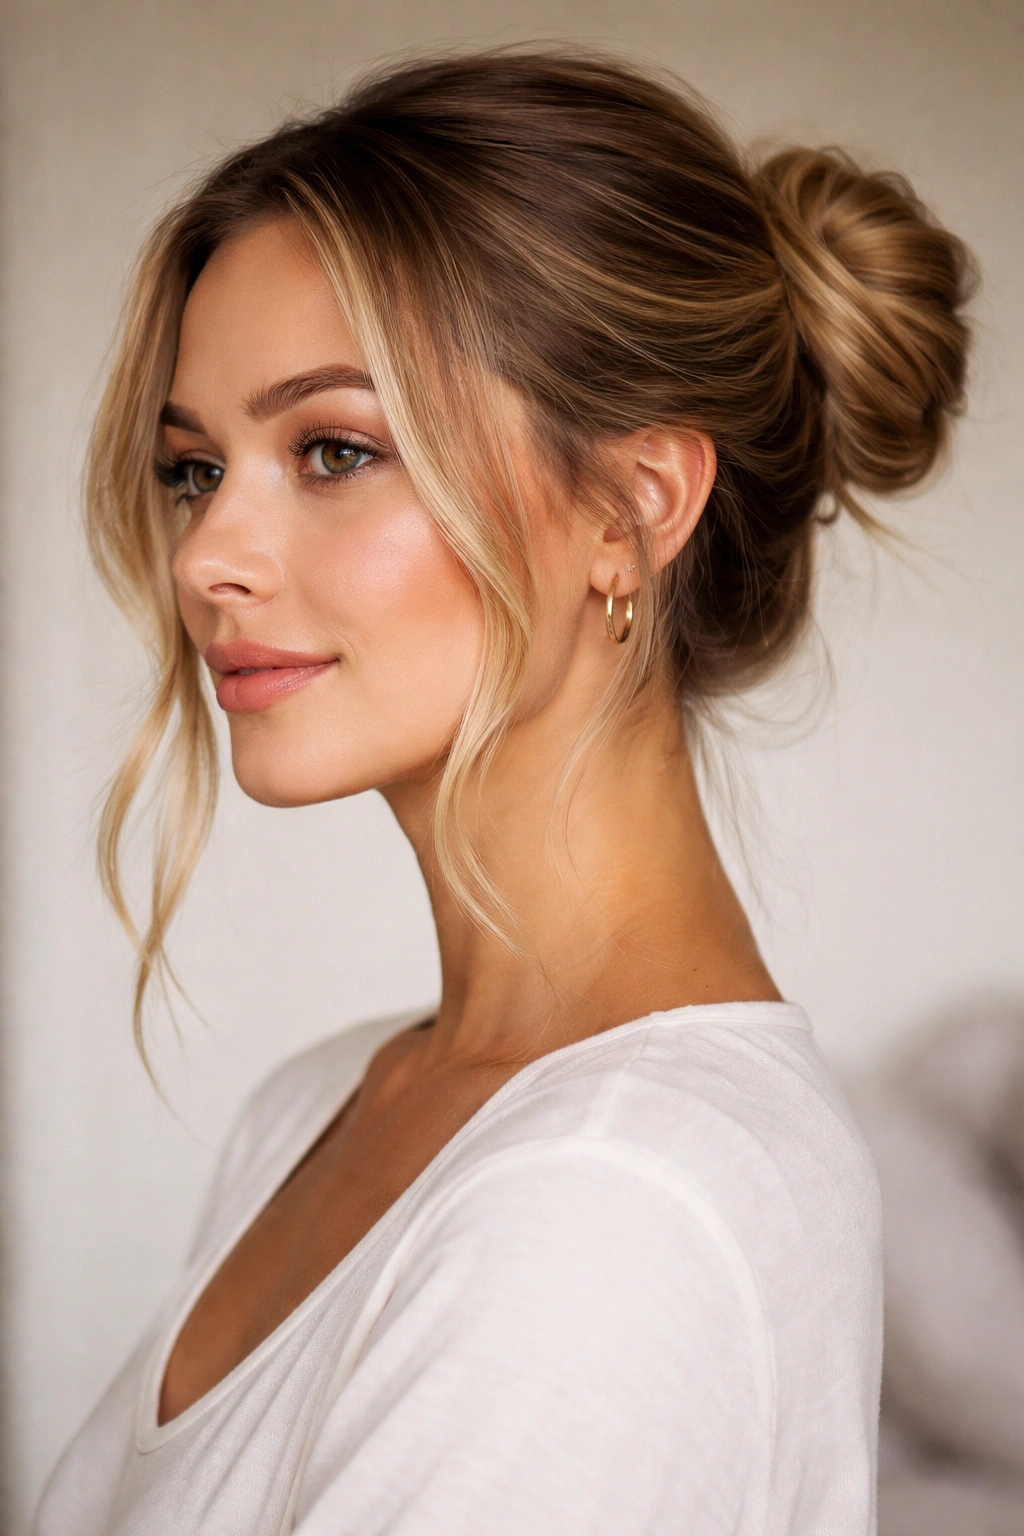
This is technically a variation on the classic wrap bun, but the intentional face-framing pieces change the whole vibe. You create a normal ponytail bun but leave two or three small sections of hair loose around your face before you even start twisting. This gives you an instantly softer, more feminine look without actually doing anything harder.
Why Face Framing Instantly Softens the Look
The loose pieces around your face break up the severity of a pulled-back style and add movement without requiring any additional styling steps. Face-framing pieces also help disguise the fact that you didn’t have time to style your hair properly — they create visual interest that draws attention away from texture or greasiness at the crown. This works on all face shapes because you can adjust how many pieces you use and where you position them.
Technique for Intentional Face Framing
- Before pulling your hair back, separate two small sections at your temples or cheekbones
- Clip these sections out of the way temporarily
- Gather the rest of your hair into a high ponytail
- Create your bun using the twisting method or wrapping method
- Release the clipped sections and curl or wave them slightly if you have a moment
- Leave them loose and face-framing — don’t try to integrate them with the bun
- Optional: lightly tease or curl the face-framing pieces to add movement
Worth knowing: The size of your face-framing pieces matters — too thin and they’re barely noticeable, too thick and your bun looks unbalanced. Aim for sections roughly the thickness of a highlighter marker.
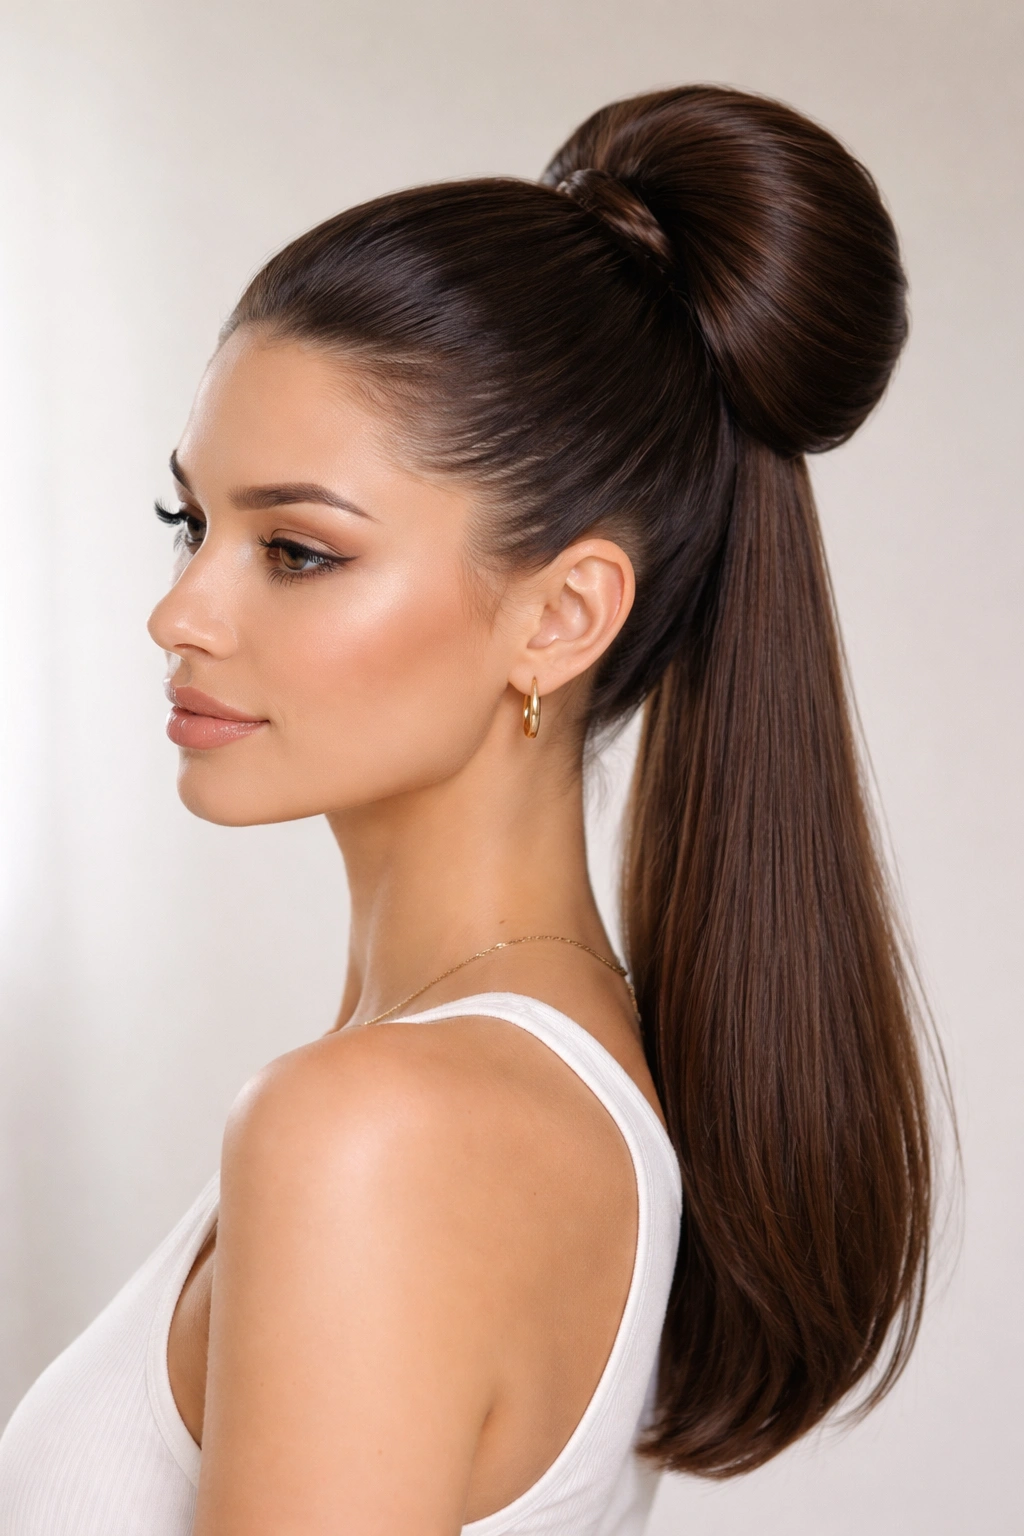
7. The Bubble Ponytail Bun
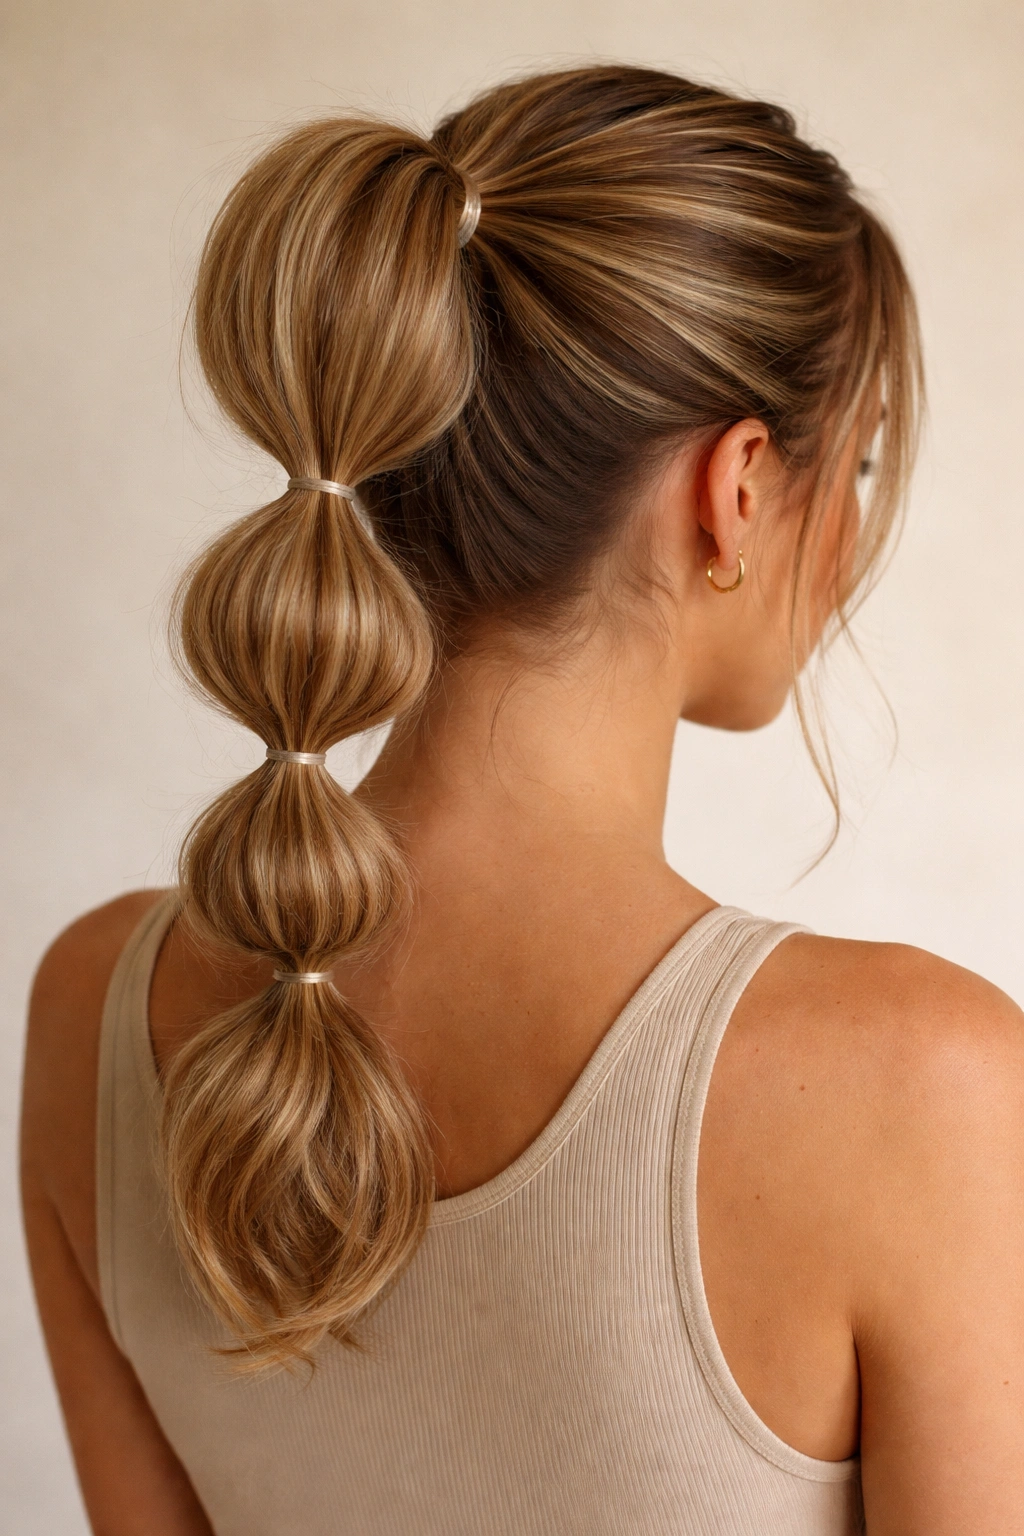
This style creates a stacked, segmented effect where your ponytail is divided into three or four sections with elastic bands spaced evenly down the length. The bottom section then folds up into a bun, creating a sculptural, dimensional look that’s actually a lot easier than it sounds. It’s trendy enough to look current, but lazy enough that it takes five minutes max.
Why Bubble Ponytails Create Instant Volume
The elastic bands create natural sections and pockets of fullness that make even fine hair look thicker and more textured. The segmented structure also holds everything incredibly securely because you have multiple anchor points instead of just one elastic. This style is naturally flattering on most face shapes because the rounded sections create soft, curved lines.
Creating the Bubble Ponytail Effect
- Start with a smooth, tight ponytail at your desired height (high buns look modern, mid-height looks balanced)
- Take a small elastic band and secure it about two inches down from your ponytail elastic
- Repeat this process, creating three to four segmented sections down the length of your ponytail
- Gently pull and fluff each section upward so they puff out between the elastics
- Fold the bottom unsecured portion of the ponytail up and pin it into a bun shape at the base
- You can keep the bun neat or tousle it for a messier look
- Optional: pull a few strands free between the bubbles to add movement
Pro tip: This style actually looks better if you don’t try to make it perfectly smooth and controlled — the whole point is the texture and separation, so embrace the slightly undone vibe.
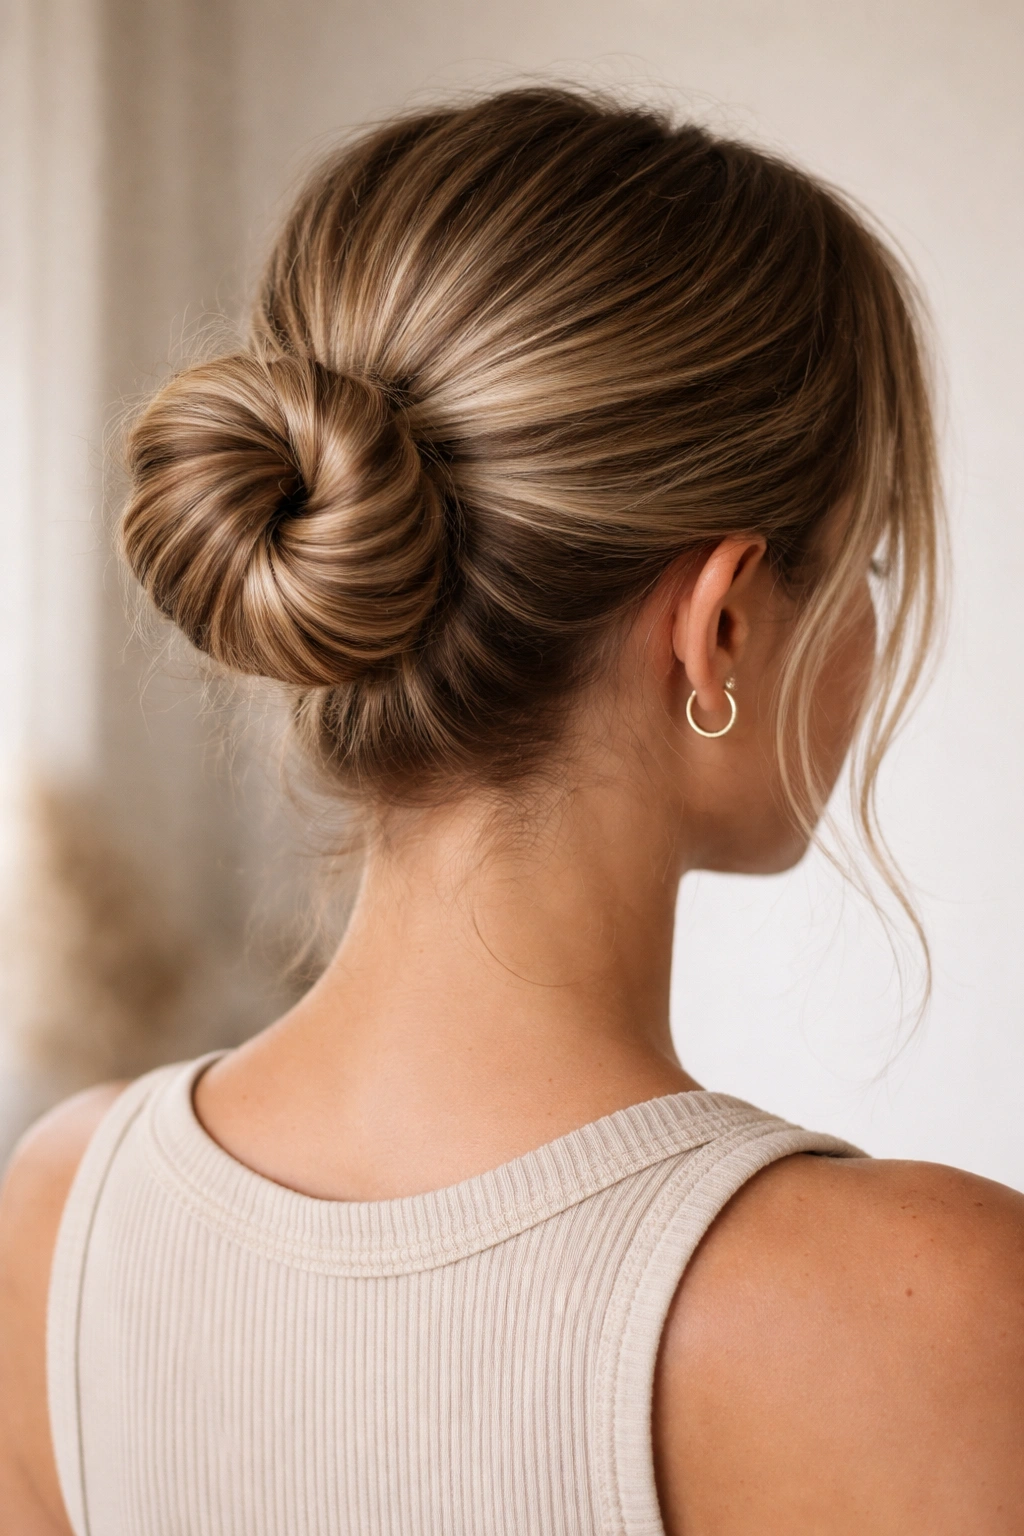
8. The Low Chignon Ponytail
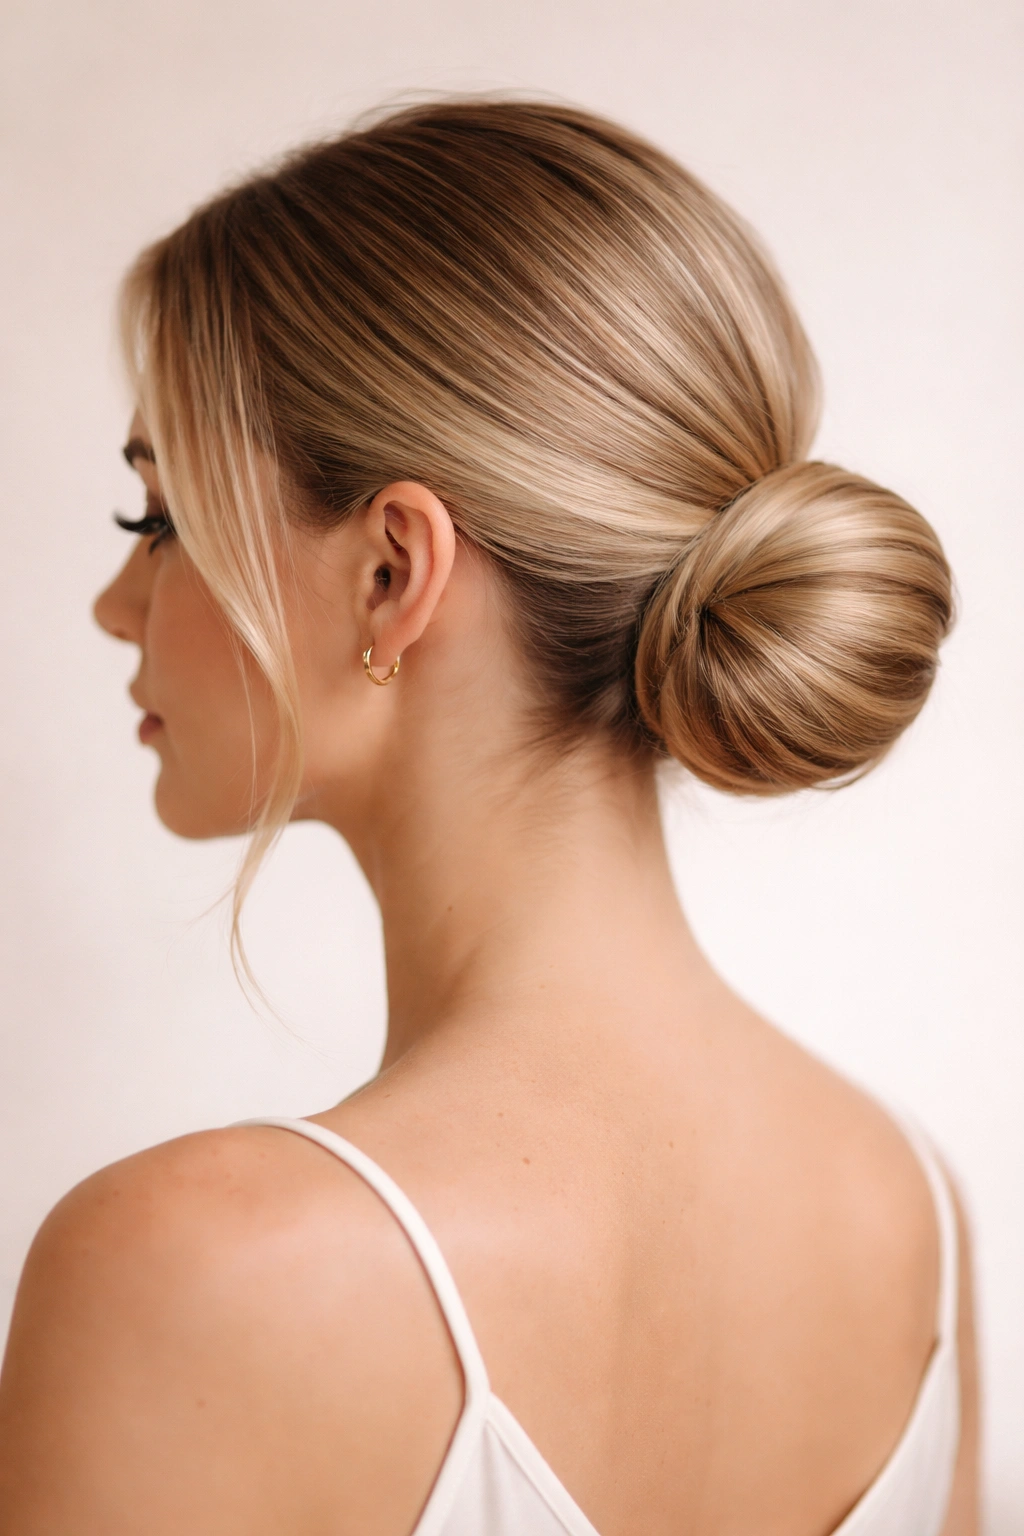
A chignon is basically a fancy word for a rolled bun where you create your low ponytail, then roll the tail inward (like rolling a towel) and pin it into a neat, cylinder-shaped bun. It sounds fancy but it’s honestly one of the easiest versions because you’re not twisting or wrapping — just rolling and pinning. This is your answer when you need to look polished but don’t have time to actually style your hair.
Why Chignons Always Look Put Together
The rolling technique creates a naturally smooth, neat appearance without requiring you to make your hair perfectly smooth beforehand. The cylinder shape is flattering across different hair types and head shapes because it creates an elegant line rather than a blob. Chignons also hold incredibly securely because the rolling technique creates natural grip, and the neat shape means you don’t need a million bobby pins.
How to Roll a Proper Chignon
- Create a low, centered ponytail at your nape, pulled moderately tight
- Tuck the tail inward (toward your head) and begin rolling it around itself, like rolling a cinnamon roll or towel
- Keep rolling until you reach the ends of your hair
- Curl the rolled section into a bun shape and pin it with several bobby pins spaced around the roll
- The bun should look like a neat, oval cylinder rather than fluffy or textured
- Tuck any loose ends underneath and pin them securely
Worth knowing: If you have very long, thick hair, you might need to divide the rolled portion into two or three sub-sections and pin them separately so you don’t end up with an uncomfortably heavy, pulling bun.
9. The Side-Swept Bun with Textured Waves
This version combines a slightly off-center, side-swept bun with intentionally textured, wavy ponytail pieces that you leave partially loose. It’s bohemian without being fussy, and it works on all hair types because the waves and texture hide the fact that you didn’t blow dry or style. Perfect for lazy days when you want to look effortlessly beautiful.
Why Waves Automatically Add Visual Interest
Texture and waves create the illusion of fuller, thicker hair and disguise greasiness far better than sleek, smooth styles. Waves also add movement and dimension, which makes a bun look far more interesting than if the same bun were paired with straight hair. The side placement adds asymmetry that makes the whole look feel more intentional and less like you just grabbed your hair out of desperation.
Creating Waves Without Heat Tools
- If you’re starting with straight hair, braid damp hair the night before or use dry texturizing spray
- Gather your hair into a low side ponytail, leaving it slightly loose rather than pulling it super tight
- Create your bun using whichever technique feels easiest (twist and wrap works great here)
- Instead of tucking all the ends away, leave some of the ponytail tail slightly loose and separate it with your fingers
- Gently separate and tousle the waves throughout the bun and the loose tail portion
- Optional: use a light hairspray to hold the waves and bun shape without weighing things down
Pro tip: Sea salt spray or dry texturizing spray is your best friend here — even a light application the morning of helps waves grip and hold better throughout the day.
10. The Two-Bun Ponytail Split
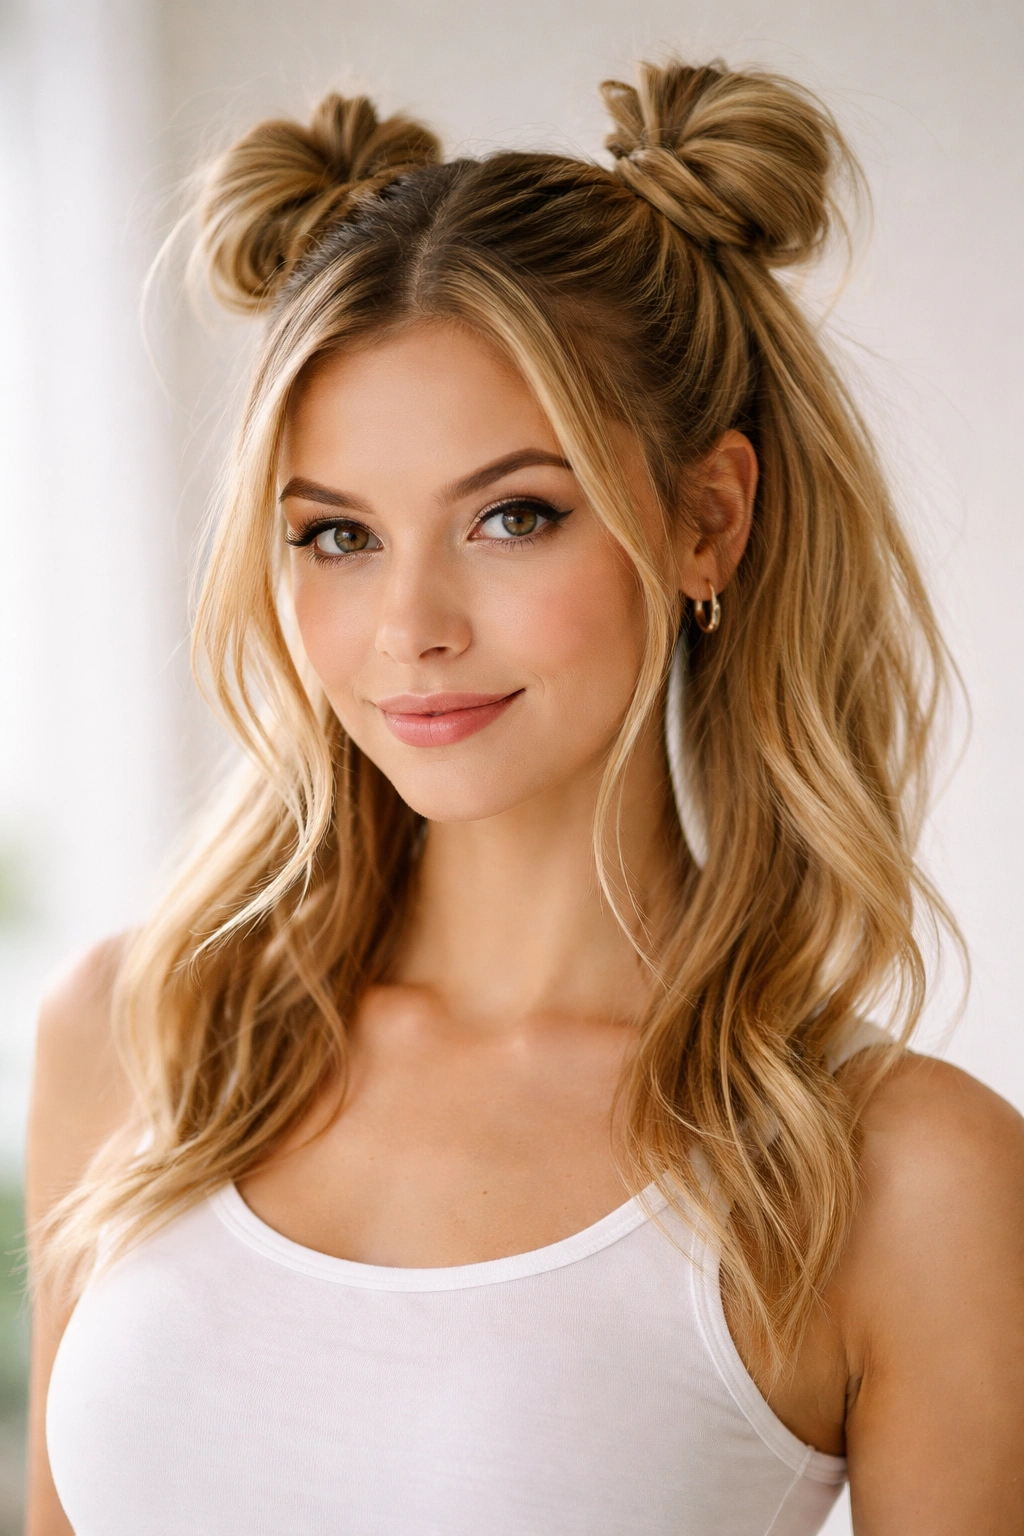
This is a playful version where you create a high ponytail, divide it into two equal sections, and form two small buns side by side instead of one large bun. It looks cute and young without being too precious, and it’s actually surprisingly secure because you have two anchor points instead of one. It works beautifully on medium-length hair and gives you instant visual interest.
Why Twin Buns Distribute Weight Better
Two smaller buns distribute the weight of your hair more evenly across your scalp, which means less pulling and more comfort for all-day wear. The dual structure is inherently interesting from a design perspective — it’s not as common as a single bun, so it automatically reads as more intentional. This works especially well on thick hair because you can divide the mass into manageable portions.
Forming Perfect Twin Buns
- Create a high, centered ponytail at the crown
- Divide the ponytail exactly in half using a comb or your fingers
- Clip one section back temporarily
- Take the first section and twist or wrap it into a bun, pinning it on one side of your ponytail base
- Release the second section and repeat the process on the opposite side
- You should end up with two equal buns positioned symmetrically
- Fluff and adjust each bun so they match in size and looseness level
- Make sure both buns are equally secure with bobby pins
Worth knowing: The height of your initial ponytail changes the whole vibe — a super high ponytail with two buns reads young and playful, while a mid-height version looks more sophisticated and balanced.
11. The Sleek Ponytail with Bun Extension
If your hair is on the shorter side or you’re dealing with fine hair, this version works magic. You create a normal ponytail at your desired height, but then use a small piece of textured fabric, an old scrunchie, or even a rolled-up cloth to create bulk underneath when you form your bun. This gives you the appearance of a full, thick bun without needing actual thick hair. It’s a cheat code that nobody will notice.
Why Adding Bulk Under Your Bun Is Pure Genius
Most people don’t realize that adding a small amount of padding underneath a bun makes it look substantially fuller and more textured. The padding also helps distribute the weight more evenly, which reduces scalp strain on people with fine or thin hair. This technique lets you rock the bun aesthetic regardless of your actual hair thickness or length, and it’s completely invisible once your hair is styled over it.
How to Add Hidden Bulk Underneath
- Create your ponytail and secure it tightly
- Place a donut-shaped hairnet, small piece of fabric, or even folded tissue underneath where your bun will sit
- You can also use one of those plastic bun forms designed exactly for this purpose
- Create your bun over and around the padding using your normal technique
- The padding stays hidden underneath while your hair creates the visible bulk on top
- Pin everything securely, making sure the padding doesn’t shift
- Fluff and adjust your bun until you’re happy with the fullness and shape
Pro tip: If you use fabric padding (like an old silk scrunchie), make sure it matches your hair color so it’s invisible if any gaps appear as you wear the bun throughout the day.
12. The Loose Low Bun with Whispy Flyaways
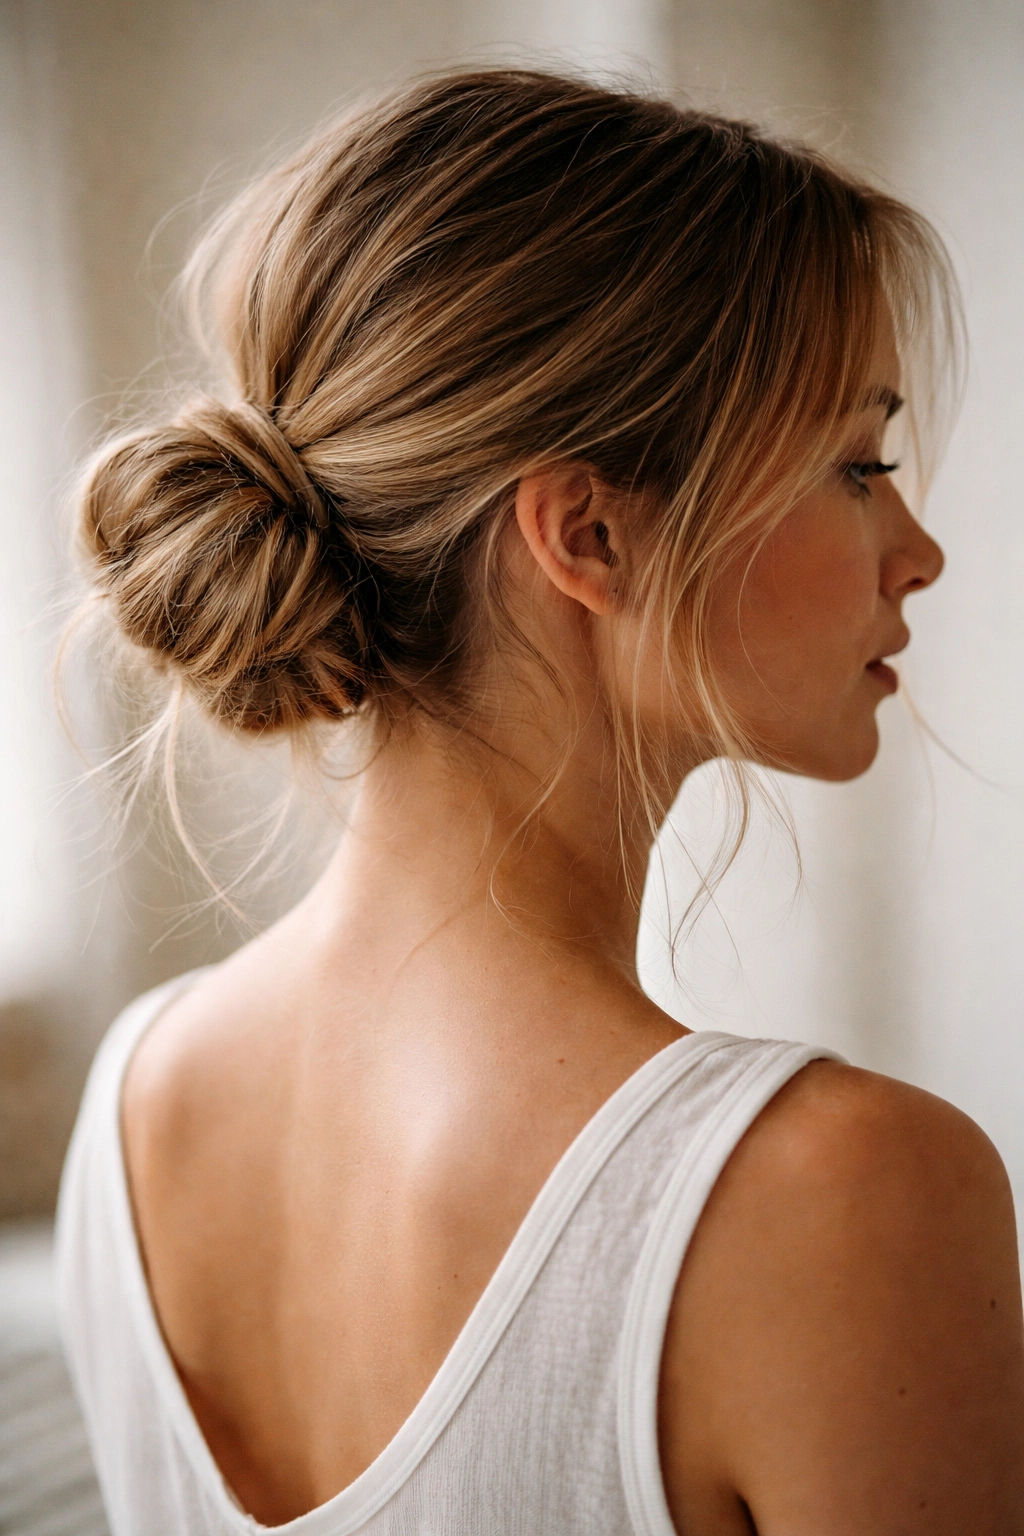
This final version is for days when you’re not even pretending you had time to do your hair, and you’re leaning into the “effortlessly undone” aesthetic. You create a low ponytail that’s intentionally loose and somewhat messy, then form a relaxed bun that’s definitely not neat or controlled. The flyaways and wisps are part of the style, not something you’re fighting against. Somehow, this reads as intentional and chic rather than careless.
Why Deliberately Loose Buns Look Modern
The whole concept of deliberately loose, undone styling is having a moment because it reads as confident and modern — you don’t need everything to be perfect. A loose bun also requires way less time and effort than fighting with your hair to make it sleek and smooth. This style works on all hair types and all lengths, and it’s the most forgiving version if your hair didn’t cooperate that morning.
Creating the Intentionally Undone Low Bun
- Gather your hair into a low ponytail at your nape, keeping it loose rather than pulling tight
- Don’t worry about smoothness — some bumps and texture actually enhance this look
- Twist the ponytail loosely or wrap it into a bun shape, but don’t bother securing every strand
- Leave several wisps and flyaways loose around your face and nape — this is intentional
- Pin the bun loosely with just two or three bobby pins rather than trying to create a secure structure
- Pull and tousle the bun so it looks relaxed and soft rather than compact
- If you want, use a texturizing spray to emphasize the undone, piecy texture
Worth knowing: This style paradoxically takes less time than trying to make a neat bun, and it’s extremely forgiving if your hair texture isn’t cooperating. You’re literally leaning into the imperfection, which makes everything easier.
Final Thoughts
The beauty of ponytail bun combos is that they give you maximum visual impact with minimal actual effort. Once you master one or two versions, you can rotate between them depending on how much time you have, what kind of impression you need to make, and how your hair is cooperating that particular morning. Some days you’ll go sleek and polished; other days you’ll embrace the undone aesthetic. Both look intentional and put-together because you’re using styling technique strategically rather than hoping that throwing your hair up will magically look good.
The secret that nobody tells you about lazy-day hairstyles is that the most effortless-looking versions actually require the most confidence in your approach. Once you stop worrying about making everything perfectly smooth and symmetrical, you unlock a whole category of styles that are faster, easier, and honestly more interesting than the controlled versions. Your hair doesn’t need to be perfect — it needs to have intention and structure, which these combinations provide even when you’re operating on five minutes and two bobby pins.
Pick whichever combo feels most natural for your hair type and daily schedule, then practice it once or twice so the technique becomes automatic. After that, you’ll find yourself reaching for these styles on your laziest mornings and your busiest days, which is exactly the point. The goal is looking polished without sacrifice, and these twelve versions deliver exactly that.