A curly style looks finished in seconds when the edges are shaped with a light hand.
Curly hairstyles with laid edges work because they let the curls stay full while the hairline does a quiet, tidy job. That frame matters. A pea-size amount of edge control, a small brush, and a satin scarf can do more than a thick layer of gel ever will, and heavy product tends to make the front look stiff before noon.
The styles that follow cover puffs, buns, ponytails, braids, twist-outs, bob cuts, and the kind of half-up looks that save a bad hair day without hiding your texture. Some are soft and loose. Some are crisp. All of them make room for the curls to be the main event.
If your hairline is sensitive, keep the swoops small and the tension low. The best laid edges are the ones you notice because the whole style feels finished, not because the front looks pasted down.
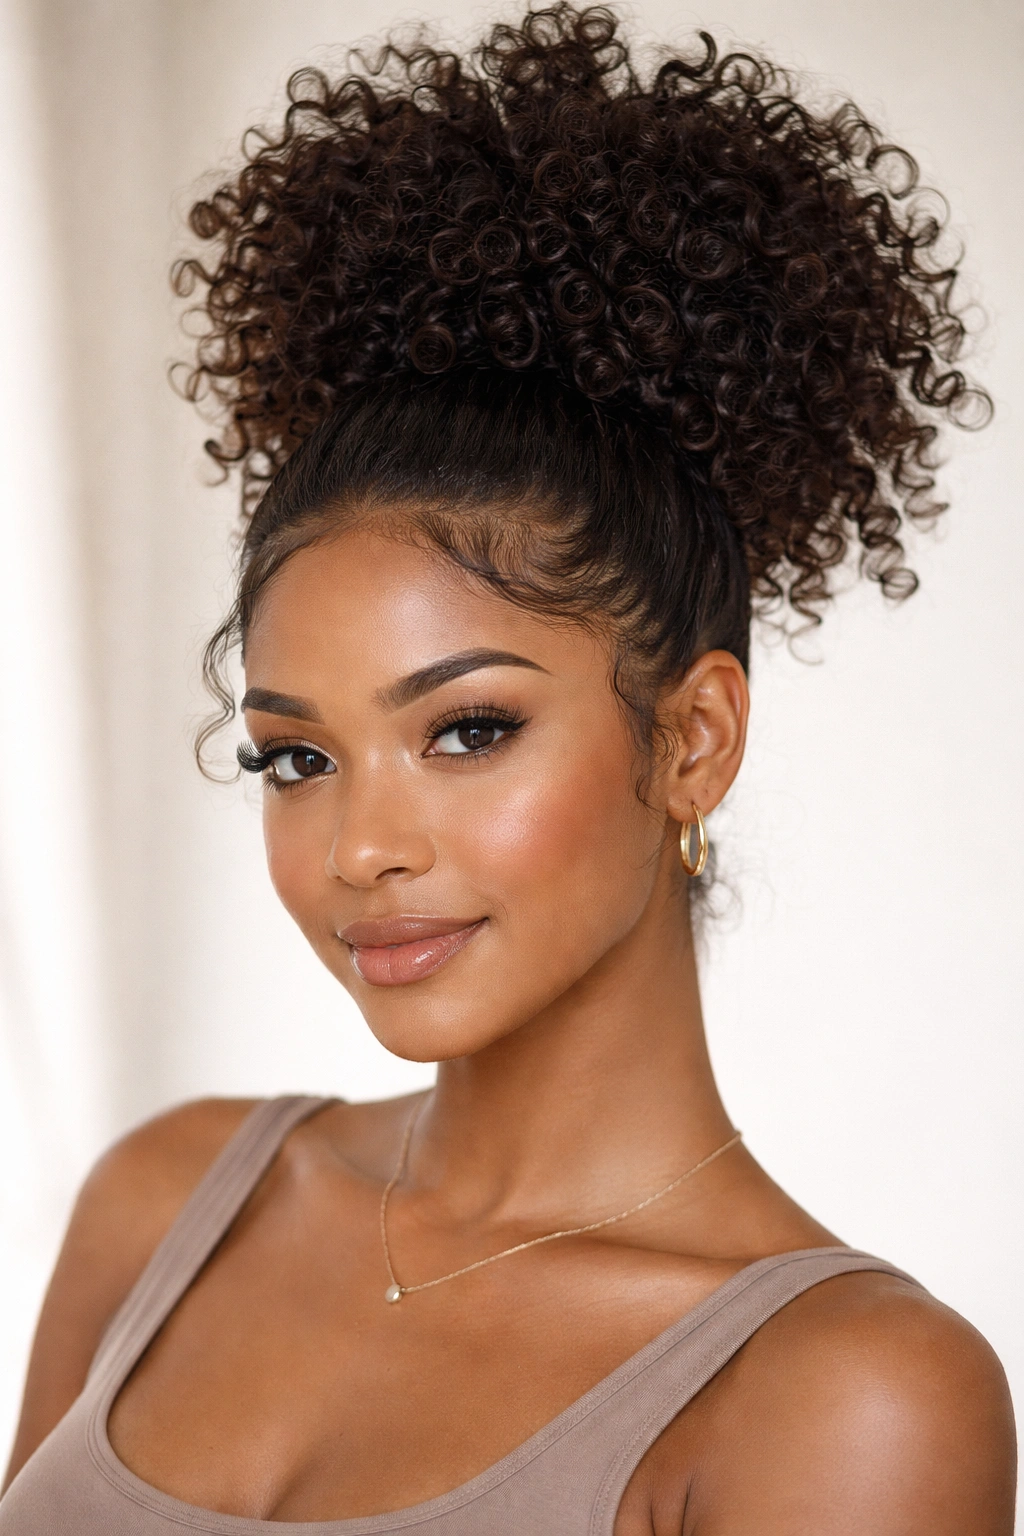
1. High Puff With Sculpted Swoop Edges
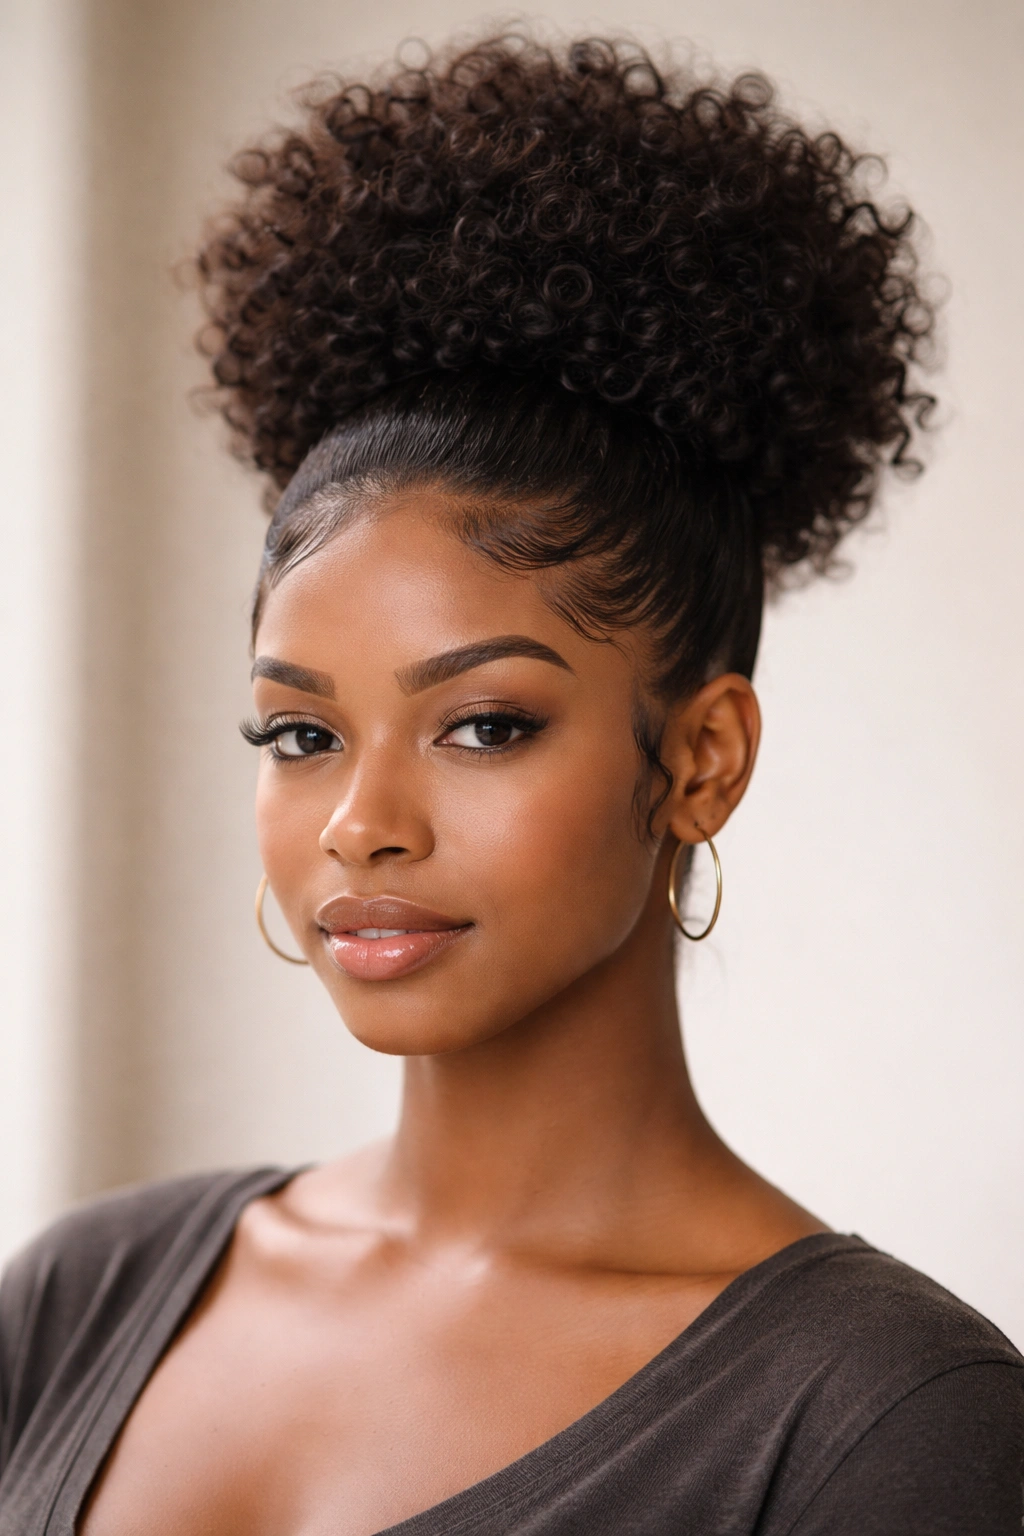
A high puff is one of those curly hairstyles with laid edges that never really goes out of favor, because it solves two problems at once. It gets your curls up and out of the way, and it gives the front of your hair something neat to do. That contrast is the whole point.
Why It Works
The puff pulls the eye upward, which is useful when your curls are dense or your roots have a mind of their own. The laid edges soften that lift so the style doesn’t feel harsh or too tight around the temples. A little curve at the hairline also makes the puff look intentional instead of rushed.
Use a soft brush or edge brush and keep the product on the first inch of hair only. If you slick the whole front section, the puff loses the airy look that makes it good in the first place. And yes, the size of the puff matters — a bigger puff usually needs smaller edges, not bigger ones.
- Works best on shoulder-length hair and longer curls.
- Takes about 10 to 15 minutes once the hair is detangled.
- A satin scrunchie helps keep the base from biting into the curls.
- Use a pea-size amount of edge control per temple, not a full swipe from ear to ear.
One useful rule: secure the puff first, then lay the edges. If you do it the other way around, your hands will shift the front shape while you’re tying the band, and the hairline ends up looking uneven.
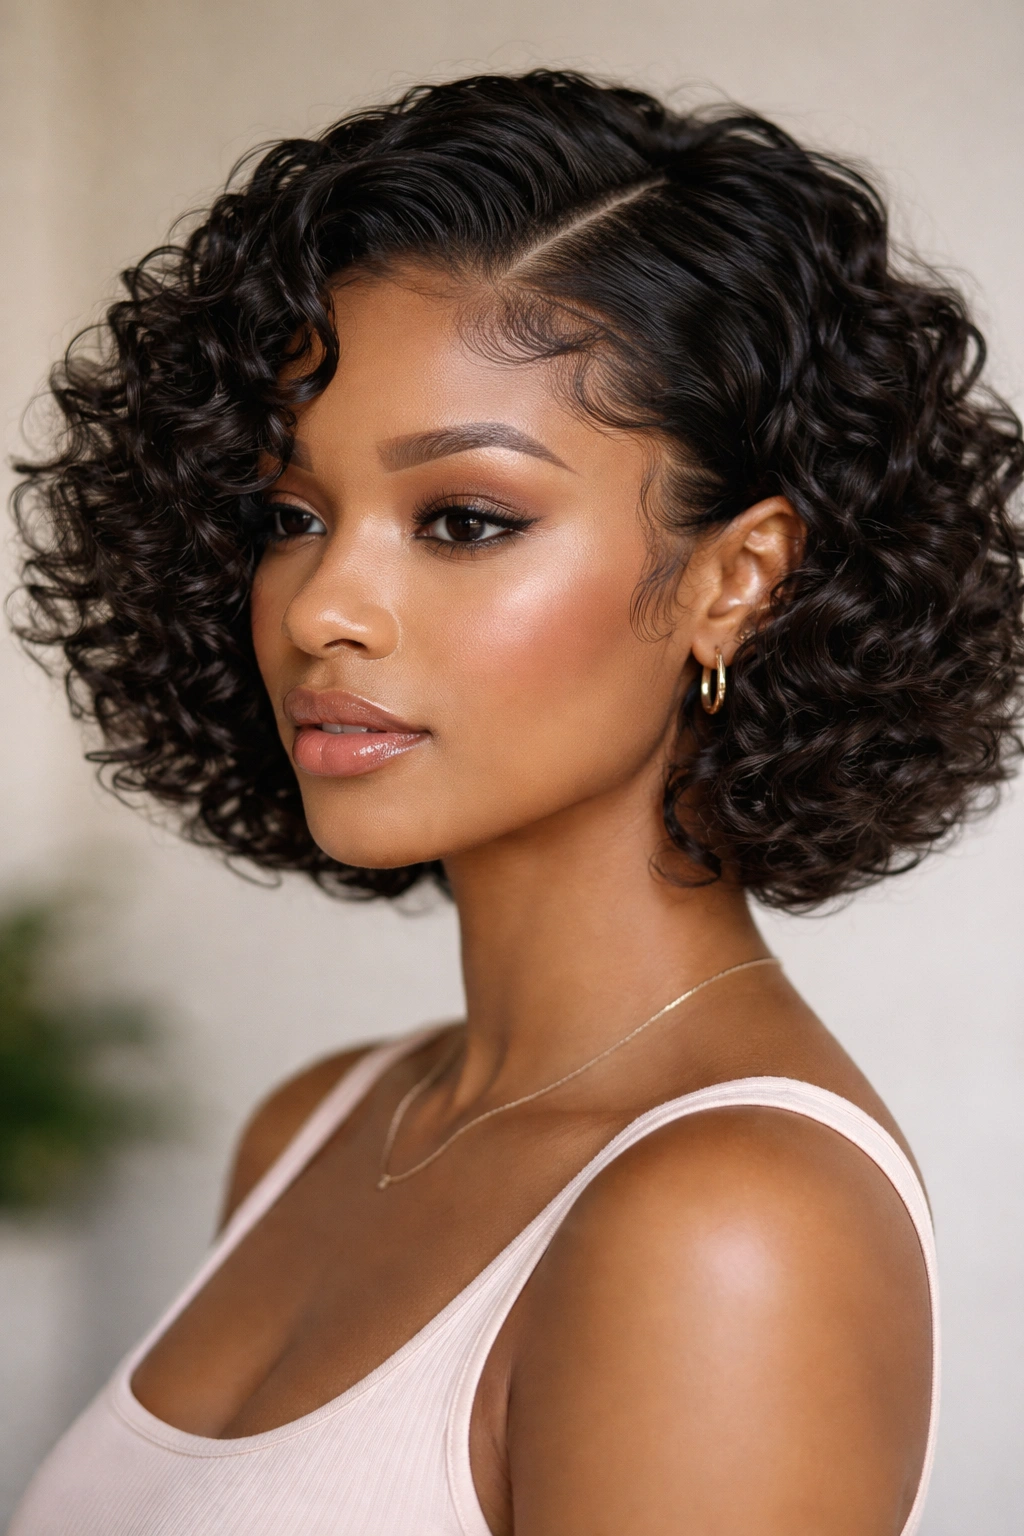
2. Wash-and-Go With Soft Laid Edges
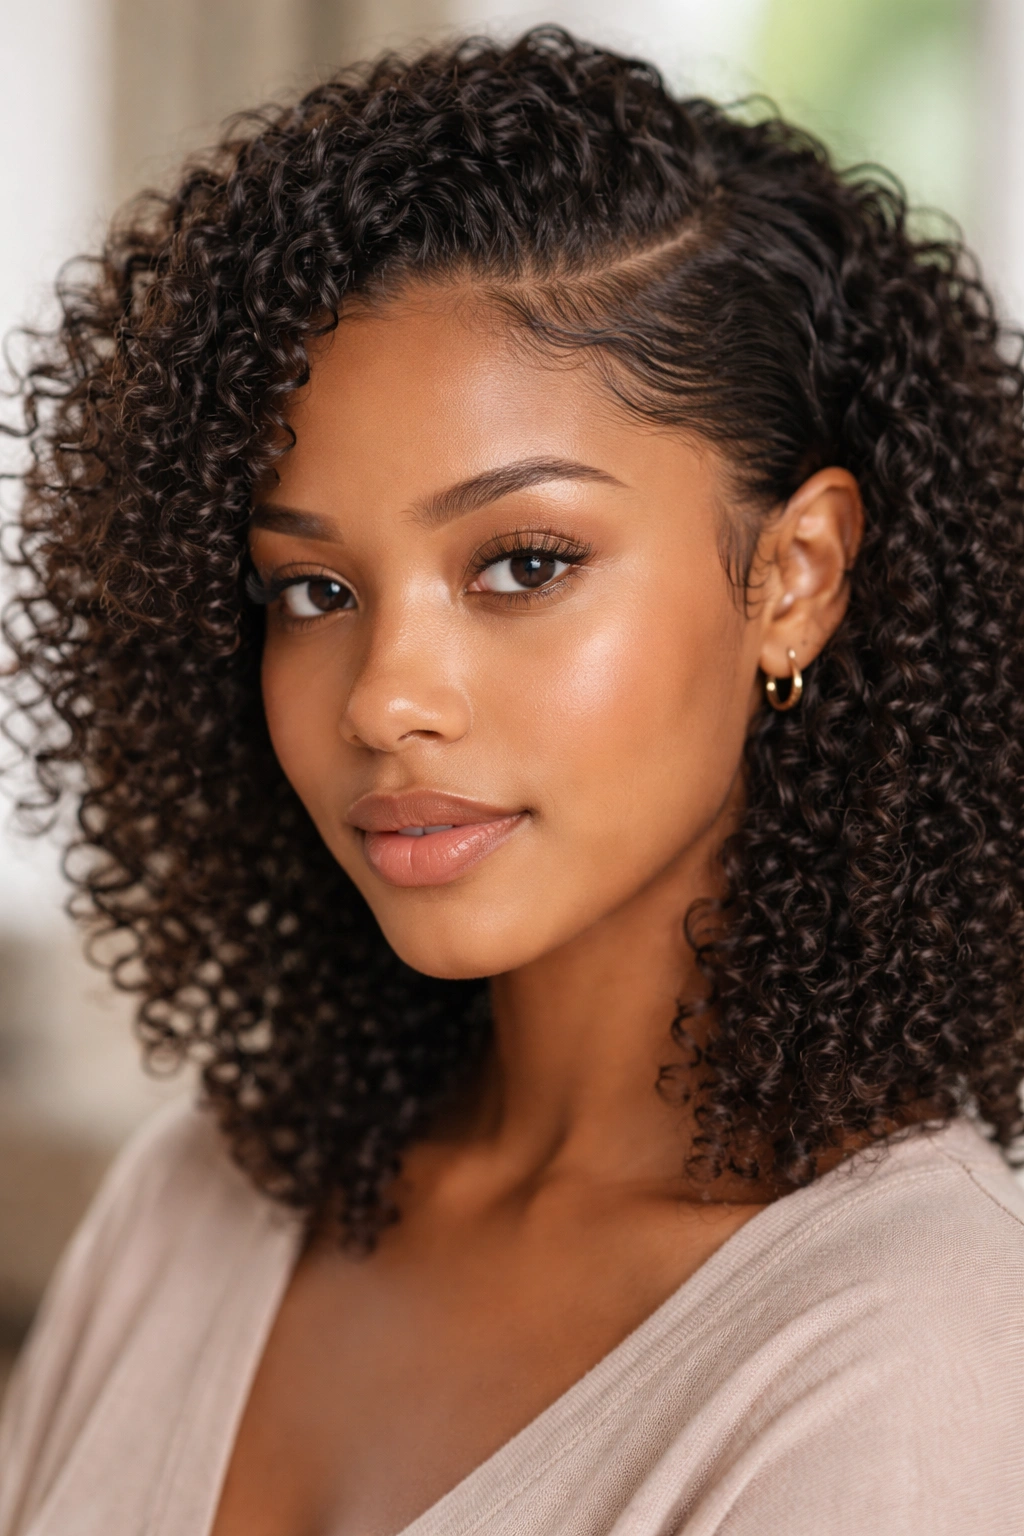
A wash-and-go does not need dramatic baby hairs to look done. In fact, too much edge work can fight with the curl pattern and make the front look busier than the rest of the style. A gentle curve at the temples usually does more for the face than a thick row of swoops.
This is the style I reach for when the curls are already defined and I do not want to overthink them. The wash-and-go does the heavy lifting, so the edges just need to clean up the frame. If your curls are 3b to 4a, a soft edge shape can keep the hairline neat while the rest of the texture stays loose and springy.
Less is better here.
After your curls dry, smooth only the parts that touch the face — usually the temples, maybe a tiny section at the center if you wear a middle part. A drop of styling gel or cream edge control on a brush is enough. If you keep brushing the same spot over and over, the front starts to look flat and the curl pattern around it gets frizzy.
The nicest version of this style looks calm. Not stiff. That’s the difference between polished curls and curls that have been argued with.
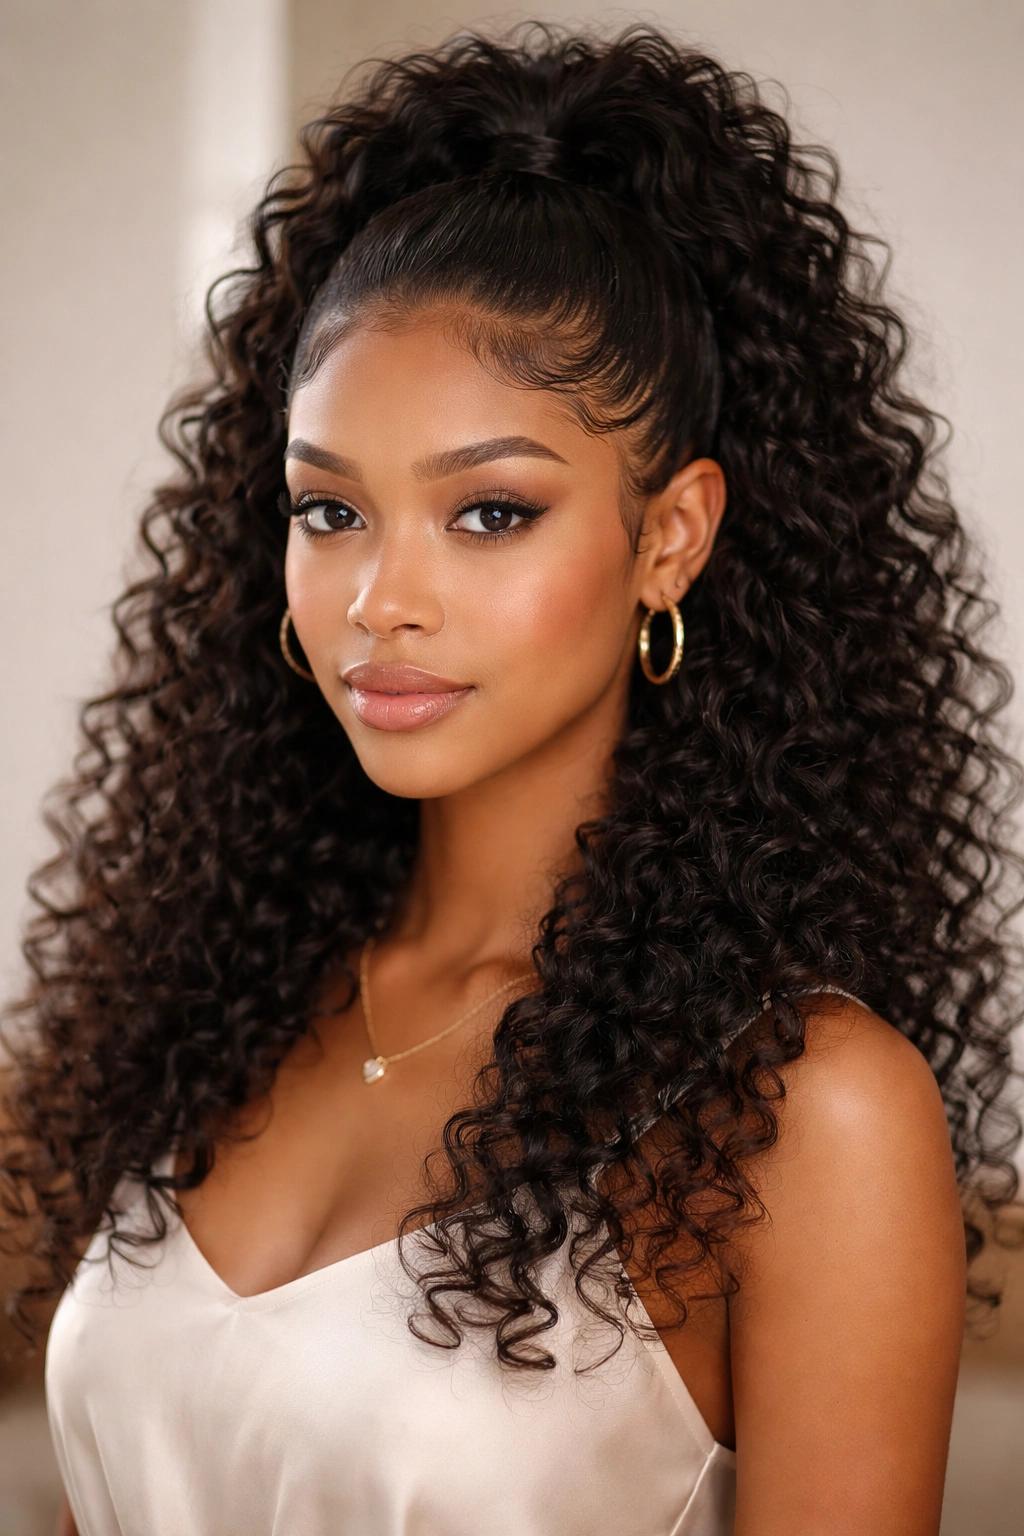
3. Pineapple Ponytail With Curved Baby Hairs
Why does the pineapple ponytail work so well with laid edges? Because the shape is playful, but the front still needs structure. The curls sit high and loose, almost like they’re collected for a nap, while the edges tell the style where the face begins.
How to Style It
Pull the curls up to the crown and secure them with a satin scrunchie or a soft elastic. Leave enough slack so the base doesn’t compress the curls into one flat lump. A pineapple ponytail should look buoyant, not squashed.
Then shape the edges in a narrow curve across the forehead and at the temples. Think small arcs, not wide waves. If the swoop goes too far down the cheek, the style starts fighting itself. The ponytail already gives height; the edges should stay close to the skin and stay quiet.
- Best for day-two curls that need a reset.
- Works nicely on medium to long hair.
- Good when you want something quick that still looks thought through.
- Keep the edge pattern light if your curls are already frizzy at the crown.
This style is one of the easiest ways to go from couch hair to dinner hair without a full wash. A scarf set for 5 to 10 minutes can make the front lie flatter, but don’t leave the edges too wet or they may puff back up once you step outside.
4. Half-Up, Half-Down Curls With Laid Edges
Picture curls spilling down the back while the top half is clipped up high enough to show earrings, makeup, or a clean neckline. That’s the charm of a half-up, half-down style. It gives you lift without taking away the volume people actually want to see.
Laid edges make the whole thing read as finished instead of casual. The top section can be clipped, twisted, or tied into a small puff, while the lower curls stay soft. Once the front hairline is shaped, the two halves stop looking separate and start reading as one style.
A claw clip gives this look a looser feel. A band or small elastic makes it neater. I like a side part here if the curls are thick, because the curved edge line follows the part and keeps the front from getting boxy. If your hair is finer, a center part can make the crown look fuller.
Use a few face-framing curls if you want movement near the jaw. Just don’t make them compete with the laid edges. The line at the hairline should stay clean enough to balance the texture below it.
5. Low Curly Bun With Clean Side Parts
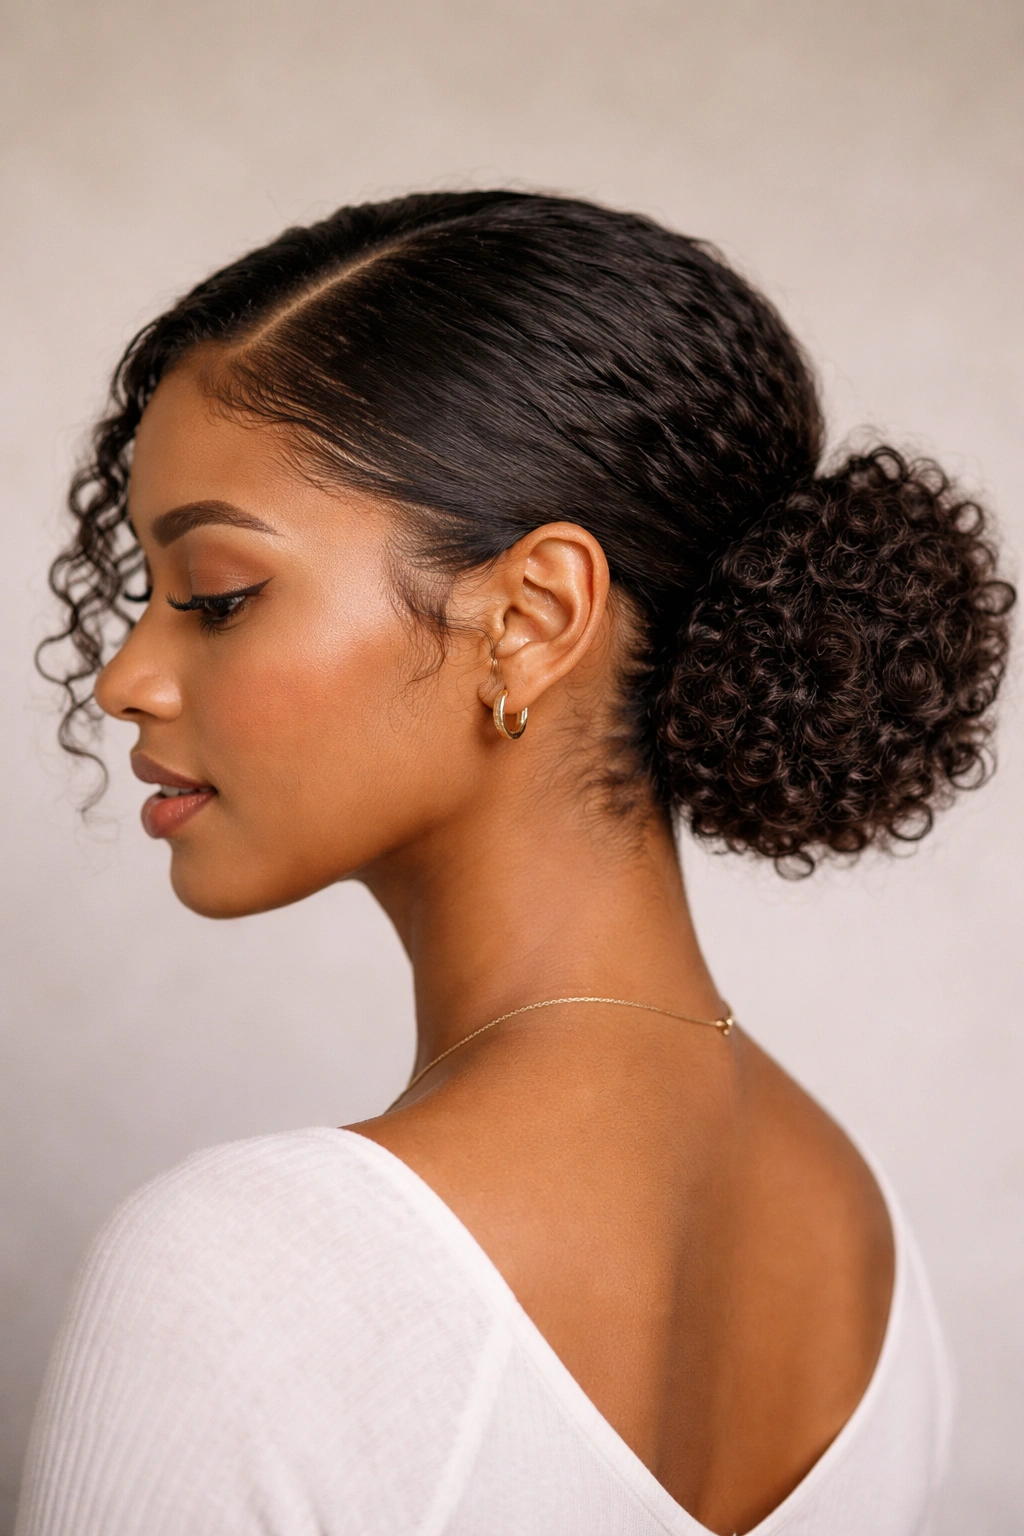
A low curly bun is the style I reach for when the outfit already does a lot of talking. The hair doesn’t need to shout. It just needs to look neat, controlled, and a little bit soft around the edges — literally.
The bun sits at the nape or just above it, which keeps the neck open and gives the curls a more deliberate shape. A side part helps here because it gives the front some direction before the edges come in. The result is calmer than a topknot and less severe than a slick bun.
I like this style because it lets the curl texture stay visible even when the hair is pinned up. Twist the length loosely before wrapping it into the bun, and use pins instead of piling on gel. Too much gel turns the front crunchy and the bun itself heavy, which is a bad trade.
The edges should be tidy, not sculpted into tiny artwork. A soft curve at one temple and a short swoop near the other is enough. If your hairline is uneven, don’t chase exact symmetry in the baby hairs. Match the size, not the curl shape. That tiny shift makes the style look more natural and less forced.
6. Round Afro With Temple-Swept Edges
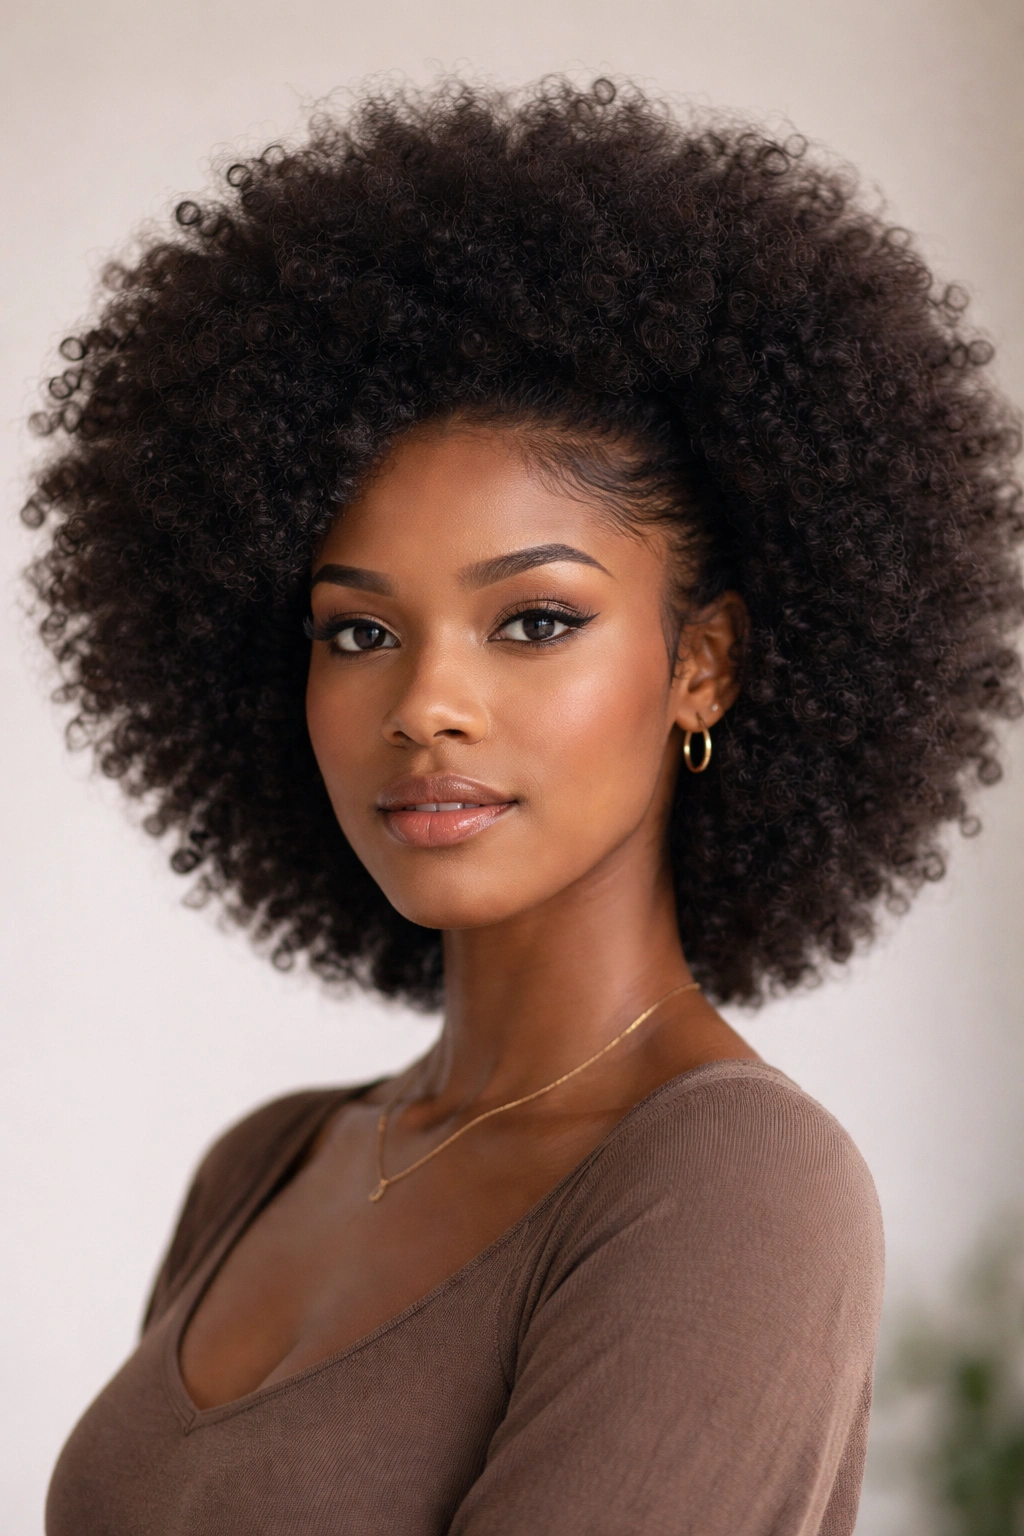
Unlike puffs or ponytails, a round afro keeps volume working all the way around your head. That means the edges have to stay in their lane. They frame the style; they do not run it.
A good round afro starts with shape. Pick the roots, fluff with your fingers, and let the silhouette stay soft instead of trying to turn it into a perfect sphere. A little leave-in and a touch of oil help the curls separate without turning dry. The edges, meanwhile, should sweep gently at the temples and maybe skim the center hairline if you wear a middle part.
This works especially well on tighter curl patterns, because the hair already has enough density to hold its own. You do not need a heavy edge pattern to make it look styled. In fact, too much line work can make the front look smaller than the rest of the hair, which is the opposite of what you want.
Small does more. A narrow swoop at the temple can pull the eye inward and make the shape look more controlled without flattening the volume.
If you love big hair, this is one of the cleanest ways to keep it from looking accidental.
7. Twist-Out With Defined Front Swirls
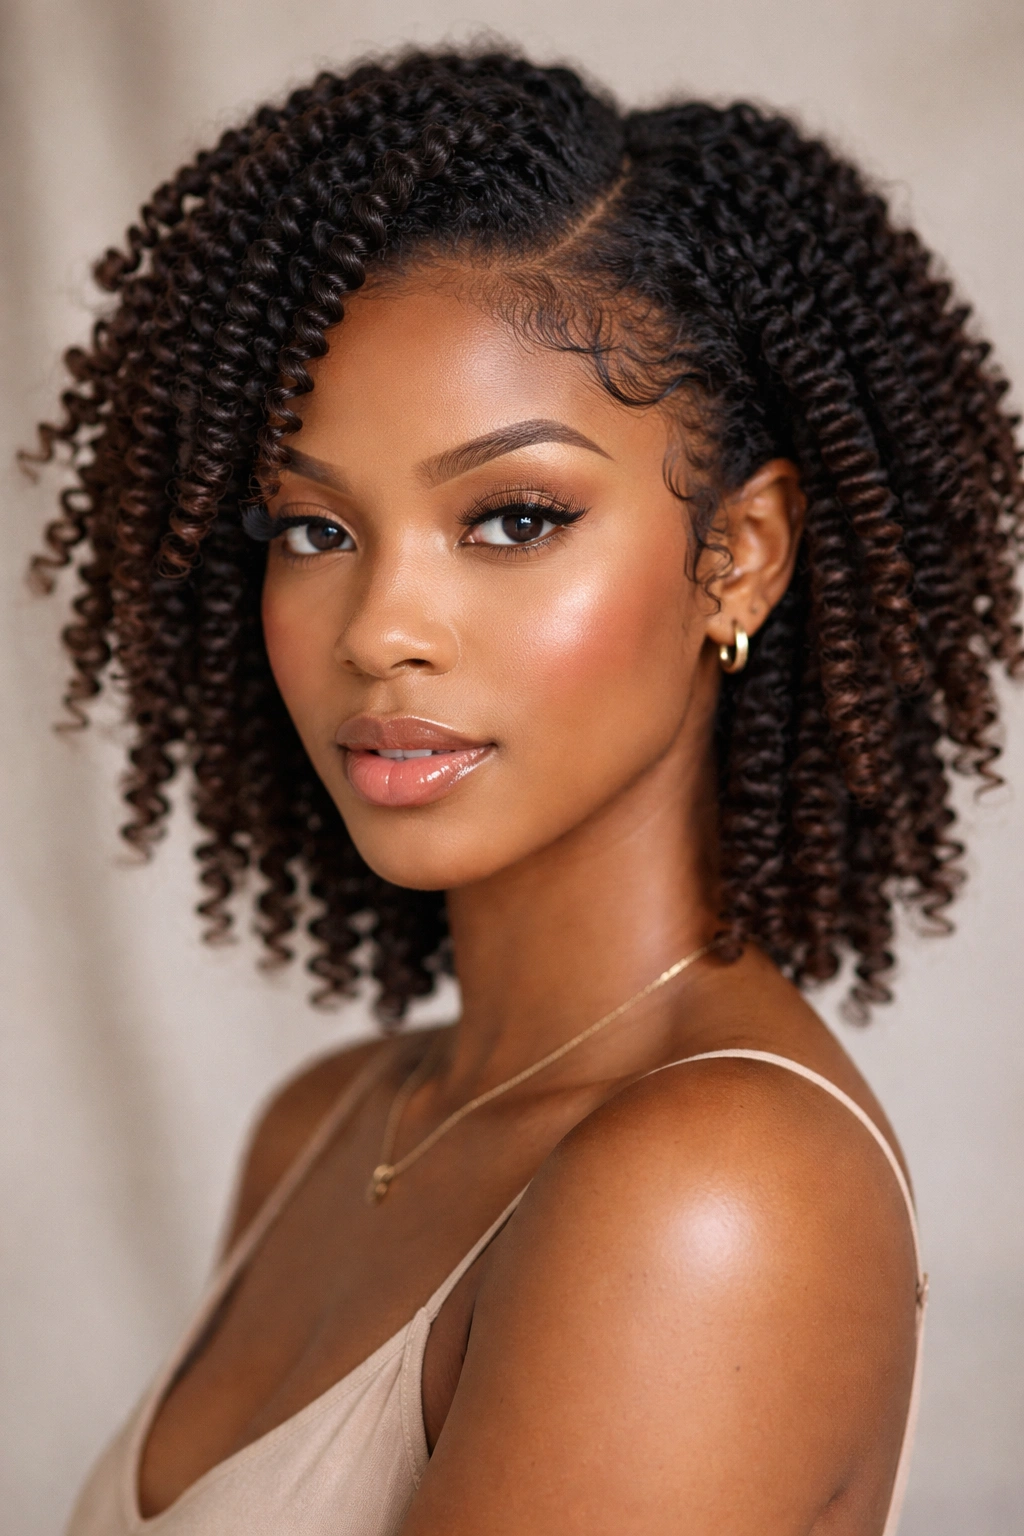
A good twist-out has a soft halo, springy ends, and enough definition near the scalp that the texture still feels intentional. Lay the edges too heavily, and the front starts looking disconnected from the rest of the curls. Keep them too loose, and the style can lose its shape by midday.
What to Watch For
The front swirls should echo the twist pattern, not fight it. If your twists were chunky, the edge design should stay broad and smooth. If the twist-out is tighter and more defined, a smaller curve at the hairline looks right.
How to Keep It Soft
Do not take the twists down before they are fully dry. That sounds obvious, but people still do it, and the frizz shows instantly. Once the hair is out, separate carefully, then smooth the front with a small amount of cream edge control on a brush. The product needs to sit on the surface — not soak through the curls.
- Never brush the edges while they’re damp and dripping.
- Don’t lay every tiny hair if the twist-out already has detail.
- Use a scarf for 5 to 10 minutes so the front sets without getting hard.
- Keep the brush strokes short, especially around the temples.
This style is one of the easiest places to see the difference between tidy and overdone. Tidy wins.
8. Braided Crown With Loose Curl Ends
A braided crown has the neatness of a headband and the charm of a style that took more effort than it probably did. The braid gives structure, while the curls at the back or ends keep it from looking rigid. Laid edges finish the front, but they should stay soft enough to match the braid line.
The braid usually sits just off the hairline, wrapped from one temple to the other. That placement matters. If it sits too close to the forehead, the face can look crowded. If it sits too high, the crown shape gets lost. The edges should sit below that line and curve gently where the braid starts and ends.
I like this one for events where you want your curls off your face without losing texture. The braid keeps everything secure, so the edges do not need to work hard. A thin sweep near each temple is enough. If you add too much product, the braid can start flaking, especially near the start points where the fingers did the most tension.
Ask for the braid to be snug, not tight. That tiny difference changes how the style feels after a few hours. Tight braids make laid edges look like a warning sign. Snug braids let the front stay clean while the scalp stays happy.
9. Curly Bob With Finger-Waved Edges
Can a bob handle laid edges without turning fussy? Yes — if the edge shape stays small and the curls are allowed to do the real work. The bob already gives you a strong outline around the jaw and cheeks. The hairline just needs to sharpen that shape.
A curly bob looks especially good when the edges echo the curve of the cut. If the bob is blunt, keep the baby hairs blunt and short. If the layers are softer, use a looser wave at the temple. The goal is to repeat the shape, not invent a second one.
Finger-waved edges are a nice move here because they feel controlled without looking too busy. A little curve near the center part, then a second curve that dips toward the temple, is usually enough. Add a small amount of gel with a brush and press it into place with the side of your finger. That gives you a cleaner finish than piling on product and hoping for the best.
This style works on chin-length curls and bob-length coils, especially when the cut sits close to the face. If the edges are too elaborate, they pull attention away from the line of the haircut. Keep them narrow. The bob already did the talking.
10. Space Buns With Sharp Edge Curves
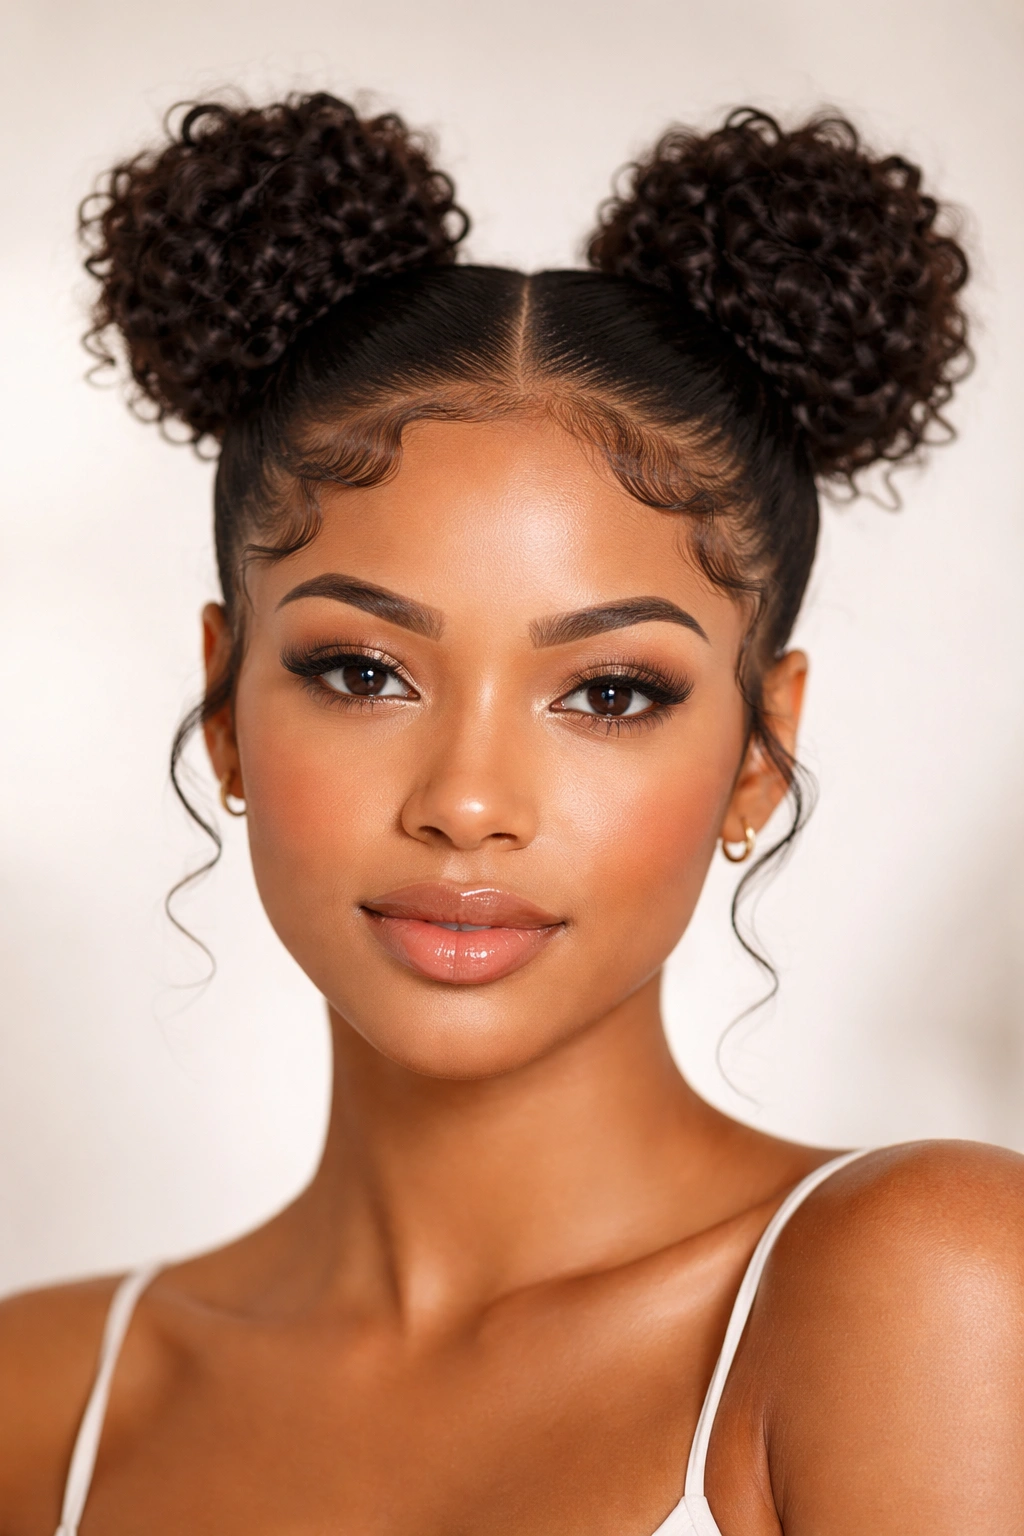
When you want hair that feels playful but not messy, space buns make a strong case for themselves. The buns give symmetry and lift. The laid edges keep the front from looking like you ran out the door without checking the mirror.
Start with a clean center part. That part has to be straight, because space buns are unforgiving if one side sits higher than the other. Pull each half into a bun at the same height, then pin the loose pieces underneath so the shape stays compact. The edges come last, after both buns are secure.
- Keep the buns at the same level on both sides.
- Use bobby pins under the bun base, not just on top.
- Leave a little curl at the crown if you want extra softness.
- Shape the edges with short curves, not long swoops that reach too far back.
The best version of this style has a little attitude. The buns are the main shape, so the edges can stay narrow and sharp. If you make the baby hairs too thick, the look turns crowded fast. A thin curve at the hairline keeps the front open and lets the buns stay the fun part.
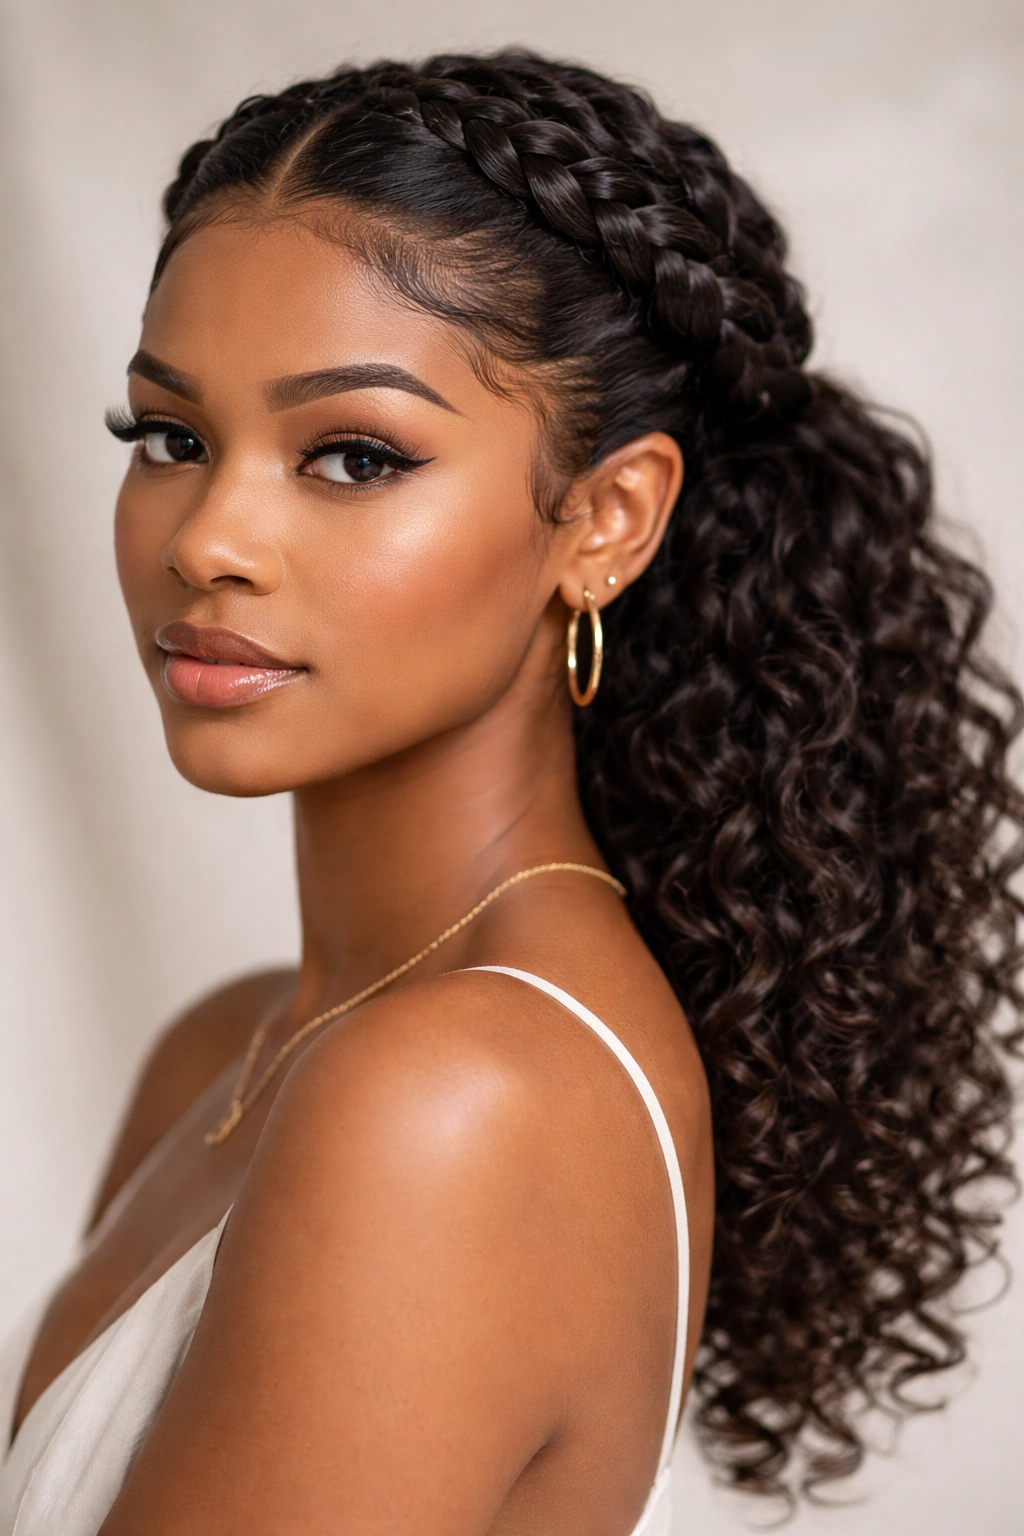
11. Curly Ponytail With Wrapped Base and Laid Edges
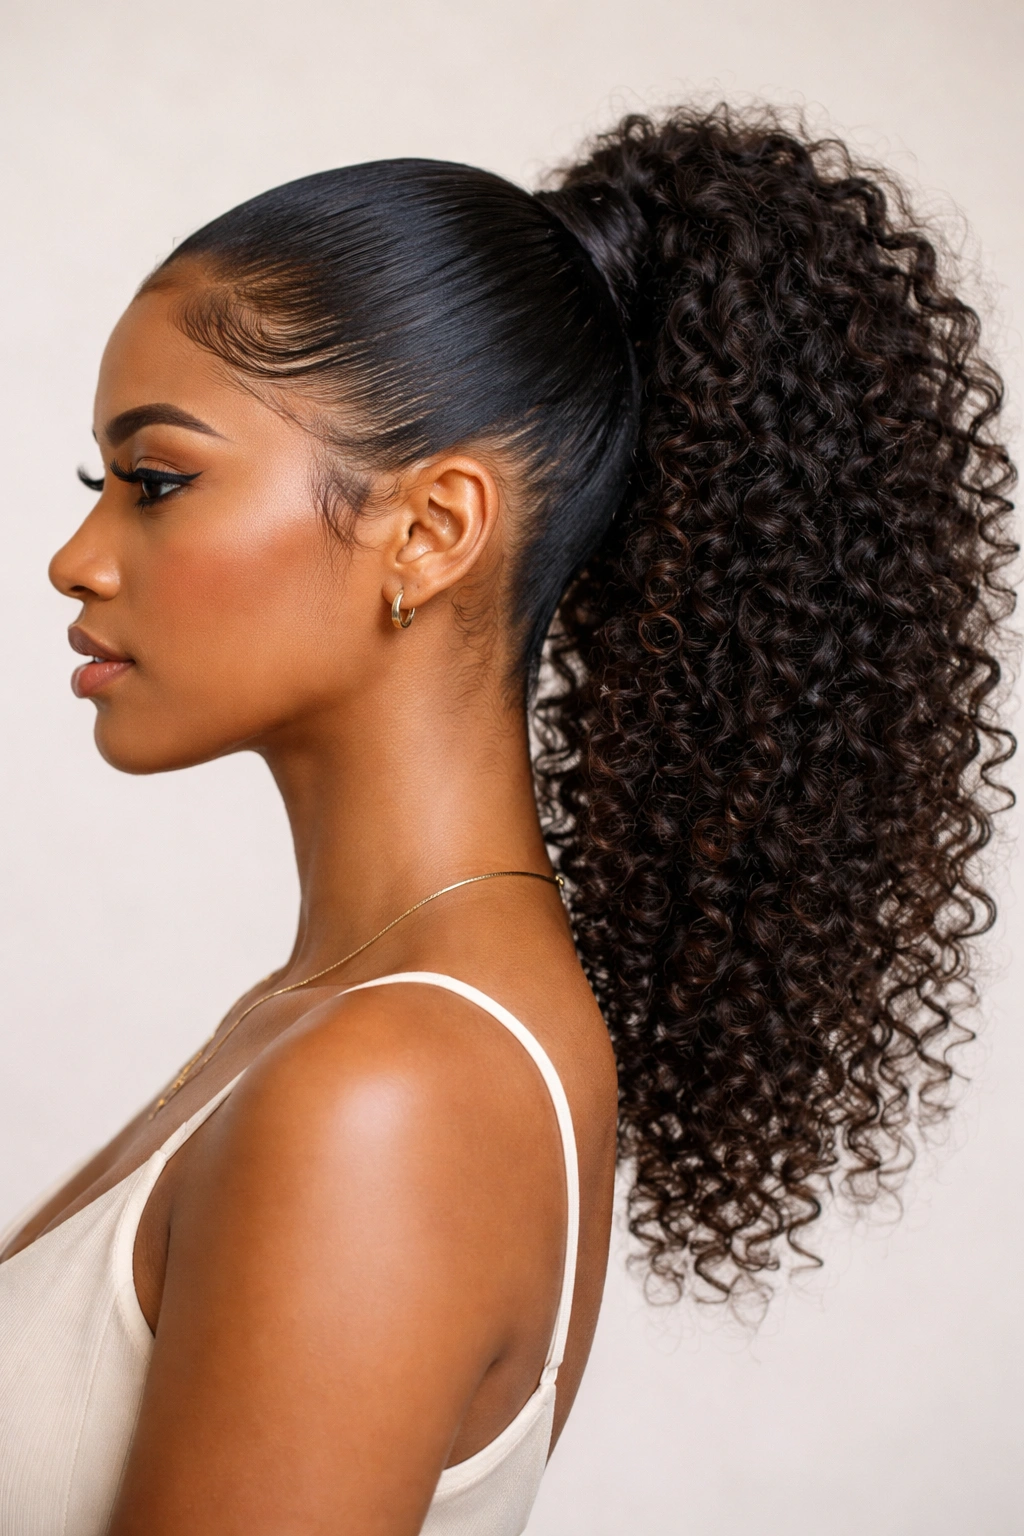
A curly ponytail looks better when the base is neat and the edges stay relaxed. That may sound backwards, but it’s true. The ponytail already gives you length and movement. The hairline just needs to show that the style was planned.
A high ponytail gives more lift and makes the curls swing. A mid ponytail feels a little calmer and sits well with side parts. Either way, wrapping a small section of hair around the elastic makes the base look cleaner. If you like a satin wrap instead, that works too, especially when the hair is fine and you do not want too much bulk.
The edges should match the height of the ponytail. High ponytail? The swoops can angle slightly upward. Mid ponytail? Keep them flatter and a little wider. That small adjustment keeps the style from looking mismatched.
This is one of the easiest looks to refresh during the day. Mist the roots lightly, smooth the perimeter, and finger the curls back into shape if they start to puff. The front should stay close to the skin, but not so tight that it feels pulled. If you feel tugging at the temples, the style is too hard. Back off. The ponytail will still look good.
12. Faux Hawk With Tapered Sides and Laid Edges
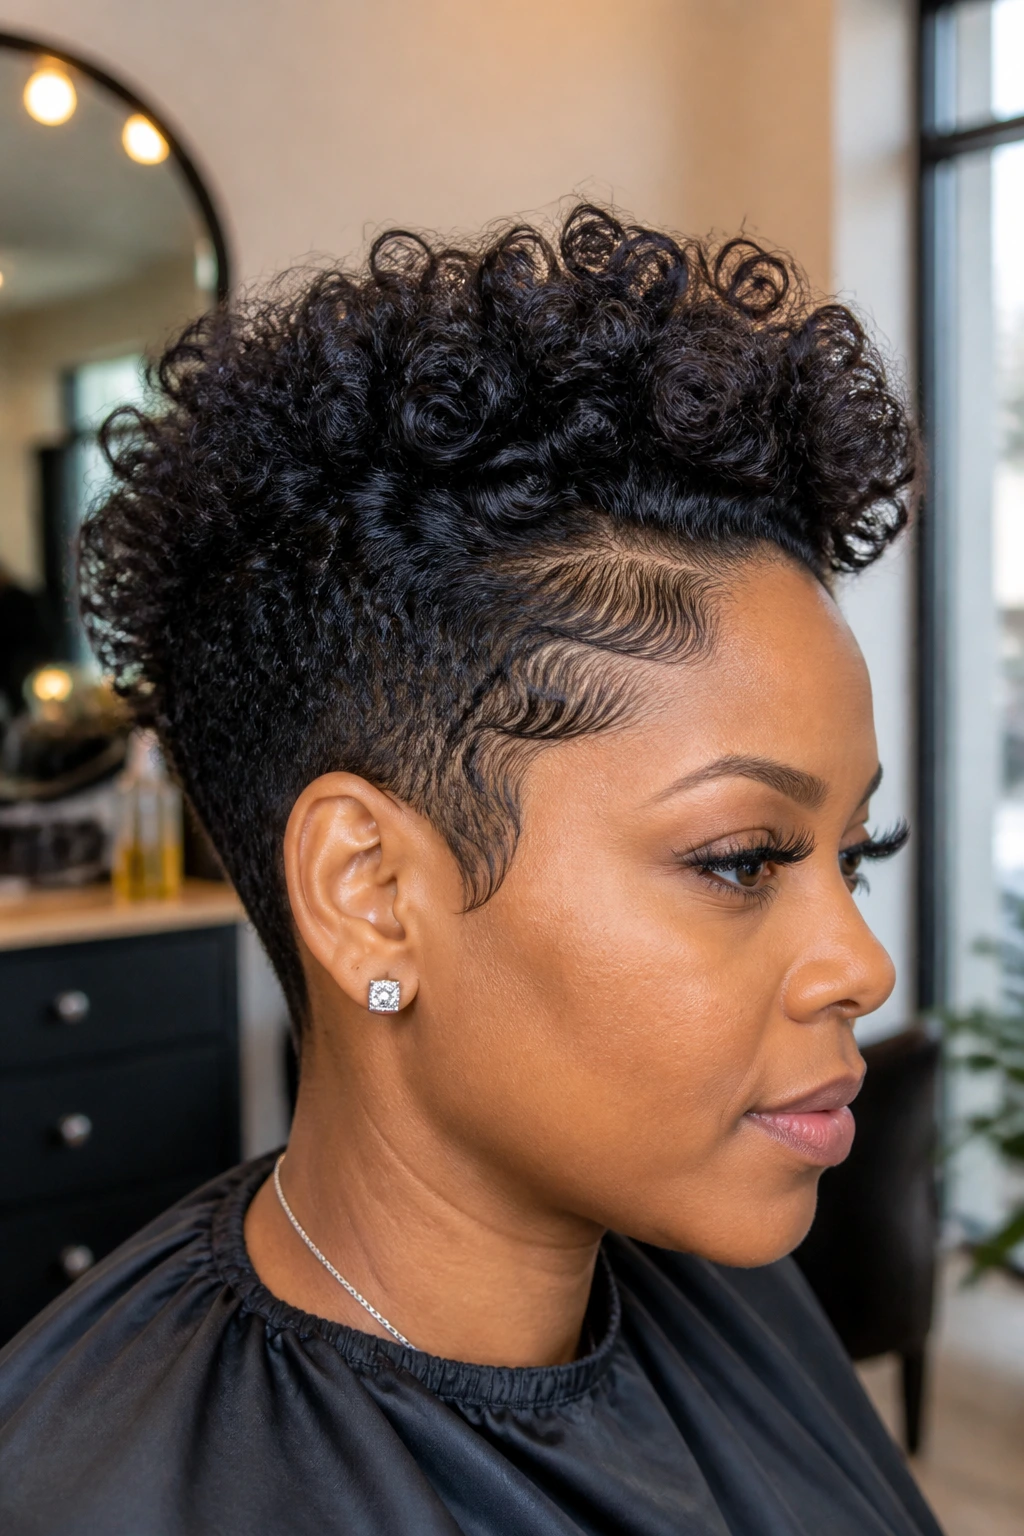
The faux hawk is the style for days when you want shape, height, and a little edge of its own. It is not subtle. That’s fine. Not every curly style has to be soft around the edges in a gentle, polite way.
The sides are pinned, braided, or smoothed down toward the scalp while the center section stays lifted and full. That center line is the star, so the laid edges should be more architectural than decorative. A short curve at each temple and a tidy line near the front are usually enough. Anything bigger starts stealing attention from the shape down the middle.
This style works best when the curls on top have some stretch and a little memory from the twist-out, braid-out, or blow-dry. Too much shrinkage in the center can make the hawk collapse. Too much gel on the sides can make the whole thing stiff and flaky, which is a shame because the silhouette is already doing enough on its own.
If your hairline is sensitive, keep the tension low and skip the tightest version of the look. The faux hawk should feel confident, not punishing. Leave a few curls at the crown a little freer, and the style reads as deliberate instead of overworked.