Crochet afro styles are one of the easiest ways to get full shape without spending half the day tugging, twisting, or redoing a braid that went crooked on the first try. The hook does the busywork. The textured hair does the showing off.
That’s the part people underestimate. A good crochet install is not about stuffing your head with as much hair as possible. It’s about building a base that sits flat, then choosing a shape that gives you volume where it matters and leaves the rest of the style light enough to wear all day. When the foundation is tidy, even a simple fro can look rich and intentional.
I’ve always liked beginner-friendly crochet looks because they forgive small mistakes. A part that leans a little left? Fine. Cornrows that are neat but not museum-perfect? Still fine. With the right afro kinky or marley-style fiber, the texture hides a lot, and that is a gift, not a shortcut.
Start with the shape you can actually live in. The styles below move from the most forgiving options to the ones that add a little more attitude, but they all stay within beginner range if you keep the base clean and resist the urge to overdo the volume.
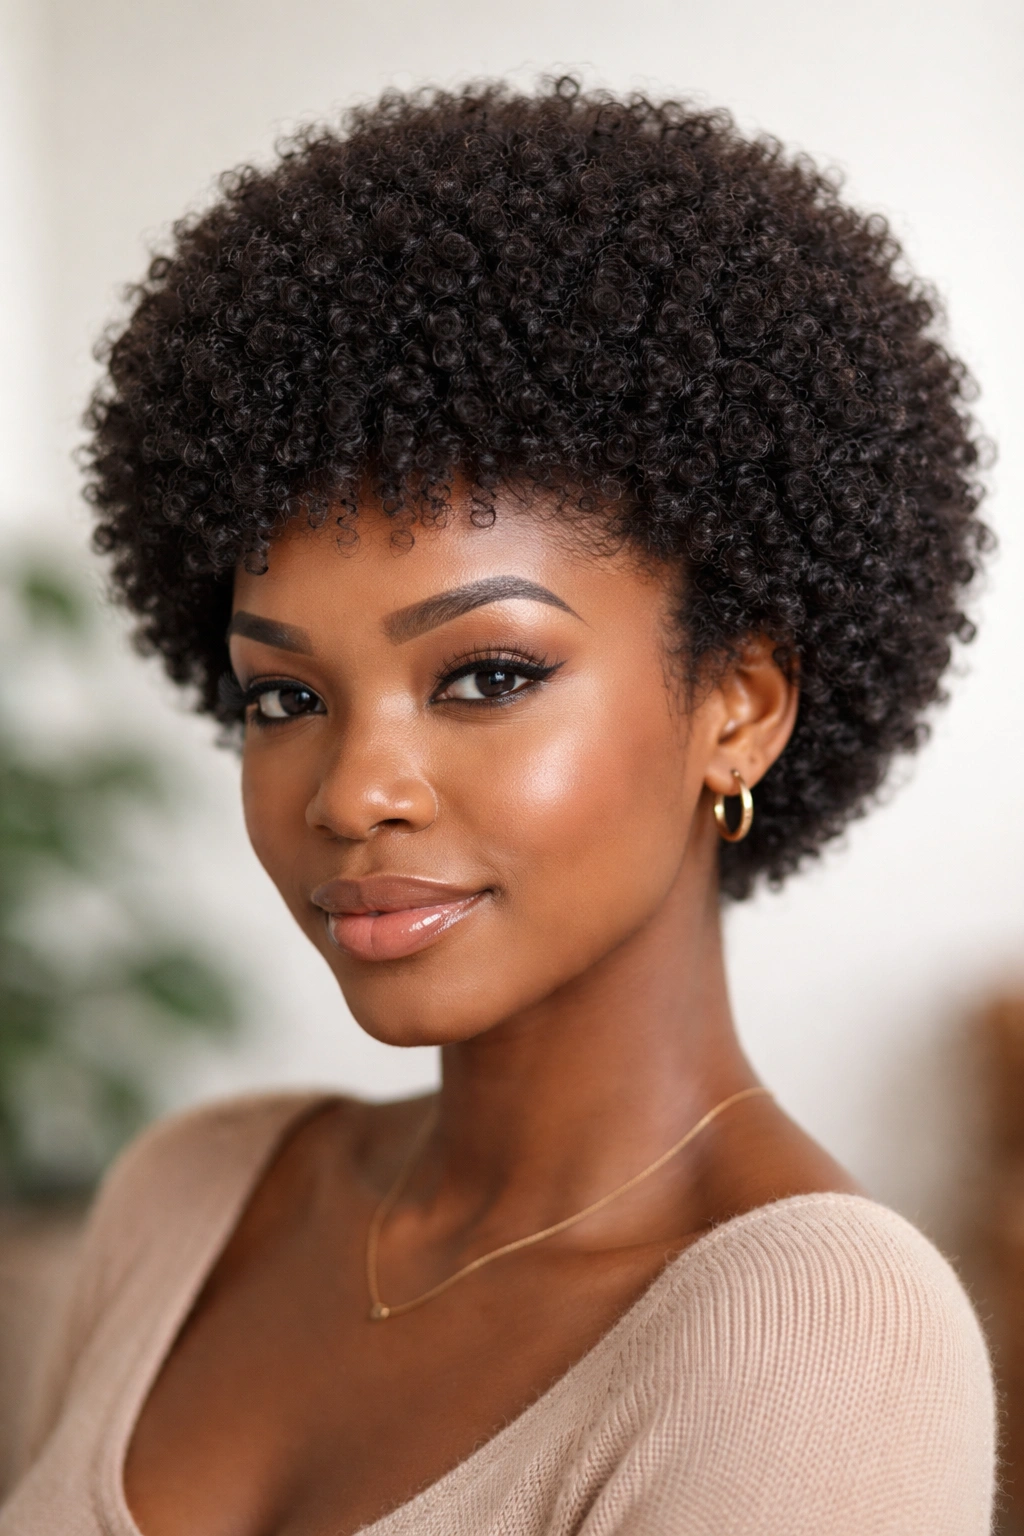
1. Rounded Classic Crochet Afro
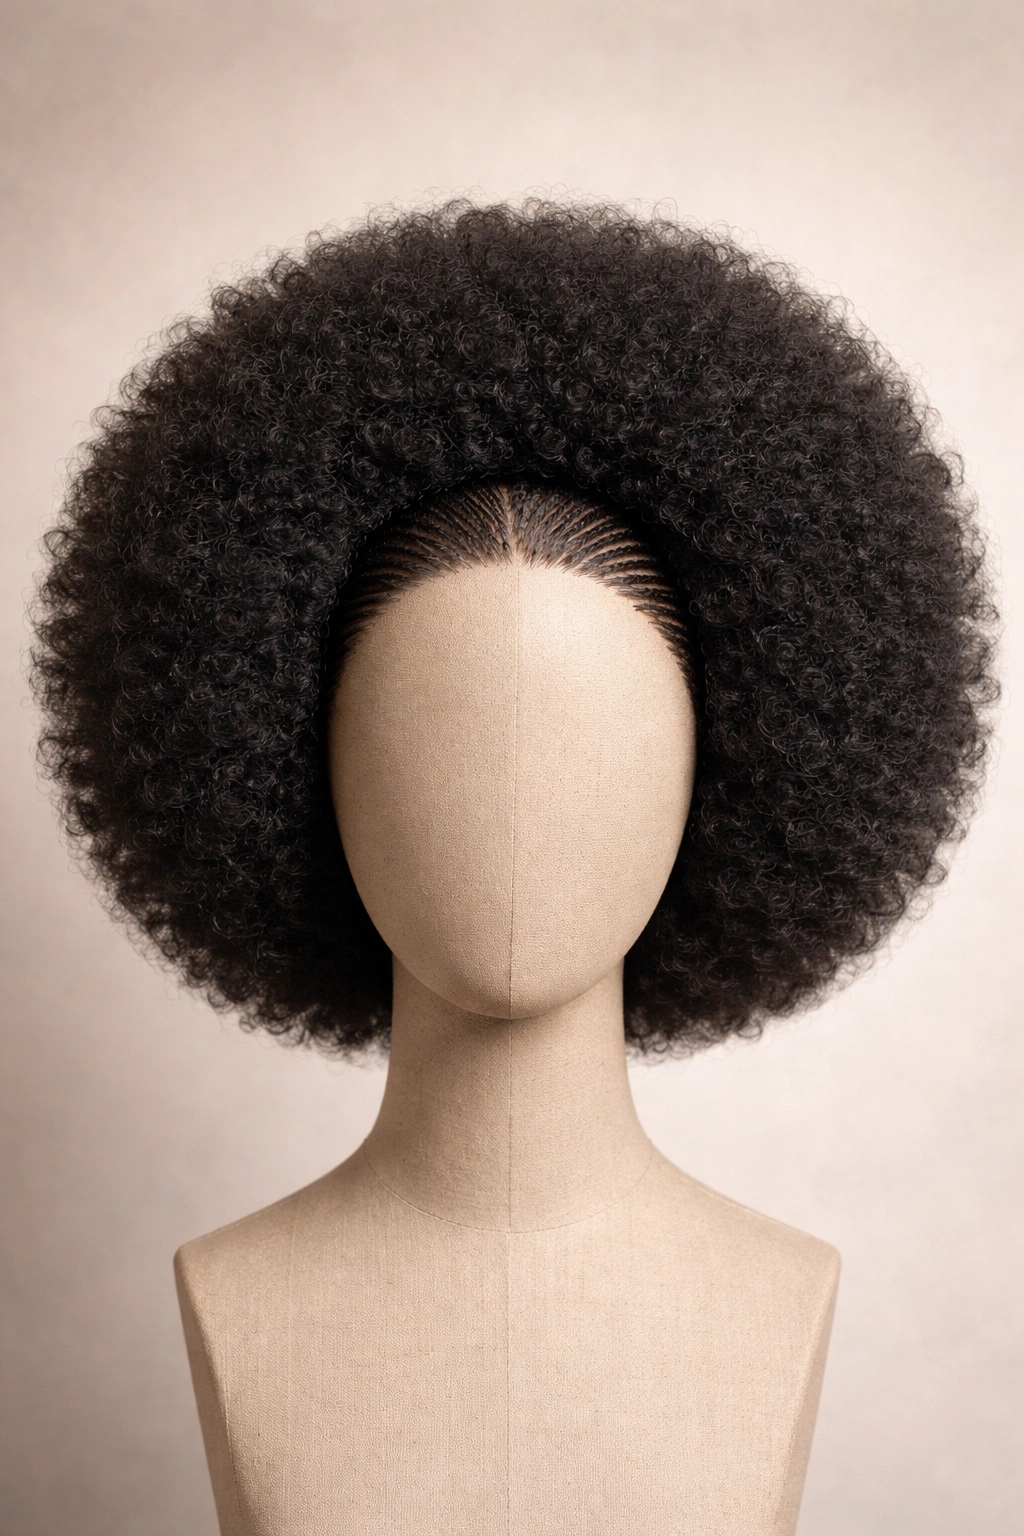
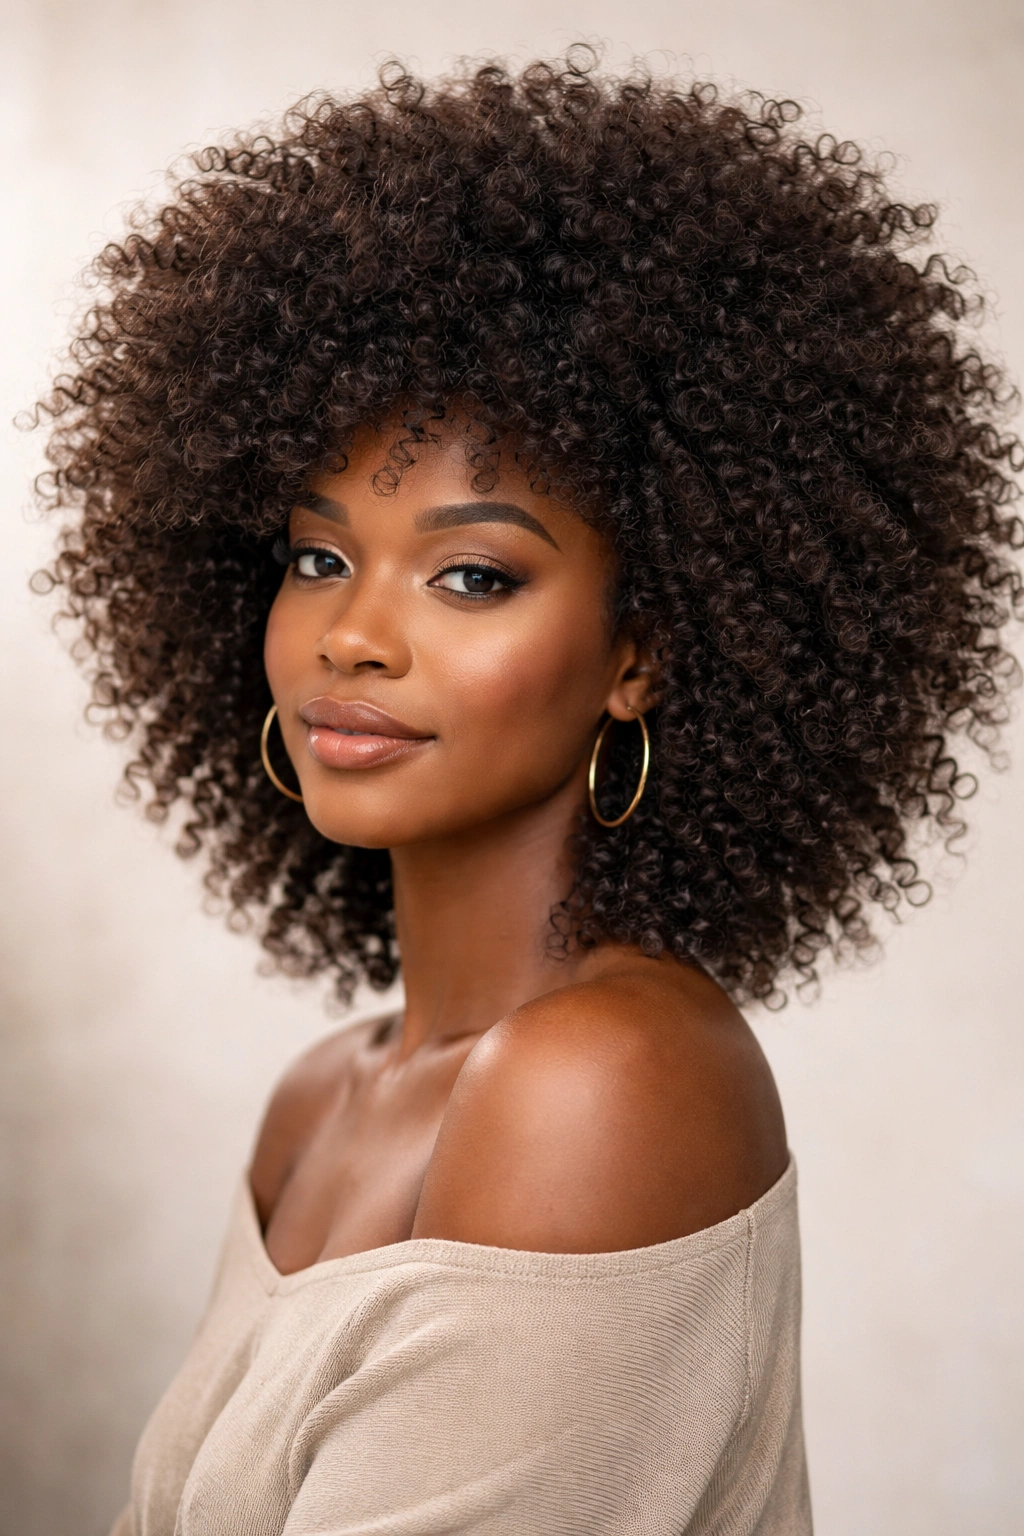
This is the one I’d hand to a first-timer without thinking twice. A rounded classic crochet afro gives you that full halo shape people love, but it does it without asking for layers, precision parting, or any complicated sculpting. You just need a flat cornrow base, a good latch hook, and a little patience while you place the hair around the head.
The shape works because it is forgiving. If one side is a touch fuller than the other, the whole look still reads as balanced once you fluff it out. That matters more than perfection, honestly. Beginners tend to worry about the back being too visible, but a rounded fro hides a surprising amount once the outer layer is trimmed and shaped dry.
The part I like best is the finish. You can keep the perimeter slightly softer around the jaw and leave the crown a bit denser, which gives the fro lift without making it look boxy. A lot of people cram hair into the center and wonder why the style feels heavy. Spread the fullness out. The fro should sit like a cloud, not like a helmet.
If you want a practical target, think 6 to 8 packs of afro kinky crochet hair for a medium-full look, depending on length and density. Keep your cornrows flat, leave the edges low-tension, and trim only after the hair is installed and fluffed. That last part saves people from a lot of regret.
Simple works.
2. Side-Part Crochet Afro With Soft Lift
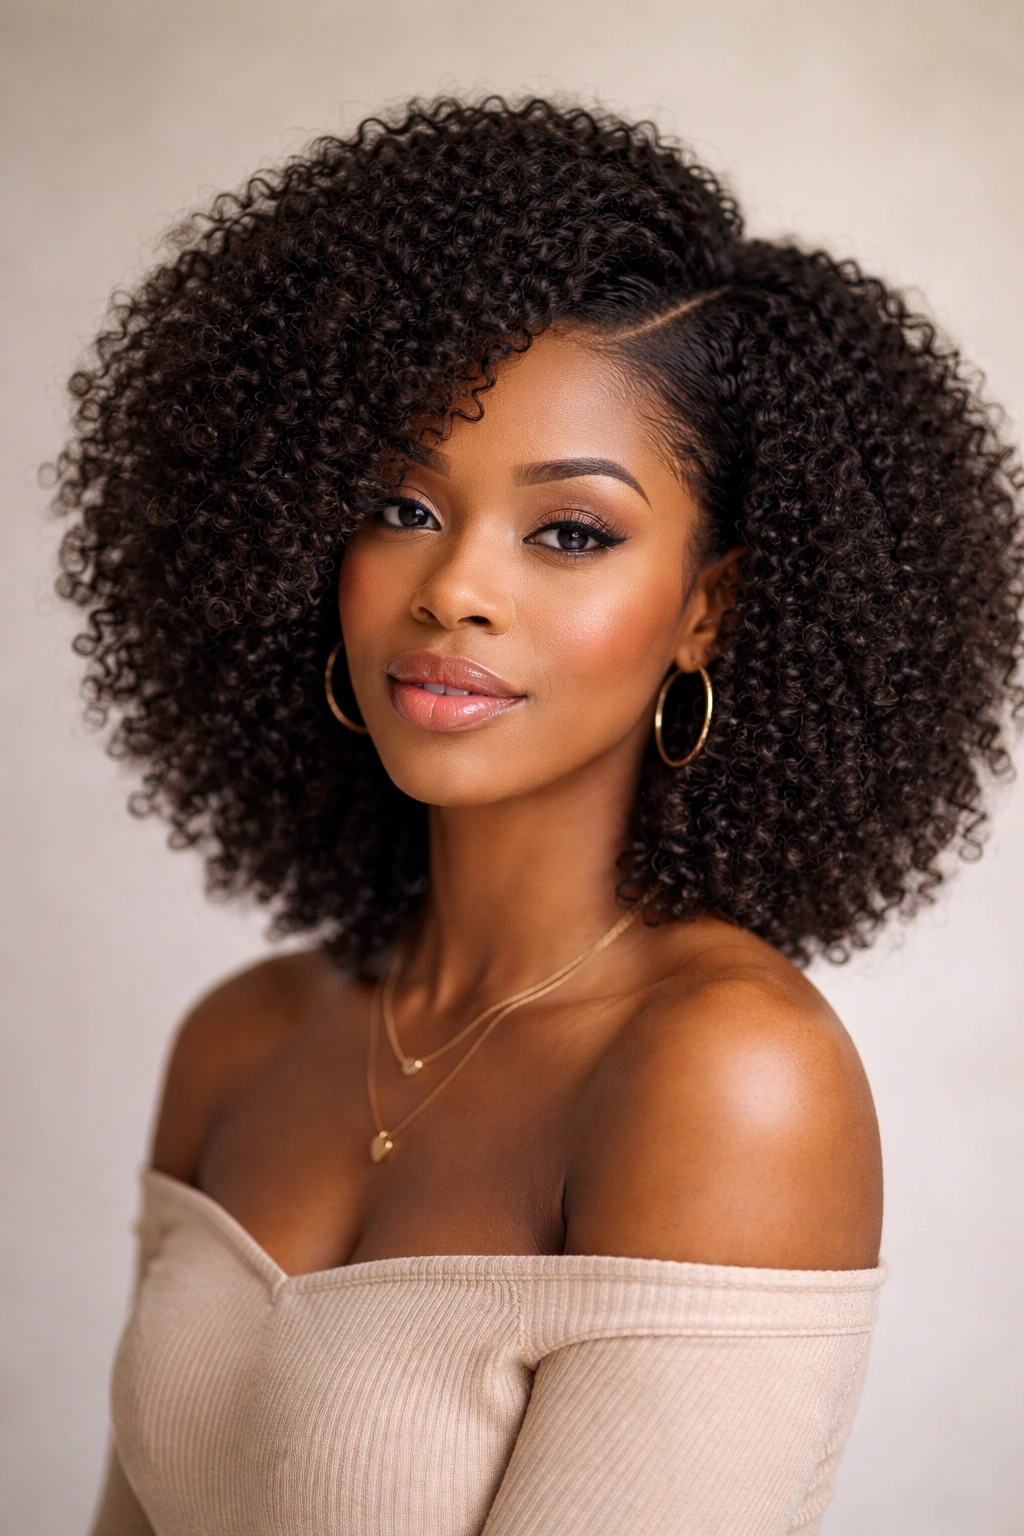
Why does a side part make a crochet afro feel easier to wear? Because it gives the hair direction. Straight down the middle can look stiff if you are still getting used to crochet installs, but a side part breaks up the shape and makes the volume feel softer around the face.
A side part also helps if your cornrow base is not perfectly symmetrical. That is more common than people admit. Shift the visible part slightly off center, and the eye goes there first. The rest of the fro becomes texture and movement instead of a checklist of tiny flaws.
How to keep the part clean
- Place the part just off the center line, not way over on one side.
- Keep the cornrows under the part flatter than the rest so the line sits neat.
- Use a small amount of edge control or gel before crocheting, not after, so the part does not get sticky and clumpy.
- Leave a little more fullness on the larger side of the fro to keep the shape from leaning.
A side-part crochet afro is especially good if you like a face-framing style that still feels easy. You can tuck one side behind the ear, pin a small section back, or let the heavier side fall forward when you want more drama. It is one of those styles that looks styled even when you have not done much to it.
My favorite trick: keep the side with less hair slightly closer to the face and let the fuller side open outward.
3. Tapered Crochet Afro With a Close Nape
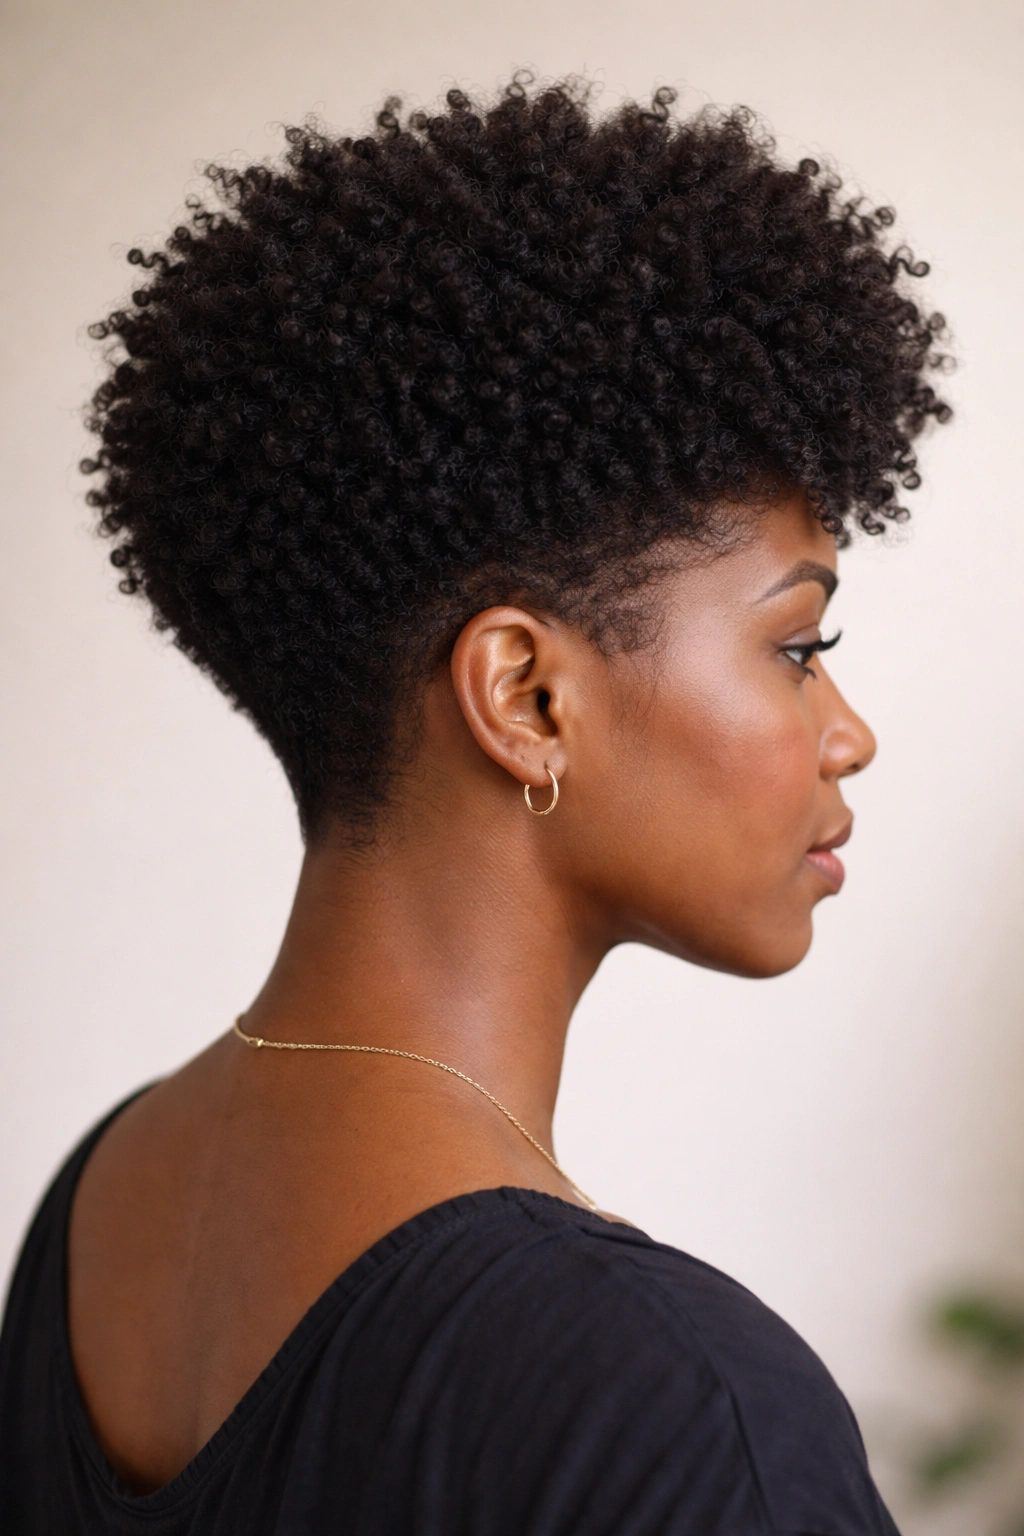
Picture a fro that sits close at the neck and opens wider near the crown. That’s the tapered version, and it saves beginners from the bulky, square look that happens when every section gets the same length. The taper makes the style feel lighter, cleaner, and easier to wear with collars, scarves, and jackets.
It also helps the neck. That matters more than people think. A full crochet afro can feel warm fast if the back is too dense, especially when the hair rubs against clothing all day. A tapered nape keeps the silhouette neat without losing the fluffy shape on top.
What makes the taper work
- Use shorter crochet pieces at the nape so the back lies closer to the head.
- Keep the crown and upper sides fuller so the fro still has lift.
- Trim in small snips, not big chunks, because crochet fiber can spring up once it is fluffed.
- Ask for a gradual fade from short to full instead of a hard line.
This style is a good one if you like a tidy profile from the side and a bit more height on top. It can look polished in a plain T-shirt and still work with earrings or a bright lip. I also think it is one of the easiest crochet afro styles to keep from turning into a giant puffball after a few days.
Don’t try to force symmetry here. The taper is supposed to look soft, not engineered.
4. Shoulder-Length Crochet Afro With Soft Volume
Shoulder-length is the sweet spot for a lot of people. It gives you enough length for movement, enough body for shape, and not so much hair that sleeping becomes a wrestling match. If you are new to crochet afro styles, this is one of the safest lengths to try because it behaves.
The hair falls around the shoulders instead of piling up around the head, which helps the style feel less heavy. It also gives the fro a little swing when you walk. That movement matters. A shoulder-length fro can look big in the mirror and still feel manageable when you are actually wearing it.
I like this length for people who want to pull sections back without losing the overall shape. One side pinned back, a few curls left loose, maybe a small clip near the temple — it all works. You do not need much else. And because the length is moderate, tangling stays more under control than with extra-long fiber.
The trick is restraint. Do not overcut the ends trying to make them even on day one. Crochet fiber often looks better after it has been worn, fluffed, and lightly shaped by hand. Trim in tiny passes, then step back and look at the silhouette from the front, side, and back. That’s the part most people skip.
If you want a fro that feels wearable from morning to night, this is the one to start with.
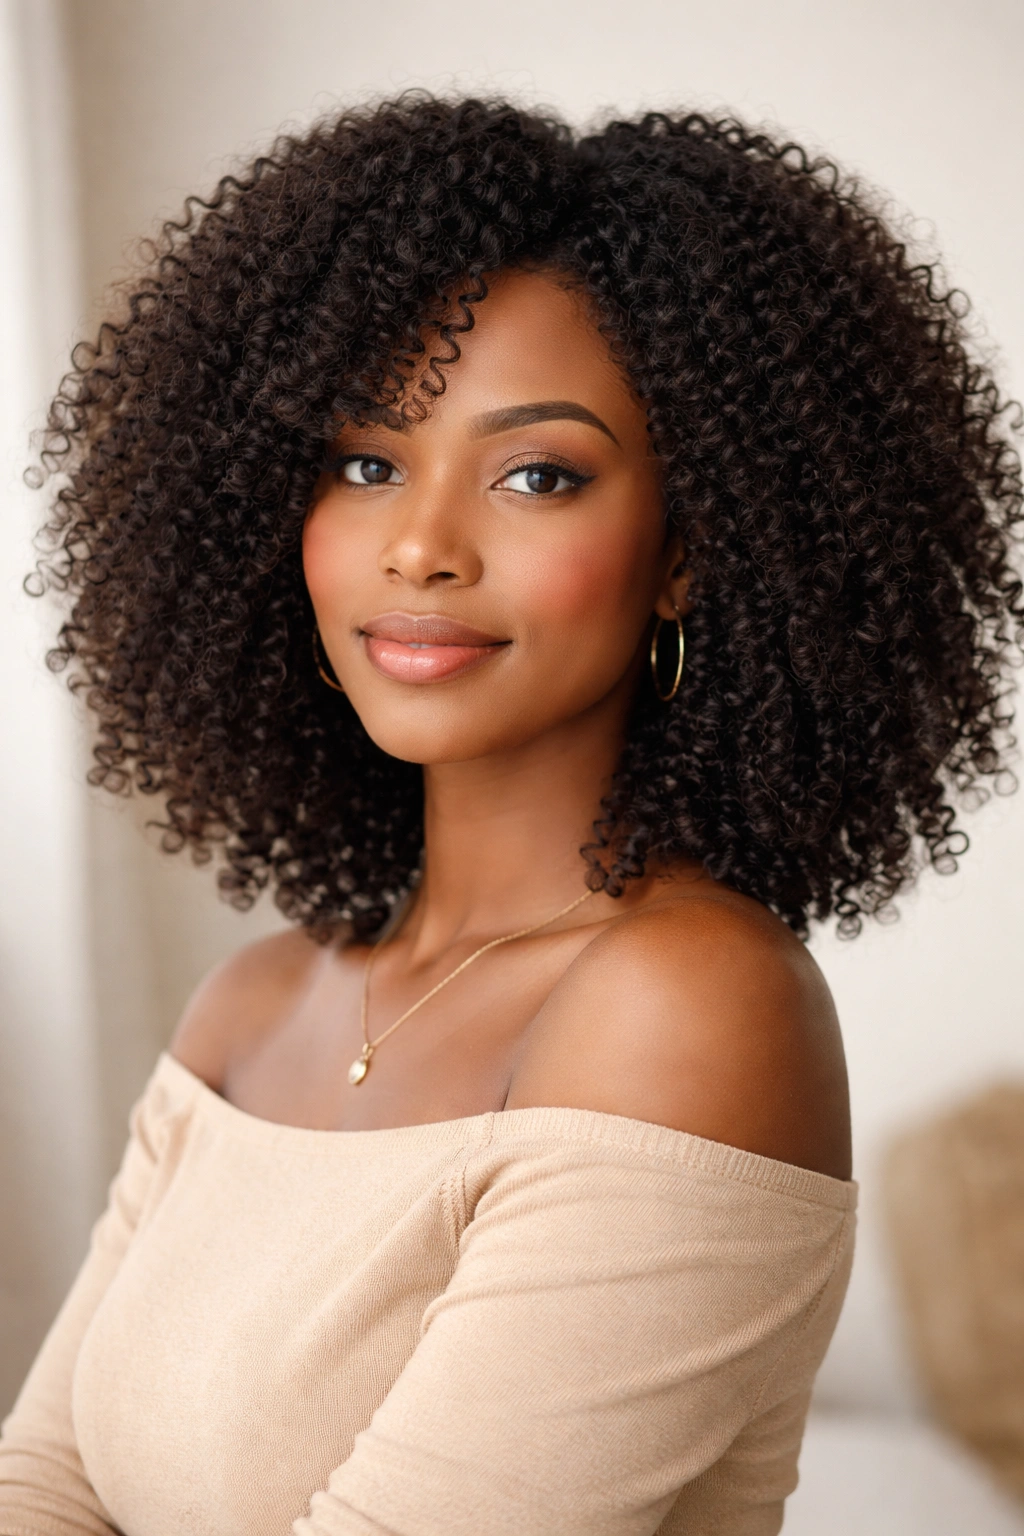
5. Crochet Afro With Curly Ends
Why do curly ends change the whole mood of a crochet afro? Because the eye reads curls as softness. A blunt perimeter can make the style look boxy, even if the crown is full. Curly or feathered ends break that outline and make the whole shape look lighter.
This version is especially useful if you like a fluffy fro but do not want the edges to feel too sharp. A curlier finish around the perimeter creates movement near the shoulders and jaw, which helps balance out a wide or high crown. It also makes the style look more lived-in, which is a nice thing when you are still learning how to shape crochet hair.
Best hair choices for this look
- Afro kinky bulk hair for the base, because it gives you density where you need it.
- Pre-curled crochet pieces on the outer ring if you want softer ends without extra trimming.
- A slightly looser curl pattern near the front so the face frame does not feel heavy.
- Blended textures if you want the center fuller and the edges more airy.
The main thing to watch is the bottom line. If the ends are all the same length, the style can look square. Stagger them a little. Start longer than you think you need, then trim after the hair is installed and fluffed. Cutting before installation is where people get themselves into trouble.
One small note: curlier ends can snag on scarves and coat collars more than a blunt fro. Nothing dramatic. Just something to know before you choose the look.
6. Afro Puff-Inspired Crochet Style
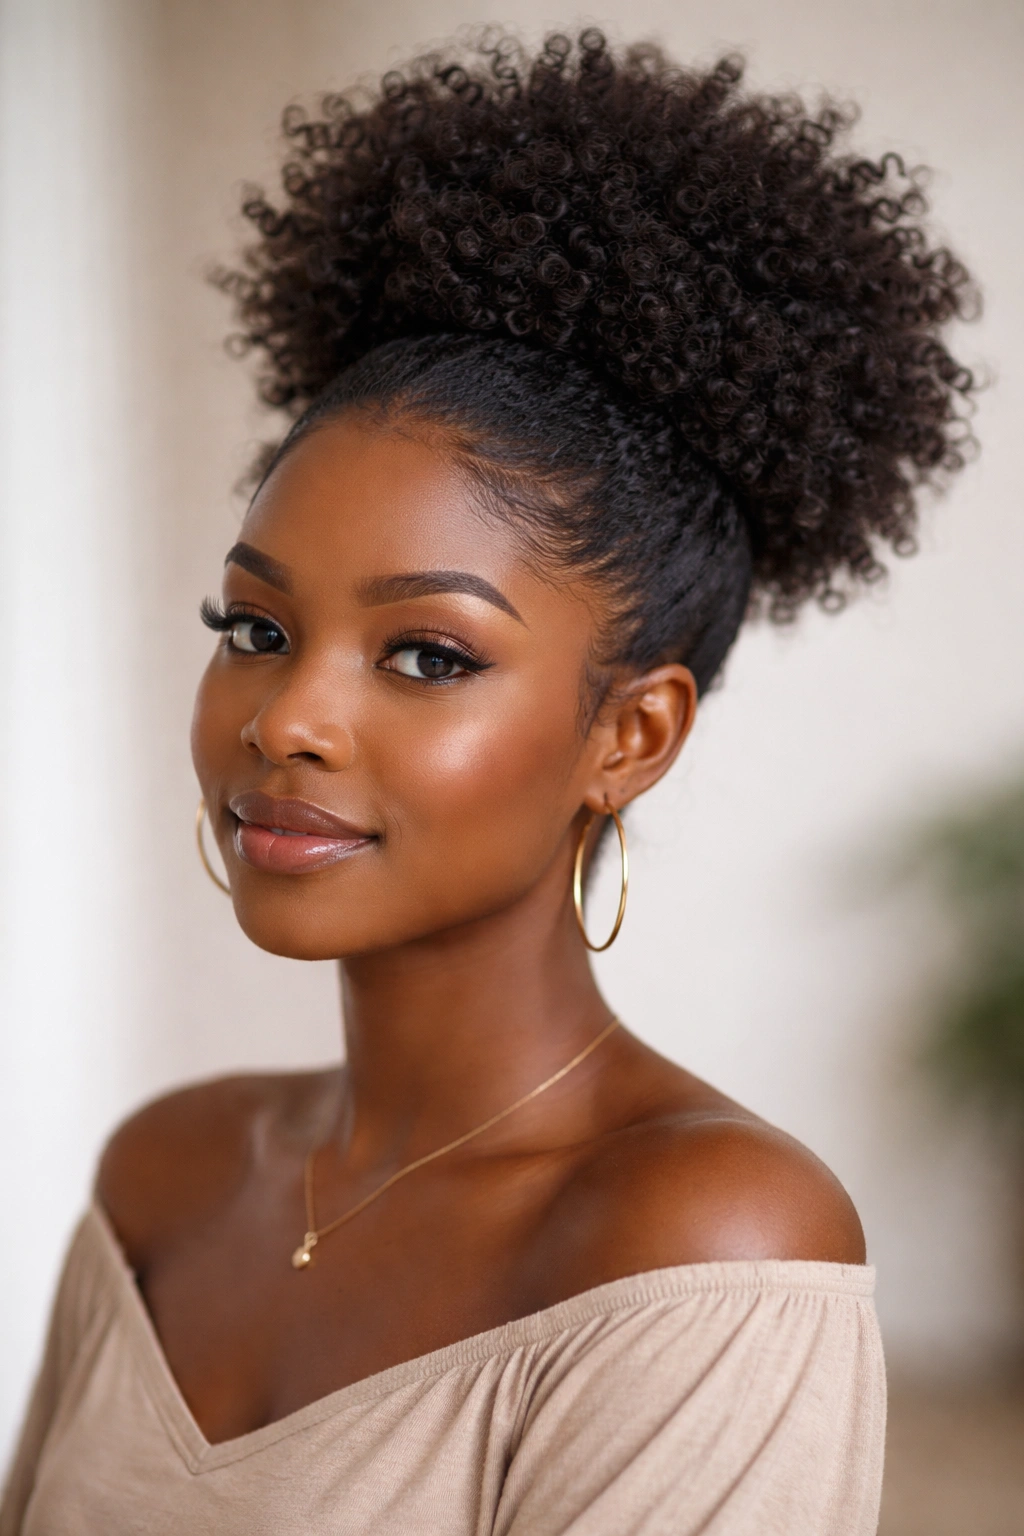
A puff-inspired crochet look is for the person who wants lift without the constant bulk. It borrows the energy of a puff, but the crochet base keeps the shape anchored, which means you do not have to gather your own hair into a tight tie every morning. That alone makes it a smart beginner option.
The look works when the crown is full and the sides stay a little flatter. You can think of it as a soft mound rather than a full round cloud. The hair seems to rise from the top of the head, then fall back into a relaxed outline. It’s playful without being fussy.
I especially like this style when the goal is to show off the face and earrings. The top stays interesting, the sides stay neat, and the whole thing feels more open than a full afro. You can also wear it higher or lower depending on how much lift you want. Higher reads youthful and bold. Lower reads softer and calmer.
The key is not to make the puff too tight at the center. A stiff top ruins the point. Keep the crown loose enough that you can finger-comb it back into shape, and let a few strands fall around the temples. That small bit of softness stops the style from looking too severe.
A little lift is enough. You do not need a mountain on your head.
7. Crochet Afro With Bangs and Framing Layers
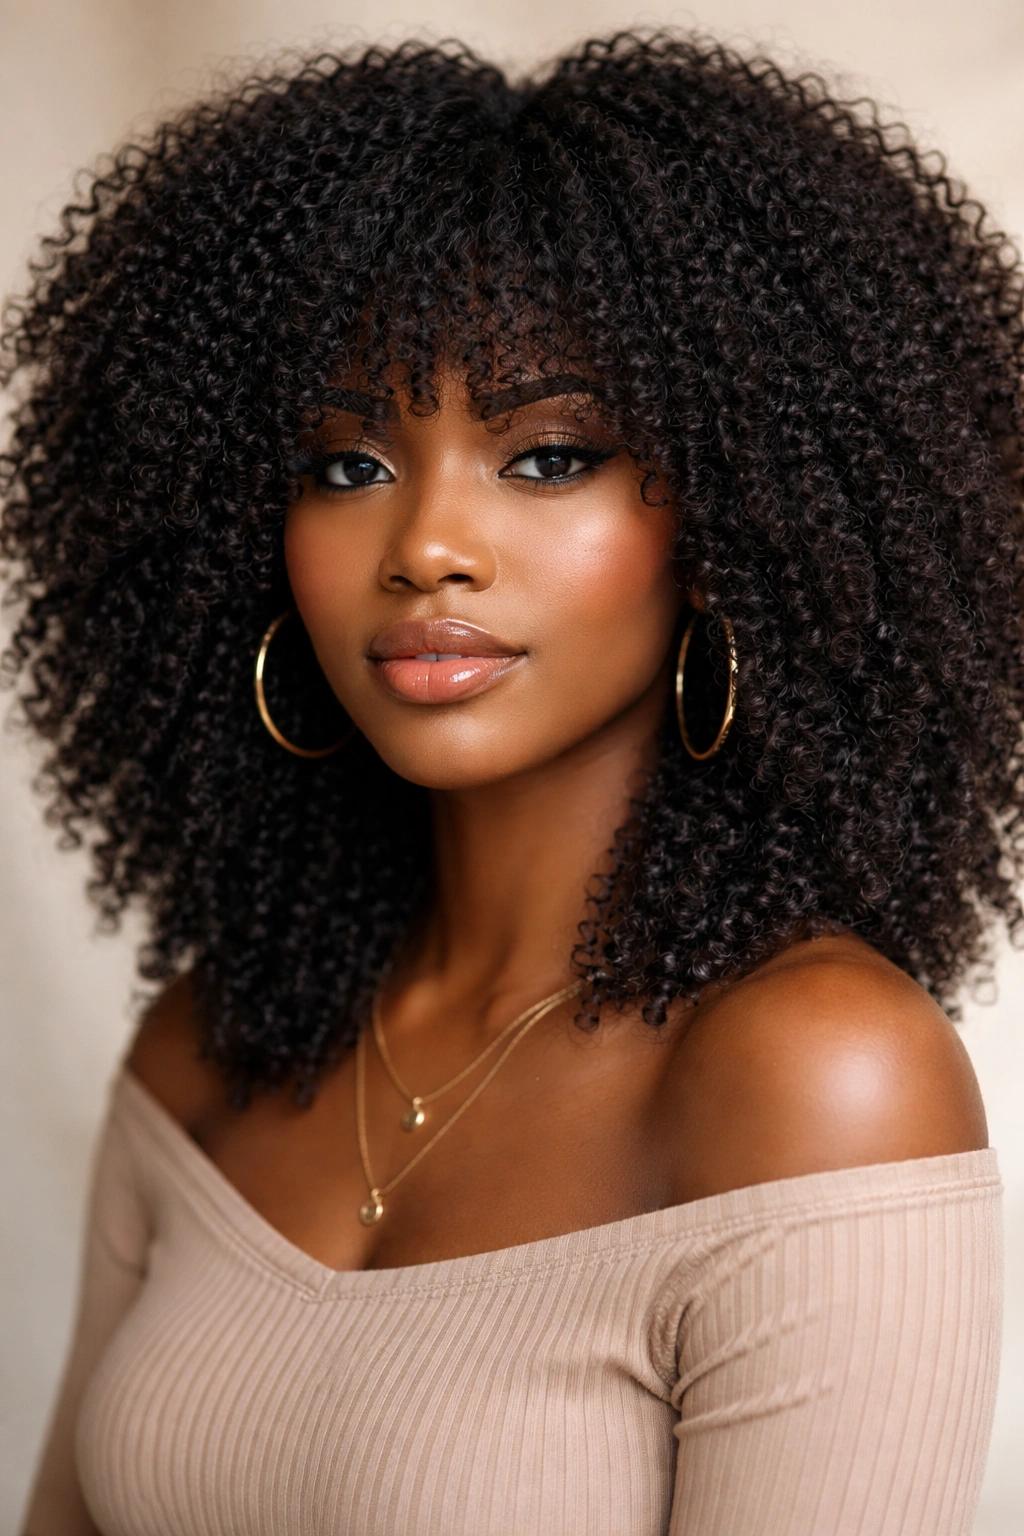
Bangs are easier on crochet hair than on your own hair. That is the honest truth. You can trim synthetic fiber a little at a time, step back, and fix the shape before committing to a full fringe. If you have ever been nervous about bangs, crochet gives you a safer place to test them.
What makes the fringe work
- Start with the bangs longer than you want.
- Trim only when the hair is fully installed and fluffed.
- Keep the temple pieces a touch longer so the front blends into the sides.
- Avoid a straight, heavy line unless you want a sharp look; softer bangs usually age better on this style.
The reason this works so well is balance. A crochet afro already has volume, so bangs help anchor that volume toward the face. They keep the front from feeling too open and give the style a little personality without asking for a complicated cut.
Framing layers do the same job on the sides. They can soften a rounder face, reduce bulk near the cheeks, or keep the hair from swallowing your features. And if you mess up the fringe a little, you can still reshape the rest of the fro around it. That flexibility is what makes this version beginner-friendly.
I would keep the layers subtle the first time. Too much layering can make the crown frizzy-looking fast. A few carefully trimmed pieces around the front are enough. After that, you can always make it bolder next time.
8. Color-Blend Crochet Afro With Brown or Copper Tones
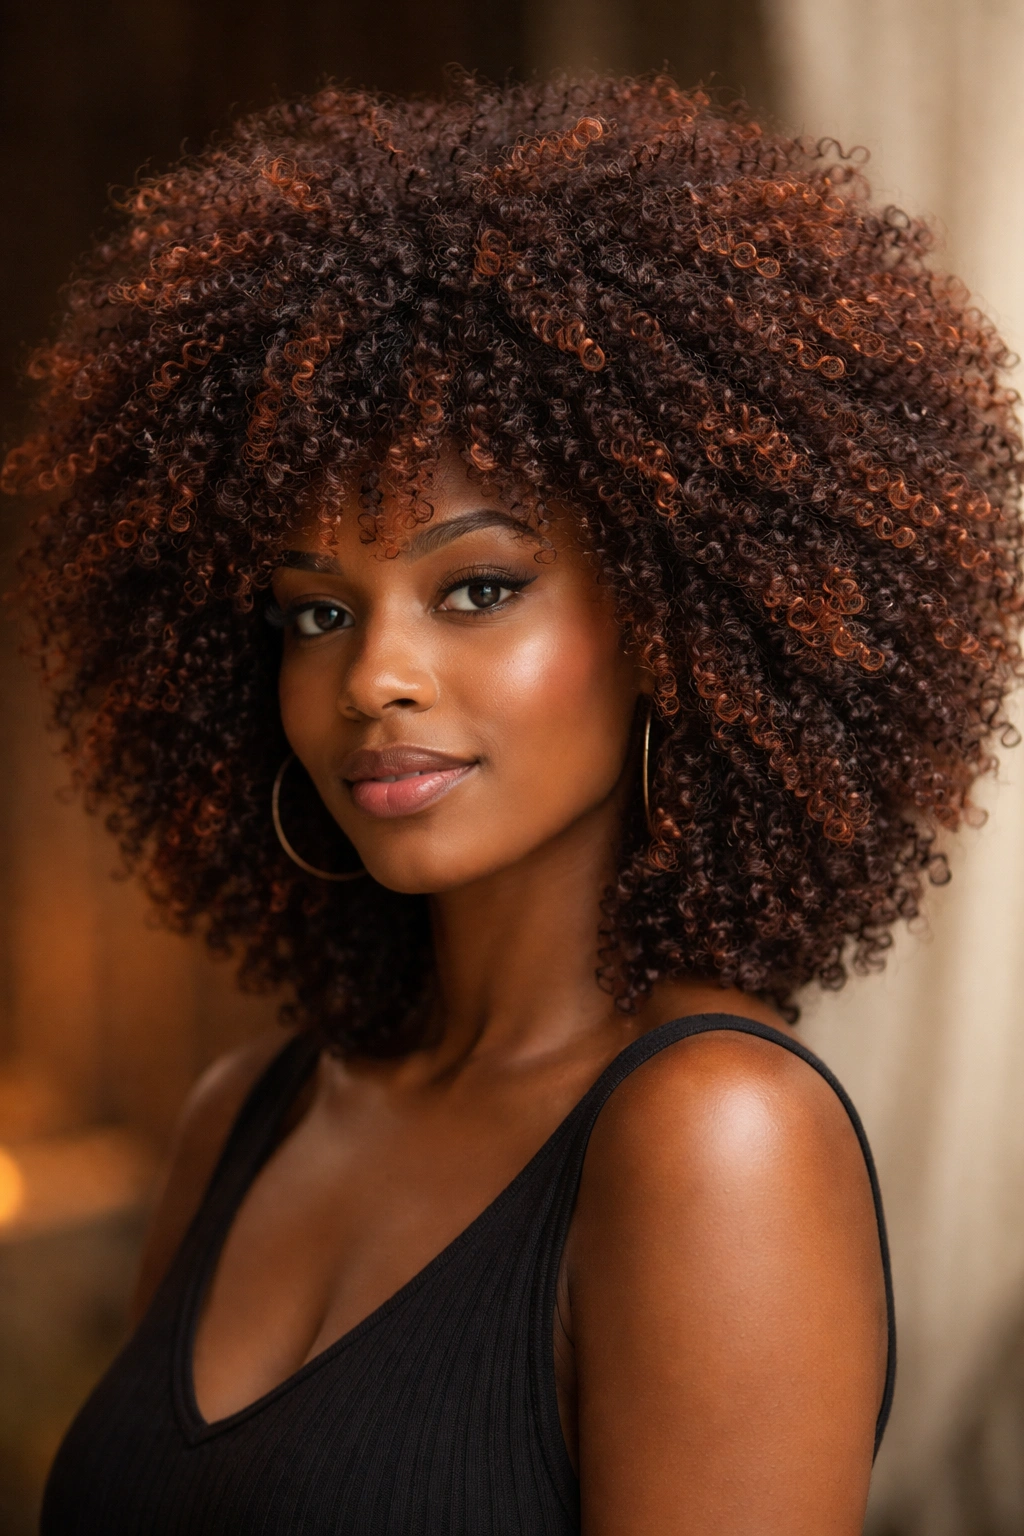
A deep brown base with a few copper strands looks richer than a single flat color. That is one of the easiest ways to make a crochet afro feel personal without touching dye. The color does some of the work for you, and the texture makes the blend look natural even when the shades are different.
This is also a smart beginner move because pre-colored crochet hair removes guesswork. You do not have to bleach anything. You do not have to worry about uneven toner or patchy dye jobs. You just choose the mix, install it, and let the light hit the texture.
Subtle color placement matters more than people think. If you want the style to stay calm, keep the brighter shade to the outer rows and the top layer. If you want more contrast, mix the tones through the whole head, but keep one shade dominant. A 70/30 split usually feels balanced: enough change to notice, not so much that the style starts looking busy.
I like warm tones in crochet afros because they play well with the texture. Browns, honey shades, auburn, copper, even deep burgundy — they all show up differently in the fibers and add depth when the hair moves. The one thing I’d skip is a harsh, stripey placement that breaks the fro into chunks. That tends to fight the shape.
Let the texture carry the color. You do not need loud placement for the style to read clearly.
9. Mini Crochet Afro for a Short, Easy Shape
Unlike the big, cloudlike versions, the mini-fro keeps the shape close to the head and asks for less maintenance. It is one of the best entry points if you are new to crochet installs, especially if you want to learn the method without committing to a ton of hair or a heavy silhouette.
The shorter length makes a difference in daily life. It dries faster if it gets damp, tangles less, and stays out of your face during work, errands, or long days when you do not want to keep touching your hair. It also puts less strain on the scalp, which is useful if you are still getting used to the feel of crochet attachments.
A mini-fro does need shaping, though. Short hair can look boxy if you stop too soon. Trim the perimeter into a soft round or slightly oval shape, then fluff with your fingers until the texture separates. A wide-tooth comb can be too aggressive here; finger styling usually gives you better control.
This is the style I’d choose for someone who likes neat outlines and wants the afro shape without extra drama. It is also easy to dress up with a clip or scarf later if you decide the look needs more personality.
Short does not mean boring. It usually means easier to wear.
10. Layered Crochet Afro With Big Volume
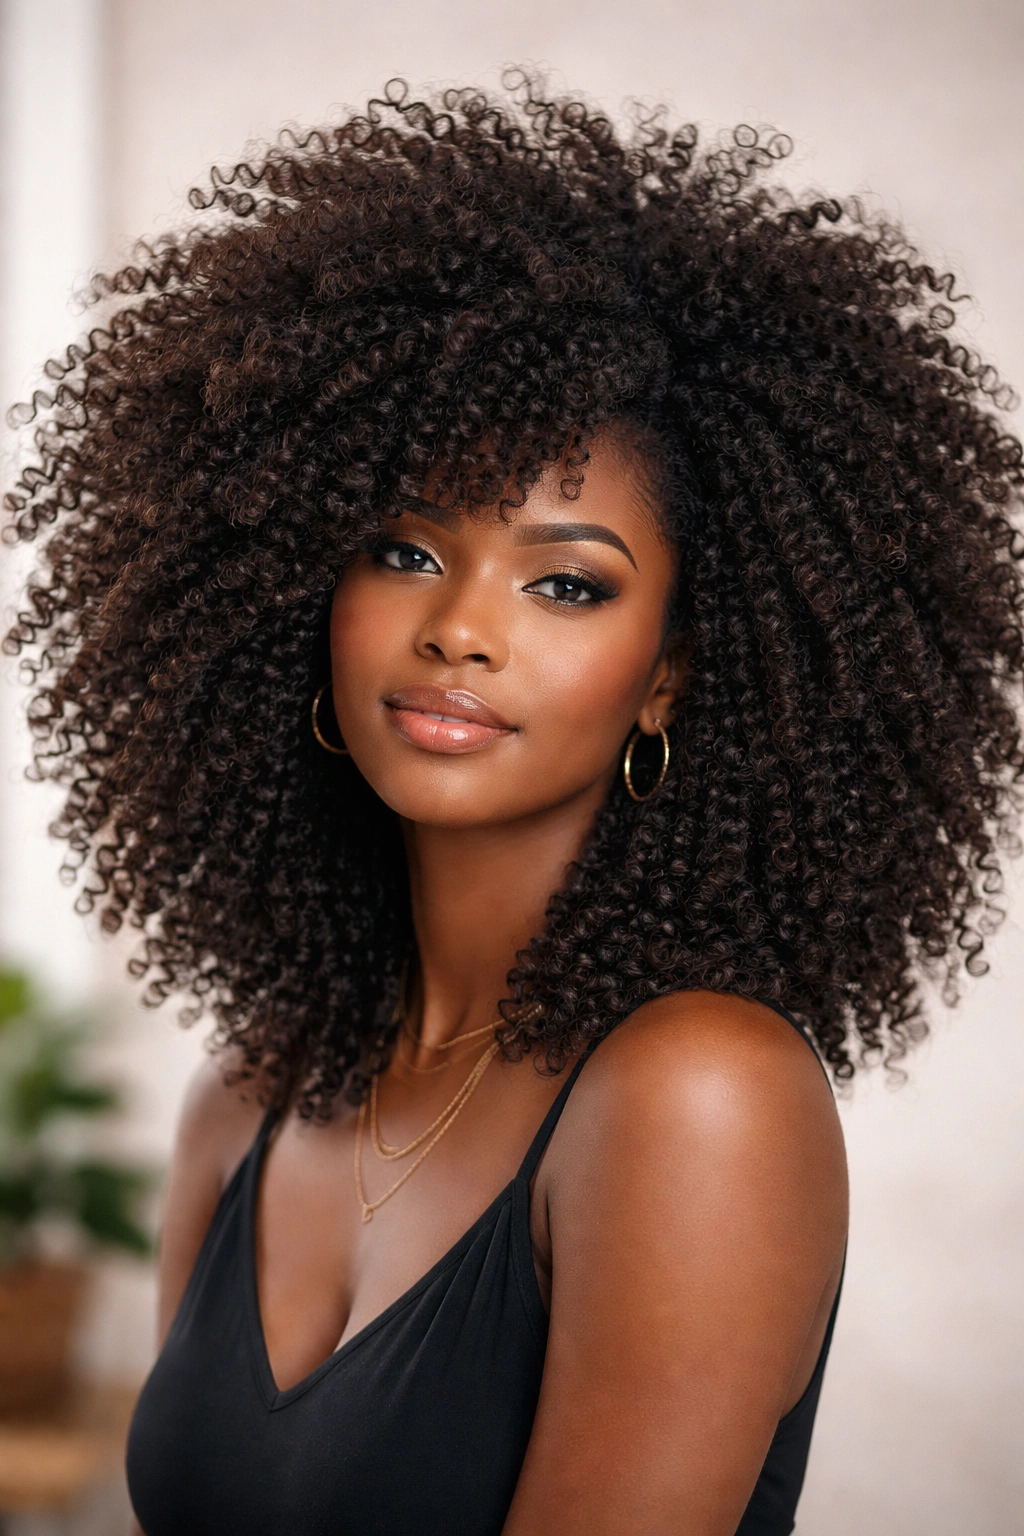
Layering is what saves a big crochet afro from looking like one solid ball. Without layers, all that texture can sit in the same place and feel heavy at the edges. With layers, the fro moves. It opens, it shifts, and it looks softer from every angle.
This style is still beginner-friendly if you plan the shape before you start trimming. Keep the longest pieces around the outer halo, place medium lengths through the crown, and let the shortest bits live near the nape and temples. That combination gives the fro a bit of lift without making the crown top-heavy.
A simple layering plan
- Put longest hair along the outer perimeter for fullness.
- Use medium-length pieces at the top to keep height.
- Keep the nape lighter so the back does not drag down.
- Trim in daylight if you can; bathroom lighting hides uneven spots in annoying ways.
The reason I like this version is that it gives you freedom. You can wear it big one day and finger-fluff it smaller the next. You can also shift the part, tuck one side, or pin the front back without the whole shape collapsing. A layered fro is less rigid than a single-length fro.
Do not rush the scissors. Seriously. The first cut should be about cleaning up the outline, not carving a perfect sculpture. You can always remove more hair. You cannot put it back.
11. Half-Up Crochet Afro for Hair Off the Face
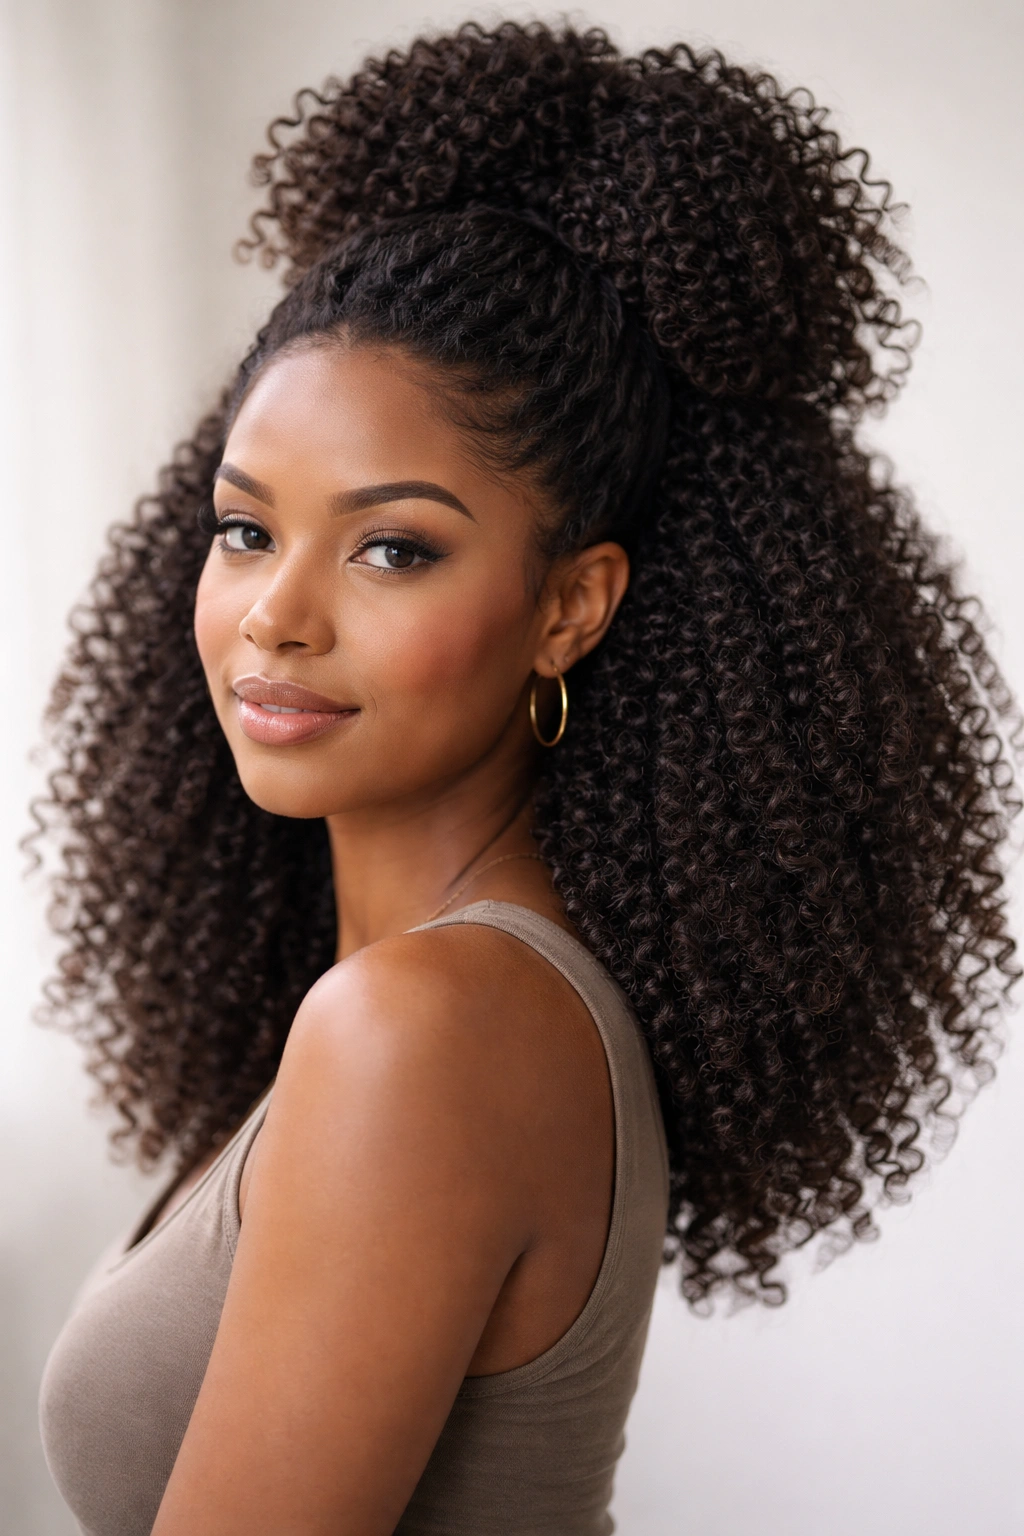
Need your hair out of your face by lunch? The half-up crochet afro is the answer that does not ask for a complicated updo. It gives you the softness of a fro and the control of a pulled-back style, which is a very good trade when you are still learning what works for your head shape.
The style works because the top section creates lift while the bottom section keeps the afro texture visible. You get both moods at once. A little polished, a little free. That combination makes it one of the most wearable crochet afro styles for busy days, long shifts, or any time you want your forehead clear without flattening the whole look.
How to secure the top without pulling
- Gather only the top third to half of the hair so the style stays balanced.
- Use a satin scrunchie or a covered elastic, not a tight band that digs into the crochet fiber.
- Pin the gathered section gently if the hair feels heavy.
- Leave a few face-framing pieces out near the temples so the style does not look severe.
The half-up shape is also forgiving if one side of your install is slightly fuller. Pulling the top back evens out the outline fast. That is probably why so many beginners like it after the first full fro. It gives them one more way to wear the hair without starting over.
If you want a little extra polish, wrap a thin scarf around the base or slide in a plain clip. Small details do a lot here.
12. Crochet Afro With Scarves, Clips, and Beads
Accessories are the easiest way to make a beginner crochet afro feel finished. A scarf can hide a tiny gap near the hairline. A clip can hold one side in place without disturbing the shape. A few beads can give the style a point of focus so the fro does not feel like it needs more work than it already has.
That is why I like this category for the end of the list. It is not about a new crochet pattern or a new fiber. It is about finishing the style with intention. If the hair is full and the base is neat, the accessory should support the look, not fight it. Keep the add-ons light enough that the shape still moves.
A printed scarf works well when you want to soften the front and draw the eye upward. Metal clips are better if you want a cleaner line on one side. Beads read more playful, especially on a shorter fro or on small framed sections near the face. Pick one lane. Too many accessories at once can make the style feel cluttered fast.
My rule is simple: if the hair already has strong texture, the accessory should be small and specific.
That’s the real beauty of crochet afro styles. They do not need a perfect start to look good. They need a solid base, a shape you can actually wear, and enough room for the texture to do its job.