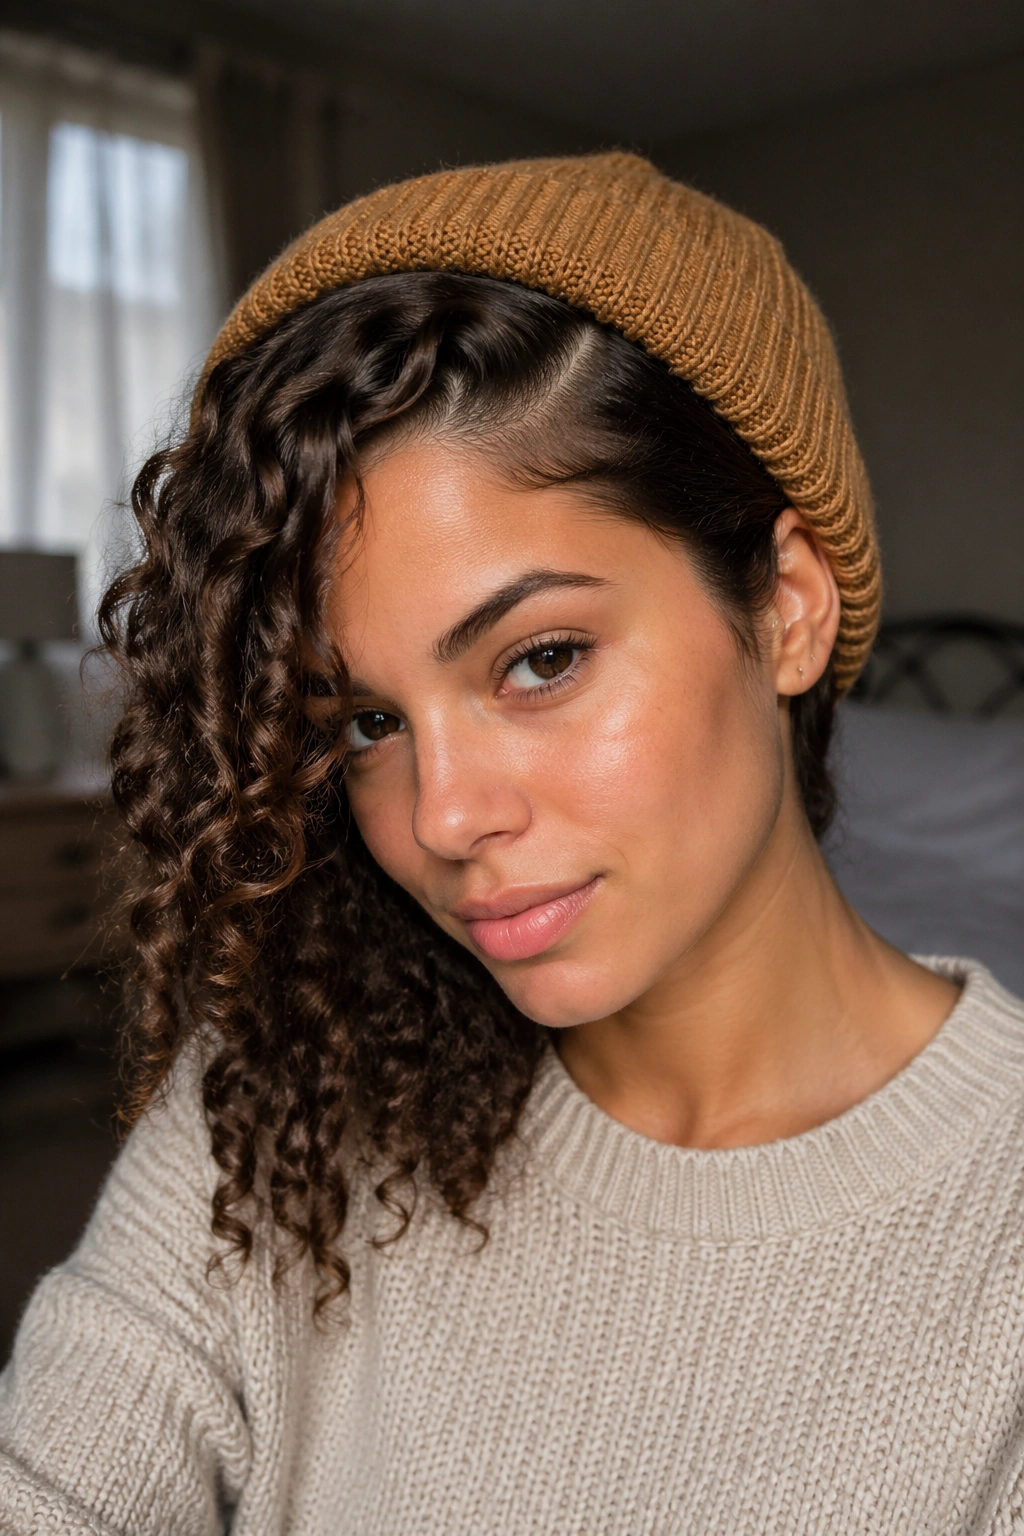
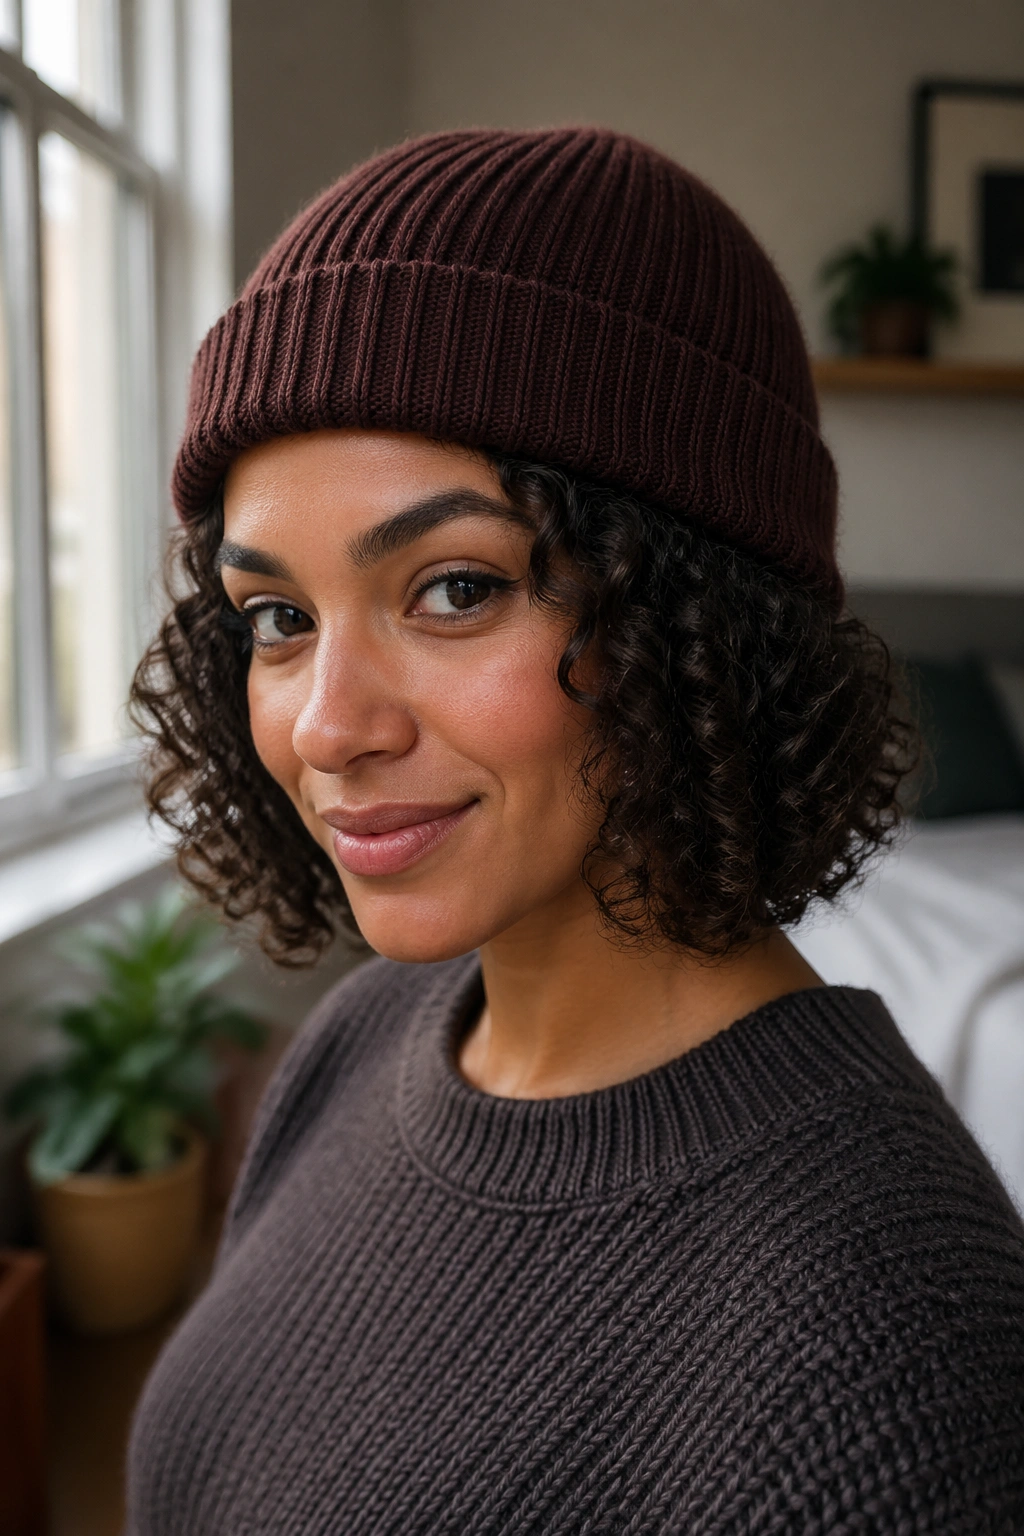
The hardest part about wearing a beanie with curls is not getting it on. It’s taking it off later and seeing a flattened crown, fuzzy hairline, and curl clumps that have gone from springy to oddly square.
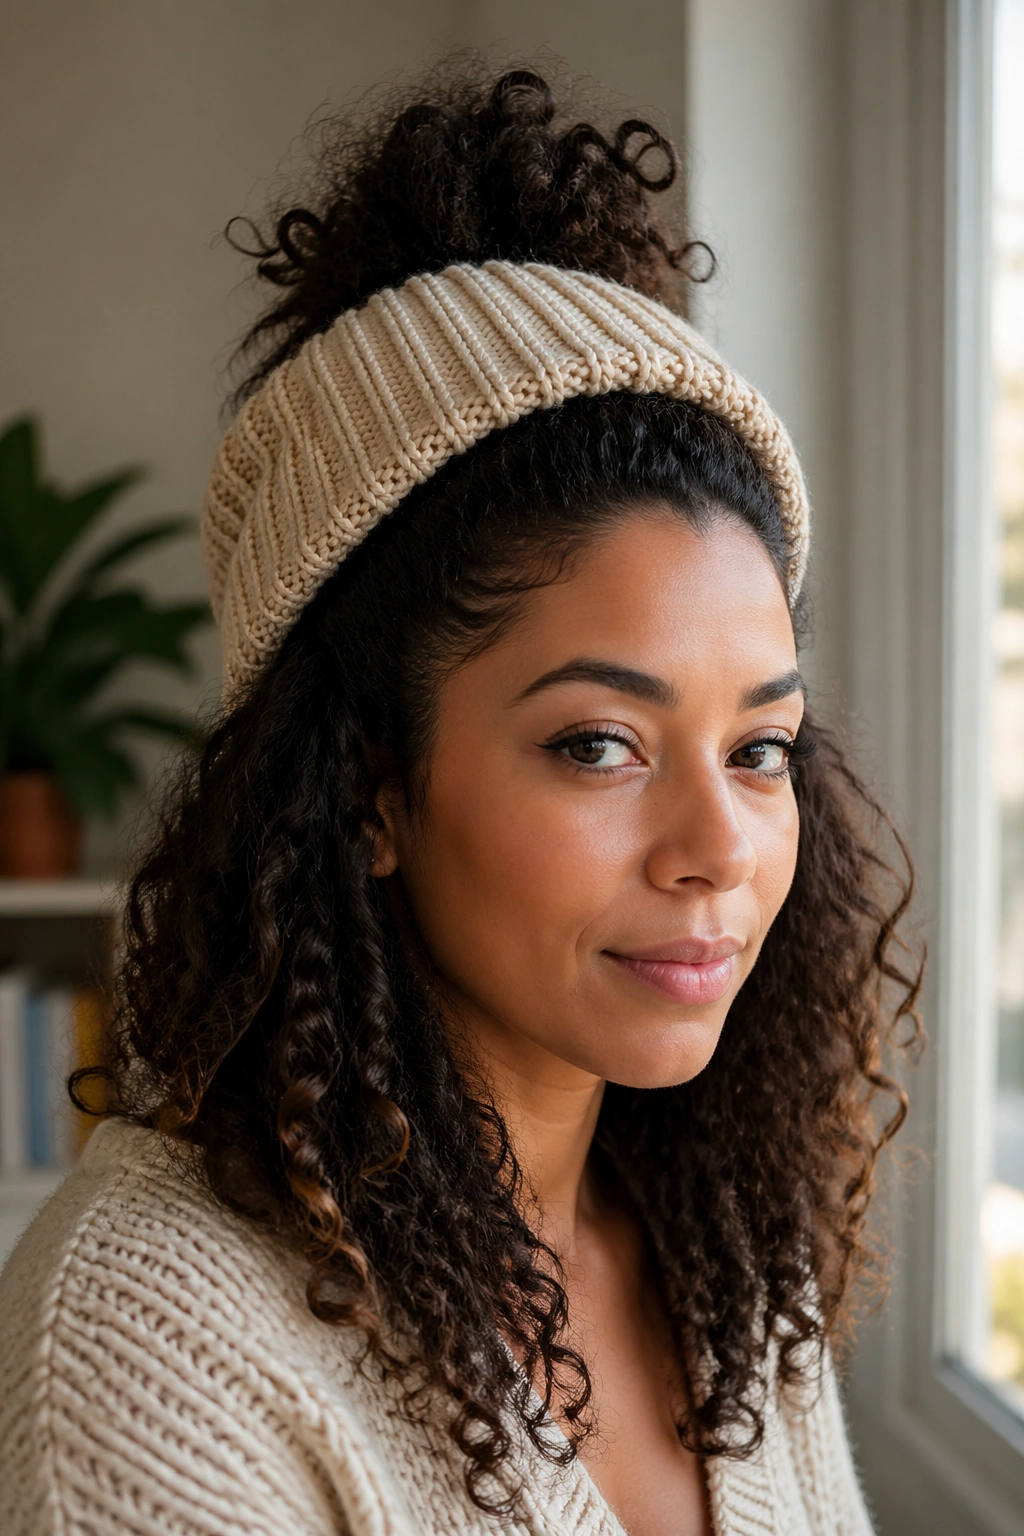
Beanie hairstyles for curly hair work when they respect one plain fact: curls do not like pressure, friction, or trapped moisture. A tight knit hat presses down on the roots, roughs up the cuticle, and drinks up softness if the fabric is dry and scratchy. That’s why one curly person can toss on a hat and still look polished, while another ends up redoing the whole style in a bathroom mirror.
A lot of advice on hat hair is written for straight hair, which is part of the problem. Curly hair reacts differently. A dent that barely shows on straight strands can split a curl clump in half. A wool cuff rubbing against the forehead can lift tiny hairs along the hairline in twenty minutes. Put a beanie over damp curls and you’re almost asking for limp roots and a chilly scalp.
The upside is that you do not need to give up beanies or default to the same rushed puff every time. A few smart prep steps and the right hairstyle shape make all the difference.
Why Beanie Hairstyles for Curly Hair Flatten So Fast
Compression is the first culprit. Curly hair gets its shape from lift at the root and spring through the mid-lengths, so when a beanie presses down on the crown, the whole silhouette changes. You do not just lose height. You lose the spacing that lets each curl form its own little spiral.
Friction comes next. Acrylic, rough wool, and unlined cotton can rub against the outer layer of the hair shaft — the cuticle — and that rough contact lifts the surface enough to create halo frizz. You feel it when the front pieces lose their smooth slip and start to feel dry or fluffy, even though the rest of your hair still looks fine.
The crown takes the hit first
The top two to three inches of your hair do most of the work under a hat. That area gets pressed, warmed up, and rubbed every time you move your head, pull the beanie down, or push it back. If your style depends on root volume, that pressure matters more than the length of your curls.
Dense curls can hide the damage a bit longer. Fine curls cannot. They show every dent.
Damp hair makes it worse
Pulling a beanie over damp curls is one of those habits that feels harmless until you see the result. Hair that is still drying takes the shape of whatever holds it in place. If that shape is “squashed under knit fabric,” that is the shape you keep.
A quick test helps: your roots should feel dry, and the ends should not feel cool to the touch. If they do, wait another ten minutes or hit the roots with a diffuser before the hat goes on.
How to Prep Beanie Hairstyles for Curly Hair Before You Head Out
Start with less product than you think you need. Thick cream at the roots plus a fitted beanie usually ends in flattened, sticky-looking curls. What holds up better is a light leave-in on the mid-lengths, a small amount of mousse or foam near the crown, and a drop or two of serum on the front pieces that will touch the hat.
Fabric matters. A satin- or silk-lined beanie cuts down on friction the way a satin pillowcase does, and curly hair notices the difference fast. If you already own a knit hat you like, slipping a satin bonnet underneath works too, though it changes the fit and can add bulk.
A beanie also has to sit in the right place. Too low on the forehead, and it crushes the front curls. Too tight at the nape, and it pushes a low puff or ponytail upward in a strange way. Aim for a fit that feels secure but leaves no deep red line across your forehead after ten minutes.
If your beanie leaves a dent that sharp, it is too tight.
A five-minute prep that pays off
- Mist only the pieces that need help, not your whole head. A light spray at the front and crown is usually enough.
- Smooth product over the surface with praying hands instead of raking through every curl. That keeps clumps together.
- Lift roots with your fingers or a pick before the hat goes on. Start underneath, not on top.
- Use a loose scrunchie, spiral tie, or satin tie for gathered styles. Tight elastics leave hard ridges.
- Carry one small clip or two bobby pins if your style needs a quick reset after you take the beanie off.
This prep is boring. It also saves you from starting over later.
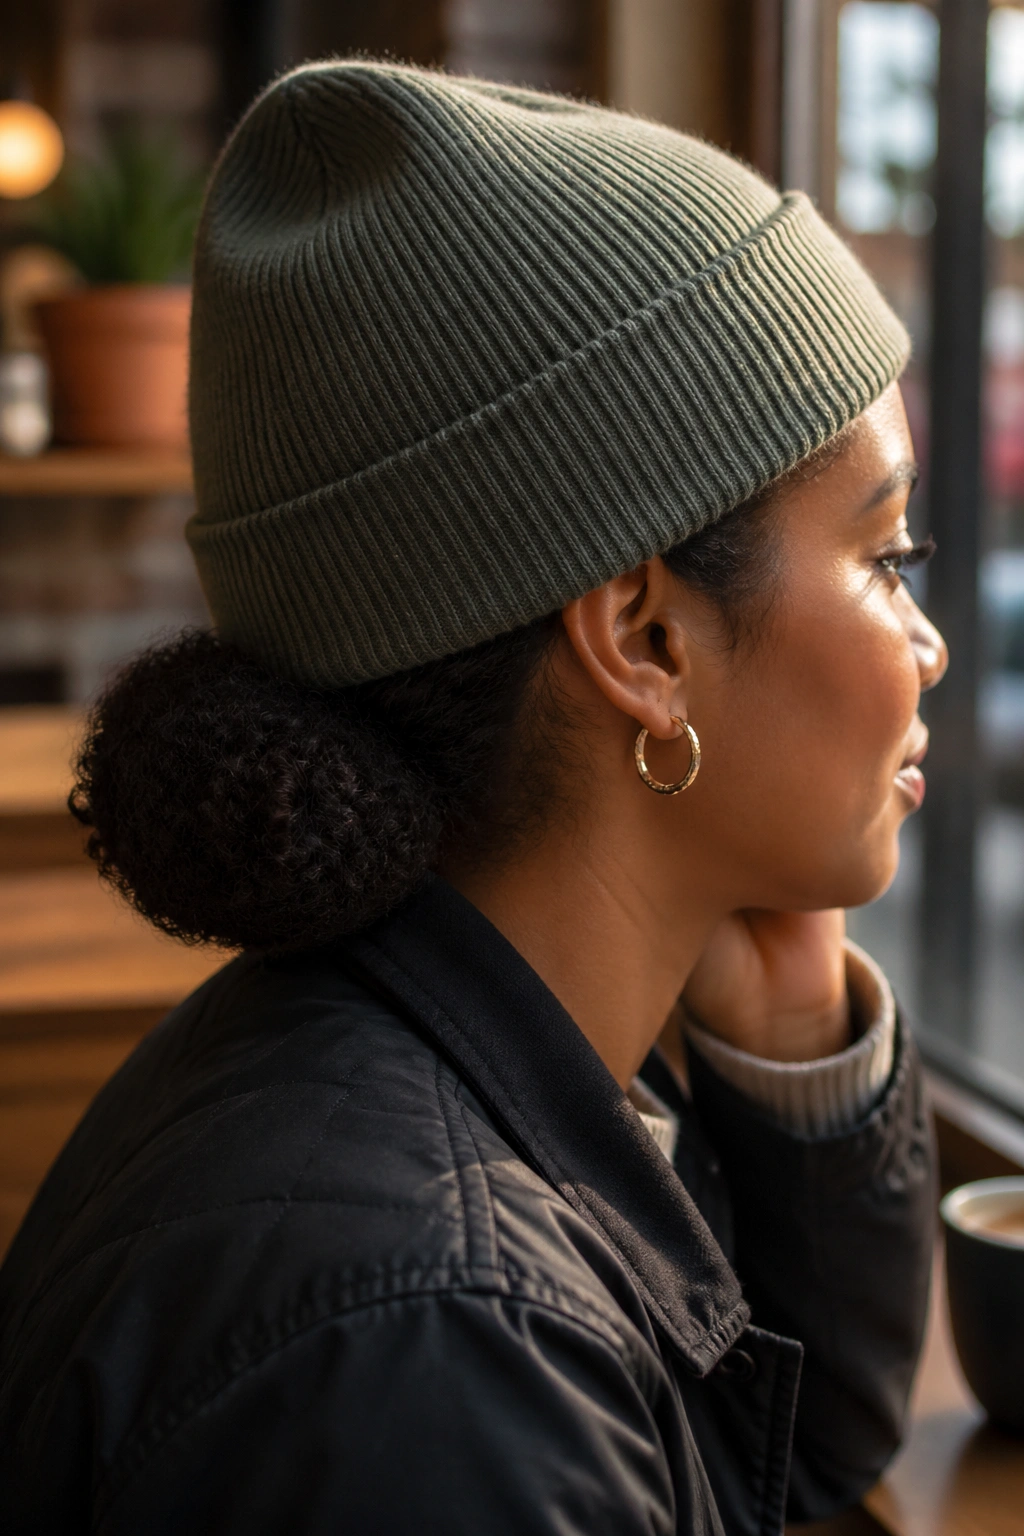
1. Pineapple Puff With Curls Spilling Out the Back
If you have medium or long curls, the pineapple puff is still the easiest beanie hairstyle to trust. It works because the gathered section sits high enough to preserve the curl pattern, while the beanie covers the base and keeps the style from looking too casual.
Place your hair into a loose ponytail at the highest point of your head, or a little behind it if you want less height in front. Use one soft satin scrunchie and stop after one or two wraps. The goal is hold, not tension. Then slide the beanie on from the forehead toward the back so it sits behind the puff rather than over it.
Why this one holds up
The puff keeps most of the curls lifted away from the compressed part of the hat. That means the beanie only touches a small section near the roots instead of flattening the whole top layer. It also gives you a clean shape from the front, which matters more than people admit.
A slouchy beanie works better than a skull-cap fit here. You want enough room in the crown for the puff base.
Quick setup notes
- Best on: shoulder-length to long curls, especially layered cuts
- Use: one satin scrunchie and a light foam at the roots
- Place the beanie: about 1 inch behind the hairline
- Fix after removal: shake the puff loose and fluff underneath with fingertips
Good trick: pull two or three curls loose near the temples before the hat goes on. They soften the look and hide any edge flattening.
2. Curly Bangs With a Slouchy Beanie
If you already have curly bangs, stop trying to tuck them away. They are the part that makes a beanie look styled instead of accidental.
A slouchy beanie paired with visible bangs gives your face shape right away. The hat frames the forehead, the fringe keeps the look open, and the rest of the curls can stay tucked or loose depending on length. This works especially well on shoulder-length cuts, curly shags, and any haircut with shorter front layers.
Bang prep matters more than the rest of the head here. Mist the fringe lightly, smooth a pea-size amount of curl cream through the pieces, then finger coil six to ten curls so they dry with separation. If you need quicker hold, tap a little foam over the surface and diffuse for two minutes. The curls should feel soft, not crunchy.
Slide the beanie back enough that the bangs sit free without getting bent under the cuff. About one finger width behind the root line usually does it. When the hat sits too far forward, the fringe folds in half and stays there.
Short curls pull this off with almost no effort. Longer curls get a bigger payoff because the bangs keep the style from feeling heavy around the face. And yes, the contrast is the whole point — soft spiral fringe under cozy knit fabric just works.
3. Low Puff at the Nape
Need something neat enough for work, errands, and a long coat collar that keeps rubbing the back of your hair? The low puff at the nape is the calm, reliable option. It does not ask for a full restyle, and it survives a beanie better than most low styles because the ends stay gathered.
Make a loose ponytail about 1 to 2 inches above your hairline at the back of the neck. Not lower. If the elastic sits too low, the beanie pushes it down, and the whole style feels awkward against your collar. Smooth the top with your hands, not a hard brush, unless you want a sleeker finish.
Why does this style work so well under a hat? The beanie covers the crown, where flattening shows most, while the puff at the bottom still gives you visible texture and fullness from the back. You keep shape without carrying all the bulk high on your head.
Making the puff look full, not saggy
Use a shoelace, puff cuff, or soft tie if your hair is dense and regular elastics squeeze it too much. Then tug lightly at the base of the puff to widen it. That tiny adjustment changes the whole outline.
A little gel at the hairline is fine. Do not shellac the top down. Stiff roots under knit fabric can turn flaky fast, and the rubbing only makes it more obvious.
Good for
- Thick 3A to 4A curls
- Day-two or day-three hair
- Longer coats, scarves, and high collars
- People who hate hair sitting on the back of the neck
4. Half-Up Top Section Under a Loose Knit
Day-three curls often do something annoying: the top layer still looks presentable, while the underside has turned into a frizzy cloud. That is exactly when a half-up style under a beanie earns its place.
Gather the top third of your hair — crown and upper sides — into a small puff or loose mini bun. Leave the lower curls down. Then place the beanie so it covers the gathered section and lets the bottom curls spill out at the back. What shows is soft texture, not the tired part of the style you were trying to hide.
The reason this works is visual balance. The hat smooths over the half-up section, which can look a little messy on its own, while the loose lower curls keep the whole shape relaxed instead of severe. You end up with movement at the bottom and less bulk at the top.
A mini puff looks better than a tight knot for most curl patterns because it keeps the outline round. If your hair is finer, pin the half-up section instead of tying it. One or two crossed bobby pins under the beanie can hold more than people expect.
- Works well on: chin-length to chest-length curls
- Best beanie shape: soft knit with a little extra room at the crown
- Fast refresh: re-wet only the bottom layer and scrunch in foam
- Watch the sides: leave a little looseness near the temples so the style does not look pulled apart
This one is easy to underestimate. Then you wear it once and reach for it every week.
5. Deep Side Part With One Ear Tuck
A deep side part does something a center part often cannot do under a beanie: it gives you built-in asymmetry, which makes minor flattening look like part of the style rather than a mistake. That matters more with short and medium curls, where every bit of shape is visible.
Create the part while your hair is slightly damp or freshly refreshed. Use the tail of a comb to draw the line from the highest point of one brow back toward the crown. Smooth the heavier side with a little mousse, then lift the roots underneath with your fingers so the top does not lie flat. Let the lighter side tuck behind one ear or under the cuff of the beanie.
This style shines on curly bobs, shaggy cuts, and jaw-to-shoulder lengths because the beanie does not need to carry the whole look. The part does a lot of that work. The hat only frames it.
There’s a softer version too. Leave one curl loose in front of the tucked side and let the longer side sweep across the forehead. It feels less polished and a little more lived-in, which is often the better call with textured hair. If the curls look too fluffy after removing the hat, twist two or three front pieces around your finger, hold for ten seconds, and let them spring back.
A center part can look nice. Under a beanie, though, the deep side part usually has more personality and more forgiveness.
6. Loose Low Bun With Front Tendrils
Unlike a tight ballerina bun, a loose low bun does not fight the beanie. That is the whole appeal.
Gather your curls at the nape, twist them once or twice, then coil them into a soft bun and secure with a satin scrunchie or two spin pins. Leave three or four face-framing pieces out before you start. Those front tendrils stop the style from feeling too flat once the hat covers the top half of your head.
This works best when your hair is long enough to form a bun without a lot of force. If you have to yank, it is the wrong day for this style. Tension plus knit friction is a bad mix, especially around the temples.
The low placement also pairs well with thick scarves and coat collars because the bun sits above the neckline instead of jamming against it. Put the beanie on so the back edge stops above the bun base. If the hat keeps sliding into it, the bun is too high.
Who gets the most from this look? People with long, dense curls who want something cleaner than a puff but softer than a slicked-back ponytail. Add a drop of serum to the loose front pieces and shape them in little coils if they need help. Skip heavy gel at the nape; once it rubs against the hat and collar, it can look dull and feel rough by midday.
7. Front Flat Twists With the Back Tucked In
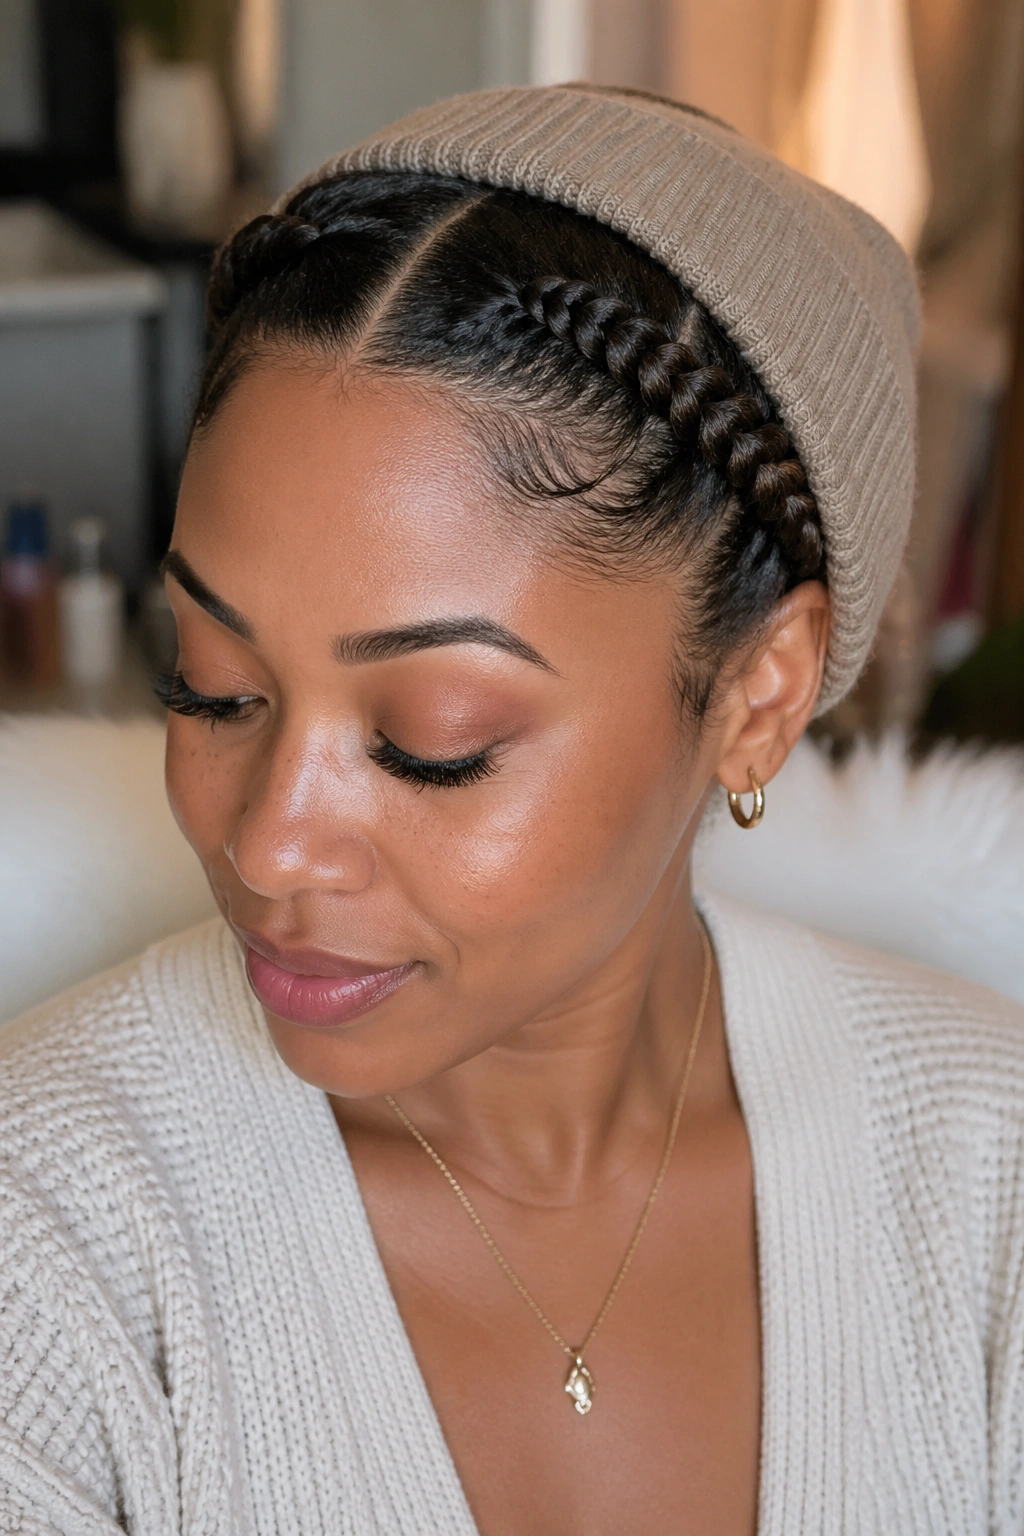
If your hairline frizzes first and fastest, front flat twists solve that problem before it starts. Two flat twists or small cornrow-style sections at the front keep the most visible hair under control, while the rest of the curls can be tucked into the hat without needing a full style underneath.
Part a section from temple to temple, then create one twist on each side heading back from the forehead. You do not need tiny parts. About 1 inch wide is enough. Secure the ends with small pins, gather the remaining hair into a loose tuck or low puff, and pull the beanie over the back half.
Why this one lasts
The twisted front section acts like a buffer between your curls and the hat. Instead of the cuff rubbing directly against loose strands, it sits on top of a smoother, more compact style. That cuts down on frizz along the forehead and around the ears.
Dense curls and coils often hold this shape for a full day with little touch-up. Finer curls may want a dab of foam or setting lotion on the front sections before twisting.
What to watch
- Do not braid or twist too tightly at the temples
- Let the back stay loose enough that the beanie does not bulge
- Use matte pins if they might peek through
- Refresh the exposed ends with a little water after removing the hat
This one takes a few extra minutes, yes. It also saves you twenty later.
8. Wash-and-Go Bob Under a Rolled Cuff Beanie
Short curls often look better under beanies than long curls do. There, I said it.
A curly bob with a rolled cuff beanie has shape built in. The hat frames the forehead, the curls push out around the sides and back, and the shorter length rebounds faster once the hat comes off. You are not carrying the weight of long hair, so the curl pattern has a better chance of springing back on its own.
The prep is simple but specific. Diffuse the roots until they are fully dry and slightly lifted, then smooth a light serum over the ends. Put the beanie on after your hair has cooled. Warm curls fresh from the diffuser can flatten more easily because the set has not finished settling yet.
Rolled cuffs work well here because they create a cleaner line at the forehead. A tall cuff can also make a short bob look more deliberate, almost like a cropped silhouette rather than “hair hidden under a hat.” That difference shows up in photos and in real life.
If you remove the beanie and the crown looks a little compressed, do not soak the hair again. Reach under the top layer with a pick, lift at the roots only, and shake the curls loose. Short curls hate being overworked. A quick reset beats a full refresh every time.
9. Crown Braid With Curly Length Left Loose
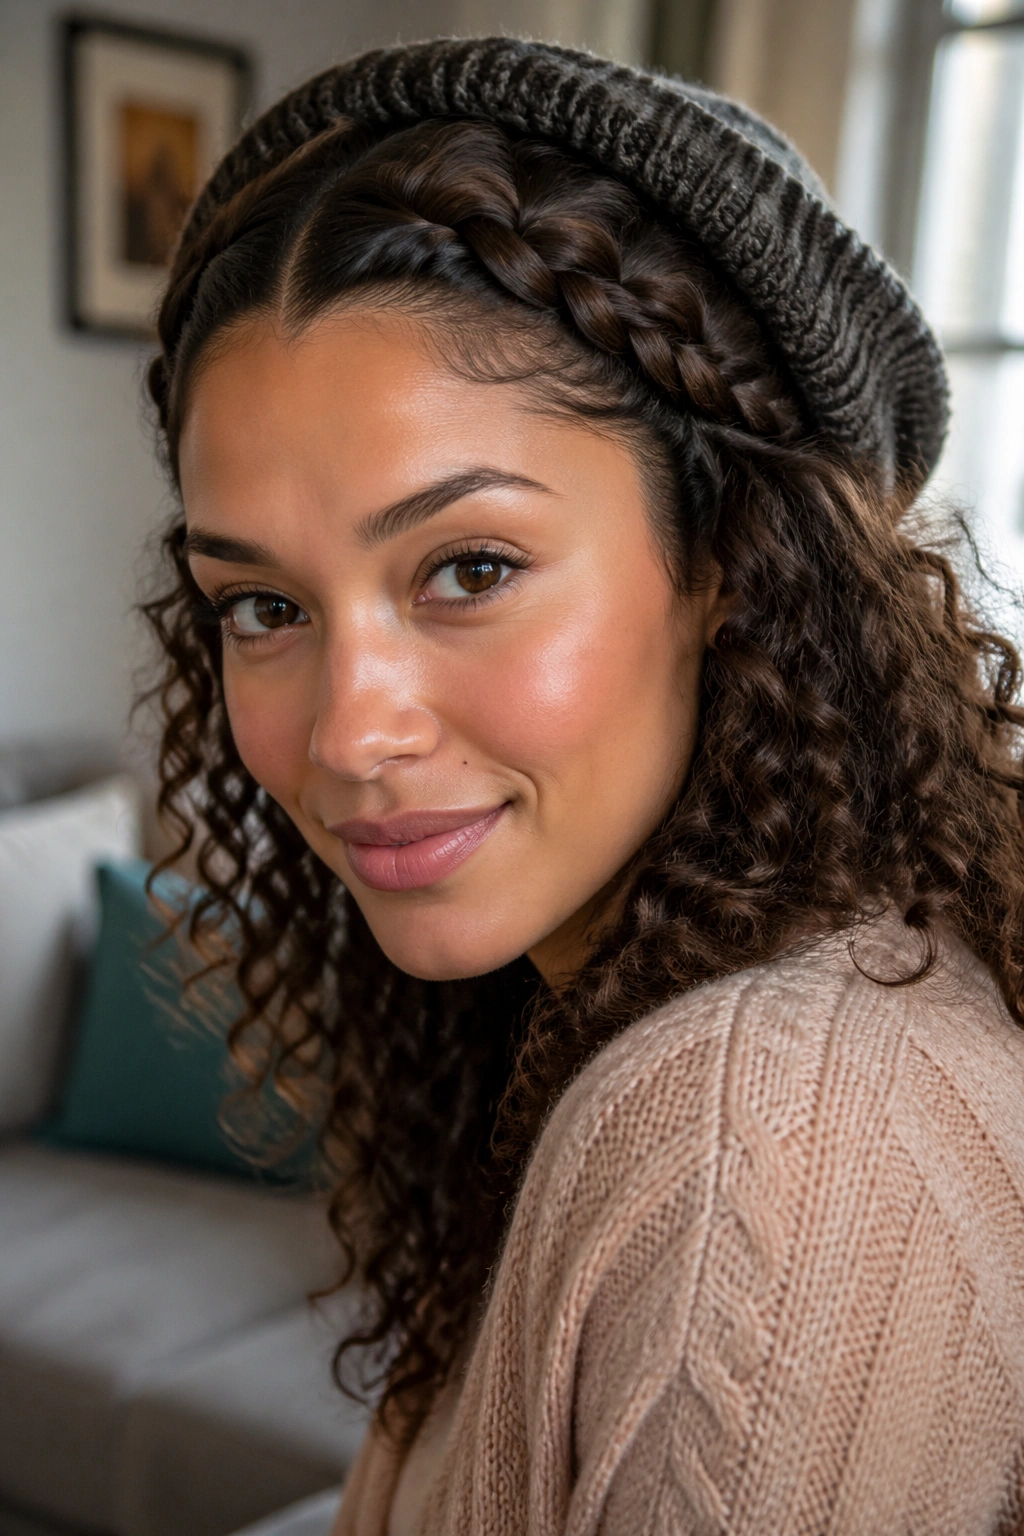
Want your forehead area to stay neat without sacrificing the texture of your curls? A crown braid across the front gives you a clean frame, while the rest of the hair stays soft and visible below the beanie.
Braid from one temple across the front hairline toward the other side, stopping before you reach the ear. Pin the braid securely, then leave the back and lower sides loose. The beanie sits behind the braid, not over it. That detail matters. If you cover the braid completely, you lose the shape that makes the style worth doing.
Placement changes everything
A braid set too far back can make the front look bare. Keep it close to the hairline — around half an inch to an inch behind it — so the face still feels framed. Pull a few curl pieces loose near the ears if the line looks too strict.
This style shines on medium to long curls, especially if you already have layers around the face. It also works on hair that is not at its freshest, because the braid hides puffiness near the front while the loose back section still gives you texture. If your braid skills are rusty, a two-strand rope twist across the front creates a similar effect with less effort.
The look lands somewhere between casual and polished, which is a useful space to live in during colder months.
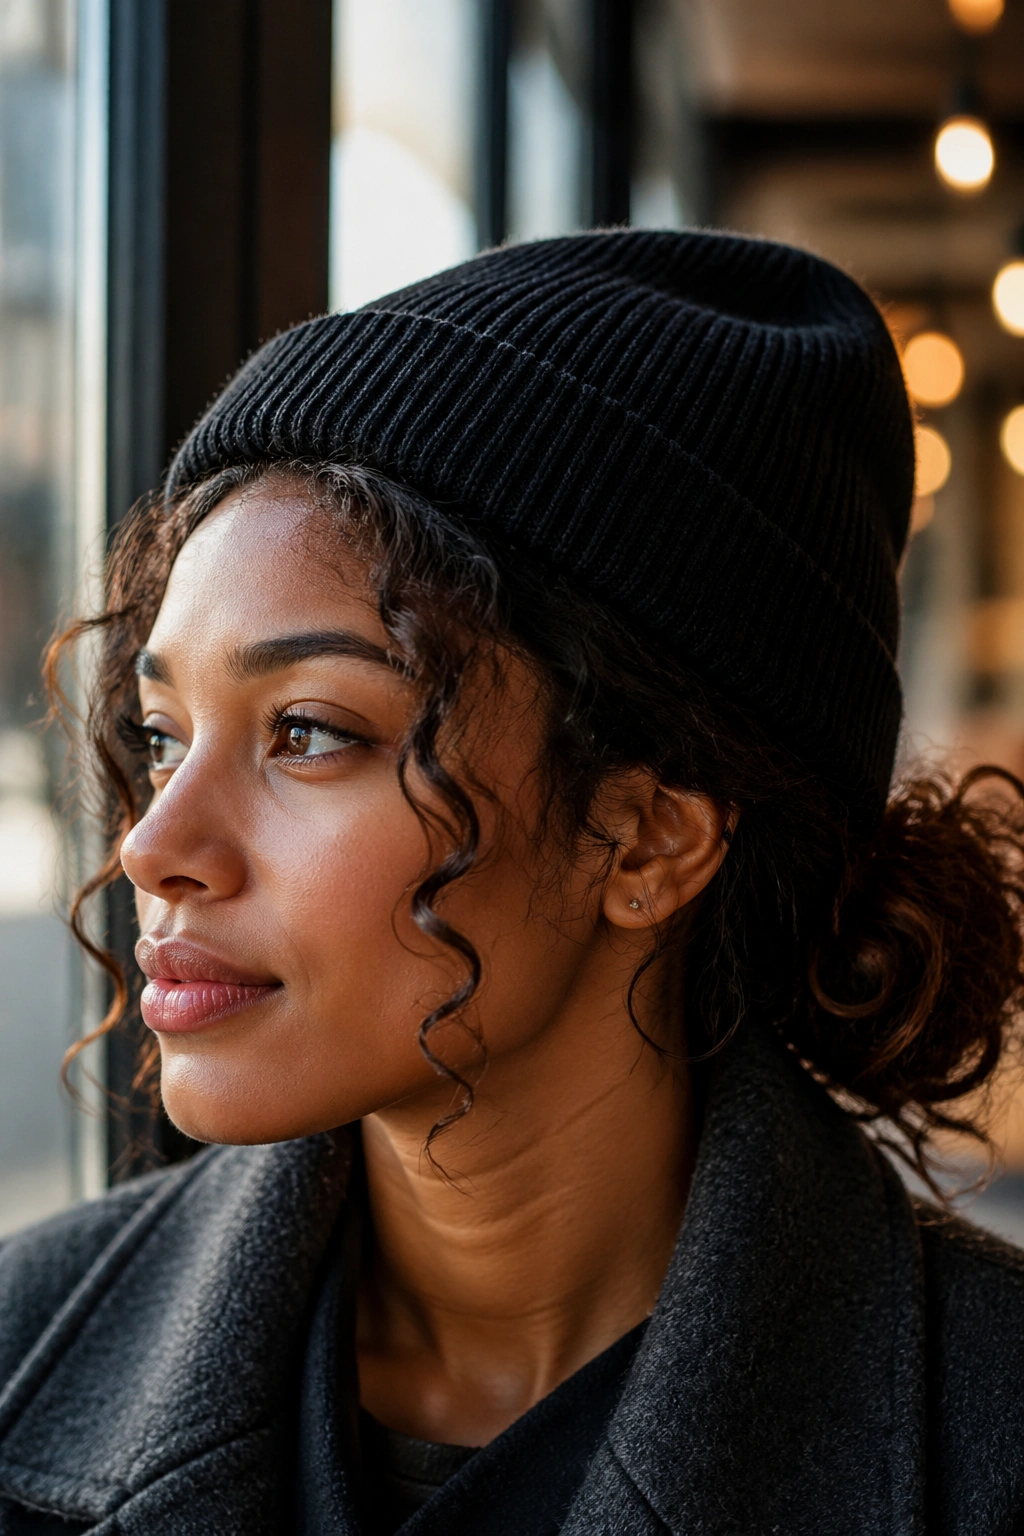
10. Two-Strand Twists Hidden Under the Hat
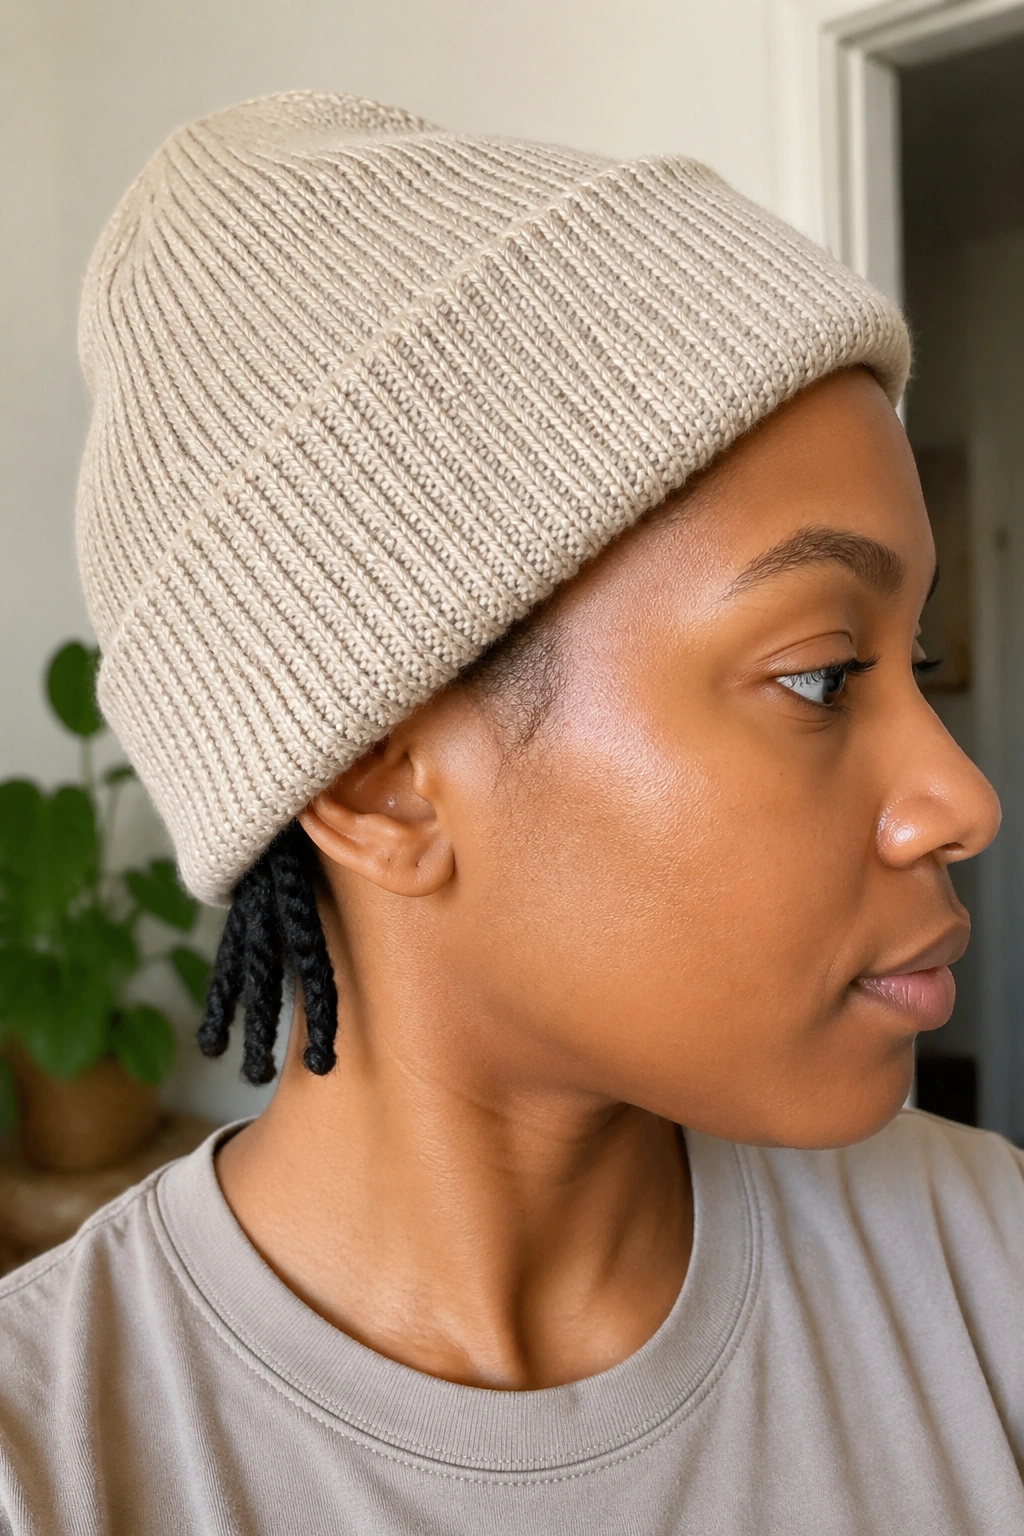
Some mornings, wearing your curls loose under a beanie sounds exhausting. That’s when two-strand twists tucked under the hat make sense.
Twist the hair into 8 to 12 medium sections, depending on thickness and length. Use a light cream or foam, not a sticky butter, and twist down to the ends. Once the twists are set, tuck them under the beanie or let a few peek out near the nape. The style looks tidy while the hat is on, and when you take it off later, you get stretched, softly defined texture instead of smashed curls.
This is one of the smartest choices for long commutes, windy walks, or any day when your hair will spend hours under a hat. Loose curls can only tolerate so much rubbing. Twists hold their form better because each section is already organized.
- Try 8 twists for fuller, fluffier texture afterward
- Try 12 twists for more definition and less frizz
- Use satin underneath if your beanie fabric feels dry or grabs the hair
- Untwist only when the hair feels fully dry and cool
The hidden advantage is shrinkage control. Twists stretch the pattern a bit, so you get length without heat. And if you decide not to take them down until later, the style still looks clean. Few hat-friendly looks give you that kind of flexibility.
11. Sleek Low Ponytail With Curly Ends
A low ponytail with defined curly ends is sharper than a low puff and lighter than a bun. It works when you want a cleaner line at the crown but still want texture visible below the hat.
Brush or smooth the roots back gently with a soft boar-and-nylon brush or your palms coated with a little gel. Gather the ponytail about 1 inch above the nape so it clears the back edge of the beanie. Then spend your time on the ends. Scrunch in water and foam, finger coil a few visible curls, and let that tail be the focal point.
This style suits mixed textures well. If your roots are looser than your ends, the sleek top looks natural rather than forced. It also helps if your curl pattern gets fuzzy close to the scalp after day three or four. The beanie hides the crown, the ponytail shows off the part of your texture that still looks lively.
A small warning, though. It is easy to over-tighten this style because the beanie makes you think no one will see the tension. Your scalp still feels it. The ponytail should move when you turn your head. If it does not, loosen it and start again. Hairlines remember repeated stress.
12. Faux Curly Fringe With Volume at the Crown
No bangs? You can still fake the look. The faux curly fringe is one of the most flattering beanie hairstyles for curly hair because it brings texture forward instead of hiding everything under the hat.
Start with a loose high pineapple. Pull six to eight curls toward the forehead before tightening the scrunchie, then arrange those front pieces where bangs would normally fall. Slide on a slouchy beanie from the back, letting it support the base of the puff while the front curls spill out over the forehead. Tuck in any pieces that stick up awkwardly.
Unlike real bangs, this style is low-commitment. You get the face-framing effect without cutting anything, and the beanie helps hold the illusion in place. It works best on layered curls or hair with shorter front pieces, though even one-length hair can pull it off if the pineapple sits high enough.
The crown volume is the secret. A flat faux fringe looks accidental. A little height behind it makes the shape look balanced and intentional. If the curls in front separate too much, wrap one or two around your finger with a drop of foam and let them dry for a minute before heading out.
This one has more drama than the others. Sometimes that is exactly what a gray knit hat needs.
Final Thoughts
A beanie does not have to be the enemy of your curls. The trick is choosing a hairstyle that expects a little pressure and still keeps a visible shape once the hat comes off. High styles protect length, low styles handle coats and scarves better, and front-detail styles — bangs, twists, braids — save the part of your hair people notice first.
The other piece is prep. Dry roots, light product, a soft lining, and a beanie that does not squeeze your forehead like a clamp will get you farther than any miracle styling trick. Small choices matter here.
Pick one style for rushed mornings, one for polished days, and one for when your curls are on day three and acting stubborn. That little rotation keeps the beanie in your wardrobe and the frustration out of your hair routine.