A good Afro puff has a way of saving a morning. Hair is doing the most, the clock is doing even more, and somehow one gathered puff can make you look like you planned your whole outfit instead of grabbing it in a rush. The best Afro puff styles work with shrinkage instead of fighting it, which is why they hold up so well for natural hair that wants to do its own thing.
That is the part people miss. A puff does not need to look flat to look polished. It needs a clean base, a shape that suits your hair density, and a little attention at the roots so the style does not sag by lunchtime. A thick coil pattern can give you a fuller puff than you expect, while stretched hair gives you height and a softer silhouette. Small differences. Big change.
I also like that puffs are forgiving. If your parts are a little crooked, the style still works. If your twist-out is a bit fuzzy, the puff usually hides it. If your edges are not laid down like a helmet, good — they do not need to be. The sweet spot is neat, not stiff, and that balance is what makes these styles feel wearable day after day.
1. The Classic High Afro Puff
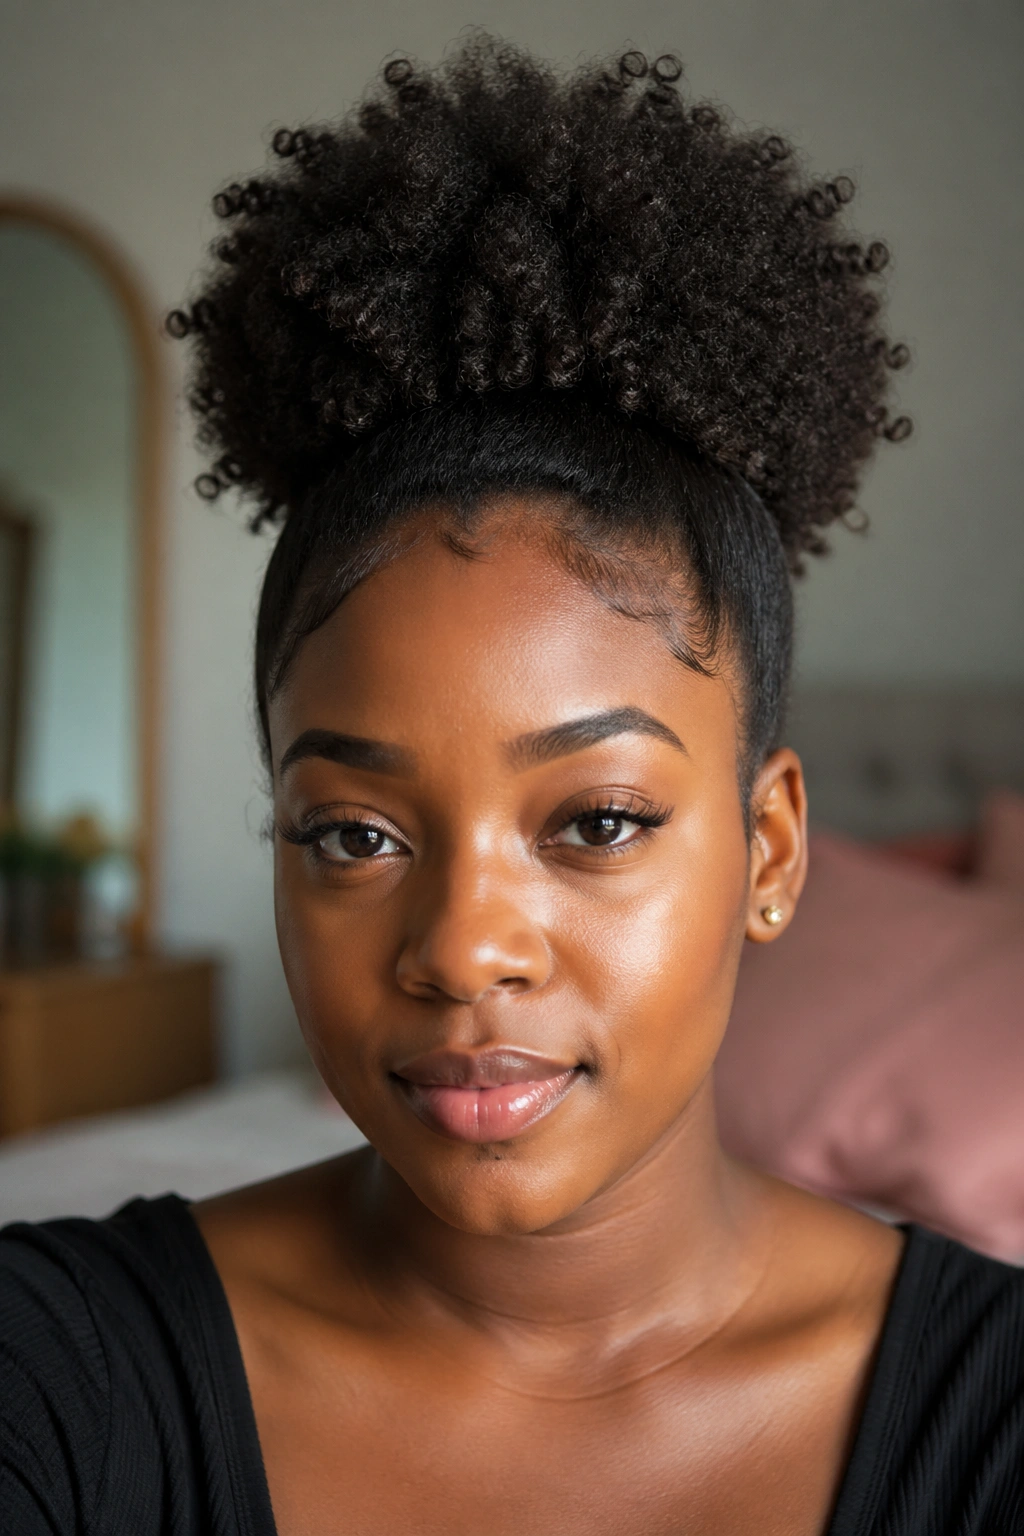
The classic high puff earns its place because it is fast, familiar, and easy to adjust when your hair has a mind of its own. Gather it near the crown, secure it with a soft band, and let the puff sit high enough to open up your face without looking tight. That placement matters more than people think. Too low, and the style can feel sleepy. Too high, and it starts looking pulled instead of full.
Simple wins here.
A light mist of water or leave-in conditioner helps the coils gather without snapping at the roots. Then smooth the front with your hands or an edge brush, but do not rake through the length of the hair so hard that you flatten the puff. You want lift, not a pancake.
How to keep the high puff from slipping
- Use a wide satin scrunchie or a snag-free band instead of a thin elastic.
- Collect the hair in one motion if you can; too much tugging creates frizz right at the crown.
- After securing the puff, tug the outer layer outward a little so it looks rounded instead of squeezed.
- If your hair is short at the sides, pin the loose pieces under the puff with 2 or 3 bobby pins.
The style works especially well when you want a clean look with almost no effort. Pair it with hoop earrings, a bold lip, or a plain tee. It does not need much else.
2. The Low Nape Puff
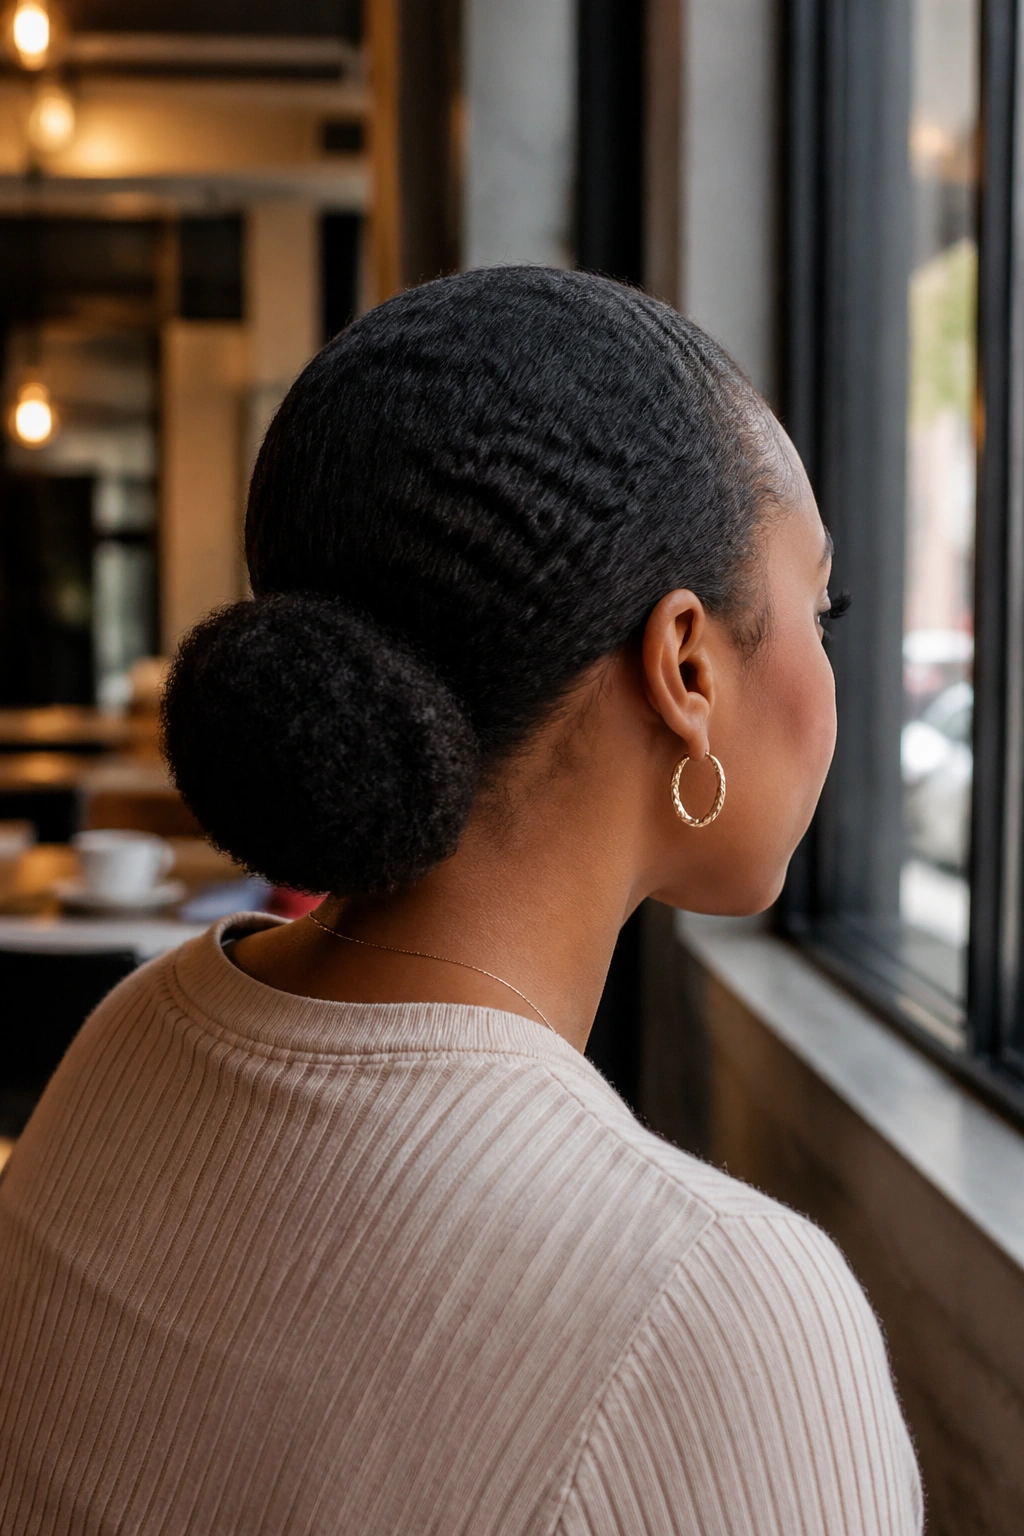
A low puff is the one I reach for when I want my hair out of the way but do not want the top of my head shouting for attention. It sits at the nape of the neck, which makes it feel a little calmer than a high puff and a little more intentional than a loose fro. There is less tension at the front, too, which your scalp will appreciate.
If you wear collars, blazers, or high-neck tops, this shape makes sense. It clears the neck nicely and keeps the silhouette neat. It also works when your hair is thick and heavy, because the lower placement spreads the weight in a way that feels easier to wear for a full day.
Comfort matters.
I like this style on days when I do not want to fight volume. Keep the hairline soft, gather the length at the base of the skull, and secure it without pulling the band so tight that the crown gets sore by lunchtime. A low puff does not need crisp edges to look good. It needs clean lines and a shape that sits where your head naturally wants to balance.
The low puff is also one of the easiest styles to dress up. A pair of statement earrings does a lot of the work. So does a centered part or a deep side part, depending on how much drama you want.
3. The Side-Swept Afro Puff
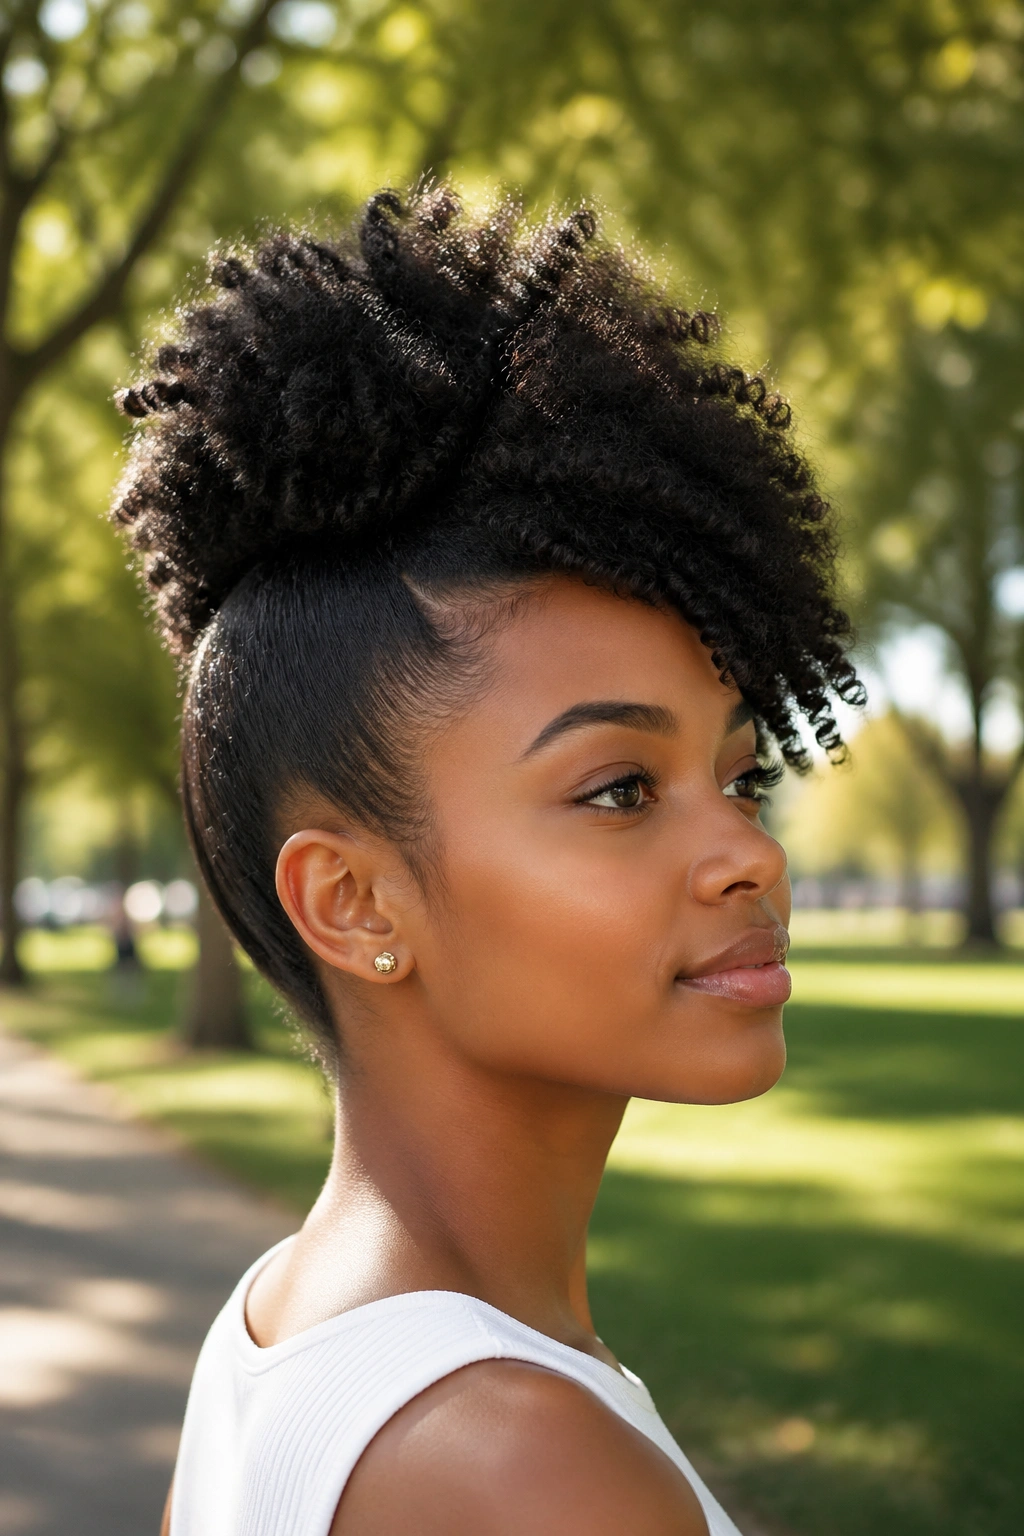
Want a puff that feels softer than a straight-back gather? Move it off center. A side-swept Afro puff takes the usual puff shape and tilts it just enough to change the whole mood. It frames the face more gently, and it can make a plain outfit look more styled without adding any extra work.
Why the side part changes everything
The part gives the eye a place to land first, and that keeps the puff from looking too symmetrical or too strict. If your face shape feels a little angular, this style softens the lines. If your hair tends to puff out evenly on both sides, the diagonal placement helps you control the shape instead of letting it spread everywhere.
Start with a side part that feels natural, not carved into the scalp. Then gather the hair toward the opposite side and secure it low-to-mid height, depending on how much lift you want. A touch of gel at the front can help the part stay clean, but do not drown the roots in product. That is how you get flaking later, and nobody wants white dust on a black tee.
How to place the part
- Create the part with the tail of a rat-tail comb or the tip of a styling brush.
- Angle the puff slightly toward the heavier side so it looks balanced, not lopsided.
- Leave one small curl or coil free near the temple if you want a softer finish.
- Smooth only the roots; keep the puff itself airy and full.
This is one of those looks that quietly does a lot. No fuss. No drama.
4. Double Afro Puffs
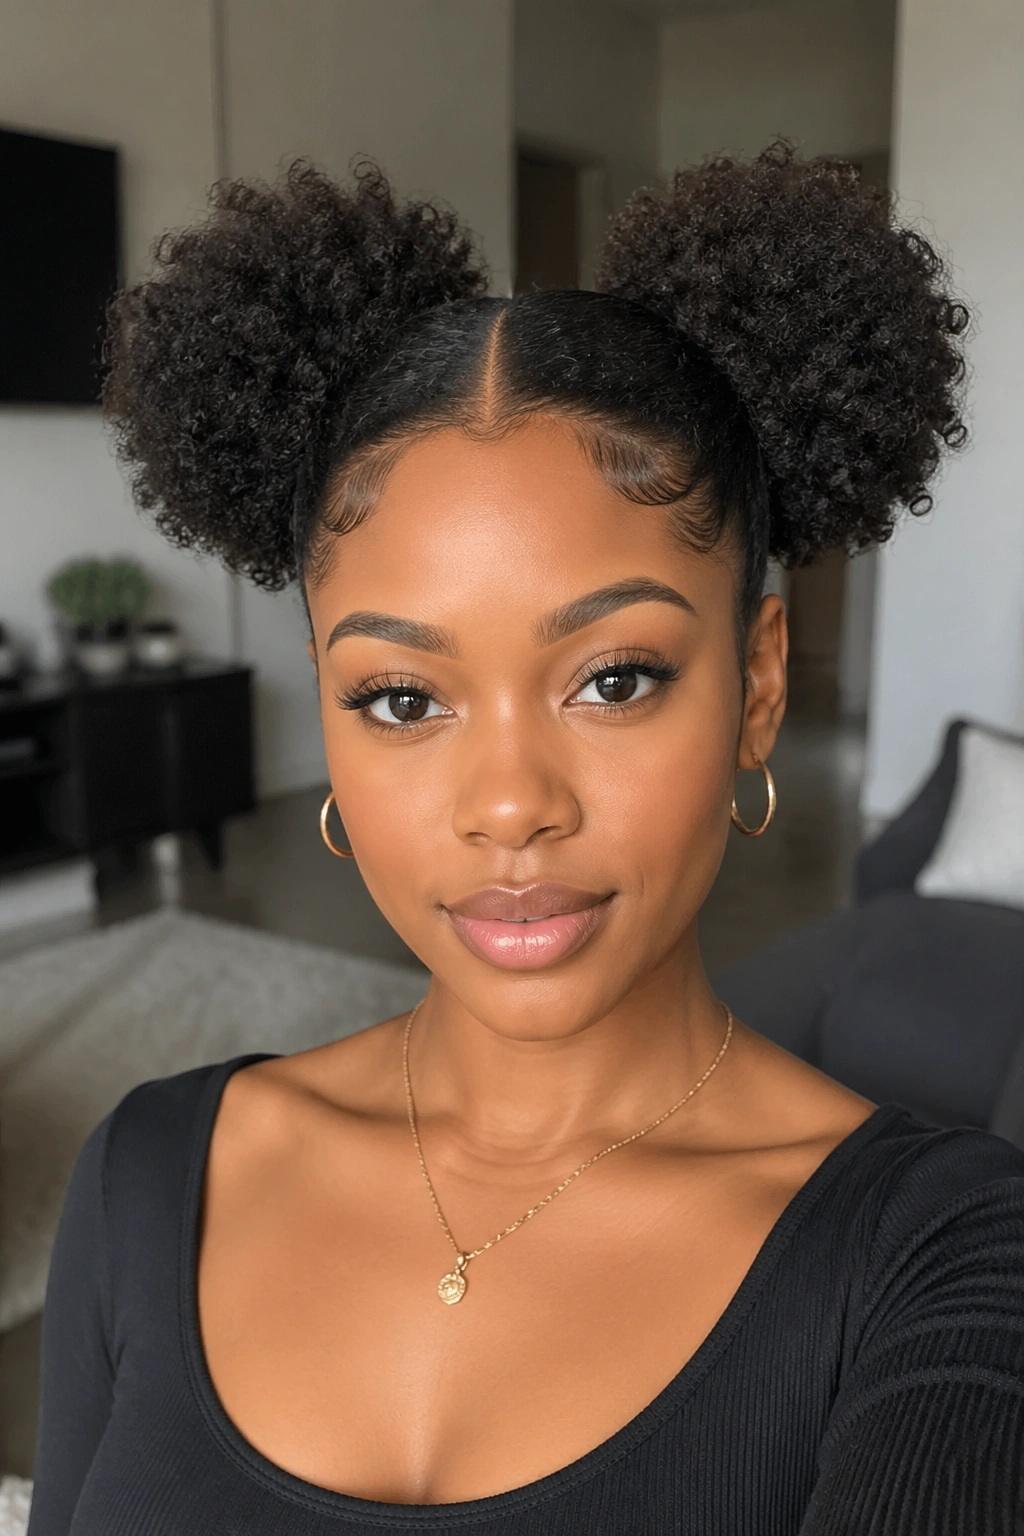
Double puffs have a playful edge, but they are not only for kids or weekends. When they are shaped cleanly, they feel fresh and practical, especially on medium-length natural hair that would rather sit in two smaller sections than one heavy puff. The middle part gives you structure. The two puff shapes give you balance.
Some mornings, one puff is too much hair in one place.
That is where this style earns its keep. If your hair is dense, splitting it into two parts can actually make the style easier to manage because each side sits lighter and holds its own shape. It also gives you more control over volume. You can keep both puffs round and full, or flatten them a little for a neater look.
A clean center part helps a lot, but it does not need to be razor sharp. A slightly soft part looks better in real life, especially when natural texture starts to rise after a few hours. Secure each puff with the same type of band so one side does not sag lower than the other.
- Best for short to medium hair that can gather into separate sections.
- Works well with a middle part or a slightly off-center split.
- Keep the bands gentle, because two tight puffs can pull more than one.
- Add small clips or barrettes if you want the style to feel a little more finished.
The best part? This style gives you two shapes to work with, which means more room for personality.
5. The Half-Up Afro Puff
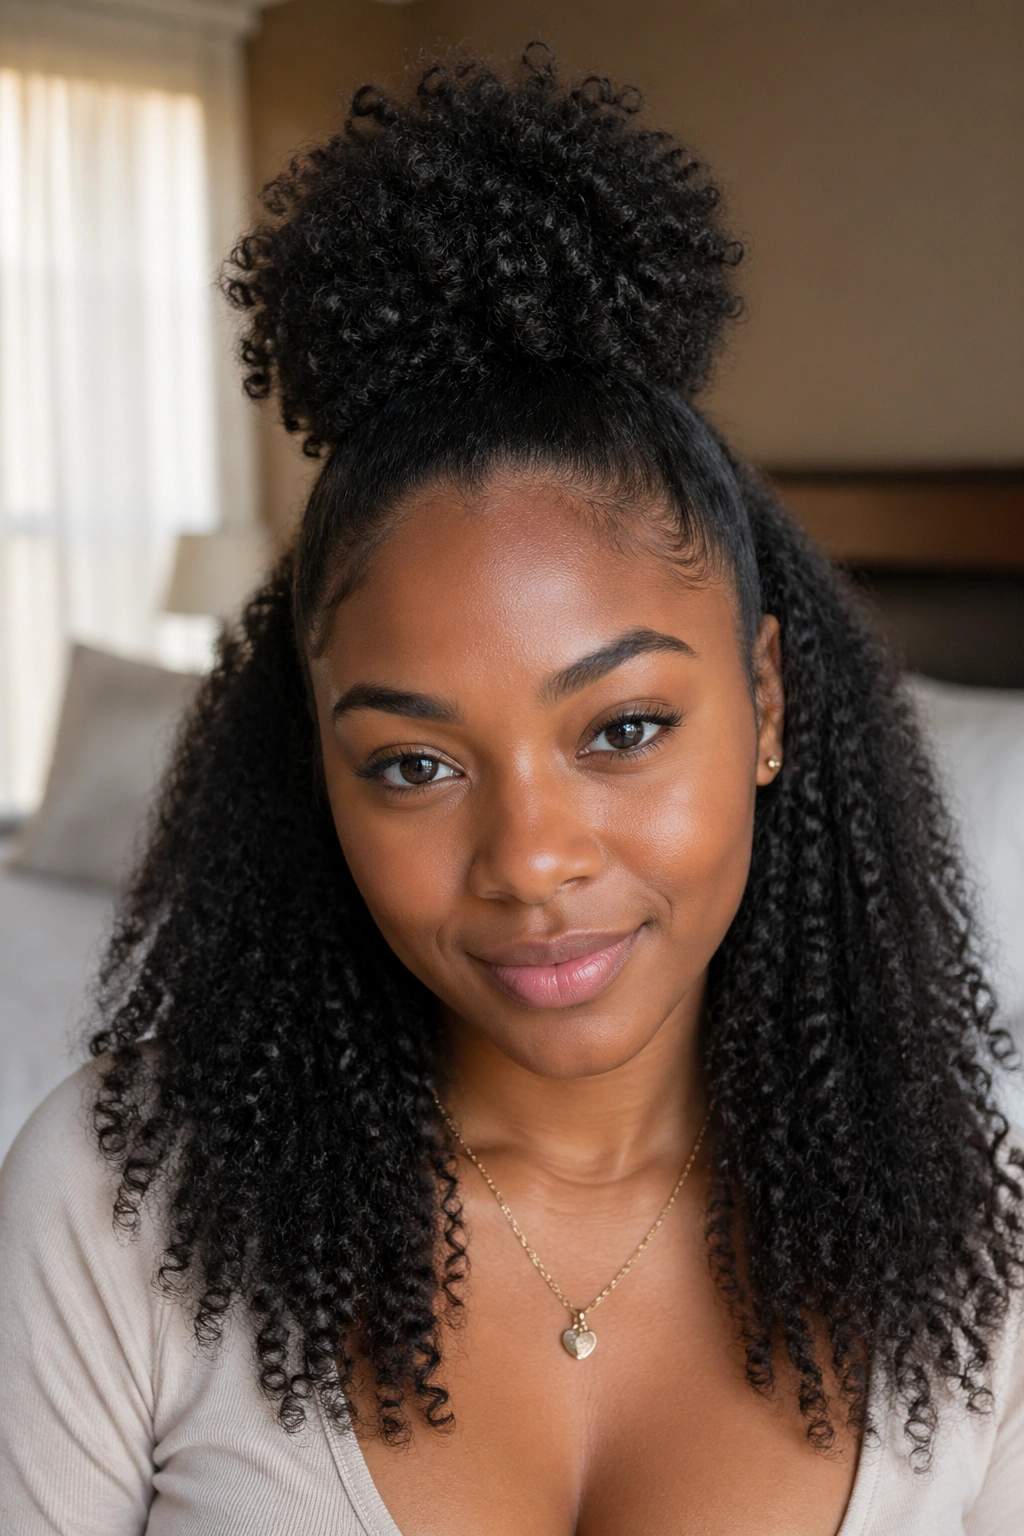
The half-up puff is the style I think people overlook too often. It gives you the height and neatness of a puff at the crown while leaving the rest of the hair free, which means you get movement without the style feeling heavy. On longer natural hair, that looseness matters. It keeps the look from turning into a single dense mass.
If your hair is stretched, twisted out, or braid-out fresh, this shape looks especially good because the loose length has texture and direction. The puff becomes the focal point, and the bottom half becomes its own little frame. It feels relaxed, but not sloppy. That balance is hard to fake.
I like this one for days when I want my hair out of my face but still want to see some length. It also behaves nicely with earrings, sunglasses, and collared shirts because the top section stays controlled while the lower section can fall where it wants. If the ends are dry, a drop or two of lightweight oil on the loose hair keeps things from looking rough.
The trick is keeping the top section distinct from the rest without making the divide feel stiff. Gather the upper half with your hands first, then smooth just enough to keep the crown clean. Let the lower section stay a little fluffy. That contrast is what gives the style its shape.
6. The Sleek Puff with a Clean Hairline

A sleek puff is what happens when you want the puff to stay soft but the front to look polished. Unlike a full slick-back style, which can feel too severe on some textures, this version keeps the puff full and only cleans up the hairline and roots. That makes it a strong pick for workdays, meetings, and any time you want your hair to look deliberate without taking forty minutes.
The front matters most here. Use a small amount of gel, pomade, or edge control on the roots only, then smooth with a brush in short strokes. Short. Controlled. If you keep brushing and brushing, the hair starts to lift back up anyway, and the whole point disappears. Set it with a satin scarf for 10 to 15 minutes if you want the roots to stay close to the scalp.
The puff itself should stay soft and rounded. That contrast between neat front and fluffy back is what makes the style look clean. If the gel is too wet or too heavy, the front can look shiny in a way that feels less sleek and more sticky. That is not the look.
Use this style when you want your hair to do one job at the front and another at the back. It can be sharp. It can be simple. It does not need much else.
7. The Afro Puff with a Silk Scarf
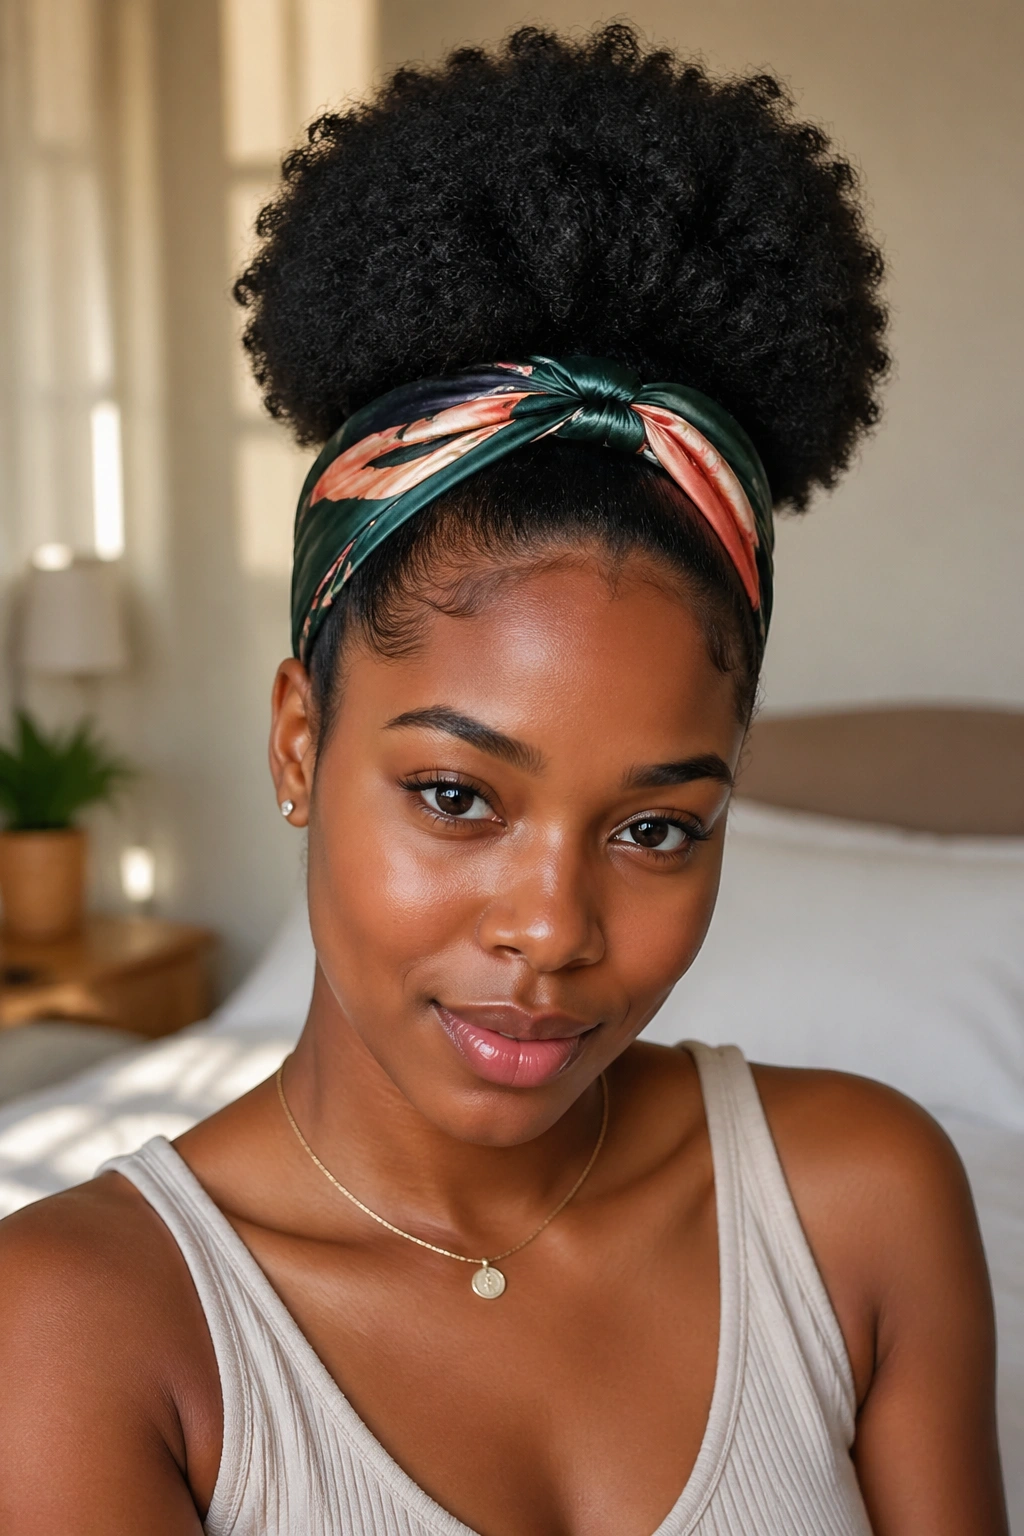
Running late and the front of your hair is refusing to cooperate? A silk scarf can save the day. This style works because the scarf gives you both function and decoration. You can wrap it around the base of the puff, tie it across the hairline, or fold it into a slim band that hides a messy root day in plain sight.
What makes it work
The scarf acts like a visual anchor. It breaks up the hairline just enough to make the puff look styled even when the texture underneath is doing its usual thing. That is why this version is useful on second-day or third-day hair, when the roots need a little help but the length still has plenty of shape.
Use a scarf that is silk or satin, not a rough cotton piece that snags the hair. Fold it into a band about 2 to 3 inches wide if you want a clean look. If you tie it around the puff base, keep the knot flat so it does not dig into your head. And if you wrap it at the front, leave a little forehead space so the style does not feel squeezed.
- Choose a scarf with enough length to tie securely once.
- Keep the puff loose underneath so the scarf does not flatten the shape.
- Match the scarf color to one detail in your outfit if you want the look to feel intentional.
- Use this style on days when your hair needs a little disguise and a little charm.
There is something satisfyingly practical about it. The puff still does the heavy lifting, but the scarf gives it a finish.
8. The Braided-Front Afro Puff

If the front of your hair grows frizzy first, braid it. That is the whole logic here, and honestly, it works better than trying to smooth the same section over and over with gel. A braided-front puff keeps the hairline tidy, gives the style a built-in frame, and makes the puff feel more structured without turning it into a formal updo.
You can do two small cornrows, a few flat twists, or even simple braided sections that move back toward the puff. The exact pattern depends on your skill level and how much time you have. I prefer this look when I want something that feels a little more finished than a plain puff but not fussy enough to be a full protective style.
Where this style saves time
The front stays neat for longer, which means less touching your hair through the day. That matters. Constant fixing is what turns a quick style into an annoying one. The braids also help if your edges tend to puff up fast, because the front sections are already controlled.
A few small details help a lot:
- Start the braids close to the hairline, but not so tight that they pull.
- Keep the braid size even on both sides so the shape looks balanced.
- Gather the rest of the hair into the puff right behind the braids.
- Add cuffs or tiny clips only if you want a little shine; the style works fine without them.
This one is especially good when the weather is humid and your front hair does not want to stay laid. The braids do the quiet work.
9. The Stretched Blowout Puff

Stretched hair feels different in your hands. It is longer, softer to gather, and easier to shape into a puff that sits with more height and less shrinkage. That is why a stretched blowout puff has such a different look from a puff made on freshly coiled hair. The silhouette gets larger. The shape gets looser. And the morning detangling is usually easier, too.
You do not need a perfectly straight blowout for this style. In fact, I prefer a little texture left in the strands because it keeps the puff from looking too flat. A low-heat blow-dry, banding overnight, or even a stretched set can all give you enough length to build the style. If you do use heat, protect the hair first. That part is not optional if your hair is prone to dryness or breakage.
One small thing people overlook: stretched hair can make the band feel tighter because there is more length being pulled into one place. So start by gathering the hair gently at the crown or slightly lower, then shape the puff with your fingers instead of yanking at it. That keeps the root area from getting sore.
This version is good when you want volume, not just height. It photographs well, sure, but more importantly, it holds shape through the day without needing you to keep re-fluffing it every hour.
10. The Mini Puff for Short Natural Hair
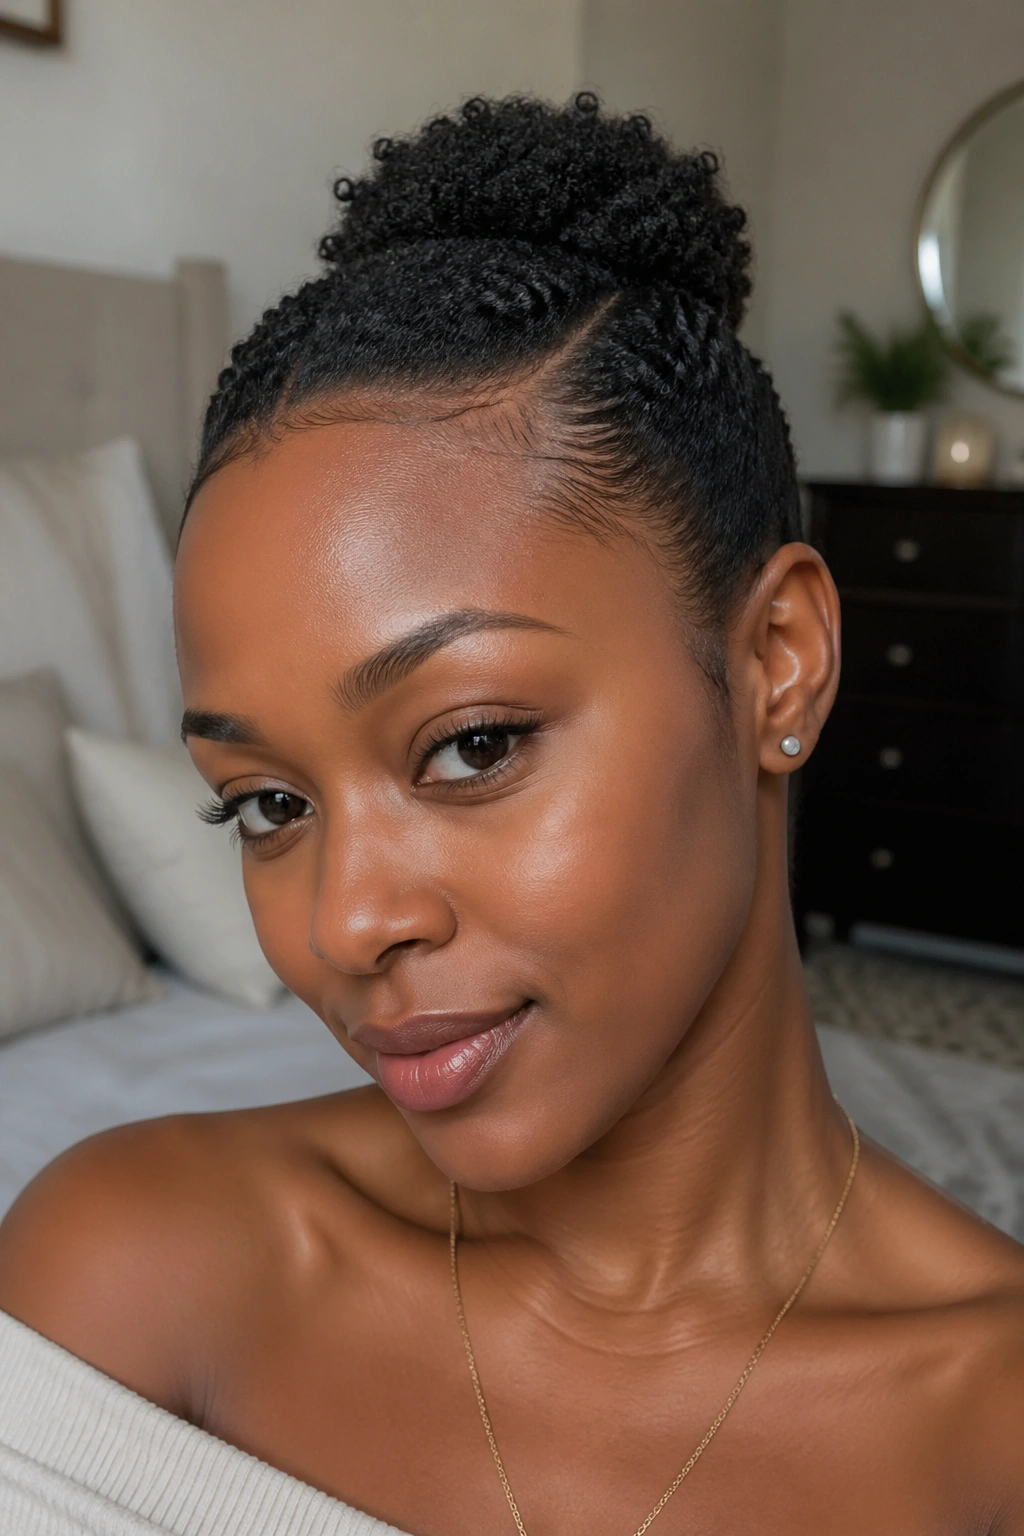
Can a puff work when your hair is still short? Yes. The trick is sizing the style to the length you actually have instead of forcing a giant puff that keeps slipping out of the band. A mini puff sits closer to the head, often at the crown or slightly forward, and it looks neat when the shape is proportionate.
This is one of the nicest options for a TWA or a growing-out phase because it does not ask the hair to be more than it is. That matters. Short natural hair has a beautiful shape on its own, and a mini puff lets it stay visible instead of hiding it under a tight band or an overworked gel job.
Keep the base smooth, but not scraped back. A little puffing at the top gives the style softness. If the hair is too short to gather all at once, use a tiny elastic or split the hair into two sections and combine them into one small puff. That makes the shape more secure.
The mini puff pairs well with a side part, a center part, or no part at all. It also works with a small barrette at one side, which can make a short style feel finished with almost no extra effort. Tiny. Clean. Done.
11. The Twisted-Front Afro Puff
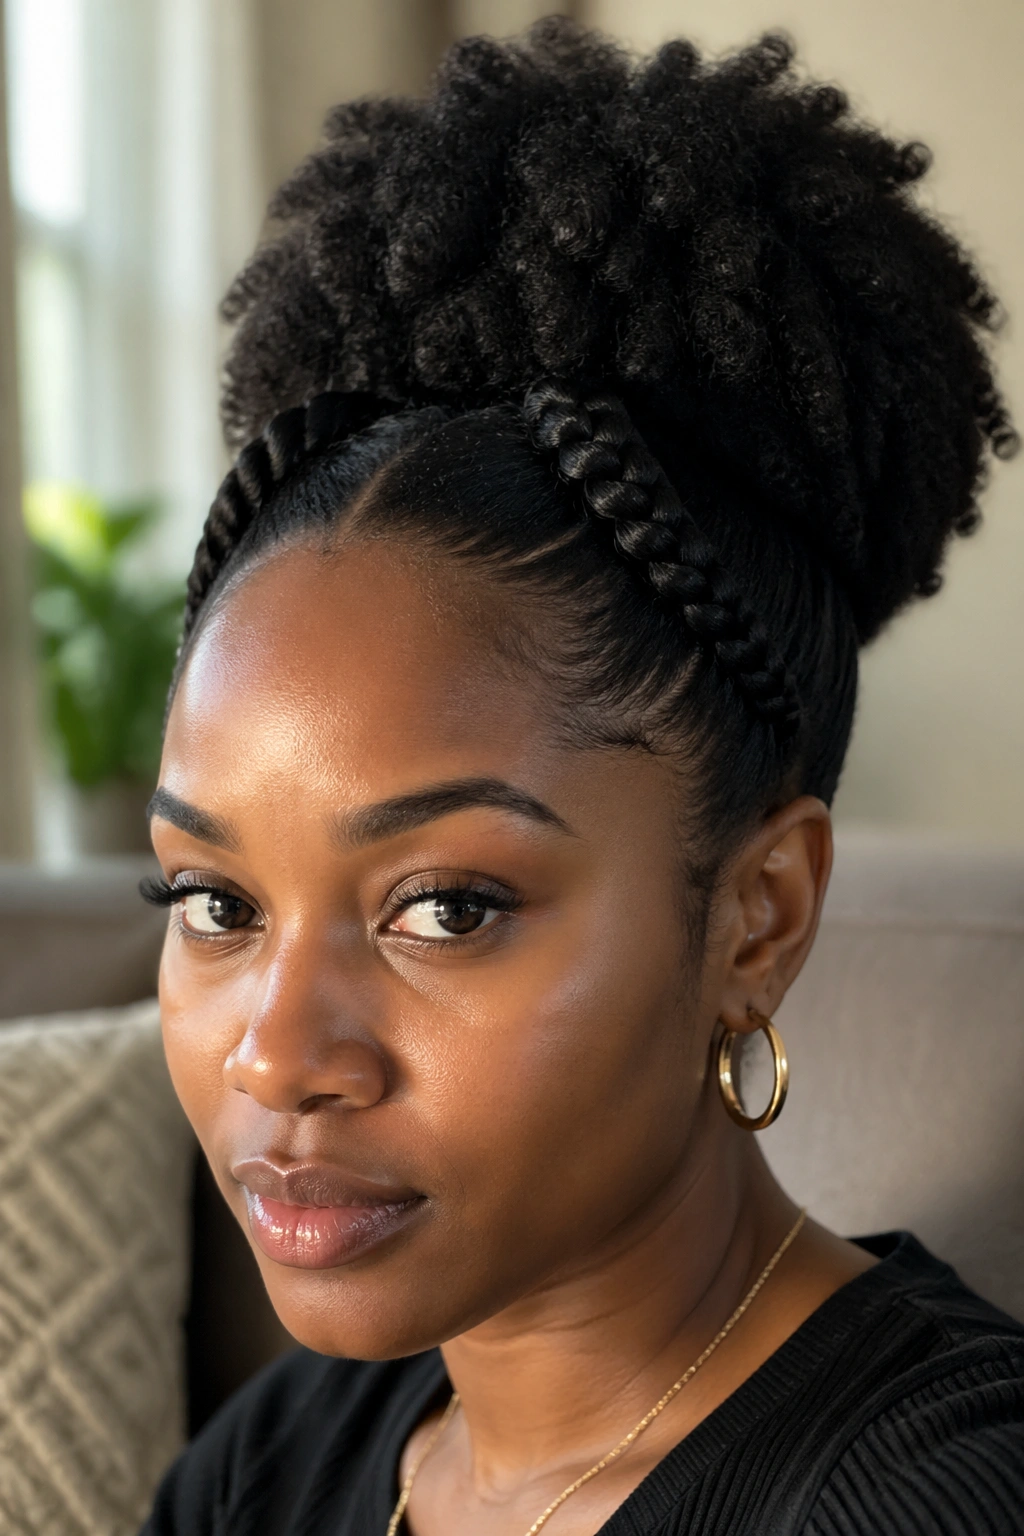
A twisted-front puff is what I suggest when you want hair out of your face but still want a little detail near the hairline. Instead of leaving the front loose, you twist two front sections back and let the rest gather into the puff. The result feels neat without looking stiff, and it is especially useful on days when the front of your hair has its own agenda.
I’ve always thought this style looks more thoughtful than it actually is. That is the appeal. The twists give the impression that you spent time shaping the front, while the puff handles the rest of the hair with less effort. It is a smart compromise when you want something that looks done but not overdone.
How to use it
- Take two front sections about 1 to 2 inches wide, depending on your density.
- Twist them back toward the crown, then pin or tuck the ends near the puff base.
- Keep the twists flat enough to stay in place, but not so tight that they pull at your temples.
- Fluff the puff after securing the twists so the style still has fullness.
This style works well on second-day hair because the texture gives the twists grip. It also gives you a little structure without needing a full braided look, which is a nice middle ground if you want something quick but not plain.
12. The Puff on a Twist-Out or Braid-Out Base
A twist-out puff or braid-out puff is the one I reach for when the hair already has some definition and I want to keep that texture visible. Instead of smoothing everything into a single tight base, you let the curl pattern or stretched pattern do part of the work. That means the puff looks fuller, softer, and a little more lived-in.
This style is especially useful if your hair tends to frizz fast. A twist-out or braid-out base gives you shape even when the day gets messy, which is half the battle with natural hair. Gather the top or center section gently, secure it loosely, and leave enough room for the pattern to show. If you flatten the hair too much before tying it back, you lose the whole point.
The texture is the star here. Not the band. Not the edges. The texture.
I like this version when I do not want a super sleek finish but still want the hair off my face. It works with small accessories, a side part, or a simple scarf tied at the base. And if the front starts to separate a little by midmorning, that usually looks fine. Better than fine, actually. It makes the style feel real instead of staged.
A good puff does not ask for perfection. It asks for shape, a little moisture, and enough confidence to leave the fluff alone once it is where it should be.