The 90s gave us some of the most iconic hairstyles in Black beauty history, and the half up half down style was absolutely everywhere. Whether you were watching TLC, En Vogue, or Brandy on screen, that perfectly placed half up style—whether slicked with gel, twisted, braided, or adorned with everything from colorful clips to gold beads—became the signature look of an entire generation. It was the perfect marriage of sophistication and playfulness, polished enough for anything but fun enough to make a statement.
What made the 90s half up half down so special wasn’t just the style itself—it was the endless ways Black women reinvented it. You could go sleek and minimalist or load it up with accessories and texture. You could twist it, braid it, curl it, or spike it. The style worked whether your hair was natural, relaxed, in braids, or in extensions. It was practical (kept your hair off your face without committing to a full updo), versatile (worked for casual and formal occasions), and genuinely cool. The best part? These styles are absolutely wearable today and look just as fresh as they did thirty years ago.
If you’re looking to bring back that 90s magic—whether for nostalgic reasons, a themed event, or just because these styles genuinely slap—this guide covers the most iconic half up half down variations that defined the era. Each style includes exactly how to recreate it, what made it iconic, and how to adapt it to your hair type and personal style.
1. The Slicked-Back Gel Half Up
This is the foundation of 90s style, the look you saw on Brandy, Monica, and practically everyone walking down the street. Every single piece of hair is smoothed back with a firm-hold gel or edge control, with the top half gathered into a high ponytail while the bottom half flows long and free. The sleekness was the entire point—it showed off your edges, your jawline, and demonstrated serious hair care discipline.
Why This Look Was Everywhere
The slicked-back half up required just a few key products and maybe 10 minutes of styling time, which made it accessible to everyone. The tightness of the gel created a almost sculptural effect on the hair, and the contrast between the ultra-smooth top and free-flowing bottom was genuinely striking. It also happened to work on nearly every hair texture, from bone-straight relaxed hair to thick natural hair.
How to Create the Classic Look
- Apply a heavy-hold gel or edge control to damp hair, working from your front hairline straight back
- Use a fine-tooth comb to smooth every piece, pulling backward and slightly upward
- Once you reach the crown, gather the top section and secure with a clear elastic or decorative clip
- Smooth any flyaways with more gel and set with light hairspray for hold without flaking
- Let the bottom half hang naturally, or flip and bounce it for movement
Pro tip: The tighter and smoother you can get that top section, the more authentic the 90s vibe. Don’t be afraid to really slick it down—sleek was the whole aesthetic.
2. The Twisted Crown Half Up
Instead of pulling hair straight back, this style twists sections of hair from each side of your head toward the crown, where they meet and are pinned or clipped together. The twists created a crown-like effect that framed the face beautifully while still keeping hair off your shoulders. You’d often see this variation with metallic clips, colored barrettes, or those little claw clips that were everywhere in the 90s.
What Made the Twist So Special
Twists were easier to execute than braids for many people, but they looked intricate and put-together. They also added texture and dimension, so even if your hair wasn’t curled or styled at the bottom, the twisted sections created visual interest. The style was romantic enough for dates and special occasions but casual enough for everyday wear.
Creating Perfectly Pinned Twists
- Section a piece of hair from your left temple, about two inches wide
- Twist this section tightly as you move it toward the back of your head
- Repeat with a matching section from the right side, twisting toward the back
- Meet both twists at the crown and secure with bobby pins or a decorative clip
- The bottom half can stay down as-is, or curl it for added drama
- Add a single metal clip or small barrette at the base of the twisted crown for that authentic 90s touch
Worth knowing: If your twists keep unraveling, twist a tiny bit tighter than feels necessary, and smooth them with a light gel before securing.
3. The Box Braid Half Up with Gold Beads
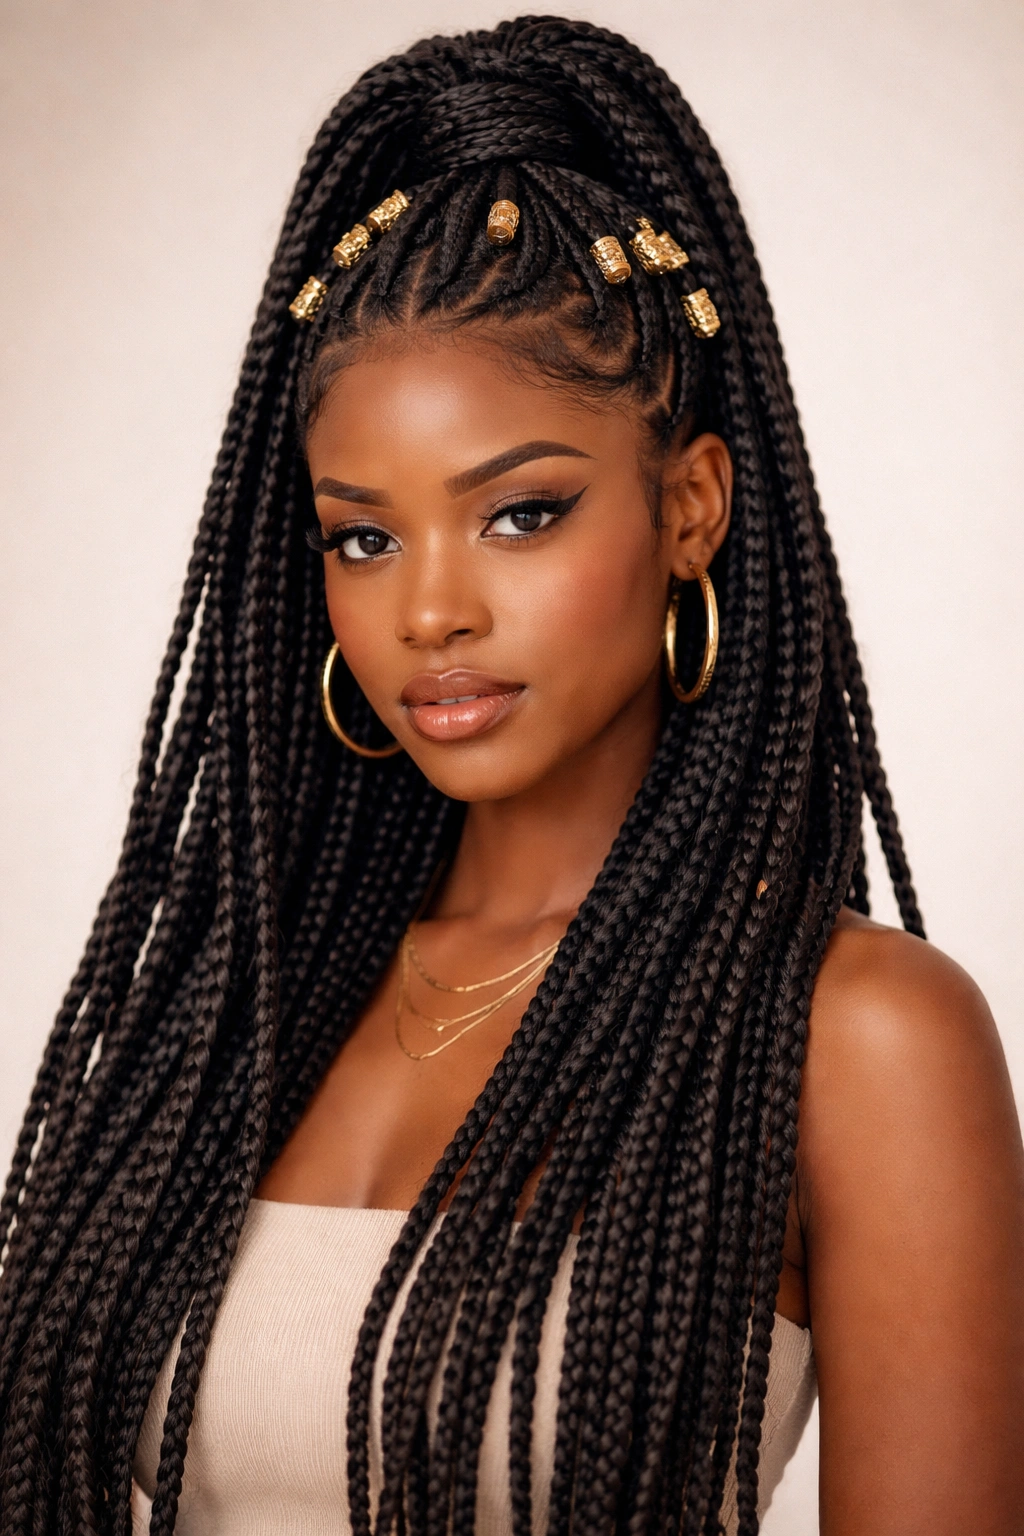
Thick, chunky box braids were the texture of the 90s, and this style took them to the next level by pulling the braids up into a half ponytail and adorning them with gold-toned metal beads, cuffs, or rings. The weight and movement of the beads as you walked created an undeniable swagger, and the style worked whether you had five braids or fifty.
Why Braids Plus Beads Equals Peak 90s
Box braids alone were already a statement, but adding metal beads transformed them into pure personality. The beads served a practical purpose (they helped keep the braids together) but also created visual weight, sound, and movement. This was the hairstyle of confidence and self-expression.
Building the Bead Look
- Start with a set of box braids (or install them if you’re not braiding your own)
- Thread gold-toned beads onto individual braids, spacing them throughout the half-up section
- Pull the top half of your braids into a high ponytail using a clear elastic
- Secure the elastic with more gold beads threaded onto a few braids for cohesion
- Let the bottom half of your braids fall freely
- The beads should clink slightly when you move—that’s the right amount of sound
Quick consideration: Heavier beads create more movement but also more weight on your scalp, so choose bead size based on your braids’ thickness and how long you plan to wear them.
4. The Spiral Curl Half Up
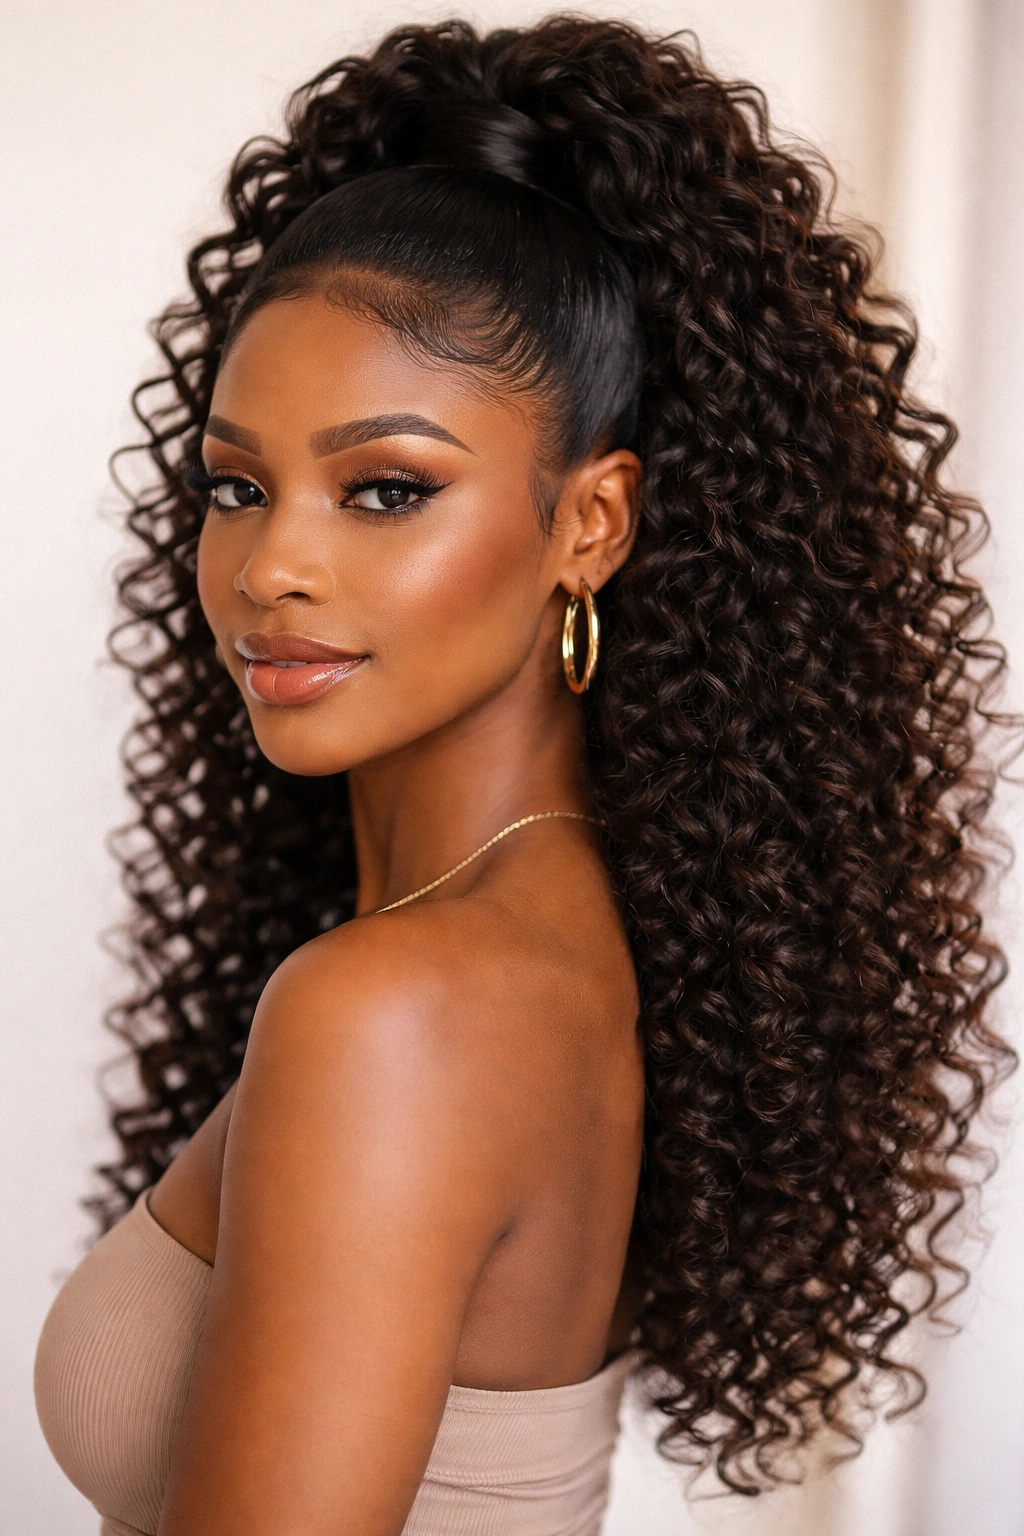
This style combined tight, bouncy spiral curls throughout with a half-up crown pull. The curls were usually created with a perm or by rolling relaxed hair on small flexirods or perm rods, creating that signature 90s bounce that defined icons like Toni Braxton and Beyoncé in the early 2000s references circulating from that era. The half-up portion kept curls off the face while letting them cascade down the back in full, voluminous effect.
The Science Behind the Spiral
Perm relaxers and tight curl formulas were specifically designed to create long-lasting spirals that could last four to six weeks with proper maintenance. The curls created enormous volume and gave an undeniable glamour—you couldn’t be unnoticed with this style. Combined with the half-up, it was feminine, powerful, and utterly 90s.
Achieving Long-Lasting Spirals
- If using a perm, have it professionally applied for the best, most even curl pattern
- For flexirods on relaxed hair, section hair into small quadrants and roll each section tightly
- Apply a setting lotion or curl-defining cream before rolling for extended hold
- Leave rods in for the time recommended (usually 30 minutes to an hour)
- Gently unroll and separate curls with your fingers, never a comb
- Gather the top half into a ponytail and secure at the crown
- Refresh curls daily with a light mist of water and curl cream
Important note: This style requires significant heat and chemical processing, so deep condition weekly and trim every 6-8 weeks to keep ends healthy.
5. The Honey-Highlighted Half Up with Clips
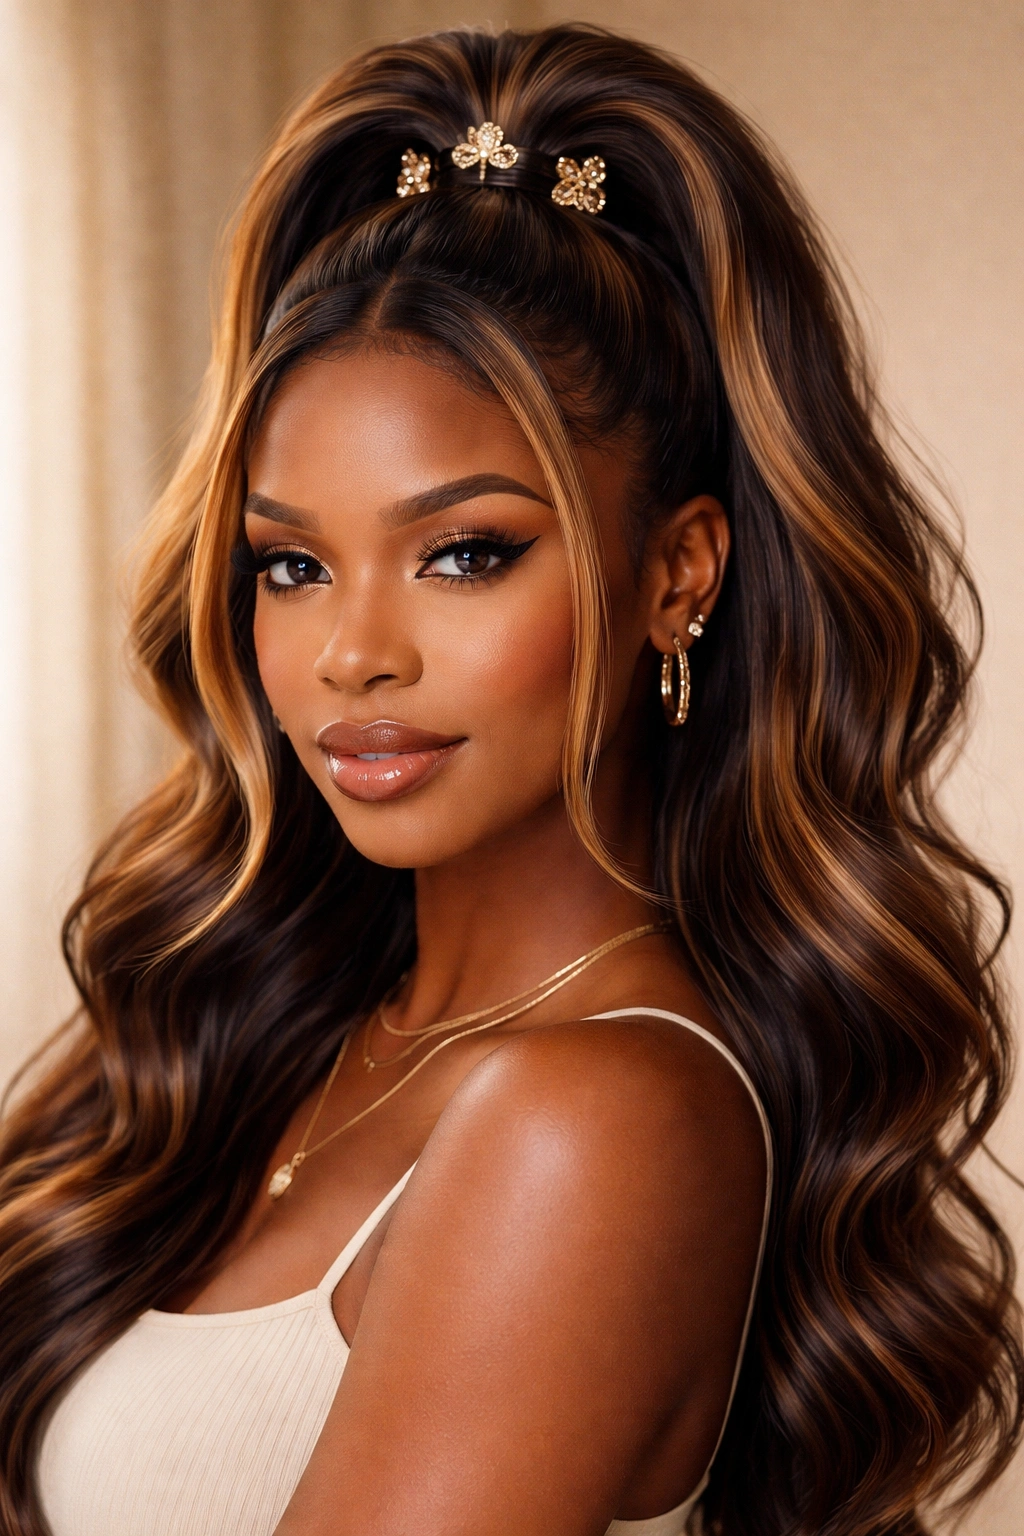
Around the mid-to-late 90s, chunky honey or caramel highlights became incredibly popular among Black women, and pairing these lighter pieces with a half-up style created a sophisticated look that read expensive and carefully maintained. The highlights would frame the face and catch the light beautifully, especially when pulled up into a sleek or twisted crown. Those little butterfly or claw clips would often be placed right where the darker and lighter pieces met, creating perfect visual balance.
Why Highlights Changed Everything
Highlights added dimension and made hair appear shinier and healthier, whether or not the hair actually was. They also meant you could style your hair in multiple ways and always have visual interest—the color variation meant even a simple straight half-up looked elevated. Highlights were also aspirational; they signaled that you were taking your appearance seriously.
Combining Color and Style
- Add highlights (honey, caramel, or blonde pieces) throughout, especially around the face
- Blow-dry hair straight for maximum shine and light reflection
- Pull the top half back and secure at the crown with a claw clip or decorative barrette
- Position the clip so it showcases the contrast between your highlights and base color
- Apply edge control or gel to smooth the hairline around your face
- The bottom half should be absolutely smooth and shiny—use a light serum or shine spray
- Style the clips in coordinating colors that pick up tones in your highlights
Real talk: The damage from highlighted hair was real in the 90s, and many women struggled with breakage. Go slow with color, deep condition obsessively, and don’t hesitate to cut off compromised ends.
6. The Double Twisted Half Up
This style took the twisted crown concept further by creating two independent twists from each side (four total), meeting at the back of the head and securing with a single decorative clip or several bobby pins. The double-twist created more intricate texture and visual movement while still showing off your edges and keeping hair elegantly off your face. It was more complex than a single twist but not as time-consuming as braids.
The Visual Appeal of Double Structure
Two twists instead of one meant doubled texture, doubled visual interest, and a style that read more intentional and styled. It also meant you could make each twist thicker or thinner, loosen them slightly for texture, or keep them impossibly tight for a polished effect. The style worked beautifully with everything from braids to natural hair to relaxed lengths.
Executing the Double Twist Technique
- Section a piece of hair from your left temple, about two inches wide
- Twist this section tightly as you move it back toward the crown
- Directly below the first twist, section a second piece and twist it the same way
- Repeat on the right side, creating two twists that mirror the left side
- Bring all four twisted sections to meet at the back of your head
- Secure all four with bobby pins, crisscrossing them for maximum hold
- Add a decorative clip directly over the pins to hide them and complete the look
Styling tip: If your twists have a tendency to loosen throughout the day, finish them with a light-to-medium hold hairspray—strong enough to set them but light enough that you don’t get flaking.
7. The Half Up with Colorful Clips and Barrettes
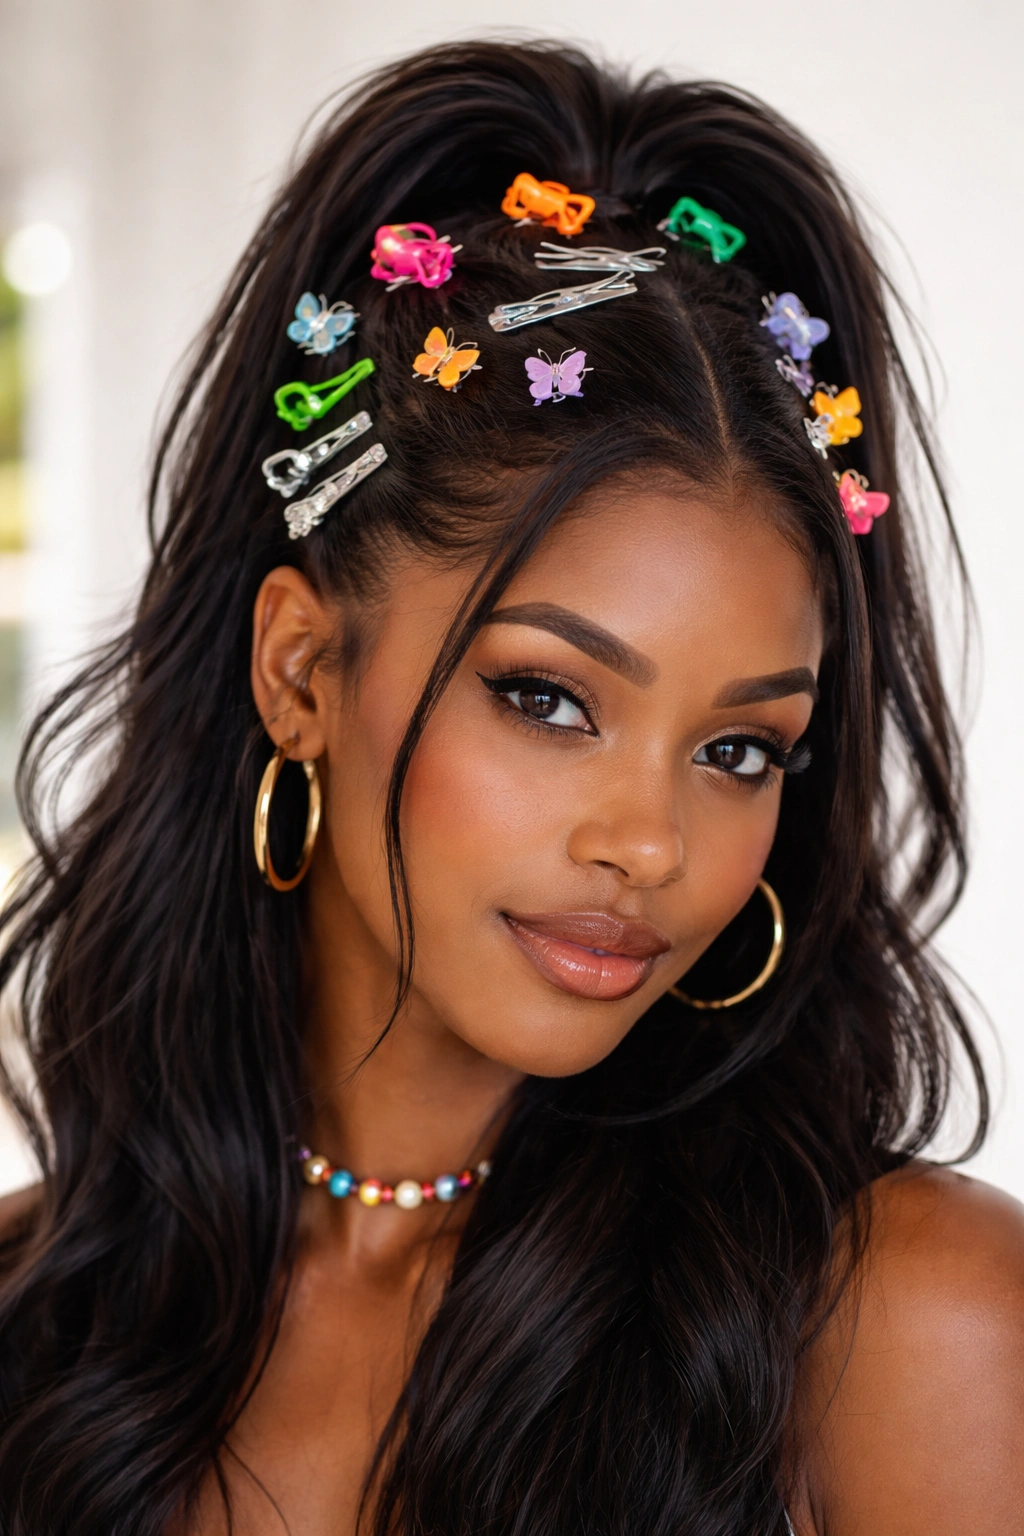
This style was essentially any half-up variation—slicked, twisted, braided, however you preferred—but the real star was the clip or barrette collection. Neon plastic claw clips, colored butterfly clips, metallic barrettes, and even adorable tiny braids with beads serving as decorative elements all came together to create a look that was maximalist, fun, and utterly 90s. You could have five clips in five different colors, and it worked perfectly.
The Accessory-First Approach
The 90s were about personality and self-expression, and your hair accessories were the perfect place to let that shine. Kids and teens especially went wild with clip combinations—mixing neon with metallics, adding multiple clips to the same updo, creating asymmetrical arrangements. It was playful and creative, and there were zero rules about what “matched.”
Making Clips the Statement
- Start with your preferred half-up base (slicked, twisted, or braided)
- Secure with a clear elastic or simple hair tie
- Choose your clip colors and sizes—go for contrast and personality
- Place the first clip at the center of your half-up where the elastic sits
- Add additional clips around it, angling them slightly differently for a less rigid look
- For an asymmetrical vibe, place a second clip lower on one side of your head
- Mix clip sizes (use at least one smaller and one larger clip for visual balance)
Creative option: Layer your base—use a thin clip underneath and a larger, more decorative clip on top, letting both show for a richer, layered effect.
8. The Zigzag Part Half Up
Instead of a center or side part, this style featured a zigzag part running from your forehead toward the back of your head, with the back section gathered into a half-up ponytail. The zigzag part was created with a rattail comb or by using your fingertips to section the hair, and it created visual movement and a playful vibe even before you added the updo. The style was especially popular in the early 90s among younger women and girls.
Zigzag as Statement
A zigzag part seems simple, but it completely changed the look of your entire head. It moved away from the predictable center or side part, it showcased your scalp and part-work (a sign of intentional styling), and it created dynamic line and movement. Combined with a half-up, the zigzag became a signature element that people immediately recognized.
Creating the Zigzag Effect
- Start with dry or damp hair that’s been smoothed with gel or edge control
- Using a fine-tooth rattail comb or the pointed end of a comb, section your hair into a zigzag pattern
- Start at your center hairline and angle the comb to one side at a 45-degree angle
- When you reach an inch or so, angle back the opposite direction
- Continue zigzagging all the way back to where your half-up will start
- Secure the back section with a clear elastic or claw clip
- Keep the zigzag part smooth and clean with edge control
Precision tip: Practice your zigzag pattern with a rattail comb first before you commit. Consistent angles and spacing make the difference between a sharp zigzag and a messy part.
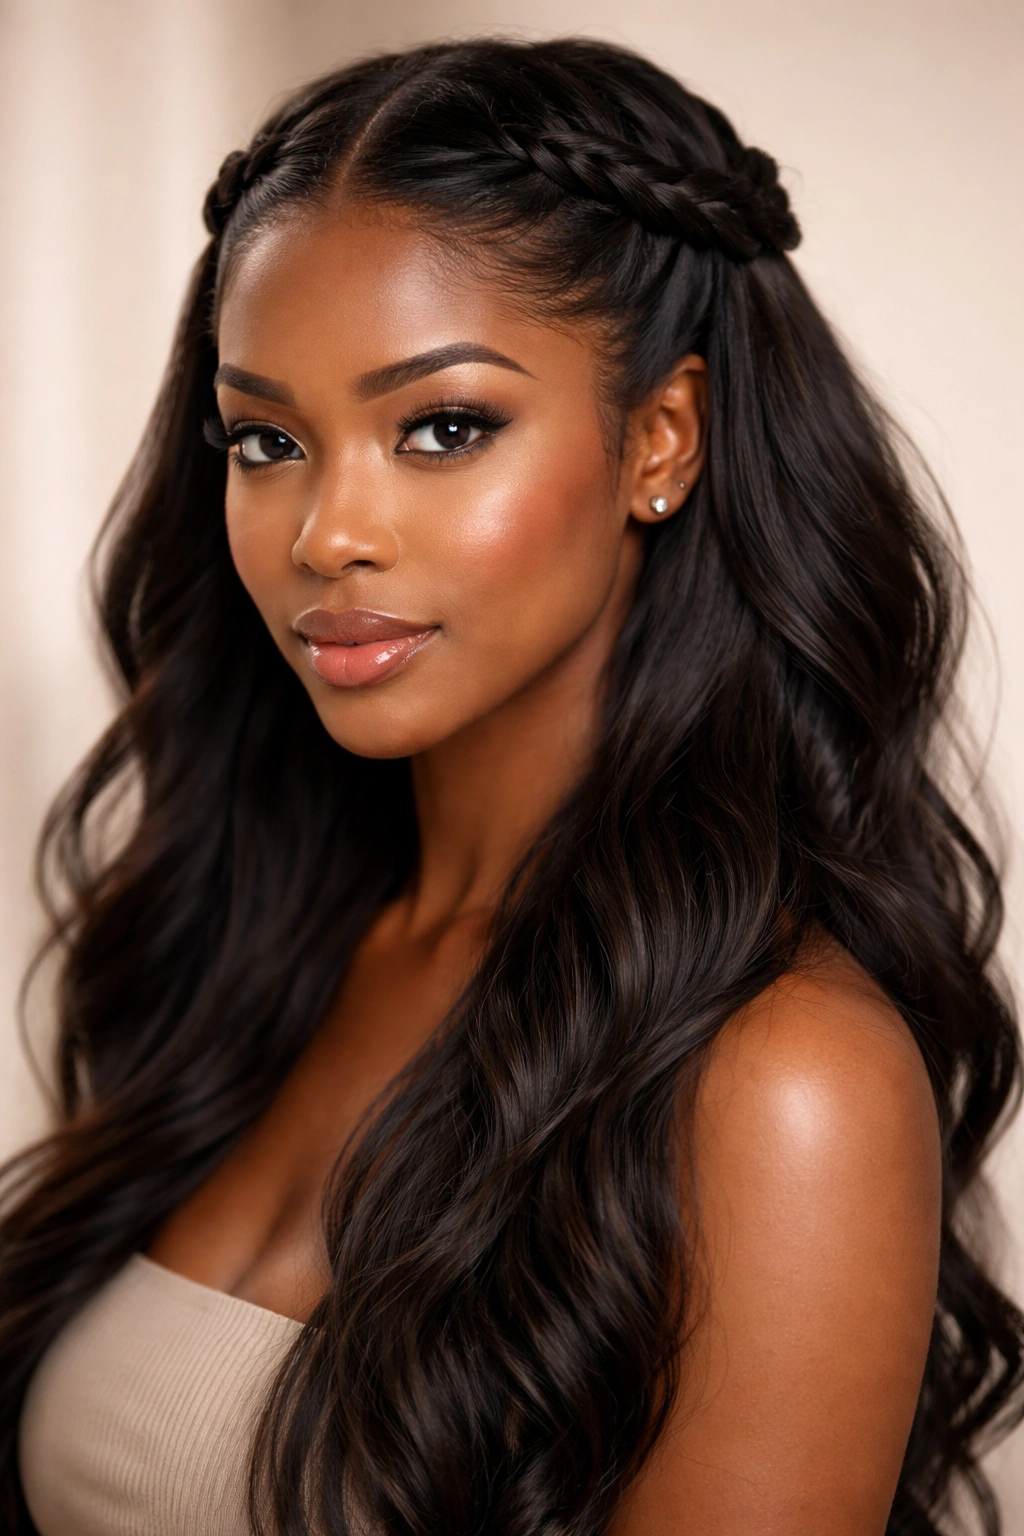
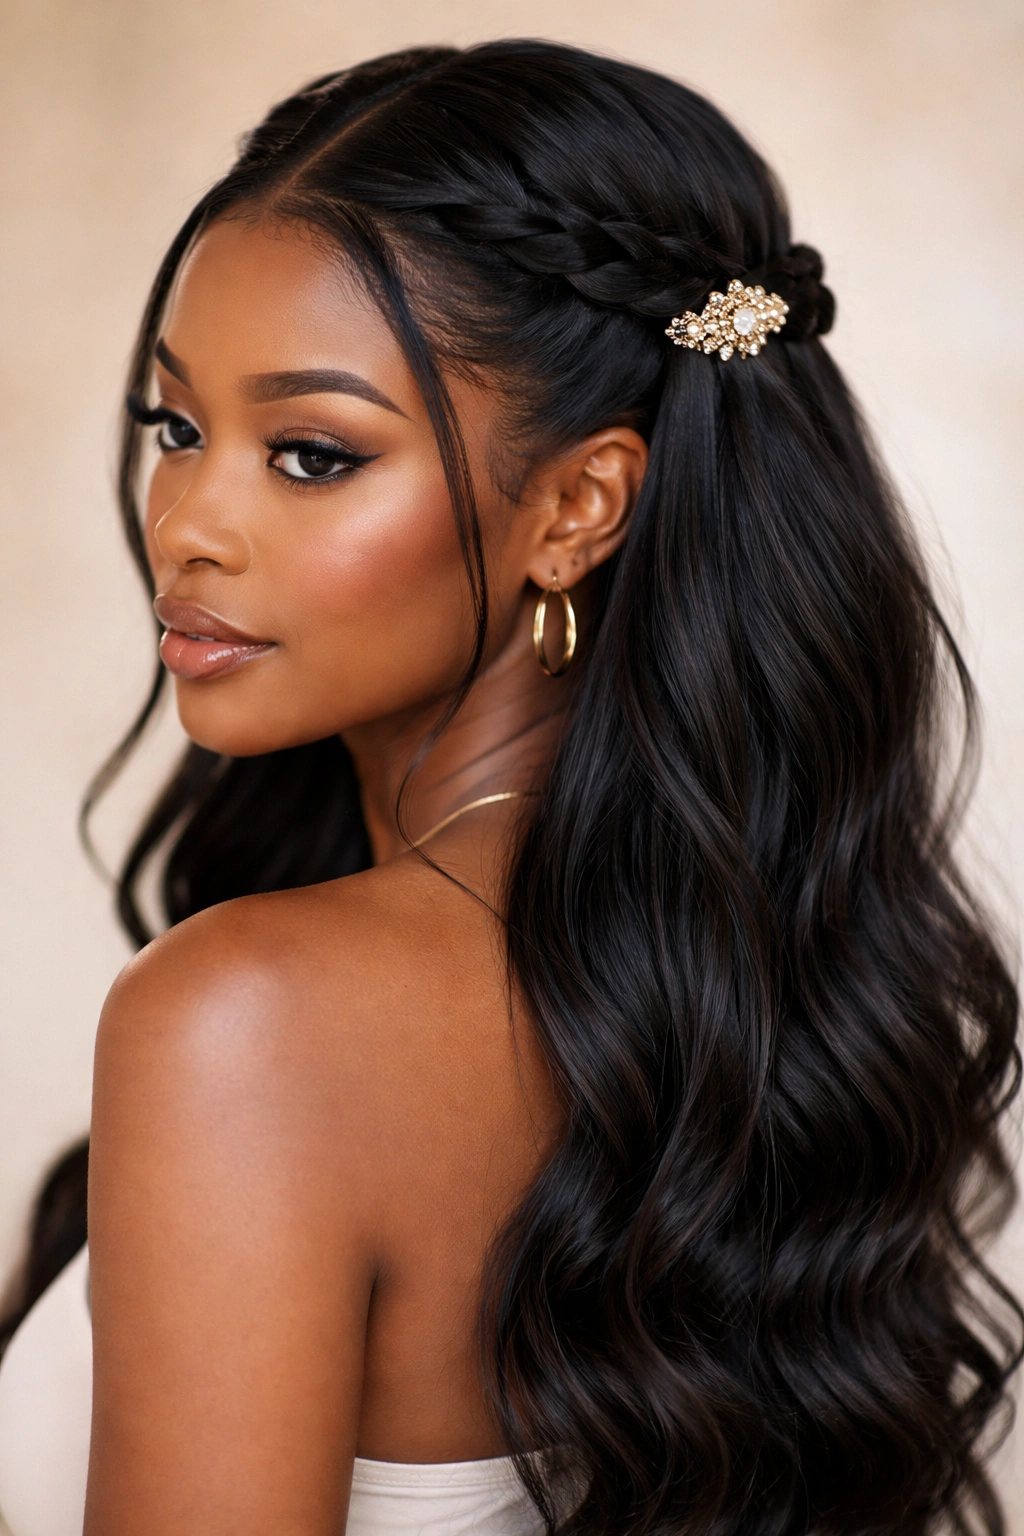
9. The Wrap-Around Half Up with Face-Framing Curls
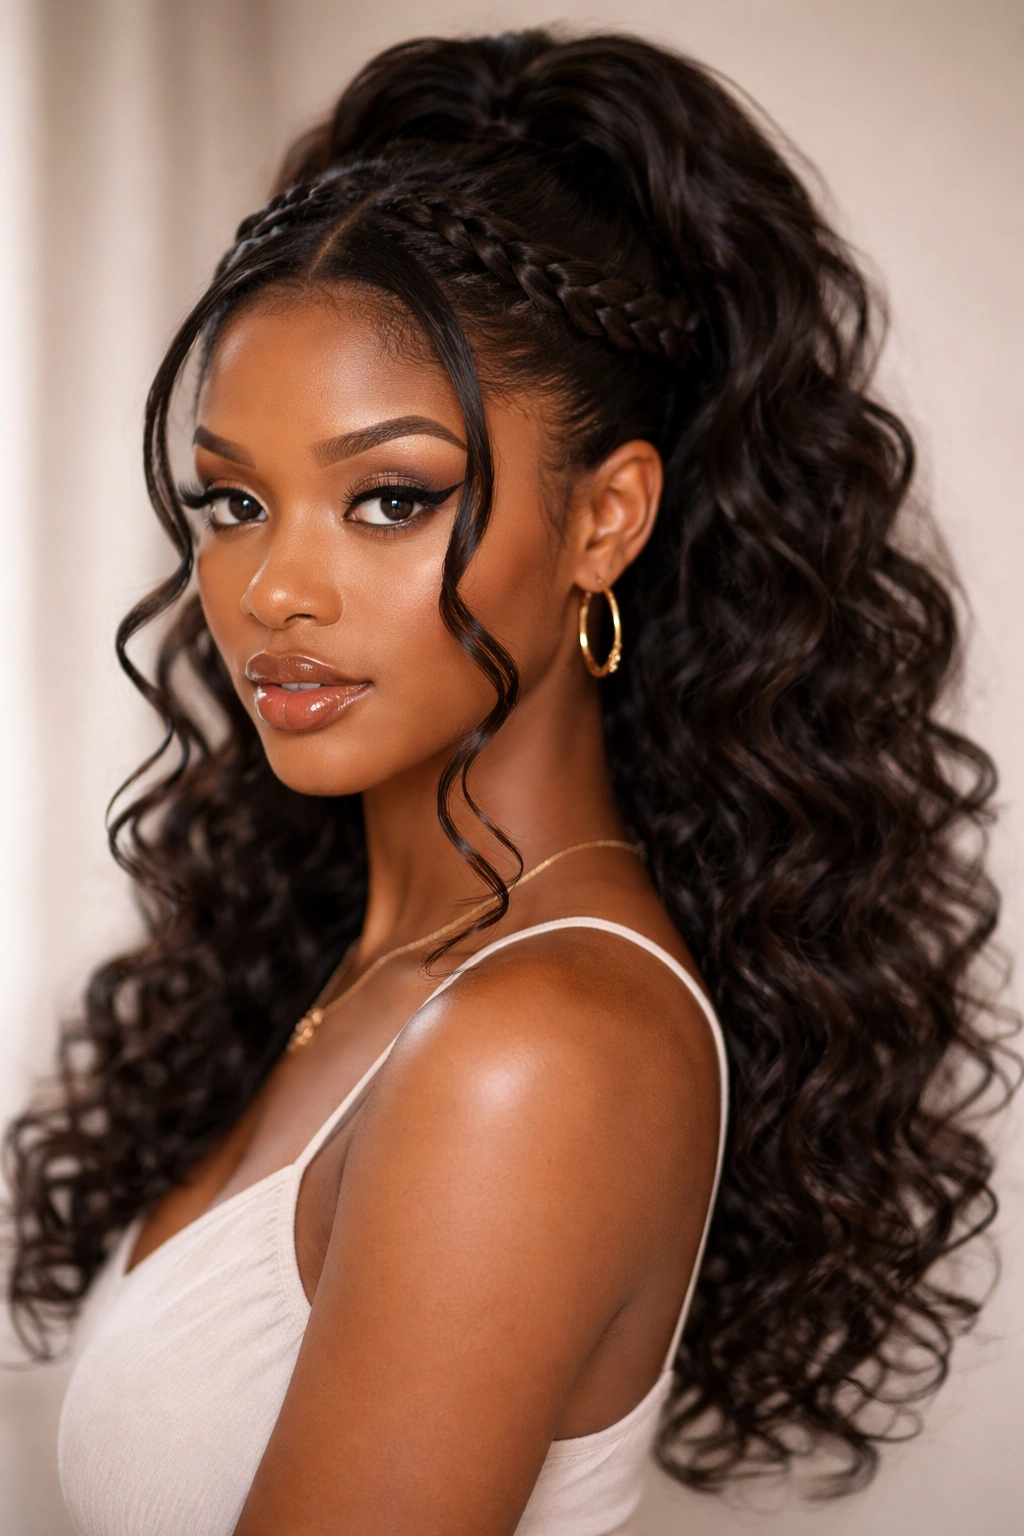
This style used one long, thick braid or a twisted section of hair that wrapped around the back of your head like a crown, while the rest of your hair—especially pieces near your face—were curled for soft, romantic texture. The wrap-around element held everything in place while creating an elegant, bohemian vibe that was more grownup than the purely playful 90s styles. It was Instagram-worthy before Instagram existed.
Romance Meets 90s Cool
The wrap-around half up occupied a interesting space—it was intricate and styled, but it didn’t read as overly done. The curls added softness, and the wrap-around added structure, creating a look that was dressy enough for special occasions but had enough texture to feel approachable and real. This was the half-up that worked for dates, weddings, and girl’s night out equally well.
Building the Wrapped Crown
- Blow-dry or air-dry your hair with a volumizing product for texture
- Create one thick braid or twisted section from your left ear toward the back of your head
- Wrap this braid around the back like a crown, securing with bobby pins as you go
- The wrap should sit loosely enough that it frames your face but firmly enough that it holds throughout the day
- Leave face-framing pieces loose and curl them with a curling iron or flexirods
- Ensure the curls are loose and romantic, not tight spirals
- Finish with a light hairspray that allows movement
Texture tip: For easier curling, apply a light curl cream or mousse to your hair before using heat tools. This helps curls last longer and adds definition without crunchiness.
10. The Sew-In Weave Half Up with Swoop Bang
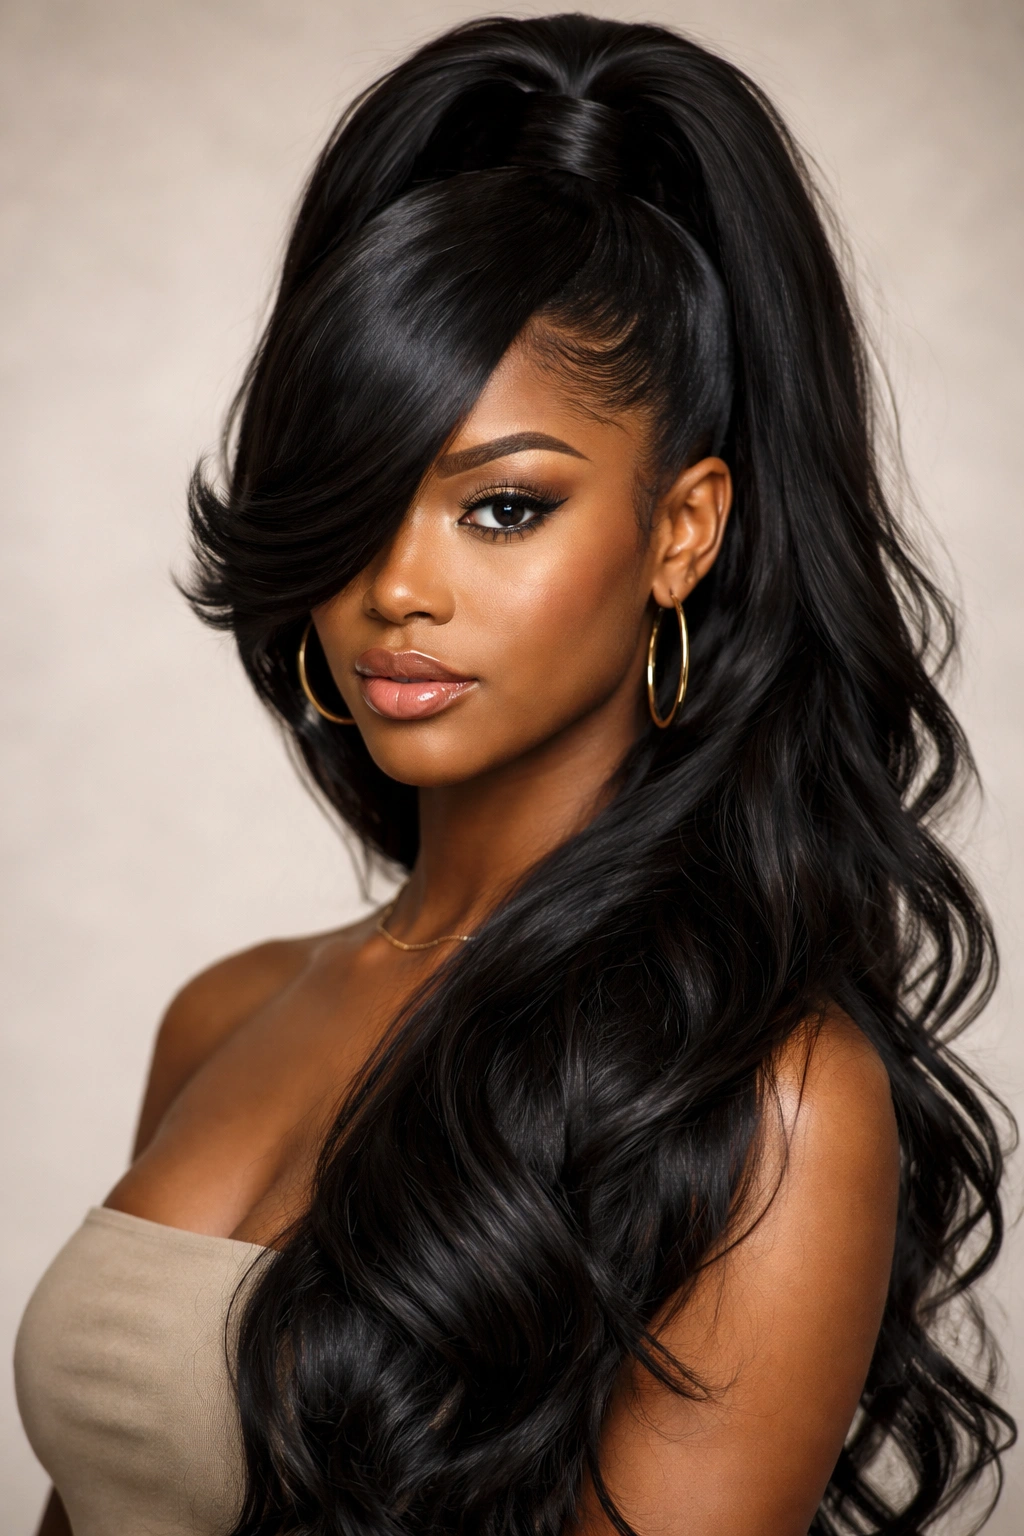
This style featured a half-up look using sew-in hair extensions, with a long, voluminous swoop bang covering one eye in that signature 90s-2000s way. The sew-in allowed for longer, thicker hair than most people naturally had, and pulling it into a half-up created an incredibly glamorous, expensive-looking style. The swoop bang added attitude and mystery, especially when paired with bold makeup or nail art.
The Sew-In Transformation
Sew-in weaves were a game-changer for Black women in the 90s—they allowed for versatility, length, and volume without daily manipulation or heat damage to your natural hair. A half-up with sew-in hair looked thick, healthy, and utterly polished. Combined with the swoop bang, it was a look that screamed confidence and style investment.
Creating the Weave-Based Half Up
- Install a sew-in weave with either straight or slightly wavy hair, depending on your preferred texture
- If you want waves or curls, set the weave hair in flexirods overnight for a natural, bouncy finish
- Create a deep side part and allow a thick section of hair to cover one eye (the swoop)
- Pull the remaining top portion into a high or mid-height ponytail, leaving the swoop section out
- Secure with a clear elastic, and place a decorative claw clip at the base for added detail
- Smooth your edges with edge control around your hairline
- Style the swoop bang with a light curl or leave it straight for sleekness
Important note: Sew-in weaves require weekly maintenance, including scalp washing, conditioning, and careful handling to prevent breakage and ensure the install lasts.
11. The Cornrow Half Up with Front Detail
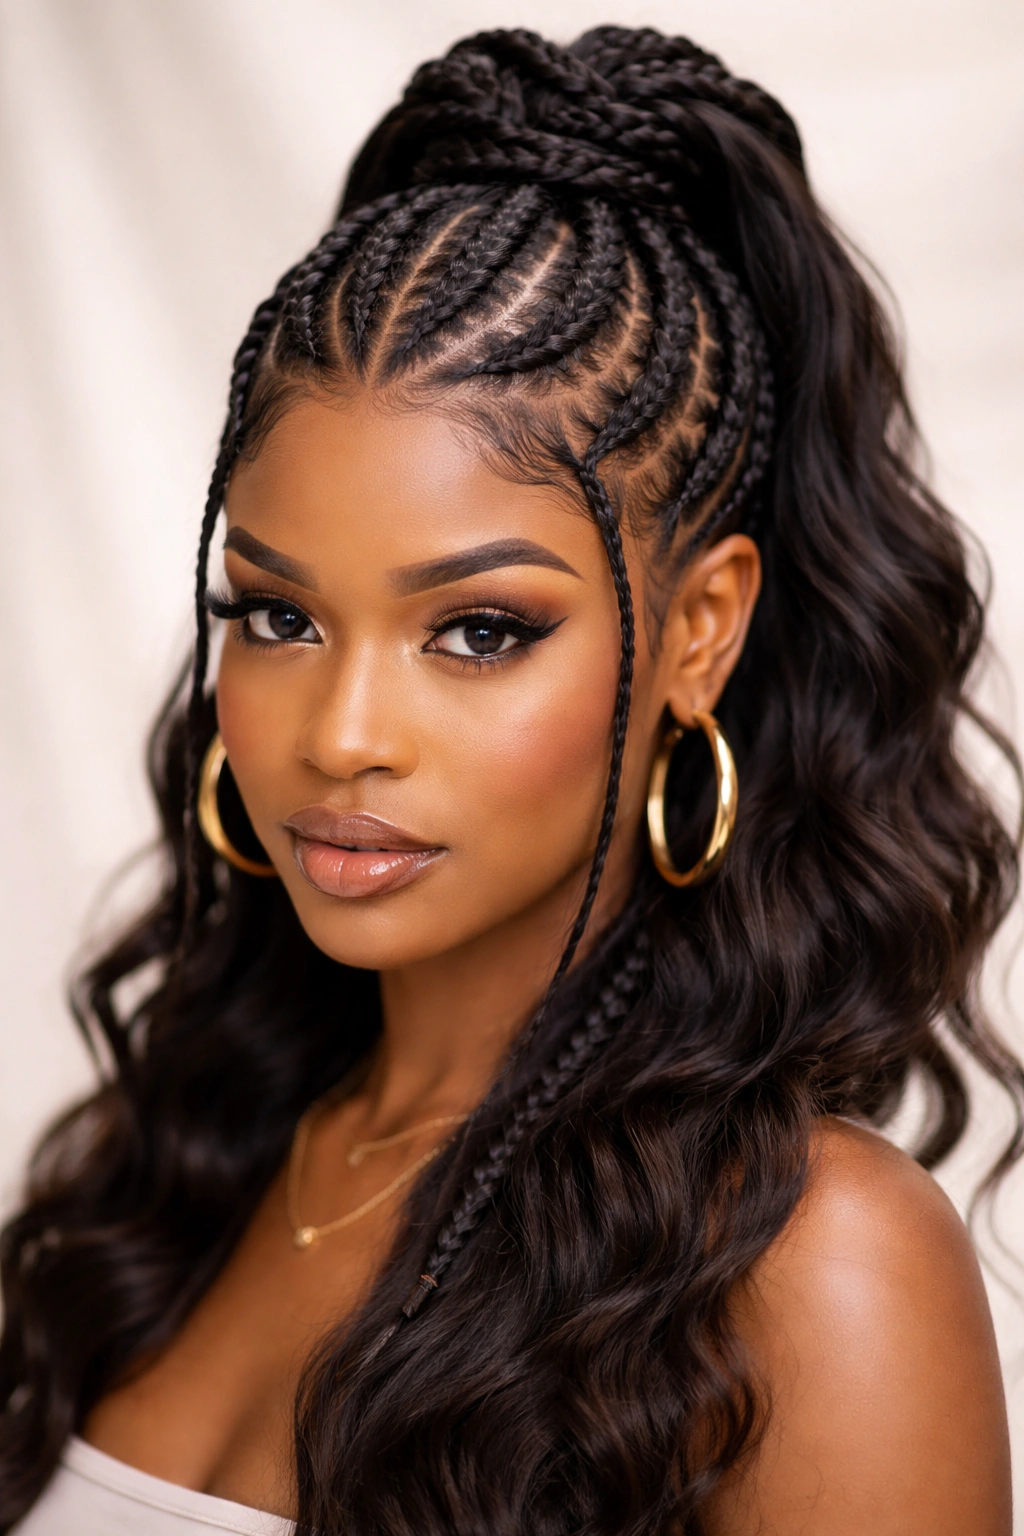
Cornrows pulled up into a half-updo offered the best of both worlds—cornrows are a protective style and a classic Black hairstyle, while the half-up element kept hair off your face and added sophistication. The “front detail” meant that cornrows ran from your face toward the back, creating lines and pattern that were beautiful and deliberate. Sometimes these would meet at the crown in an intricate pattern, and sometimes they’d be thicker cornrows that framed your face specifically.
Cornrows as Both Practical and Artistic
Cornrows have deep cultural significance in Black communities, and they’re also incredibly practical—they protect hair, last for weeks, and look great while your natural hair is doing its thing underneath. A cornrow half-up took that practicality and elevated it into a style statement. It read as intentional, cultural, and fashionable all at once.
Constructing the Cornrow Pattern
- Decide on your cornrow design before you start—will they frame your face, or will they cover your scalp entirely?
- For a classic look, create cornrows from your left temple back toward your crown, and repeat on the right
- Make the cornrows thick enough to handle (about ½ inch to ¾ inch wide) but thin enough to look refined
- Cornrow tightly but not so tight that you’re creating tension on your scalp—this causes breakage
- Gather the back section into a ponytail, leaving the front cornrows to frame your face
- Secure with a claw clip or decorative barrette that coordinates with your cornrow style
- You can leave the bottom half of your hair down and loose, or cornrow that too for an all-over pattern
Safety reminder: Tight cornrows can cause traction alopecia (hair loss from tension), so always braid at a comfortable tension and avoid sleeping in overly tight styles.
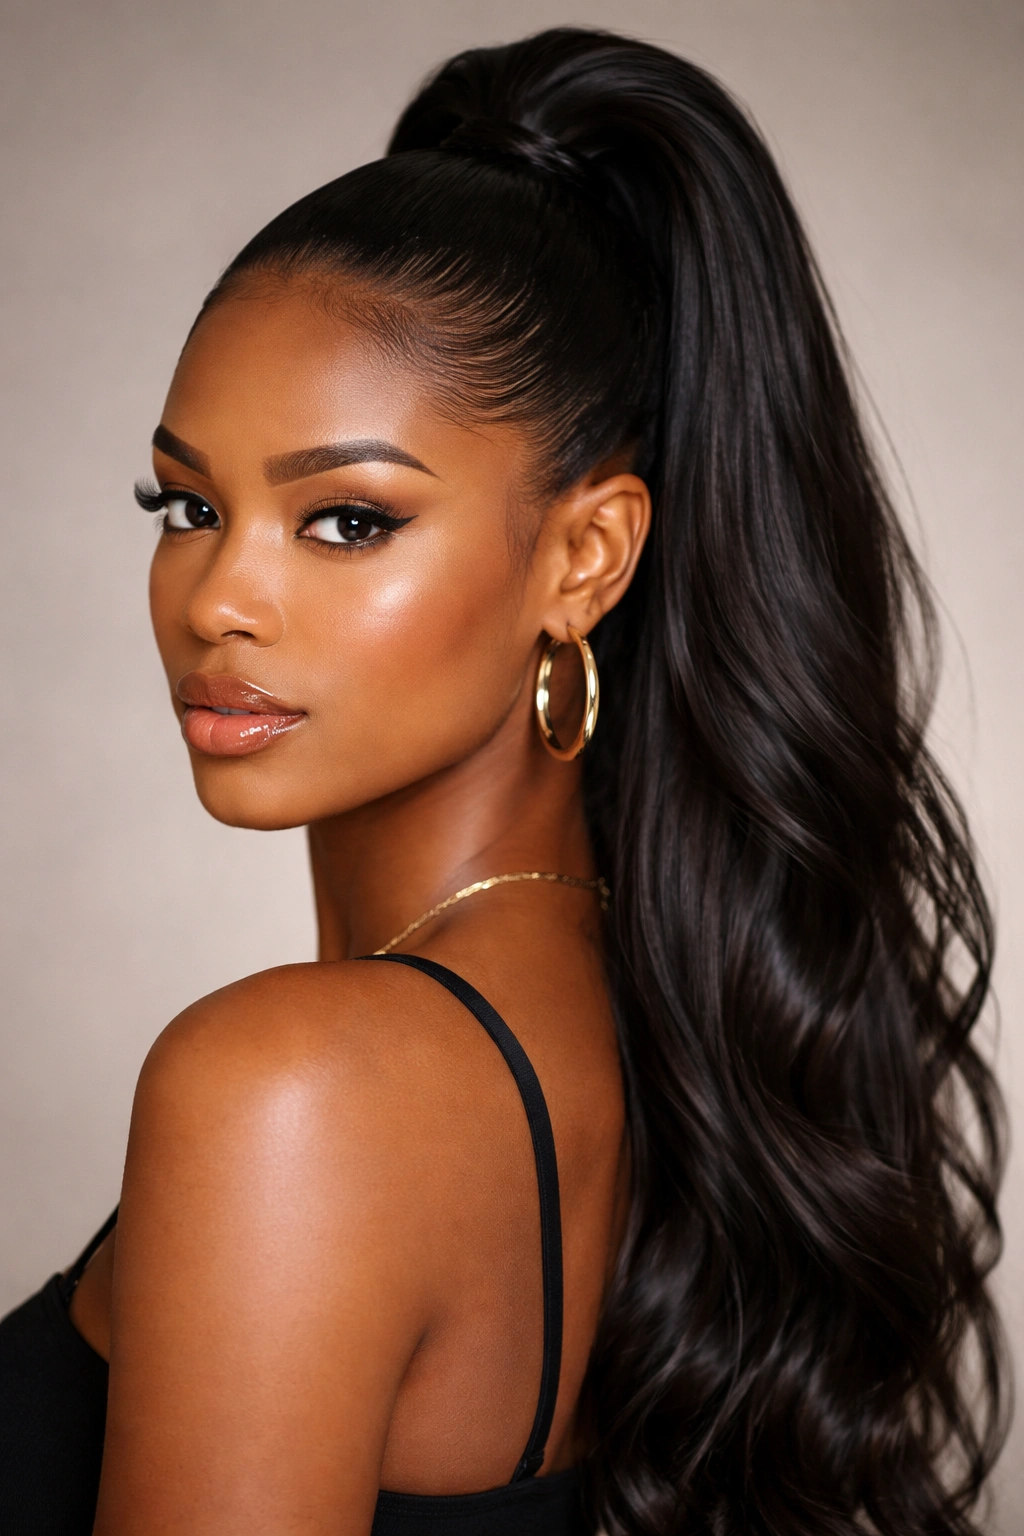
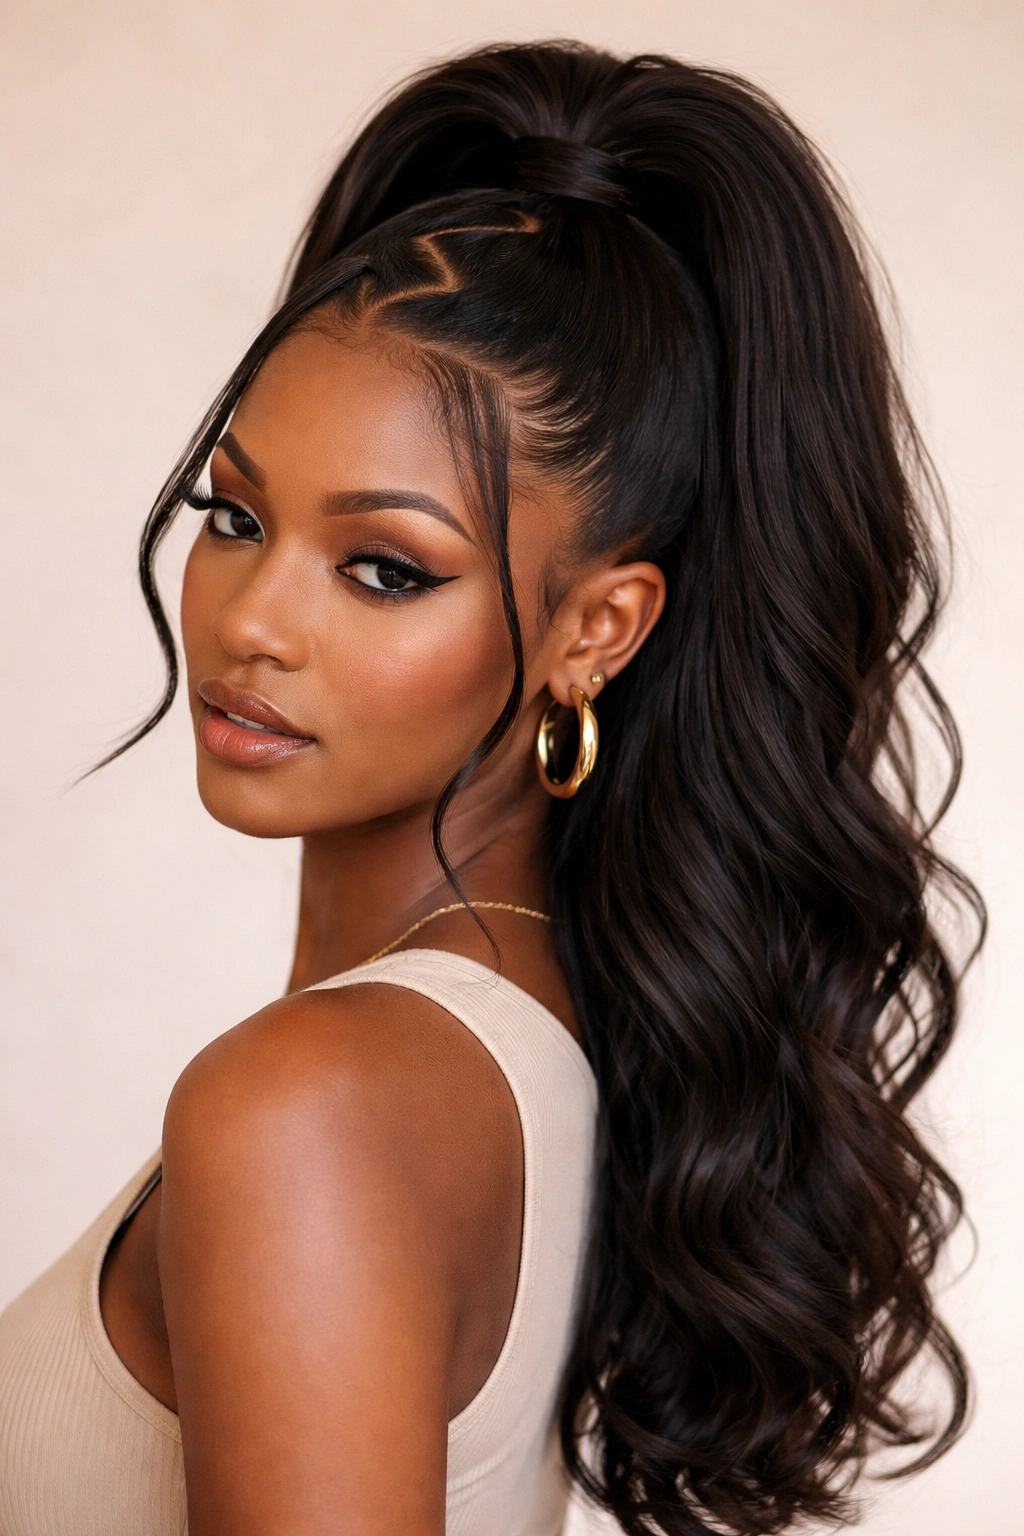
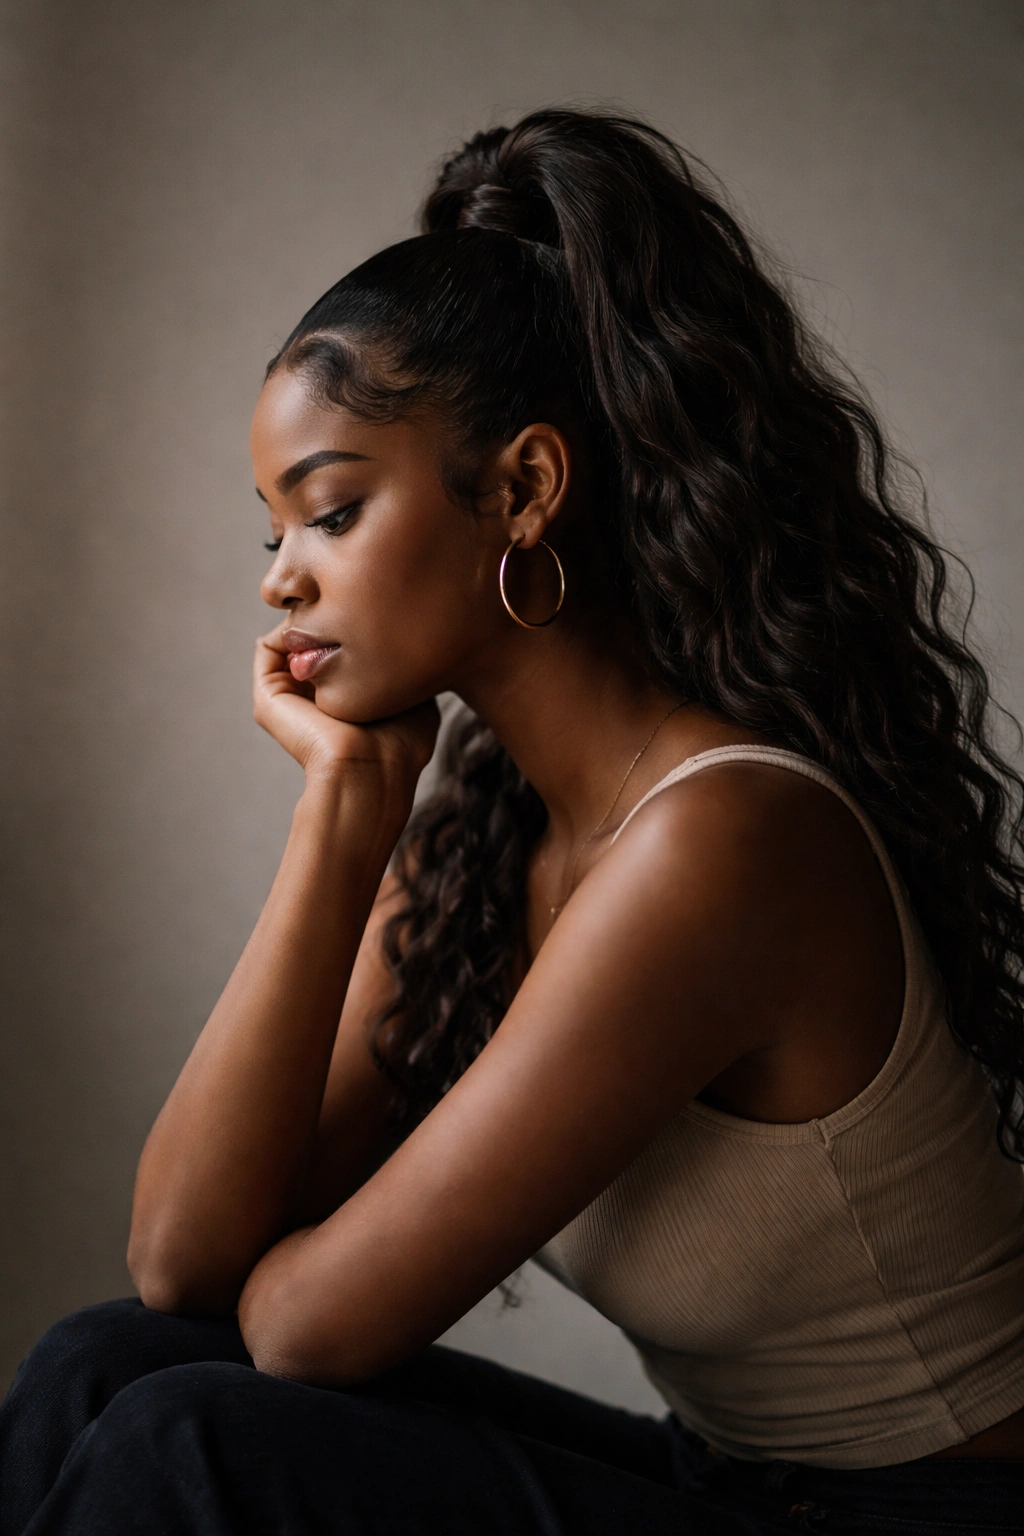
12. The Slicked High Pony Half Up with Wet Look
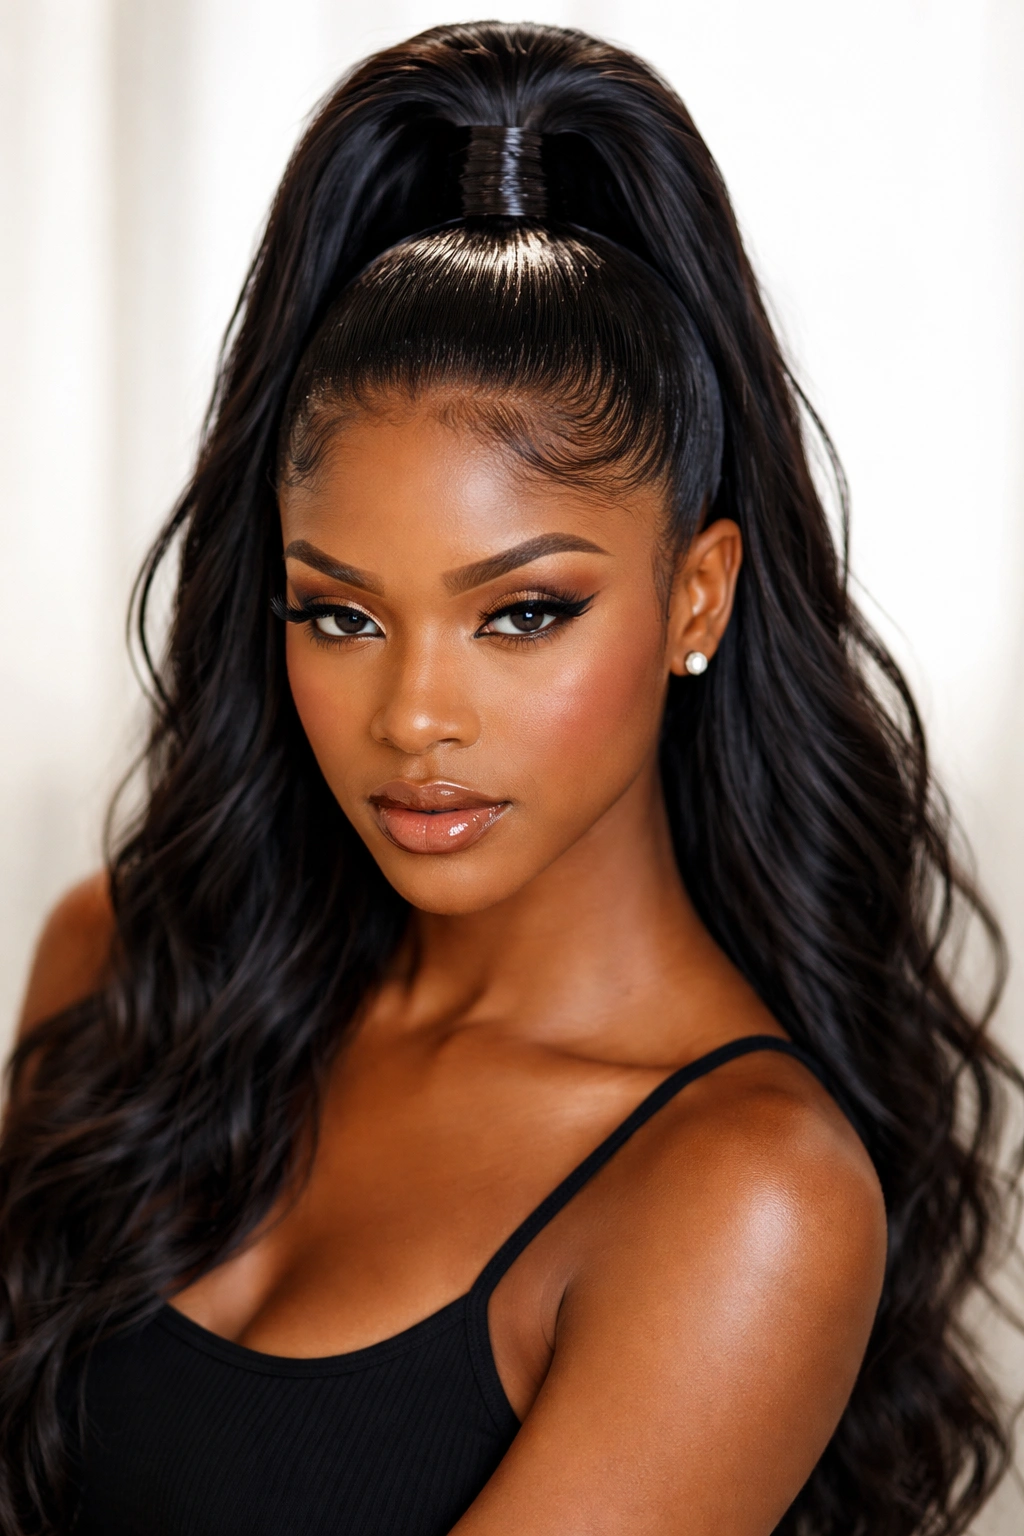
This final style was deceptive in its simplicity—it was essentially a half ponytail pulled extremely high on the crown with a wet, gel-slicked finish that made your hair look shiny and freshly done. The “wet” aesthetic meant using a heavy gel or moisturizing product that gave hair a dewy, almost liquid appearance. It was the look of someone who had just walked out of a salon, and it required surprisingly little actual styling.
The High Pony as Confidence Statement
A high, slicked ponytail draws attention upward and off your shoulders, showcasing your face, your neck, your bone structure. Combined with the wet look finish, it read as polished and intentional. This was the half-up for someone who wanted to look put-together without spending an hour styling. It also happened to work beautifully with any other styling element—add hoop earrings, bold lipstick, or simple jewelry, and the look was complete.
Mastering the High Wet Look
- Apply a heavy-hold, moisture-rich gel or mousse to damp hair
- Smooth the entire head back using a fine-tooth comb, working from your hairline toward your crown
- Gather the top section at the highest point possible on your crown
- Secure with a clear elastic, and add a second elastic slightly below the first for extreme hold
- The hair should look wet and shiny, almost slick—this is the entire point
- Smooth any baby hairs around your hairline with extra gel
- Light hairspray will set the look without creating a matte finish
Pro tip: Use products specifically designed for a wet look or glossy finish—regular gel can sometimes dry and dull. Lightweight hair oils or serums mixed into your gel give a more authentic wet appearance.
Final Thoughts
These twelve styles represent the creativity, confidence, and cultural richness of 90s Black hairstyling. Whether you’re bringing one of these looks back for nostalgia, cultural appreciation, or just because they’re genuinely timeless, the key is to execute them with intention and care. Each style required some level of styling skill and product investment—there are no shortcuts to authentic 90s hair.
The beauty of all these styles is that they’re wildly adaptable. You can combine elements (add beads to twists, clip up your braids, create a zigzag part with spirals), adjust them for your specific hair length and texture, and make them completely your own. The 90s aesthetic was all about expressing your personality through your hair choices, so don’t be afraid to experiment and personalize. Use these as starting points, not rigid rules.
If you’re new to some of these styling techniques, take your time learning them. Watch tutorials, practice on a willing friend or family member, or visit a stylist who specializes in these looks. Some styles (like sew-ins and professional cornrows) are worth investing in with a skilled braider, especially while you’re learning. Your hair will thank you for the expertise, and you’ll end up with results that truly capture that iconic 90s energy.